You need this recipe in your repertoire. Soft and chewy and flavored with all of the warm holiday spices we crave around the holidays, these gingerbread cookie bars are irresistible. The batter comes together in seconds, and the recipe yields a ton, making it perfect for gifting, too.
A photo revealing a cross-section that matched her description sold me, pushing the recipe to the top of my urgent to-make pile. But as things go, weeks passed, and then a month. I had almost forgotten about them, when Julie reminded us.
“Take them to a party,” she dared, “everyone will want the recipe.”
Last weekend I put the cookies to the test, the guinea pigs being my daughter’s hockey team, a mix of mostly teenage boys, a few teenage girls, and their parents and coaches. I was sure, of course, the group would like the bars — I had tested one the day prior, of course, as had my children, whose eyes widened upon first bite, so surprised perhaps that something so unassuming could be so delicious.
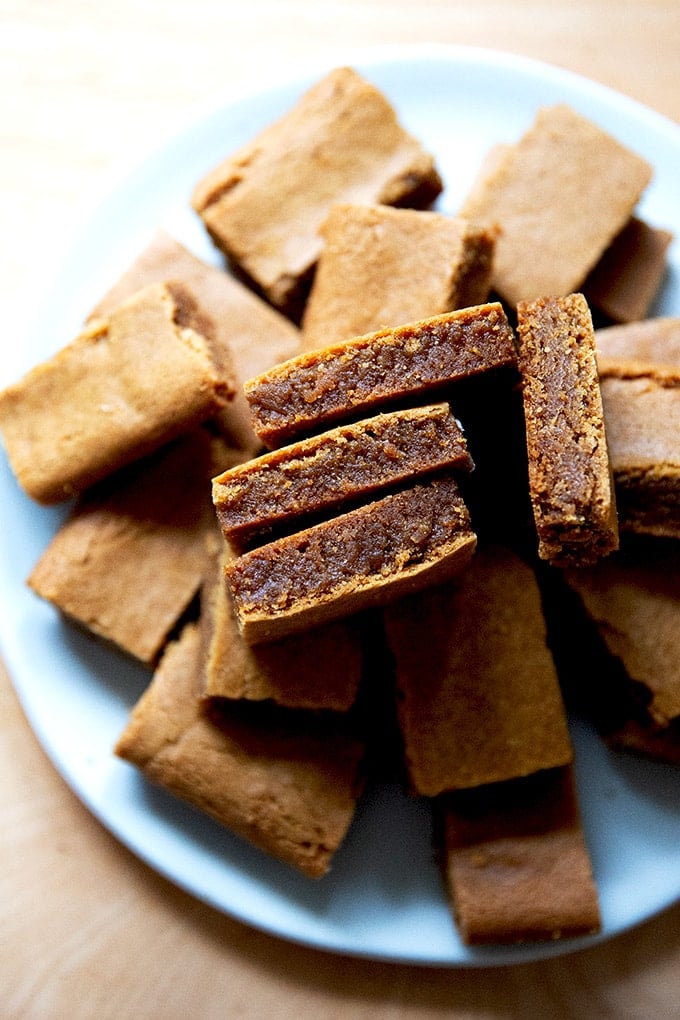
Would they love them is what I wondered. As you can see, these bars aren’t winning any beauty contests. In this season of decorated cutouts and jam-filled thumbprints and snow-capped crinkles, would anyone even consider reaching for something so plain?
But Friends, who am I kidding? What teenage kid passes on a cookie? And moreover, what these cookies lack in looks, they make up for in flavor. They are just as Julie describes: like a chewy brownie but spiced with all of those warm, wintry, and especially gingery notes of the season. As soon as I saw kids (and parents and coaches) returning to the plate for seconds (and thirds), I knew they were a winner. Love is an understatement.
Later that evening multiple people texted me asking for the recipe, which I sent along immediately with words of encouragement: make them! they’re so easy! one bowl! ungreased pan! high yield!
I imagine some of you may be holiday-cookied out, and if that is the case, I understand. For those of you who are just getting warmed up, let’s go 🎉
Note: You may be tempted to doll these up with some sort of glaze or frosting or drizzle. And to that I say: don’t you dare. These bars are perfect, inside and out, just the way they are.
Gingerbread Cookie Bars, Step by Step
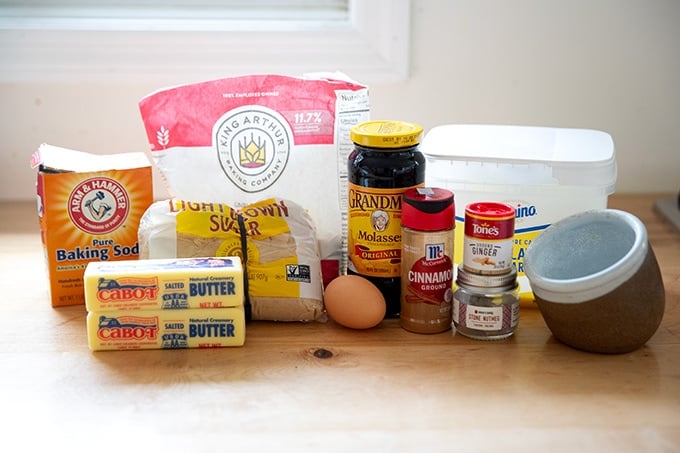
First, gather your ingredients:
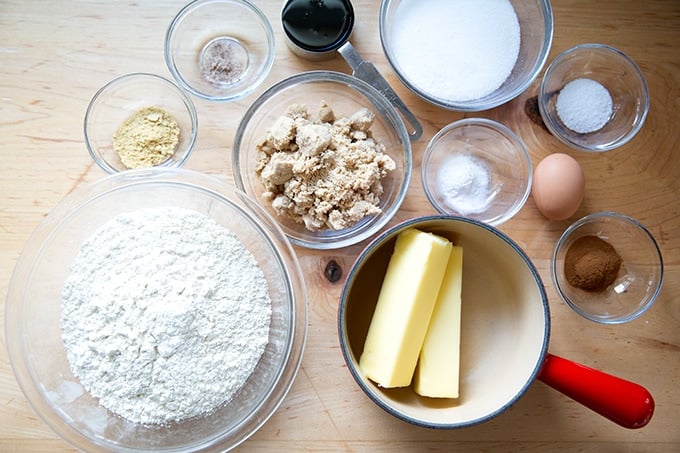
If you wish, measure everything out first:
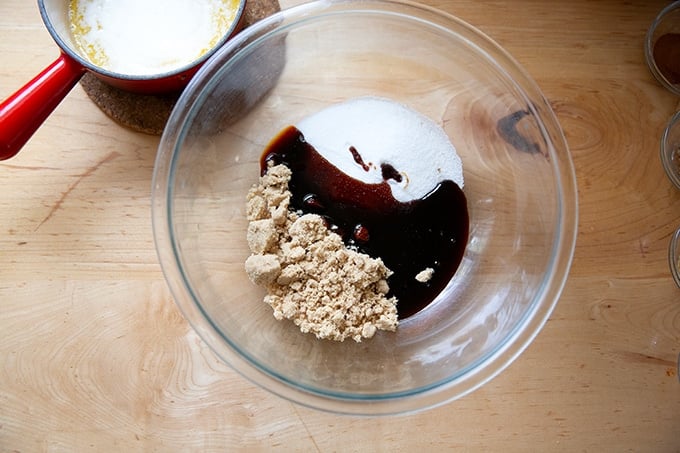
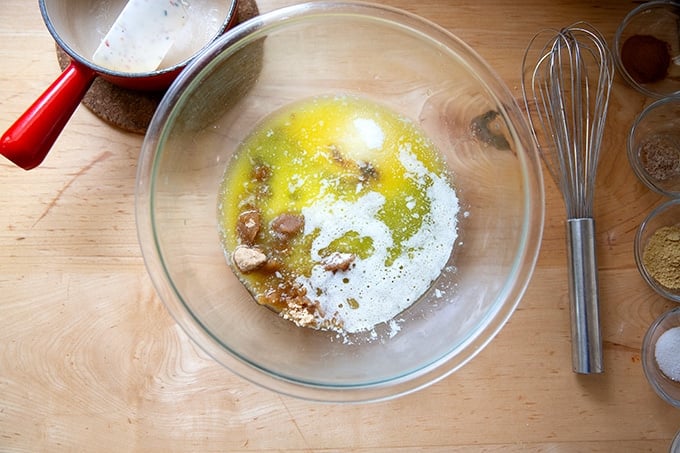
Place the two sugars and the molasses in a large bowl:
Pour the butter over the top:
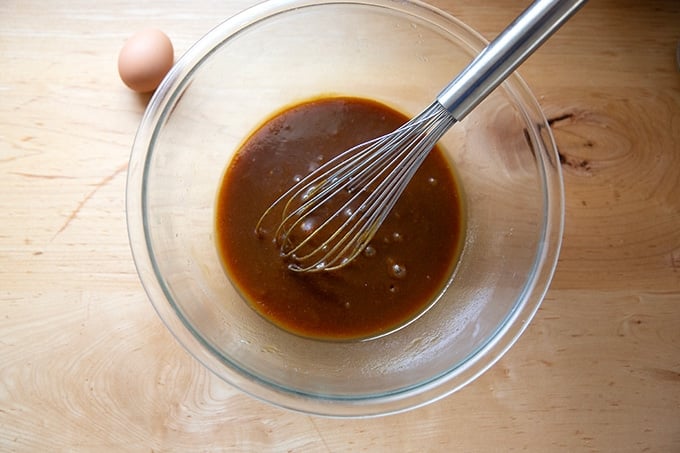
Then whisk to combine:
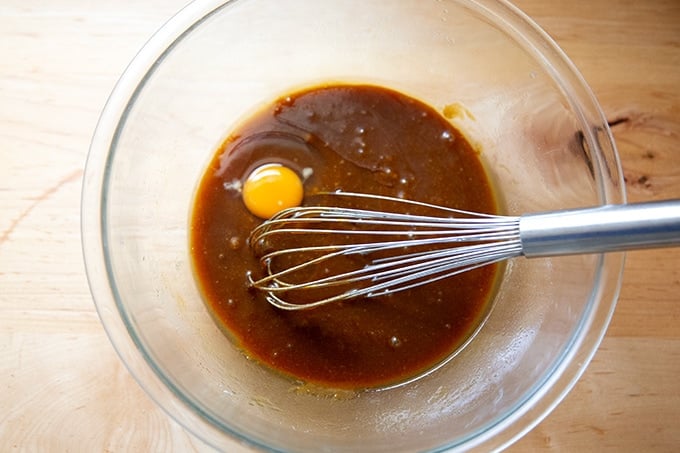
Add the egg and whisk again:
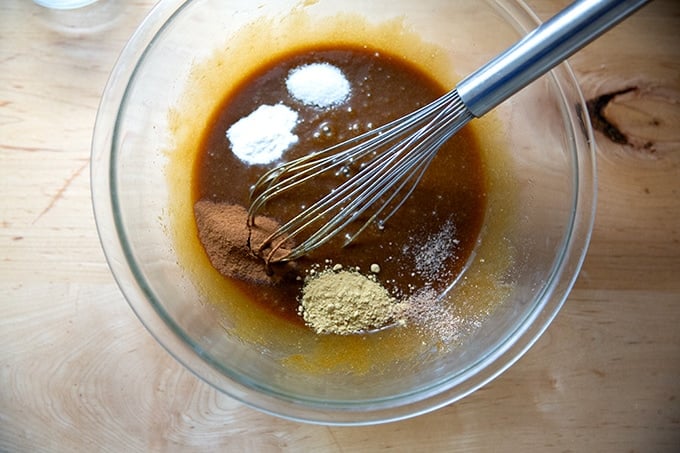
Add the spices, salt, and baking soda, and whisk again:
Finally, add the flour:
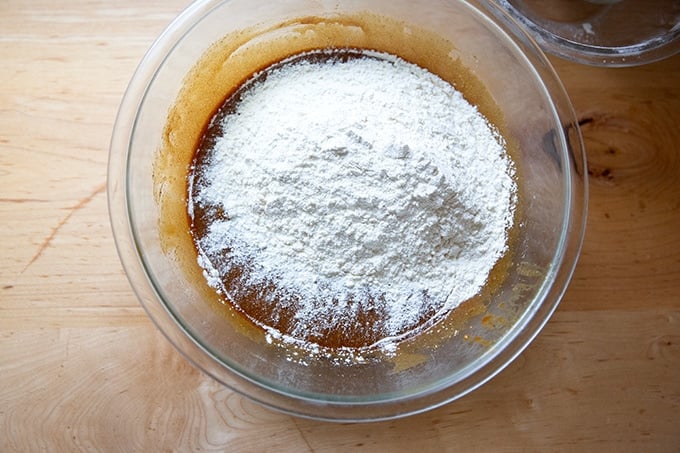
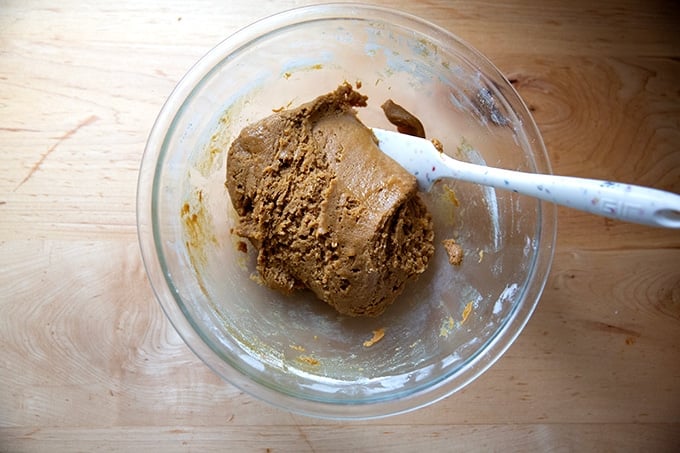
Use a spatula to incorporate the flour — the batter will be thick.
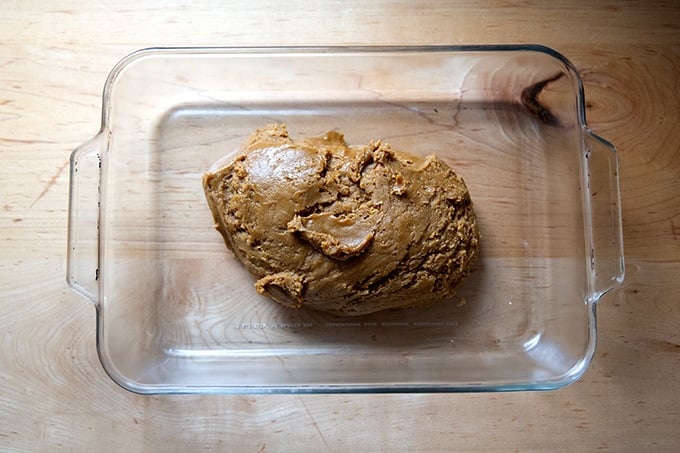
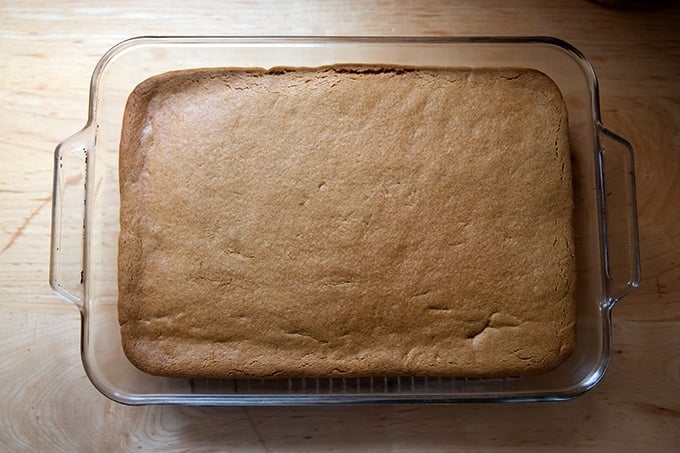
Transfer it to an ungreased 9×13-inch pan.
Press it into the pan to fit:
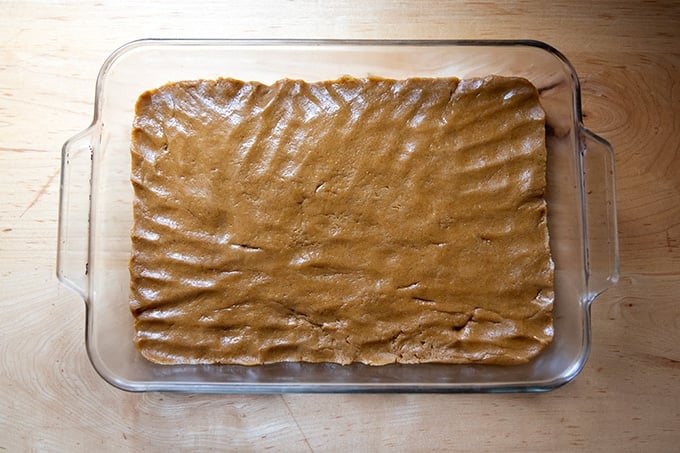
Transfer the pan to the oven and bake for 22 -23 minutes.
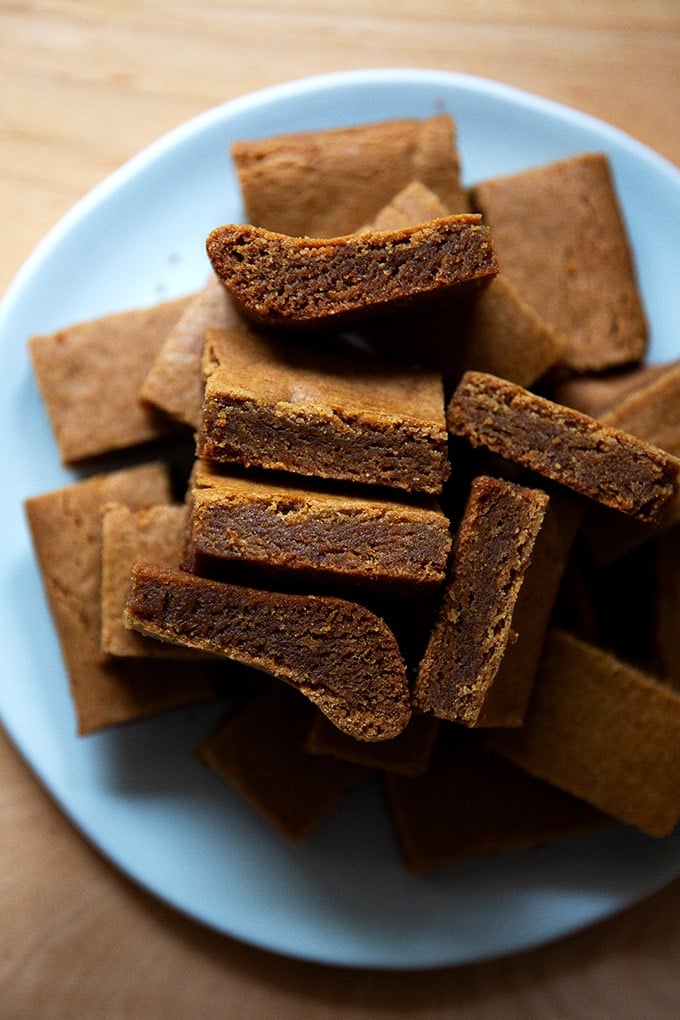
Let cool for about an hour before cutting: I like to cut it into 24 squares first; then…

… I cut each square in half to yield 48 little rectangles:

Can you taste the chewiness? You’re going to love them.
Description
Adapted from my friend Julie Majors recipe for Easiest Ever Gingerbread . I’ve made a few small changes: I used melted butter in place of softened, I used a mix of brown and granulated sugar, and I’ve upped the salt. I also use a slightly smaller pan.
Notes:
Molasses: I’ve used Grandma’s and Crosby’s here. Do not use blackstrap molasses.
Salt: If you are using Morton Kosher salt or fine sea salt, use half as much by volume: 1/2 teaspoon or the same amount by weight.
3/4 cup ( 150 g ) granulated sugar
3/4 cup ( 150 g ) light brown sugar
1/3 cup ( 110 g ) molasses, see notes
2 sticks (227 g) salted butter (unsalted is fine if it’s all you have), melted
1 egg
1 teaspoon ( 5 g ) baking soda
2 teaspoons ( 5 g ) cinnamon
2 teaspoons ( 4 g ) ginger
1/4 teaspoon (o. 25 g ) freshly grated or pre-ground nutmeg
1 teaspoon ( 3 g ) Diamond Crystal kosher salt, see notes
3 cups ( 384 g ) all-purpose flour
- Preheat the oven to 350ºF.
- Place the sugar, brown sugar, and molasses in a large bowl. Pour the melted butter over the top and whisk to combine. Add the egg, and whisk again.
- Add the baking soda, cinnamon, ginger, nutmeg, and salt, and whisk to incorporate.
- Finally, add the flour and use a spatula to incorporate — the batter will feel more like a thick dough and it will require some elbow grease to incorporate. This is normal.
- Press the dough into an ungreased 9×13-inch glass or metal baking dish.
- Transfer to the oven and bake for 22-24 minutes. The mixture will puff in the oven, but will collapse upon cooling. I like to err on the side of underbaking, and I find these are consistently done at 22-23 minutes. (If you are using a metal pan, start checking even earlier — Julie bakes them for 17-20 minutes, but she is using a larger pan, so her bars are slightly thinner.) Remove the pan from the oven and transfer to a cooling rack. Let cool for roughly 1 hour before cutting.
- Cut into 24 or 48 pieces. I like to make a 6×4 grid of bars; then cut each of those bars in half to make 48 pieces.
- Store at room temperature in an airtight container for up to 3 days (maybe longer, but chances are these bars will never make it that long.)
- Prep Time: 10 minutes
- Cook Time: 25 minutes
- Category: Cookies
- Method: Oven
- Cuisine: Amerian
You need this recipe in your repertoire. Soft and chewy and flavored with all of the warm holiday spices we crave around the holidays, these gingerbread cookie bars are irresistible. The batter comes together in seconds, and the recipe yields a ton, making it perfect for gifting, too.
A photo revealing a cross-section that matched her description sold me, pushing the recipe to the top of my urgent to-make pile. But as things go, weeks passed, and then a month. I had almost forgotten about them, when Julie reminded us.
“Take them to a party,” she dared, “everyone will want the recipe.”
Last weekend I put the cookies to the test, the guinea pigs being my daughter’s hockey team, a mix of mostly teenage boys, a few teenage girls, and their parents and coaches. I was sure, of course, the group would like the bars — I had tested one the day prior, of course, as had my children, whose eyes widened upon first bite, so surprised perhaps that something so unassuming could be so delicious.
Would they love them is what I wondered. As you can see, these bars aren’t winning any beauty contests. In this season of decorated cutouts and jam-filled thumbprints and snow-capped crinkles, would anyone even consider reaching for something so plain?
But Friends, who am I kidding? What teenage kid passes on a cookie? And moreover, what these cookies lack in looks, they make up for in flavor. They are just as Julie describes: like a chewy brownie but spiced with all of those warm, wintry, and especially gingery notes of the season. As soon as I saw kids (and parents and coaches) returning to the plate for seconds (and thirds), I knew they were a winner. Love is an understatement.
Later that evening multiple people texted me asking for the recipe, which I sent along immediately with words of encouragement: make them! they’re so easy! one bowl! ungreased pan! high yield!
I imagine some of you may be holiday-cookied out, and if that is the case, I understand. For those of you who are just getting warmed up, let’s go 🎉
Note: You may be tempted to doll these up with some sort of glaze or frosting or drizzle. And to that I say: don’t you dare. These bars are perfect, inside and out, just the way they are.
Gingerbread Cookie Bars, Step by Step
First, gather your ingredients:
If you wish, measure everything out first:
Place the two sugars and the molasses in a large bowl:
Pour the butter over the top:
Then whisk to combine:
Add the egg and whisk again:
Add the spices, salt, and baking soda, and whisk again:
Finally, add the flour:
Use a spatula to incorporate the flour — the batter will be thick.
Transfer it to an ungreased 9×13-inch pan.
Press it into the pan to fit:
Transfer the pan to the oven and bake for 22 -23 minutes.
Let cool for about an hour before cutting: I like to cut it into 24 squares first; then…
… I cut each square in half to yield 48 little rectangles:
Can you taste the chewiness? You’re going to love them.
Description
Adapted from my friend Julie Majors recipe for Easiest Ever Gingerbread . I’ve made a few small changes: I used melted butter in place of softened, I used a mix of brown and granulated sugar, and I’ve upped the salt. I also use a slightly smaller pan.
Notes:
Molasses: I’ve used Grandma’s and Crosby’s here. Do not use blackstrap molasses.
Salt: If you are using Morton Kosher salt or fine sea salt, use half as much by volume: 1/2 teaspoon or the same amount by weight.
3/4 cup ( 150 g ) granulated sugar
3/4 cup ( 150 g ) light brown sugar
1/3 cup ( 110 g ) molasses, see notes
2 sticks (227 g) salted butter (unsalted is fine if it’s all you have), melted
1 egg
1 teaspoon ( 5 g ) baking soda
2 teaspoons ( 5 g ) cinnamon
2 teaspoons ( 4 g ) ginger
1/4 teaspoon (o. 25 g ) freshly grated or pre-ground nutmeg
1 teaspoon ( 3 g ) Diamond Crystal kosher salt, see notes
3 cups ( 384 g ) all-purpose flour
- Preheat the oven to 350ºF.
- Place the sugar, brown sugar, and molasses in a large bowl. Pour the melted butter over the top and whisk to combine. Add the egg, and whisk again.
- Add the baking soda, cinnamon, ginger, nutmeg, and salt, and whisk to incorporate.
- Finally, add the flour and use a spatula to incorporate — the batter will feel more like a thick dough and it will require some elbow grease to incorporate. This is normal.
- Press the dough into an ungreased 9×13-inch glass or metal baking dish.
- Transfer to the oven and bake for 22-24 minutes. The mixture will puff in the oven, but will collapse upon cooling. I like to err on the side of underbaking, and I find these are consistently done at 22-23 minutes. (If you are using a metal pan, start checking even earlier — Julie bakes them for 17-20 minutes, but she is using a larger pan, so her bars are slightly thinner.) Remove the pan from the oven and transfer to a cooling rack. Let cool for roughly 1 hour before cutting.
- Cut into 24 or 48 pieces. I like to make a 6×4 grid of bars; then cut each of those bars in half to make 48 pieces.
- Store at room temperature in an airtight container for up to 3 days (maybe longer, but chances are these bars will never make it that long.)
- Prep Time: 10 minutes
- Cook Time: 25 minutes
- Category: Cookies
- Method: Oven
- Cuisine: Amerian
Find it online : https://alexandracooks.com/2023/12/22/ugly-delicious-perfect-gingerbread-cookie-bars/
This gluten-free pizza crust is shockingly easy to make, producing a thin and crisp crust with a nice snap and chew that tastes like the real deal.
Any time I post a recipe for a baked good, whether it’s a muffin or a loaf of bread, I get this question: Can I make this with gluten-free flour?
With muffins, cakes and the like, I often say “yes” or “likely yes” because over the years I’ve learned from various commenters that swapping in any number of one-for-one gluten-free flours tends to work seamlessly.
But with yeast- and sourdough-leavened items, I am less encouraging, explaining that replicating the chew and feel of breads and pizzas with gluten-free flour isn’t as easy as swapping in gluten-free flour. Gluten-free breads need a little bit more help, often in the form of eggs, stabilizers, and thickeners for structure.
Moreover, all gluten-free flours absorb water differently. When working on the gluten-free pizza crust recipe for Pizza Night , I quickly learned that using the same amount of water with one brand of gluten-free flour would not work the same as with another: one might resemble a soupy mess and another a stiff, stodgy mass. And so for Pizza Night , I wrote a recipe for a specific brand of gluten-free flour that I love, which I can’t wait for you to have … in April .
In the meantime, I’ve written another recipe or actually King Arthur Baking did — I’m using the recipe nearly verbatim included on the back of the King Arthur Gluten-Free Pizza Flour bag: I use more salt, and rather than shape my rounds Neapolitan-style with a puffy outer rim, I roll them thinly and parbake them, which produces a pizza with a thin and crisp crust.
Friends, I think you’ll be so pleased by the texture, flavor, and overall likeness to the real thing of this gluten-free pizza. KA’s gluten-free pizza flour is widely available, the dough comes together in no time, and it rises quickly. The shaped dough rounds can be stored in the fridge for at least a week.
Tips for Success
- Use the right flour: As noted above, this recipe is specifically formulated to work with KAF’s Gluten-Free Pizza Flour . I find mine at Hannaford’s, and I’ve seen it at other supermarkets as well. This recipe will not work as written with other gluten-free flours.
- Use a scale to measure: You will not be measuring accurately if you use measuring cups and spoons, and in turn, you will not be able to troubleshoot in a meaningful way should the recipe not work out for you.
- Watch the video above: The texture of the dough upon being mixed will not feel familiar: it’s very wet, more like a thick batter. The dough in fact is 121% hydration — yes, you’re reading that correctly: there is more water by weight (284 grams) than flour (233 grams).
Gluten-Free Pizza Crust, Step-by-Step
Gather your ingredients:
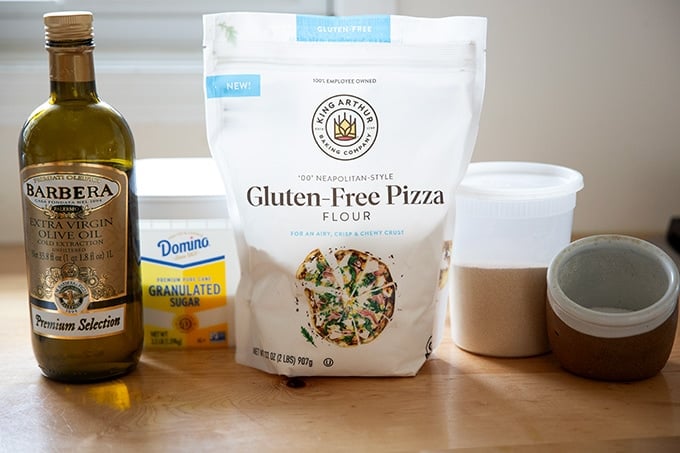
For best results, use a scale to measure everything out:
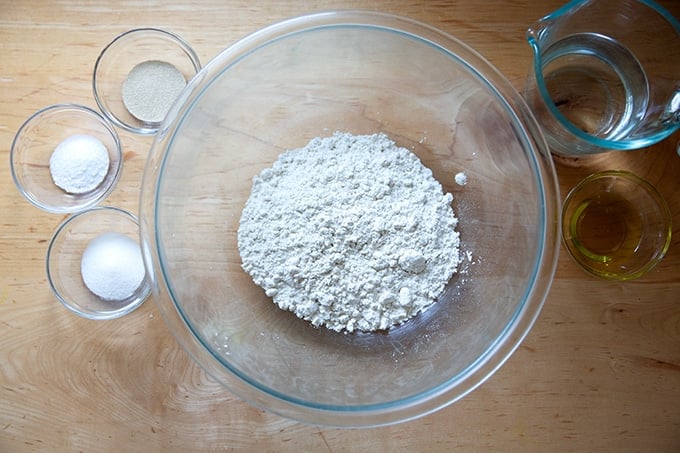
First, place the dry ingredients in a large bowl:
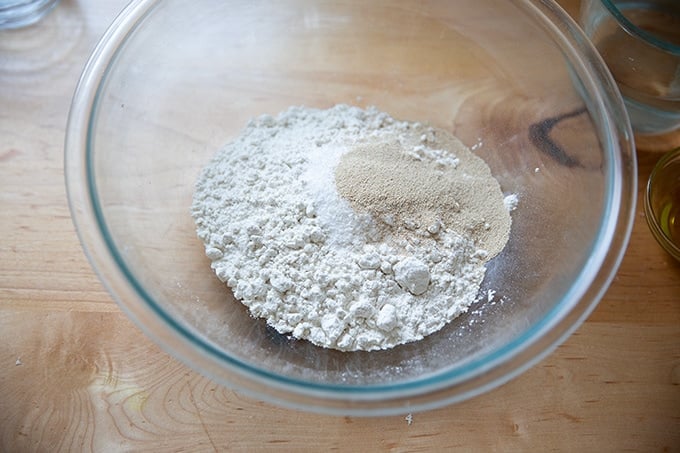
Whisk them together:
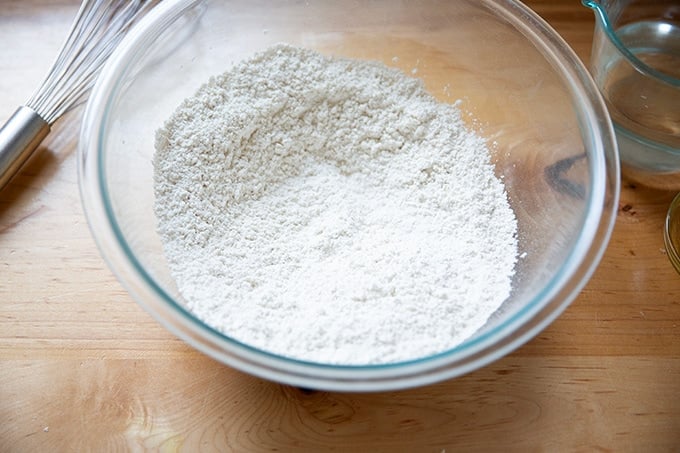
Add the water and olive oil:
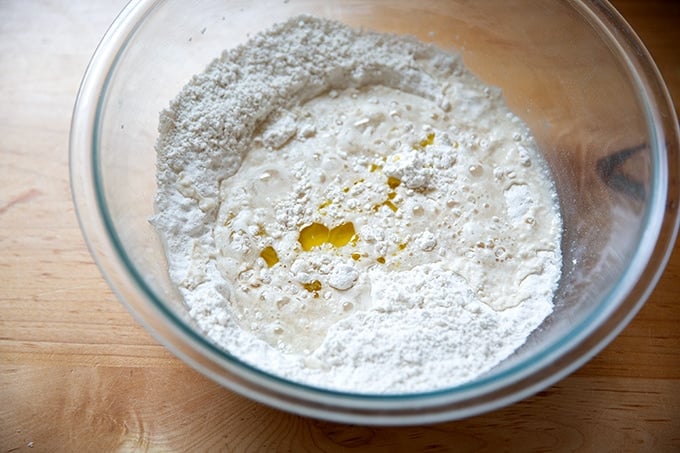
And stir with a spatula until you have a very wet mass:
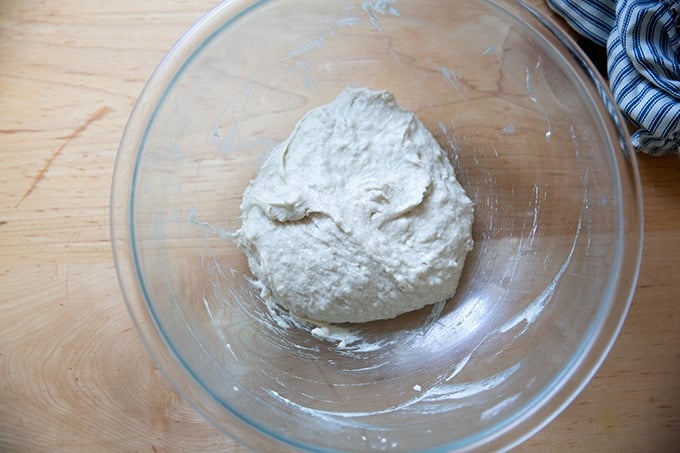
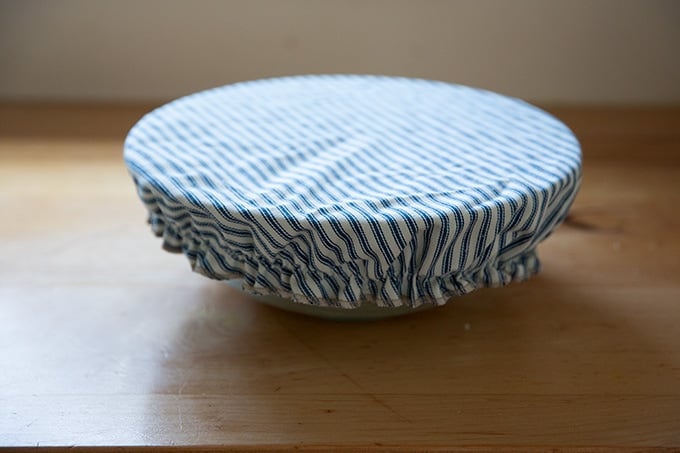
Cover the bowl and let rise for 2-3 hours …
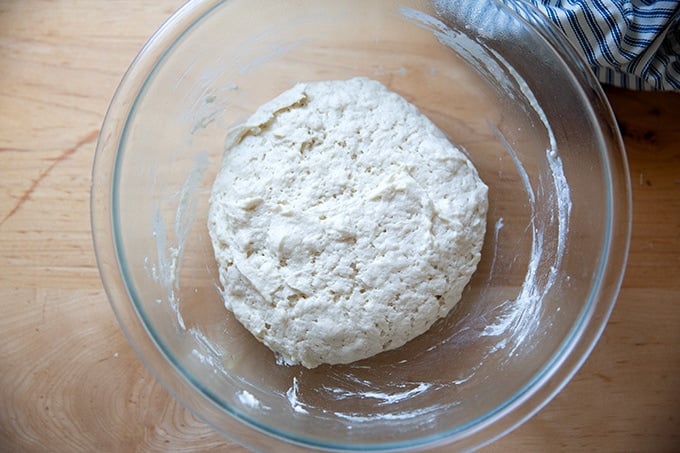
… or until doubled in volume:
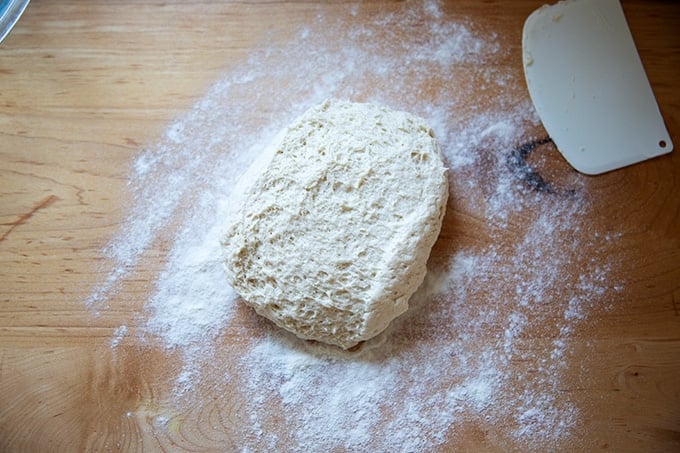
Turn the dough out into a lightly floured (using rice flour or other gluten-free flour) work surface:
Divide the dough into two equal portions:
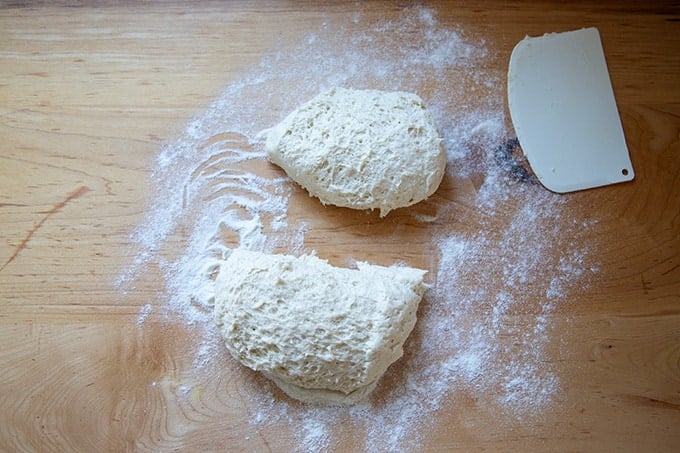
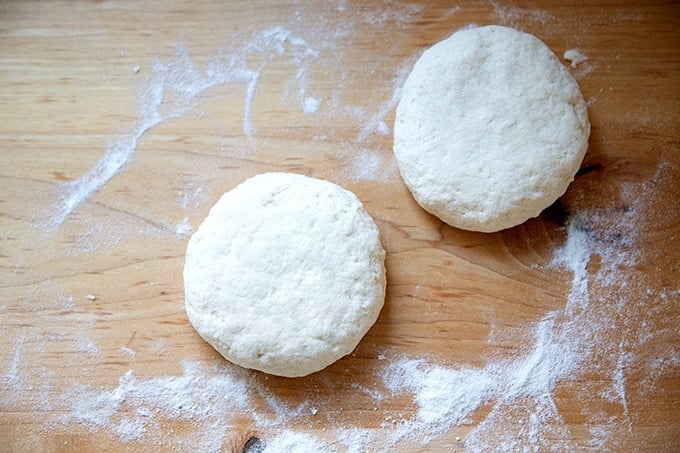
Then ball up each portion:
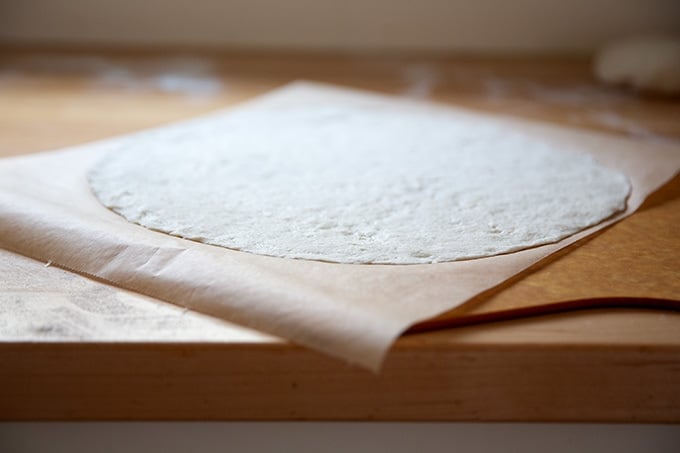
Gently roll out the portion …
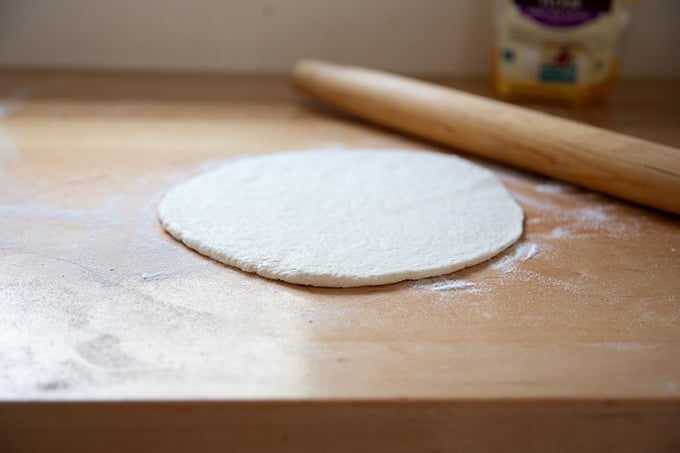
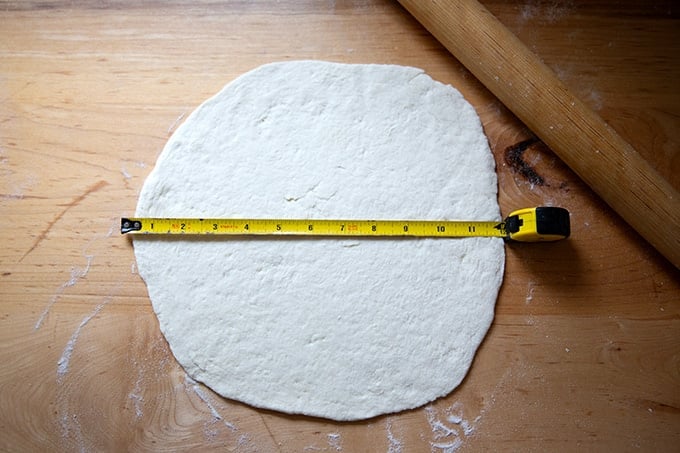
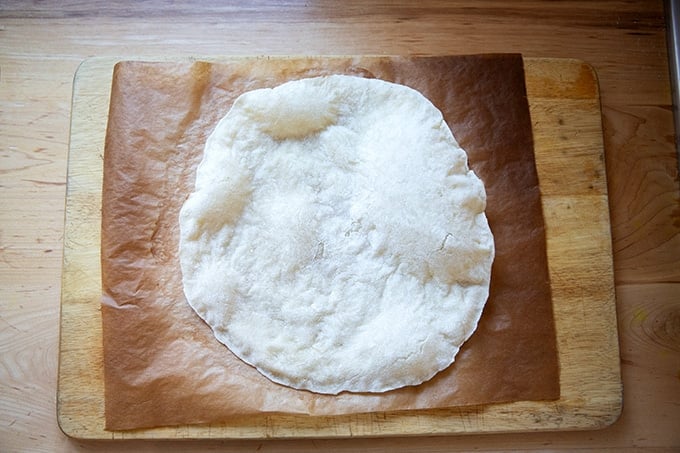
into roughly a 12-inch round:
Transfer it to a parchment-lined peel and pinch the edges:
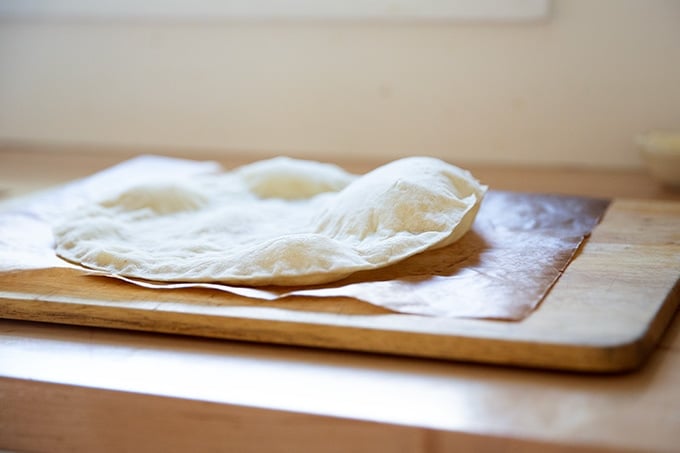
Parbake on a preheated Baking Steel (ideally) or pizza stone for 2 minutes:
It will puff up in spots. Gently deflate those spots:
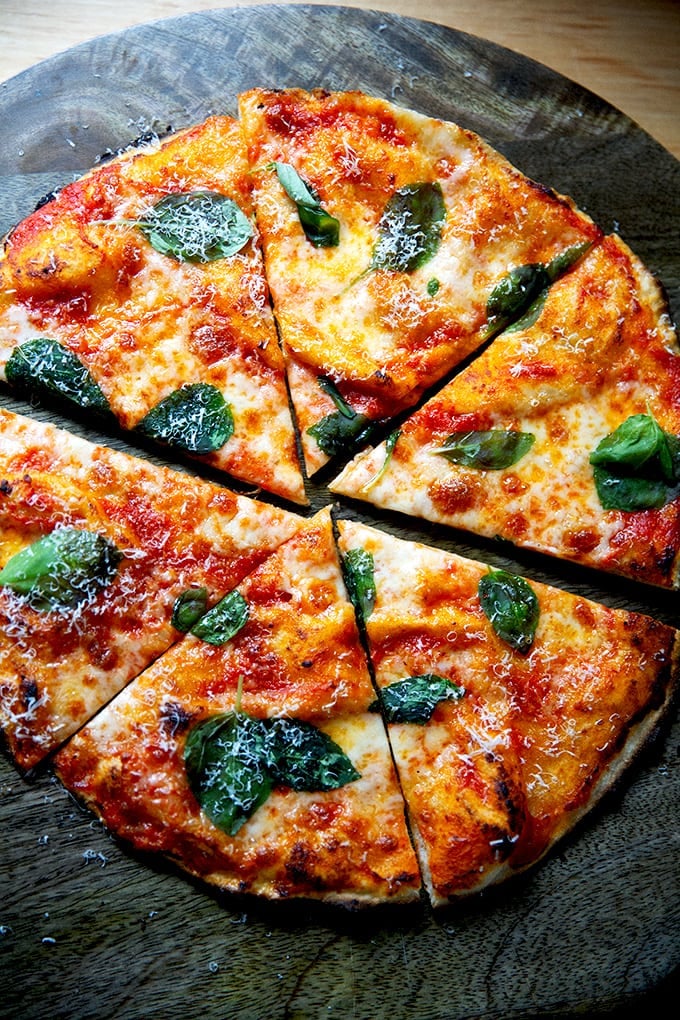
Top with tomato sauce and mozzarella as well as a drizzle of olive oil and a pinch of sea salt:
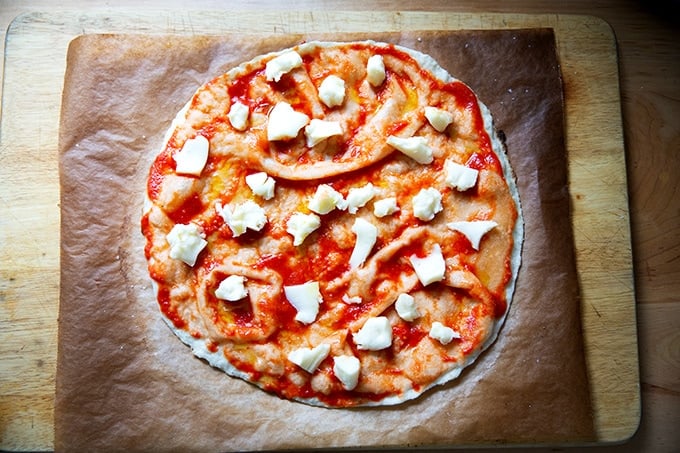
Return to the oven for 4-5 minutes or until blistered to your liking:
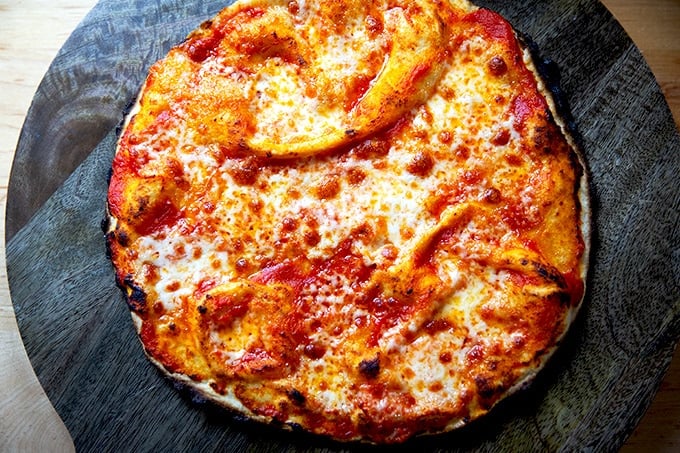
Shower with fresh basil and shave Parmigiano Reggiano over the top, if you wish.
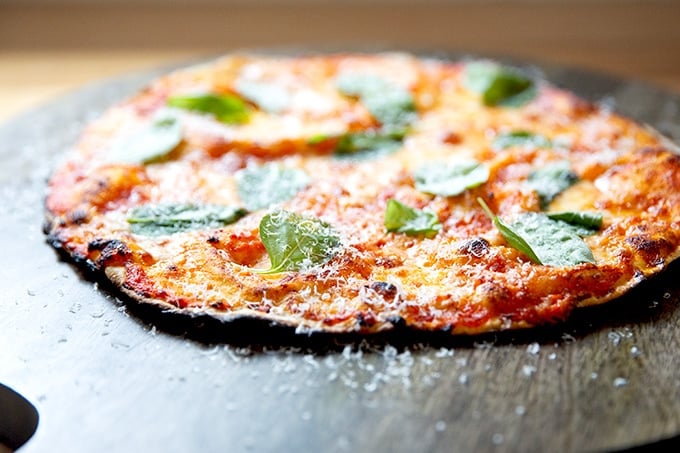
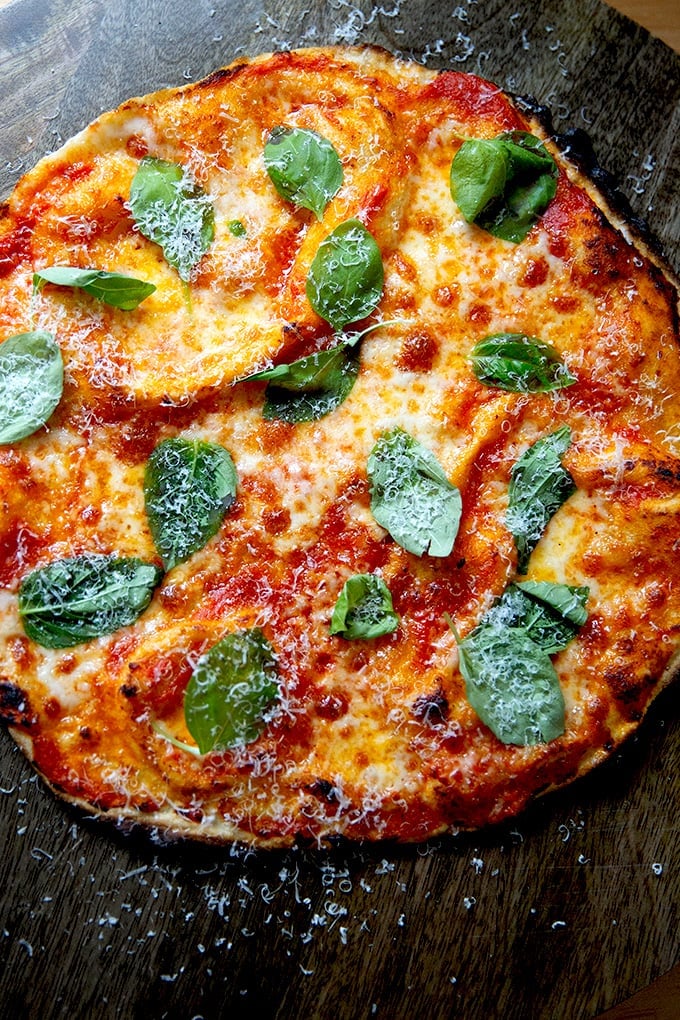
Cut and serve:
Description
Adapted from the recipe on the back of the King Arthur Flour Gluten-Free Pizza Flour bag.
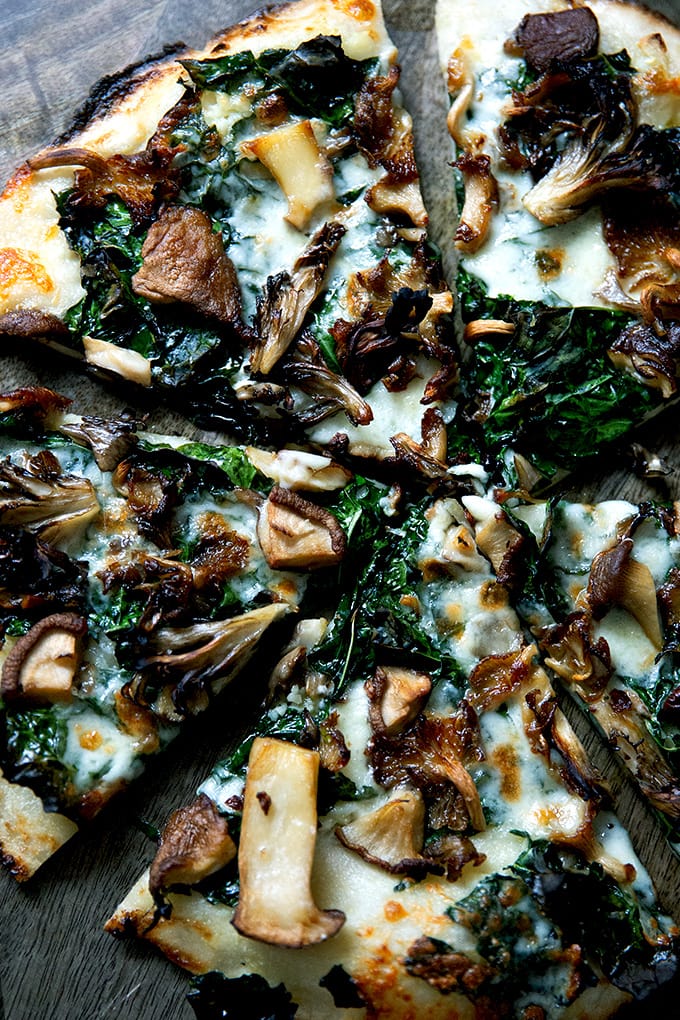
If you’re looking for the mushroom- and kale-topped gluten-free pizza, find it here .
Important Notes:
- This recipe is specifically formulated to work with KAF gluten-free pizza flour . It very likely will not work with other varieties of gluten-free flour without making adjustments to the amount of water. You can order this flour online or find it in your grocery store — I’ve seen it at Hannaford’s and other supermarkets.
- Note: KAF’s gluten-free flour uses gluten-free wheat starch, a common ingredient in gluten-free foods. You can read more about it on the National Celiac Association’s website , which says: “Wheat starch is simply a starch made from the processed endosperm of the wheat grain. Gluten-free wheat starch has had the gluten (a protein) washed out to a trace level, making it safe for people on a gluten-free diet.” That said, if you have a wheat allergy, you should avoid products containing wheat starch.
- Please invest in a scale before attempting this recipe. You will not be measuring accurately if you use measuring cups and spoons, and in turn, you will not be able to troubleshoot in a meaningful way should the recipe not work out for you.
- Salt: If you are using Morton Kosher salt or fine sea salt, use half as much by volume (or the same amount by weight).
- Lukewarm water: To create lukewarm water, combine 1/4 cup (56 g) boiling water with 1 cup (228 g) room-temperature or cold tap water.
Equipment:
- Baking Steel
- Pizza Peel
- Rolling pin
- parchment paper
No-Cook Tomato Sauce
I have not published this recipe elsewhere on my blog. It’s included in Pizza Night , which is available for preorder now (🎉🍕).
Makes 1 quart
- 1 garlic clove
- 28-oz can peeled San Marzano tomatoes, such as La Valle or Bianco Di Napoli
- 1 to 1.5 teaspoons Diamond Crystal kosher salt (or half as much Morton or sea salt)
- 3 tablespoons extra-virgin olive oil
Place the garlic in a food processor and purée until smooth. Add the tomatoes, 1 teaspoon of the salt, and the olive oil, and purée until smooth. Taste. Add the remaining 0.5 teaspoons salt if desired. Purée again. Transfer to a storage jar and keep in the fridge for at least one week.
For the dough:
- 2 1/3 cups ( 233g ) King Arthur Gluten-Free Pizza Flour , see notes above
- 1 tablespoon ( 13 – 15 g) granulated sugar
- 2 teaspoons ( 7 – 8 g) instant yeast
- 1.5 teaspoons ( 6 g ) Diamond Crystal kosher salt, see notes above
- 1 1/4 cups ( 284 g ) lukewarm water, see notes above
- 1 tablespoon ( 13 g ) extra-virgin olive oil
- rice flour or more gluten-free flour for dusting
For the Margherita pizza:
- gluten-free flour for dusting
- extra-virgin olive oil
- 3 tablespoons no-cook tomato sauce (see recipe in the notes above)
- 3 ounces low-moisture whole milk mozzarella, pulled into small pieces (about 3/4 cup )
- flaky sea salt
- fresh basil leaves
- Parmigiano Reggiano, to taste
Make the Dough
- In a large bowl, whisk together the flour, sugar, yeast, and salt. Add the water followed by the oil, and use a spatula to combine. Stir vigorously and thoroughly — the mixture will feel more like a wet (but smooth) batter. As the dough rises, it will thicken.
- Cover the bowl with a bowl cover or lid and place in a warm spot to rise for 2 to 3 hours or until roughly doubled in volume.
- Turn the dough out onto a lightly floured (using rice flour or other gluten-free flour) work surface. Divide into two equal portions (roughly 271 grams each if you care to measure). Gently ball up each portion using rice flour (or other gluten-free flour) as needed — it will be sticky. At this point, you can transfer the portions to a container topped with an airtight lid and place in the fridge for up to 1 week. Otherwise, proceed with the recipe.
Make the Pizza
- Place a Baking Steel or pizza stone in the top third of your oven and preheat your oven to its hottest setting — for me, this is 550ºF convection roast. If time permits, allow the Steel to preheat for 1 hour.
- On a lightly floured work surface (using rice flour or other gluten-free flour), gently roll out the dough into roughly an 11- or 12-inch round — as you approach 12 inches, the dough will begin to get fragile so handle it delicately. (Note: Do not worry about holes or tears, all of which can be easily patched once the dough is on the parchment paper and peel.)
- Place a sheet of parchment paper onto a pizza peel. Pour 1 teaspoon of olive oil into the center and rub with your hand to spread. Gently transfer the dough to the prepared peel and, if the dough is not yet 12 inches in diameter, spread it with your hands until it gets there. (Note: If the dough tears during the transfer, just push on and press the dough back together.) Pinch the outer edge of the dough firmly with your fingers so that it’s very thin.
- Shimmy the dough, parchment paper and all, onto the preheated Steel and cook for 2 minutes. Remove the dough, parchment paper and all, and transfer to a cutting board or other work surface.
- Spread the tomato sauce over the dough all the way to the edges. Scatter the cheese evenly over the top. Drizzle lightly with olive oil. Season with a pinch of salt. Shimmy the topped parbaked round, parchment paper and all, onto the Steel and cook for 4 – 5 minutes or until the pizza is cooked to your liking.
- Transfer the pizza to a cutting board. Scatter basil to taste over the top. Shave Parmigiano Reggiano over the top if you wish. Cut and serve.
- Prep Time: 3 hours
- Cook Time: 7 minutes
- Category: Pizza
- Method: Oven
- Cuisine: American, Italian
