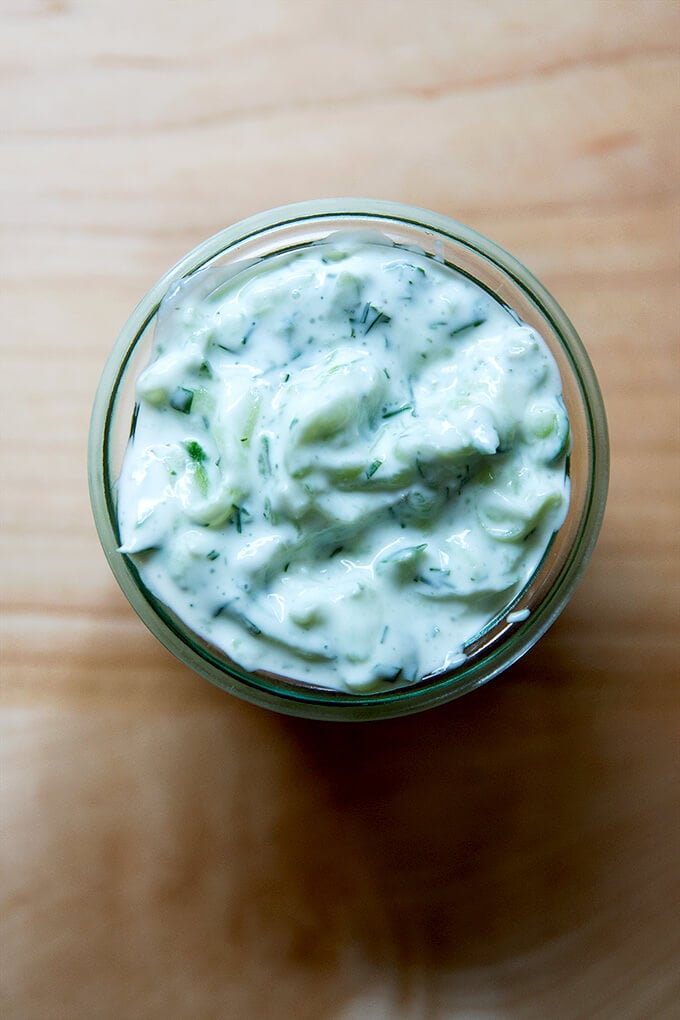
Tzatziki is a Greek yogurt- and cucumber-based condiment, typically seasoned with herbs such as mint and dill, garlic, and lemon. I grew up eating it with this chicken souvlaki , but I find it to be a nice match for both meat and vegetarian dishes alike:
- Roasted Eggplant Salad (a favorite summer meal!)
- Mushroom and Sweet Potato Veggie Burgers (an old favorite!)
- Falafel Burgers (a new favorite!)
- Smoky Grilled Chicken with Schug (perfect for summer entertaining)
- Spiced Tomato and Chickpea Salad (a meal in itself)
- Cauliflower Steaks with Walnut-Caper Salsa (so pretty, so tasty)
The process of making tzatziki is simple: grate cucumbers, drain them in a sieve (if you wish), then mix them into Greek yogurt along with a minced clove of garlic, minced herbs, fresh lemon juice, and salt.
Until recently, I never drained the cucumbers, but taking the time to do so has a twofold benefit:
- It prevents the tzatziki from becoming too liquidy. If you like a tzatziki with a thick consistency, draining the cucumbers is important. If you don’t mind a thinner tzatziki, skip this step.
- Draining the cucumbers gives you a few tablespoons of fresh cucumber juice , which you can use to flavor water along with some mint, honey, and lemon OR which you can use in a cocktail (such as a cucumber-gin gimlet … more very soon!)
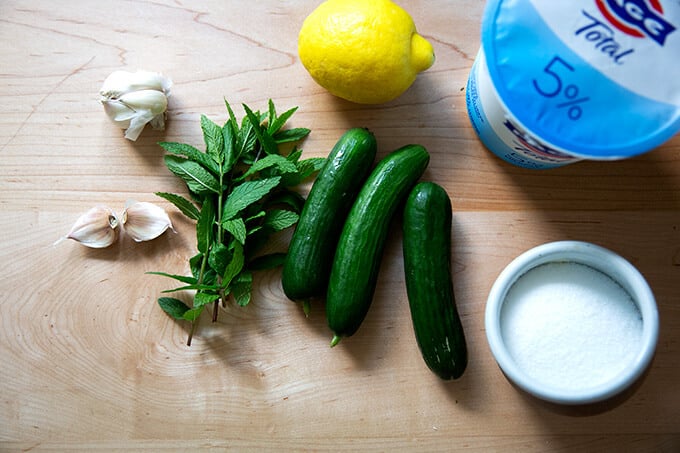
Here’s the play-by-play: Gather your ingredients:
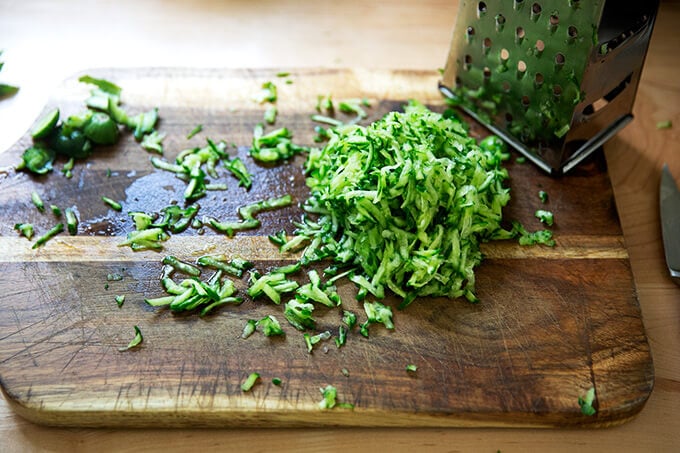
Grate the cucumbers coarsely using a box grater.
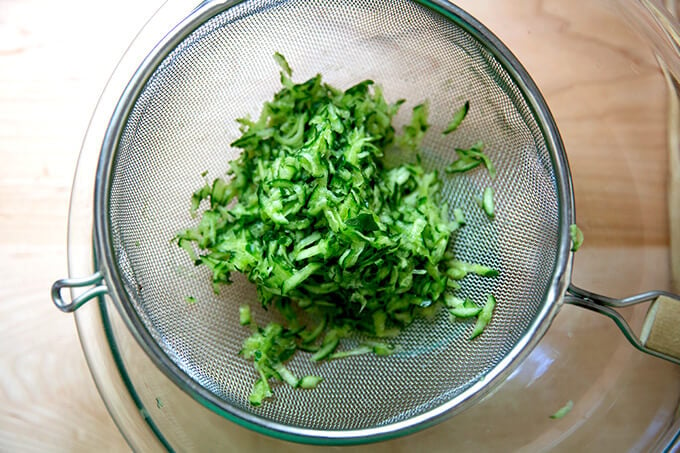
Set the cucumbers in a sieve to drain.
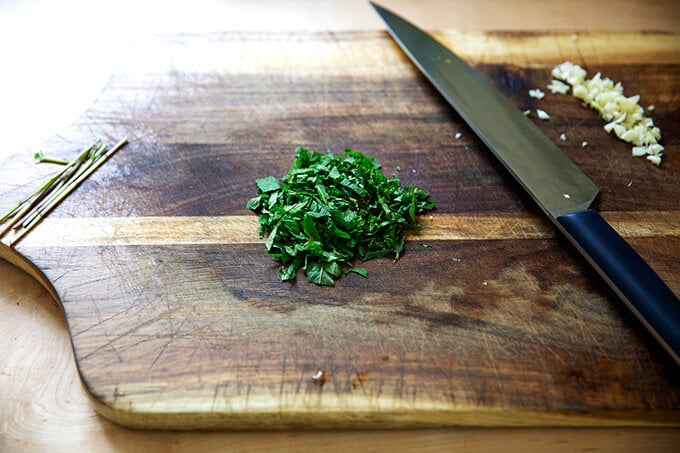
Meanwhile, chop up some herbs and a clove of garlic.
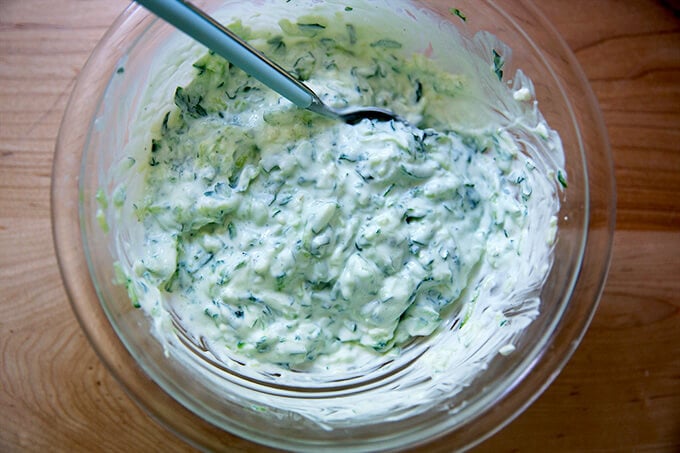
Combine Greek yogurt with the drained cucumbers, herbs, garlic, fresh lemon and salt.
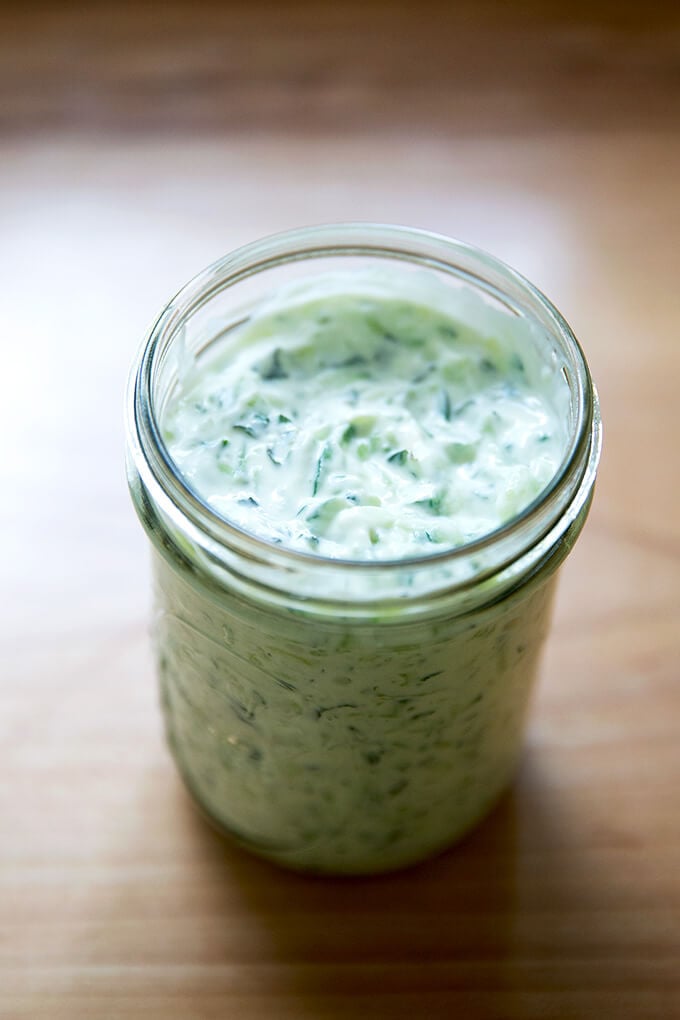
Tzatziki is best served shortly after making it, but it will keep in the refrigerator for a day or two.
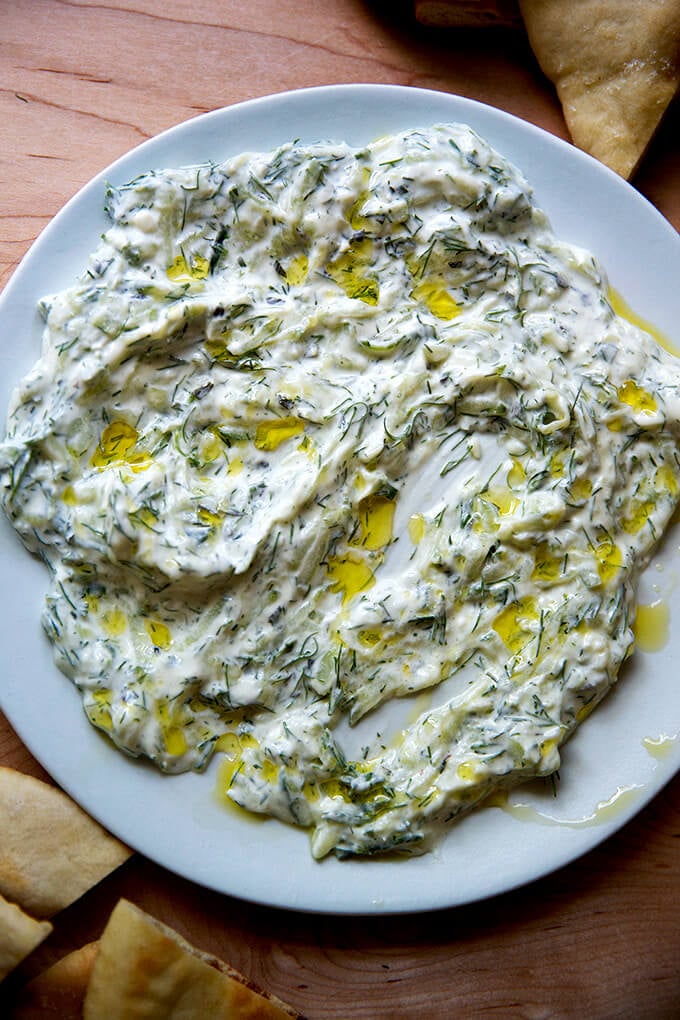
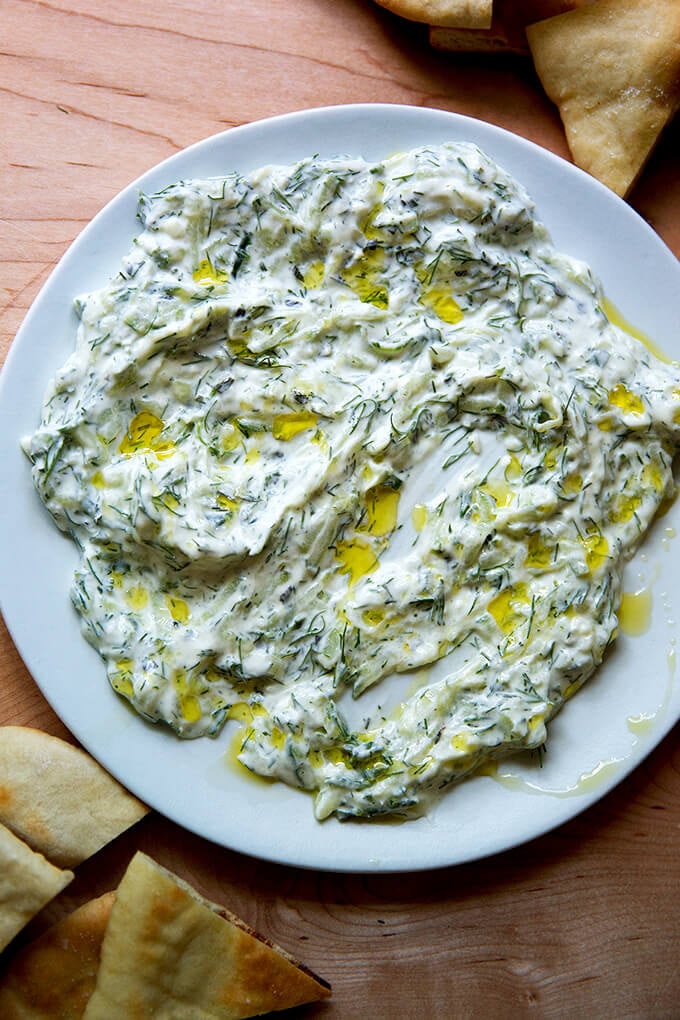
I typically serve tzatziki with grilled meat, such as this chicken souvlaki or this smoky grilled chicken , or roasted vegetables, such as this roasted eggplant salad (a favorite!), but it’s good on its own, too. Smear it over a platter, drizzle some olive oil over top, and serve it with pita chips. Yum.
Description
Tzatziki is a Greek yogurt- and cucumber-based condiment, typically seasoned with herbs such as mint and dill, garlic, and lemon. I grew up eating it with this chicken souvlaki , but I find it to be such a nice match for roasted vegetables, such as this eggplant salad , and vegetable burgers, such as these mushroom and sweet potato veggie burgers or these falafel burgers .
- 1 large or 3 small c ucumbers (about 8 – 10 oz)
- 1 cup plain Greek yogurt, I like the Fage 5%
- 1 clove garlic, minced
- 2 – 3 tablespoons minced herbs, such as mint and/or dill
- 1.5 tablespoons fresh-squeeze lemon juice (from about 1/2 a lemon)
- 1/2 teaspoon kosher salt
- Grate the cucumber coarsely on a box grater. Transfer to a sieve and set over a bowl to drain. Squeeze the cucumber a little bit to encourage the moisture to drain out. Let drain for at least 5 minutes.
- In a medium bowl, stir the cucumber into the yogurt, along with the garlic, herbs, lemon, and salt. Taste. Adjust with more salt and lemon to taste.
- Prep Time: 10 minutes
- Category: Condiment
- Method: Stir
- Cuisine: Greek
Description
Tzatziki is a Greek yogurt- and cucumber-based condiment, typically seasoned with herbs such as mint and dill, garlic, and lemon. I grew up eating it with this chicken souvlaki , but I find it to be such a nice match for roasted vegetables, such as this eggplant salad , and vegetable burgers, such as these mushroom and sweet potato veggie burgers or these falafel burgers .
- 1 large or 3 small c ucumbers (about 8 – 10 oz)
- 1 cup plain Greek yogurt, I like the Fage 5%
- 1 clove garlic, minced
- 2 - 3 tablespoons minced herbs, such as mint and/or dill
- 1.5 tablespoons fresh-squeeze lemon juice (from about 1/2 a lemon)
- 1/2 teaspoon kosher salt
- Grate the cucumber coarsely on a box grater. Transfer to a sieve and set over a bowl to drain. Squeeze the cucumber a little bit to encourage the moisture to drain out. Let drain for at least 5 minutes.
- In a medium bowl, stir the cucumber into the yogurt, along with the garlic, herbs, lemon, and salt. Taste. Adjust with more salt and lemon to taste.
- Prep Time: 10 minutes
- Category: Condiment
- Method: Stir
- Cuisine: Greek
Find it online : https://alexandracooks.com/2020/06/16/tzatziki-greek-cucumber-yogurt-sauce/


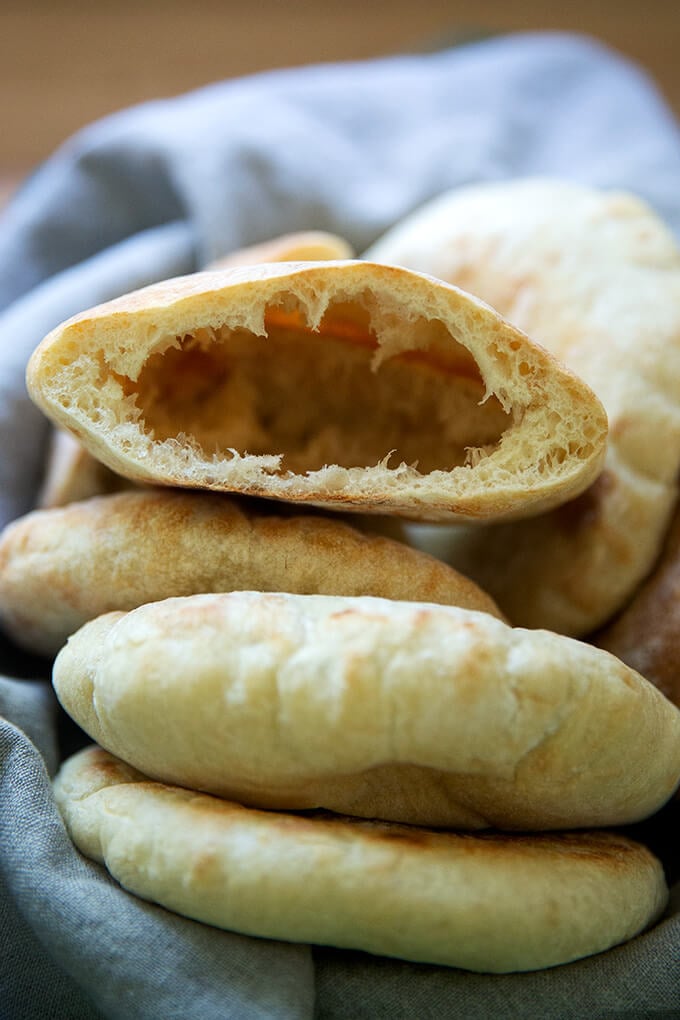
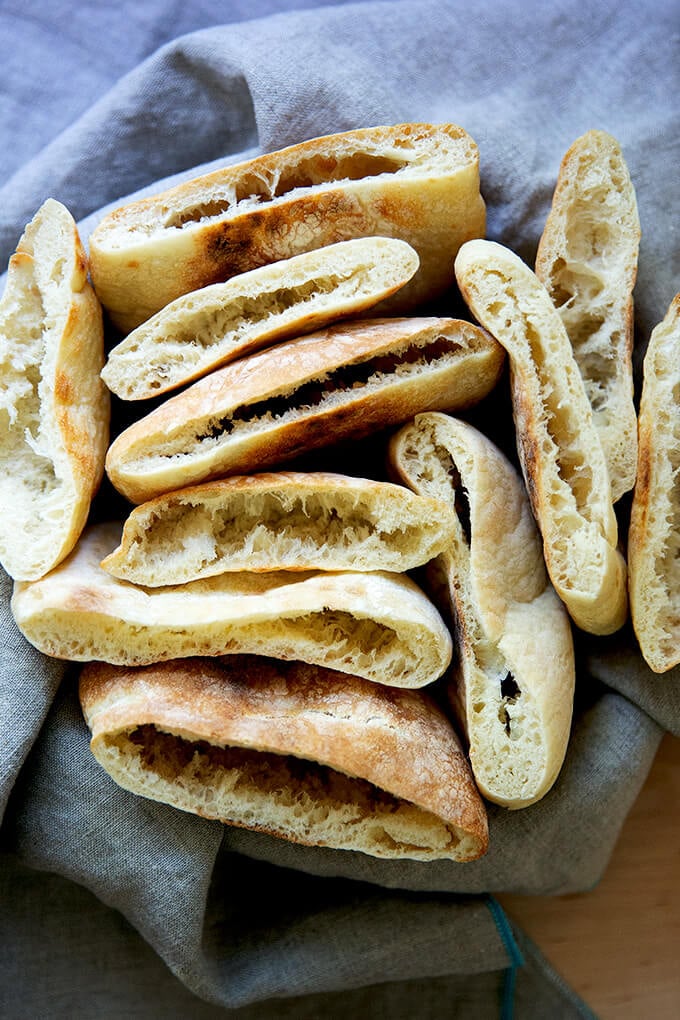
Making fresh pita bread at home couldn’t be easier. This recipe uses instant yeast and requires no kneading or complicated shaping. The pita rounds balloon into perfect pockets in 2 minutes in the oven. Read on to learn three tips for success!

Making pita requires neither kneading nor complicated shaping. It’s one of the easiest bread recipes you could make, in fact, right up there with no-knead focaccia and homemade pizza dough . The recipe below is essentially a half recipe of my mother’s peasant bread recipe with the sugar omitted, the hydration lowered, and the addition of a small amount of olive oil.
And while the overall process is simple, there are a few keys to success:
The Secret to Getting Pita to Puff in the Oven?
- Handle the dough gently during the rolling process . When you roll, use a gentle hand so that you don’t deflate all of the air bubbles created while the dough was rising.
- Allow the dough to rest . After rolling out your rounds, let them rest for 15 minutes, which will allow the dough to recover — it allows the gluten to relax — from the rolling process, which in turn will allow them to puff back up again slightly before baking.
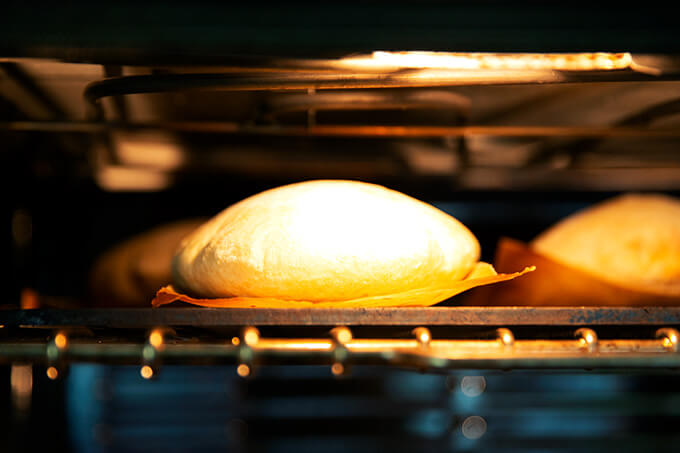
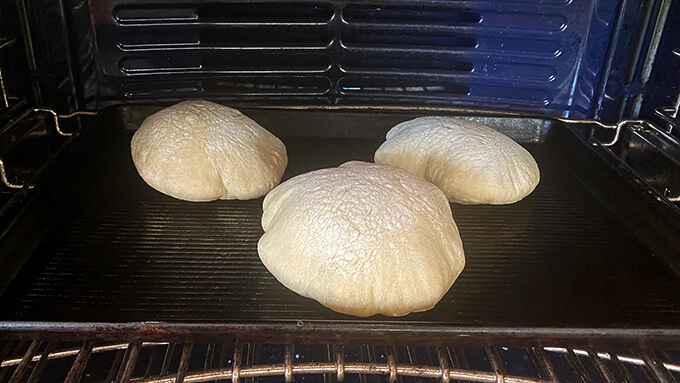
- Cook the pita on a hot surface . If you have a Baking Steel or pizza stone, cook your pita on it: as soon as the pita meets the hot surface, the heat will quickly transfer to the dough, making it instantly spring:
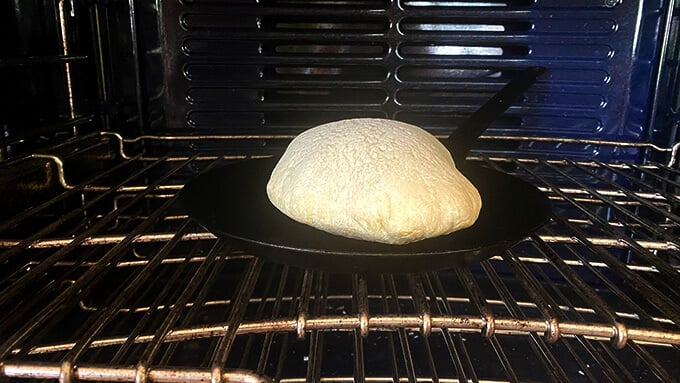
If you don’t have a Baking Steel or pizza stone, you can use a preheated cast iron or other oven-safe skillet (see recipe box for details):
Or you can use a preheated sheet pan (see recipe box for details):
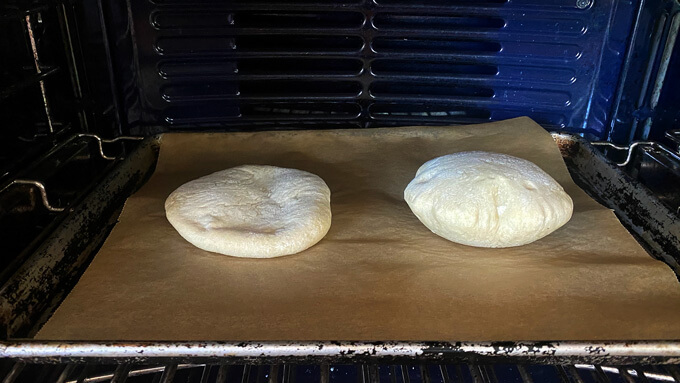
A non-preheated sheet pan will not work as effectively, see below: one pita puffed, one did not:
PS: Simple Homemade Naan (5 Ingredients)
How to Make Pita Bread, Step by Step
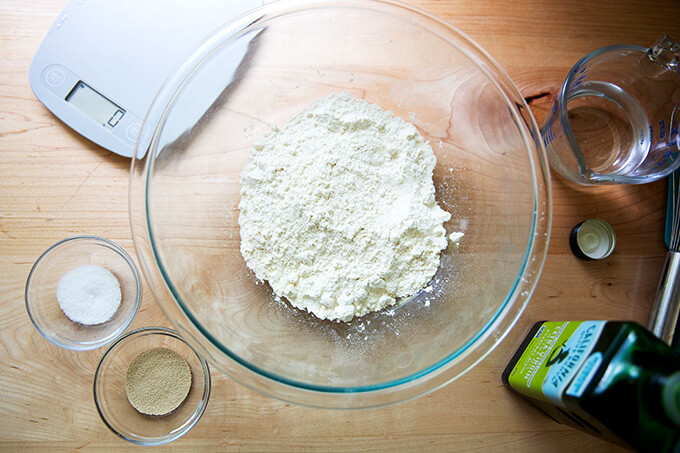
Gather your ingredients: flour, salt, instant yeast, water, and olive oil. As always, for best results, use a digital scale to measure.
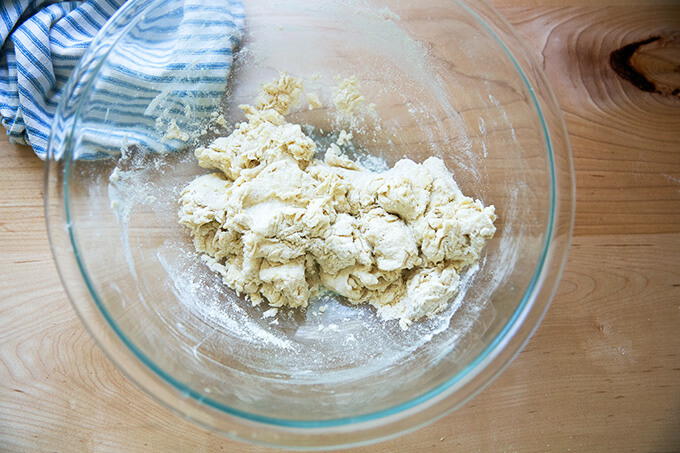
Whisk together the flour, salt, and instant yeast . Add the water and olive oil.
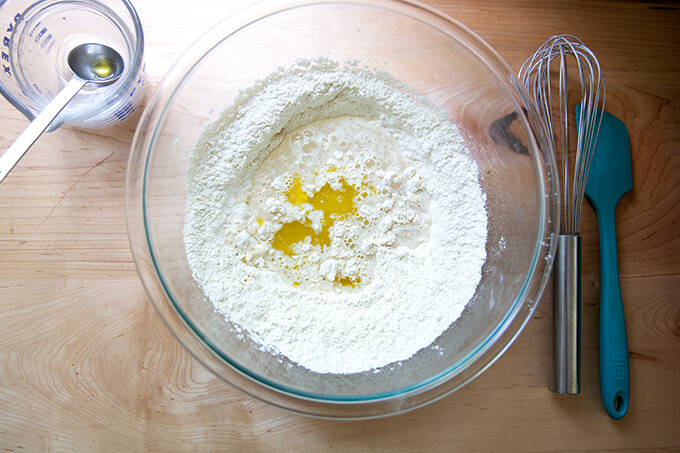
Mix with a spatula until you have a shaggy dough — mixture will feel dry.
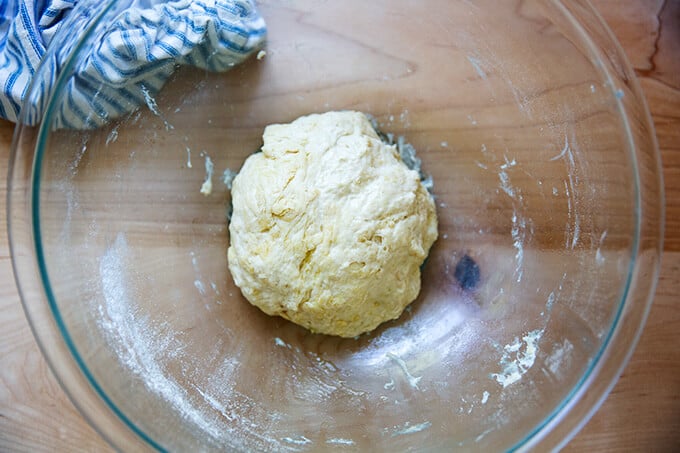
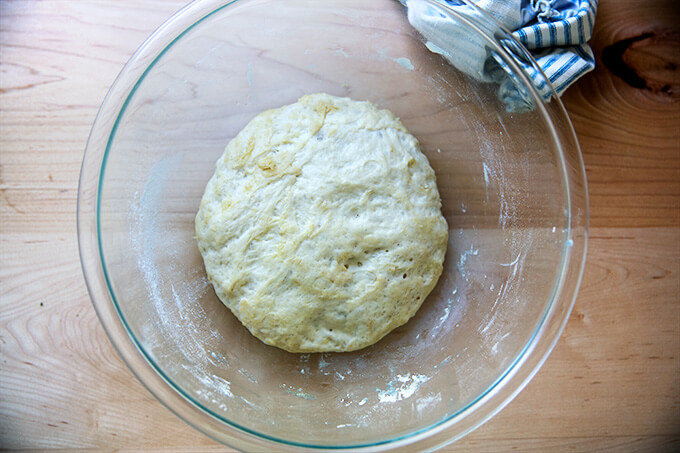
Use your hands to briefly knead the mass into a dough ball. Drizzle with olive oil. Turn to coat. Cover bowl with a cloth bowl cover, and let rise in a warm spot for 1.5 hours or until …
… slightly puffed.
Turn out onto a lightly floured work surface, knead briefly, then use a bench scraper to divide the mass into 6 roughly equal portions. If you’re using a scale, each portion should weigh about 73 grams.
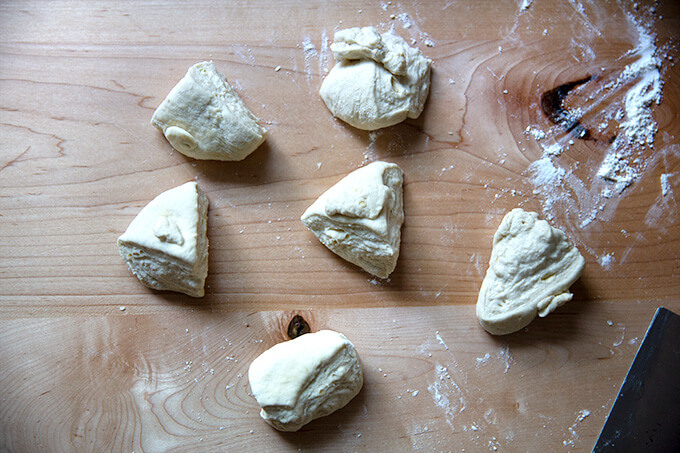
Shape each portion into a ball; then let rest for 30 minutes. This allows the gluten to relax: the brief rest will make them easier to roll out into rounds.

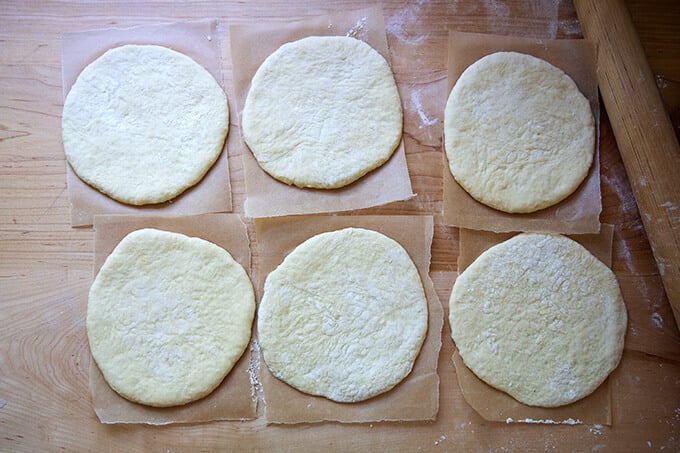
Flatten each ball with your hands; then working with one round at a time, roll into a 6-inch round.

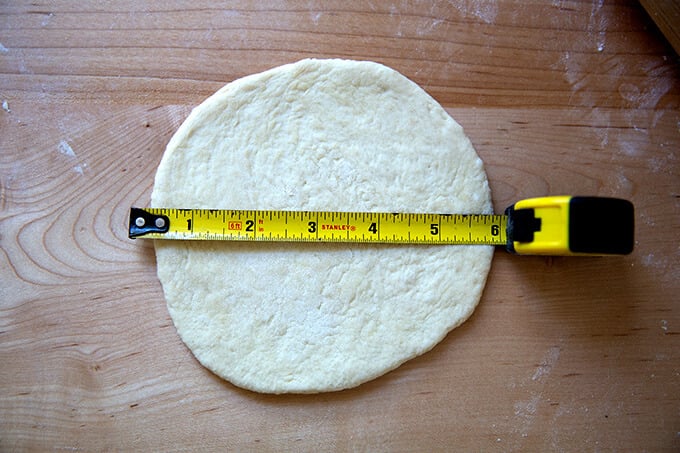
Transfer each round to a sheet of parchment paper. Let rest for another 15 minutes. Meanwhile, heat a Baking Steel or pizza stone to 550ºF. ( Note: If using a stone, reference the manufacturer’s manual regarding heat tolerance.)
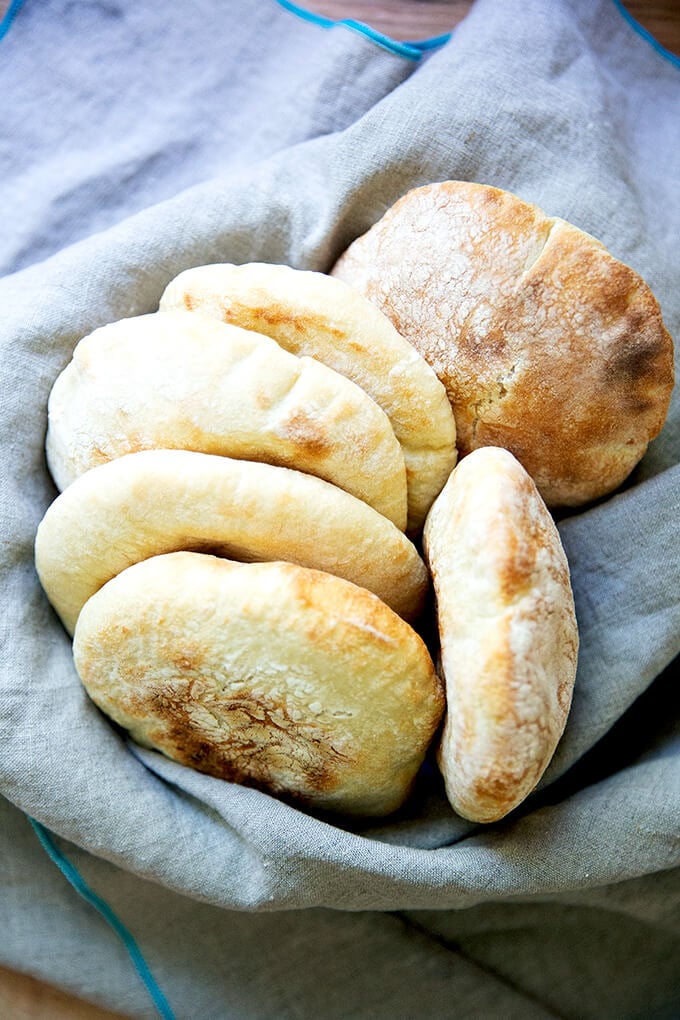
Bake three rounds at a time for 2-3 minutes, or until lightly golden.
Transfer freshly baked pita to a towel-lined bowl. Wrap to cover until ready to eat.
Description
Making fresh pita bread at home couldn’t be easier. This recipe uses instant yeast and requires no kneading or complicated shaping. The pita rounds balloon into perfect pockets in 2 minutes in the oven.
Notes:
To create a warm place to rise: Preheat your oven for 1 minute; then shut it off.
Parchment paper sheets: If you buy parchment paper that comes in sheets, such as the If You Care brand, you can fold the sheet lengthwise, then into thirds widthwise, and cut along the creases to create 6 equal pieces.
If you don’t have instant yeast , you can use active-dry yeast. Simply sprinkle it over the lukewarm water, and let it stand for 15 minutes; then proceed with the recipe.
Can I use whole wheat flour?
I suggest using no more than 50% whole wheat flour (1 cup or 128g) in this recipe because using too much could prevent the pockets from puffing in the oven. The more whole wheat flour you use, the more bran there will be in the dough: bran cuts through the gluten structure, which can prevent the dough from puffing in the oven. Depending on the whole wheat flour you are using, you may need to increase the amount of water: whole wheat flour tends to be thirstier. Reference the video for how the dough should look; then add more water if necessary.
What if I don’t have a Baking Steel or pizza stone?
Here are two alternative methods:
- Place a cast iron skillet in the oven, and let it heat for at least 5 minutes; then bake each round one at a time for 2-3 minutes total.
- Place a sheet pan in the oven, and let it heat for at least 5 minutes; then bake three rounds at a time for 2-3 minutes total.
- 2 cups ( 256 grams ) all-purpose flour, plus more for sprinkling
- 1 teaspoon ( 5 grams ) kosher salt
- 1 teaspoon (4 grams) instant yeast , see notes above
- a scant 3/4 cup ( 165 grams ) lukewarm water
- 1 tablespoon ( 14 grams ) olive oil, plus more for drizzling
- Mix the dough: In a large bowl, whisk together the flour, salt, and instant yeast. Add the water and oil. Stir with a spatula until a shaggy dough forms — the mixture will appear dry and unevenly mixed. Use your hands to knead the dough briefly in the bowl just until the flour is absorbed and you have a sticky ball, about 30 seconds. Drizzle a little olive oil over top, turn the dough to coat, cover bowl with a tea towel, and transfer to a warm place (see notes above) to rise for 1.5 hours.
- Prepare the oven: Heat the oven with a Baking Steel or stone inside at 550ºF. See notes above if you do not have a Baking Steel or pizza stone. Cut a sheet of parchment paper into 6 small pieces about 6-inches square, see notes above.
- Portion the dough: Turn out the dough onto a lightly floured work surface. Knead briefly to form a ball. Use a bench scraper to divide the dough into 6 equal portions — each ball should roughly weigh 73 grams. Using flour as needed to prevent sticking, ball up each portion, using the pinky edges of your fingers to create tension (see video for guidance). Let the portions rest for 30 minutes.
- Roll out each ball: Flatten one ball, and, using flour as needed, gently roll it out with a rolling pin until you have a 6-inch round — the key is to not roll too aggressively in order to prevent the air pockets from being forced out. If a round is resisting, set it aside, begin rolling out another one, and return to the stubborn one at the end. Transfer each 6-inch round to a sheet of parchment paper. Let rest for 15 minutes.
- Bake the pita: When the oven has preheated, use a pizza peel to shimmy one round at a time, parchment paper and all, onto the preheated Baking Steel. I like to cook 3 at a time. Set a timer for 2 minutes. If the pita is lightly golden, it’s done. Remove pita, transfer to a tea towel-lined bowl, and close the towel. Repeat with the remaining 3 rounds of pita.
- Store the pita: Store pita at room temperature in an airtight bag or container for 3 days or freeze for up to 3 months. Reheat before serving.
- Prep Time: 3 hours
- Cook Time: 4 minutes
- Category: Bread
- Method: Yeast
- Cuisine: Mediterranean
