Where to begin?
Fellow cookbook lovers: you know that feeling you get when you look at a cookbook and your heart races? And you feel as excited as overwhelmed because everything looks so good, and you don’t know which recipe to make first? And you know looking at the book before you go to bed is a bad idea because dreaming about the recipes no doubt will keep you awake?
This is how I feel every time I open Joshua McFadden’s Six Seasons , which came out last May, but which somehow I didn’t sneak a peek at till Christmas Day, when Santa kindly tucked it under the tree. I have since spent many hours with the book, and I’ve made five recipes, all of which have been irresistible, each disappearing in record time.
One night I made the roasted mushrooms, gremolata style (photo below) with the intention of serving them for dinner, but I ate every. last. one . (The recipes serves 4).
In the intro to the book, Joshua writes: “I make sure every dish has more than just balance—it must have tension, a dance between sweet, sour, spicy, salty, creamy, crunchy.” And co-author Martha Holmberg notes that Joshua told her while writing the book “the goal is for the dish to taste like a potato chip,” meaning it should be “so tasty and savory that you can’t help but take one more bite…and then another.”
This has been my experience with every dish I’ve made so far. Six Seasons , as you might infer, is a vegetable-focused cookbook inspired by — wait for it — the seasons. But because Joshua felt winter, spring, summer, and fall, didn’t adequately reflect what’s truly happening in the fields, he divided the book into six seasons, breaking summer, when all the action happens, into three: early, mid, and late.
Given when this book fell into my lap, I’ve spent the most time in the fall and winter chapters. I first made a raw shaved Brussels sprout salad that calls for dressing shaved sprouts with lemon, making a paste with anchovies, garlic and olive oil, and combining the two with toasted walnuts, breadcrumbs, and Pecorino. I then made the “ kale salad that started it all ” — did you know Joshua started the kale salad craze? — which requires no massaging but a very fine chop of the kale, a lemony-Pecorino dressing, a pinch of pepper flakes, and breadcrumbs. I then made the above mentioned gremolata mushrooms , and, most recently, crushed and fried potatoes with crispy herbs . Photos of all of these dishes are below.
As someone who often finds herself overloaded with CSA carrots, potatoes, kale, turnips, radishes, beets, and others, I love a cookbook organized by season, and I cannot recommend this one enough if you find yourself in the same boat or if, really, you just love to cook. In addition to the recipes, there are so many nuggets, like, in his “Words to Cook By” note, he says: “Build layers into your dish, like you’re making nachos. Hide things on the bottom. Sprinkle things on top.” And he encourages you not to be a “slave to a recipe,” but to “add different herbs, use a new spice, omit something you don’t like—you’re in charge.”
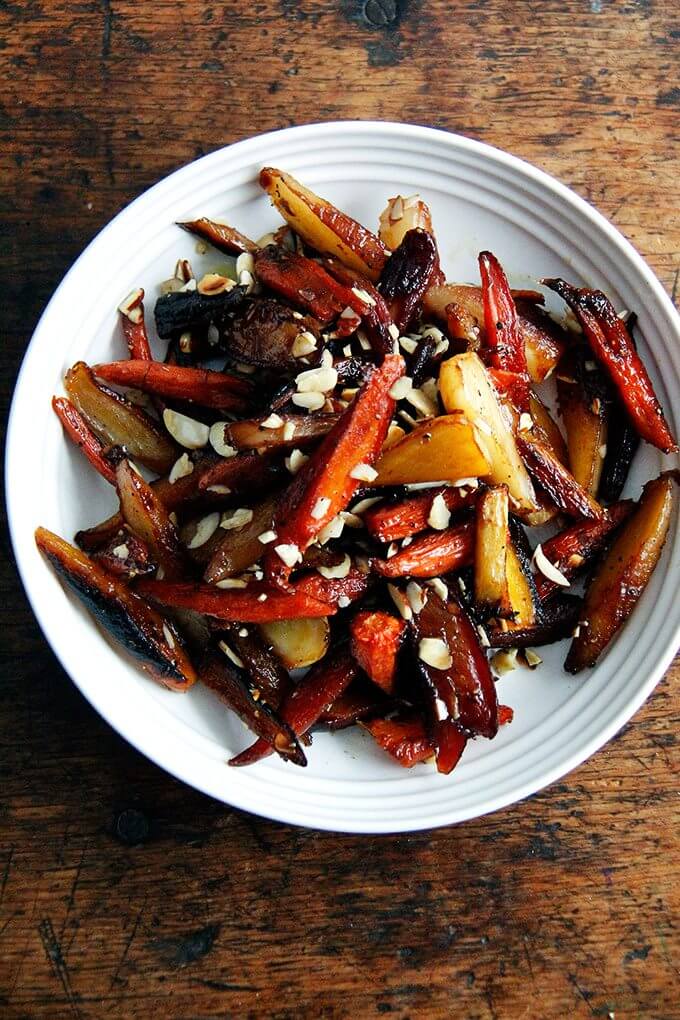
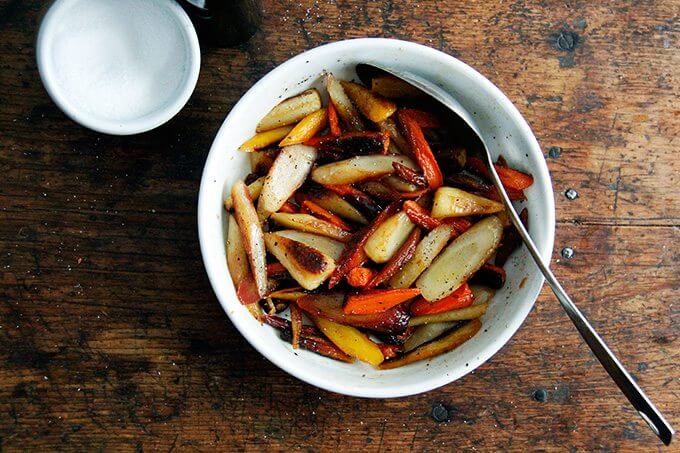
I have about a dozen other recipes flagged to make including brined and roasted almonds, which Joshua describes as “the best almonds ever,” a beet slaw with pistachios and raisins, a cauliflower ragu, a raw cauliflower “couscous” salad, cauliflower steaks with provolone and pickled peppers. There are so many. My heart is racing. I’ll leave you with these carrots.
Here’s a visual play-by-play:
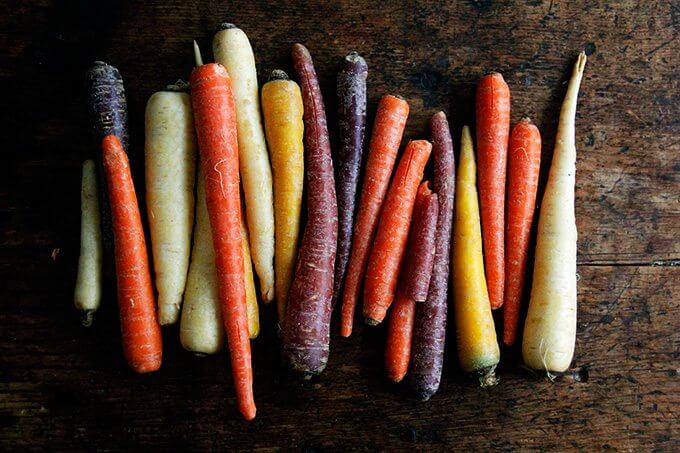
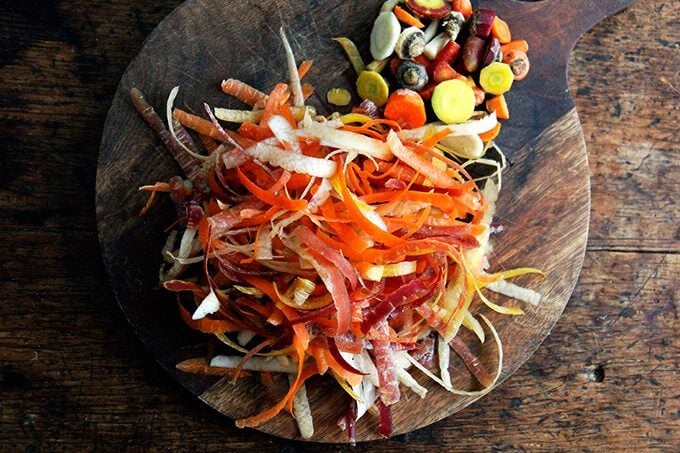
Peel carrots and trim the ends:
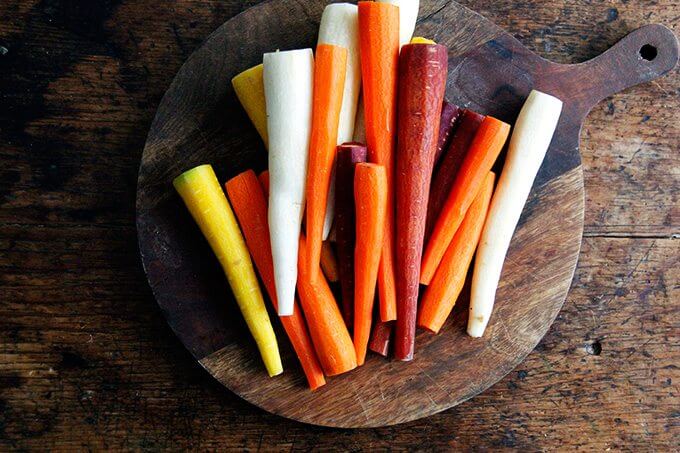
Rub them with oil.
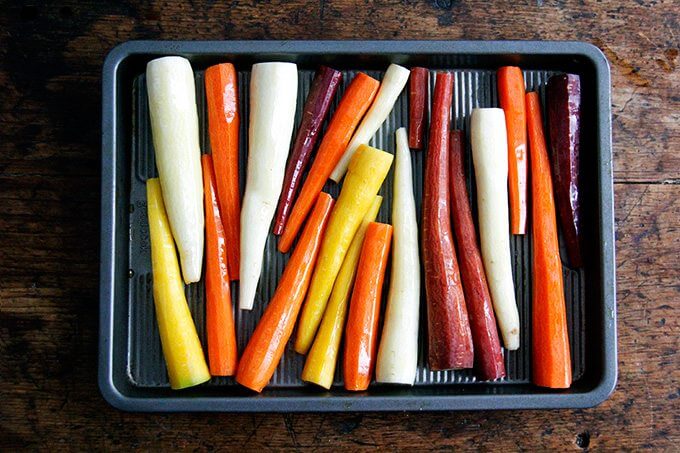
Roast until charred around the edges:
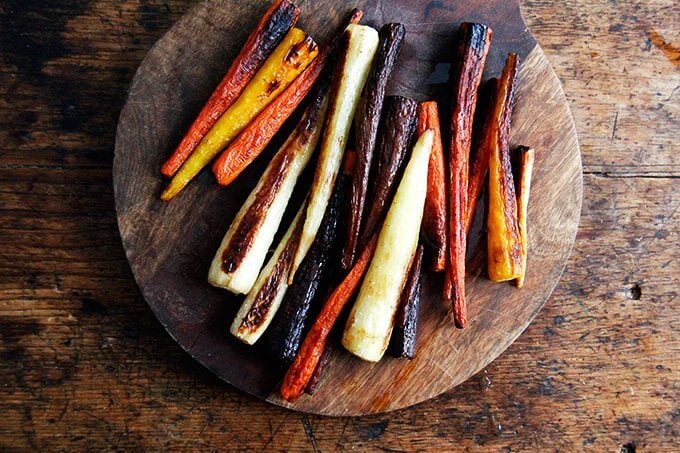
Slice them.
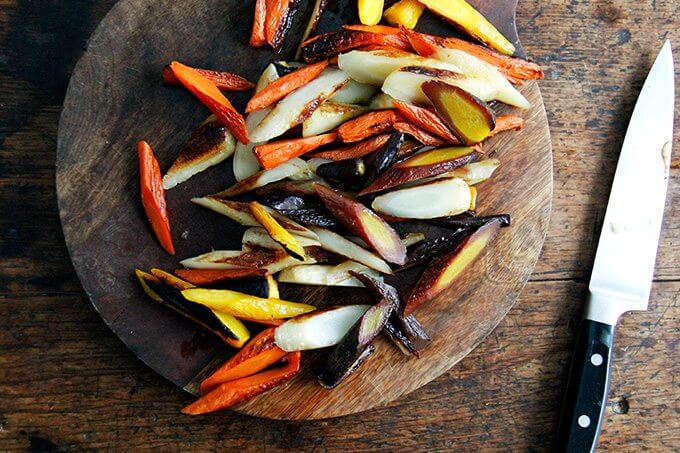
Soak them in vinegar.
Season with lots of salt and freshly cracked pepper:
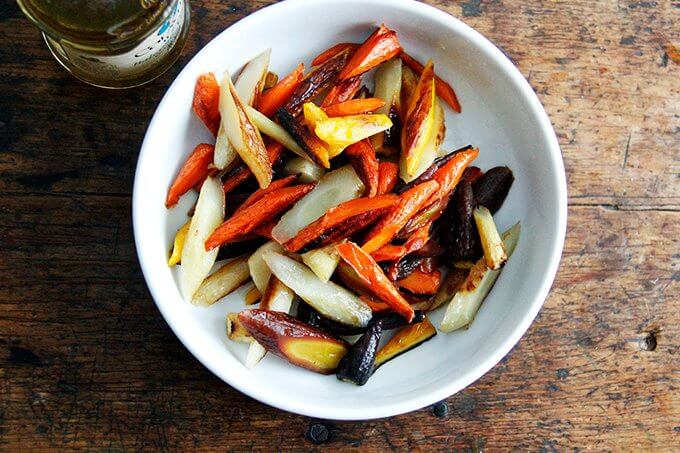
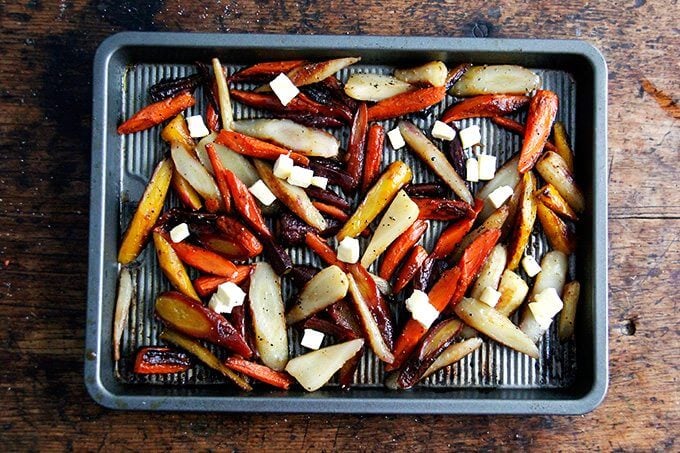
Add butter and honey (I use maple syrup):
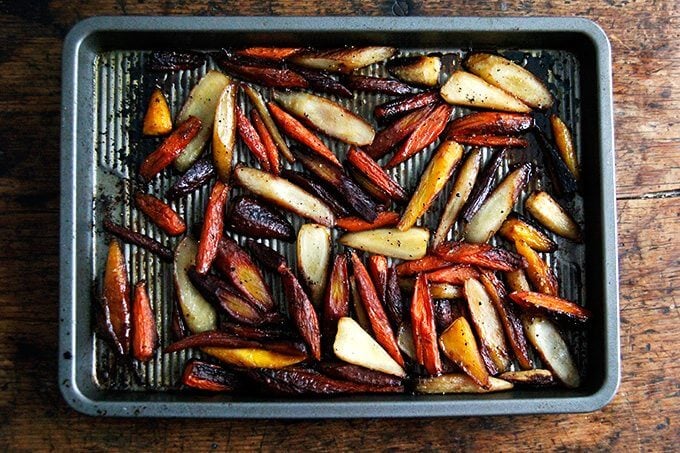
Roast again until they begin to really caramelize:
Description
From Joshua McFadden’s Six Seasons
Re almonds: if you use sliced almonds, you may not need quite 1/2 cup — start with 1/4 cup and add more to taste. One time I had roasted Marcona almonds on hand, which were delicious here.
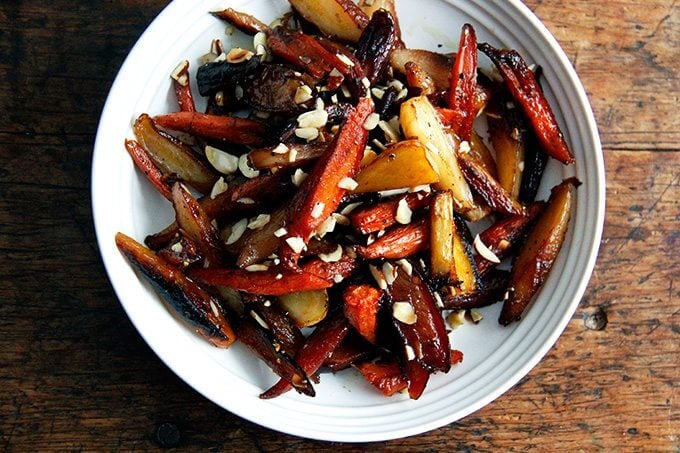
If any of you made the dukkah , I find a sprinkling of it on these roasted carrots to be particularly delicious.
- 1½ to 2 pounds carrots, trimmed and peeled, but left whole
- Extra-virgin olive oil
- 2 tablespoons white wine vinegar or white balsamic
- Kosher salt and freshly ground black pepper
- 2 tablespoons unsalted butter, cut into small pieces
- 2 tablespoons honey or maple syrup
- ½ cup almonds, toasted and chopped, see notes
- Heat the oven to 475°F.
- Spread the carrots on a rimmed baking sheet, drizzle on a tablespoon or so of oil, and roll the carrots to coat them. Roast until they are very dark brown, even a bit burnt on the edges, but not fully tender, 10 to 12 minutes. Note: I am still without an oven, and my little Waring oven doesn’t really get above 400ºF, so the first roast for me takes about 30 to 45 minutes—just roast the carrots till they look nearly charred on all surfaces. Leave the oven on but reduce the temperature to 300°F.
- When the carrots are cool enough to handle, cut them on a sharp angle into 1/2-inch-thick slices and transfer to a large bowl. Add the vinegar, season with salt and lots of pepper, and toss to coat. Let the carrots sit for 5 minutes to absorb the vinegar.
- Spread them out on the baking sheet again, distribute the butter bits on top, and drizzle the honey or maple syrup over all. Roast until they are fully tender and the butter and honey are making a lovely mess, 5 to 7 minutes. Note: Again, because my oven is a little guy, this step takes longer—just cook until everything looks caramelized. Scrape everything into a serving bowl, taste, and adjust with more vinegar, salt, or pepper. Top with the almonds. Serve warm.
- Prep Time: 15 minutes
- Cook Time: 1 hour
- Category: Side Dish
- Method: Oven
- Cuisine: American
Description
From Joshua McFadden’s Six Seasons
Re almonds: if you use sliced almonds, you may not need quite 1/2 cup — start with 1/4 cup and add more to taste. One time I had roasted Marcona almonds on hand, which were delicious here.
If any of you made the dukkah , I find a sprinkling of it on these roasted carrots to be particularly delicious.
- 1½ to 2 pounds carrots, trimmed and peeled, but left whole
- Extra-virgin olive oil
- 2 tablespoons white wine vinegar or white balsamic
- Kosher salt and freshly ground black pepper
- 2 tablespoons unsalted butter, cut into small pieces
- 2 tablespoons honey or maple syrup
- ½ cup almonds, toasted and chopped, see notes
- Heat the oven to 475°F.
- Spread the carrots on a rimmed baking sheet, drizzle on a tablespoon or so of oil, and roll the carrots to coat them. Roast until they are very dark brown, even a bit burnt on the edges, but not fully tender, 10 to 12 minutes. Note: I am still without an oven, and my little Waring oven doesn’t really get above 400ºF, so the first roast for me takes about 30 to 45 minutes—just roast the carrots till they look nearly charred on all surfaces. Leave the oven on but reduce the temperature to 300°F.
- When the carrots are cool enough to handle, cut them on a sharp angle into 1/2-inch-thick slices and transfer to a large bowl. Add the vinegar, season with salt and lots of pepper, and toss to coat. Let the carrots sit for 5 minutes to absorb the vinegar.
- Spread them out on the baking sheet again, distribute the butter bits on top, and drizzle the honey or maple syrup over all. Roast until they are fully tender and the butter and honey are making a lovely mess, 5 to 7 minutes. Note: Again, because my oven is a little guy, this step takes longer—just cook until everything looks caramelized. Scrape everything into a serving bowl, taste, and adjust with more vinegar, salt, or pepper. Top with the almonds. Serve warm.
- Prep Time: 15 minutes
- Cook Time: 1 hour
- Category: Side Dish
- Method: Oven
- Cuisine: American
Find it online : https://alexandracooks.com/2018/01/17/burnt-carrots-honey-black-pepper-butter-almonds/

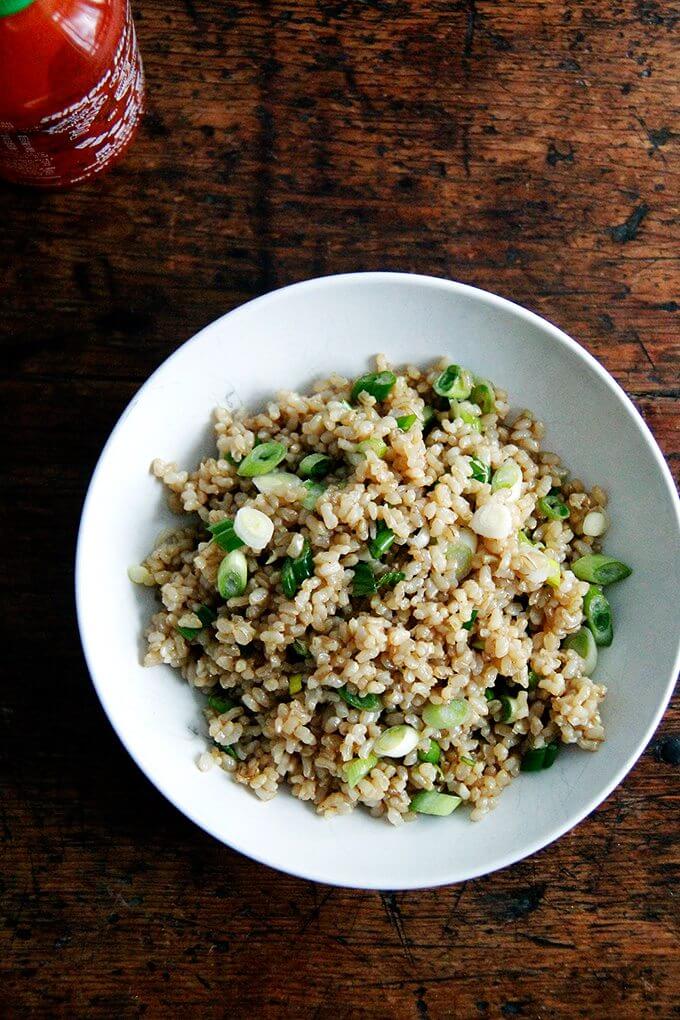
Perfect Instant pot brown rice — hooray! This brown rice, without rinsing, cooks up so perfectly — not mushy at all, chewy in texture, nicely al dente. It’s delicious on its own, but even better dressed with sesame, soy, mirin, and scallions. And even better when topped with an Instant Pot soft-boiled egg .
A few weeks ago when a friend who had received an Instant Pot for Christmas texted me She had Melissa Clark’s Dinner in an Instant out from the library and had made “amazing” brown butter steel cut oats and Instant Pot hard-boiled eggs that peeled like a dream.
“Al,” she wrote, “I think you might enjoy hauling yours out while your kitchen is under renovation.”
And so I did.
I started first with hard-boiled eggs, which cooked for 5 minutes and, as promised, peeled like a dream. Inspired by this success, I made soft-boiled eggs , which cooked for 3 minutes, also peeled like a dream, and instantly made my morning toast so much better.
Inspired by this success, I made brown rice, which, without rinsing, cooked up so perfectly — not mushy at all, chewy in texture, nicely al dente.
I made brown rice three days in a row, which tasted delicious on its own, but even better dressed with sesame, soy, mirin, and scallions. I served it with roasted broccoli one night, crispy sesame-baked tofu and shiitake mushrooms another, and baked tofu with coconut kale on another. Instant pot soft-boiled eggs accompanied each bowl.
The past few days, I’ve shared the process on my Instagram stories, which has led a number of people to message me asking: should I get one?
Confession: In my heart of hearts, the idea of an Instant Pot does not excite me. I like to stand at my stove top. I like to shake my pots and pans. I like the feeling of making a perfectly poached egg, a feat achieved after years of messing up, of over and under cooking many, of finally learning how to get it just right by touch and sight.
Does an Instant Pot take out all the joy (or is it suffering?) of cooking? Where’s the fun in a machine that makes the process foolproof?
To Buy an Instant Pot or Not?
- If you have the space, go for it. It’s large and kind of an eyesore, but it packs away nicely, and it’s not heavy.
- If you don’t have a rice cooker but have always wanted one, go for it. Perfectly cooked rice is such a treat, and if you have space for a rice cooker, you likely have space for an Instant Pot, which can do so many things (which I have yet to discover but when I do, I promise to share). The inner bowl, too, cleans incredibly well—way easier than a saucepan with a cooked layer of rice adhered to its insides.
- If you’re deterred by the thought of getting one. more. gadget. consider that this one might replace your slow cooker and/or pressure cooker and/or yogurt maker.
- “Instant” is misleading. The rice in total takes about 55 minutes to cook. It takes about 6 minutes for the Instant Pot to get up to pressure, 22 minutes to cook, and at least another 20 minutes for the valve to release naturally.
- Soft-boiled eggs , too, require the Instant Pot to get up to pressure, then they cook for 3. They peel like a dream as do Instant Pot Hard-Boiled eggs .
- Cost: The Instant Pot is not cheap, but it’s comparable in price to some rice cookers, and given all that it does, it may be worth the investment.
Question: Do you have an Instant Pot? Do you like it? Share your successes and failures below.
PS: The Instant Pot Miracle: One-Pot Spaghetti and Meat Sauce
Here’s how to make perfect Instant Pot brown rice: Into the pot place: 1.5 cups water, 1 cup brown rice, 3/4 tsp kosher salt.
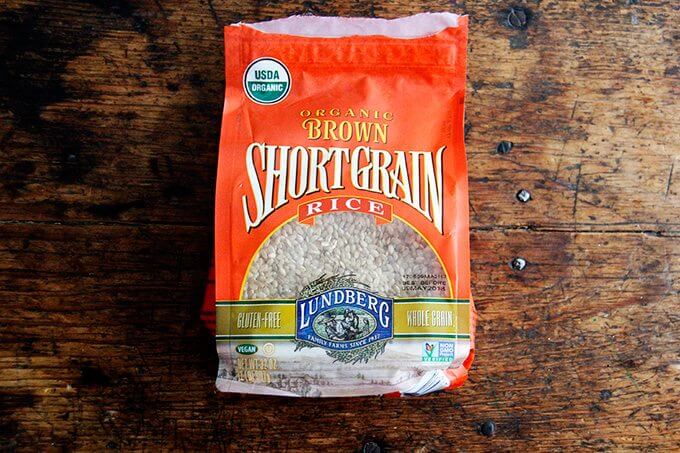
This is the rice I’ve been using:
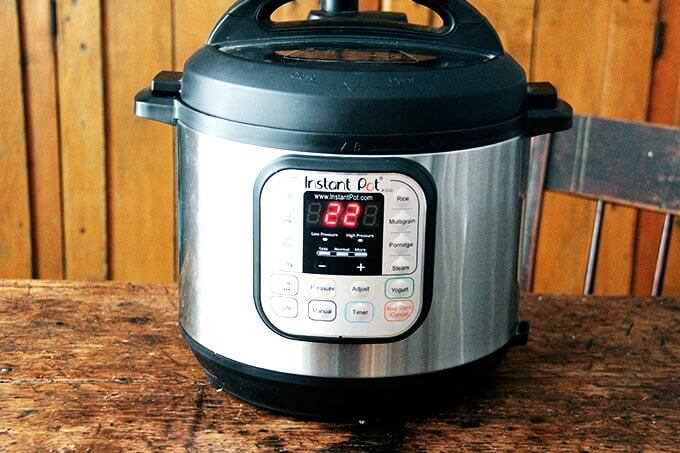
Set the Instant Pot for 22 minutes, high pressure. Once the 22 minutes is up, let the valve release on its own.
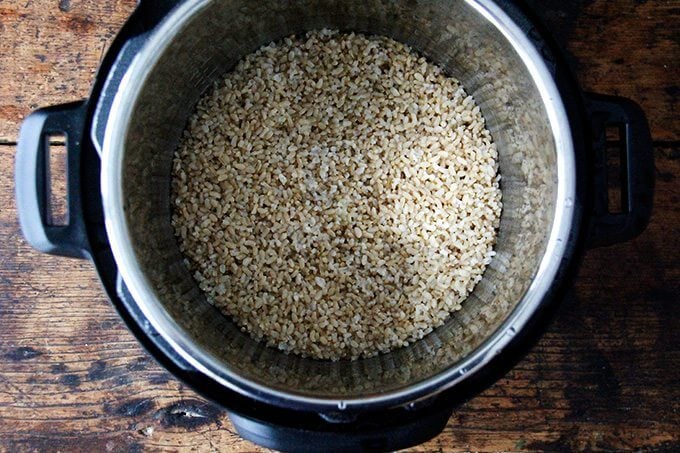
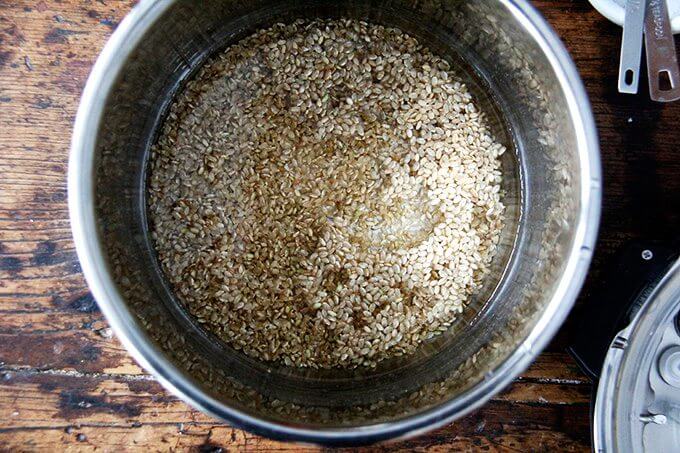
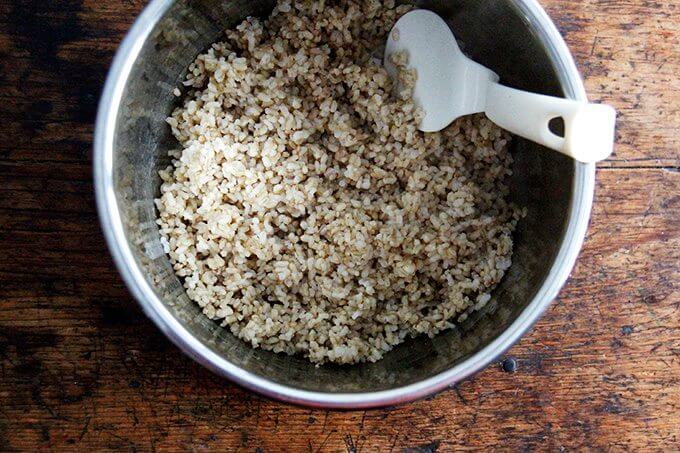
Uncover to find perfectly cooked rice.
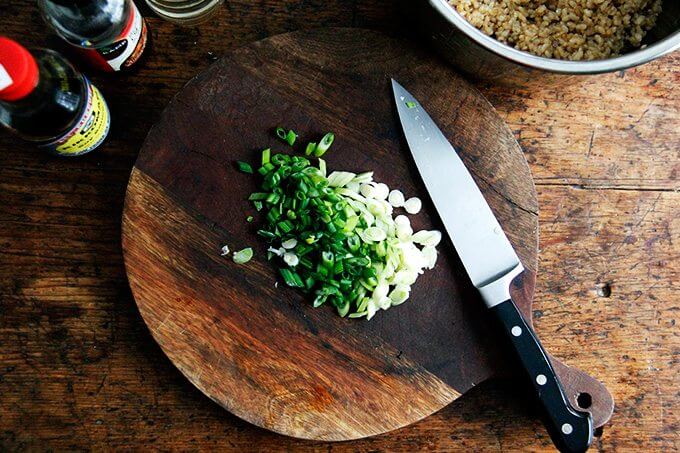
Slice some scallions:
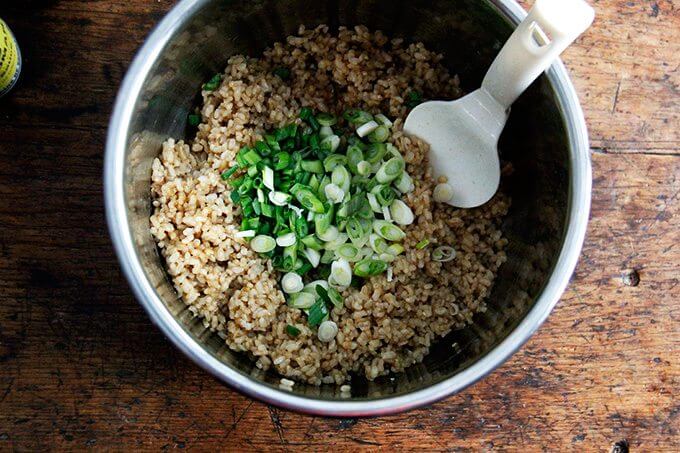
Add to the pot along with 1 tablespoon soy sauce, 2 teaspoons sesame oil, and 1 teaspoon mirin:
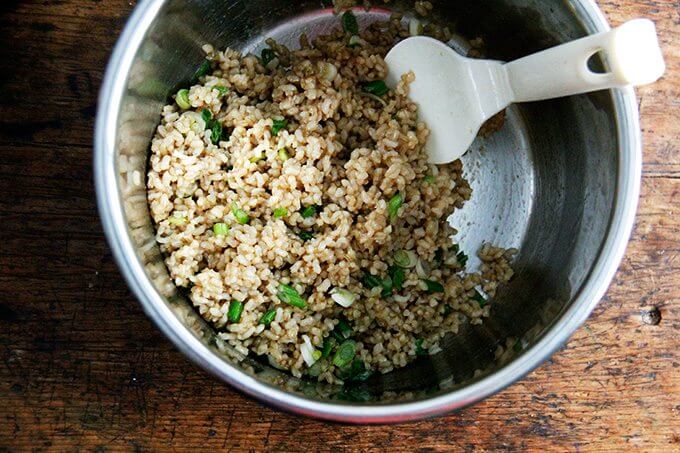
Toss to combine:
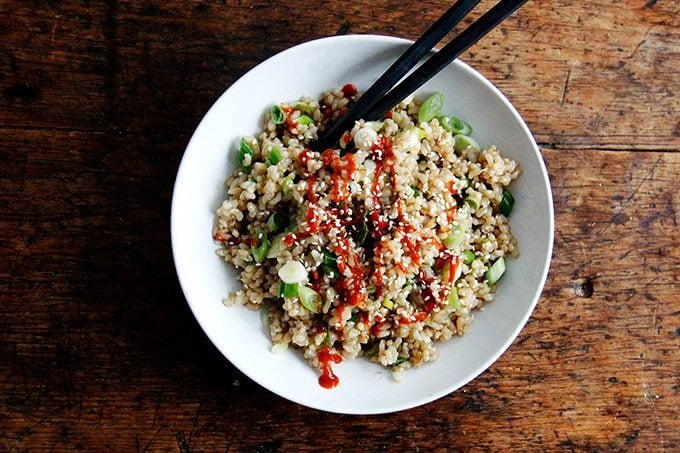
Drizzle with Sriracha, if you wish, and eat:
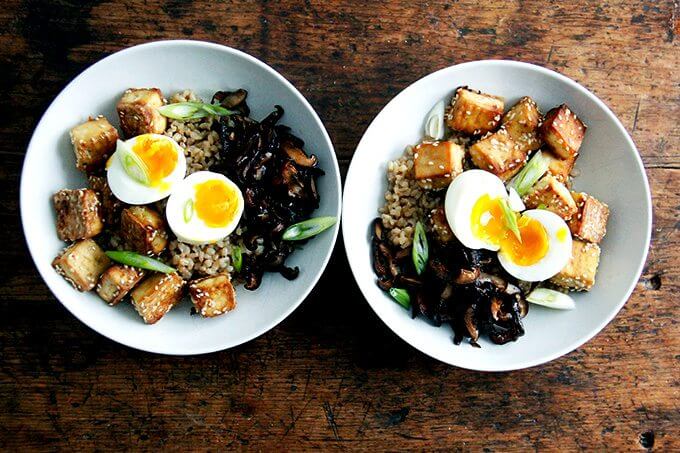
Or, nestle it under crispy sesame-baked tofu and shiitake mushrooms and top it with a perfectly cooked soft-boiled egg .
Description
Adapted from: Ground Leaf
I have this 6-qt Instant Pot , which is important only because the size of the pot may affect the timing. These instructions work perfectly for my Instant Pot every time.
for the rice:
- 1 cup short grain brown rice, I’ve been using Lundberg organic
- 1 1/2 cups water
- 3/4 tsp kosher salt
for the dressing:
- 1 tablespoon soy sauce
- 2 teaspoons sesame oil
- 1 teaspoon mirin
- 3 scallions finely sliced
Place all ingredients the inner pot of your Instant Pot.
Secure lid in place. Turn valve to Sealing. Select manual, high pressure, and adjust the time to 22 minutes.
When the time has lapsed, allow the pressure to release naturally, which is when the silver button on the lid drops. Remove lid and dress with the soy sauce, sesame oil, mirin, and scallions. Toss to combine. Taste and adjust as needed.
- Prep Time: 5 minutes
- Cook Time: 22 minutes
- Category: Side Dish
- Method: Instant Pot
- Cuisine: Asian
