I’ve long accepted that oven-baked sweet potato fries are a culinary unicorn. Oven-roasted sweet potatoes wedges with caramelized edges and creamy centers are delicious, but they’re not crispy, and they’re certainly not fries.
But I’ve been reading the latest Cook’s Illustrated science-y book, Cook’s Science , and I’ve learned that the solution to making crispy sweet potato fries is not as simple as deep frying them or even deep frying them twice (first at a lower temperature, then at a higher one) as most restaurant-style French fries are prepared.
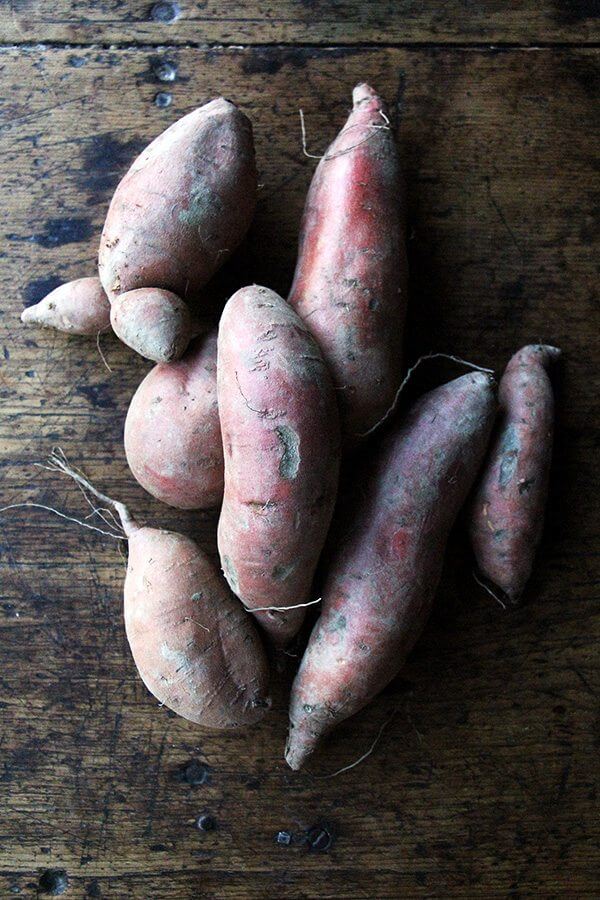
Because sweet potatoes have more water, more sugar, and less starch, they need to be treated differently. They need to be cut thicker, they need some added starch, and they need to be boiled before they are deep fried. So demanding! I read with skepticism, encouraged only by the many pounds of CSA sweet potatoes on my counter desperately needing purpose.
How to Make Thick-Cut Sweet Potato Fries
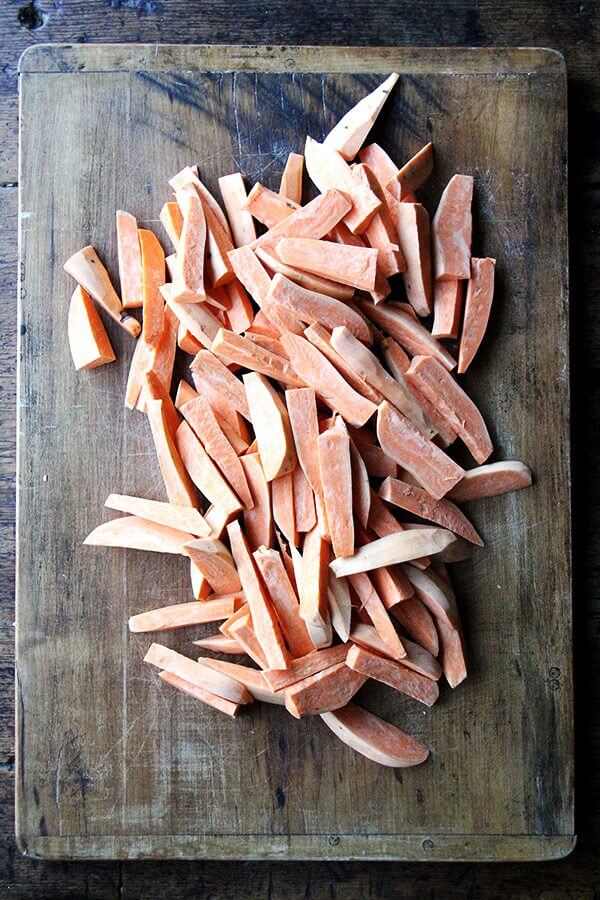
- After cutting the sweet potatoes into thick wedges, the fries need to be boiled first— if you were to simply drop raw sweet potatoes in hot oil, they would burn before their interiors fully cook. And you need to boil them in water seasoned with salt (for flavor) and baking soda, which serves to rapidly break down their exteriors, which together with the slurry (see step 2) ultimately fries into a crisp crust.
- The par-boiled sweet potatoes go immediately from the pot of hot water to a large bowl holding a slurry (equal parts water and cornstarch — this is the added starch). As you toss the wedges in the slurry, it mixes with the broken-down surfaces of the sweet potatoes. After a minute or so, the wedges are coated in a light-orange paste. Nothing about this, by the way, feels natural. Just go with it.
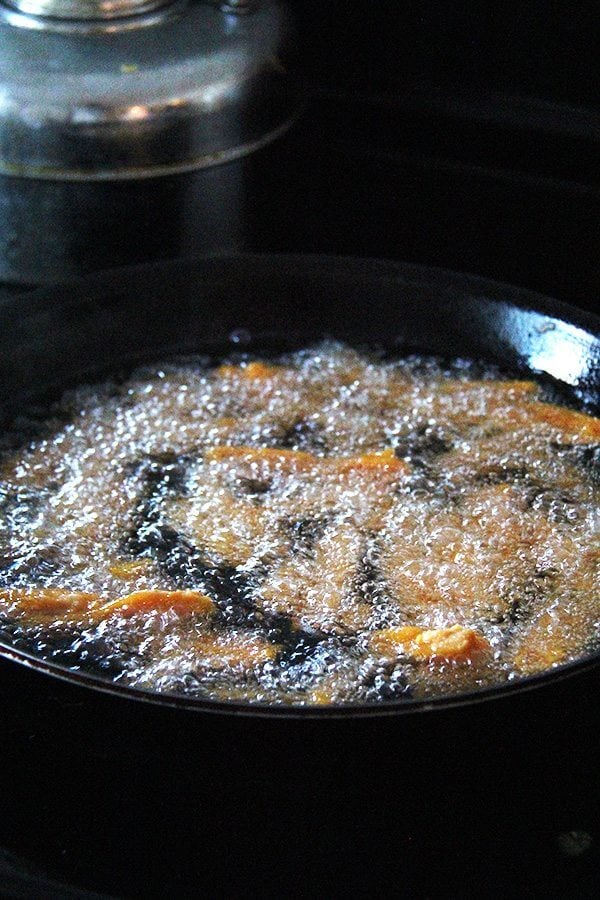
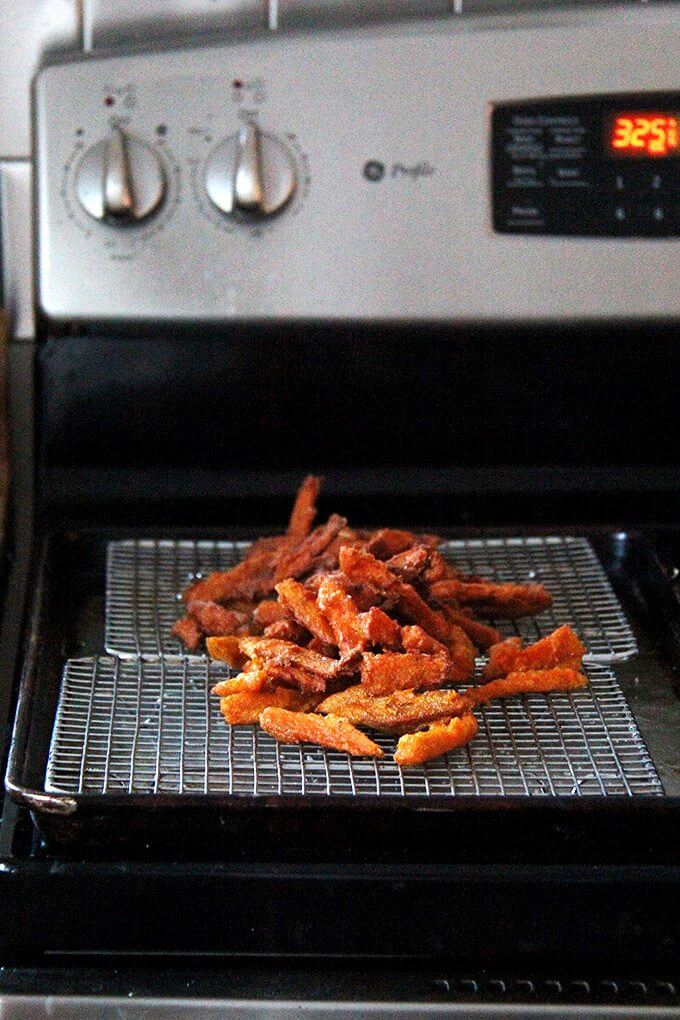
- The coated wedges then go straight into a large skillet filled with three cups of oil and are fried at 325ºF for about 10 minutes. This lower-than-usual-frying temperature is necessary to prevent the sweet potatoes from burning — remember, sweet potatoes have more sugar. To fry three pounds of wedges without crowding the pan, you’ll need do this in three batches.
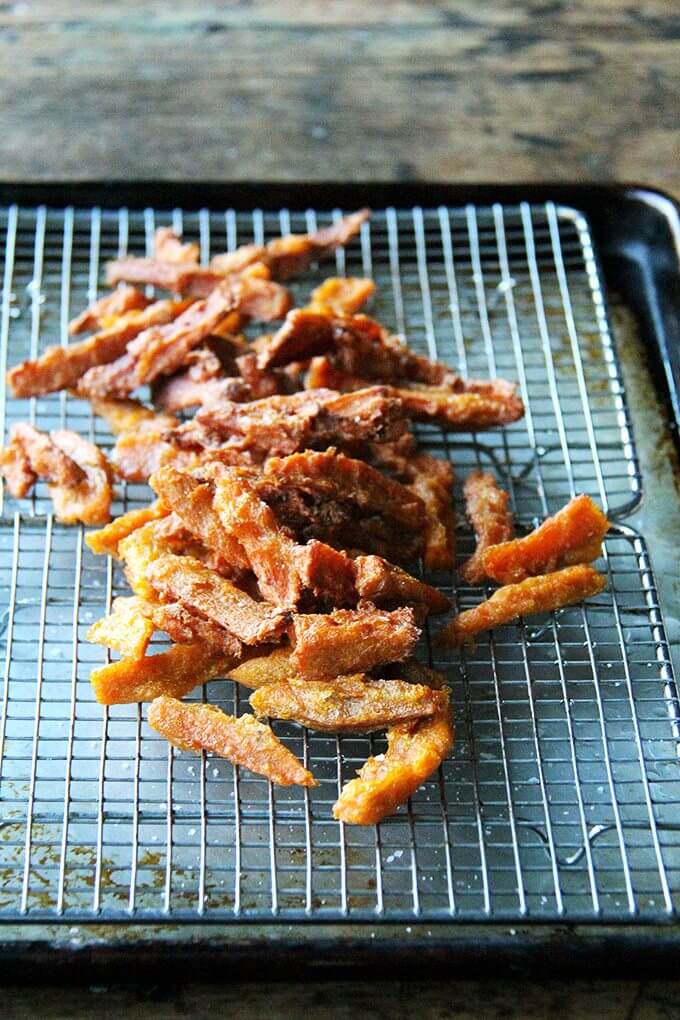
Fussy? Yes. Weeknight friendly? No. Delicious? Utterly.
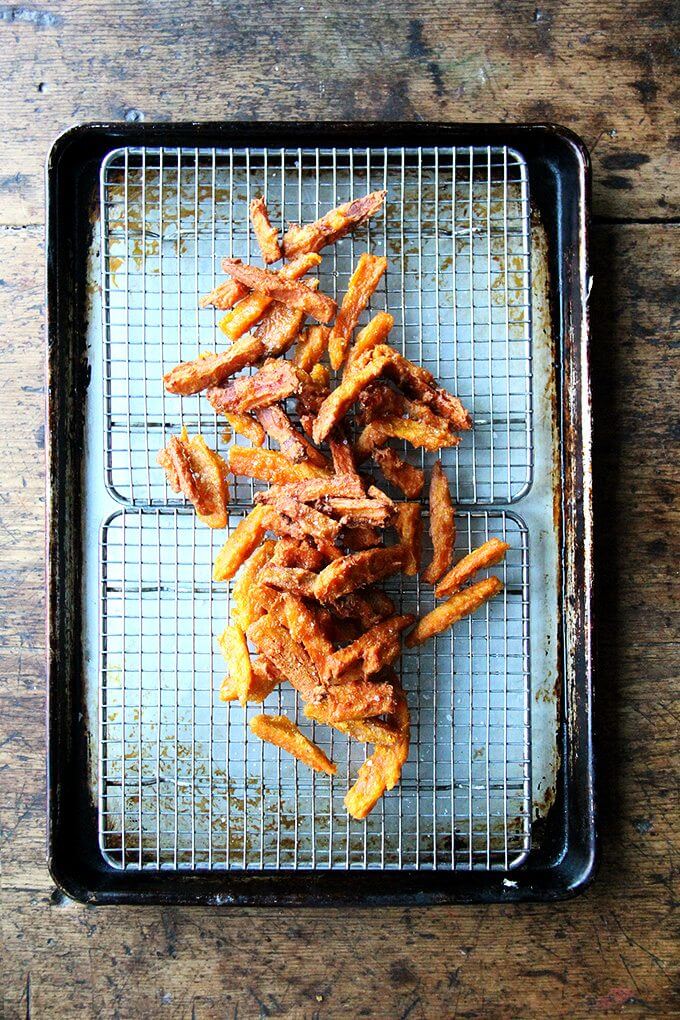
If anything deters you from making these fries, let it be time, not fear — of fat or the frying process — because these fries, if anything, are less greasy than roasted sweet potatoes wedges, and they are completely irresistible. I did a very unscientific before-and-after weighing/measuring of the oil (see photo below), which did not account for any of the oil that dripped through the cooling rack or that clung to the slotted spoon or spattered out while cooking, etc. — it amounted to about a 1/4 cup.
As for the deep frying, which is not something I am ever very comfortable doing, there’s nothing tricky about it. Even without a deep-fry thermometer, you can gauge the temperature of the oil by dropping in a wedge and observing how quickly or not it fizzles, and it’s easy to adjust the temperature to keep it bubbling at an appropriate rate.
Save this for one for a night when you have some time, but know, too, that you can absolutely fry the wedges ahead of time and keep them warm in a 200ºF oven until serving. I did this when my parents were in town last weekend, and they were every bit as delicious warm from the oven as hot from the fryer.
I am really enjoying Cook’s Science , by the way. The subtitle is “How to Unlock Flavor in 50 of our Favorite Ingredients” — think quinoa, kale, lentils, pork shoulder, red wine, canned white beans, flank steak, olive oil, almonds — and each chapter focuses on a single ingredient. This recipe and its unintuitive process is a great reflection of the subtitle/book but perhaps not the most accurate reflection of the over 300 recipes. There are lots of simple recipes, too, like gemelli with kale, caramelized onions, and bacon, which was delicious, and overnight kale salad with roasted sweet potatoes and pomegranates (also delicious), and many others I have bookmarked: savory corn muffins, tofu banh mi sandwiches, cold-oven pound cake, and Seville orange marmalade.
Earlier this year, I wrote about another Cook’s Illustrated book, The Science of Good Cooking , which taught me to brine (not just soak) my beans before cooking them , and then turned me into bean-cooking-and-eating machine. More than the recipes, it’s learning techniques like that one and this one here that make me value these books so much. For the science-minded (or not) cook, this would be a great gift.
Hope all of your holiday preparations are going well!

If you’re looking for a stocking stuffer, look no further: Kuhn Rikon peelers :
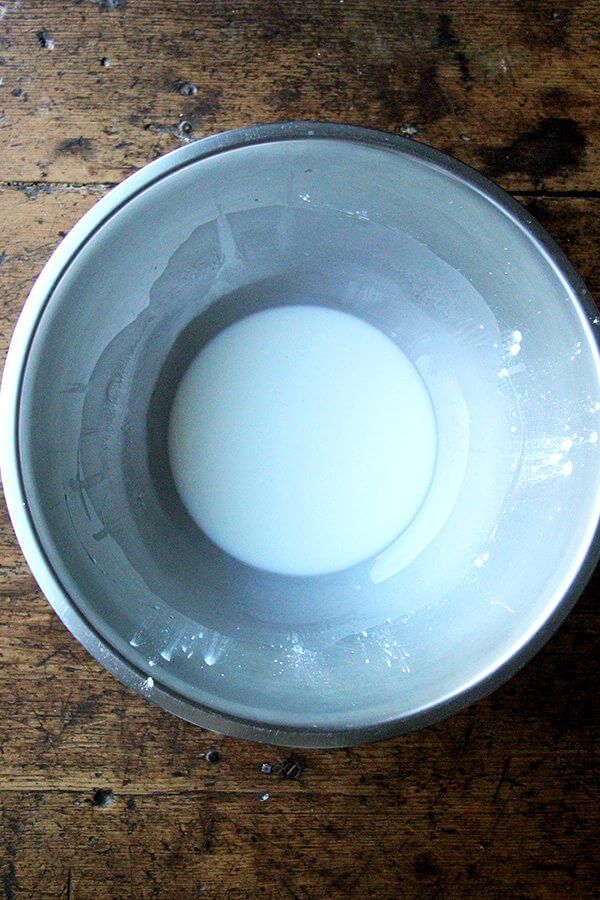
This is the slurry: 1/2 cup cornstarch mixed with 1/2 cup cold water:
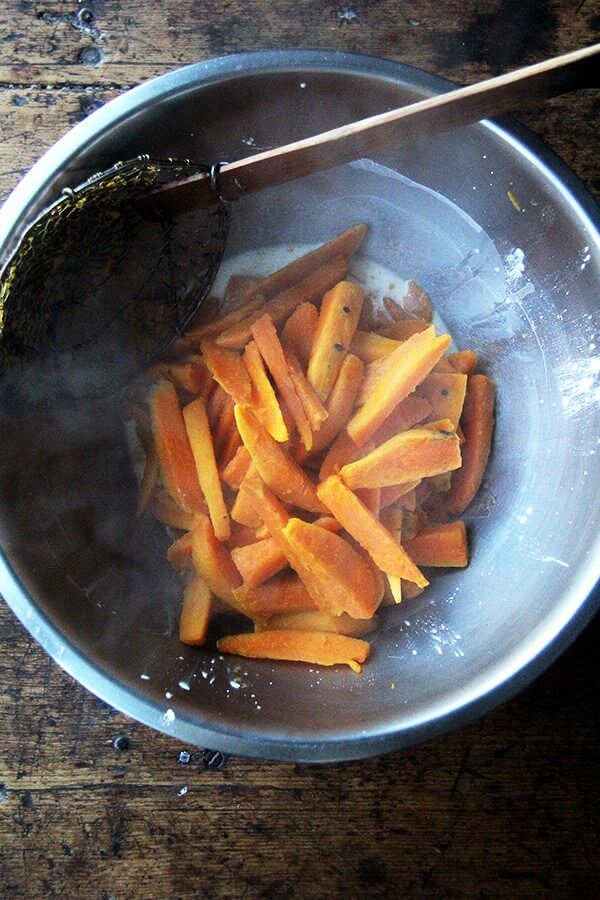
Boiled sweet potato wedges meet the slurry:
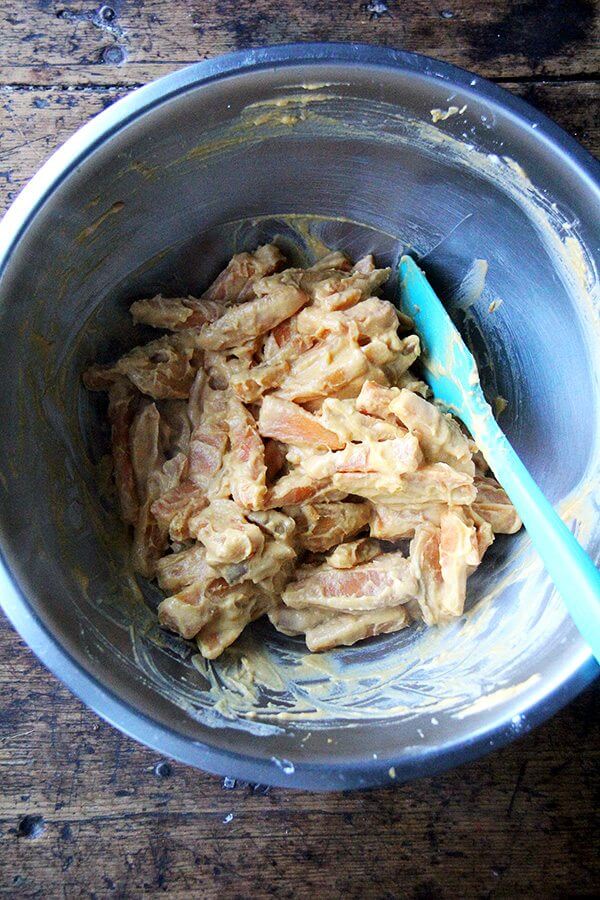
Wedges coated in starchy paste:
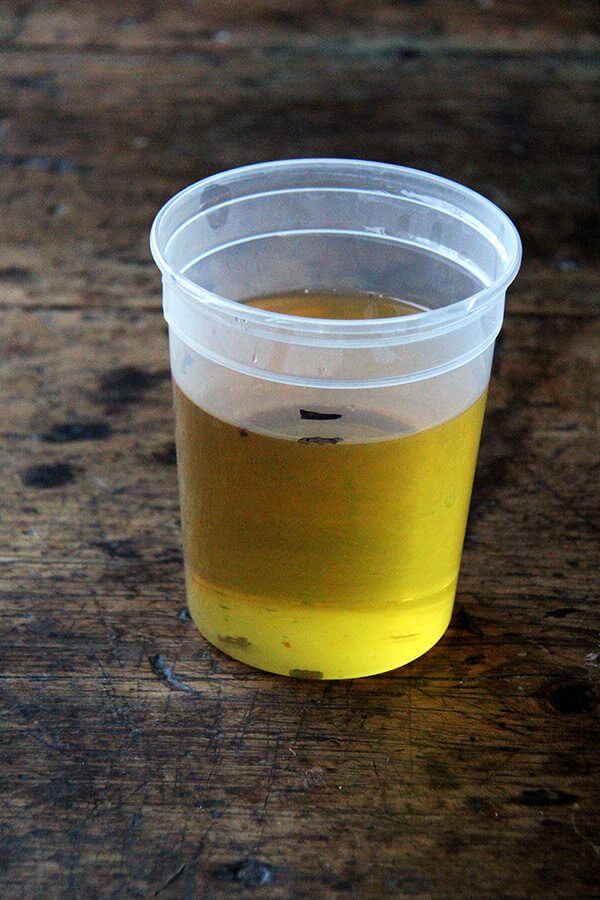
It’s shocking how little oil is soaked up in the process of frying these. By my unscientific calculations, it was about 1/4 cup:
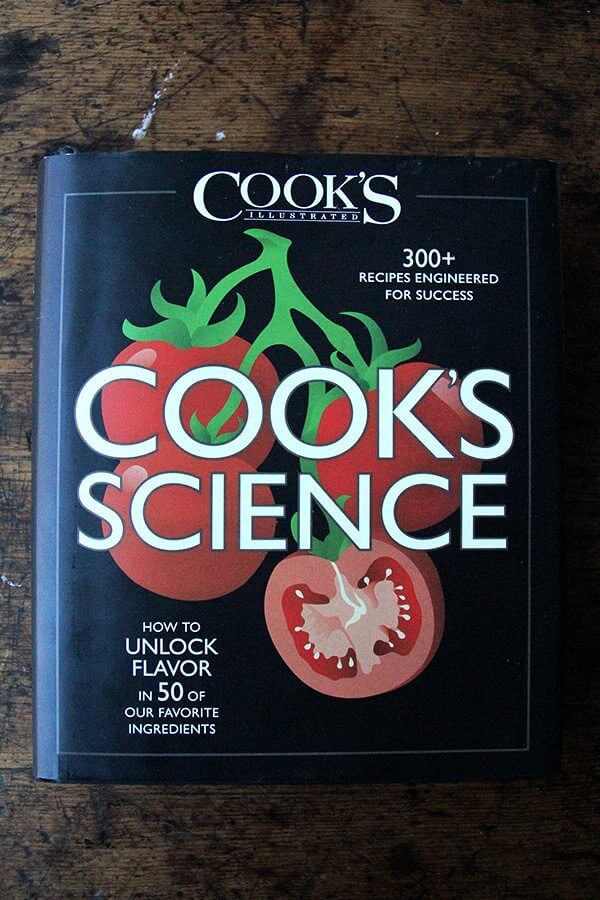
Cook’s Science :
Description
From Cook’s Illustrated’s Cook’s Science
- ½ cup cornstarch
- Kosher salt
- 1 teaspoon baking soda
- 3 pounds sweet potatoes, peeled and cut into 3/4 -inch-thick wedges, wedges cut in half crosswise
- 3 cups peanut oil
- good sea salt, like Maldon or Fleur de Sel, for sprinkling at the end
- Adjust oven rack to middle position and heat oven to 200 degrees. Set wire rack in rimmed baking sheet. Whisk cornstarch and 1/2 cup cold water together in large bowl.
- Bring 2 quarts water, 1/4 cup salt, and baking soda to boil in Dutch oven. Add potatoes and return to boil. Reduce heat to simmer and cook until exteriors turn slightly mushy (centers will remain firm), 3 to 5 minutes. Whisk cornstarch slurry to recombine. Using wire skimmer or slotted spoon, transfer potatoes to bowl with slurry.
- Using rubber spatula, fold potatoes with slurry until slurry turns light orange, thickens to paste, and clings to potatoes.
- Heat oil in 12-inch nonstick skillet over high heat to 325 degrees. Using tongs, carefully add one third of potatoes to oil, making sure that potatoes aren’t touching one another. Fry until crispy and lightly browned, 7 to 10 minutes, using tongs to flip potatoes halfway through frying (adjust heat as necessary to maintain oil temperature between 280 and 300 degrees). Using wire skimmer or slotted spoon, transfer fries to prepared wire rack (fries that stick together can be separated with tongs or forks). Season with sea salt to taste and transfer to oven to keep warm. Return oil to 325 degrees and repeat in 2 more batches with remaining potatoes. Serve immediately.
Notes
NOTES FROM AMERICA’S TEST KITCHEN:
If your sweet potatoes are shorter than 4 inches in length, do not cut the wedges crosswise. They prefer peanut oil for frying, but vegetable oil may be used instead. Leftover frying oil may be saved for further use; strain the cooled oil into an airtight container and store it in a cool, dark place for up to one month or in the freezer for up to two months.
Serve with fry sauce if you wish: Stir together 6 tablespoon mayonnaise, 1 tablespoon Asian chili-garlic sauce, and 2 teaspoons vinegar. This is delicious, but totally optional—the fries are so good on their own.
KEY STEPS:
BLANCH: Blanching the wedges helps ensure that their interiors fully cook and turn creamy when fried. Adding baking soda to the water makes them tacky on the outside.
COAT: The cornstarch slurry stays put thanks in part to the parcooked wedges’ tacky exteriors, and it crisps up beautifully in the hot oil.
FRY: Frying the wedges in a nonstick skillet prevents them from sticking to the bottom of the pan. The shallow vessel also makes using far less oil possible.
- Prep Time: 20 minutes
- Cook Time: 20 minutes
- Category: Side Dish
- Method: Deep Fried
- Cuisine: American
Find it online : https://alexandracooks.com/2016/12/15/thick-cut-sweet-potato-fries/

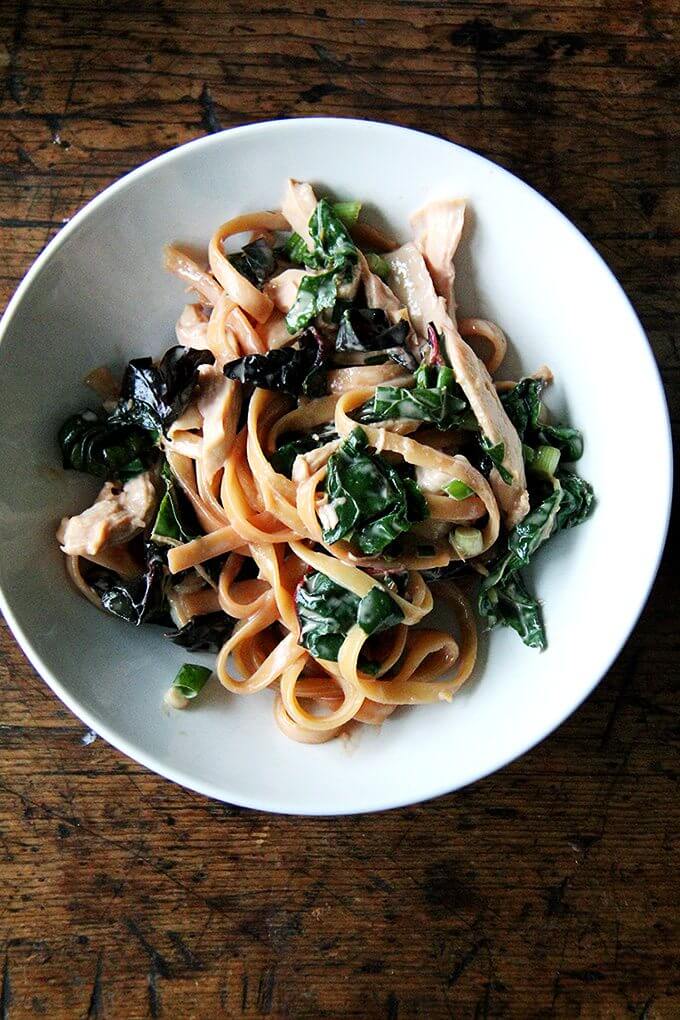
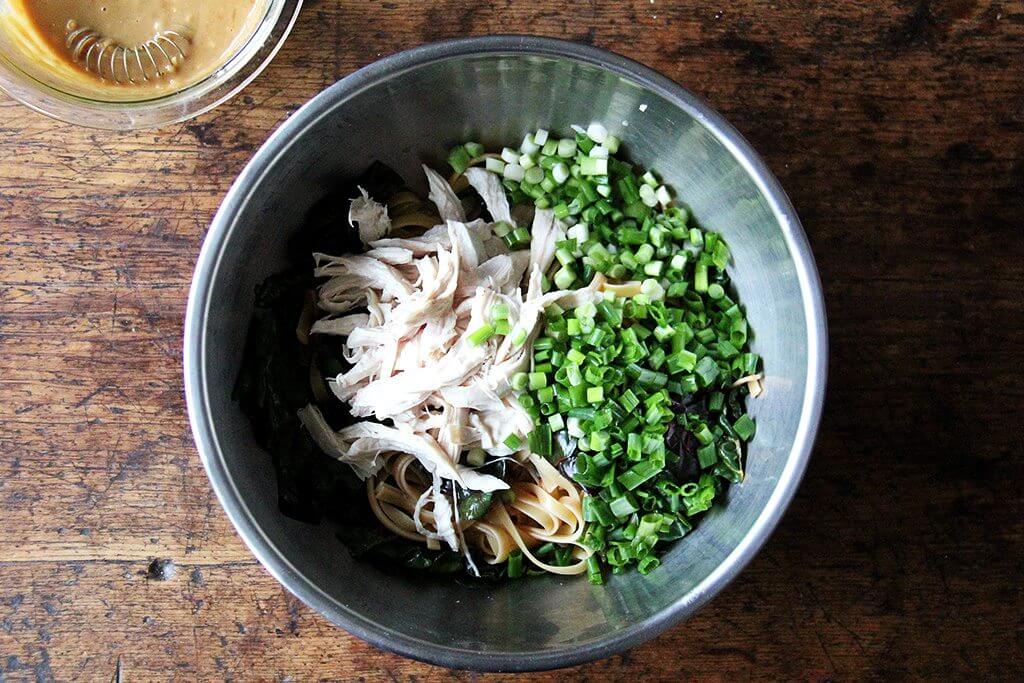
From Chrissy Teigens, Cravings , this is one of the easiest, tastiest, most genius recipes I’ve made in a long time: you drop a chicken breast into boiling water, cover the pan, then let it sit for 15 minutes off the heat. In the meantime, you make a sauce from all pantry ingredients — including both tahini and sesame oil for big sesame flavor — then you retrieve the chicken breast, cook noodles in the now seasoned broth, and when they’re done, you toss it all together. That’s it! It makes the best leftovers, too. I’ve added a heap of Swiss chard to make it more of a standalone meal.
Tip: Don’t try to get fancy with the noodles — fettuccine or linguini work perfectly.
I think it’s safe to say there’s never more of a need than right now for quick and easy dinners — this is a great one to add to your arsenal.
Hope all of your holiday preparations are going well!
- 8 ounces boneless skinless chicken breast
- 8 ounces dried fettuccine
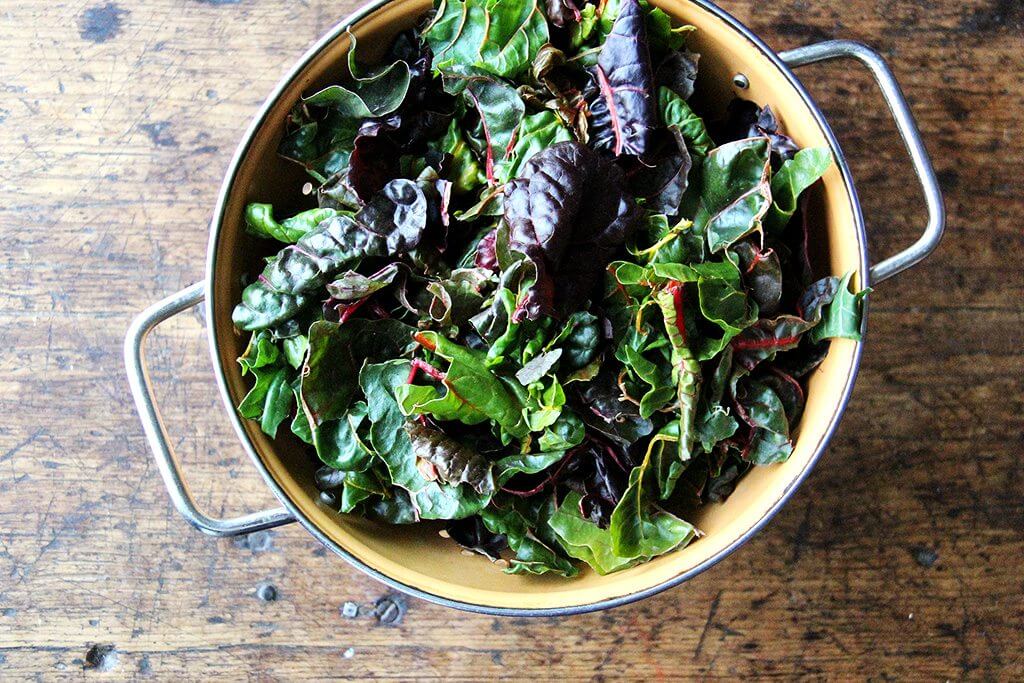
- 6 ounces Swiss chard, leaves removed from stems, torn into small pieces
- 2 teaspoons sesame oil
- 1/4 cup peanut oil
- 1/4 cup well-stirred tahini
- 3 tablespoons soy sauce
- 2 tablespoons red wine vinegar
- 2 teaspoons chili oil
- 1 teaspoon honey
- 1/2 teaspoon cayenne pepper, optional
- 1 garlic clove, minced
- 6 scallions, thinly sliced
- Kosher salt
- Fill a large saucepan 2/3 full of water and bring to a boil over high heat. Salt it so that it tastes good, add the chicken breast, and remove the pot from the heat. Cover and let the chicken sit until cooked but very tender, about 15 minutes. (If you’re using two smaller breasts, decrease the time by about 3 minutes.) Remove the chicken from the water (don’t throw it away!) and cut into it to check its doneness; if it’s still a little pink, return it to the water for another minute or two. Remove the chicken to a plate and let it rest while you cook the noodles.
- Bring the water the chicken was cooked in back to a boil over high heat. Add the fettuccine, and cook to al dente according to the package directions. Place the chard in a large colander.
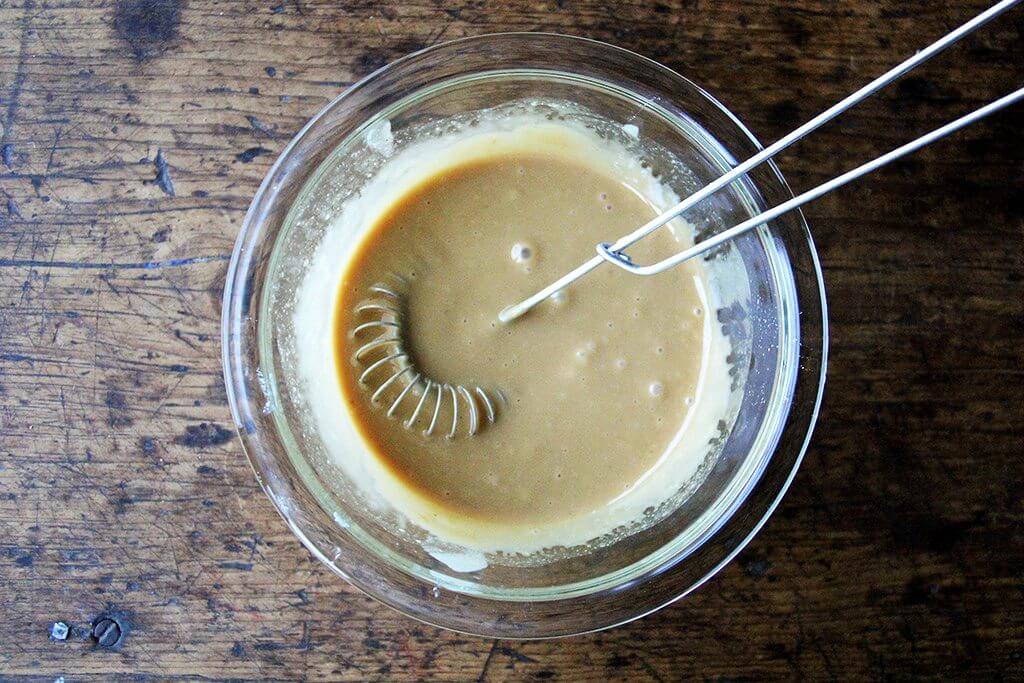
- Meanwhile, make the sauce: in a small bowl, whisk together 1 teaspoon of the sesame oil, the peanut oil, tahini, soy sauce, vinegar, chili oil, honey, cayenne, if using, and garlic until smooth. Note: It’s very spicy without the cayenne, but if you like heat, start with 1/4 tsp. cayenne, then add more to taste.
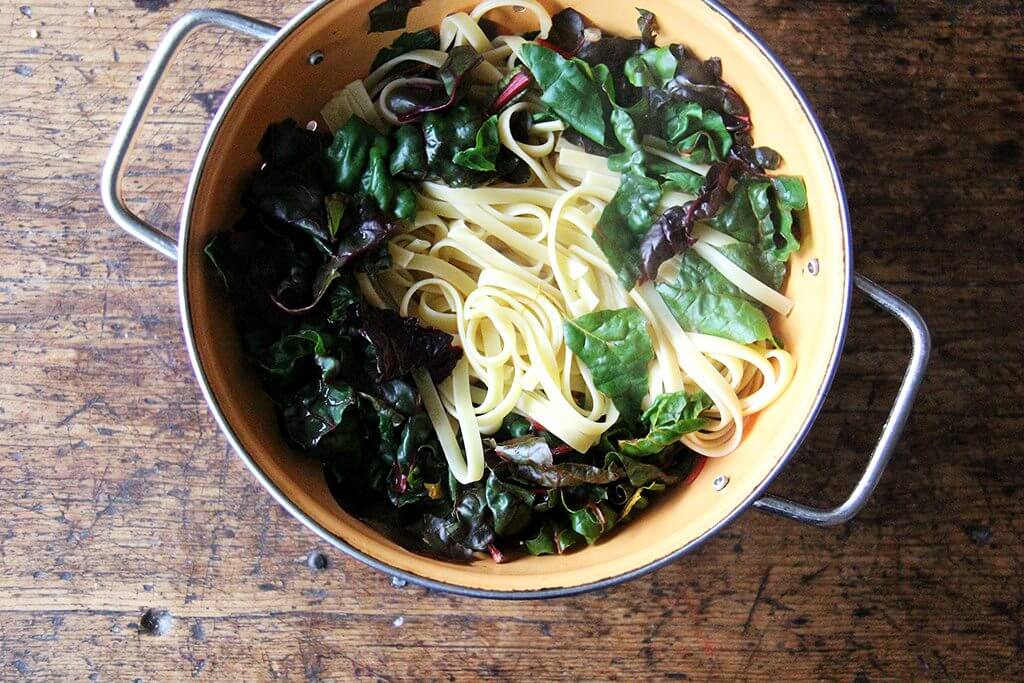
- Drain the pasta directly over the chard, and shake the colander to allow water to drain out. Transfer chard and noodles to a large bowl. Toss with the remaining teaspoon of sesame oil.
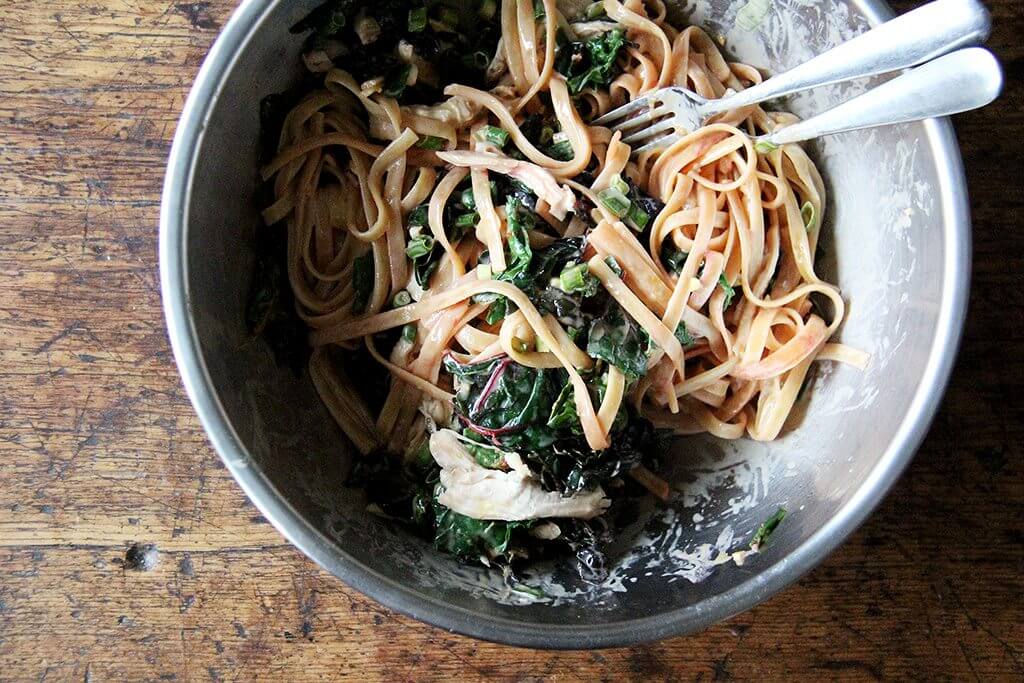
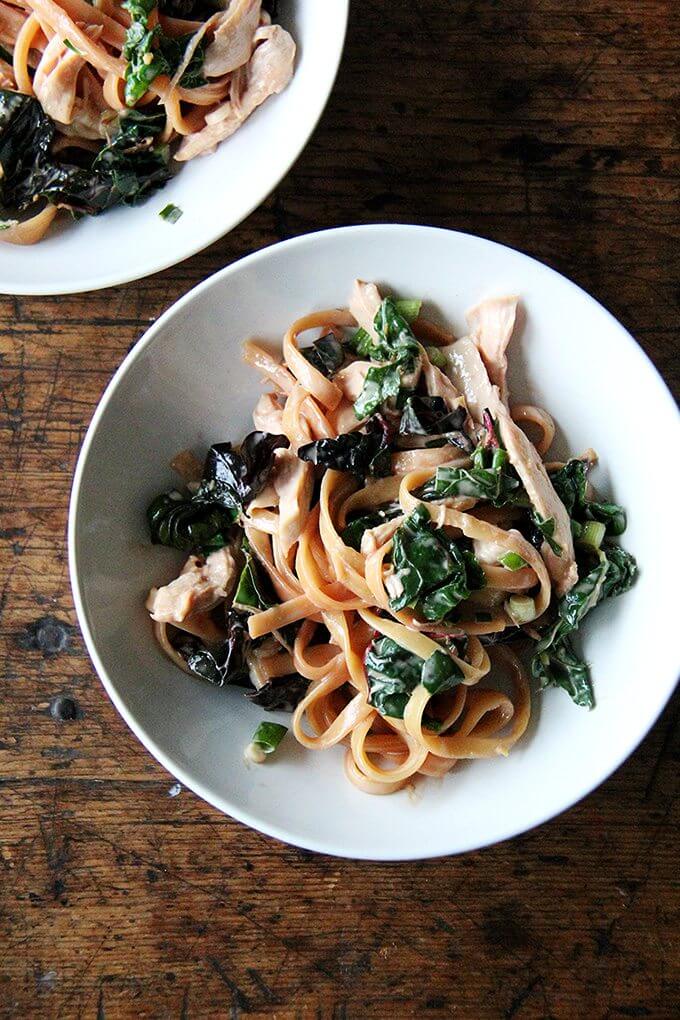
- Shred the chicken with your hands into the bowl of noodles and chard. Add the scallions. Add the dressing and toss to coat. Serve immediately.
- Prep Time: 15 minutes
- Cook Time: 25 minutes
- Category: Dinner
- Method: Stovetop
- Cuisine: Asian
