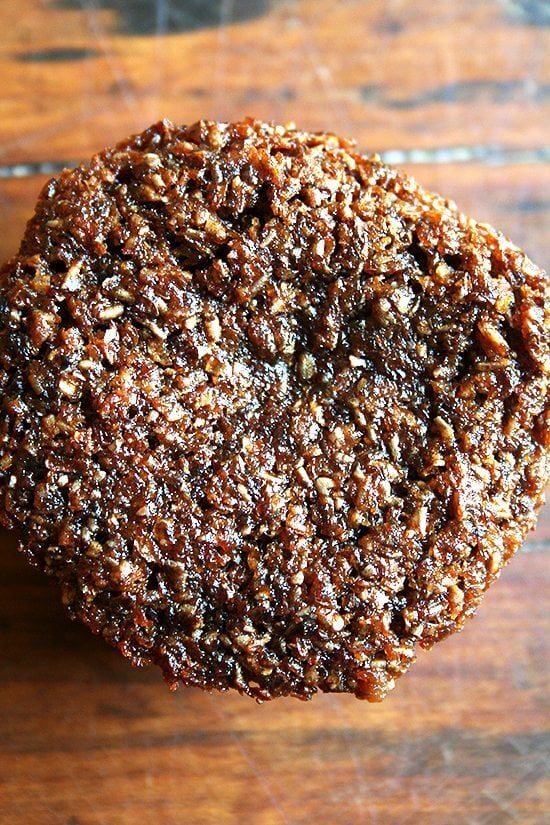
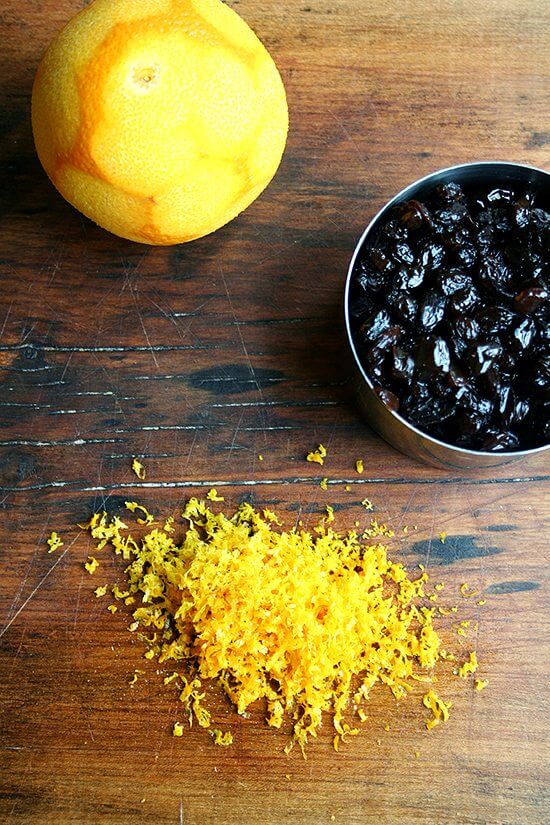
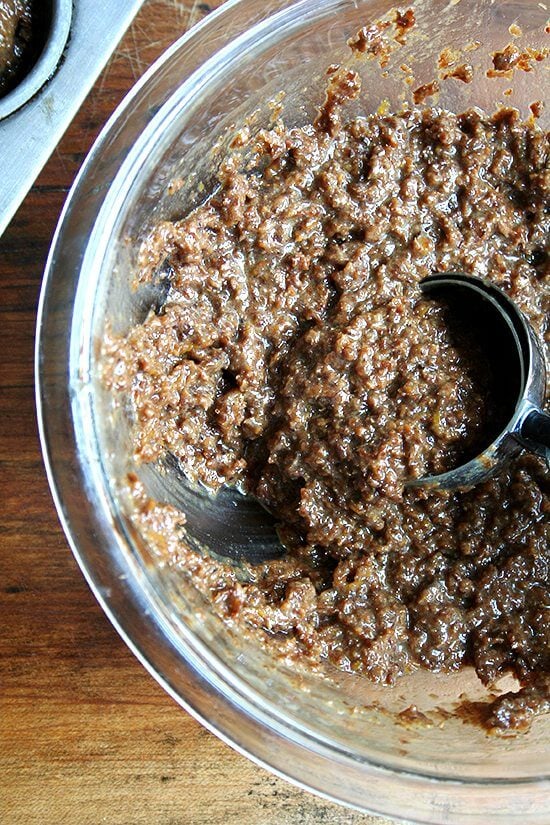
Many of you already know of this bran muffin, a Nancy Silverton creation served at the widely adored La Brea Bakery. Made with toasted wheat bran, freshly grated orange zest, and simmered and puréed raisins, it is one of the most delicious muffins — bran or otherwise — out there.
This is a true bran muffin, not a brown muffin under the guise of bran muffin. Despite being nearly one hundred percent whole grain in makeup, it is perfectly sweet and super moist. This is a muffin you feel almost OK about eating by the half dozen and one you feel truly OK about packing into lunch bags and taking on road trips.
Is it a little fussy? Toasted bran, grated zest, plumped and puréed raisins? Yes, a little bit. But I would argue that the bran muffin to end all bran muffins deserves to be so. I think you’ll agree.
Description
From Nancy Silverton’s Pastries from the La Brea Bakery
Notes: Because I don’t love the texture of raisins in baked goods, I puréed all of them in step 3 versus saving a half cup to fold in at the end. If you like the texture of raisins, however, by all means, save a 1/2 cup to be folded in at the end.
- 2 cups ( 125g ) wheat bran
- 1 1/2 cups ( 190g total) dark raisins
- 1 1/2 cups (370ml total) water
- 1/2 cup ( 120g ) buttermilk or plain low-fat yogurt (I used buttermilk)
- zest of one orange
- 1/2 cup ( 105g ) packed light brown sugar
- 1/2 cup (125ml) vegetable oil (I used canola)
- 1 large egg
- 1 large egg white
- 1/2 cup ( 65g ) flour
- 1/4 cup ( 35g ) whole wheat flour
- 1 teaspoon baking powder
- 1 teaspoon baking soda
- 1/2 teaspoon salt
- Preheat the oven to 350F. Line a 12-cup muffin tin with paper liners or grease with butter or oil or use these free-standing paper liners , which are fun and pretty.
- Spread the wheat bran on a baking sheet and toast in the oven for six to eight minutes, stirring a few times so it cooks evenly. Let cool.
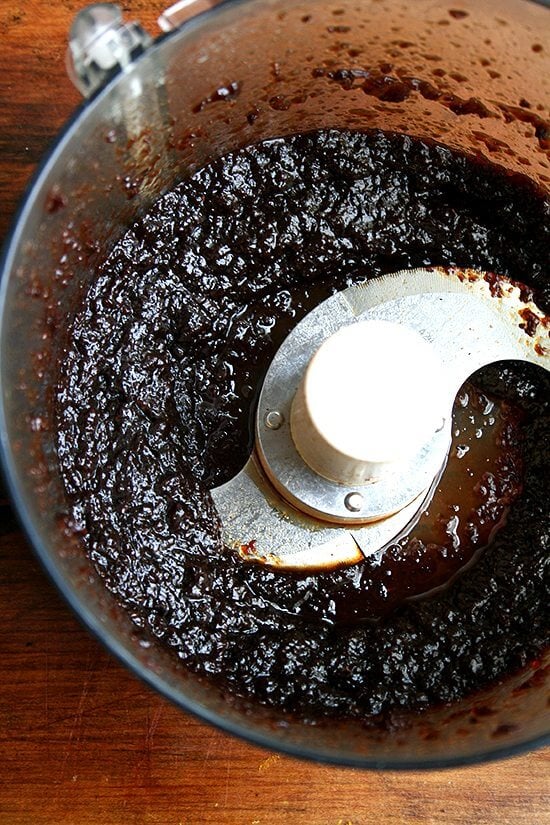
- While the bran is toasting, heat 1 cup of the raisins with 1/2 cup of the water. (Note: I simmered all of the raisins (1.5 cups) at once with 3/4 cups water, then added the remaining 3/4 cup water to the batter (step 4) afterwards.) Simmer for ten minutes, or until the water is all absorbed (I simmered for 10 minutes and all of the water was not absorbed, but I figured it was OK, and it was). Puree the raisins in a food processor or blender until smooth.
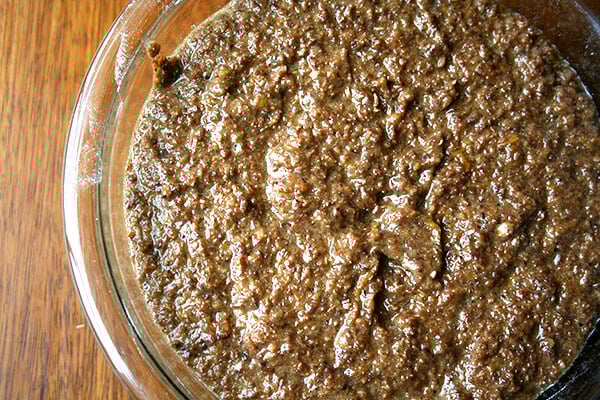
- In a large bowl, mix together the toasted bran, buttermilk or yogurt, 1 cup water (or 3/4 cup water if you have simmered all of the raisins with 3/4 cup water), then mix in the raisin puree, orange zest, and brown sugar.
- Stir in the oil, egg and egg white.
- Mix together the flours, baking powder, baking soda, and salt, and sift (or not) directly into the wet ingredients. Stir until the ingredients are just combined, then mix in the remaining 1/2 cup raisins (if you haven’t puréed all of them already).
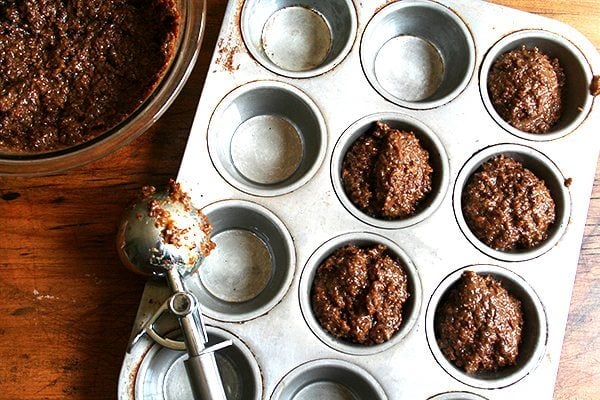
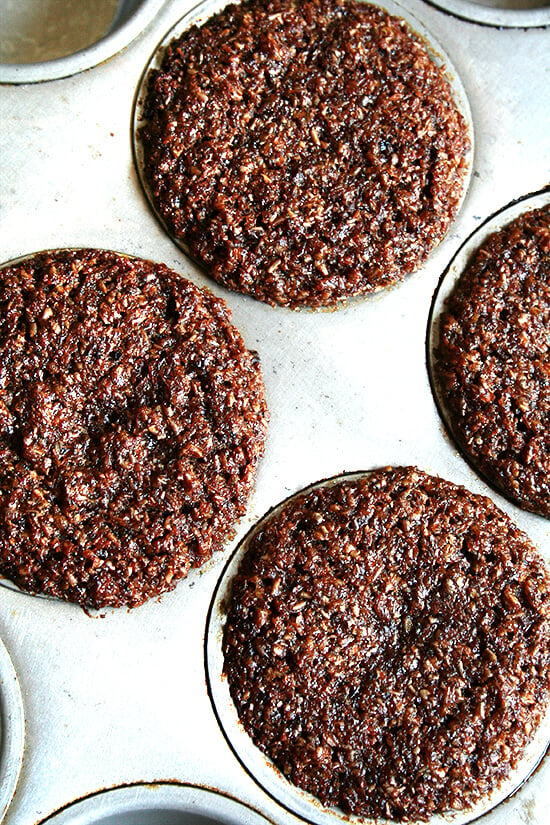
- Spoon the batter into the muffin tins, making sure the batter is mounded slightly in each one. Because muffin tins can very in size, if your tins are larger, make fewer muffins.
- Bake for 25 to 30 minutes, or until the muffins feel set in the center.
- Prep Time: 20 minutes
- Cook Time: 35 minutes
- Category: Muffin
- Method: Oven
- Cuisine: American
Many of you already know of this bran muffin, a Nancy Silverton creation served at the widely adored La Brea Bakery. Made with toasted wheat bran, freshly grated orange zest, and simmered and puréed raisins, it is one of the most delicious muffins — bran or otherwise — out there.
This is a true bran muffin, not a brown muffin under the guise of bran muffin. Despite being nearly one hundred percent whole grain in makeup, it is perfectly sweet and super moist. This is a muffin you feel almost OK about eating by the half dozen and one you feel truly OK about packing into lunch bags and taking on road trips.
Is it a little fussy? Toasted bran, grated zest, plumped and puréed raisins? Yes, a little bit. But I would argue that the bran muffin to end all bran muffins deserves to be so. I think you’ll agree.
Description
From Nancy Silverton’s Pastries from the La Brea Bakery
Notes: Because I don’t love the texture of raisins in baked goods, I puréed all of them in step 3 versus saving a half cup to fold in at the end. If you like the texture of raisins, however, by all means, save a 1/2 cup to be folded in at the end.
- 2 cups ( 125g ) wheat bran
- 1 1/2 cups ( 190g total) dark raisins
- 1 1/2 cups (370ml total) water
- 1/2 cup ( 120g ) buttermilk or plain low-fat yogurt (I used buttermilk)
- zest of one orange
- 1/2 cup ( 105g ) packed light brown sugar
- 1/2 cup (125ml) vegetable oil (I used canola)
- 1 large egg
- 1 large egg white
- 1/2 cup ( 65g ) flour
- 1/4 cup ( 35g ) whole wheat flour
- 1 teaspoon baking powder
- 1 teaspoon baking soda
- 1/2 teaspoon salt
- Preheat the oven to 350F. Line a 12-cup muffin tin with paper liners or grease with butter or oil or use these free-standing paper liners , which are fun and pretty.
- Spread the wheat bran on a baking sheet and toast in the oven for six to eight minutes, stirring a few times so it cooks evenly. Let cool.
- While the bran is toasting, heat 1 cup of the raisins with 1/2 cup of the water. (Note: I simmered all of the raisins (1.5 cups) at once with 3/4 cups water, then added the remaining 3/4 cup water to the batter (step 4) afterwards.) Simmer for ten minutes, or until the water is all absorbed (I simmered for 10 minutes and all of the water was not absorbed, but I figured it was OK, and it was). Puree the raisins in a food processor or blender until smooth.
- In a large bowl, mix together the toasted bran, buttermilk or yogurt, 1 cup water (or 3/4 cup water if you have simmered all of the raisins with 3/4 cup water), then mix in the raisin puree, orange zest, and brown sugar.
- Stir in the oil, egg and egg white.
- Mix together the flours, baking powder, baking soda, and salt, and sift (or not) directly into the wet ingredients. Stir until the ingredients are just combined, then mix in the remaining 1/2 cup raisins (if you haven’t puréed all of them already).
- Spoon the batter into the muffin tins, making sure the batter is mounded slightly in each one. Because muffin tins can very in size, if your tins are larger, make fewer muffins.
- Bake for 25 to 30 minutes, or until the muffins feel set in the center.
- Prep Time: 20 minutes
- Cook Time: 35 minutes
- Category: Muffin
- Method: Oven
- Cuisine: American
Find it online : https://alexandracooks.com/2012/06/20/the-bran-muffin-to-end-all-bran-muffins/
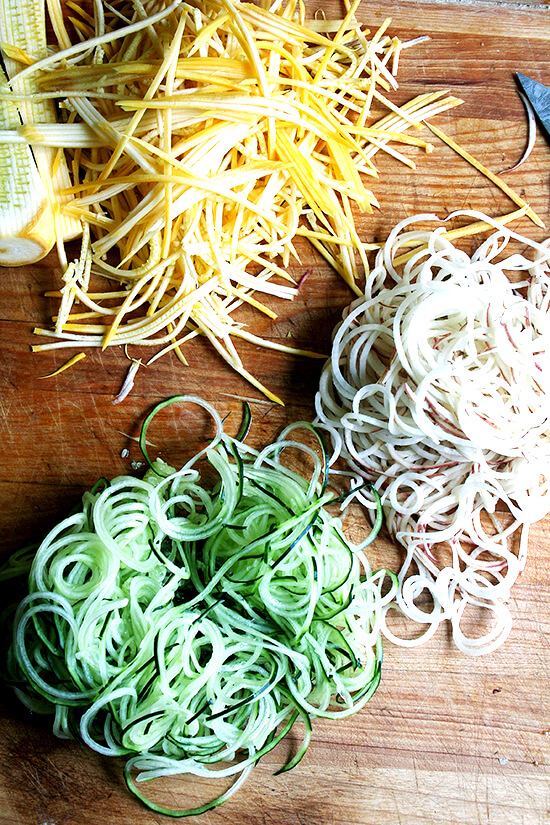
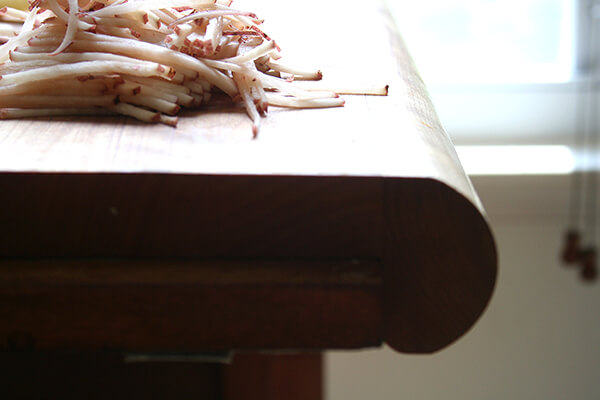
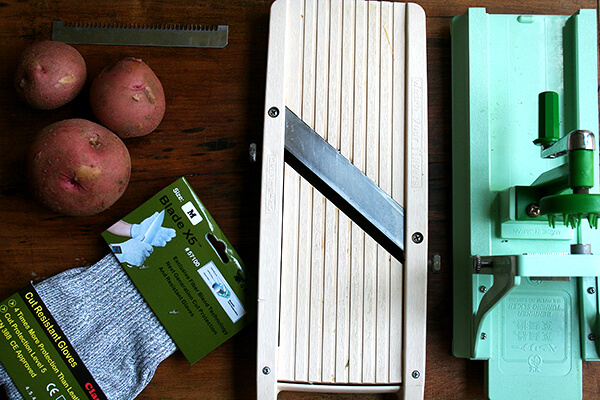
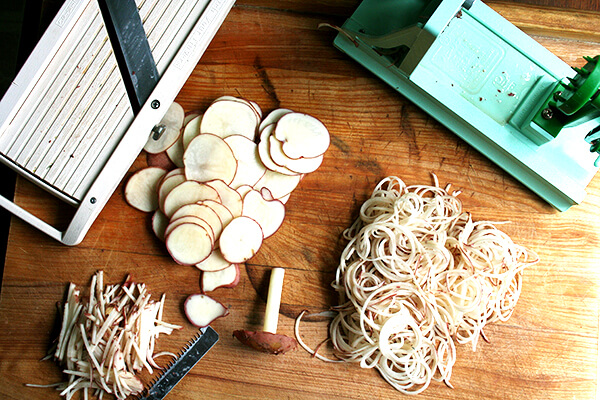
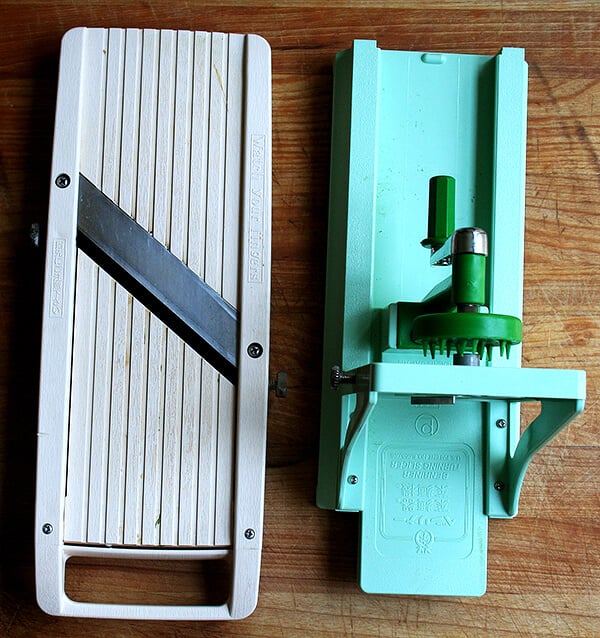
Let’s start from the beginning. In that post, I noted that I prefered my Benriner mandoline to my Benriner turning slicer for the long thin wisps it creates. This is true. The Benriner mandoline is great for, among many reasons, creating julienned summer squash and cucumbers, for slicing potatoes into rounds to be baked or fried into chips, and for thinly slicing radishes and kohlrabi for salads. Moreover, it, unlike some mandolines, can be adjusted so that it truly makes paper-thin slices (others stop at 1/4-inch or 1/8-inch).
What I perhaps love most about the Benriner mandoline, however, is its size, which measures only 13.5 x 6 x 1-inch, making it compact enough to fit right against the inside wall of any of my kitchen cupboards, allowing for easy access and stowage. Having never owned any other mandoline, I have only my mother’s to compare, which sits in the same cumbersome box in which it was packaged and lives someplace in her basement. It’s no wonder she never uses it.
The Benriner mandoline is not perfect, however, and if you decide to get one, it is important to keep a few things in mind:
Because it is handheld, it is necessary to have some way of securing its bottom edge while you are using it. I have a wooden cutting board with a back raised ledge (see videos below), which works perfectly, but a wall (if your counters aren’t too deep) or a brick (maybe?) could serve the same purpose.
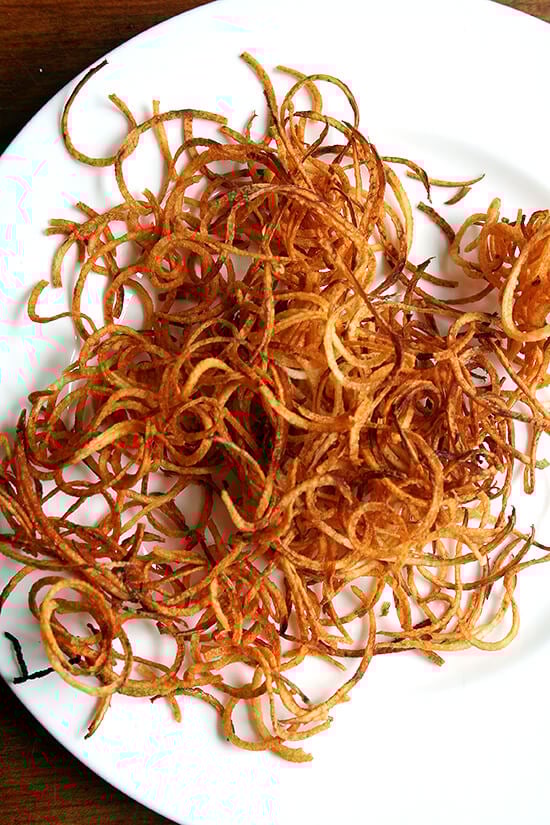
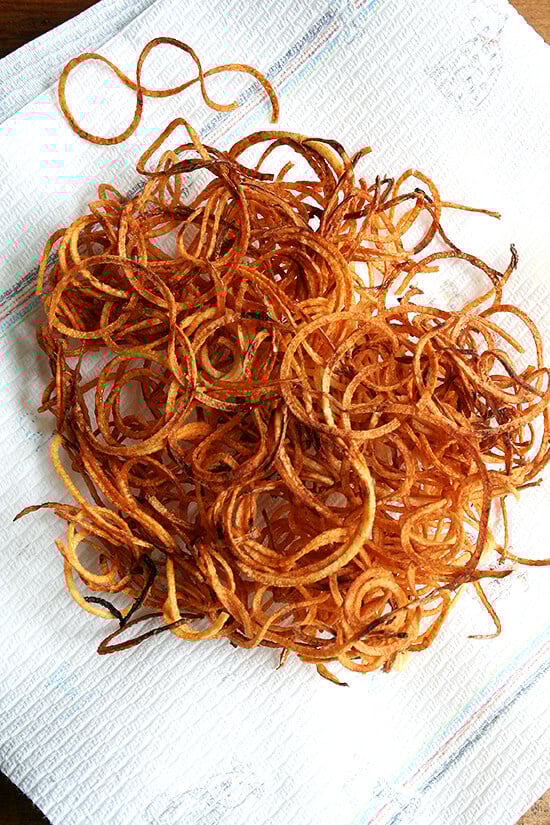
Finally, Kevlar glove on or off, the Benriner mandoline is not the best tool for certain jobs. Julienning potatoes, for instance, I found to be very challenging with the Benriner mandoline. In contrast, the turning slicer seemed to magically and effortlessly multiply my single potato into a beautiful web of thinly sliced strands, the perfect shape for frites (or a frites nest I should say).
In sum, if you’re in the market for a mandoline, I highly recommend the Benriner, but I would sleep better knowing you purchased a pair of kevlar gloves along with it. And if you have room for another gadget, the Benriner turning slicer (I’ve discovered this past week) does in fact have a place in the kitchen — for certain vegetables it is a much safer and better tool to use than a mandoline, and if you’re at all frightened by the idea of using a mandoline, the turning slicer might be the way to go.
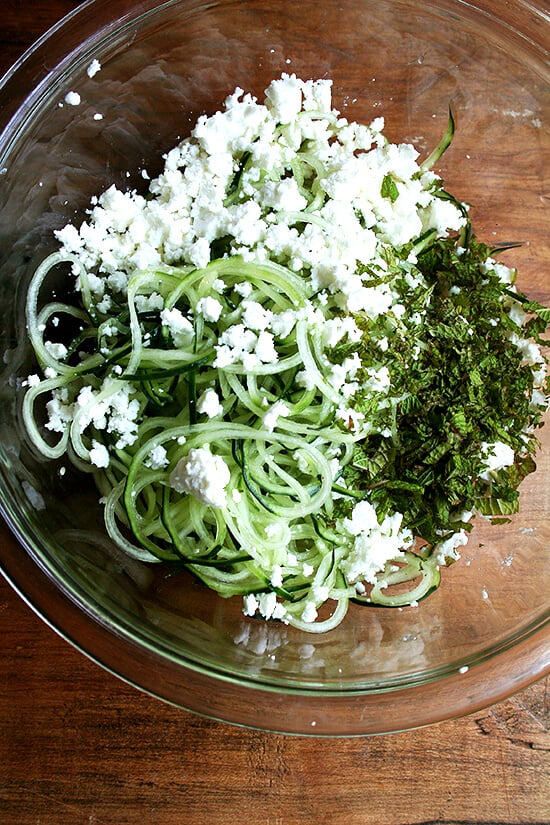
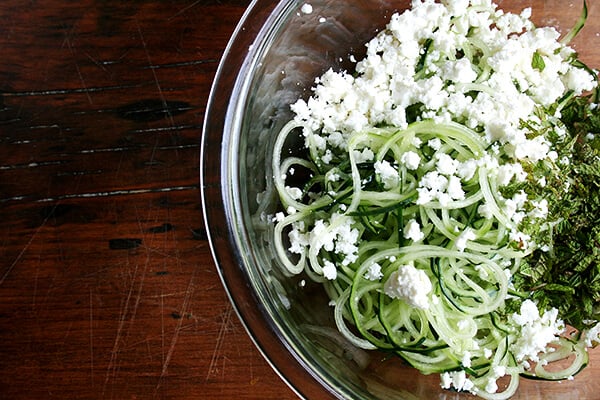
This salad is so summery and refreshing, perfect aside grilled meat or fish.
One note: I used a cucumber that I had sliced on the turning slicer for this salad. It was beautiful but a little bit awkward to serve — the turning slicer creates insanely long strands of whatever it is slicing up. One way to avoid this situation is to either use a mandoline or a knife (neither a turning slicer or mandoline is necessary to cut up cucumbers — just slice the cucumber into thin rounds or small dice) or to chop up the cucumber “nest” created by the turning slicer before tossing it with the feta, mint and dressing.
- cucumbers, julienned or diced or sliced into rounds
- feta cheese
- mint, thinly sliced
- extra-virgin olive oil
- white balsamic vinegar
- Combine cucumbers, feta and mint in a bowl. Toss with equal parts olive oil and white balsamic. As a reference, I used 1 tablespoon of olive oil and one tablespoon of vinegar for the 1 cucumber I sliced up. Season with salt if necessary — I found that the feta added enough saltiness so I didn’t add any additional salt.
- Prep Time: 10 minutes