Skip to Recipe
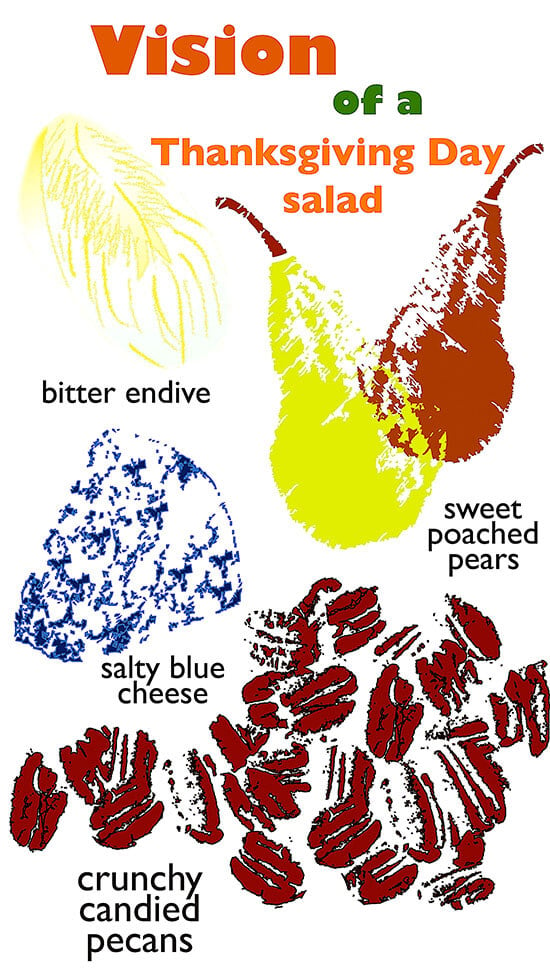
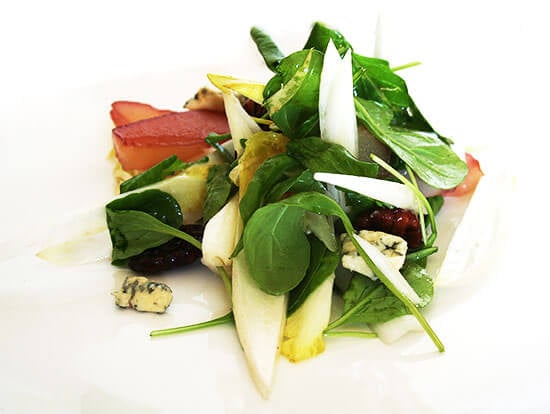
So, you see my vision. It’s nothing earth-shattering. A classic combination, really. But a timeless one, and one I think will be festive for Thanksgiving Day.
So, to execute this salad, all I need to finish tweaking is my recipe for poached pears. The pecans I’ve got down to a science, (for me at least — I’ll explain in a bit); the dressing, made with reduced orange juice, white balsamic vinegar and olive oil, has been tested countless times (Aunt Vicki’s recipe, to be provided next week); the blue cheese (perhaps Stilton or Maytag) and the endive merely need to be purchased. The pears, however, have been giving me a little trouble this past week. I’ve been working with a combination of white wine, sugar, orange zest, cinnamon stick and vanilla bean. Something is not quite right yet. Any suggestions are welcome.
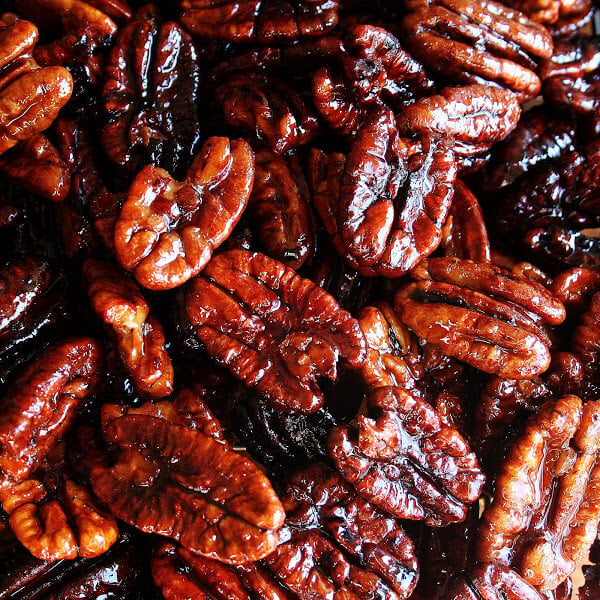
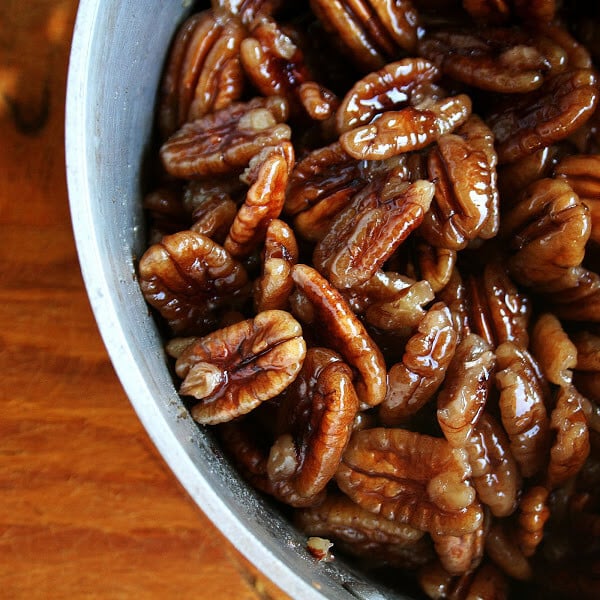
Now, about these pecans. I’ve been making this recipe for several years now, and I find it produces the crunchiest, most delicious candied pecans. I’m not promising a simple and foolproof recipe, however. It’s the kind of recipe, in fact, that could potentially lead you to swear off my recipes altogether.
The first two-thirds of the recipe is simple: the pecans are blanched for two minutes, then simmered in simple syrup for five minutes. The final third of the process, which calls for deep-frying the pecans, is where problems can arise. I suggest using a deep fryer with a built in thermometer. My deep fryer continues to exist in my kitchen solely for the purpose of making these pecans — it keeps the oil at 375ºF, which is key for this recipe. I tried deep-frying the pecans in a heavy-bottomed pot on my stovetop once, and the process was so frustrating: At first the oil was too hot, then it wasn’t hot enough, and before I had finished frying, I had ruined nearly half the batch.
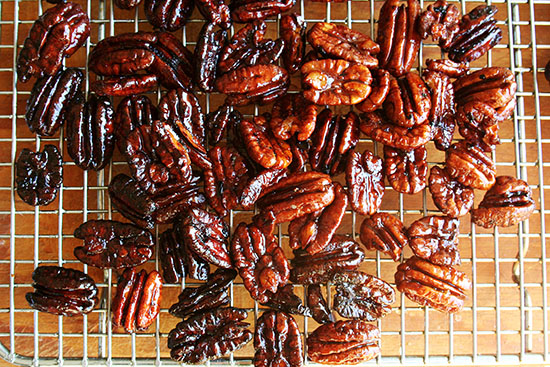
The key, I’ve learned, is to let the pecans fry for about 3 to 5 minutes — the longer they fry, the crunchier they will be. However, they must be removed from the oil before they burn, and they continue to cook a little bit once they’ve been removed from the oil. It’s a trial-and-error process, but one well worth it in the end. I highly recommend using a deep fryer with a built-in thermometer, but if you are comfortable with stove-top deep frying, by all means go for it.
- 1 lb. raw (unblanched, unsalted) pecans = 4 heaping cups
- 1 1/3 cups sugar
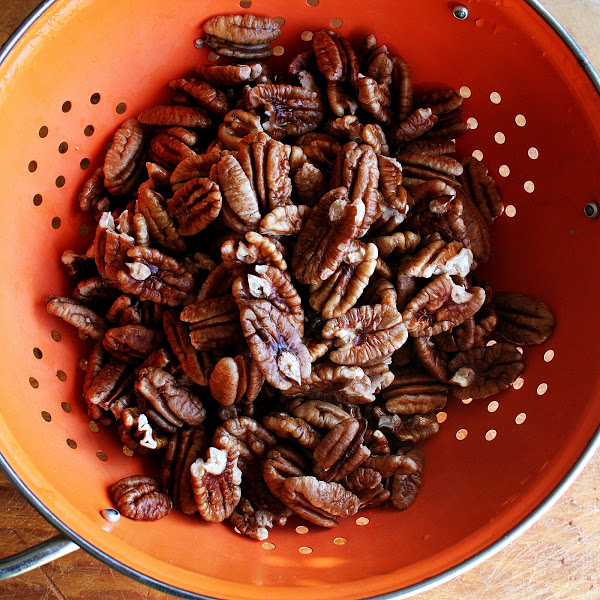
- Bring a medium pot of water to a boil. Add pecans and simmer for 2 minutes. Drain and rinse under cold water.
- Combine the sugar with 1 cup of water and bring to a simmer. Simmer for 2 minutes, add pecans and simmer for 5 minutes. Drain.
- Meanwhile, preheat a deep fryer to 375ºF, or pour canola or peanut oil into a heavy-bottomed pot to reach at least one-inch up the sides and fix a deep-fry thermometer to its side. When oil is ready, fry pecans for 3 to 5 minutes in small batches. This will be a trial-and-error process. The longer the pecans fry, the crunchier they will be. If the oil is too hot, they’ll burn before they get crispy. So, fry the pecans in small batches until you can read your oil. Remove pecans from fryer with a slotted spoon or spider and let drain on cooling rack or parchment paper — not paper towels. Repeat process until all pecans are fried. Refrain from sampling until the pecans have cooled completely — they’ll be crunchier and tastier when they are completely cool.
- Prep Time: 5 minutes
- Cook Time: 40 minutes
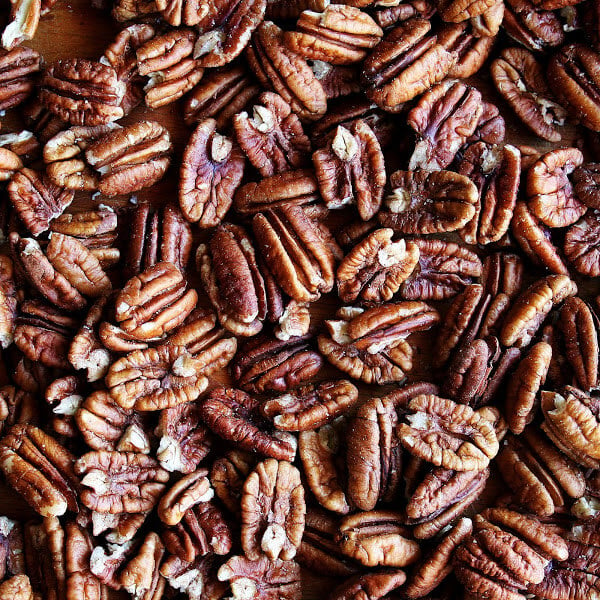
This recipe begins with raw (unblanched, unroasted, unsalted) pecans: They are blanched for two minutes in boiling water, then drained: Then they simmer in a sugar syrup for five minutes: Then they are drained again before being deep-fried for three to five minutes.
- 1 lb. raw (unblanched, unsalted) pecans = 4 heaping cups
- 1 1/3 cups sugar
- Bring a medium pot of water to a boil. Add pecans and simmer for 2 minutes. Drain and rinse under cold water.
- Combine the sugar with 1 cup of water and bring to a simmer. Simmer for 2 minutes, add pecans and simmer for 5 minutes. Drain.
- Meanwhile, preheat a deep fryer to 375ºF, or pour canola or peanut oil into a heavy-bottomed pot to reach at least one-inch up the sides and fix a deep-fry thermometer to its side. When oil is ready, fry pecans for 3 to 5 minutes in small batches. This will be a trial-and-error process. The longer the pecans fry, the crunchier they will be. If the oil is too hot, they’ll burn before they get crispy. So, fry the pecans in small batches until you can read your oil. Remove pecans from fryer with a slotted spoon or spider and let drain on cooling rack or parchment paper — not paper towels. Repeat process until all pecans are fried. Refrain from sampling until the pecans have cooled completely — they’ll be crunchier and tastier when they are completely cool.
- Prep Time: 5 minutes
- Cook Time: 40 minutes
Find it online : https://alexandracooks.com/2008/11/13/candied-pecans-a-thanksgiving-day-salad/
Oh my. I cannot believe Thanksgiving is almost here. I know everyone is very busy preparing, so let’s keep this short and sweet, k?
If you get anything out of this post, I hope it is this:
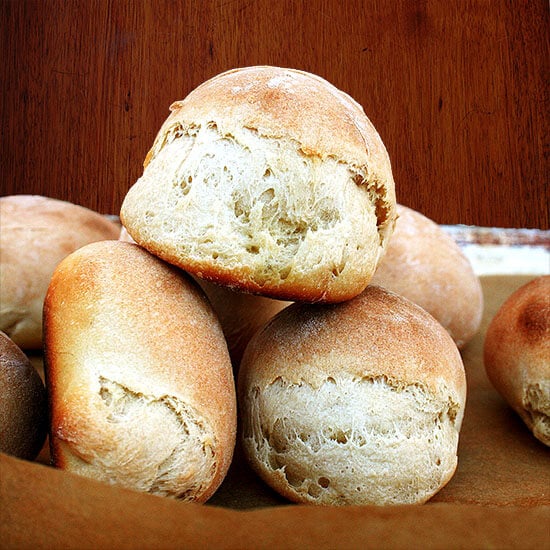
A yummy recipe for buttermilk dinner rolls , perfect for the holiday table and a great way to use up a left-over buttermilk.
A delectable salad dressing made with reduced orange juice and white balsamic vinegar. This dressing is particularly nice with wintery salads — endive, shaved fennel, apple, pear, oranges, etc.
And a simple method to poach pears . Ready? Combine equal parts white wine and sugar in a small saucepan. Bring to a simmer. Add peeled, halved and cored pears. Reduce heat to low. Cover and simmer for about 10 minutes. Check with a paring knife — pears should be tender but not mushy. Turn off the heat, remove pears and let cool to room temperature. Save the poaching liquid for another use. Slice pears further if desired. (Note: I used ½ cup of wine and sugar for about 4 pears. Nice additions to the poaching liquid include orange zest, cinnamon stick and vanilla bean.)
OK, let’s get started.
First, these rolls. Looking for a way to use up a half-quart of buttermilk, I stumbled upon this recipe for honey buttermilk bread. I simplified the recipe a little bit, divided the dough into two big portions and made dinner rolls with half the batch and a regular-sized loaf with the other. The dinner rolls I devoured in about a day-and-a-half. The loaf, I sliced and froze and have been toasting every morning, spreading with apple butter, cinnamon and sugar, and sometimes just butter and salt. So yummy.
Description
Adapted from the blog, The Baking Sheet
- 2½ teaspoons ( 8 g ) active dry yeast or instant yeast
- 2 cups buttermilk, room temperature is ideal — bread will take longer to rise if you use cold buttermilk
- 2 tablespoons honey
- 4½ cups ( 576 g ) flour, plus more while kneading or mixing
- 2 teaspoons ( 10 g ) kosher salt
- Combine yeast, buttermilk and honey in the bowl of a stand mixer or, if kneading by hand, in a large bowl. Whisk until combined. It’s OK if a few lumps of yeast remain.
- Add the flour and salt to the mixer and with the dough hook attachment (or your hands), knead for about 10 minutes or until dough is pulling away from the sides of the bowl and forming a mass around the hook. Add flour as needed.
- After 10 minutes, transfer the dough to a large, lightly oiled bowl. Cover with plastic wrap and let rise in a warm spot for about two hours (may take as long as four) or until doubled in bulk. Longer is fine, too. Punch down dough, and decide what you are going to make — rolls, loaves, boules, etc. If making rolls, begin portioning the bread into about 2-ounce pieces — if you don’t have a digital scale, just use your eye to judge. It is best to cut with a dough scraper or a sharp knife. (Alternatively, cut the dough in half, then divide each half into about 12 equal portions. Err on keeping the rolls smallish.) Round each portion of dough into a ball and place on a parchment-lined (or oiled) baking sheet. Preheat the oven to 375ºF. Let rolls rise for about 40 minutes. Bake rolls for 15-20 minutes, or until golden brown — check the bottoms of the rolls because they will brown first.) If making a loaf, place dough in a greased loaf pan. Let rise until almost doubled, about 40 minutes. Bake 45 minutes, until loaf is browned and sounds hollow when tapped. Let cool for 30 minutes before slicing.
- Prep Time: 30 minutes
- Cook Time: 20 minutes
I first tasted this salad dressing when Aunt Vicki made a Greek salad for a dinner party this summer. I love its versatility — it is delicious with romaine, endive, baby spinach, arugula, etc. I think it is a perfect dressing for this Thanksgiving salad .
- 2 cups orange juice
- ¼ cup white balsamic vinegar, (regular is fine, too)
- kosher salt and pepper to taste
- 1 cup extra-virgin olive oil
- ¼ cup chopped scallions, green part only, cut on the diagonal (optional — I don’t add the scallions because I like to keep a jar of this in my fridge for a long time)
- In a small saucepan, bring the orange juice to a simmer over medium-low heat and cook until it has reduced to ½ cup, about 10 minutes. Remove from heat, transfer to a medium-sized bowl and allow to cool to room temperature. Once cool, whisk in the vinegar and salt and pepper to taste. Slowly whisk in the olive oil. Transfer to a jar and store in refrigerator until ready to serve. Bring to room temperature before using.
- Prep Time: 10 minutes
- Cook Time: 10 minutes
