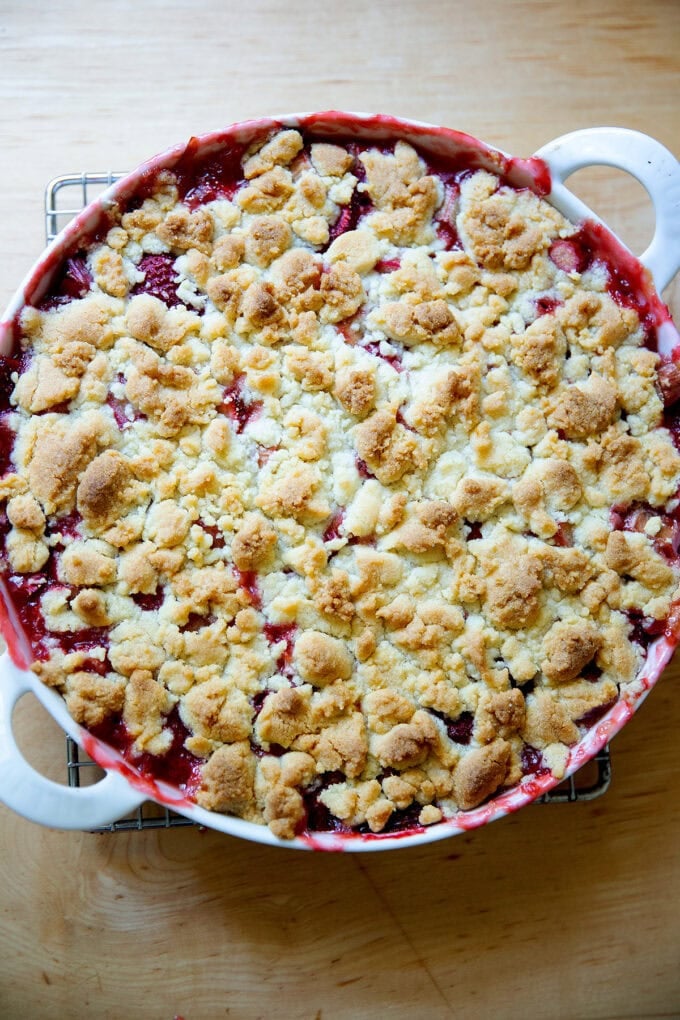
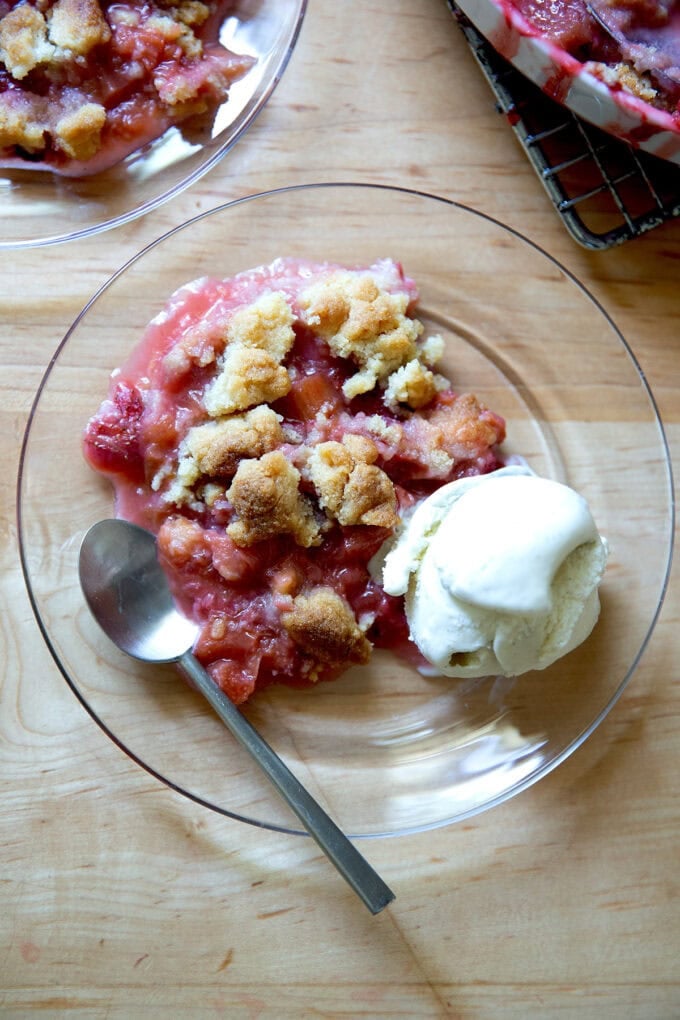
Meet your new favorite summer dessert: strawberry-rhubarb crisp, a union of sweet-tart jammy fruit and an irresistibly buttery crisp topping. Summery, festive, and delicious — strawberries and rhubarb have never been so happy together !
Like basil and tomatoes, apples and cinnamon, peanut butter and chocolate, rhubarb and strawberries are meant to be together.
Arguably, they’re better together. At least in their cooked forms.
Here, strawberries and rhubarb bake together beneath a buttery, shortbread-like topping until the fruit softens, becoming jammy in texture, the sweetness of the strawberries balancing the tartness of the rhubarb, the meltingly soft rhubarb buoying the bursts of juicy strawberries.
What I love about a crisp is its simple assembly, and this one is no exception: first, you’ll zest a lemon into the sugar, which releases the oils in the zest, heightening the lemon flavor. Next, you’ll toss this lemony sugar with the fruit before transferring it to its baking dish and crumbling over the topping, which comes together in seconds in a food processor. Into the oven it goes, and 45 minutes later, when the rosy fruit bubbles beneath the golden brown topping, it’s done.
Vanilla ice cream alongside is a must. Find step-by-step instructions below.
PS: Lemon-Blueberry Crisp
How to Make Strawberry-Rhubarb Crisp, Step by Step
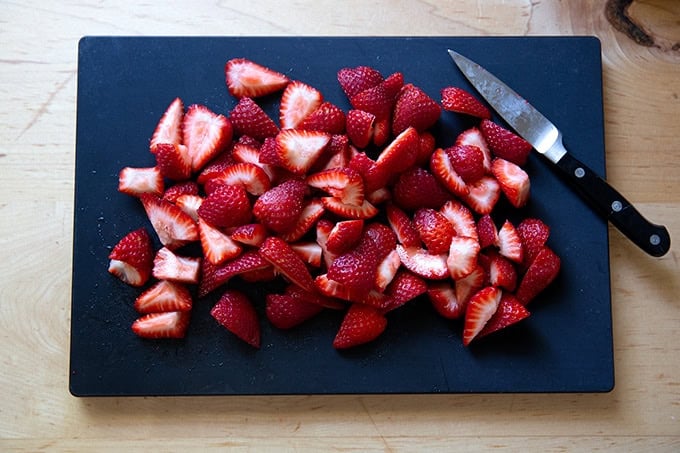
First, gather your strawberries and rhubarb: you need about a pound of each.

Stem, hull, and quarter the strawberries:
Cut the rhubarb into 1/2-inch thick slices:

In a large bowl, zest a lemon over sugar:
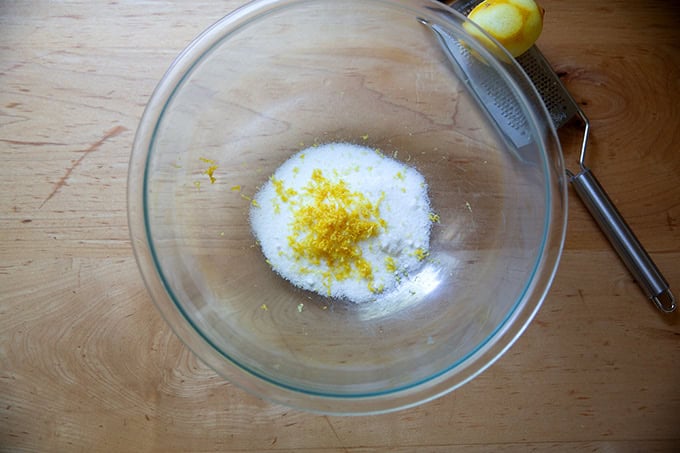
Rub the lemon into the sugar:
Add the fruit to the bowl, then sprinkle with a pinch of salt and a tablespoon of cornstarch:
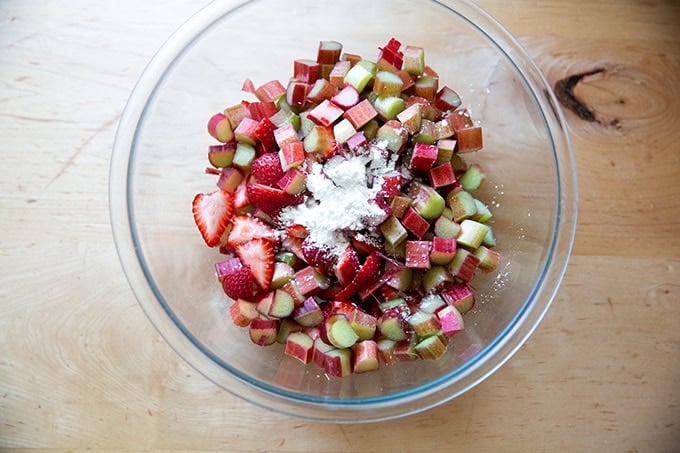
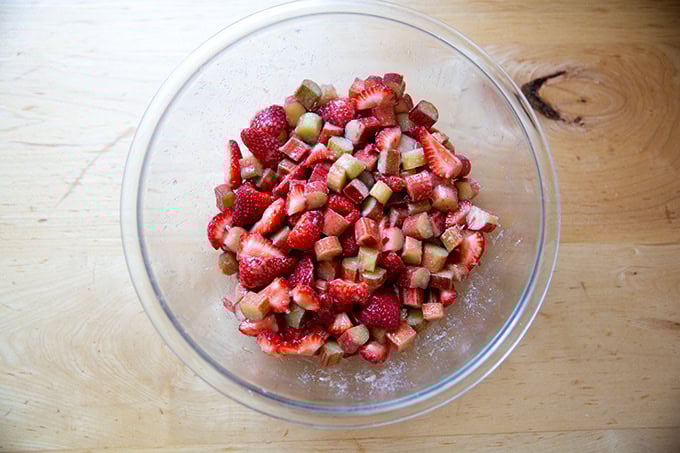
Toss to combine:
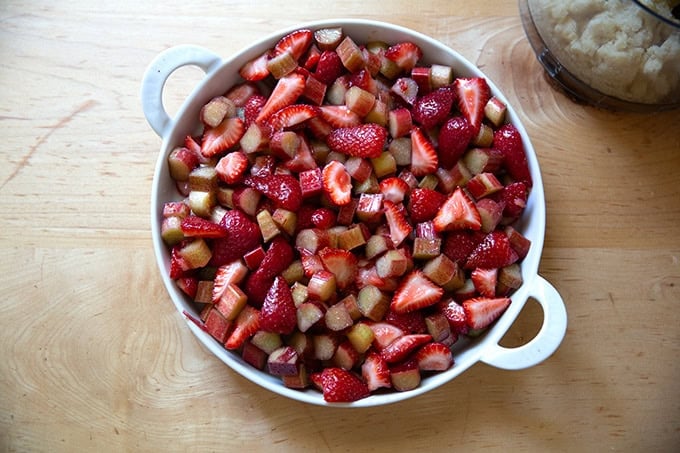
Then transfer to a baking dish: I’m using this 10.5-inch tart pan .
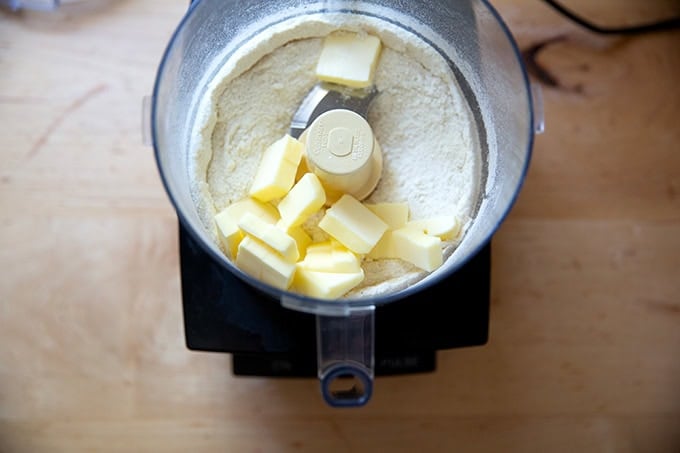
Next, gather your ingredients for the crisp topping: flour, almond flour (see recipe box if you don’t have almond flour), sugar, salt, baking powder, and butter.

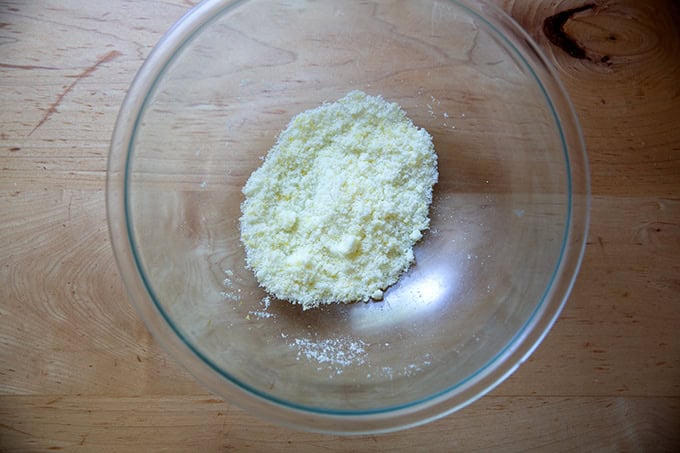
Place the dry ingredients in a food processor:
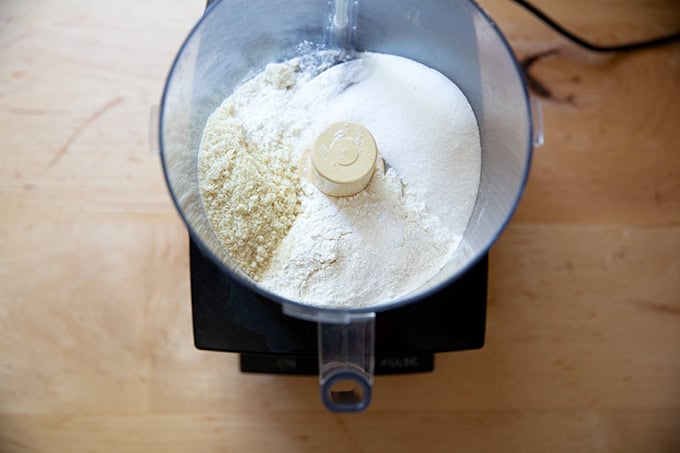
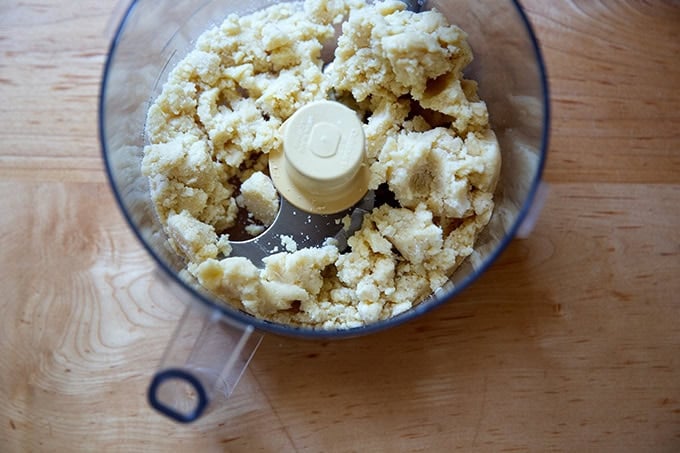
Run the machine until the ingredients are well blended, then add the butter:
Purée again, until the mixture begins clumping:
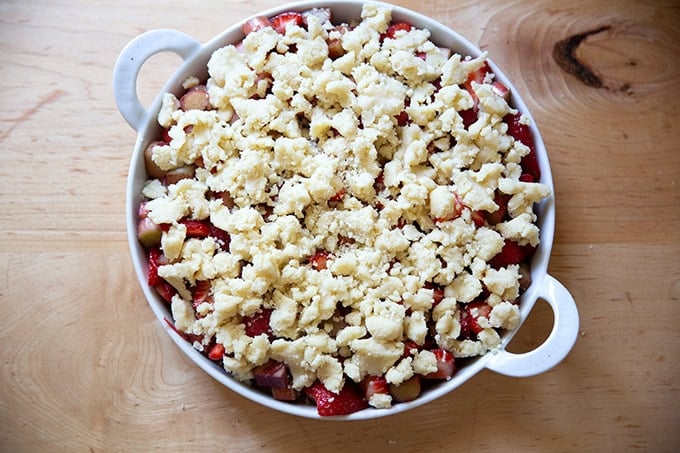
Spread the topping over the berries in the baking dish:
Then bake for 45-50 minutes or until the topping is browned to your liking and the fruit is bubbling:
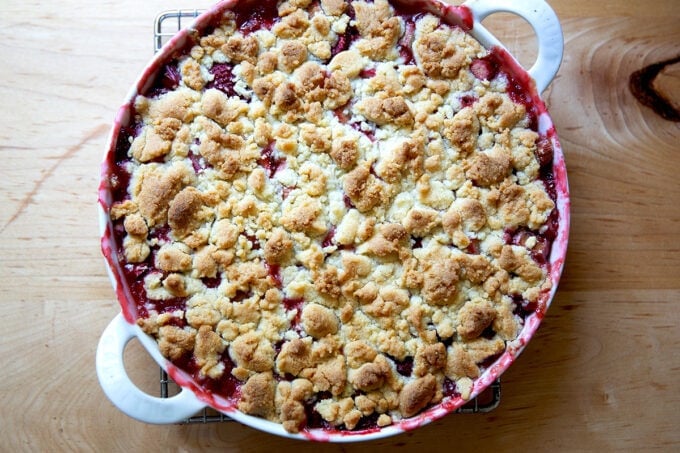

Let cool briefly, then serve with vanilla ice cream:
Description
This strawberry-rhubarb crisp
Notes:
- Baking vessel: I’ve been making this in this 10.5-inch tart pan. You can use something similar or a 9×13-inch baking dish.
- Almond Flour: If you don’t have almond flour, you can grind whole almonds (56 grams) in the food processor prior to adding the remaining dry ingredients. Alternatively, you can simply use 56 grams more flour.
For the filling:
- 1 pound (453 grams) strawberries
- 1 pound (453 grams) rhubarb, leaves removed
- 1/2 cup (1oo grams) sugar
- 1 lemon
- 1 tablespoon ( 8 grams ) cornstarch
- pinch salt
For the topping:
- 3/4 cup ( 96 grams ) all-purpose flour
- 1/2 cup ( 100 grams ) sugar
- 1 teaspoon ( 4 grams ) baking powder
- 1/2 cup ( 56 grams ) almond flour, see notes above
- 1/2 teaspoon ( 2 grams ) Diamond Crystal kosher salt
- 1/2 cup ( 113 grams ) cold, unsalted butter cut into 1/2-inch cubes
For serving:
- vanilla ice cream
- Preheat the oven to 350ºF.
- Prepare the fruit: Hull and quarter the strawberries. (Note: To Hull the strawberries, I take a small paring knife and run it around the base of the stem, pointed in at an angle, ultimately removing a cone-shaped area.) Cut the rhubarb into 1/2-inch thick slices.
- Make the filling: Place the 1/2 cup of sugar in a large bowl. Zest the lemon into the sugar, then rub the zest into the sugar with your fingers. Transfer the fruit to the bowl. Add the cornstarch and a pinch of salt. Using your hands or a large spoon, toss until everything is well combined. Transfer the filling to a 9- or 10-inch baking dish (see notes above) or 9×13-inch baking pan.
- Make the crisp topping: Place the flour, sugar, baking powder, almond flour, and salt in a food processor. Purée until the dry ingredients are combined. Add the butter and purée again just until the mixture begins to clump — it will be mostly smooth. Crumble the topping over the fruit.
- Bake the crisp: If you are using a 9- or 10-inch baking dish, place the dish on a parchment-lined sheet pan. Transfer to the oven, and bake for 45-50 minutes or until the crisp topping is browned and the fruit is bubbling.
- Serve: Let cool for 5 to 10 minutes, then serve with vanilla ice cream.
- Prep Time: 20 minutes
- Cook Time: 45 minutes
- Category: Dessert
- Method: Oven
- Cuisine: American
Find it online : https://alexandracooks.com/2025/07/05/strawberry-rhubarb-crisp/
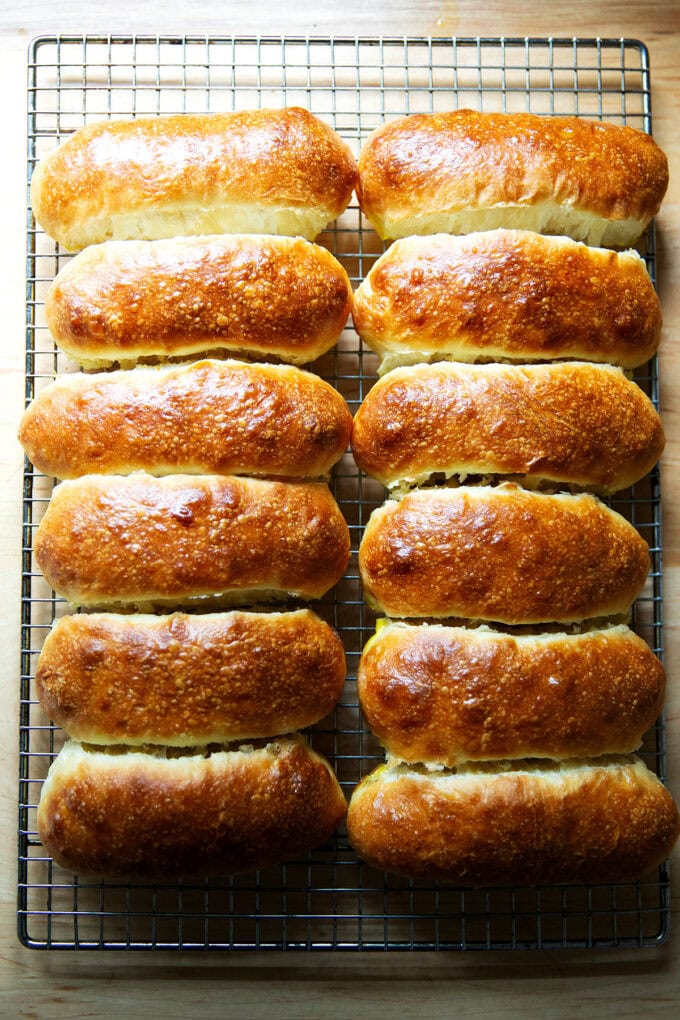
Light and airy, bronzed and burnished, homemade brioche hot dog buns are surprisingly easy to make. The no-knead dough comes together in minutes without a mixer, and the shaping process is simple. Find step-by-step instructions below 🌭🌭🌭
Here it is, a no-knead recipe, the dough identical in makeup to these brioche rolls , with the mixing process simplified even further. If you are familiar with that brioche roll recipe, you know that as far as brioche recipes go, it’s on the light side, calling for a single egg and a modest amount of sugar, milk, and melted butter.
And while these enrichments are minimal, they create a dough that ultimately bakes into a bread with a light and tender crumb and a soft, thin crust that browns beautifully. As with the brioche roll recipe, this dough is on the high-hydration side, but it is not unmanageable. Find step-by-step instructions as well as video guidance below 🌭🌭🌭
PS: No-Knead Brioche Bread
Homemade Brioche Hot Dog Buns, Step by Step
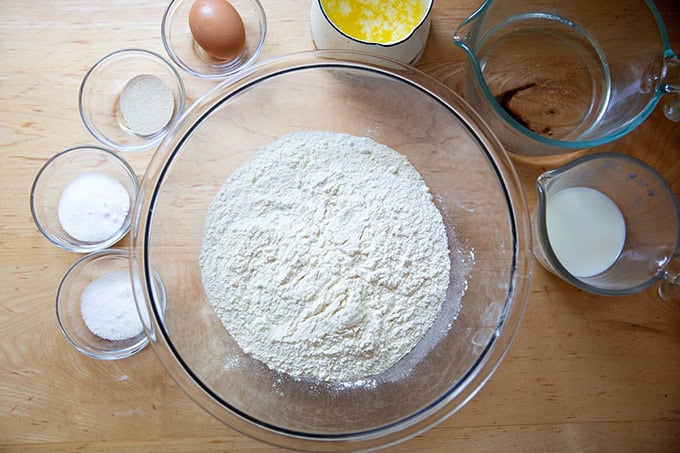
First, gather your ingredients: flour, salt, sugar, instant yeast, water, milk, egg, and melted butter:
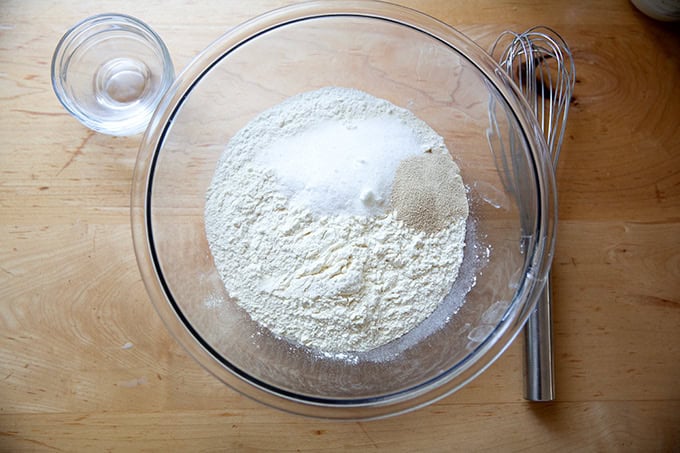
Whisk together your dry ingredients: flour, salt, sugar, and instant yeast:
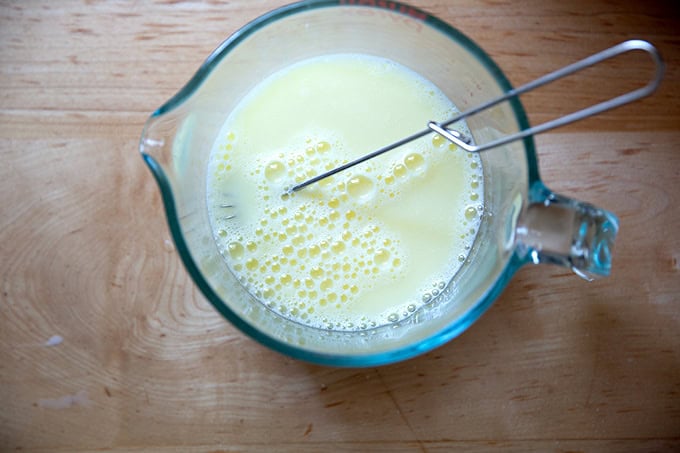
Whisk together your wet ingredients: water, milk, and egg:
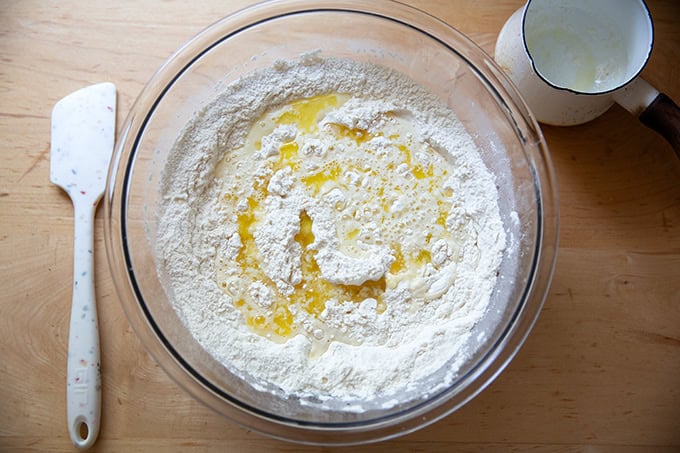
Add the wet ingredients to the dry ingredients, followed by the melted butter:
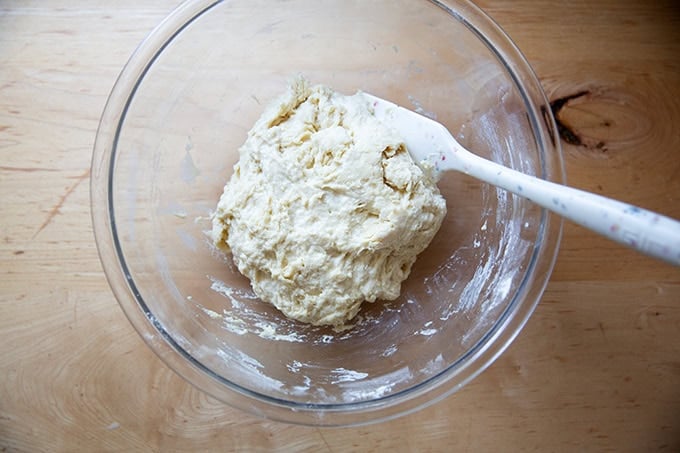
Mix until you have a sticky dough ball:
Let the dough rest for 30 to 60 minutes, then stretch and fold the dough. Here’s video guidance:
After the dough has been stretched and folded…
… cover the bowl:
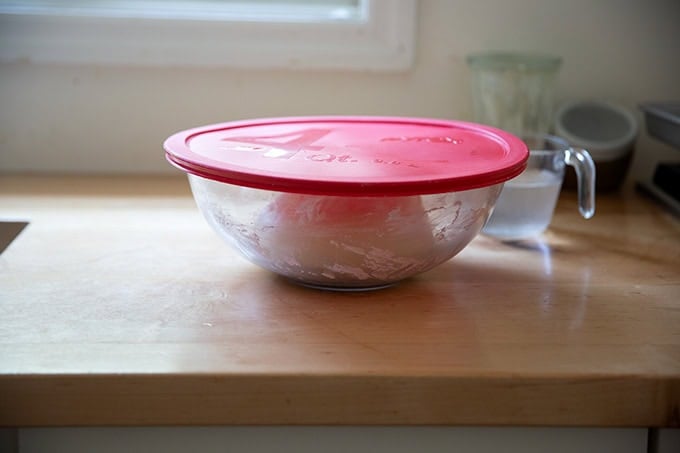
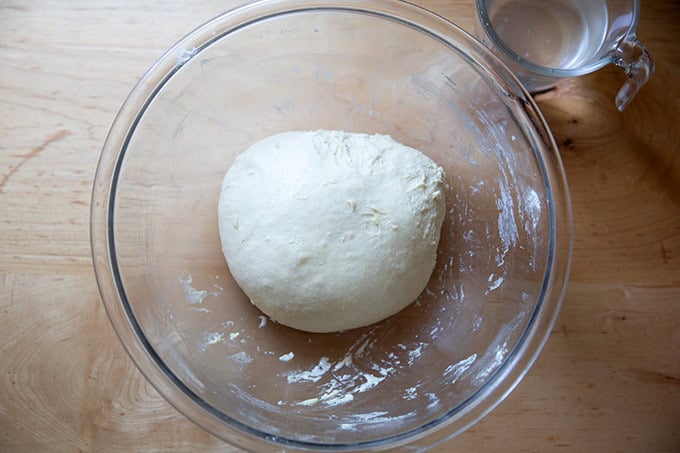
And let the dough rise until it doubles in volume:
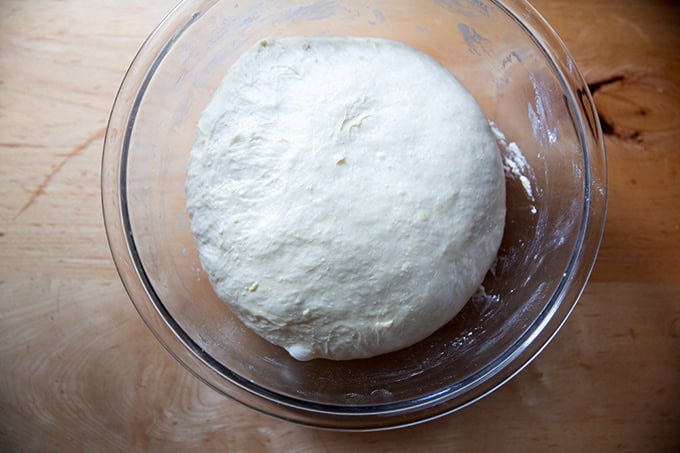
Turn the dough out onto a lightly floured work surface:
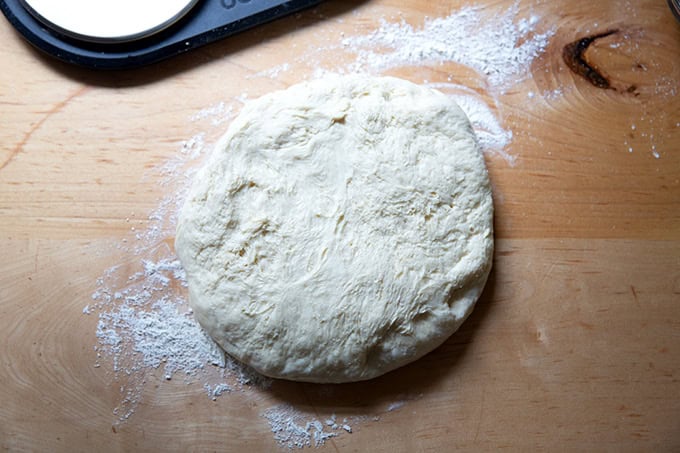
Then divide it into 12 portions, using a scale if you care about each portion being identical:
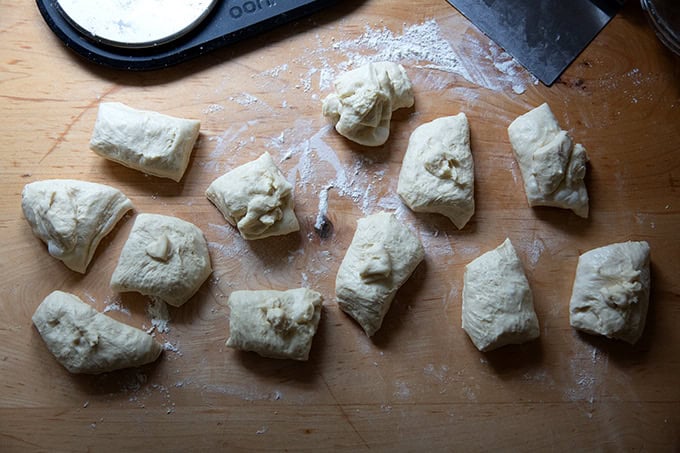
Ball up each portion. Here’s video guidance:
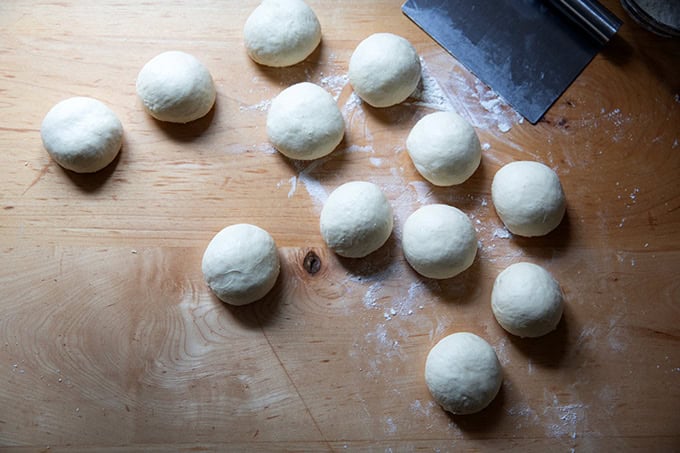
Once the portions have been balled up, roll each into a 4-inch log:

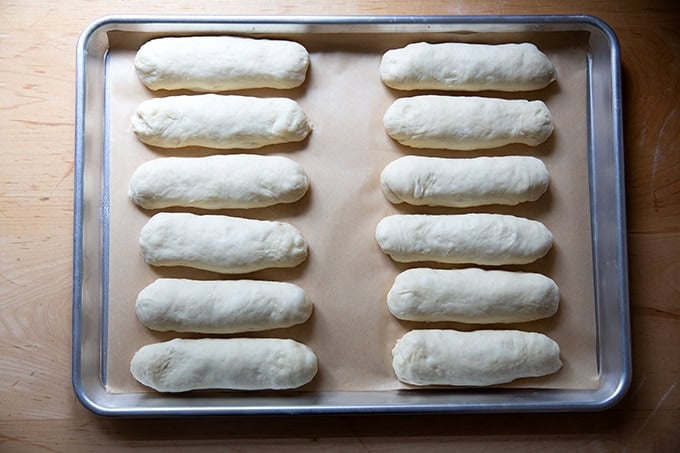
Cover and let rest for 20 to 30 minutes, then transfer to a parchment-lined sheet pan, stretching each into a 6- to 7-inch log as you do:
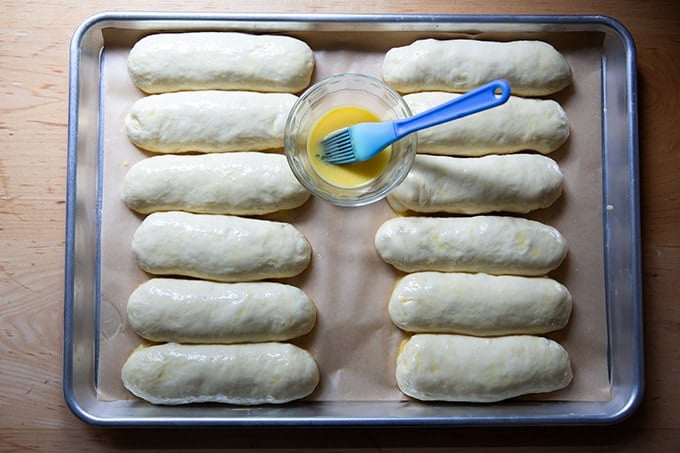
Let rest for another 30 to 45 minutes, or until the buns puff into each other and feel light to the touch, then brush with an egg wash:
Bake @ 425ºF for 15 to 20 minutes, or until evenly golden:
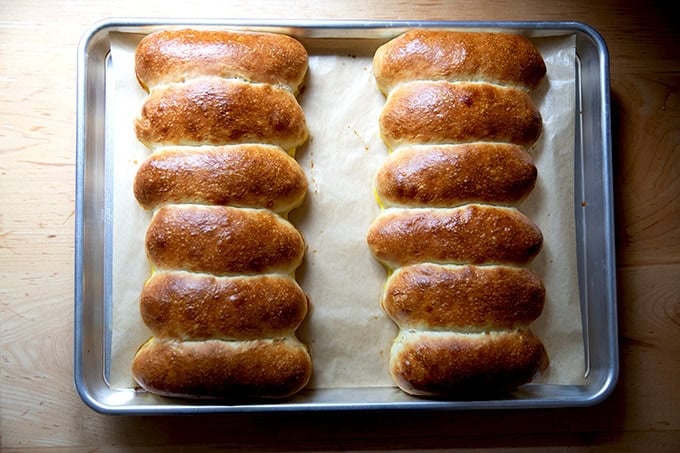
Remove the pan from the oven and let the buns rest on the sheet pan for 5 minutes, then transfer to a cooling rack and break apart:
Let cool for at least 20 minutes, before …
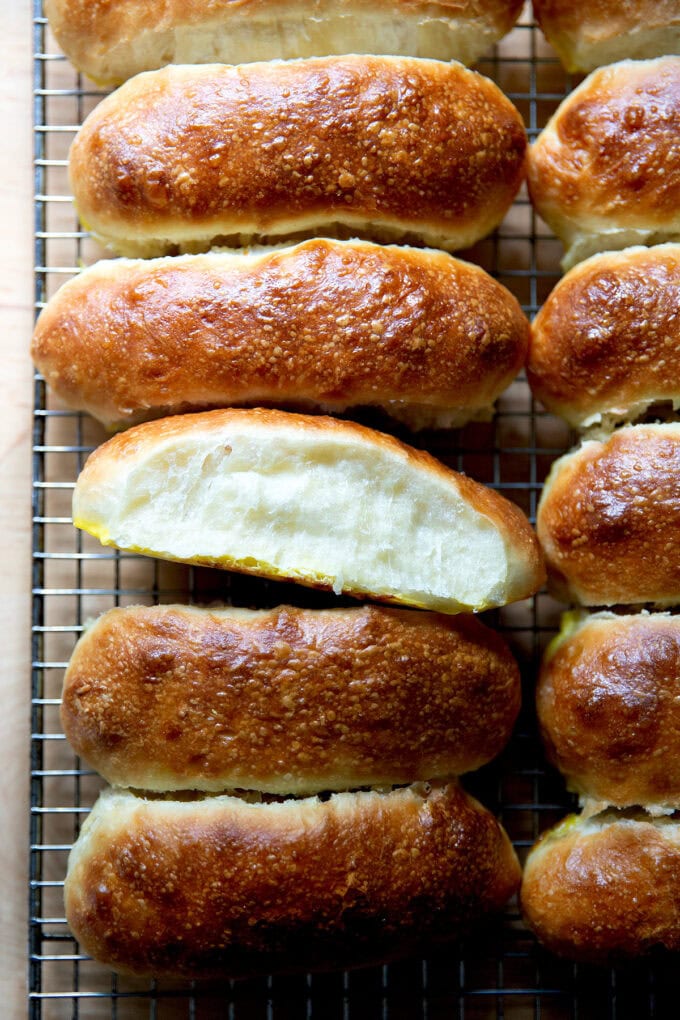
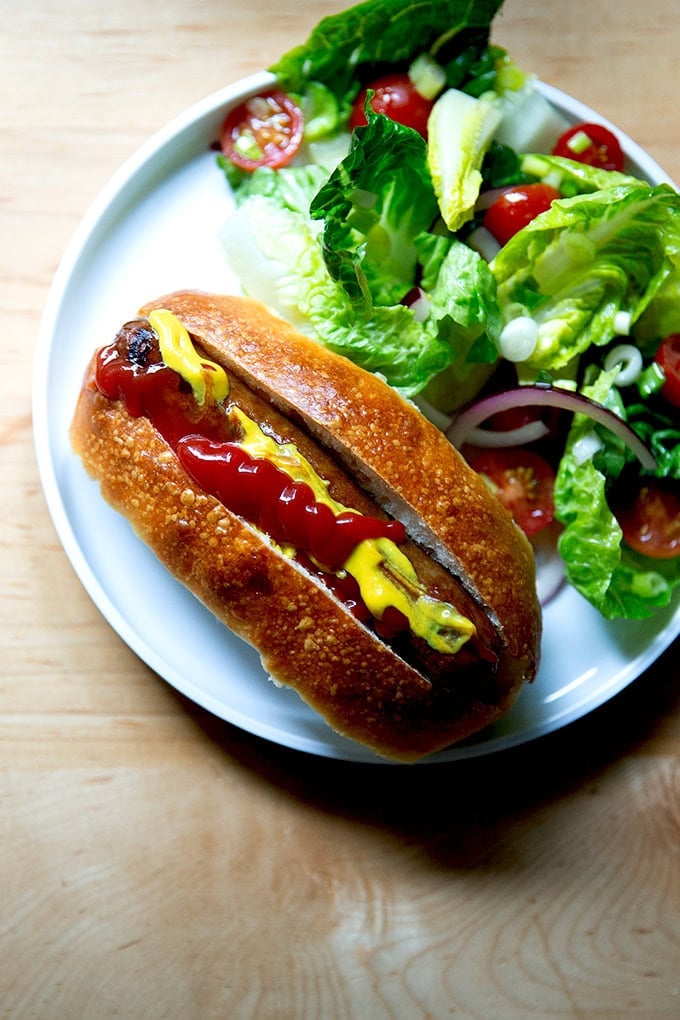
… slicing, and filling each bun with something delicious, hot dogs or otherwise !
Description
Light and airy, bronzed and burnished, homemade brioche hot dog buns are surprisingly easy to make. The no-knead dough comes together in minutes without a mixer, and the shaping is simple: if you can roll Play-Doh, you can make hot dog buns 🌭🌭🌭
Adapted from this recipe for Homemade Brioche Rolls
Notes:
As always, for best results use a scale to measure. I love this Ooni scale for its precision, especially when measuring smaller quantities of salt and yeast.
Salt: The rule of thumb with bread is that the weight of the salt should be 2 to 3% the weight of the flour. For this recipe that is 10 to 15 grams. I always use 15 grams of salt, and I do not find the buns to be too salty, but, as you know, I have a high salt tolerance. Use an amount appropriate to your tastes and preferences. Finally, I always use Diamond Crystal kosher salt, but you can use fine sea salt or whatever salt you like.
Yeast: I prefer using instant yeast, SAF being my preference but if you are using active dry yeast: Use lukewarm water, sprinkle the yeast over it, and let it stand for 15 minutes or until it gets foamy; then proceed with the recipe.
To create a warm spot for your bread to rise, turn your oven on for one minute, then shut it off. That brief blast of heat will create a cozy place for your bread to rise.
500 grams (about 4 cups ) bread flour or all-purpose flour
10 – 15 grams ( 2 to 3 teaspoons) kosher salt, see notes above
8 grams ( 2 teaspoons ) instant yeast
28 grams ( 2 tablespoons ) sugar
225 grams water (about 1 cup )
75 grams milk (about 1/3 cup )
1 egg
57 grams ( 4 tablespoons ) melted butter
for the egg wash: 1 egg beaten with 1 tablespoon water
- Mix the dough: In a large bowl, whisk together the flour, salt, yeast, and sugar.
- In a medium bowl, whisk together the water, milk, and egg until blended.
- Add the wet ingredients to the dry ingredients, followed by the melted butter. Using a spatula, mix until you have a wet, sticky dough ball. Cover the bowl and let the dough rest for 30-60 minutes, then stretch and fold the dough: Fill a small bowl with water. Using a wet hand, grab an edge of the dough and pull it up and towards the center. Repeat this stretching and folding process, moving your hand around the edge of the dough with every set of stretches and folds. As you stretch and fold, you should feel the dough transform from being sticky and shaggy to smooth and cohesive. See the video above or here for guidance .
- Let it rise: Cover the bowl and let the dough rise at room temperature (or a slightly warm area, see notes above) until it has doubled in volume, roughly 2 hours.
- Portion the dough: Deflate the dough — I do this using a flexible bench scraper, which I use to release the dough from the sides of the bowl — then turn it out onto a lightly floured work surface. Divide the dough into 12 equal portions. If you want perfectly even buns — you know you do! — use a scale and divide the dough into 79-gram portions.
- Ball up each portion: Clear a space on your work surface so that it is free of flour. Working with one portion at a time, flip it over onto the non-floured space so that the flour side of the portion is up. Cup your hand around the portion and roll it into a ball: video guidance above and here . Repeat until all 12 portions have been balled up.
- Shape the buns: Using flour as needed to prevent sticking — you should need little to no flour here — press gently on each ball and roll into a 4-inch log (as though you were rolling out Play-Doh). Keep the logs on your work surface, cover with a tea towel, and let rest for 20 to 30 minutes — this allows the gluten to relax, which allows for easier final stretching. Line a sheet pan with parchment paper. Using lightly floured hands, pick up a portion, stretch it into a 6- to 7-inch log, and place it on the prepared pan. Repeat, creating two rows of six tightly spaced buns — see photo above for a visual.
- Final rise: Cover the buns with a towel, and let rise until the buns puff into each other and feel light to touch, about 30 to 45 minutes. After about 30 minutes of rising, preheat the oven to 425ºF.
- Egg wash and bake: Brush the rolls with the egg wash. Bake for 15 to 20 minutes or until the buns are golden all around. Remove the pan from the oven, transfer to a cooling rack, and let the buns rest on the sheet pan for 5 minutes. After the 5 minutes, remove the buns from the pan and transfer to the cooling rack, breaking them apart as you do. Let cool for 20 minutes before using as you wish.
- Prep Time: 10 minutes
- Cook Time: 15 minutes
- Category: Bread
- Method: no-knead
- Cuisine: American
