Several years ago when I lived in Virginia, I remember watching friends with older children race off to afternoon activities. Just as my day was winding down, theirs was beginning anew with soccer practice, swim lessons, tae kwon do. Dinner was either at 4 or 8 pm; they packed snacks for in between.
At the time, this idea was so foreign, but all of a sudden, I’m in it, too. Three times a week, Ben gets home from work, and if his parents haven’t already done so, shuttles Ella off to baseball or Graham off to t-ball. Sometimes Wren, Tig, and I join in on the fun — why not? — but when we do, dinner is a serious scramble. For the first time ever, I’m feeling the need to plan meals, to have dinner prepared by 4, which is so not my nature, but which, surprisingly, I’m liking very much.
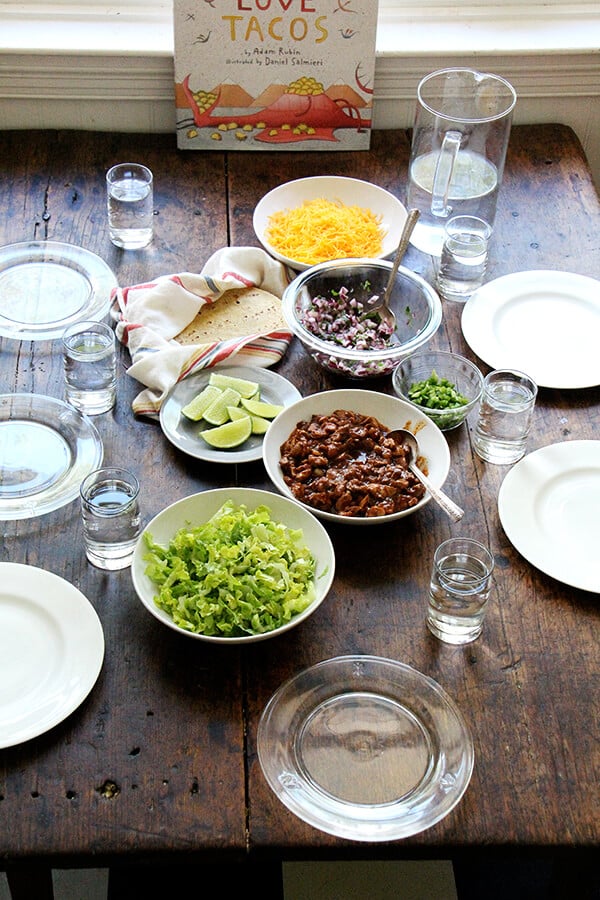
The children are liking it, too, the consistency, the weekly rituals, the pizza Fridays, spaghetti Sundays, taco Tuesdays — most especially the taco Tuesdays thanks to my genius friend Holly, of Holly’s Challah , who told me her kids’ enthusiasm for tacos increased tenfold after she read them Dragons Love Tacos , which she is convinced is a production of the National Taco Council.
I, of course, immediately ordered DLC , read it to the children the moment it arrived, then presented them with tacos later that evening. We’ve since been on a Taco Tuesday roll, which has been a near smashing success.
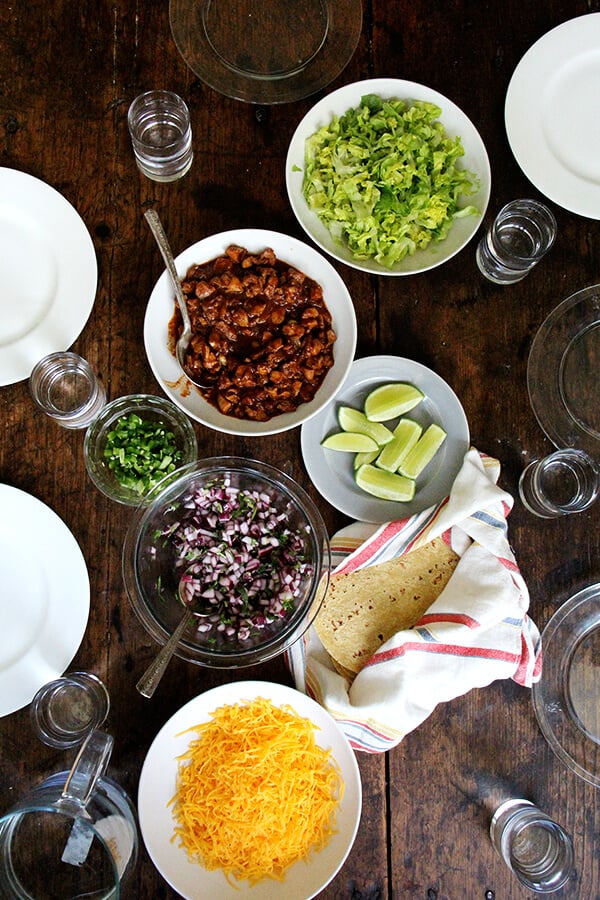
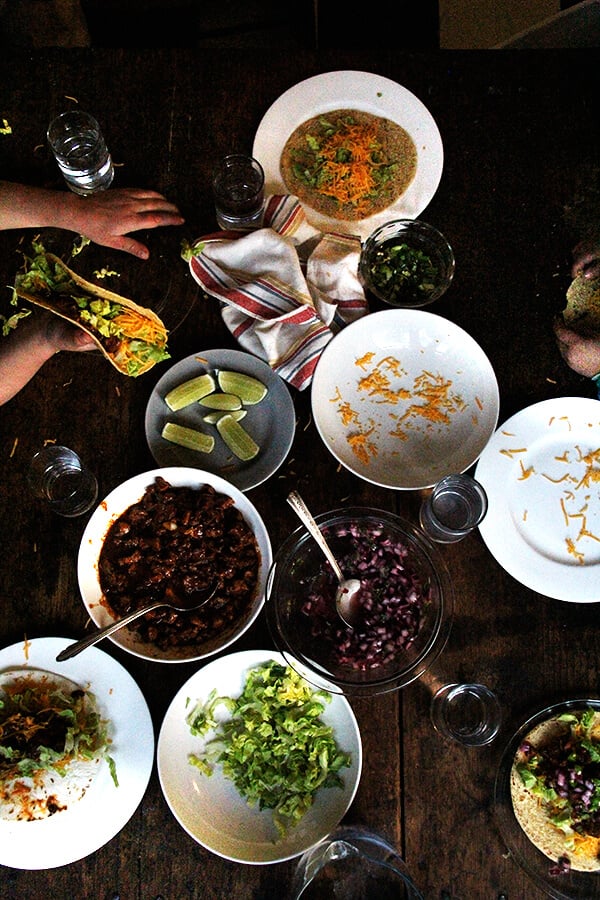
For Ella and Graham, assembling their own tacos couldn’t be more fun, and they consistently gobble up every shred of lettuce, cheese, chicken, and tortilla on their plates. For Wren, keeping the tacos intact is a challenge, but not enough to ruin dinner. For Tig, taco Tuesday happens on her own time, and thus far, she approves.
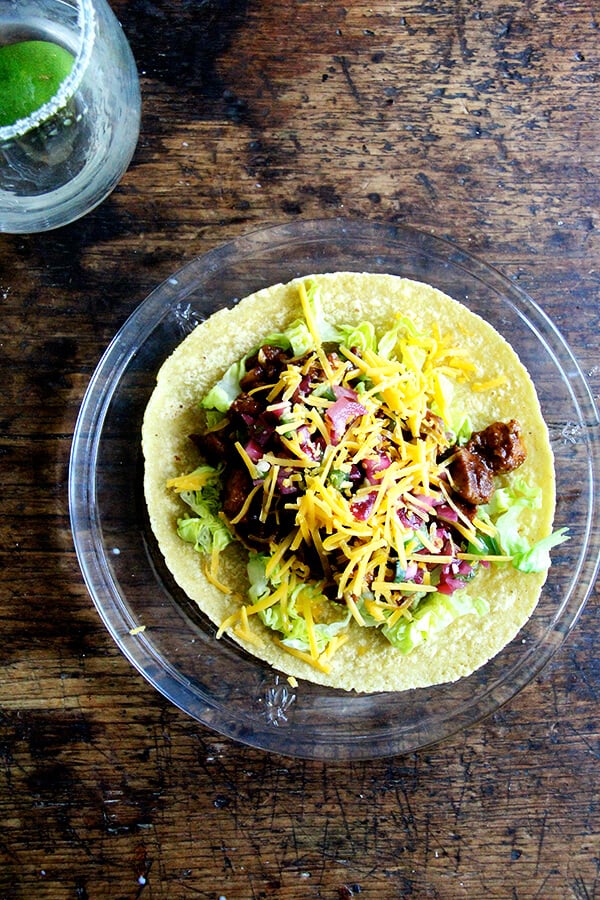
The success of Taco Tuesday for me lies in keeping the occasion very simple: toppings consist of shredded lettuce and grated cheese. I’ve been making a simple red onion salsa, keeping the jalapeños on the side — remember, Dragons HATE spicy salsa — and that’s it. No avocado, no sour cream.
Note: Taco Tuesday is a messy affair: For Ben, the post-dinner sweep has never been more demanding but, as for me, there’s little more gratifying than seeing clean plates and smiling faces, making every bit of cleaning and prep well worth the effort.


Love these TJ’s corn & wheat tortillas. Whole Foods Market’ sells their own version , which I love as well.

Dragons.

Tiglets.


Description
Recipe adapted from this Cook’s Illustrated recipe for beef tacos . Since posting this, I almost always use beef, too.
Both Trader Joe’s and Whole Foods sell tortillas made with a mix of flour and cornmeal, which are so tasty, but use what you like. You can, of course, serve this with any salsa you’d like, but remember that dragons don’t like spicy salsa.
When tomatoes aren’t in season, I make a simple onion salsa: Finely dice a red onion, squeeze over fresh lime juice, season with a pinch of salt, stir in chopped cilantro, drizzle in olive oil, toss to coat and let stand till serving.
I keep finely diced jalapeño on the side for Ben and me, but if the little people in your life aren’t eating the red onion salsa anyway, just stir in the jalapeños.
Almost everything can be prepared ahead of time. Chicken/beef filling can be made up to 3 days ahead and reheated slowly just before serving. Cheese and lettuce can be grated/shredded hours ahead of time and stored in the fridge. Heat the tortillas (I often do this in the toaster, each tortilla folded in half) just before serving, of course, and if you’re making any kind of salsa, that’s best freshly made as well.
*Chili powders vary in degrees of spiciness. If your chili powder is especially spicy, start with 1 tablespoon or less. You can always add more to taste.
for the taco filling:
- 2 teaspoons grapeseed or olive oil
- 1 small onion, finely chopped to yield a scant cup
- 3 medium cloves garlic, minced
- 2 tablespoons chili powder, see notes above
- 1 teaspoon ground cumin
- kosher salt and pepper to taste
- 1 pound chicken thighs, ground or finely chopped or 1 lb. ground beef
- 1/2 cup crushed tomatoes (pureed or slightly chunky)
- 1/2 cup water
- 1 teaspoon sugar
- 2 teaspoons cider (or other) vinegar
for serving:
- tortillas, see notes above
- shredded cheddar cheese
- shredded Romaine lettuce
- salsa, see notes above
- sour cream, optional
- diced avocado, optional
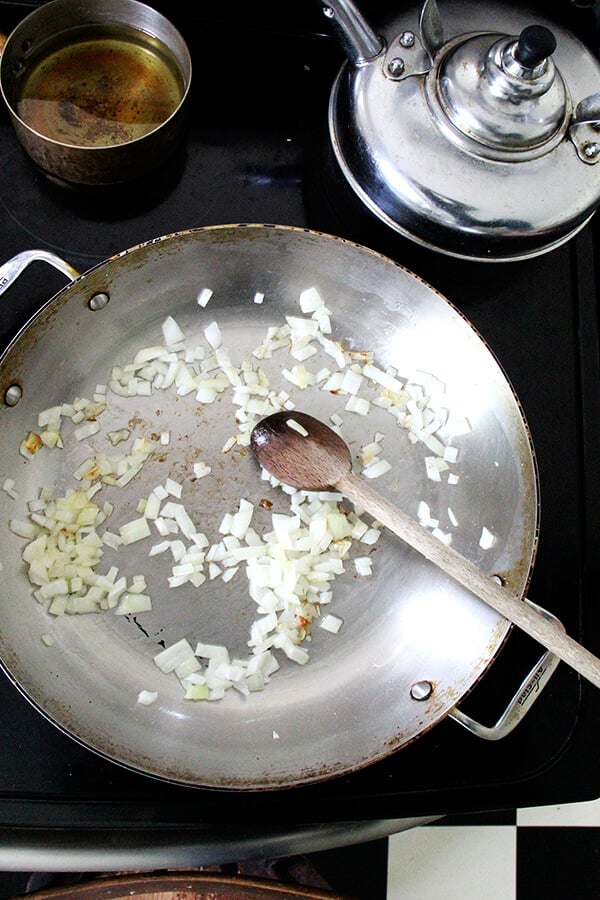
- Heat oil in a large skillet over medium heat until hot and shimmering but not smoking, about 2 minutes; add onion and cook, stirring occasionally, until softened, about 4 minutes. Add garlic, spices, and 1/2 teaspoon salt; cook, stirring constantly, until fragrant, about 1 minute. Add ground chicken or beef and cook, stirring occasionally, until it is no longer pink, about 5 minutes. Add crushed tomatoes, water, sugar, and vinegar; bring to simmer.
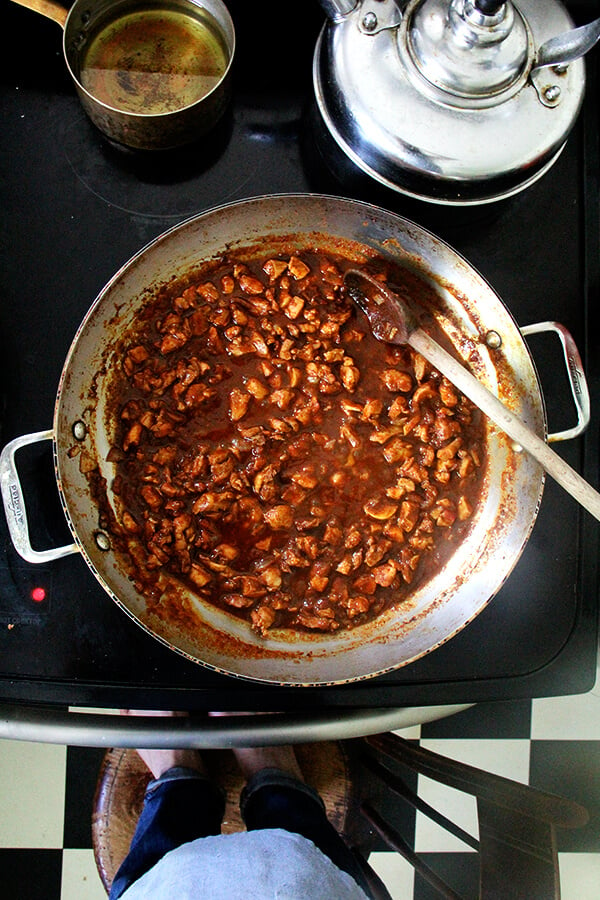
- Reduce heat to medium-low and simmer, uncovered, stirring frequently, until liquid has reduced and thickened (mixture should not be completely dry), about 10 minutes. Taste, adjust seasonings with salt and pepper. This can be done up to 3 days in advanced and reheated slowly before serving.
- For taco night: Wrap tortillas in foil, and place in a 350ºF oven for 15 minutes or until warm. Sometimes I just toast them in the toaster. Remove from oven, and transfer to tea towel to keep warm. Place chicken, shredded cheese, lettuce, salsa, sour cream, and avocado in bowls. Start assembling.
- Prep Time: 10 minutes
- Cook Time: 25 minutes
- Category: Taco
- Method: Stovetop
- Cuisine: Mexican
Description
Recipe adapted from this Cook’s Illustrated recipe for beef tacos . Since posting this, I almost always use beef, too.
Both Trader Joe’s and Whole Foods sell tortillas made with a mix of flour and cornmeal, which are so tasty, but use what you like. You can, of course, serve this with any salsa you’d like, but remember that dragons don’t like spicy salsa.
When tomatoes aren’t in season, I make a simple onion salsa: Finely dice a red onion, squeeze over fresh lime juice, season with a pinch of salt, stir in chopped cilantro, drizzle in olive oil, toss to coat and let stand till serving.
I keep finely diced jalapeño on the side for Ben and me, but if the little people in your life aren’t eating the red onion salsa anyway, just stir in the jalapeños.
Almost everything can be prepared ahead of time. Chicken/beef filling can be made up to 3 days ahead and reheated slowly just before serving. Cheese and lettuce can be grated/shredded hours ahead of time and stored in the fridge. Heat the tortillas (I often do this in the toaster, each tortilla folded in half) just before serving, of course, and if you’re making any kind of salsa, that’s best freshly made as well.
*Chili powders vary in degrees of spiciness. If your chili powder is especially spicy, start with 1 tablespoon or less. You can always add more to taste.
for the taco filling:
- 2 teaspoons grapeseed or olive oil
- 1 small onion, finely chopped to yield a scant cup
- 3 medium cloves garlic, minced
- 2 tablespoons chili powder, see notes above
- 1 teaspoon ground cumin
- kosher salt and pepper to taste
- 1 pound chicken thighs, ground or finely chopped or 1 lb. ground beef
- 1/2 cup crushed tomatoes (pureed or slightly chunky)
- 1/2 cup water
- 1 teaspoon sugar
- 2 teaspoons cider (or other) vinegar
for serving:
- tortillas, see notes above
- shredded cheddar cheese
- shredded Romaine lettuce
- salsa, see notes above
- sour cream, optional
- diced avocado, optional
- Heat oil in a large skillet over medium heat until hot and shimmering but not smoking, about 2 minutes; add onion and cook, stirring occasionally, until softened, about 4 minutes. Add garlic, spices, and 1/2 teaspoon salt; cook, stirring constantly, until fragrant, about 1 minute. Add ground chicken or beef and cook, stirring occasionally, until it is no longer pink, about 5 minutes. Add crushed tomatoes, water, sugar, and vinegar; bring to simmer.
- Reduce heat to medium-low and simmer, uncovered, stirring frequently, until liquid has reduced and thickened (mixture should not be completely dry), about 10 minutes. Taste, adjust seasonings with salt and pepper. This can be done up to 3 days in advanced and reheated slowly before serving.
- For taco night: Wrap tortillas in foil, and place in a 350ºF oven for 15 minutes or until warm. Sometimes I just toast them in the toaster. Remove from oven, and transfer to tea towel to keep warm. Place chicken, shredded cheese, lettuce, salsa, sour cream, and avocado in bowls. Start assembling.
- Prep Time: 10 minutes
- Cook Time: 25 minutes
- Category: Taco
- Method: Stovetop
- Cuisine: Mexican
Find it online : https://alexandracooks.com/2016/05/18/dragons-love-tacos-taco-night/


The April issue of Bon Appetit featured mini lemon-semolina syrup cakes, a recipe from Yotam Ottolenghi’s next cookbook, a dessert one, which is still in its recipe-testing phase. While I am not into mini anything right now — the less greasing/pan preparing the better — and while I don’t care for extra steps like syrup making (so lazy!), the ingredients for the cake looked so good: one half cup of semolina flour and lots of almond flour, butter, sugar, and fresh lemon juice.
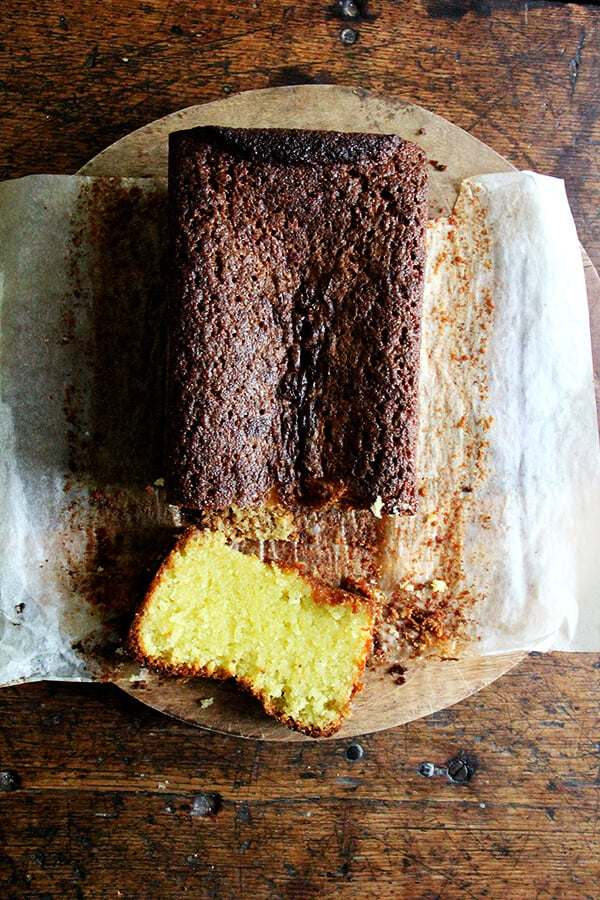
I finally got around to making the cake last weekend using a loaf pan instead of a muffin tin, and, for whatever reason, replacing the butter with oil. Oh my. The cake was so incredibly moist — I know! Sorry. But there’s no other word, is there? — and delicious and perfectly sweet and lemony. For me, it doesn’t get much better than a lemon loaf cake, and this one is about as ideal as can be.
This past week I made it two more times, once with grapeseed oil and once with butter. I had no doubt I would prefer the cake made with oil — I often do — but with this one, I’m not sure. The differences are subtle. I ate and I ate and I ate hoping to discern a decisive winner until I discovered the good news: you can’t go wrong either way.
These are my observations: when the cake is made with oil, it will taste — wait for it — a little oily. When the cake is made with butter, it will taste richer and have a denser, more marzipan-like texture. Making the cake with oil allows you to whisk by hand, which is a little easier — no need to soften butter, no need to whip until light and fluffy. In a taste test with friends, more people preferred the cake made with oil, but for me, the one with butter has a slight edge.
Butter or oil? Something to ponder this weekend as you scour your cupboard for that half cup of semolina flour, because you know it’s there and what better way to use it up?
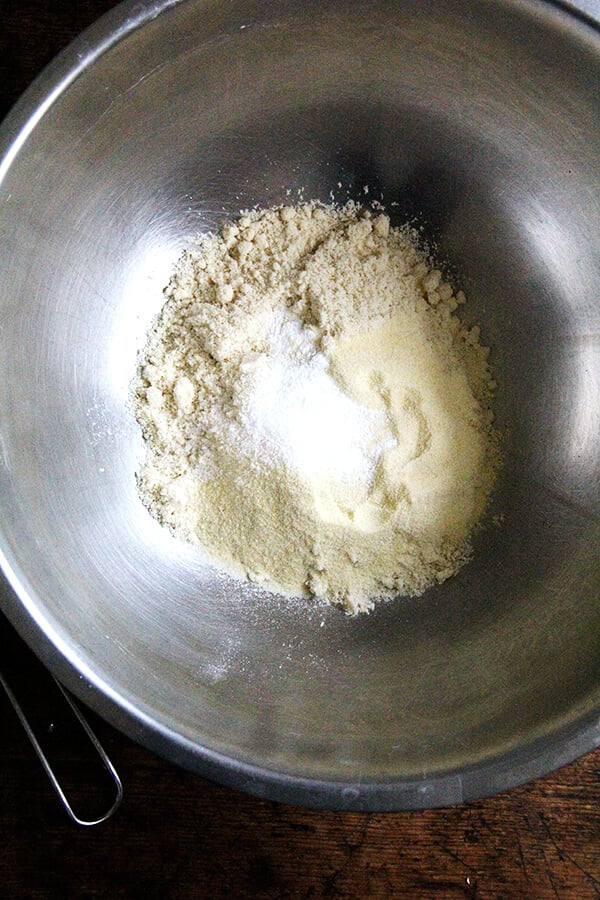
These are the dry ingredients: almond flour, semolina flour, baking powder, and salt:
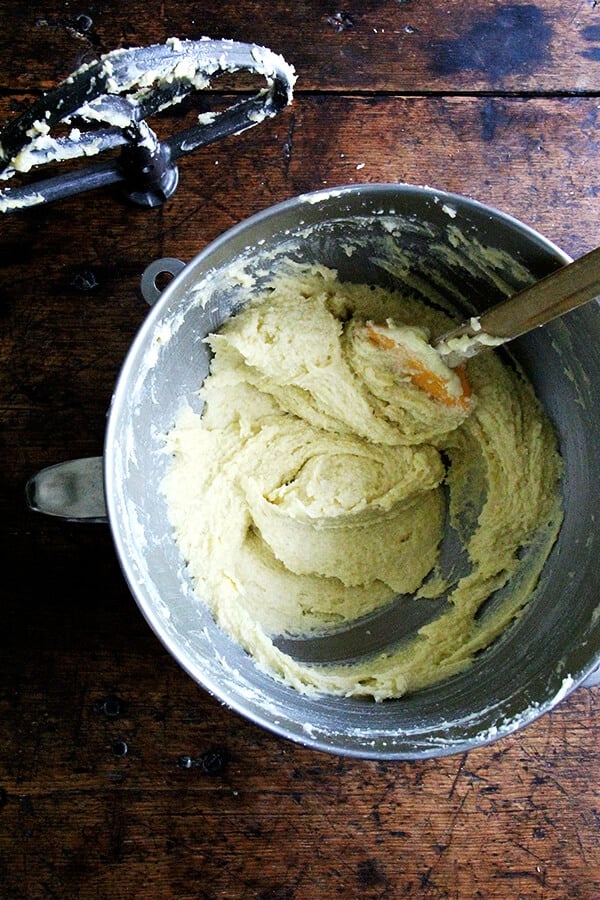
This is what the batter looks like when made with butter:

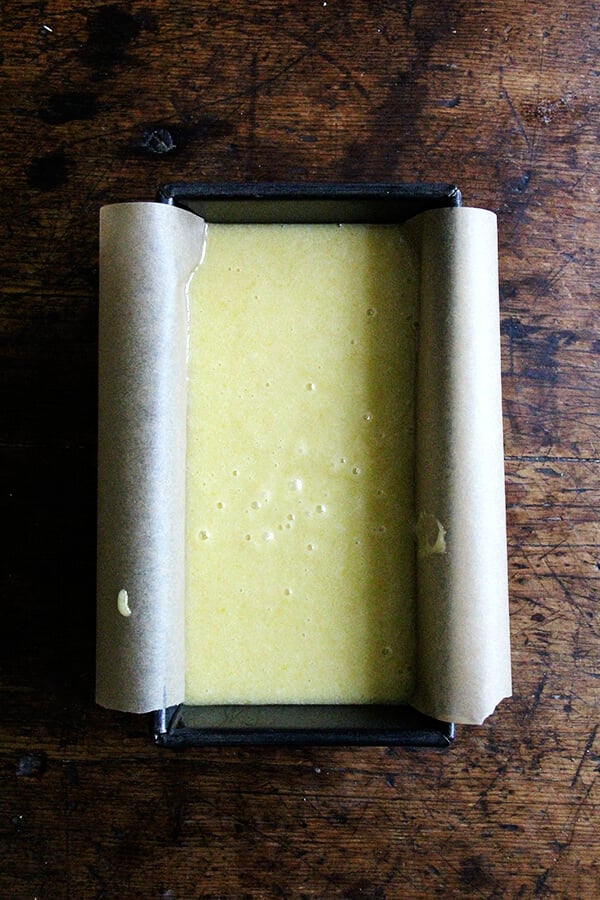
When made with oil:
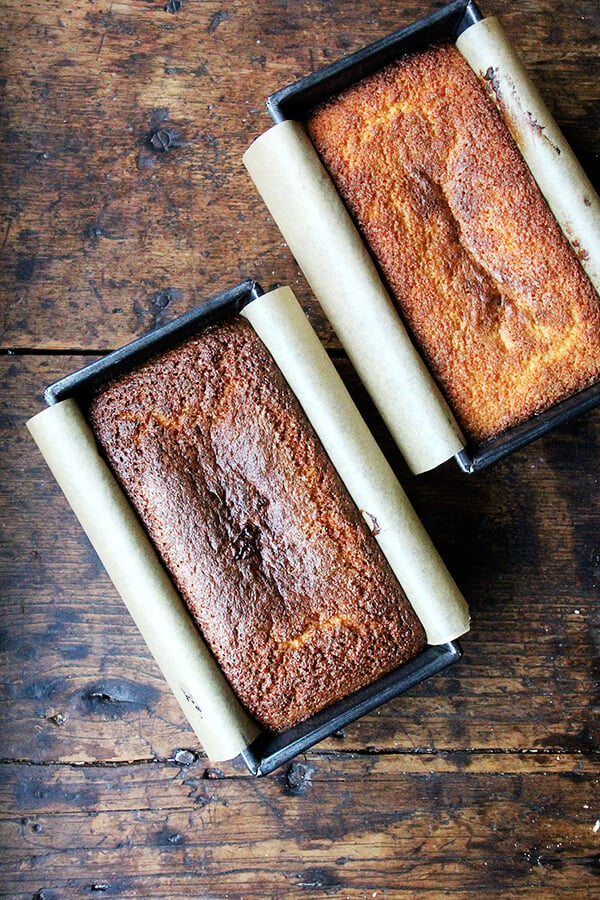
The cake with the darker crust was made with oil:

This is the cake made with butter:

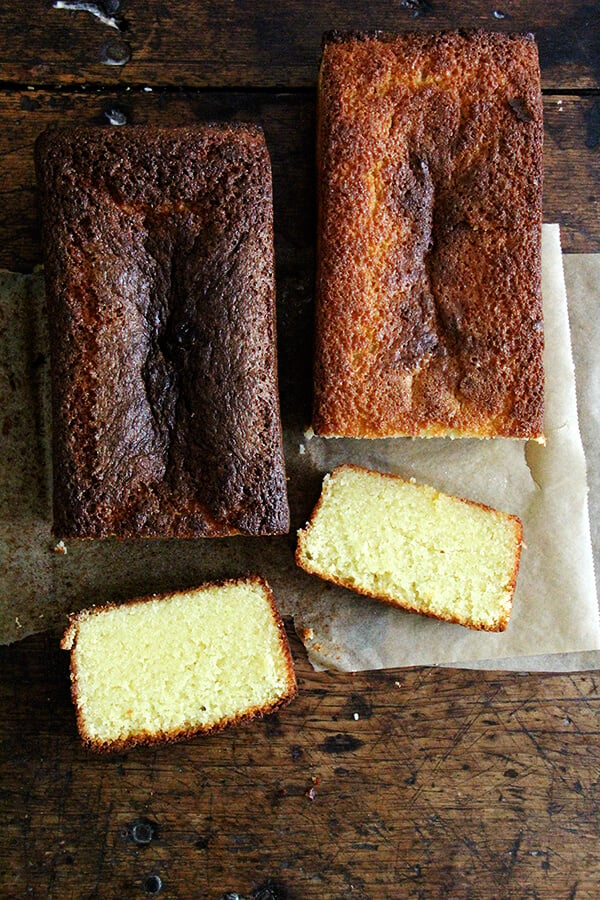
This one below is made with olive oil. Above left is made with grapeseed oil.
Description
Adapted from this Bon Appetit recipe
Check out the original recipe, which includes the addition of a syrup, but I don’t think the syrup is necessary — the cake is so delicious as is.
A few notes:
I increased the baking powder by ¼ teaspoon because I used a loaf pan. This might not be necessary if you use a muffin tin, as suggested in the original recipe. As noted in the post, I’ve made the cake three times now, once with butter, once with olive oil, and once with grapeseed oil. The difference is subtle: the oil makes the cake a little moister, the butter a little richer. Olive oil was preferable to grapeseed flavor-wise. In a tasted test with friends, the cake made with oil was preferable.
- 1½ cups ( 135 g ) almond flour or almond meal
- ½ cup ( 79 g ) semolina flour
- 1 teaspoon baking powder
- ½ teaspoon kosher salt
- ¾ cup ( 1½ sticks) unsalted butter, room temperature, or ¾ cup olive oil
- 1 cup plus 2 tablespoons ( 243 g ) sugar
- 1 teaspoon finely grated lemon zest
- 3 large eggs, beaten to blend
- 2 tablespoons fresh lemon juice
- Preheat oven to 350°F. Grease a loaf pan and line with parchment paper. Whisk together the almond flour, semolina flour, baking powder, and salt in a medium bowl to combine.
- Using an electric mixer on high speed, beat butter, sugar, and lemon zest until very light and fluffy, about 5 minutes. With motor running, gradually add eggs and beat until glossy, about 1 minute. Add dry ingredients and lemon juice and beat to combine, about 1 minute. (If you are using oil, simple whisk oil and sugar together. Add eggs one at a time, beating to incorporate, followed by dry ingredients and lemon juice.)
- Transfer batter to prepared loaf pan, and bake until golden brown, 50 to 60 minutes. Lightly press the top of the cake to test — it should feel lightly springy when done. Let cool 20 minutes or so in pan before removing and transferring to a cooling rack.
- Prep Time: 15 minutes
- Cook Time: 60 minutes
- Category: Quick Bread
- Method: Oven
- Cuisine: Middle Eastern
