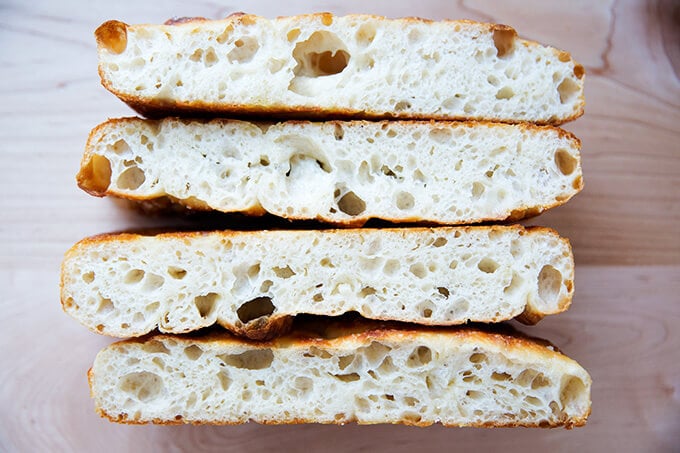
With its oil-crisped crust and light, bubbly crumb, sourdough focaccia is a delicious and versatile bread, perfect for sandwiches but also great as an appetizer and dinner bread. It’s also one of the easiest breads to make. Find step-by-step instructions on how to make this wildly popular bread below!

Adapted from my favorite yeasted, slow-rise focaccia recipe — overnight refrigerator focaccia — this sourdough focaccia recipe replaces the yeast with a sourdough starter. If you are interested in getting started with sourdough, focaccia is the ideal place to start.
Why? First, it requires no special equipment — not a Dutch oven or a Baking Steel. All you need is a 9×13-inch pan, which you likely own. Second, unlike sourdough boules , which require practiced shaping, sourdough focaccia requires nothing more than whisking, stirring, and sliding the dough into a pan. Third, it requires no scoring. With focaccia, you don’t need a razor-sharp lame — you use your fingers to dimple the dough.
Focaccia, sourdough or otherwise, is my favorite bread for so many reasons, namely its versatility — sandwiches, appetizers, dinner — but also its flavor and texture: the oil-crisped crust, the generous amount of salt, the chewy crumb. Learn to make it at home by following the simple guide below.
How to Make Sourdough Focaccia, Step by Step
First, wake up your starter by feeding it. If you don’t have a starter and don’t have a friend who can lend you one, I recommend buying one . When you are ready to feed your starter, discard most of it, down to a tablespoon or two, then add about 45 g flour…
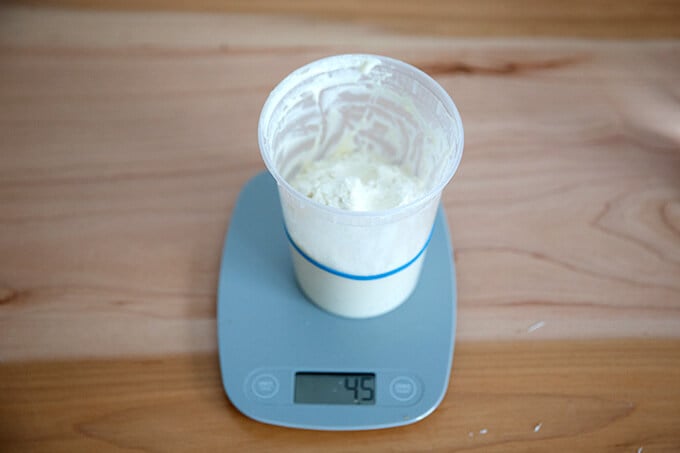
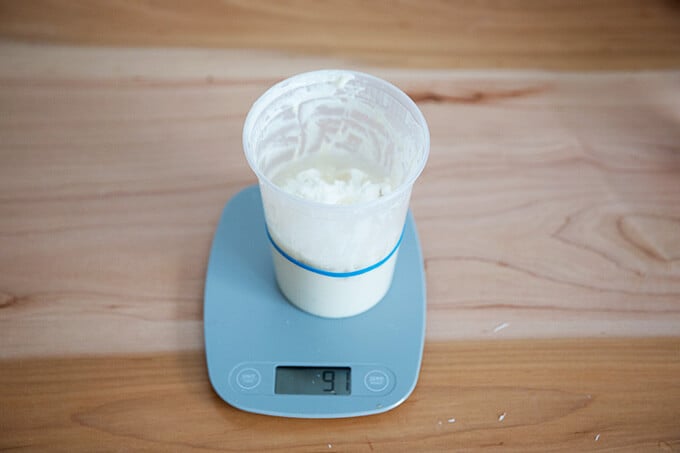
… and 45 g water. You don’t have to be exact, but when you’re getting started, I think it’s helpful to weigh both the water and flour. Depending on how long the starter has been in the fridge, it may need one or two feedings before use.
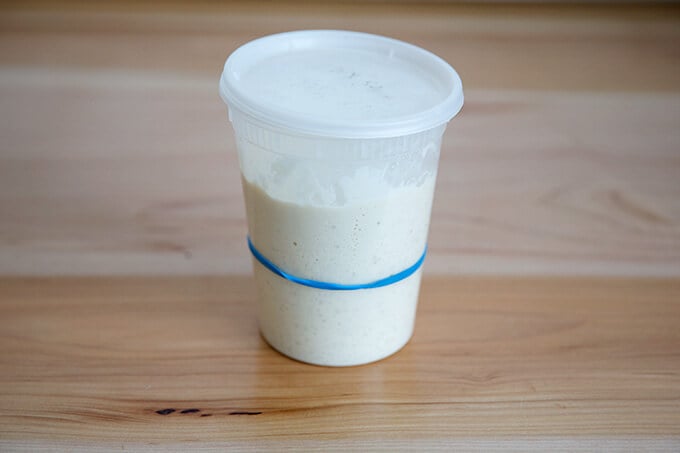
If you stick a rubber band around your starter vessel, you’ll know when …
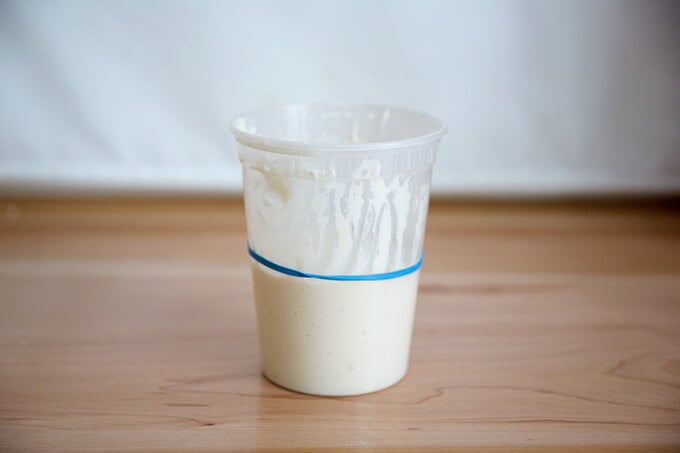
… it has doubled and is ready for use.
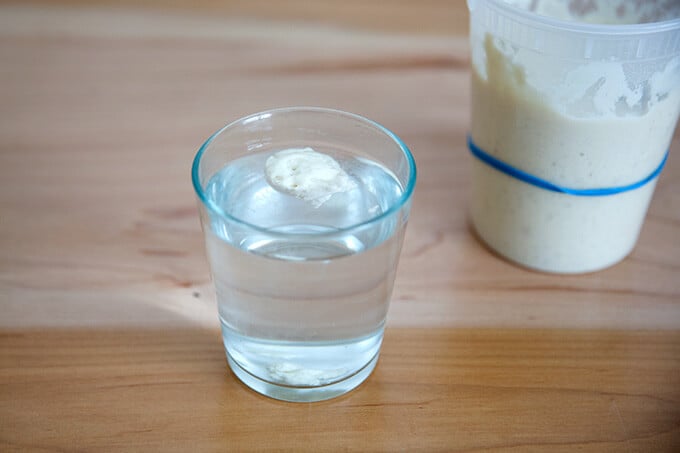
If you need reassurance as to if it’s ready, you can do the float test: drop a spoonful of starter into a glass of water. If it floats, it’s ready.
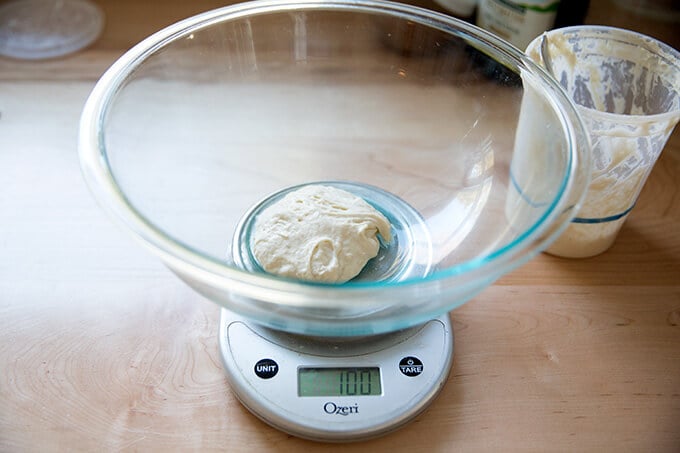
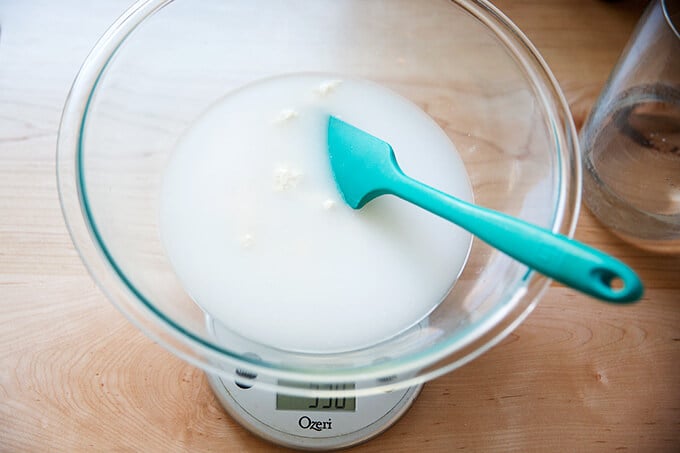
As with all bread, when mixing sourdough doughs, it’s best to weigh everything with a digital scale . Start with 100 g starter.
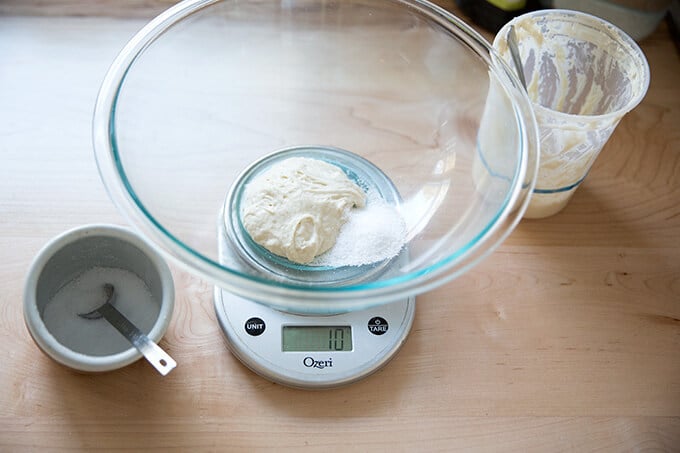
Add 10 g kosher (or other) salt.
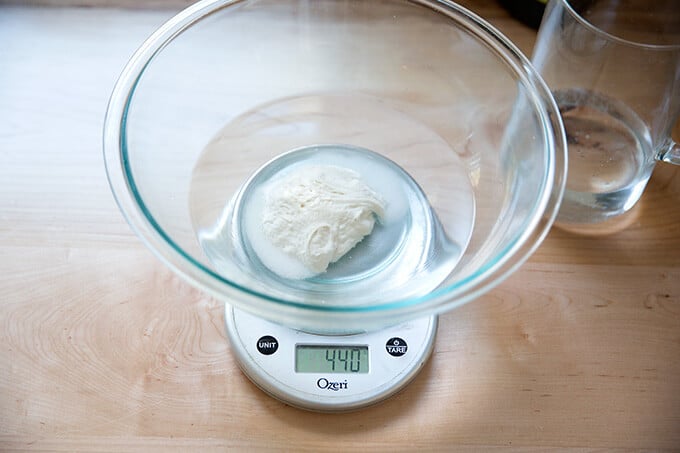
Add 440 g water. (See recipe notes: If you live in a humid environment, you may want to use less.)
Stir to combine.
Add 512 g bread flour.
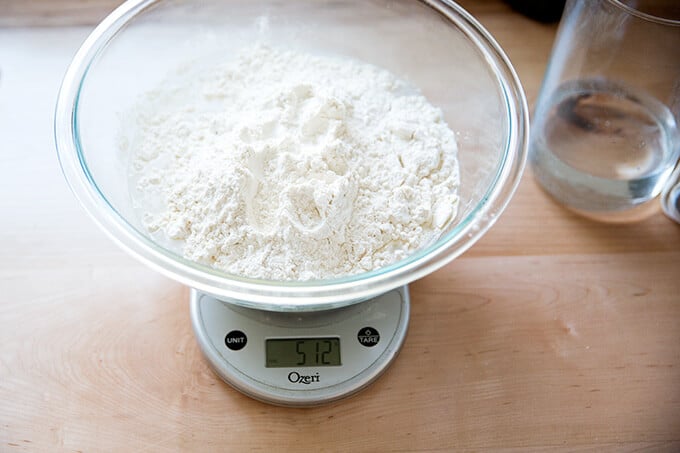
Stir to form a sticky dough ball.
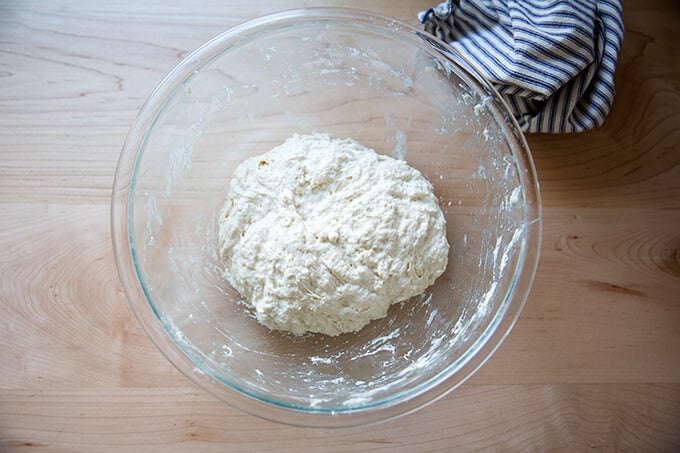
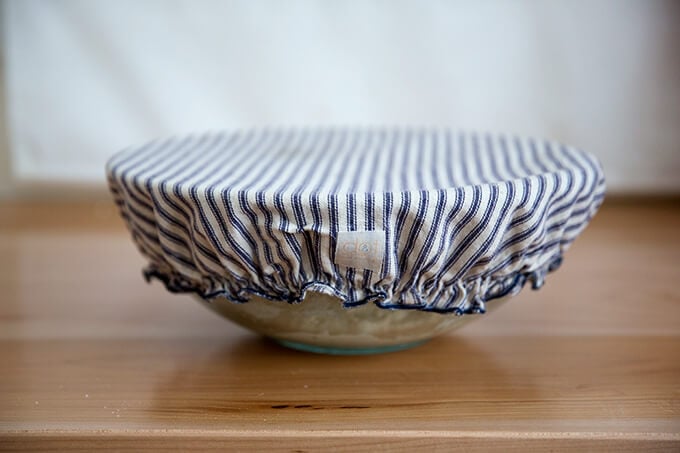
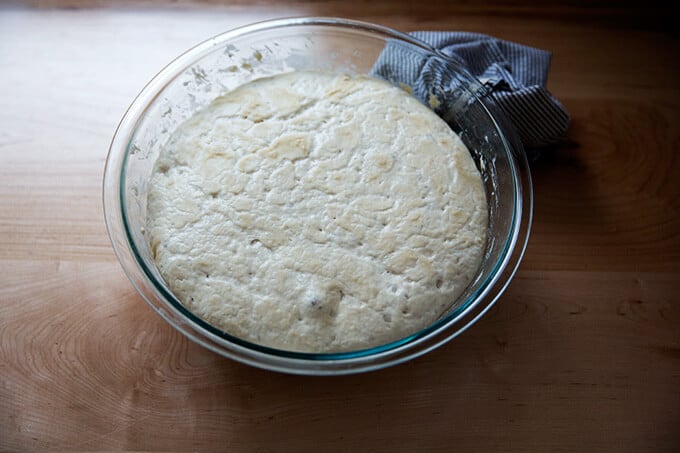
Cover with a towel or bowl cover, and let rise for 8 – 18 hours at room temperature (times will vary depending on the time of year and how warm your kitchen is … in the summer, this may take only 4 hours):
When it doubles …
… drizzle it with some olive oil.
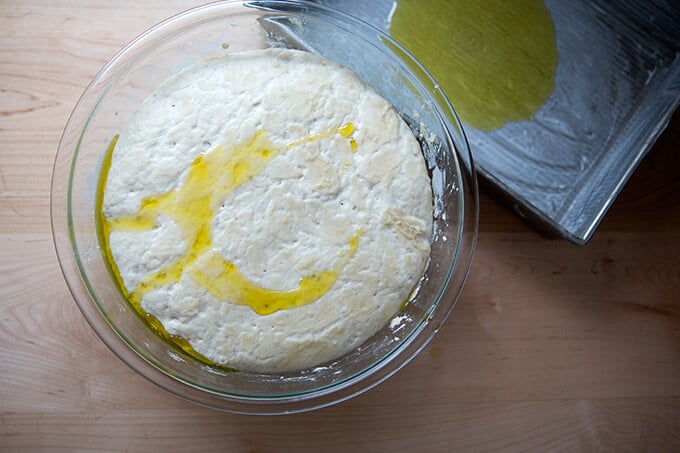
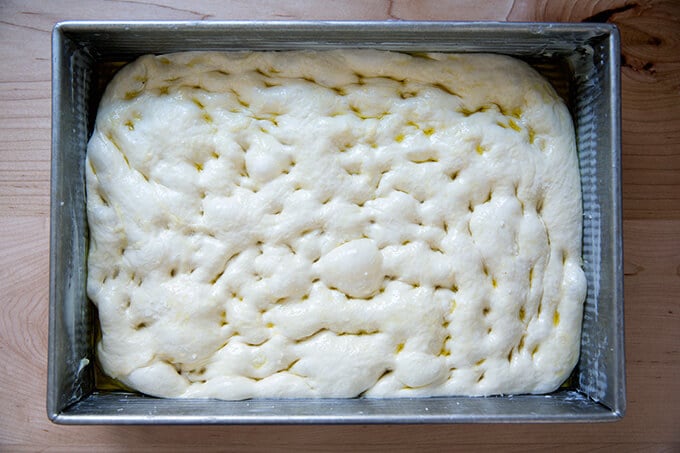
Deflate the dough by pulling the sides into the center.
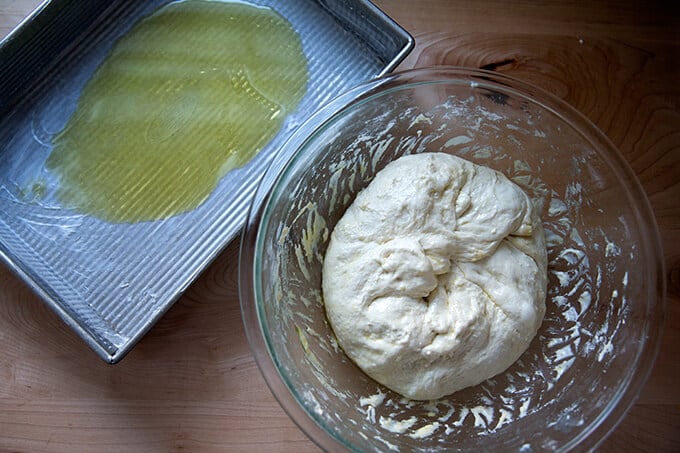
Dough, ready to make it’s second rise, which will take 5-6 hours. Love this USA Pan .
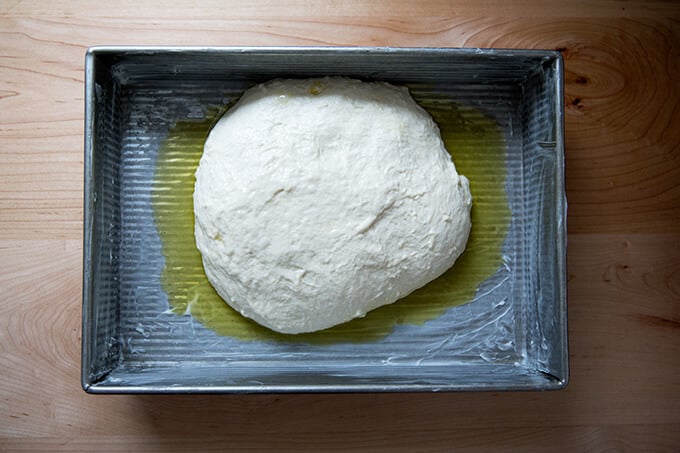
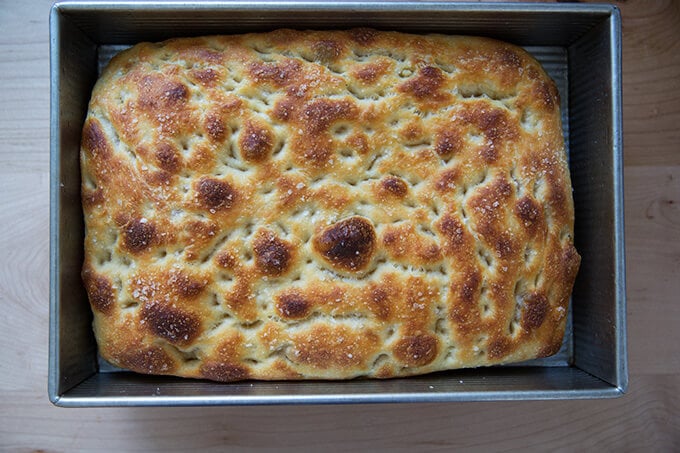
After 5-6 hours, the dough is ready to be dimpled and stretched and salted. Bake at 425ºF for 25 minutes.
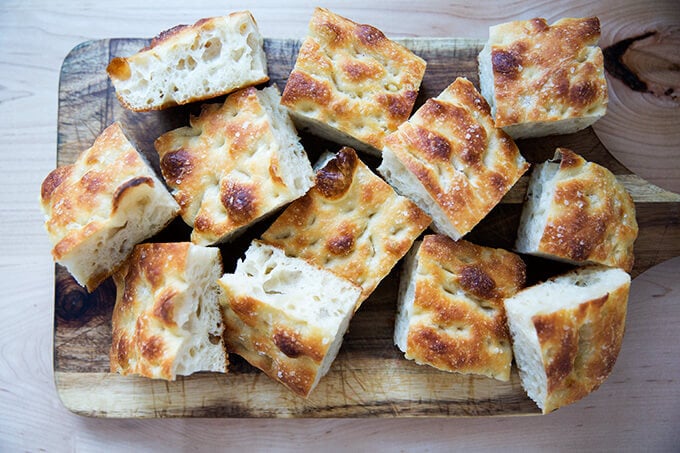
Just-baked sourdough focaccia:

Description
With its oil-crisped crust and light, bubbly crumb, sourdough focaccia is a delicious and versatile bread, perfect for sandwiches but also great as an appetizer and dinner bread. It’s also one of the easiest breads to make. Find step-by-step instructions on how to make this wildly popular bread below!
Notes:
Adapted from my favorite yeasted, slow-rise focaccia recipe — overnight refrigerator focaccia — this recipe replaces the yeast with a sourdough starter. Find video guidance and step-by-step instruction below.
What you need to make this recipe…:
- … a sourdough starter . You can buy one (from places like Breadtopia or King Arthur Flour ) or you can make it yourself from scratch (a one- to two-week process).
- … time . Once your starter is ready to go, this recipe requires an initial 4- to 18-hour rise, followed by a second 4- to 6-hour second rise. After the initial rise (depending on the time of year and temperature of your kitchen), you can deflate the dough, and stick it in the fridge for 8 to 10 hours (maybe longer), which might help you regarding your schedule. Keep in mind, when you remove the dough from the fridge and transfer it to a pan, it will still need to rise for another 5- to 6- hours.
- … water . Chlorine in water can adversely affect sourdough. Leaving water at room temperature for 24 hours will allow most of the chlorine to escape. When I am in the habit of making sourdough bread, I fill a large pitcher with water and leave it out at room temperature. I use this for my sourdough breads and starter. Truth be told, I’ve used water straight from the tap and have not noticed a difference.
- … mixing/rising vessels. I love this 4-quart bowl + lid set for mixing and rising all sorts of dough. With sourdough, I love using a straight-sided vessel for the bulk fermentation, which allows me to see precisely how much my dough has increased in volume.
Water quantity: Depending on where you live and the time of year, you may need to cut the water back. If you live in a humid environment, for instance, I would suggest starting with 430 g water. If you are not using bread flour, you also may need to cut the water back a bit.
Timing:
The more I make sourdough, the more I realize so much depends on the time of year and the temperature of my kitchen. In the summer, because it is so warm, the first rise (bulk fermentation) takes between 4 – 6 hours; in the winter the first rise takes 12 – 18 hours.
This recipe’s key is to ensure the first rise doesn’t go too long — you want the dough to nearly double. A straight sided vessel (as opposed to a bowl) makes gauging the first rise easier. (Note: If your dough rises above double, don’t despair … recently my dough tripled in volume during an overnight rise, and the resulting focaccia was still delicious, light, airy, etc.)
A few thoughts: If you are making this focaccia in the summer (northern hemisphere), use 50 g of starter and check the dough every couple of hours. If you are making this in the winter, use 100 g of starter, and plan for a long first rise.
Troubleshooting: If you have issues with your dough being too sticky, please read this post: Why is my sourdough so sticky? The 4 common mistakes.
Flour choice:
I’ve been using King Arthur Flour’s special patent flour — bought a 50-lb. bag of it at Restaurant Depot. Its protein content, 12.7%, is the same as the protein content of its bread flour. I also have used all-purpose flour (11.7%) with success, but I recommend bread flour, which seems to be more reliable for people especially those living in humid climates. If you only have ap flour on hand, you may consider reducing the water a bit — bread flour absorbs slightly more liquid than all-purpose flour.
50 g – 100 g ( 1/4 to 1/2 cup) active starter, see notes above
10 g (about 2.5 teaspoons ) kosher salt
430 – 440 g water ( 1.75 cups – 1.75 cups + 2 tablespoons ), room temperature, see notes above*
512 g (about 4 cups ) bread flour, see notes above
3 tablespoons extra-virgin olive oil, divided, plus more for drizzling
Nice, flaky sea salt, such as Maldon
- Place the starter, salt, and water in a large bowl. Stir with a spatula to combine — it doesn’t have to be uniformly mixed. Add the flour. Mix again until the flour is completely incorporated.
- If time permits, perform one “fold”: 30 minutes after you mix the dough, reach into the bowl and pull the dough up and into the center. Turn the bowl quarter turns and continue this pulling 8 to 10 times. See video for guidance.
- Drizzle with a splash of olive oil and rub to coat. Cover bowl with a tea towel or bowl cover and set aside to rise at room temperature (70ºF/21ºC) for 4 to 18 hours (the time will vary depending on the time of year, the strength of your starter, and the temperature of your kitchen — in summer, for instance, my sourdoughs double in 6 hours; in winter, they double in 18 hours. Do not use an oven with the light on for the bulk fermentation — it will be too warm. It is best to rely on visual cues (doubling in volume) as opposed to time to determine when the bulk fermentation is done. A straight-sided vessel makes monitoring the bulk fermentation especially easy because it allows you to see when your dough has truly doubled. ).
- When dough has doubled, place 2 tablespoons of olive oil into a 9×13-inch pan. (I have been using this USA Pan , which I love. I have had no sticking issues. If you are using a glass pan, you may, as a precaution, want to butter it it first — I have had disasters with bread sticking when I’ve used oil alone with other baking vessels.)
- Drizzle dough with a tablespoon of olive oil. Use your hand to gently deflate the dough and release it from the sides of the bowl. Gently scoop the dough into the center of the pool of oil in your prepared pan. Fold dough envelope style from top to bottom and side to side to create a rough rectangle. Turn dough over so seam-side is down. Video guidance here .
- Rub top of dough with oil. Leave alone for 4 to 6 hours, uncovered, or until puffy and nearly doubled.
- Heat oven to 425ºF. Rub hands lightly with oil, and using all ten fingers, press gently into the dough to dimple and stretch the dough to nearly fit the pan. Sprinkle generously with sea salt. Transfer pan to the oven and bake for about 25 minutes or until golden all around. Remove pan from oven and transfer bread to a cooling rack. Cool at least 20 minutes before slicing.
- Prep Time: 24 hours
- Cook Time: 25 minutes
- Category: Bread
- Method: Oven
- Cuisine: Italian
With its oil-crisped crust and light, bubbly crumb, sourdough focaccia is a delicious and versatile bread, perfect for sandwiches but also great as an appetizer and dinner bread. It’s also one of the easiest breads to make. Find step-by-step instructions on how to make this wildly popular bread below!
Adapted from my favorite yeasted, slow-rise focaccia recipe — overnight refrigerator focaccia — this sourdough focaccia recipe replaces the yeast with a sourdough starter. If you are interested in getting started with sourdough, focaccia is the ideal place to start.
Why? First, it requires no special equipment — not a Dutch oven or a Baking Steel. All you need is a 9×13-inch pan, which you likely own. Second, unlike sourdough boules , which require practiced shaping, sourdough focaccia requires nothing more than whisking, stirring, and sliding the dough into a pan. Third, it requires no scoring. With focaccia, you don’t need a razor-sharp lame — you use your fingers to dimple the dough.
Focaccia, sourdough or otherwise, is my favorite bread for so many reasons, namely its versatility — sandwiches, appetizers, dinner — but also its flavor and texture: the oil-crisped crust, the generous amount of salt, the chewy crumb. Learn to make it at home by following the simple guide below.
How to Make Sourdough Focaccia, Step by Step
First, wake up your starter by feeding it. If you don’t have a starter and don’t have a friend who can lend you one, I recommend buying one . When you are ready to feed your starter, discard most of it, down to a tablespoon or two, then add about 45 g flour…
… and 45 g water. You don’t have to be exact, but when you’re getting started, I think it’s helpful to weigh both the water and flour. Depending on how long the starter has been in the fridge, it may need one or two feedings before use.
If you stick a rubber band around your starter vessel, you’ll know when …
… it has doubled and is ready for use.
If you need reassurance as to if it’s ready, you can do the float test: drop a spoonful of starter into a glass of water. If it floats, it’s ready.
As with all bread, when mixing sourdough doughs, it’s best to weigh everything with a digital scale . Start with 100 g starter.
Add 10 g kosher (or other) salt.
Add 440 g water. (See recipe notes: If you live in a humid environment, you may want to use less.)
Stir to combine.
Add 512 g bread flour.
Stir to form a sticky dough ball.
Cover with a towel or bowl cover, and let rise for 8 – 18 hours at room temperature (times will vary depending on the time of year and how warm your kitchen is … in the summer, this may take only 4 hours):
When it doubles …
… drizzle it with some olive oil.
Deflate the dough by pulling the sides into the center.
Dough, ready to make it’s second rise, which will take 5-6 hours. Love this USA Pan .
After 5-6 hours, the dough is ready to be dimpled and stretched and salted. Bake at 425ºF for 25 minutes.
Just-baked sourdough focaccia:
Description
With its oil-crisped crust and light, bubbly crumb, sourdough focaccia is a delicious and versatile bread, perfect for sandwiches but also great as an appetizer and dinner bread. It’s also one of the easiest breads to make. Find step-by-step instructions on how to make this wildly popular bread below!
Notes:
Adapted from my favorite yeasted, slow-rise focaccia recipe — overnight refrigerator focaccia — this recipe replaces the yeast with a sourdough starter. Find video guidance and step-by-step instruction below.
What you need to make this recipe…:
- … a sourdough starter . You can buy one (from places like Breadtopia or King Arthur Flour ) or you can make it yourself from scratch (a one- to two-week process).
- … time . Once your starter is ready to go, this recipe requires an initial 4- to 18-hour rise, followed by a second 4- to 6-hour second rise. After the initial rise (depending on the time of year and temperature of your kitchen), you can deflate the dough, and stick it in the fridge for 8 to 10 hours (maybe longer), which might help you regarding your schedule. Keep in mind, when you remove the dough from the fridge and transfer it to a pan, it will still need to rise for another 5- to 6- hours.
- … water . Chlorine in water can adversely affect sourdough. Leaving water at room temperature for 24 hours will allow most of the chlorine to escape. When I am in the habit of making sourdough bread, I fill a large pitcher with water and leave it out at room temperature. I use this for my sourdough breads and starter. Truth be told, I’ve used water straight from the tap and have not noticed a difference.
- … mixing/rising vessels. I love this 4-quart bowl + lid set for mixing and rising all sorts of dough. With sourdough, I love using a straight-sided vessel for the bulk fermentation, which allows me to see precisely how much my dough has increased in volume.
Water quantity: Depending on where you live and the time of year, you may need to cut the water back. If you live in a humid environment, for instance, I would suggest starting with 430 g water. If you are not using bread flour, you also may need to cut the water back a bit.
Timing:
The more I make sourdough, the more I realize so much depends on the time of year and the temperature of my kitchen. In the summer, because it is so warm, the first rise (bulk fermentation) takes between 4 – 6 hours; in the winter the first rise takes 12 – 18 hours.
This recipe’s key is to ensure the first rise doesn’t go too long — you want the dough to nearly double. A straight sided vessel (as opposed to a bowl) makes gauging the first rise easier. (Note: If your dough rises above double, don’t despair … recently my dough tripled in volume during an overnight rise, and the resulting focaccia was still delicious, light, airy, etc.)
A few thoughts: If you are making this focaccia in the summer (northern hemisphere), use 50 g of starter and check the dough every couple of hours. If you are making this in the winter, use 100 g of starter, and plan for a long first rise.
Troubleshooting: If you have issues with your dough being too sticky, please read this post: Why is my sourdough so sticky? The 4 common mistakes.
Flour choice:
I’ve been using King Arthur Flour’s special patent flour — bought a 50-lb. bag of it at Restaurant Depot. Its protein content, 12.7%, is the same as the protein content of its bread flour. I also have used all-purpose flour (11.7%) with success, but I recommend bread flour, which seems to be more reliable for people especially those living in humid climates. If you only have ap flour on hand, you may consider reducing the water a bit — bread flour absorbs slightly more liquid than all-purpose flour.
50 g – 100 g ( 1/4 to 1/2 cup) active starter, see notes above
10 g (about 2.5 teaspoons ) kosher salt
430 – 440 g water ( 1.75 cups – 1.75 cups + 2 tablespoons ), room temperature, see notes above*
512 g (about 4 cups ) bread flour, see notes above
3 tablespoons extra-virgin olive oil, divided, plus more for drizzling
Nice, flaky sea salt, such as Maldon
- Place the starter, salt, and water in a large bowl. Stir with a spatula to combine — it doesn’t have to be uniformly mixed. Add the flour. Mix again until the flour is completely incorporated.
- If time permits, perform one “fold”: 30 minutes after you mix the dough, reach into the bowl and pull the dough up and into the center. Turn the bowl quarter turns and continue this pulling 8 to 10 times. See video for guidance.
- Drizzle with a splash of olive oil and rub to coat. Cover bowl with a tea towel or bowl cover and set aside to rise at room temperature (70ºF/21ºC) for 4 to 18 hours (the time will vary depending on the time of year, the strength of your starter, and the temperature of your kitchen — in summer, for instance, my sourdoughs double in 6 hours; in winter, they double in 18 hours. Do not use an oven with the light on for the bulk fermentation — it will be too warm. It is best to rely on visual cues (doubling in volume) as opposed to time to determine when the bulk fermentation is done. A straight-sided vessel makes monitoring the bulk fermentation especially easy because it allows you to see when your dough has truly doubled. ).
- When dough has doubled, place 2 tablespoons of olive oil into a 9×13-inch pan. (I have been using this USA Pan , which I love. I have had no sticking issues. If you are using a glass pan, you may, as a precaution, want to butter it it first — I have had disasters with bread sticking when I’ve used oil alone with other baking vessels.)
- Drizzle dough with a tablespoon of olive oil. Use your hand to gently deflate the dough and release it from the sides of the bowl. Gently scoop the dough into the center of the pool of oil in your prepared pan. Fold dough envelope style from top to bottom and side to side to create a rough rectangle. Turn dough over so seam-side is down. Video guidance here .
- Rub top of dough with oil. Leave alone for 4 to 6 hours, uncovered, or until puffy and nearly doubled.
- Heat oven to 425ºF. Rub hands lightly with oil, and using all ten fingers, press gently into the dough to dimple and stretch the dough to nearly fit the pan. Sprinkle generously with sea salt. Transfer pan to the oven and bake for about 25 minutes or until golden all around. Remove pan from oven and transfer bread to a cooling rack. Cool at least 20 minutes before slicing.
- Prep Time: 24 hours
- Cook Time: 25 minutes
- Category: Bread
- Method: Oven
- Cuisine: Italian
Find it online : https://alexandracooks.com/2019/03/22/simple-sourdough-focaccia-a-beginners-guide/


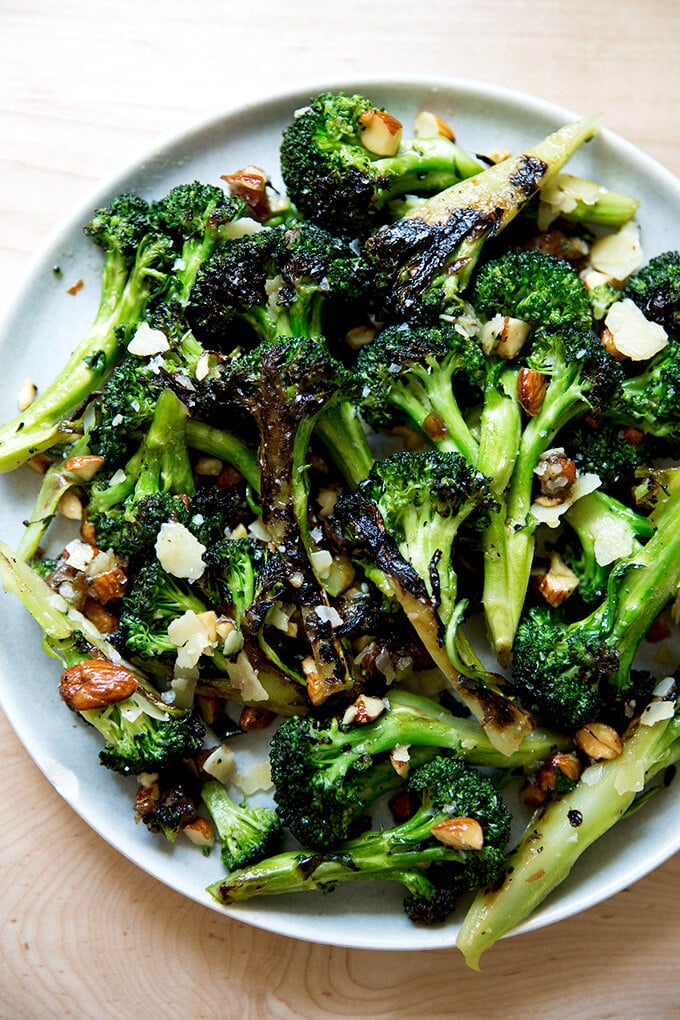
Carla Lalli Music’s book, Where Cooking Begins , arrived at my door Tuesday. I made her charred broccoli salad for dinner that night, then again on Wednesday, and again on Thursday.
I always have broccoli on hand. It’s a vegetable my children eat with little complaint: boiled, well buttered, well salted.
It’s a vegetable that appears in our farm share in late summer, but I find it tastes good, even from the unpleasant grocery store, year-round. Most often I roast it. I like it very charred.
In this recipe, the broccoli is charred but it’s not roasted, and though the char resembles that from roasted broccoli, the texture is completely different. Carla, in the recipe notes, says: “Searing broccoli lets you straddle the line between raw and cooked.”
Here, halved broccoli heads sear for about five minutes on one side and just one to two on the other. In the end, Carla says, “a cake tester should meet firm resistance when inserted into the thickest part of stem.” The result is firm stalks with tender, charred florets.
When you first taste this salad, you may find it sturdier than you are used to. But as you continue to eat it, which I suggest you do with a fork and knife, I think you’ll find the texture surprisingly nice, a refreshing change from fork-tender broccoli. I also think you may find the texture, after months of eating roasted vegetables, to be, in fact, perfect.
This is a great salad to make ahead of time or bring to a party as it holds very well and tastes even better with time: as it sits, the almonds, dates, and cheddar soak up the flavors of the dressing, a mix of olive oil, vinegar, and honey. The broccoli remains firm as time passes, but it, too, absorbs the dressing, becoming more flavorful.
Carla, if you are unfamiliar, is the food director of Bon Appetit . She’s incredibly knowledgable and trustworthy — you may have unknowingly made one of her recipes — and she’s a fun one to follow on Instagram . ( Incidentally, I’m just learning, also on Youtube: This video with Queer Eye’s Anotoni Porowski made me laugh. )
I’ve spent little time with Where Cooking Begins , which focuses on both techniques and recipes, but I have many pages and recipes flagged, and I sense it’s a treasure, a collection of pearls amassed over many years from many sources: from her mother, who loved to cook, from work as a restaurant line cook, and finally from testing and creating recipes for Bon Appetit for over a decade. I’m looking forward to learning so much more. As always, I’ll keep you posted.
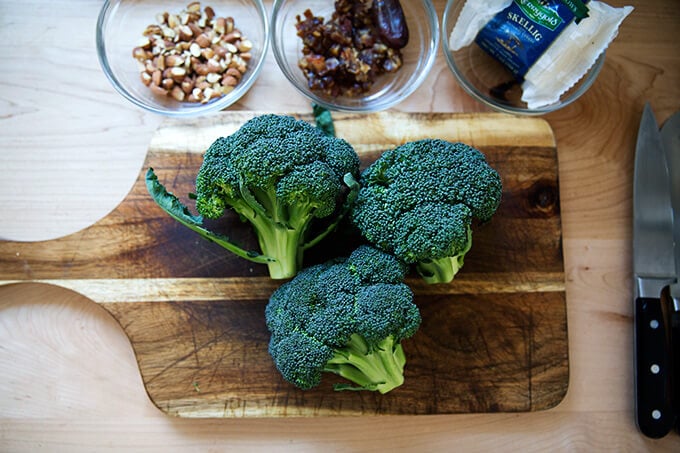
Here’s the play-by-play: Gather your ingredients. Small-ish broccoli heads are good for this one.
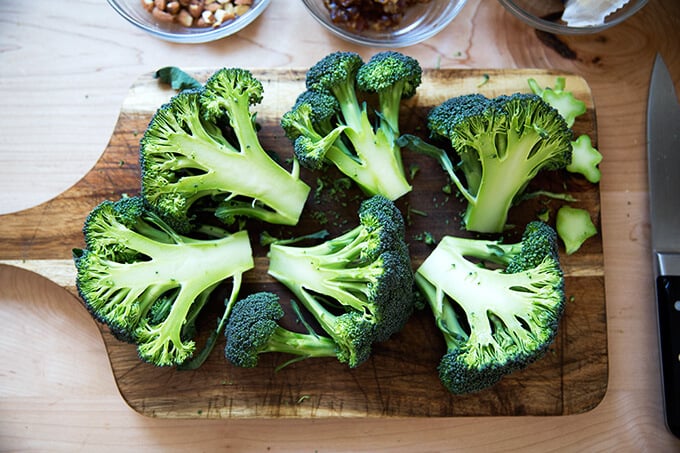
Halve them.
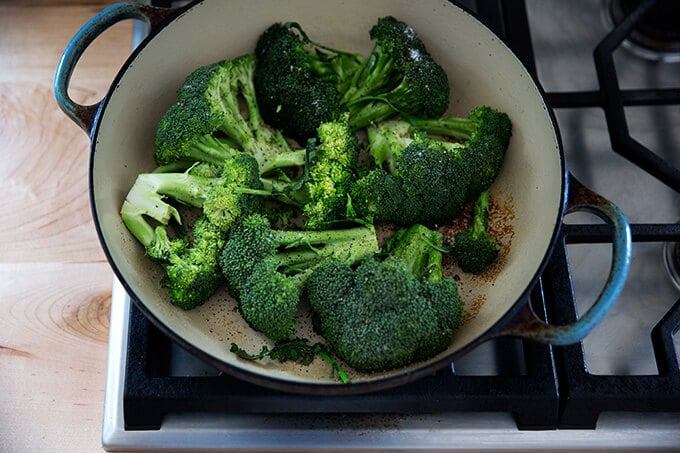
Sear them. Five minutes on the first side.
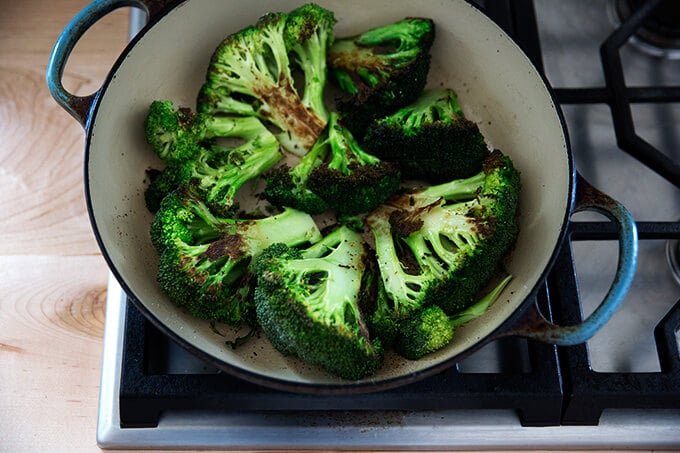
One to two minutes on the second side.
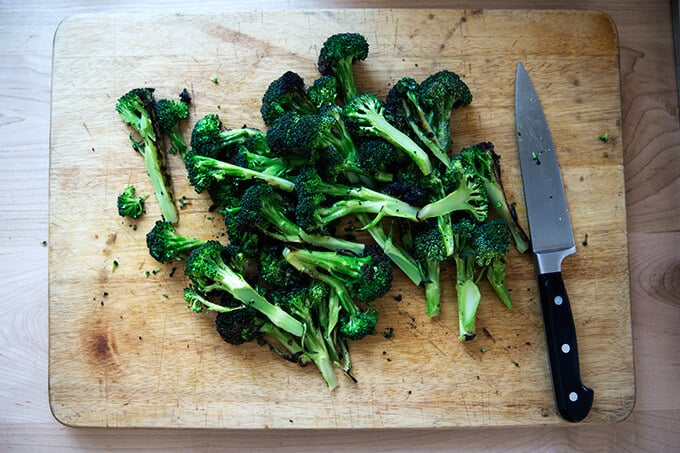
Once cool, cut them.
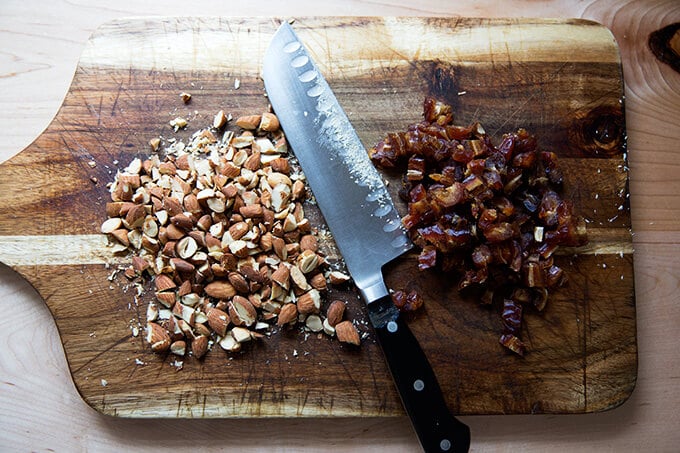
Chop some dates and almonds.
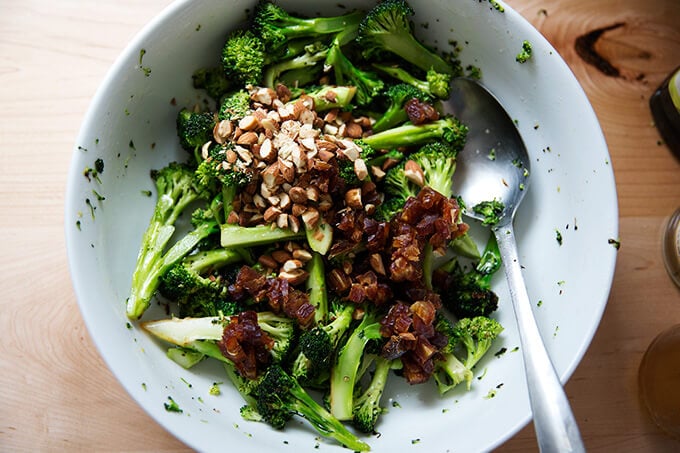
Dress the broccoli with salt, oil, vinegar, and honey. Toss. Add the dates and almonds.
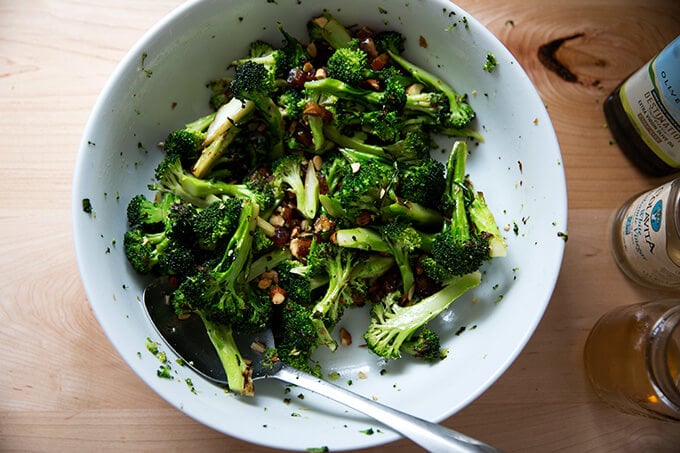
Toss again.
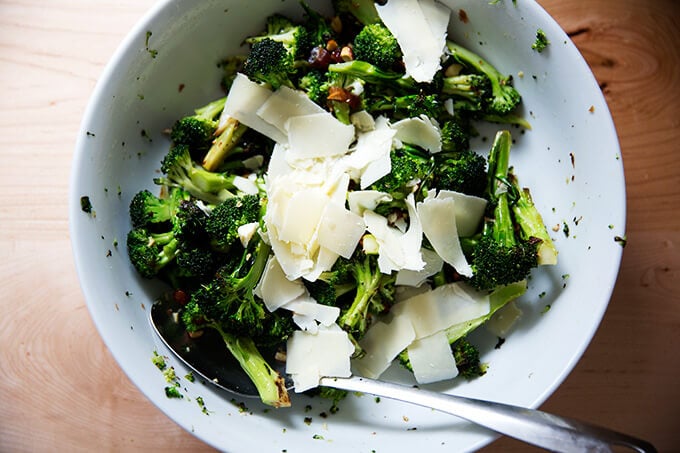
Shave in some cheddar.
Toss and serve.
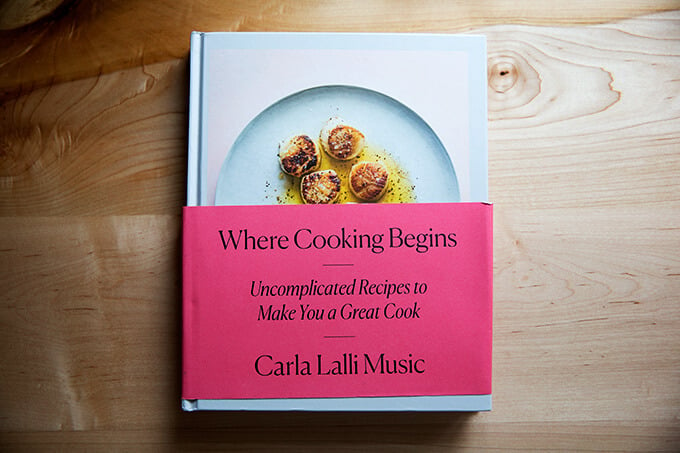
Carla Lalli Music’s Where Cooking Begins .
Description
Adapted from Carla Lalli Music’s Where Cooking Begins
As noted in the post above, the broccoli in this salad is pan-seared, which allows the edges to get charred while keeping the stalks/bodies firm. I think you should make the recipe once as directed — the texture may be firmer than you are used to, but I think you’ll find it really nice and refreshing as you eat it. If you find it too firm, next time, sear the broccoli for a longer amount of time on the second side.
I find small heads of broccoli work best for this salad.
This is a salad that can be tailored to your liking. Depending on the size of your dates, you may only need 4 or 5. You may find that the honey is unnecessary given the dates provide a nice sweetness. (I always add the honey.) If you can’t find Marcona almonds, regular almonds are fine — I’ve been using roasted, salted almonds. Other cheeses could work in place of the cheddar, though the cheddar is really nice.
- 2 to 3 small broccoli heads, 1.25-1.5 lbs.
- extra-virgin olive oil
- kosher salt
- freshly ground pepper
- 1 tablespoon vinegar, such as apple cider or white balsamic, plus more to taste
- 1 teaspoon honey or maple syrup, plus more to taste
- nice flaky sea salt, such as Maldon, for finishing
- 5 to 6 Medjool dates, pitted and roughly chopped
- 1/2 cup salted Marcona (or other) almonds, roughly chopped
- 2 ounces aged or sharp cheddar, shaved with a vegetable peeler
- Trim woody ends from broccoli stalks, then cut heads away from stems. Peel stems and halve lengthwise. Cut broccoli heads in half through the crown to create two lobes (don’t separate into florets).
- Heat a large skillet over medium-high heat. Add 2-3 teaspoons oil to pan. Place broccoli in skillet cut side down. Season all over with salt and pepper to taste. Cook undisturbed for about 5 minutes or until the undersides are well browned but broccoli is still crunchy — a cake tester should meet firm resistance when inserted into thickest part of stem.
- Turn heads over onto floret size for a minute, just to lightly brown rounded sides, then transfer to a cutting board.
- When cool enough to handle, cut broccoli heads and stems into 1/4-inch (or slightly larger) slices and transfer to a large serving bowl. Add the vinegar, 1 tablespoon olive oil and the honey. Season generously with sea salt. Toss. Taste. Adjust seasoning with more olive oil, vinegar, and salt to taste — I’ve consistently been adding at least another tablespoon each of oil and vinegar. And I find the broccoli can really handle the sea salt, so don’t be shy — salt till it tastes good.
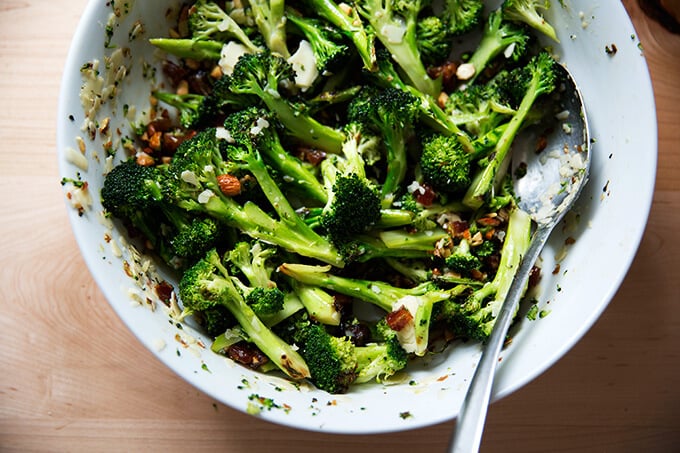
- Add the almonds and dates and toss again. Add the cheddar and toss one final time. Serve immediately or let stand for hours before serving. This salad gets even better as it sits — the dates, almonds, and cheddar soak up the dressing, while the broccoli remains firm (while also absorbing the flavors of the dressing). This is a salad to be eaten with a knife and fork.
- Prep Time: 15 minutes
- Cook Time: 7 minutes
- Category: Side Dish
- Method: Stovetop
- Cuisine: American
