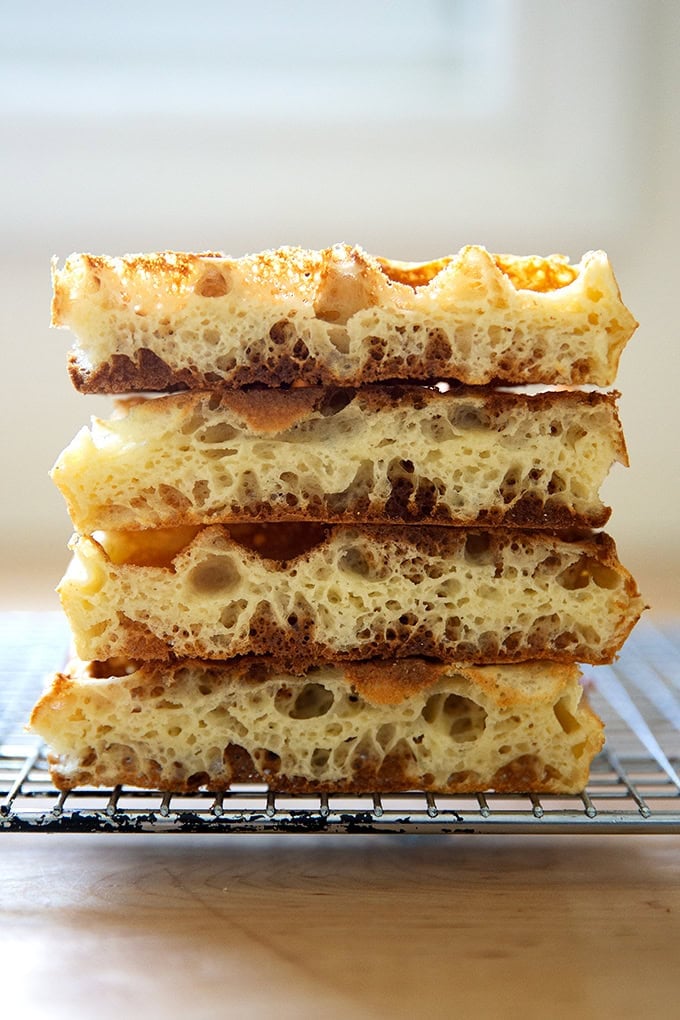
Made with a hefty amount of sourdough discard, this same-day waffle recipe will help make a dent in your discard supply as well as leave you with 10 light, airy, and crisp waffles to enjoy now or freeze for later 🎉

Looking for a recipe that uses up a lot of sourdough discard ? Start here: sourdough discard waffles. It’s a same-day recipe, which can be made with as much as 200 grams of discard. You can use either a freshly discarded sourdough discard (from a room-temperature feeding of your starter) or one that has been in your fridge for over a week (though ideally not more than two weeks).
The remaining ingredients here are classics for waffles: buttermilk, eggs, flour, sugar, butter, salt, vanilla, and a mix of baking powder and soda. This recipe yields a perfectly sweet and nicely seasoned waffle with a crisp exterior and light and airy crumb (see below!).
How to Make Sourdough Discard Waffles, Step by Step
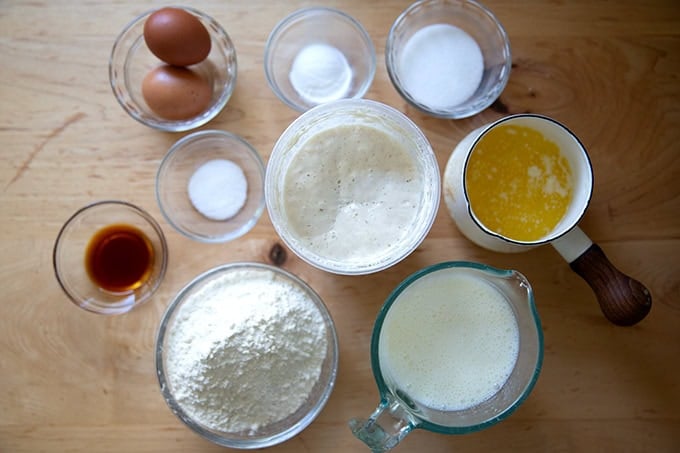
First, gather your ingredients: flour, baking powder, baking soda, salt, sugar, eggs, buttermilk, vanilla, melted butter, and sourdough discard.
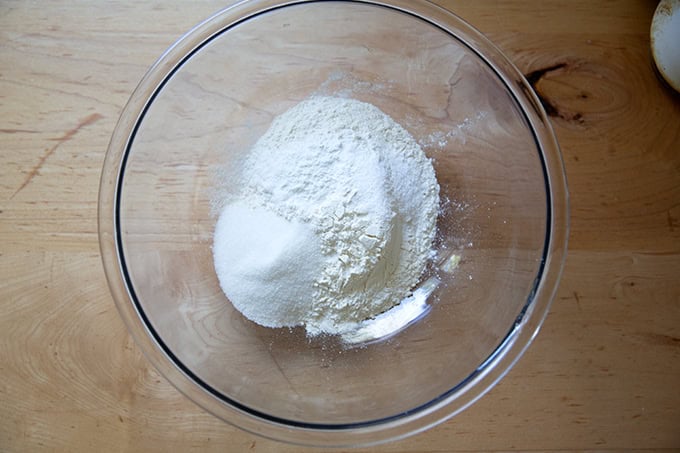
Whisk together your dry ingredients:
In a separate bowl, whisk together the buttermilk, eggs, sourdough discard, and vanilla.
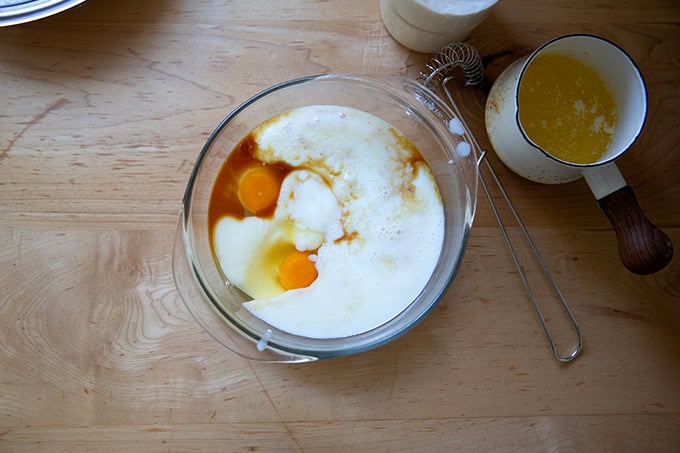
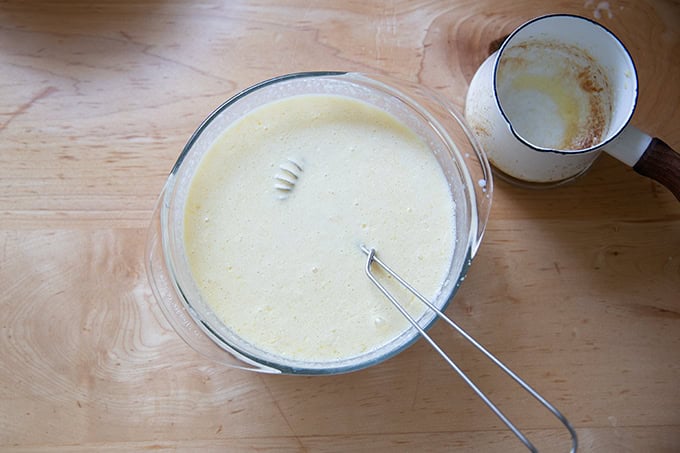
Whisk in the melted butter last.
Combine the wet and dry ingredients:
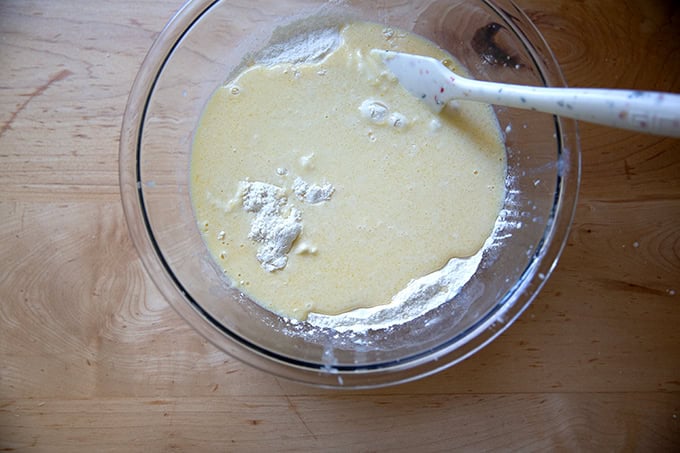
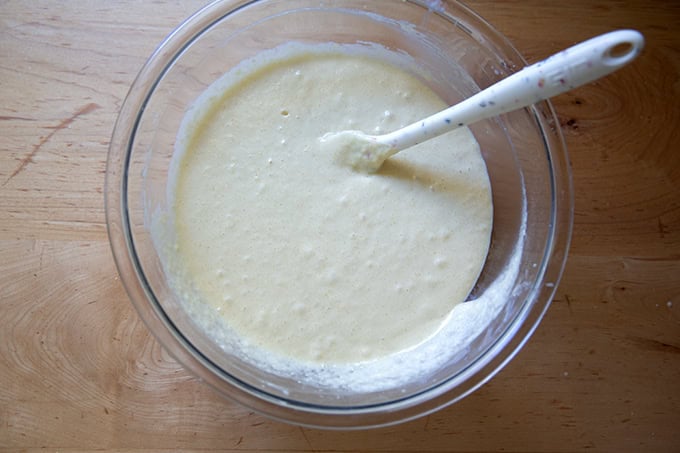
And stir until mostly smooth:
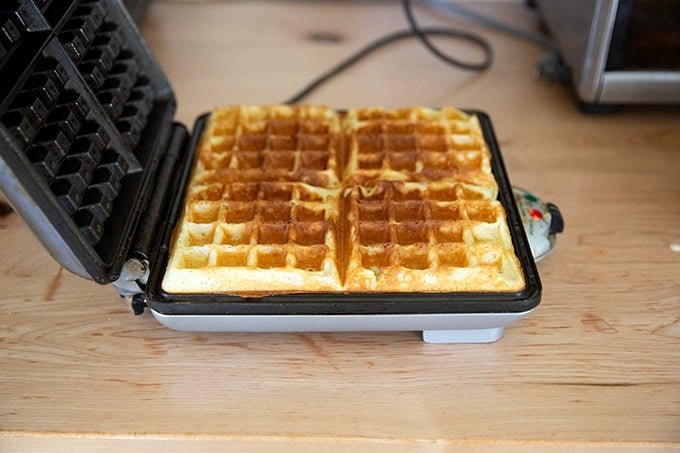
Distribute the batter in your waffle iron appropriately, given its size. For my waffle iron, I find 1/3 cup of batter per well to be about right. And I set my dial to 5, which cooks the waffles for roughly 6 minutes. Note: my waffle iron is ancient and cooks the waffles a little unevenly, but I have no intention of replacing it 🙂
Top with syrup and berries, and serve.

Description
Made with a hefty amount of sourdough discard, this same-day waffle recipe will help make a dent in your discard supply as well as leave you with 10 light, airy, and crisp waffles to enjoy now or freeze for later.
Notes:
For best results, please use a scale to measure.
Baking Soda: I know 1/4 teaspoon of baking soda feels like a negligible amount, but it makes all the difference in ensuring the waffles brown evenly and rise properly.
Salt: If you are using Morton Kosher salt or fine sea salt, use 3/4 teaspoon.
Sourdough Discard: You can use either freshly discarded discard (as in from a room-temperature feeding of your starter) or you can use discard you’ve had in the fridge (ideally not older than 2 weeks). Ideally, you are feeding your starter at 100% hydration, meaning equal parts by weight flour and water, which is the hydration of the starter I used in all of my waffle experiments. If you need to use less starter, such as 100 grams, simply increase the amount of flour and buttermilk by 50 grams each.
Buttermilk: To make your own buttermilk, place 1.5 cups of milk in a 2-cup measure. Stir in 2 tablespoons of vinegar or fresh lemon juice, and let it sit for 10 minutes. Stir it again; then use.
170 grams (1 1/3 cups) all-purpose flour
50 grams (¼ cup) sugar
12 grams (1 tablespoon) baking powder
¼ teaspoon baking soda, see notes above
6 grams (1.5 teaspoons) Diamond Crystal kosher salt, see notes above
200 grams (about 1 cup ) sourdough discard, see notes above
380 grams buttermilk (a heaping 1.5 cups), see notes above
2 eggs
13 grams (1 tablespoon) vanilla extract
113 grams (8 tablespoons) melted butter, salted or unsalted (I always use salted)
maple syrup and fresh berries for serving
- Preheat your waffle iron.
- In a large bowl, whisk together the flour, baking powder, baking soda, salt, and sugar.
- In a medium bowl, whisk together the eggs, buttermilk, vanilla, and sourdough discard. Add the melted butter, and whisk until mostly smooth.
- Add the wet ingredients to the dry ingredients and whisk until the batter is well combined.
- When the waffle iron is ready, distribute an appropriate amount of batter into each well depending on the size of your waffle maker — for me, 1/3 cup of batter is perfect.
- Close the machine and cook until the waffles are evenly golden on each side, roughly 6 minutes total, though timing will vary depending on your machine.
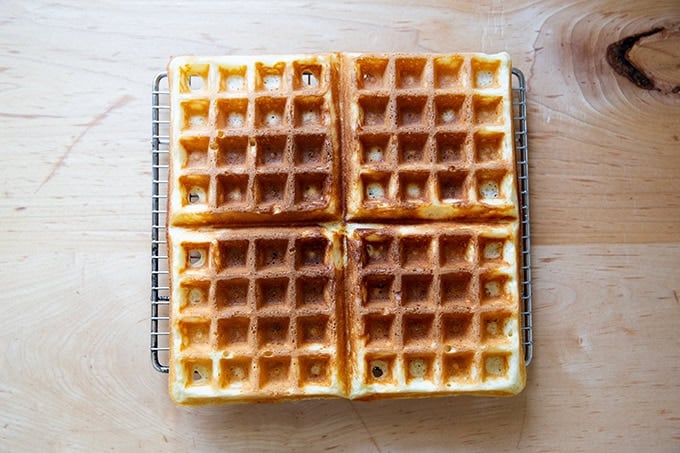
- Remove the waffles from the machine and transfer to a cooling rack briefly — just a minute or two before serving.
- Serve with maple syrup and fresh berries.
- To freeze , let the waffles cool completely; then transfer to an airtight bag or vessel and transfer to the freezer for as long as 3 months. To reheat, place a waffle in a toaster directly from the freezer, and toast for 3 to 4 minutes or until toasted to your liking.
- Prep Time: 15 minutes
- Cook Time: 20 minutes
- Category: Breakfast
- Method: waffle iron
- Cuisine: American
Description
Made with a hefty amount of sourdough discard, this same-day waffle recipe will help make a dent in your discard supply as well as leave you with 10 light, airy, and crisp waffles to enjoy now or freeze for later.
Notes:
For best results, please use a scale to measure.
Baking Soda: I know 1/4 teaspoon of baking soda feels like a negligible amount, but it makes all the difference in ensuring the waffles brown evenly and rise properly.
Salt: If you are using Morton Kosher salt or fine sea salt, use 3/4 teaspoon.
Sourdough Discard: You can use either freshly discarded discard (as in from a room-temperature feeding of your starter) or you can use discard you’ve had in the fridge (ideally not older than 2 weeks). Ideally, you are feeding your starter at 100% hydration, meaning equal parts by weight flour and water, which is the hydration of the starter I used in all of my waffle experiments. If you need to use less starter, such as 100 grams, simply increase the amount of flour and buttermilk by 50 grams each.
Buttermilk: To make your own buttermilk, place 1.5 cups of milk in a 2-cup measure. Stir in 2 tablespoons of vinegar or fresh lemon juice, and let it sit for 10 minutes. Stir it again; then use.
170 grams (1 1/3 cups) all-purpose flour
50 grams (¼ cup) sugar
12 grams (1 tablespoon) baking powder
¼ teaspoon baking soda, see notes above
6 grams (1.5 teaspoons) Diamond Crystal kosher salt, see notes above
200 grams (about 1 cup ) sourdough discard, see notes above
380 grams buttermilk (a heaping 1.5 cups), see notes above
2 eggs
13 grams (1 tablespoon) vanilla extract
113 grams (8 tablespoons) melted butter, salted or unsalted (I always use salted)
maple syrup and fresh berries for serving
- Preheat your waffle iron.
- In a large bowl, whisk together the flour, baking powder, baking soda, salt, and sugar.
- In a medium bowl, whisk together the eggs, buttermilk, vanilla, and sourdough discard. Add the melted butter, and whisk until mostly smooth.
- Add the wet ingredients to the dry ingredients and whisk until the batter is well combined.
- When the waffle iron is ready, distribute an appropriate amount of batter into each well depending on the size of your waffle maker — for me, 1/3 cup of batter is perfect.
- Close the machine and cook until the waffles are evenly golden on each side, roughly 6 minutes total, though timing will vary depending on your machine.
- Remove the waffles from the machine and transfer to a cooling rack briefly — just a minute or two before serving.
- Serve with maple syrup and fresh berries.
- To freeze , let the waffles cool completely; then transfer to an airtight bag or vessel and transfer to the freezer for as long as 3 months. To reheat, place a waffle in a toaster directly from the freezer, and toast for 3 to 4 minutes or until toasted to your liking.
- Prep Time: 15 minutes
- Cook Time: 20 minutes
- Category: Breakfast
- Method: waffle iron
- Cuisine: American
Find it online : https://alexandracooks.com/2025/05/08/simple-sourdough-discard-waffles/
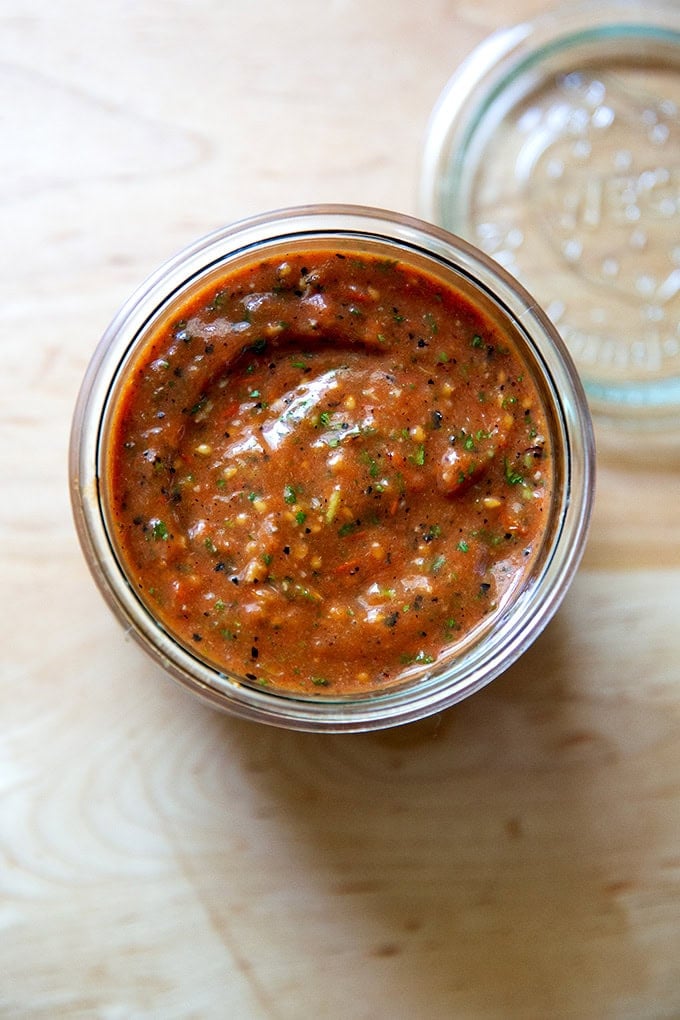
Made with a handful of ingredients and requiring very little prep, this charred tomato salsa comes together in no time and tastes so fresh and flavorful: both sweet and spicy with a nice acidity, too. Your tacos, burritos, beans, and chips will never be so happy!
I started making this salsa last July. It’s a simplified version of this fresh enchilada sauce recipe , and when the tomatoes are at their peak, it is irresistible, the kind of sauce you want to spoon over everything.
And last summer and fall, as a family, we did: we spooned it over tacos, mostly these , but also over a variation made with grilled chicken (the recipe for which I will share soon as it’s so fast and delicious… see photo below). We drizzled it over rice and bean bowls. We dragged our scrambled eggs through it and, of course, we dipped tortilla chips in it.
The beauty of this salsa is that it requires very little chopping and very little prep overall: place cherry tomatoes, a roughly chopped onion and jalapeño, and a few garlic cloves on a sheet pan; toss with olive oil and salt; broil for 10 minutes; then purée with fresh lime juice and cilantro.
As noted, it is especially tasty when made at peak tomato season, which here in Upstate New York feels an eternity away. Craving it recently, I made it with two beefsteak tomatoes my sister had left at our house at Easter and the remains of a can of yellow tomatoes, and I was shocked by how good it tasted.
Inspired by this victory using subpar tomatoes, I made it again with grocery store cherry tomatoes on the vine — the ones labeled “sugar bombs” — and it was even better: sweet and spicy with a nice balance of acidity, just what our tacos have been missing all these months, just the salsa we need to bridge the very long gap till true tomato season arrives.
How to Make Charred Cherry Tomato Salsa, Step by Step
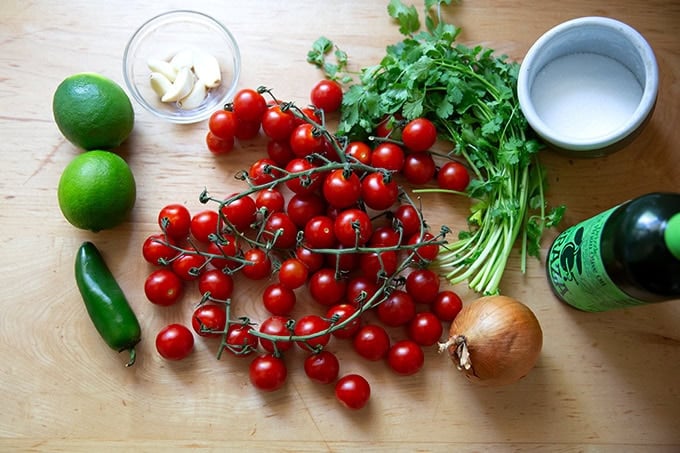
Gather your ingredients: tomatoes, garlic, onion, jalapeño, cilantro, lime, salt, and olive oil.
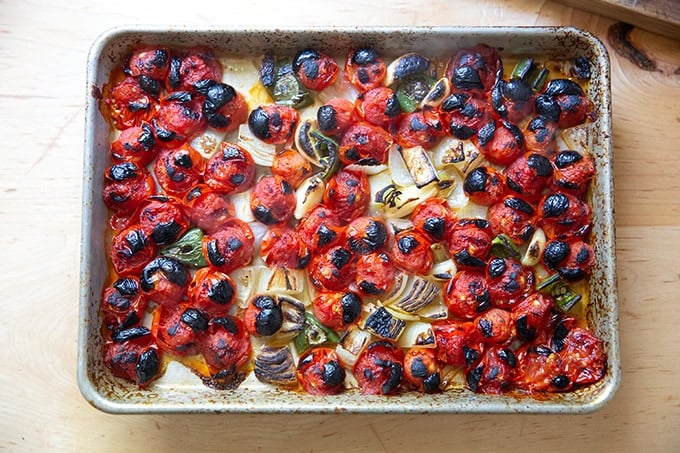
Place the tomatoes, roughly chopped onion and jalapeño, and garlic on a small sheet pan and toss with olive oil and salt.
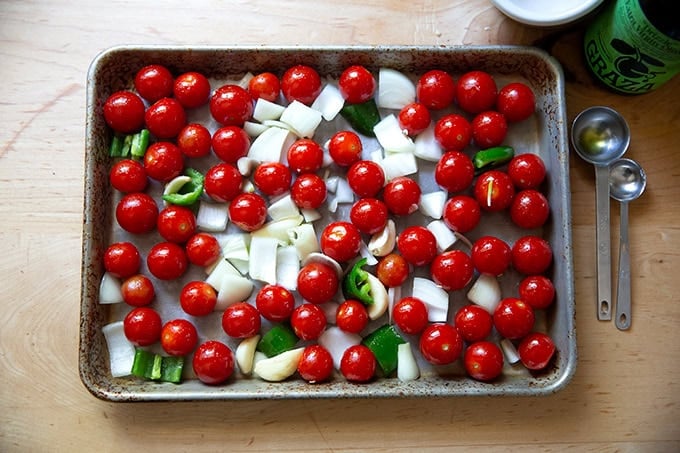
Broil for 10 minutes or until the vegetables are beginning to char.
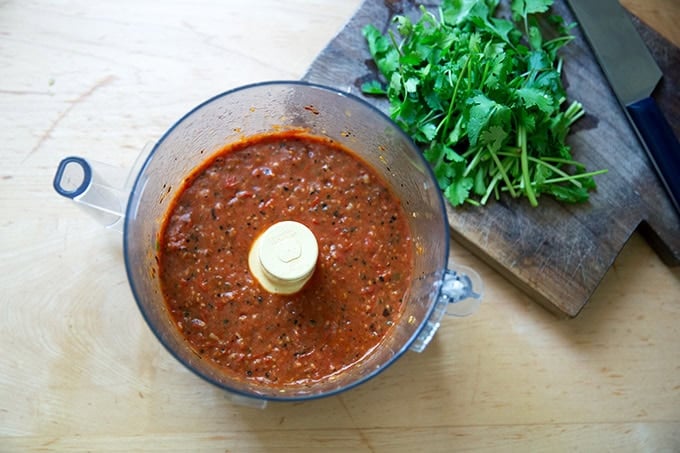
Transfer the vegetables to a food processor and add fresh lime juice and a pinch more salt.

Purée until smooth. Taste and adjust with more salt and lime juice to taste.
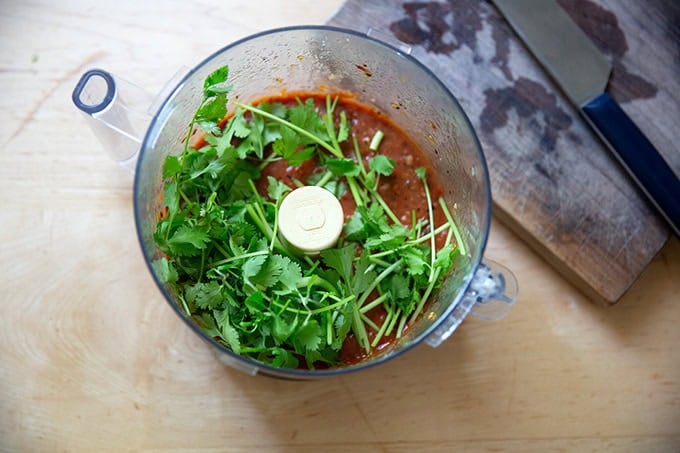
Finally, add roughly chopped cilantro and purée until smooth. (If you hate cilantro, leave it out — it’s tasty on its own without it.)
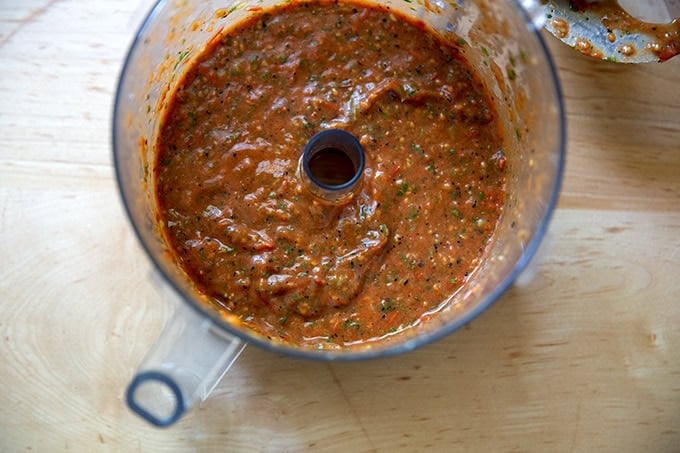
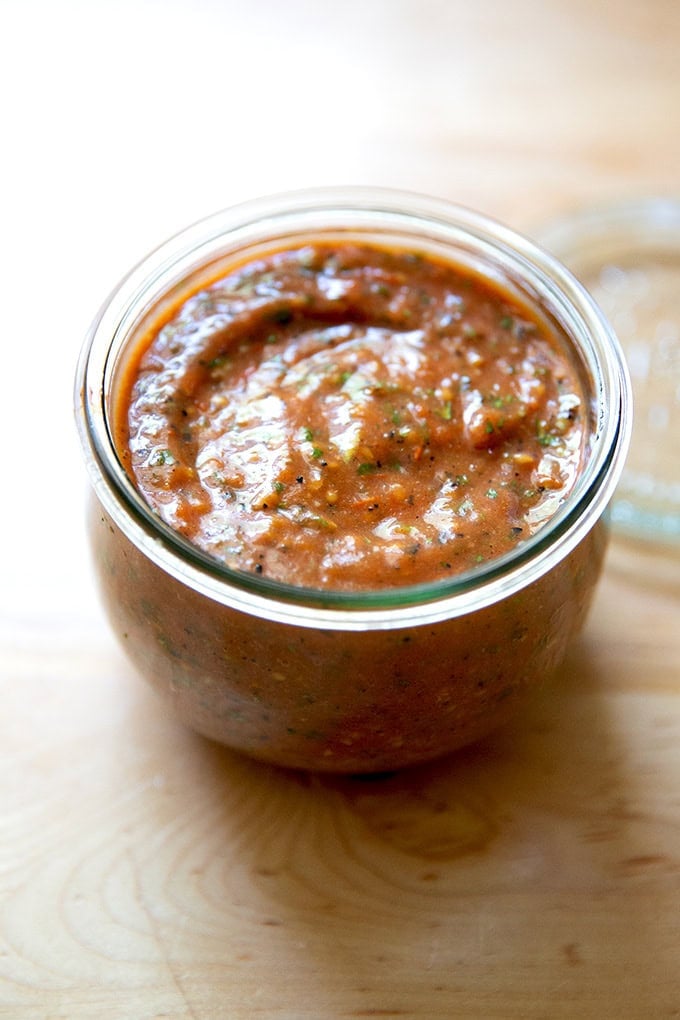
Transfer to a storage jar and serve immediately or store in the fridge for 1 week.
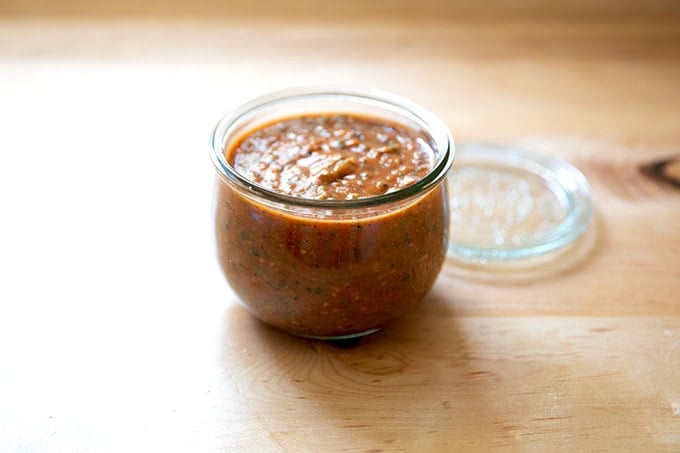
Bring to room temperature before serving.
Here are a few ways we eat this salsa…
… on grilled chicken tacos (recipe coming soon):

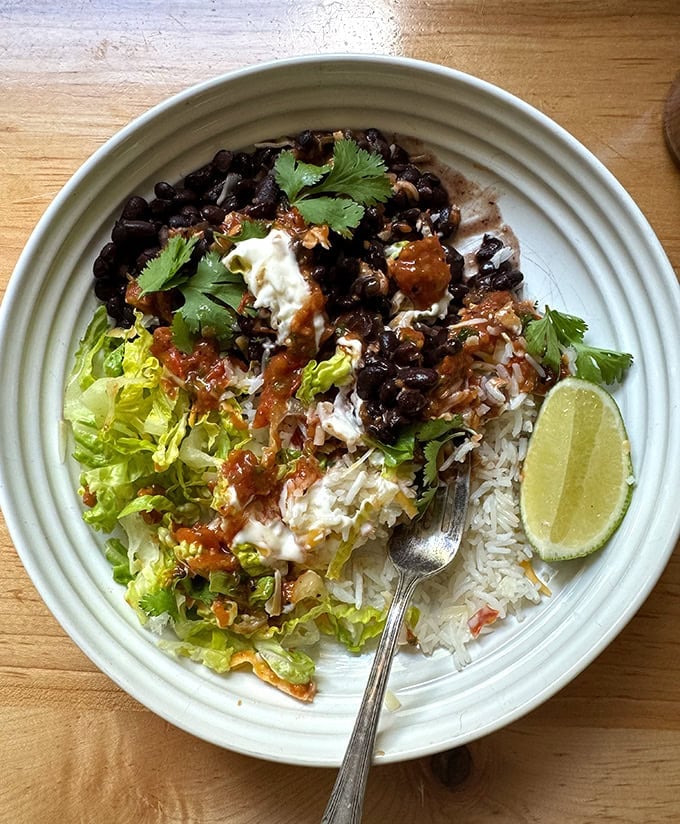
… on rice and bean bowls:
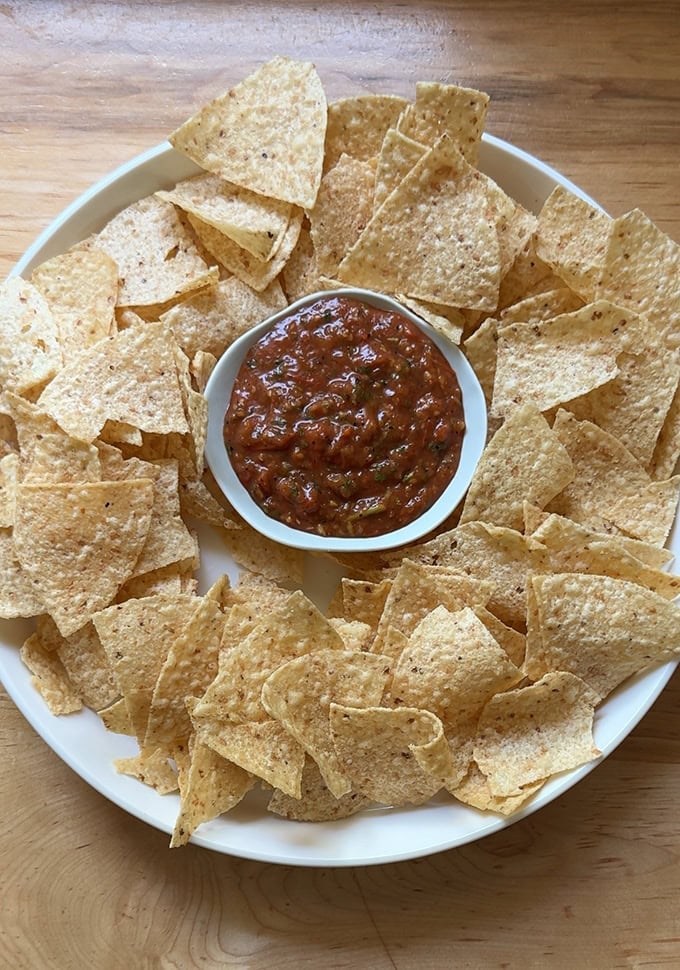
… with chips:
Description
Made with just a handful of fresh vegetables, this blistered tomato salsa is so fresh and flavorful and takes no time to blitz together. It’s a simplified version of this recipe for fresh enchilada sauce.
Notes:
Tomatoes: This salsa is especially good when tomatoes are at their peak, but it works surprisingly well with subpar tomatoes, too. Cherry tomatoes make the prep very easy, but you can use any tomato you like — you need roughly 28 ounces total.
1 small onion, peeled and roughly chopped
6 cloves garlic, peeled
1 jalapeño, seeded if you are sensitive to heat, roughly chopped
28 ounces ( 5 heaping cups) cherry tomatoes, see notes above
1 tablespoon extra-virgin olive oil
kosher salt
2 to 3 tablespoons fresh lime juice
small bundle of cilantro (an ounce or less), optional, roughly chopped
- Heat the broiler to high for at least 10 minutes.
- Place the onion, garlic, jalapeño, and tomatoes on a small sheet pan. Toss with the oil and 1 teaspoon kosher salt (Diamond Crystal brand… use half as much if using Morton or fine sea salt). Transfer to the oven and broil for 10 minutes or until the vegetables are nicely charred.
- Transfer vegetables to a food processor. Add 2 tablespoons of the lime juice and 1/2 teaspoon kosher salt (again Diamond Crystal brand or half as much if using Morton or fine sea salt) or salt to taste. Purée until smooth. Taste. Mixture should taste both sweet and spicy with a nice balance of acidity. Adjust with more lime juice to taste — I always use 3 tablespoons of fresh lime juice.
- Add the cilantro, if using, and purée one last time until smooth.
- Use the salsa on your favorite taco recipe or serve with chips or store in the fridge for up to 1 week or freeze for up to 3 months.
- Prep Time: 10 minutes
- Cook Time: 10 minutes
- Category: Sauce
- Method: Broiler, Food processor
- Cuisine: Mexican, American
