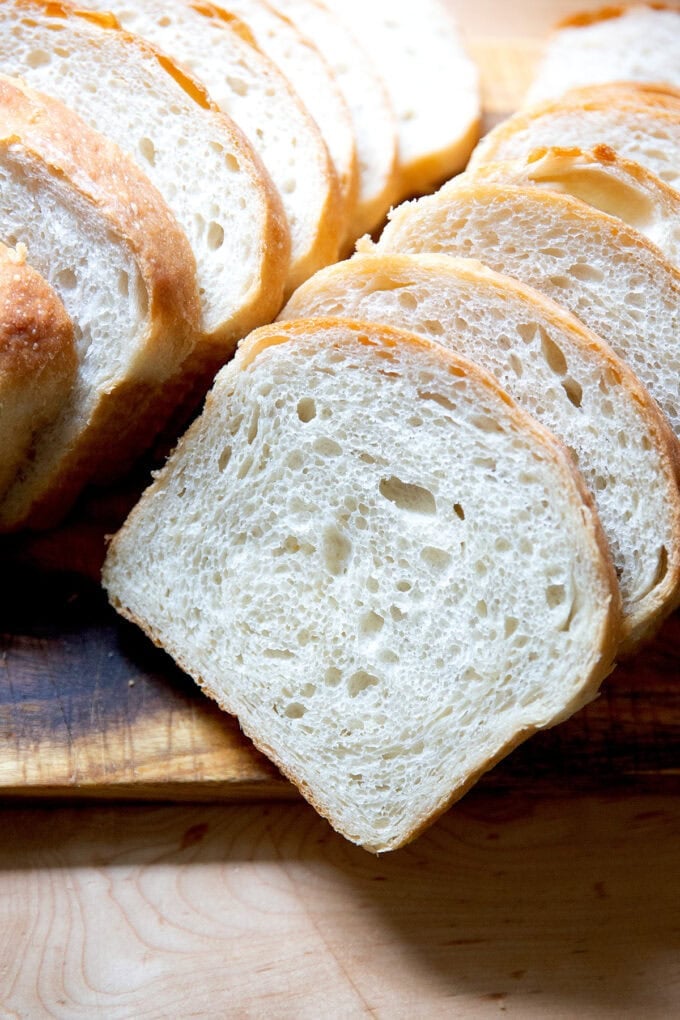
The best way to use up your sourdough discard? In more bread, of course! This recipe will show you how to make the simplest of simple bread recipes using your sourdough discard, and it will produce a soft but sturdy loaf, great for toast and sandwiches . 🍞🍞
There are countless recipes well-suited for using sourdough discard in place of some of the flour and water, but my favorite way to use it is as follows: in any bread recipe. My family subsists on toas t and sandwiches, so I often use my discard in this favorite simple sandwich bread recipe or in this even simpler toasting loaf (recipe below), which is soft but sturdy, excellent, of course, for toast, but also great for sandwiches when freshly baked.
Whereas the sandwich bread recipe calls for milk and melted butter, this one calls for water alone, plus a small amount of honey, which lends the subtlest sweetness, promotes browning, and helps keep the bread soft. It can be omitted if you prefer. Find step-by-step instructions below.
How to Make Simple Sourdough Discard Toasting Bread, Step by Step
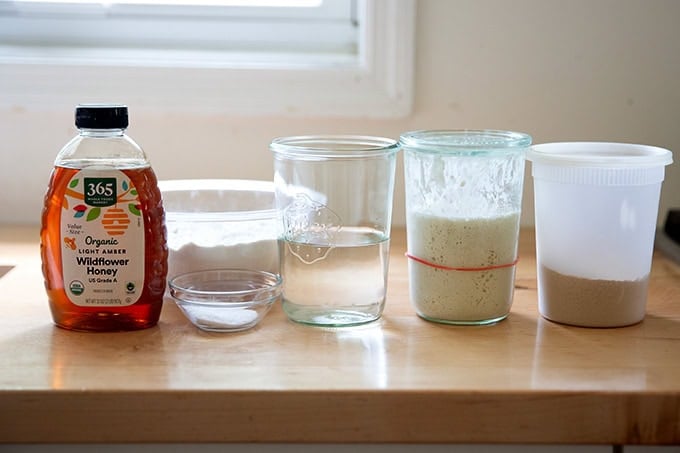
Gather your ingredients: flour, water, salt, sourdough discard, instant yeast, and, optionally, honey (or other sweetener).
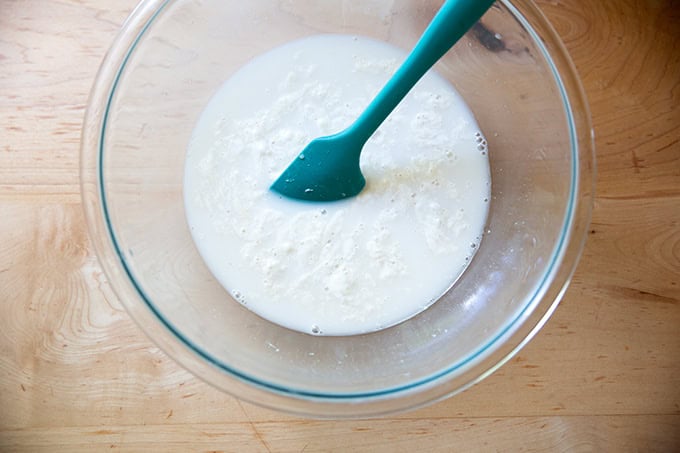
In a large bowl combine the water, honey (if using), salt, and instant yeast.
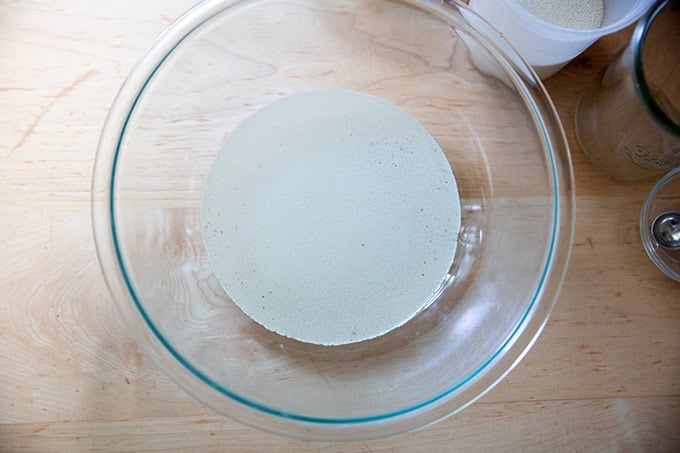
Stir to dissolve the salt and honey.

Add 200 grams of sourdough discard (see recipe box if you’d like to use less).
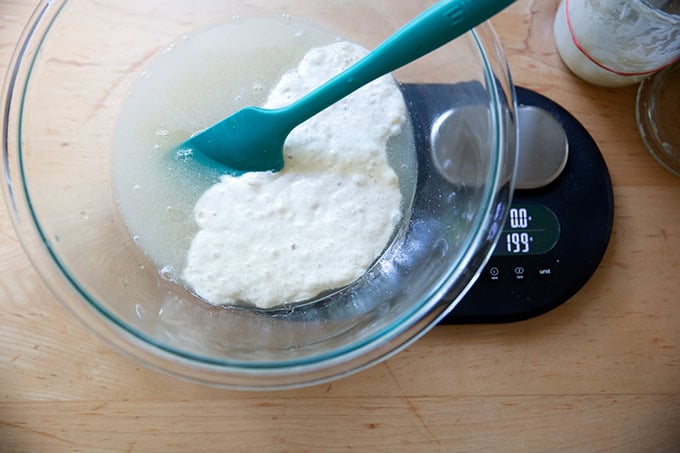
Stir to combine.
Add the flour.
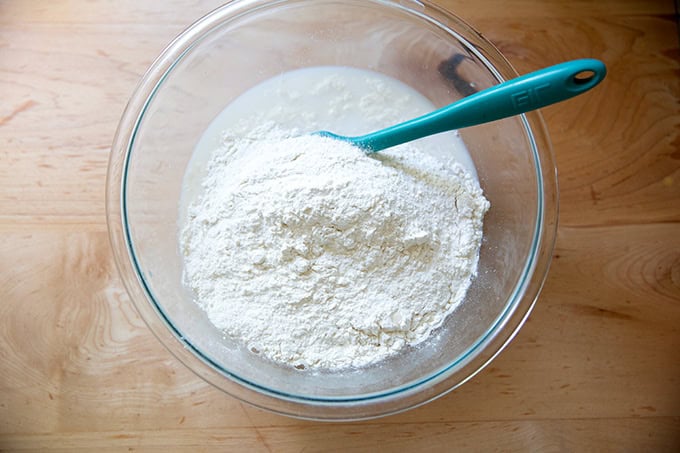
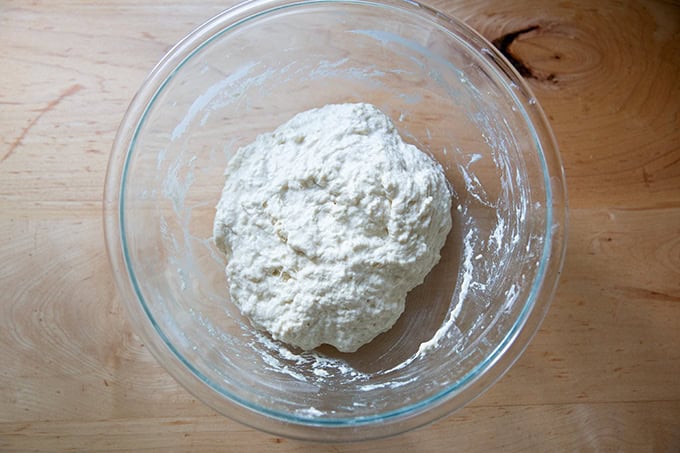
And stir until you have a wet, sticky dough ball. Cover the bowl and let rest for 30 minutes.
Then perform a series of stretches as folds using a wet hand. Here’s video guidance:
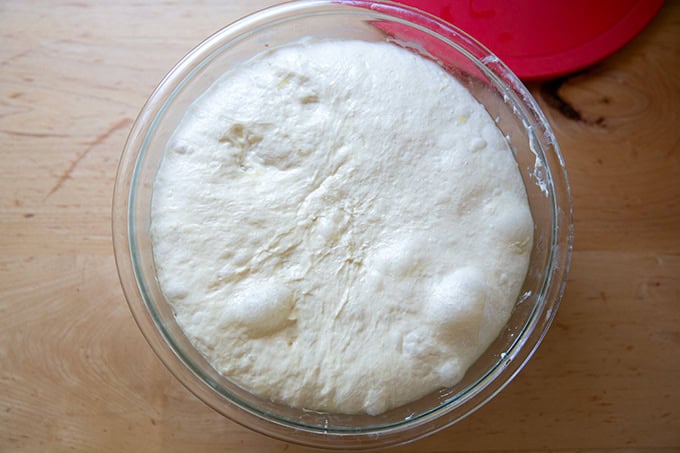
Cover the bowl again and let the dough rise …
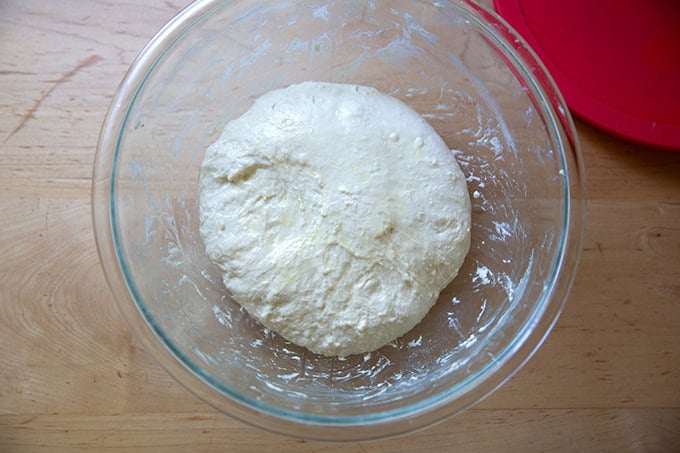
… until it doubles in volume.
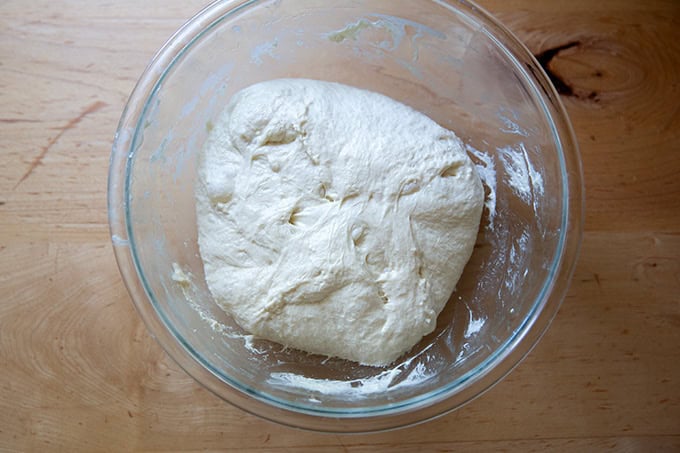
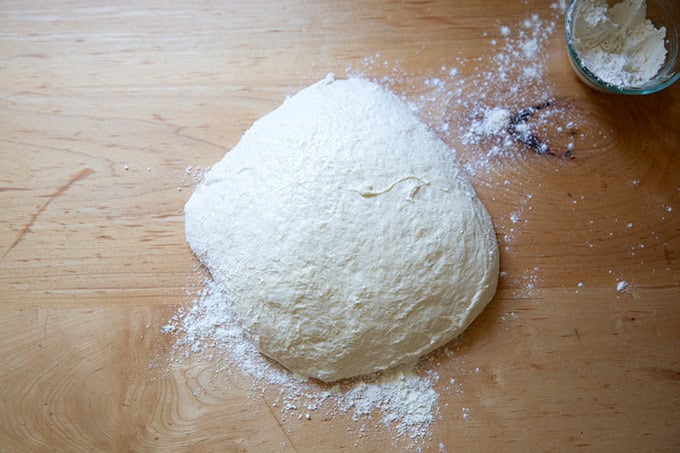
Using a flexible bowl scraper, deflate the dough by pulling it from the sides of the bowl and into the center. Turn the dough out onto a floured work surface and roll into a coil. Here’s video guidance:
Deflated dough:
Turned out dough:
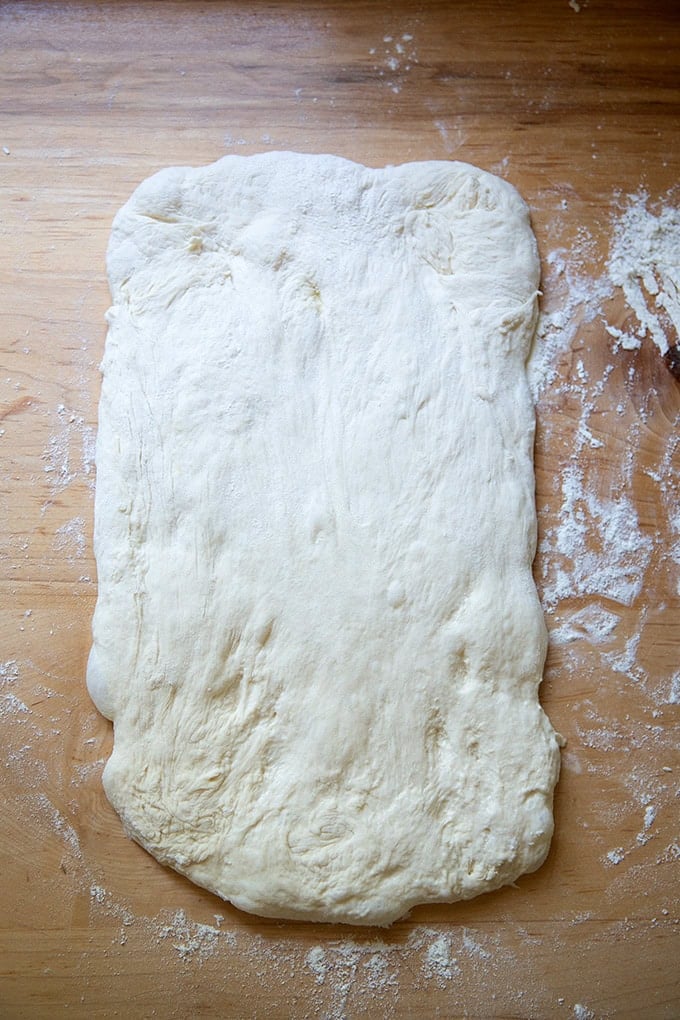
Rectangle:
Drizzle the loaf lightly with olive oil, and rub to coat.
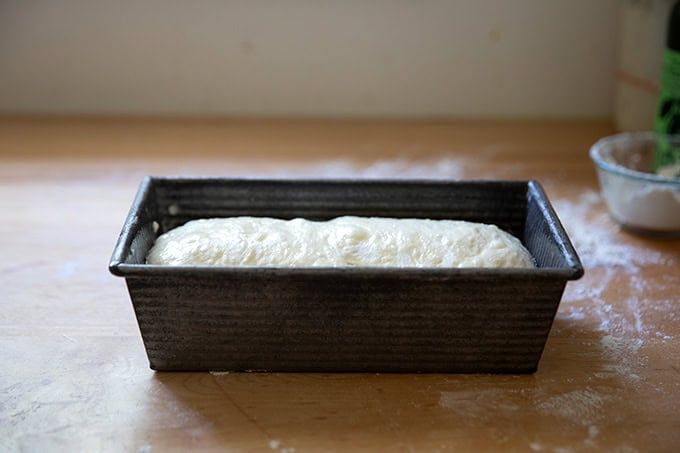
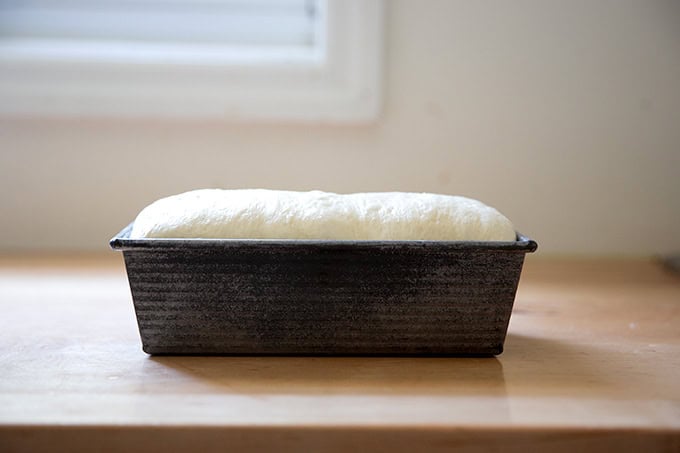
Let rise until the dough crowns the rim of the loaf pan.
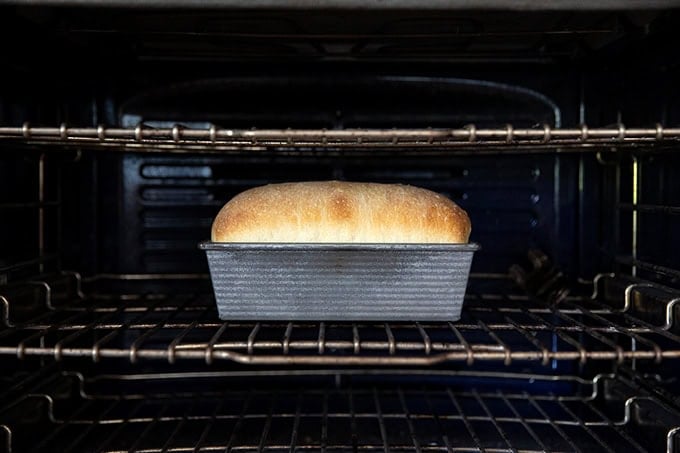
Bake at 375ºF for 45 minutes.
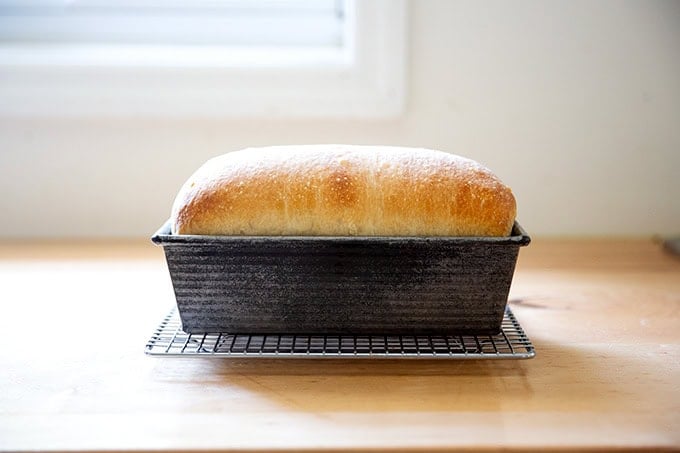
Then turn out onto a cooling rack.
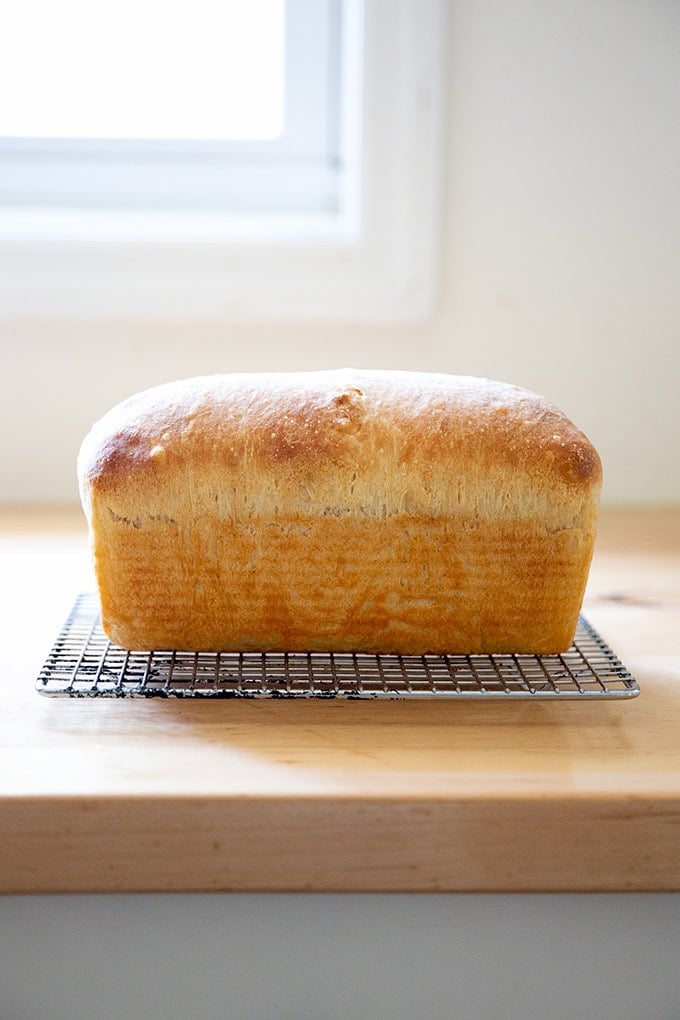
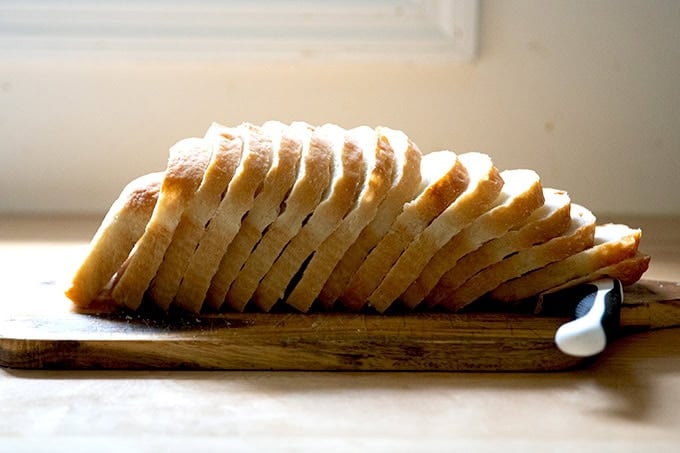
Let cool for at least 30 minutes before slicing.
This bread freezes beautifully.
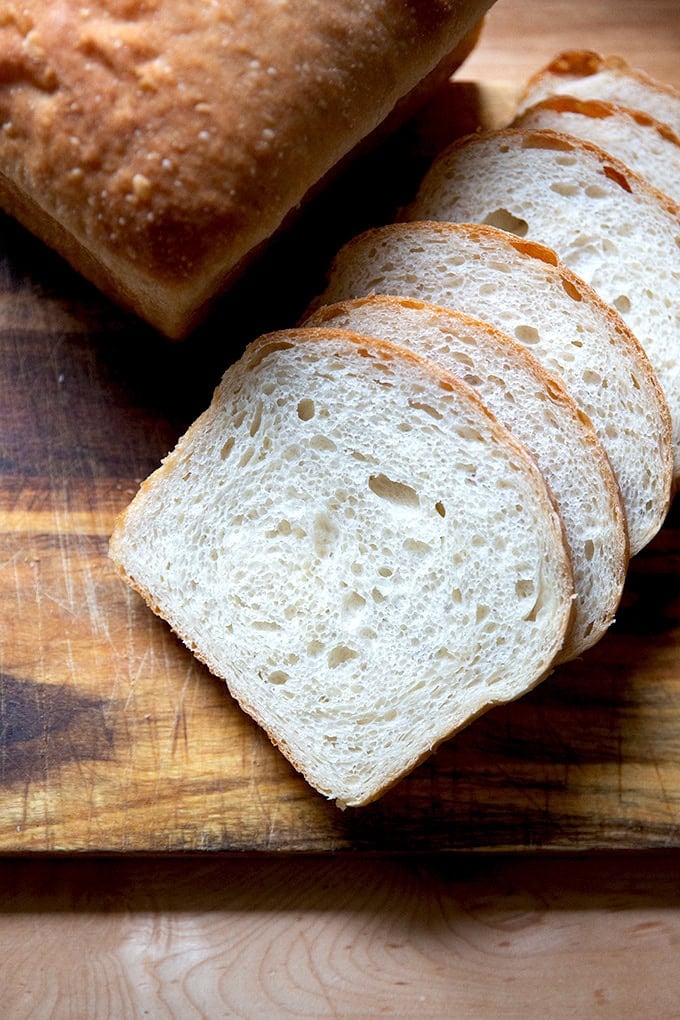
It’s great for sandwiches when freshly baked:
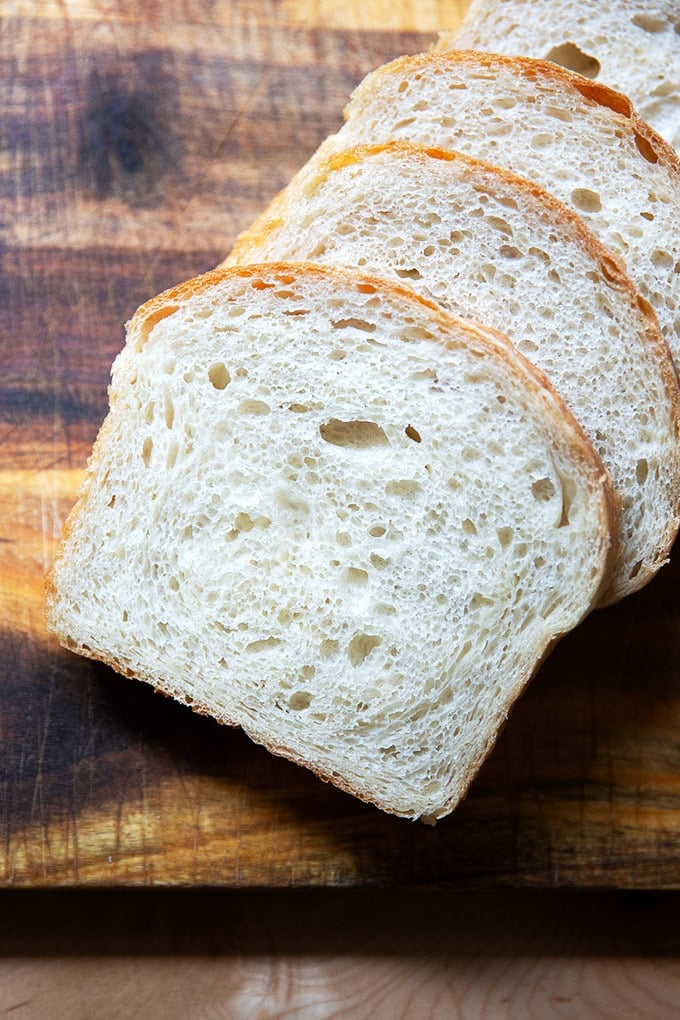
And, of course, makes excellent toast:

Description
This recipe will show you how to make the simplest of simple bread recipes using your sourdough discard, and it will produce a soft but sturdy loaf, great for toast and sandwiches. 🍞🍞🍞
Notes:
- For best results, please use a scale to measure.
- Yeast: SAF instant yeast is my preference. If you are using active dry yeast, sprinkle it over the water and let it bloom for 15 minutes before proceeding.
- Salt: The rule of thumb with bread is that the weight of the salt should be 2 to 3% the weight of the flour. For this recipe that is 10 to 15 grams. I always use 15 grams of salt, and I do not find the bread to be too salty, but, as you know, I have a high salt tolerance. Use an amount appropriate to your tastes and preferences. Finally, I always use Diamond Crystal kosher salt, but you can use fine sea salt or whatever salt you like.
- Sourdough Discard: You can use either freshly discarded discard (as in from a room-temperature feeding of your starter) or you can use discard you’ve had in the fridge (ideally not older than 2 weeks). Ideally, you are feeding your starter at 100% hydration, meaning equal parts by weight flour and water, which is the hydration of the starter I use in all of my sourdough bread recipes. You can use as much or as little sourdough discard here as you like but adjust the recipe accordingly: if, for example, you want to use 100 grams of discard, use 350 grams of water and 500 grams of flour.
- The pan: I am using this 9×5-inch USA pan . You could use a 10×5-inch loaf pan here as well. An 8×4-inch pan might be too small here.
Please read all notes above before proceeding:
- 300 grams (about 1 1/3 cups ) water, cold or room temperature
- 4 grams ( 1 teaspoon ) instant yeast
- 10 to 15 grams ( 2 to 3 teaspoons) salt
- 21 grams ( 1 tablespoon ) honey or other sweetener, optional
- 200 grams (about 1 cup ) sourdough discard
- 450 grams (about 3.5 cups ) bread flour, plus more for dusting
- softened butter for greasing
- olive oil for drizzling
- Mix the dough: In a large bowl, combine the water, instant yeast, salt, and honey (if using). Stir to dissolve the salt and honey. Add the sourdough discard and stir to combine. Add the flour, and stir until you have a wet, sticky dough ball. Cover the bowl and let it rest for 30 minutes.
- Stretch and fold: Fill a small bowl with water. Using a wet hand, stretch and fold the dough by grabbing an edge and pulling it up and towards the center. Repeat this stretching and folding process, moving your hand around the edge of the dough with every set of stretches and folds. As you stretch and fold, you should feel the dough transform from being sticky and shaggy to smooth and cohesive. Find video guidance here .
- Let it rise: Cover the bowl and let the dough rise at room temperature until it has doubled in volume, roughly 2 to 3 hours. Note: Depending on the temperature of your kitchen and the time of year, this may take more or less time. Rely on the visual cues (doubling) more than the timing.
- Prepare a loaf pan: Grease a 9×5-inch loaf pan with softened butter.
- Coil up your dough: Deflate the dough using your hand or a flexible bench scraper, then turn the dough out onto a lightly floured work surface. Pat it into a rectangle roughly 8 by 16 inches (Note: the length isn’t as important as the width: don’t go much wider than 8 inches or you will have to squish it into your loaf pan). Starting at the small end, roll the dough into a tight coil. Transfer it to your prepared pan. Pour 1 teaspoon of olive oil over the surface and rub to coat. Find video guidance here .
- Final rise: Let the dough rise until it crowns the rim of your pan, roughly 1 hour. When your dough begins approaching the rim (or roughly 30 minutes after you place the dough in the loaf pan), preheat your oven to 375ºF.
- Bake it: Bake for 45 minutes.
- Turn out onto a cooling rack and let cool completely (if you have the patience) before slicing — it is much easier to slice the bread into thin, uniform slices when the bread has cooled completely.
- Store the bread in an airtight bag or vessel at room temperature for 3 to 4 days or freeze for up to 6 months.
- Prep Time: 3 hours
- Cook Time: 45 minutes
- Category: Bread
- Method: yeast, sourdough
- Cuisine: Amerian
Find it online : https://alexandracooks.com/2025/06/28/simple-sourdough-discard-toasting-bread/
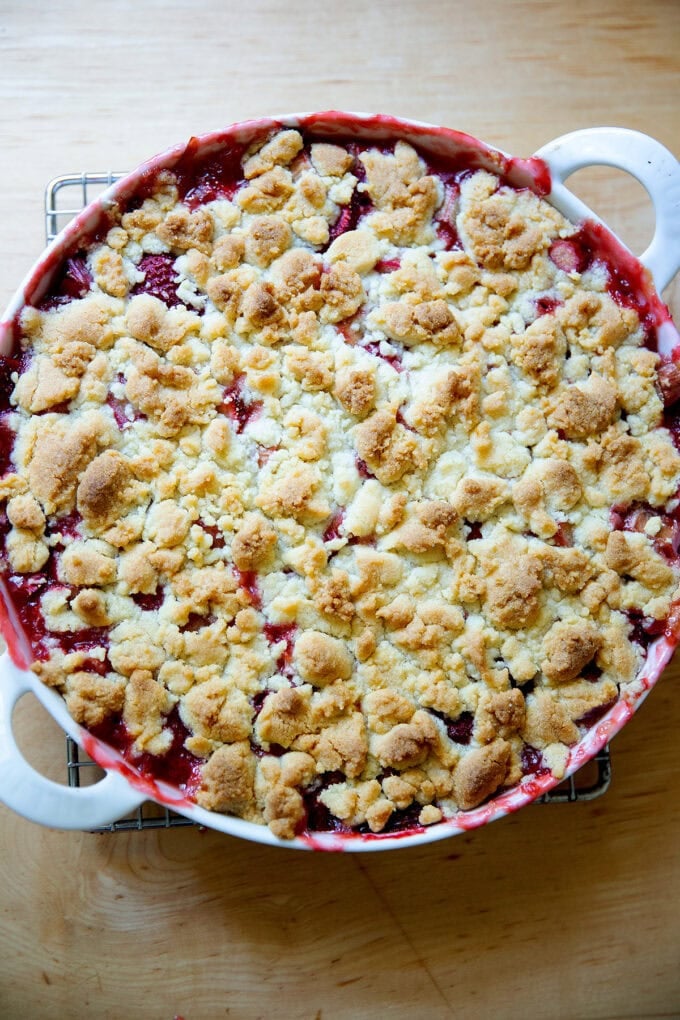
Meet your new favorite summer dessert: strawberry-rhubarb crisp, a union of sweet-tart jammy fruit and an irresistibly buttery crisp topping. Summery, festive, and delicious — strawberries and rhubarb have never been so happy together !
Like basil and tomatoes, apples and cinnamon, peanut butter and chocolate, rhubarb and strawberries are meant to be together.
Arguably, they’re better together. At least in their cooked forms.
Here, strawberries and rhubarb bake together beneath a buttery, shortbread-like topping until the fruit softens, becoming jammy in texture, the sweetness of the strawberries balancing the tartness of the rhubarb, the meltingly soft rhubarb buoying the bursts of juicy strawberries.
What I love about a crisp is its simple assembly, and this one is no exception: first, you’ll zest a lemon into the sugar, which releases the oils in the zest, heightening the lemon flavor. Next, you’ll toss this lemony sugar with the fruit before transferring it to its baking dish and crumbling over the topping, which comes together in seconds in a food processor. Into the oven it goes, and 45 minutes later, when the rosy fruit bubbles beneath the golden brown topping, it’s done.
Vanilla ice cream alongside is a must. Find step-by-step instructions below.
PS: Lemon-Blueberry Crisp
How to Make Strawberry-Rhubarb Crisp, Step by Step
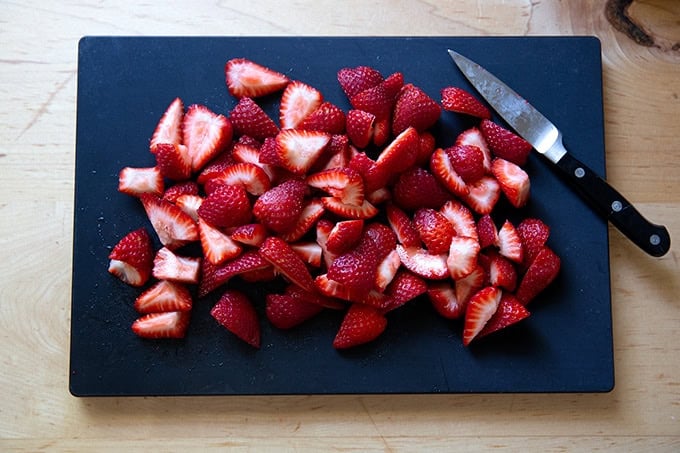
First, gather your strawberries and rhubarb: you need about a pound of each.

Stem, hull, and quarter the strawberries:
Cut the rhubarb into 1/2-inch thick slices:

In a large bowl, zest a lemon over sugar:
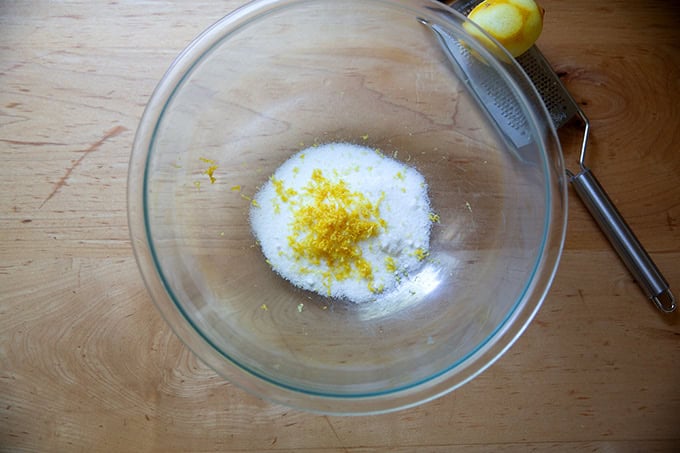
Rub the lemon into the sugar:
Add the fruit to the bowl, then sprinkle with a pinch of salt and a tablespoon of cornstarch:
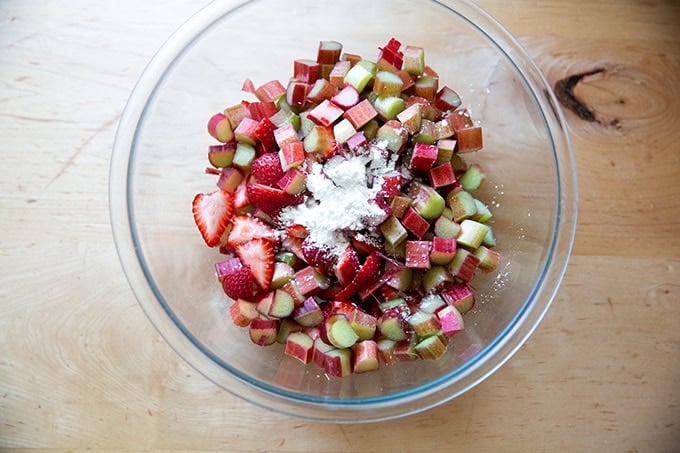
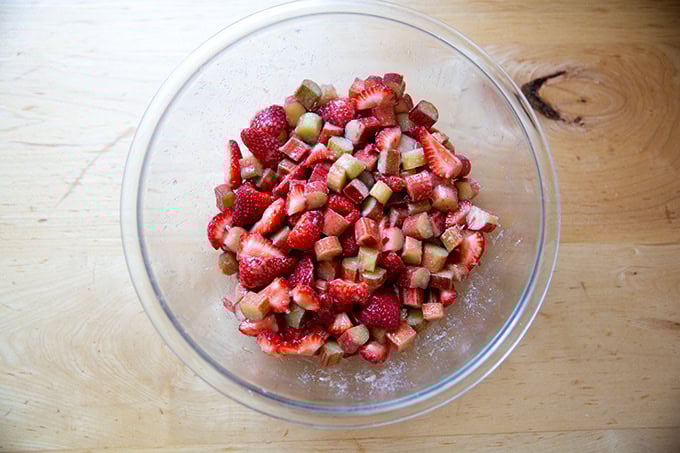
Toss to combine:
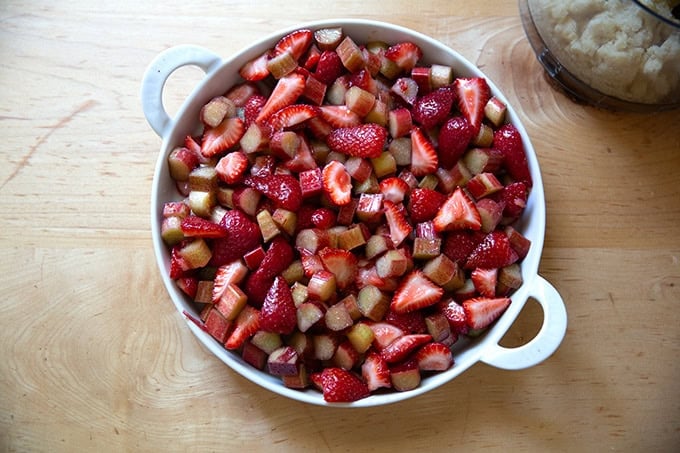
Then transfer to a baking dish: I’m using this 10.5-inch tart pan .
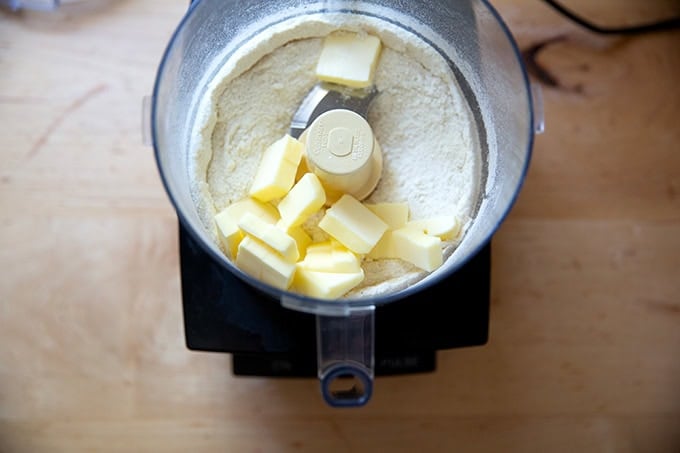
Next, gather your ingredients for the crisp topping: flour, almond flour (see recipe box if you don’t have almond flour), sugar, salt, baking powder, and butter.

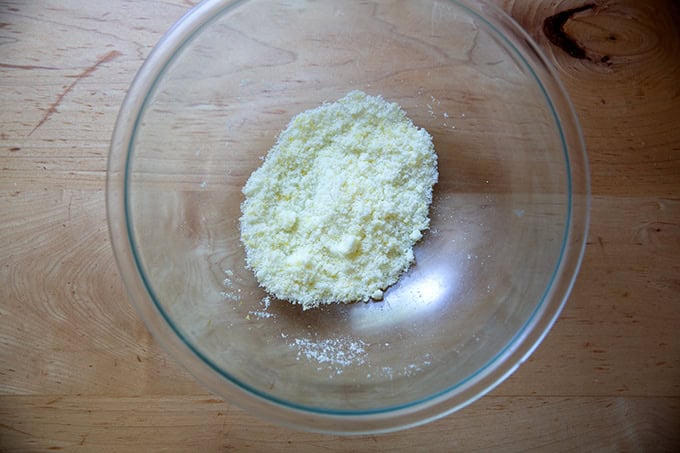
Place the dry ingredients in a food processor:
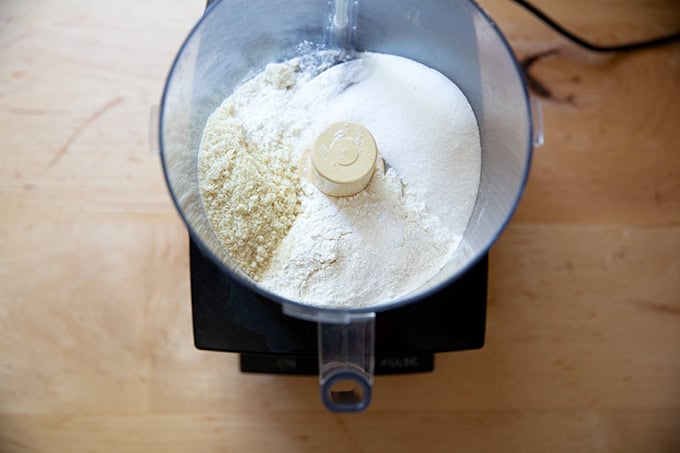
Run the machine until the ingredients are well blended, then add the butter:
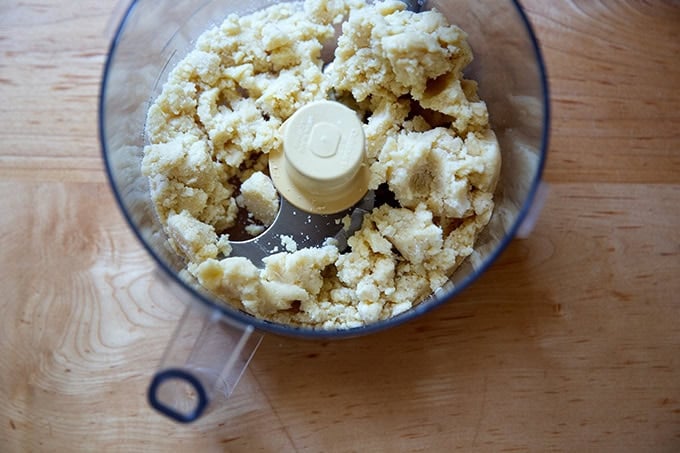
Purée again, until the mixture begins clumping:
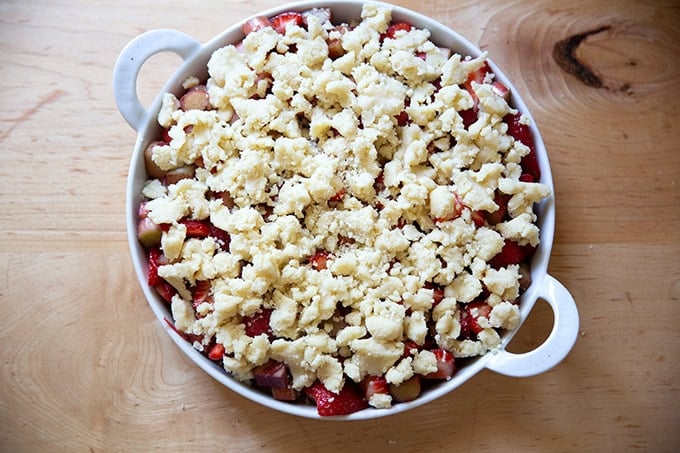
Spread the topping over the berries in the baking dish:
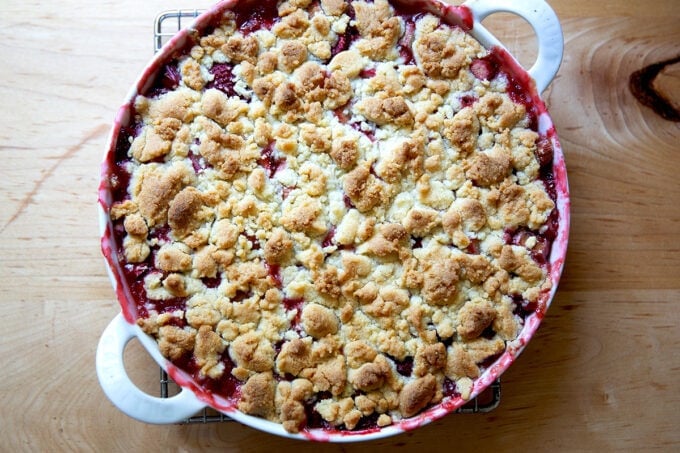
Then bake for 45-50 minutes or until the topping is browned to your liking and the fruit is bubbling:

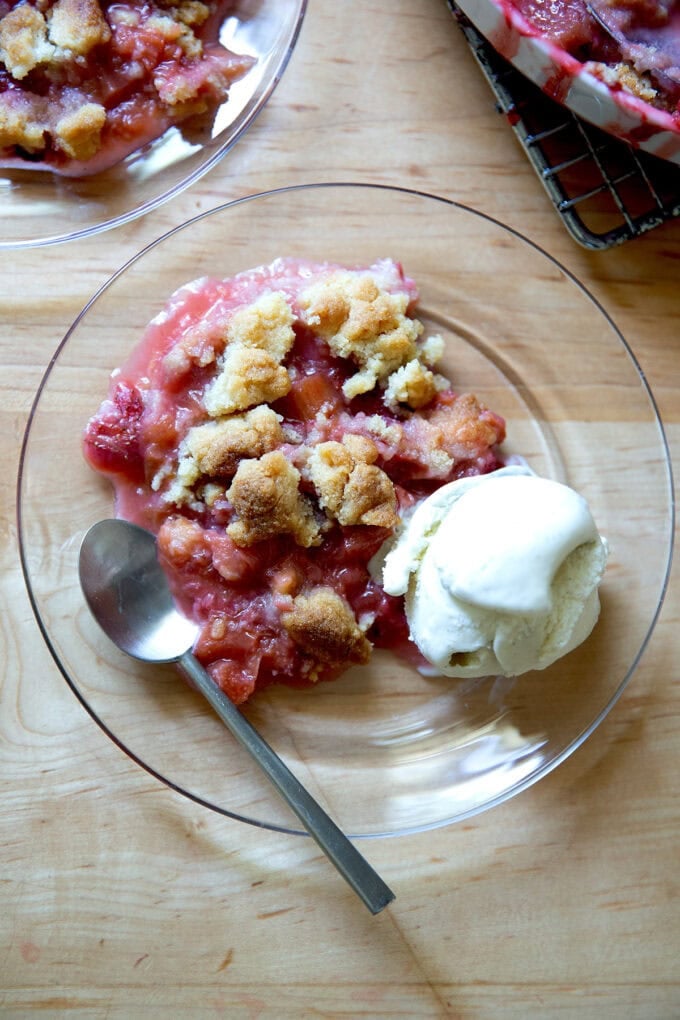
Let cool briefly, then serve with vanilla ice cream:
Description
This strawberry-rhubarb crisp
Notes:
- Baking vessel: I’ve been making this in this 10.5-inch tart pan. You can use something similar or a 9×13-inch baking dish.
- Almond Flour: If you don’t have almond flour, you can grind whole almonds (56 grams) in the food processor prior to adding the remaining dry ingredients. Alternatively, you can simply use 56 grams more flour.
For the filling:
- 1 pound (453 grams) strawberries
- 1 pound (453 grams) rhubarb, leaves removed
- 1/2 cup (1oo grams) sugar
- 1 lemon
- 1 tablespoon ( 8 grams ) cornstarch
- pinch salt
For the topping:
- 3/4 cup ( 96 grams ) all-purpose flour
- 1/2 cup ( 100 grams ) sugar
- 1 teaspoon ( 4 grams ) baking powder
- 1/2 cup ( 56 grams ) almond flour, see notes above
- 1/2 teaspoon ( 2 grams ) Diamond Crystal kosher salt
- 1/2 cup ( 113 grams ) cold, unsalted butter cut into 1/2-inch cubes
For serving:
- vanilla ice cream
- Preheat the oven to 350ºF.
- Prepare the fruit: Hull and quarter the strawberries. (Note: To Hull the strawberries, I take a small paring knife and run it around the base of the stem, pointed in at an angle, ultimately removing a cone-shaped area.) Cut the rhubarb into 1/2-inch thick slices.
- Make the filling: Place the 1/2 cup of sugar in a large bowl. Zest the lemon into the sugar, then rub the zest into the sugar with your fingers. Transfer the fruit to the bowl. Add the cornstarch and a pinch of salt. Using your hands or a large spoon, toss until everything is well combined. Transfer the filling to a 9- or 10-inch baking dish (see notes above) or 9×13-inch baking pan.
- Make the crisp topping: Place the flour, sugar, baking powder, almond flour, and salt in a food processor. Purée until the dry ingredients are combined. Add the butter and purée again just until the mixture begins to clump — it will be mostly smooth. Crumble the topping over the fruit.
- Bake the crisp: If you are using a 9- or 10-inch baking dish, place the dish on a parchment-lined sheet pan. Transfer to the oven, and bake for 45-50 minutes or until the crisp topping is browned and the fruit is bubbling.
- Serve: Let cool for 5 to 10 minutes, then serve with vanilla ice cream.
- Prep Time: 20 minutes
- Cook Time: 45 minutes
- Category: Dessert
- Method: Oven
- Cuisine: American
