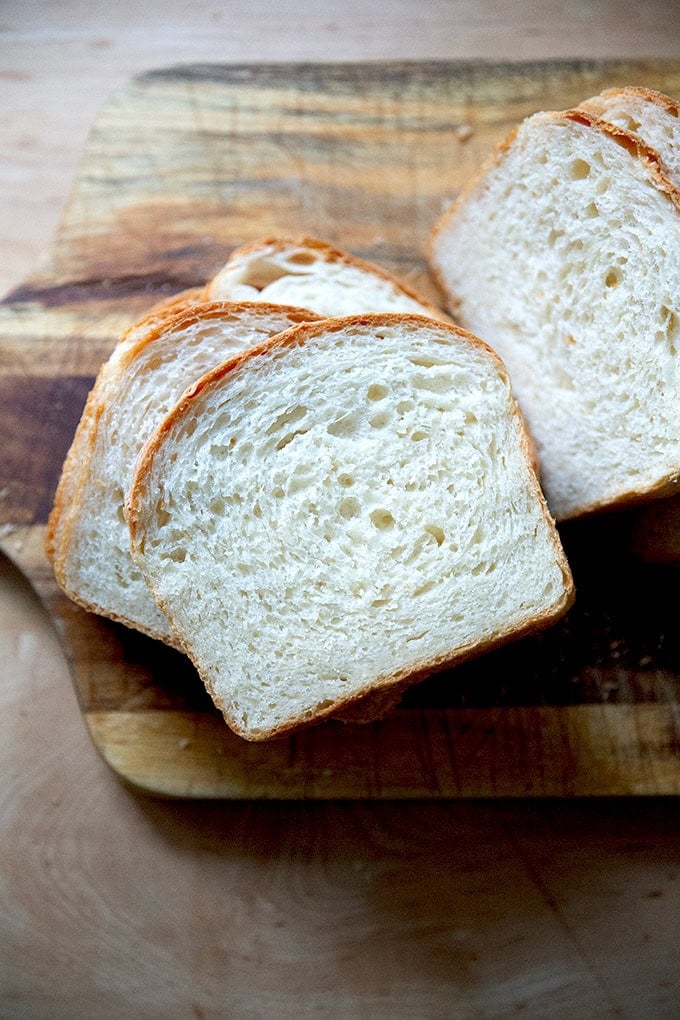
Made with only 6 ingredients, this simple, no-knead soft sandwich bread is such a treat to have on hand for sandwiches of all kinds. No mixer is required — if you can whisk and stir, you can make this bread.
Several years ago, I published a recipe here for a simple sourdough sandwich bread recipe , and I have long wanted to add a yeasted version to my collection of bread recipes … here it is!
It’s a no-knead, 6-ingredient recipe that takes about 5 minutes to stir together. Thanks especially to my oldest daughter, who brings a turkey sandwich to school for lunch nearly every day and who has no reservations sharing her opinions, the recipe has gone through many iterations these past few months.
It started with the basic bread ingredients: flour, water, salt, and yeast. In an effort to make it softer for sandwiches, I added some olive oil. When my daughter told me the bread didn’t hold up very well — that it began breaking down by lunch time — I began researching. First I added honey, then I added milk, then I took away the honey, and finally I swapped in melted butter for the olive oil.
The loaves made with a mix of water and milk, butter and no olive oil, and no sweetener at all tasted the most like the sandwich bread I was after: soft but sturdy and well seasoned but not sweet.
Depending on your timeline, you can use more or less yeast — I’ve been in the habit of using 1/2 teaspoon (2 grams) and employing a long, slow overnight rise, but if you need to speed up your timeline, there are notes in the recipe on how to do so.
As always, I am here if you have any questions. Hope you love it 🍞🍞
How to Make Soft-Sandwich Bread, Step by Step
First gather your ingredients: bread flour, salt, instant yeast, water, milk, and butter. (See notes in the recipe for using other flours.)
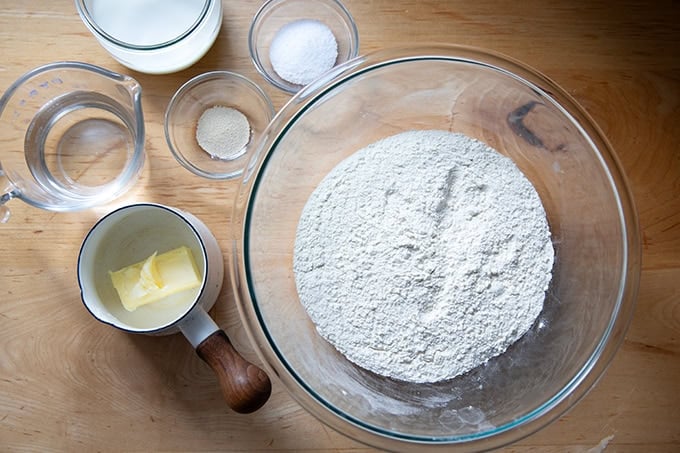
Ideally, you will measure everything with a scale. I love my dual-platform Ooni scale for its precision, especially when measuring smaller quantities of salt and yeast.

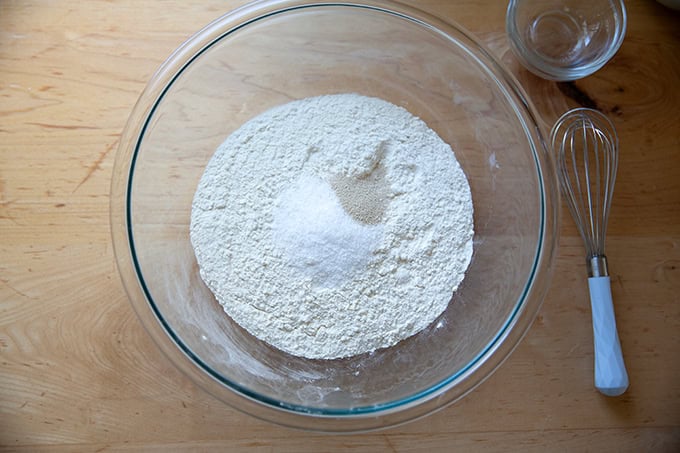
Place the flour, salt, and yeast in a bowl:
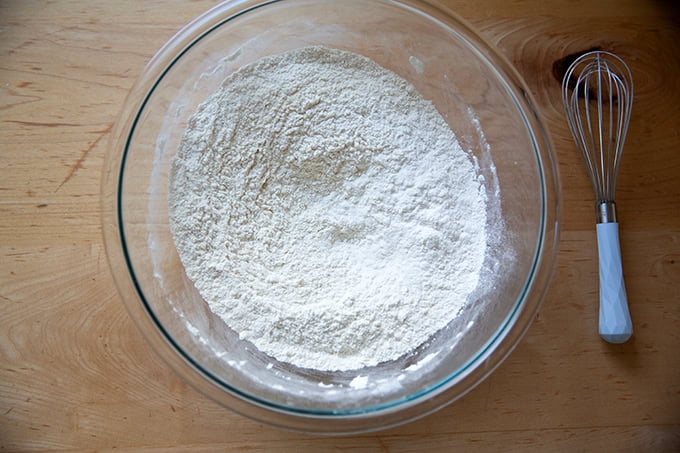
Whisk until combined:
Add the water, milk, and melted butter:
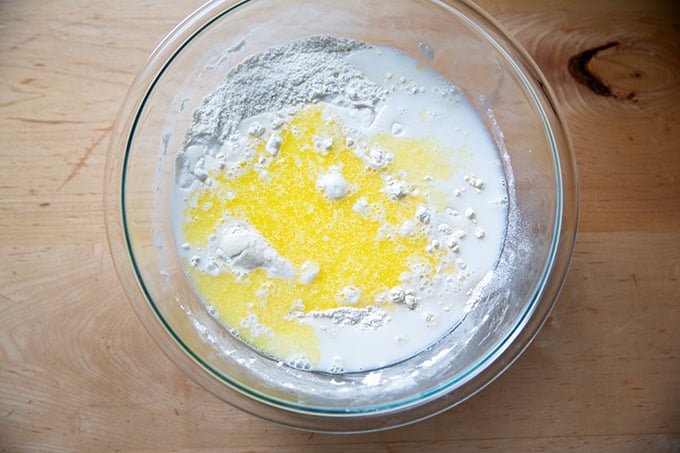
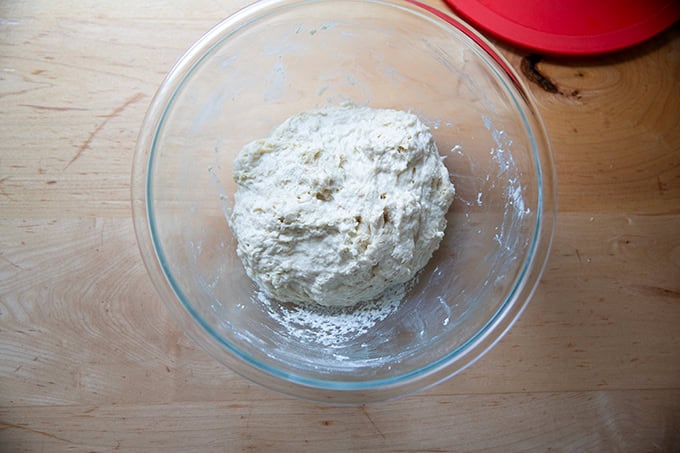
Stir with a spatula until you have a shaggy, sticky dough ball — this is an 80% hydration dough and the dough will feel sticky upon mixing… this is right!
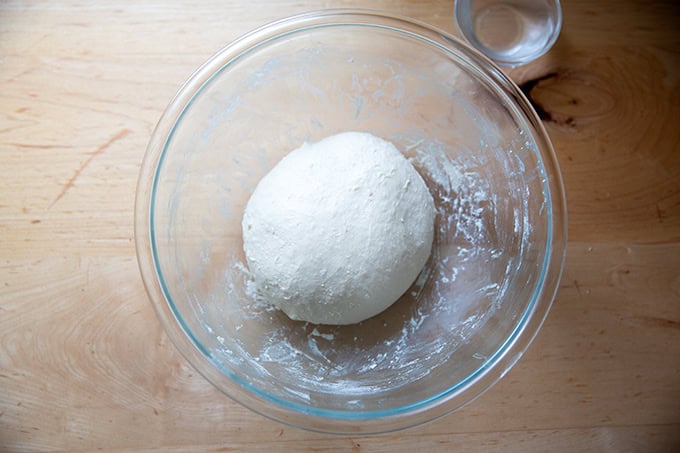
Cover the bowl and let rest for at least 30 minutes or as long as an hour; then use a wet hand to stretch and fold the dough into a cohesive mass. Here’s a quick video:
After the stretches and folds, the dough will transform from being sticky and shaggy to smooth and cohesive:
Drizzle lightly with olive oil, cover the bowl, and let rise …
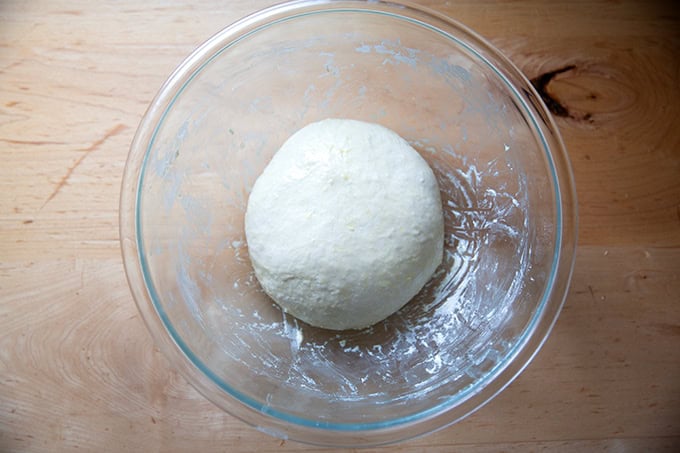
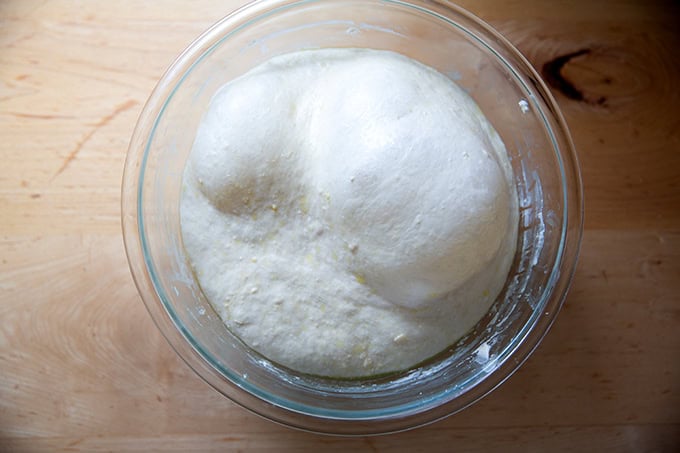
… until the dough doubles in volume:
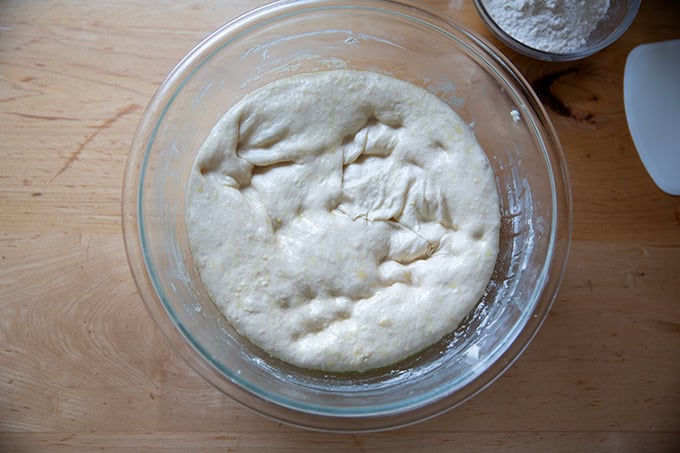
Deflate it:
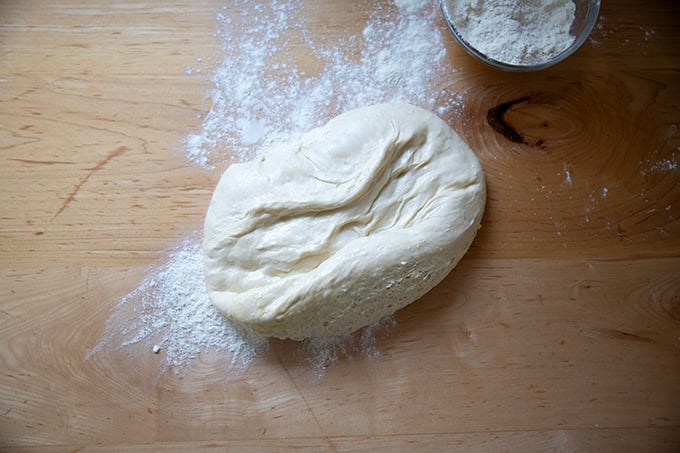
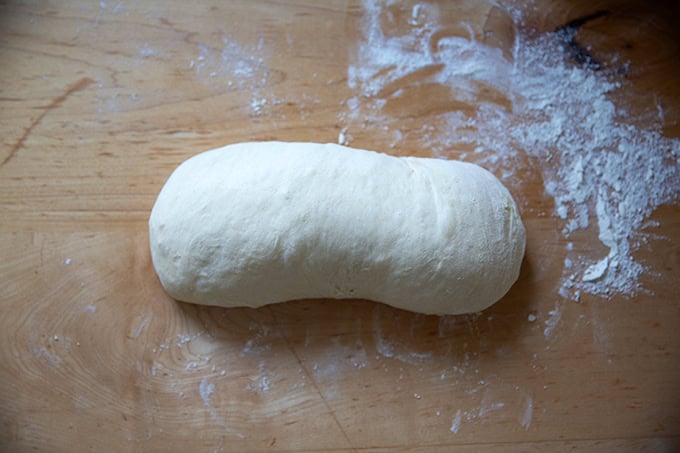
Then turn the dough out onto a floured work surface:
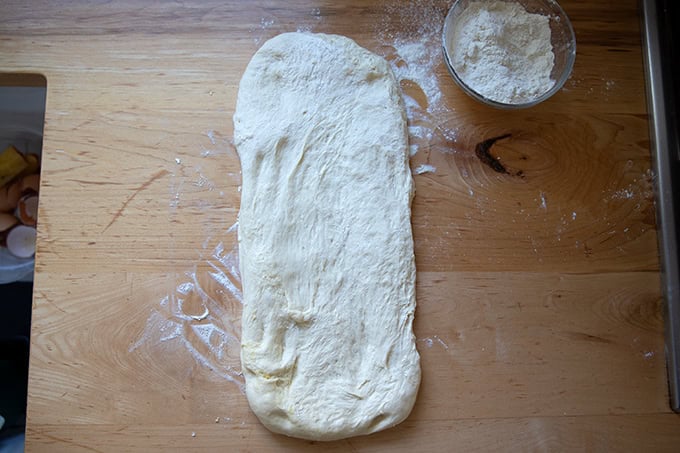
Pat the dough into a rectangle roughly 8 inches wide — the length isn’t as important, but keeping the width to 8 inches will allow the coiled dough to fit into its loaf pan.
Coil up the dough:
Here’s some video guidance:
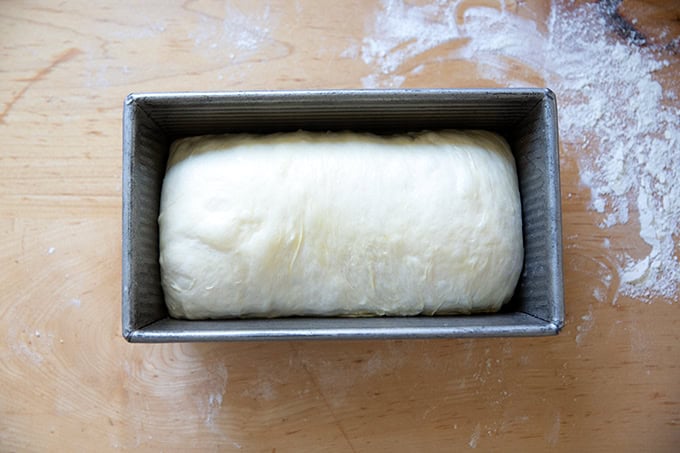
Transfer the coil to a greased loaf pan:
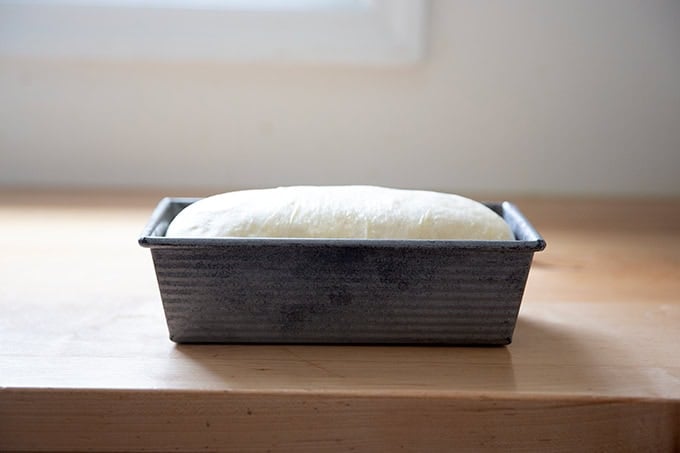
Let the dough rise until it crowns the rim of the pan:
Then bake at 375ºF for 45 minutes:
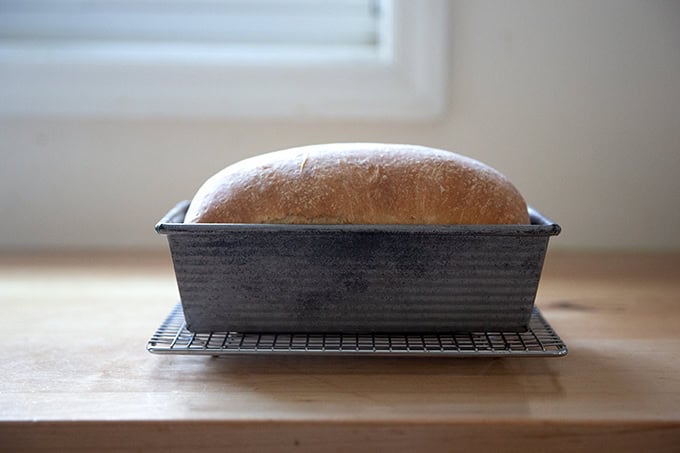
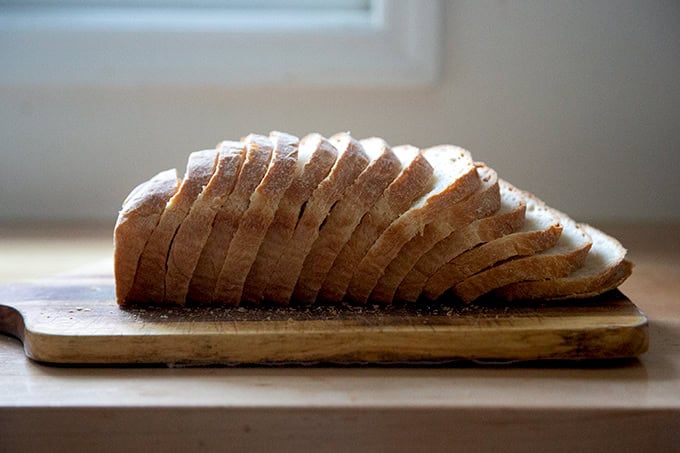
Turn out onto a cooling rack and let cool completely before slicing:
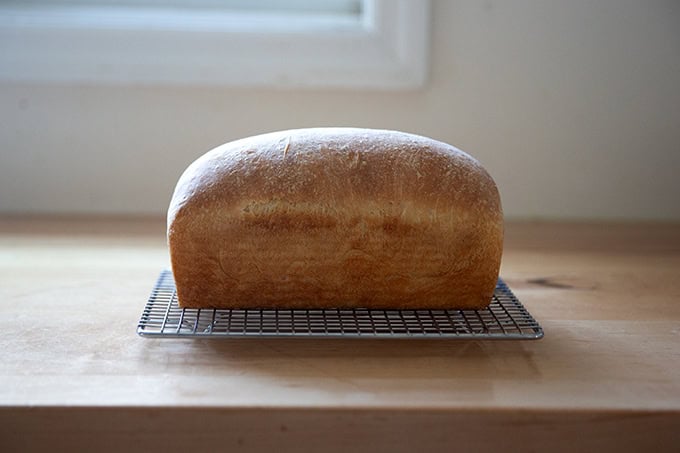

Such a treat to have on hand:
Description
Made with only 6 ingredients, this simple, no-knead soft sandwich bread is such a treat to have on hand for sandwiches of all kinds. No mixer is required — if you can whisk and stir, you can make this bread.
Notes:
- As always, for best results use a scale to measure. I love this Ooni scale for its precision, especially when measuring smaller quantities of salt and yeast.
- Pan: A 9×5-inch loaf pan is ideal for this recipe. I love this USA pan .
- Salt: The rule of thumb with bread is that the weight of the salt should be 2 to 3% the weight of the flour. For this recipe that is 10 to 15 grams. I always use 15 grams of salt, and I do not find the bread to be too salty, but, as you know, I have a high salt tolerance. Use an amount appropriate to your tastes and preferences. Finally, I always use Diamond Crystal kosher salt, but you can use fine sea salt or whatever salt you like.
- Flour: I conducted most of my experiments with King Arthur Bread Flour. I also have made many loaves using 100% Petra 0102 as well as 100% Cairnspring Mills Glacier Peak bread flour .
- Yeast: SAF instant yeast is my preference. If you are using active dry yeast, sprinkle it over the water and let it bloom for 15 minutes before proceeding.
Timing:
- You can make this bread employing a long slow rise if you use 2 grams (1/2 teaspoon) of instant yeast or you can make it quickly if you use 8 grams (2 teaspoons).
- If you use 2 grams, the first rise will take 8 to 10 hours — this is what I usually do. I like to mix the dough at night, let it rise until I’m ready to tend to it in the morning; then proceed. The second rise will take 2 to 3 hours: wait until the dough crowns the rim of the pan before proceeding.
- If you use 8 grams, the first rise will take 2 to 3 hours and the second rise will take 1 to 2 hours.
Please read all notes above before proceeding:
- 500 grams (about 4 cups ) bread flour, plus more for dusting
- 2 to 8 grams ( 1/2 teaspoon to 2 teaspoons ) instant yeast
- 10 to 15 grams salt
- 200 grams (about 3/4 cup + 1 tablespoon ) cold or room temperature water
- 200 grams (about 3/4 cup + 1 tablespoon ) milk, 2% or whole
- 57 grams ( 4 tablespoons ) melted butter, salted or unsalted
- softened butter or olive oil for greasing
- Mix the dough: In a large bowl, whisk together the flour, salt, and yeast. Add the water, milk, and melted butter. Using a spatula, stir until you have a sticky, shaggy dough ball — this is an 80% hydration dough, and the dough will feel sticky upon mixing… this is right! Cover the bowl and let the dough rest for at least 30 minutes or as long as an hour.
- Stretch and fold: Fill a small bowl with water. Using a wet hand, stretch and fold the dough by grabbing an edge and pulling it up and towards the center. Repeat this stretching and folding process, moving your hand around the edge of the dough with every set of stretches and folds. As you stretch and fold, you should feel the dough transform from being sticky and shaggy to smooth and cohesive. (Note: you also will likely feel little bits of the butter solidifying — this is OK.) See the video above for guidance.
- Let it rise: Drizzle the dough lightly with olive oil and rub to coat. Cover the bowl and let the dough rise at room temperature until it has doubled in volume: depending on how much yeast you are using, this could take as long as 10 hours (if using 2 grams of yeast) or 2 to 3 hours (if using 8 grams of yeast).
- Prepare a loaf pan: grease a 9×5-inch loaf pan with softened butter or brush with olive oil — if you are at all worried about your dough sticking to your pan, grease it with butter. If you are using a USA pan or nonstick pan, you can get away with using olive oil alone. Brush the pan with 2 teaspoons of olive oil. For ease, I have been using olive oil alone, and it works beautifully.
- Coil up your dough: Deflate the dough using your hand or a flexible bench scraper, then turn the dough out onto a lightly floured work surface. Pat it into a rectangle roughly 8 by 16 inches (Note: the length isn’t as important as the width: don’t go much wider than 8 inches or you will have to squish it into your loaf pan). Starting at the small end, roll the dough into a tight coil. Transfer it to your prepared pan. Pour 1 teaspoon of olive oil over the surface and rub to coat.
- Final rise: Let the dough rise until it crowns the rim of your pan: this can take as long as 3 hours (if using 2 grams of yeast) or 1 hour (if using 8 grams). When your dough begins approaching the rim, preheat your oven to 375ºF.
- Bake it: Bake for 45 minutes.
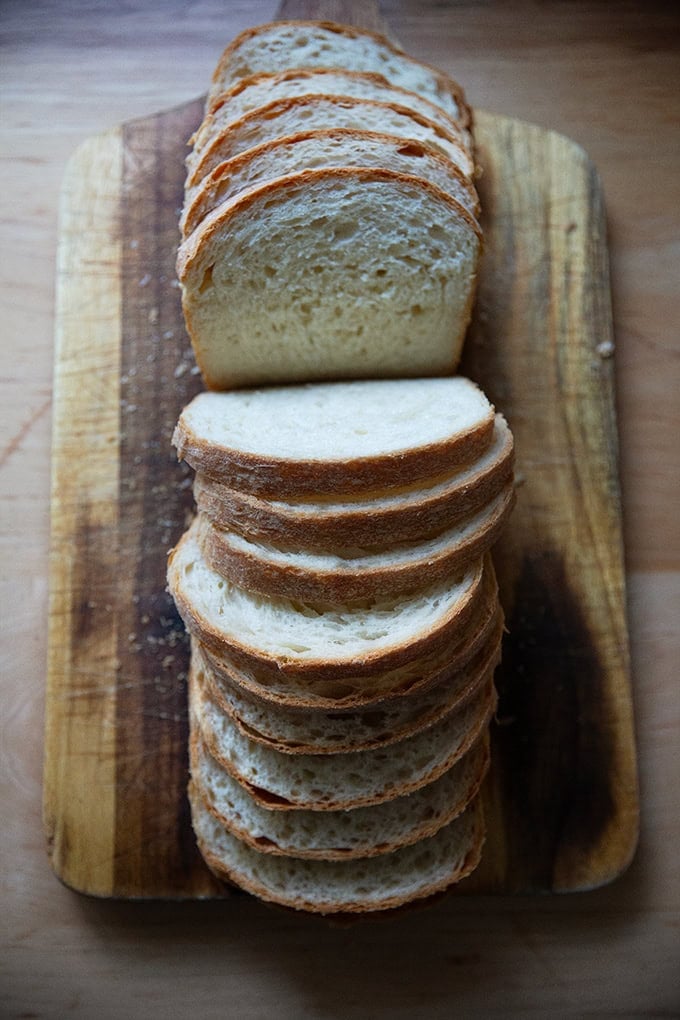
- Turn out onto a cooling rack and let cool completely (if you have the patience) before slicing — it is much easier to slice the bread into thin, uniform slices when the bread has cooled completely.
- Store the bread in an airtight bag or vessel at room temperature for 3 to 4 days or freeze for up to 6 months.
- Prep Time: 20 minutes
- Cook Time: 45 minutes
- Category: Bread
- Method: no-knead
- Cuisine: American
Made with only 6 ingredients, this simple, no-knead soft sandwich bread is such a treat to have on hand for sandwiches of all kinds. No mixer is required — if you can whisk and stir, you can make this bread.
Several years ago, I published a recipe here for a simple sourdough sandwich bread recipe , and I have long wanted to add a yeasted version to my collection of bread recipes … here it is!
It’s a no-knead, 6-ingredient recipe that takes about 5 minutes to stir together. Thanks especially to my oldest daughter, who brings a turkey sandwich to school for lunch nearly every day and who has no reservations sharing her opinions, the recipe has gone through many iterations these past few months.
It started with the basic bread ingredients: flour, water, salt, and yeast. In an effort to make it softer for sandwiches, I added some olive oil. When my daughter told me the bread didn’t hold up very well — that it began breaking down by lunch time — I began researching. First I added honey, then I added milk, then I took away the honey, and finally I swapped in melted butter for the olive oil.
The loaves made with a mix of water and milk, butter and no olive oil, and no sweetener at all tasted the most like the sandwich bread I was after: soft but sturdy and well seasoned but not sweet.
Depending on your timeline, you can use more or less yeast — I’ve been in the habit of using 1/2 teaspoon (2 grams) and employing a long, slow overnight rise, but if you need to speed up your timeline, there are notes in the recipe on how to do so.
As always, I am here if you have any questions. Hope you love it 🍞🍞
How to Make Soft-Sandwich Bread, Step by Step
First gather your ingredients: bread flour, salt, instant yeast, water, milk, and butter. (See notes in the recipe for using other flours.)
Ideally, you will measure everything with a scale. I love my dual-platform Ooni scale for its precision, especially when measuring smaller quantities of salt and yeast.
Place the flour, salt, and yeast in a bowl:
Whisk until combined:
Add the water, milk, and melted butter:
Stir with a spatula until you have a shaggy, sticky dough ball — this is an 80% hydration dough and the dough will feel sticky upon mixing… this is right!
Cover the bowl and let rest for at least 30 minutes or as long as an hour; then use a wet hand to stretch and fold the dough into a cohesive mass. Here’s a quick video:
After the stretches and folds, the dough will transform from being sticky and shaggy to smooth and cohesive:
Drizzle lightly with olive oil, cover the bowl, and let rise …
… until the dough doubles in volume:
Deflate it:
Then turn the dough out onto a floured work surface:
Pat the dough into a rectangle roughly 8 inches wide — the length isn’t as important, but keeping the width to 8 inches will allow the coiled dough to fit into its loaf pan.
Coil up the dough:
Here’s some video guidance:
Transfer the coil to a greased loaf pan:
Let the dough rise until it crowns the rim of the pan:
Then bake at 375ºF for 45 minutes:
Turn out onto a cooling rack and let cool completely before slicing:
Such a treat to have on hand:
Description
Made with only 6 ingredients, this simple, no-knead soft sandwich bread is such a treat to have on hand for sandwiches of all kinds. No mixer is required — if you can whisk and stir, you can make this bread.
Notes:
- As always, for best results use a scale to measure. I love this Ooni scale for its precision, especially when measuring smaller quantities of salt and yeast.
- Pan: A 9×5-inch loaf pan is ideal for this recipe. I love this USA pan .
- Salt: The rule of thumb with bread is that the weight of the salt should be 2 to 3% the weight of the flour. For this recipe that is 10 to 15 grams. I always use 15 grams of salt, and I do not find the bread to be too salty, but, as you know, I have a high salt tolerance. Use an amount appropriate to your tastes and preferences. Finally, I always use Diamond Crystal kosher salt, but you can use fine sea salt or whatever salt you like.
- Flour: I conducted most of my experiments with King Arthur Bread Flour. I also have made many loaves using 100% Petra 0102 as well as 100% Cairnspring Mills Glacier Peak bread flour .
- Yeast: SAF instant yeast is my preference. If you are using active dry yeast, sprinkle it over the water and let it bloom for 15 minutes before proceeding.
Timing:
- You can make this bread employing a long slow rise if you use 2 grams (1/2 teaspoon) of instant yeast or you can make it quickly if you use 8 grams (2 teaspoons).
- If you use 2 grams, the first rise will take 8 to 10 hours — this is what I usually do. I like to mix the dough at night, let it rise until I’m ready to tend to it in the morning; then proceed. The second rise will take 2 to 3 hours: wait until the dough crowns the rim of the pan before proceeding.
- If you use 8 grams, the first rise will take 2 to 3 hours and the second rise will take 1 to 2 hours.
Please read all notes above before proceeding:
- 500 grams (about 4 cups ) bread flour, plus more for dusting
- 2 to 8 grams ( 1/2 teaspoon to 2 teaspoons ) instant yeast
- 10 to 15 grams salt
- 200 grams (about 3/4 cup + 1 tablespoon ) cold or room temperature water
- 200 grams (about 3/4 cup + 1 tablespoon ) milk, 2% or whole
- 57 grams ( 4 tablespoons ) melted butter, salted or unsalted
- softened butter or olive oil for greasing
- Mix the dough: In a large bowl, whisk together the flour, salt, and yeast. Add the water, milk, and melted butter. Using a spatula, stir until you have a sticky, shaggy dough ball — this is an 80% hydration dough, and the dough will feel sticky upon mixing… this is right! Cover the bowl and let the dough rest for at least 30 minutes or as long as an hour.
- Stretch and fold: Fill a small bowl with water. Using a wet hand, stretch and fold the dough by grabbing an edge and pulling it up and towards the center. Repeat this stretching and folding process, moving your hand around the edge of the dough with every set of stretches and folds. As you stretch and fold, you should feel the dough transform from being sticky and shaggy to smooth and cohesive. (Note: you also will likely feel little bits of the butter solidifying — this is OK.) See the video above for guidance.
- Let it rise: Drizzle the dough lightly with olive oil and rub to coat. Cover the bowl and let the dough rise at room temperature until it has doubled in volume: depending on how much yeast you are using, this could take as long as 10 hours (if using 2 grams of yeast) or 2 to 3 hours (if using 8 grams of yeast).
- Prepare a loaf pan: grease a 9×5-inch loaf pan with softened butter or brush with olive oil — if you are at all worried about your dough sticking to your pan, grease it with butter. If you are using a USA pan or nonstick pan, you can get away with using olive oil alone. Brush the pan with 2 teaspoons of olive oil. For ease, I have been using olive oil alone, and it works beautifully.
- Coil up your dough: Deflate the dough using your hand or a flexible bench scraper, then turn the dough out onto a lightly floured work surface. Pat it into a rectangle roughly 8 by 16 inches (Note: the length isn’t as important as the width: don’t go much wider than 8 inches or you will have to squish it into your loaf pan). Starting at the small end, roll the dough into a tight coil. Transfer it to your prepared pan. Pour 1 teaspoon of olive oil over the surface and rub to coat.
- Final rise: Let the dough rise until it crowns the rim of your pan: this can take as long as 3 hours (if using 2 grams of yeast) or 1 hour (if using 8 grams). When your dough begins approaching the rim, preheat your oven to 375ºF.
- Bake it: Bake for 45 minutes.
- Turn out onto a cooling rack and let cool completely (if you have the patience) before slicing — it is much easier to slice the bread into thin, uniform slices when the bread has cooled completely.
- Store the bread in an airtight bag or vessel at room temperature for 3 to 4 days or freeze for up to 6 months.
- Prep Time: 20 minutes
- Cook Time: 45 minutes
- Category: Bread
- Method: no-knead
- Cuisine: American
Find it online : https://alexandracooks.com/2025/03/08/simple-soft-sandwich-bread-6-ingredients-no-knead/
Made with 3 ingredients, corn tortillas are incredibly easy to make at home. These are soft, pliable, and well-seasoned, perfect for tacos of all kinds!
My first taste of really good corn tortillas was at the Primavera stand at the San Francisco Ferry Building Farmers Market. After a little research, I learned that Primavera uses fresh masa, which yields tortillas with deep corn flavor and a pleasing texture. Making fresh masa, I also learned, requires soaking dried corn in a lime solution, then grinding it into a dough.
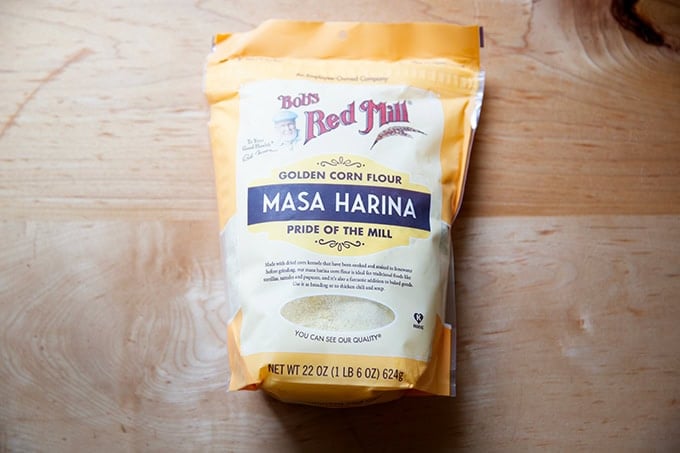
As this is a project I am unwilling to tackle, I am grateful for the alternative: masa harina, readily available, finely ground flour that requires only water to “activate.” Two brands I love are Masienda and Bob’s Red Mill.
The recipe below is simple, requiring only three ingredients and just a little bit of time. Once your tortilla dough is made, you can crank out a dozen homemade tortillas in less than 15 minutes. We enjoy these tortillas with breakfast tacos (see below), simple fish tacos, and our favorite weeknight tacos .
How to Make Soft Corn Tortillas, Step by Step
First, you’ll need some good corn masa harina. You can find Bob’s Red Mill at many supermarkets:
You can also order it online from shops like Masienda :

Once you have masa harina on hand, all you need is water and salt:
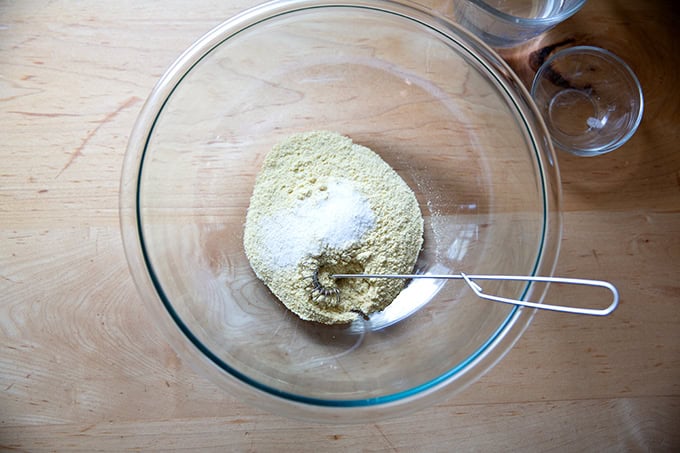
Whisk together the masa harina and salt:
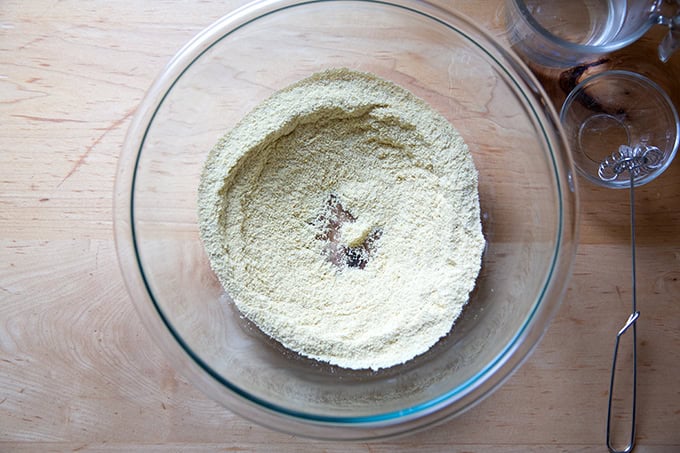
Then add the water:
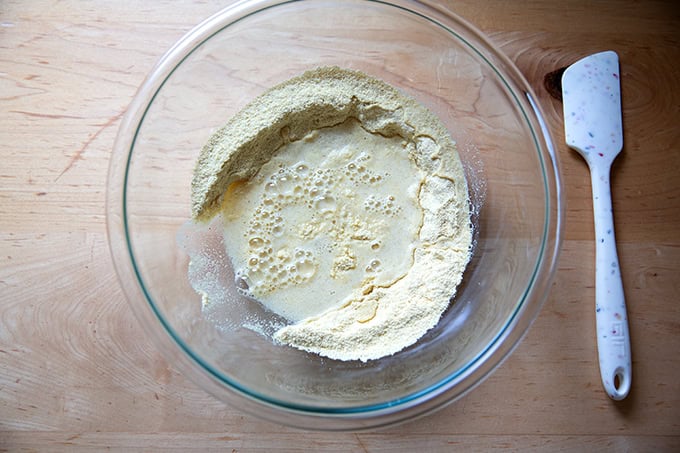
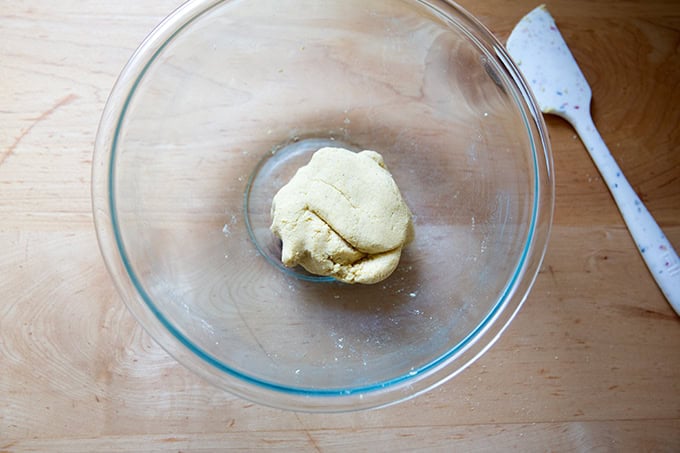
Mix until you have a cohesive ball: it should feel like the texture of Play-Doh, damp but not so moist that it sticks to your hands when pressed:
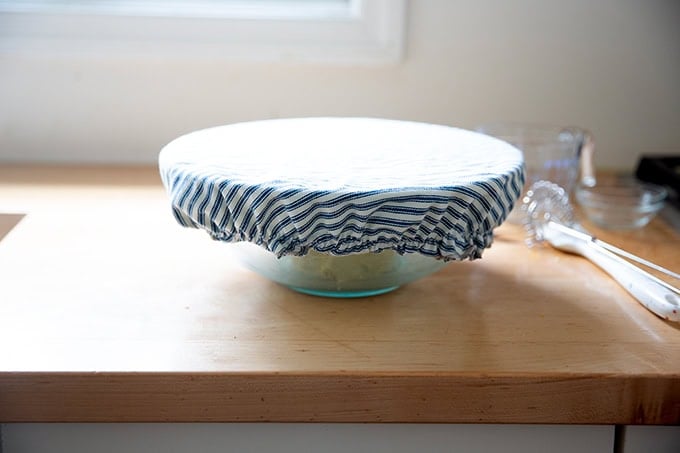
Cover the bowl and let the dough rest for 30 minutes.
Before you portion the dough into smaller balls, you’ll want to make a tester tortilla to ensure the dough is not too moist. Pull off a 25-gram (scant 2 tablespoons) portion:

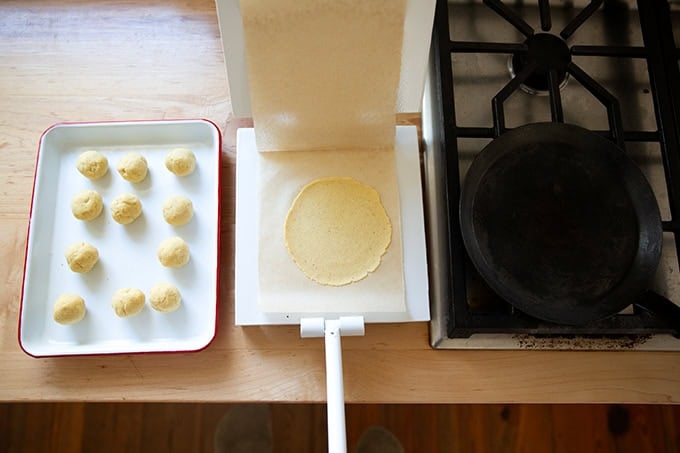
Then press it using a tortilla press lined with parchment paper. (Alternatively, you could roll it out using a rolling pin, or you could use two heavy books.)
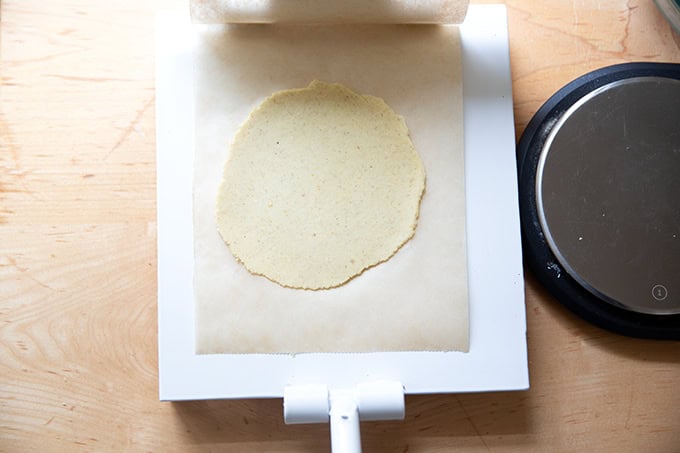
If you are able to release the tortilla from the parchment paper easily without any sticking at all, you’re in business. If the tortilla sticks to the parchment upon peeling it away, scrape it back into the bowl with the remaining dough, press it back together and add more masa by the tablespoon, repeating the testing process outlined above until you have a tortilla that releases easily from the parchment paper. Portion the dough into 25-gram portions.
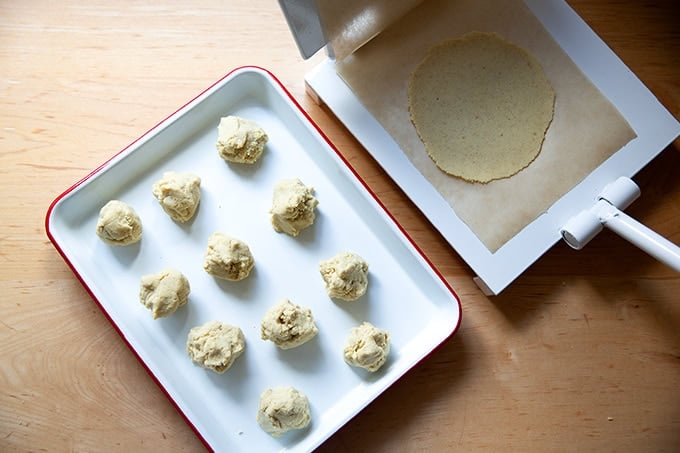
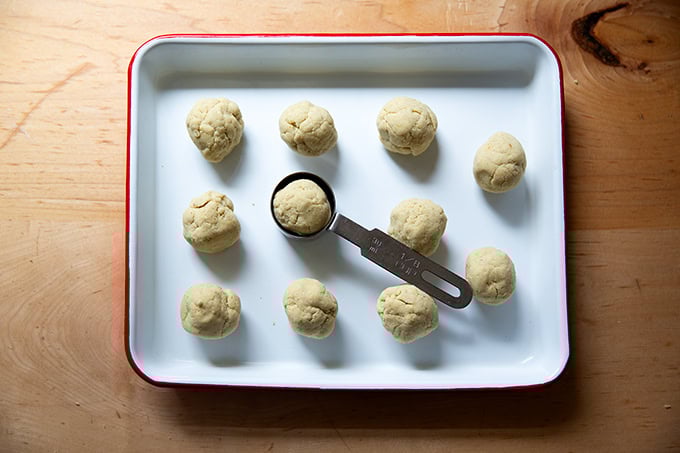
If you don’t have a scale, you can use a 2-tablespoon measure to portion. Ball them up.
Set up your pressing/cooking station:
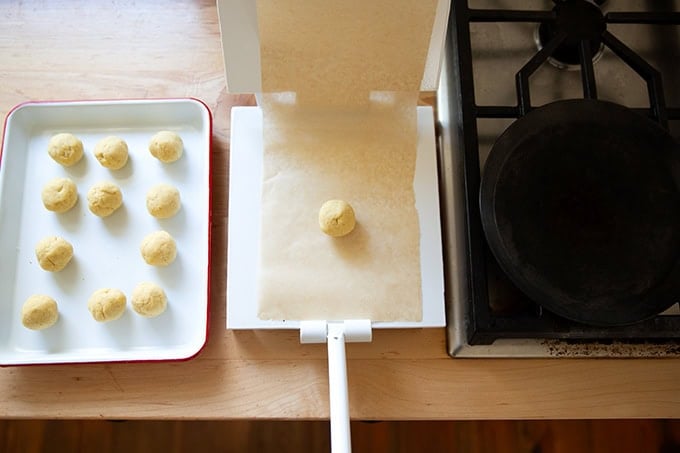
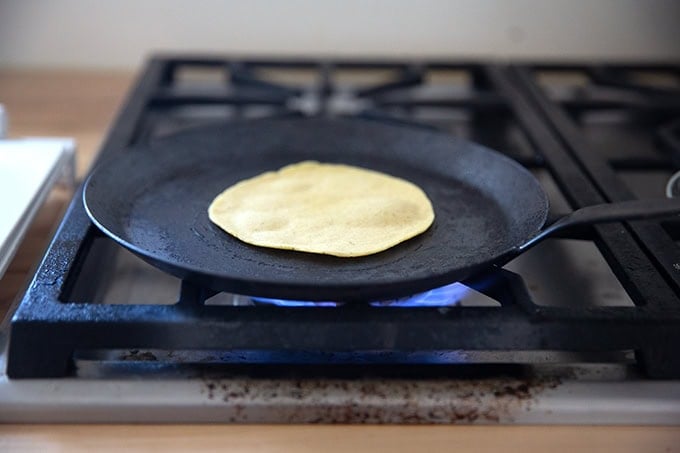
You want your skillet over high heat.
I use a small skillet, and I cook one tortilla at a time. While one tortilla is cooking, I press another dough ball. Cook the tortilla for roughly 30 seconds on one side:
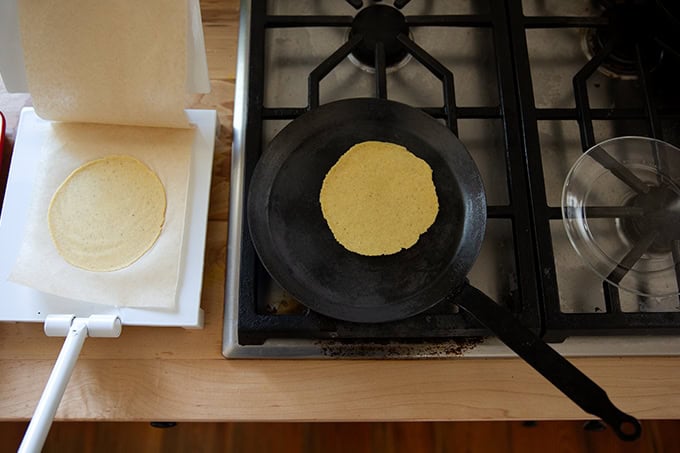
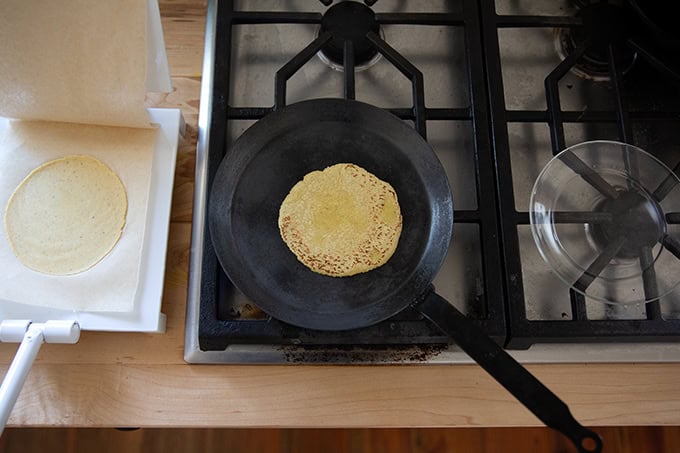
When the tortilla begins lifting from the surface of the skillet…
… flip it and cook for another 30 seconds.
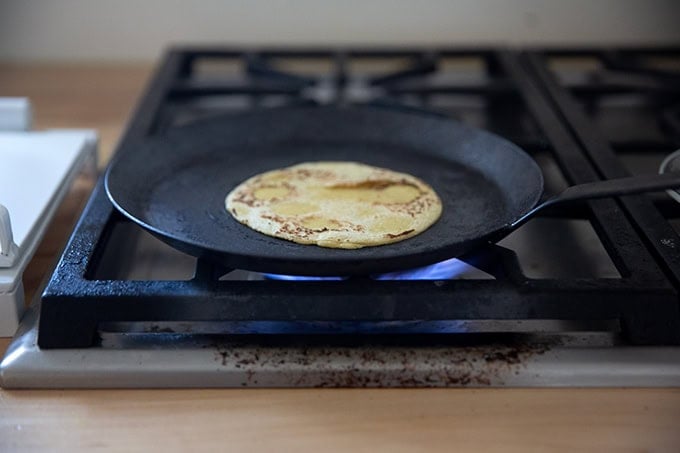
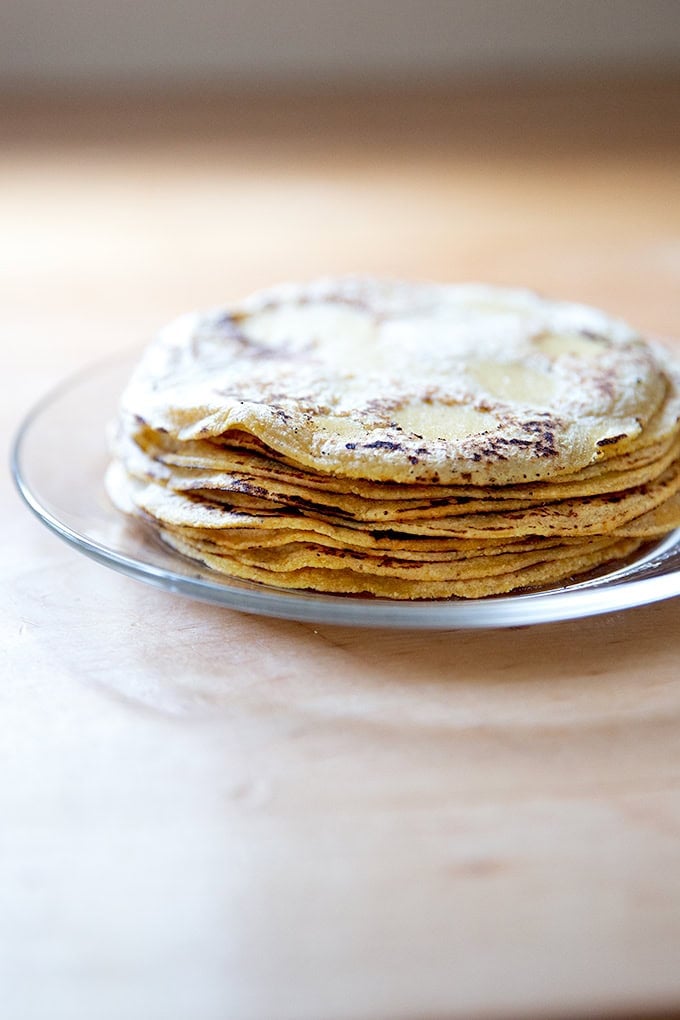
The whole process of cooking 12 tortillas should take roughly 15 minutes.
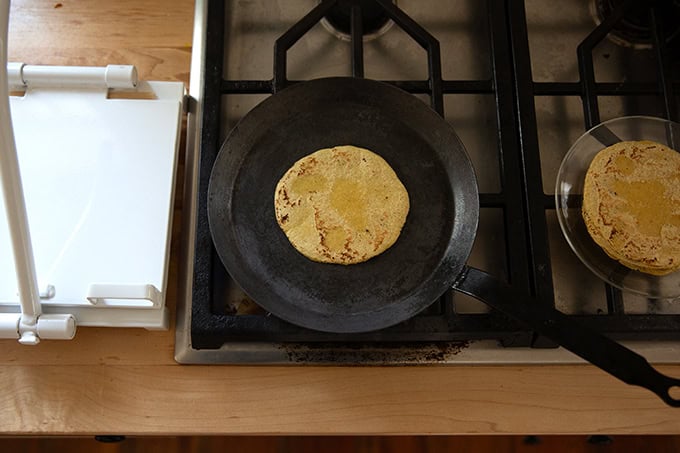
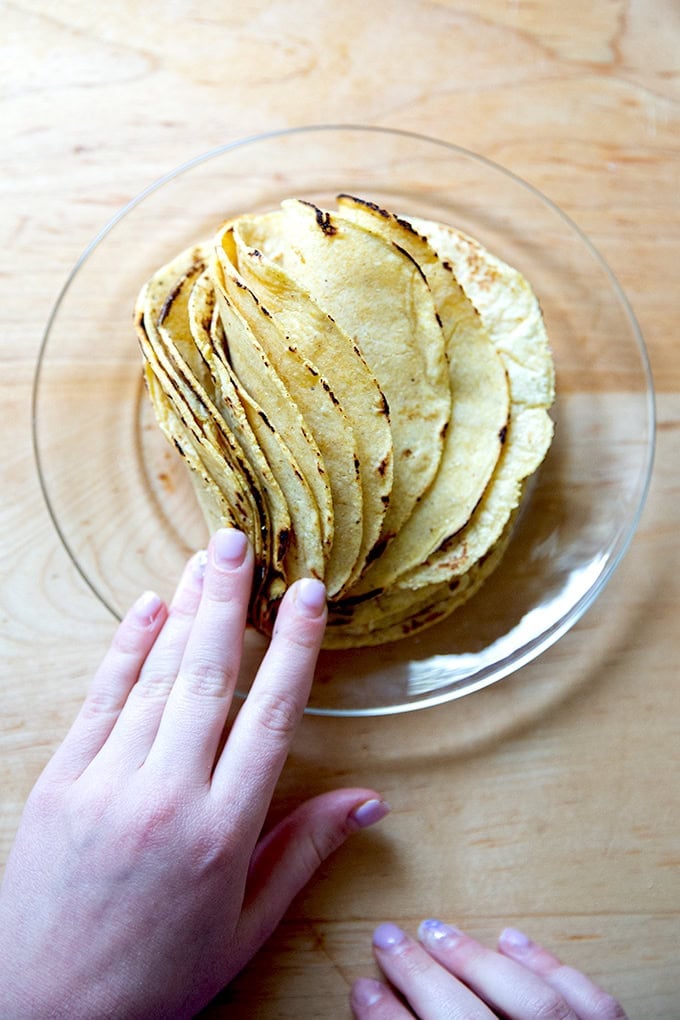
Serve them immediately with your tacos of choice, topped with salsa of choice …

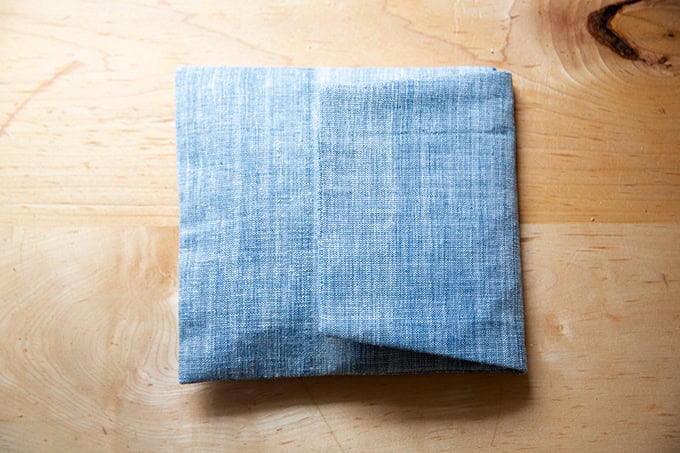
Or stack them into a dish and cover with a towel…
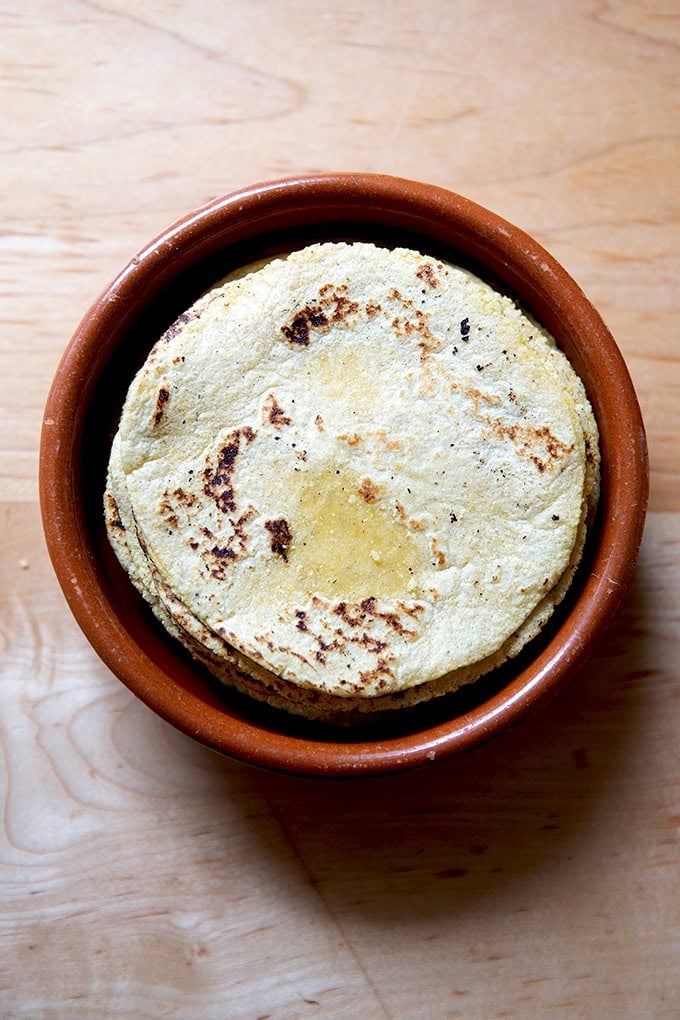
… or keep them warm in a tortilla warmer .
Description
Made with 3 ingredients, corn tortillas are incredibly easy to make at home. These are soft, pliable, and well-seasoned, perfect for tacos of all kinds!
Notes:
Scale: As always, for best results use a scale to measure. I love this Ooni scale for its precision, especially when measuring smaller quantities of salt and yeast.
Masa Harina: Good masa harina makes a difference. I love Bob’s Red Mill brand , which is widely available, and I love this Masienda heirloom yellow corn masa harina. Just as all wheat flours absorb water a little differently, all masa harinas will absorb water differently. I find for this recipe, you’ll need 135 grams of Bob’s Red Mill or 125 grams of Masienda. Depending on your environment, you may need to add more masa or more water. There are notes in the recipe on how to do so.
Salt: If you are using a scale to measure, use 4 grams regardless of the brand you are using. If you are using measuring spoons, use 1/2 teaspoon if you are using Morton brand kosher salt or if you are using fine sea salt.
Water: I use roughly 50% boiling water (using my electric kettle) and 50% cold water to create warm water for this recipe.
Tortilla press: A tortilla press is helpful. I have this one and love it.
Nice to have: A tortilla warmer will keep your tortillas warm off the skillet. It is important to place the cooked tortillas in a basket covered with a towel or a warmer so that they stay soft and pliable.
125 to 135 grams masa harina (about a heaping cup), see notes above
4 grams salt (heaping teaspoon of Diamond Crystal) , see notes above
175 grams (about ¾ cup ) warm water, see notes above
- Make the dough: Whisk together the masa harina and salt. Add the water and mix using a spatula until the dough comes together into a crumbly mass. Then, use your hand to knead the dough into a cohesive ball. By the end of the kneading, which should about a minute, the dough should be the texture of playdough, damp but not so moist that it sticks to your hands when pressed.
- Cover the bowl and let the dough rest for 30 minutes.
- Make a tester tortilla: Pull off a 25-gram (scant 2 tablespoons) portion of dough. Roll it into a ball, then press it using a tortilla press lined with parchment paper. (Alternatively you could roll it out using a rolling pin, or you could use two heavy books.) If you are able to release the tortilla from the parchment paper easily without any sticking at all, you’re in business. If the tortilla sticks to the parchment upon peeling it away, scrape it back into the bowl with the remaining dough, press it back together, and add more masa by the tablespoon, repeating the testing process outlined above until you have a tortilla that releases easily from the parchment paper. If the dough feels dry and crumbly, add more water a teaspoon at a time until you have a dough that resembles play-doh in texture. Reference the video and photos for textural guidance.
- Portion and ball up the dough. Portion the dough into 25-gram portions — you should have 12 total. If you don’t have a scale, you can use a 2-tablespoon measure to portion. Using your two hands, ball up each portion.
- Prepare your pressing/cooking work station. Place a cast iron or carbon steel skillet or griddle over high heat. I like to cook one tortilla at a time: while one tortilla is cooking, I press another dough ball. This is my pressing process: press the tortilla, open the presser, peel away the top layer of parchment, re-cover it, then press again. Once the skillet is hot, lay the tortilla into the skillet and cook for 25 to 30 seconds — when the edges of the tortillas begin to curl up and release from the skillet, flip it. I use a fork to do this. Cook the tortilla for 25-30 seconds more. Remove the tortilla to a tortilla warmer (see above) or a bowl and cover with a tea towel. Repeat this process until all tortillas are cooked. The whole process of cooking 12 tortillas should take roughly 15 minutes.
- Use immediately as you wish or store for a future use.
- To store: Store the tortillas in an airtight bag or container at room temperature for up to 3 days or in the freezer for up to 3 months.
- To reheat : There are various ways you can reheat tortillas, such as in a toaster oven or regular home oven if you need to reheat many at one time. If you are reheating just a few at a time, reheat the tortillas in a dry skillet set over medium-high heat, turning every 30 seconds until they are warmed through. Another less traditional way is to heat a small amount of olive oil in a skillet and heat the tortillas in the oil so they crisp up slightly — this is my preferred method.
- Prep Time: 45 minutes
- Cook Time: 15 minutes
- Category: Bread
- Method: stovetop
- Cuisine: Mexican, American
