A few weeks ago at nearby Spoon and Whisk , I spent the evening watching Chef Ben churn out calzones, stromboli, Chicago-style deep-dish pies, and, my favorite, ballooned and blistered Neapolitan pizzas.
Of all the delicious bites I tasted that evening, the very last may have been my favorite, a thin-crust pizza topped with tomato sauce, mozzarella, and sausage. This may sound underwhelming on its own, and it may have been had Chef Ben not sprinkled the blazing hot pizza with finely shaved pickled vegetables, a sharp mix that instantly brightened an otherwise ordinary combination. Magic.
When asked for the recipe, Chef Ben said: “Sorry, trade secret.”
Not to worry. The following day, I gathered all the vegetables languishing in my fridge and took a stab at the pickle using a recipe that has yet to fail me: equal parts water and vinegar plus a little sugar and salt. It comes from David Lebovitz’s blog , and I’ve used it successfully with beets, turnips, carrots, and radishes.
It takes no time: heat water and vinegar until sugar and salt dissolve, then pour over vegetables. That’s it. It doubles, triples, and halves well, so you can adjust the recipe easily to whatever amount of vegetables you have on hand.
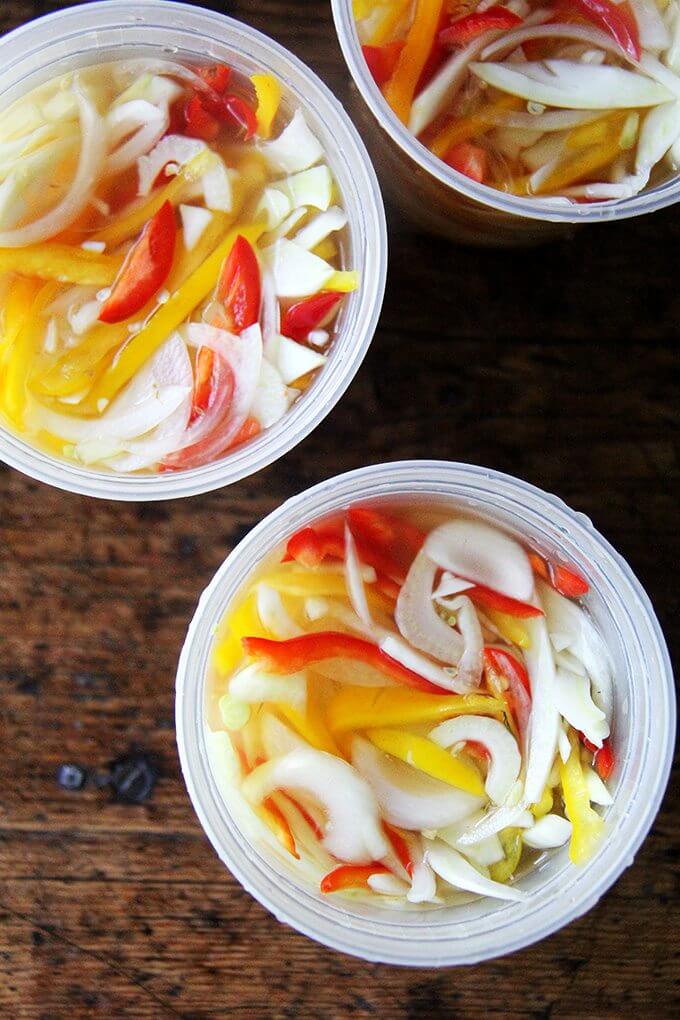
Here I’ve pickled thinly sliced peppers, onions, and fennel, and I’ve been tucking the mix into sandwiches, spreading it atop melty cheese toasts, and, as intended, sprinkling it over just-baked pizza. I imagine it would be fabulous with grilled bratwurst or in a Philly cheesesteak-style sandwich.


Description
This is a very simple recipe and use it as a guide: you can use more or less fennel, peppers, onion, etc. I have used the pickling liquid recipe, which I adapted from this pickled radish recipe from David Lebovitz , for a number of vegetables including carrots, turnips, and beets. It’s simple and good. I never process the jars, but the vegetables seem to keep indefinitely in the fridge.
- 2 cups water
- 2 cups cider vinegar
- 1 tablespoon + 1 teaspoon sugar
- 1 tablespoon + 1 teaspoon kosher salt
- 2 to 3 red, orange, or yellow bell peppers, seeded and thinly sliced
- 1 to 2 bulbs fennel, thinly sliced
- 1 onion, peeled and thinly sliced
- 2 cloves garlic, peeled and thinly sliced
- 1 hot chili pepper, thinly sliced on the bias, optional
- In a large non-reactive saucepan, bring the water, vinegar, salt, and sugar to a boil, until the sugar and salt are dissolved.
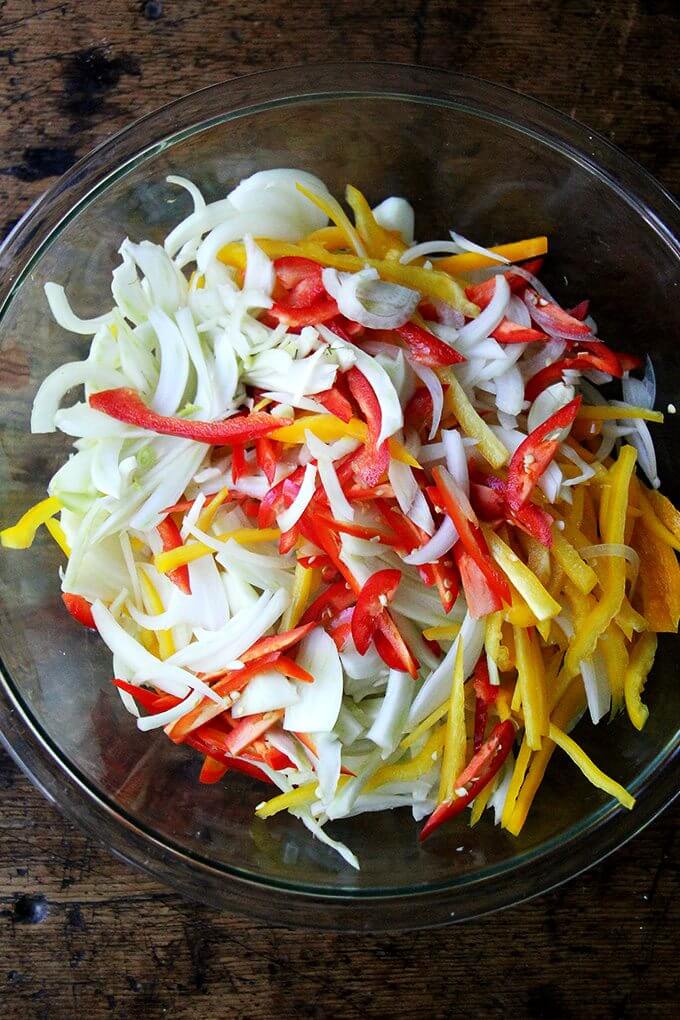
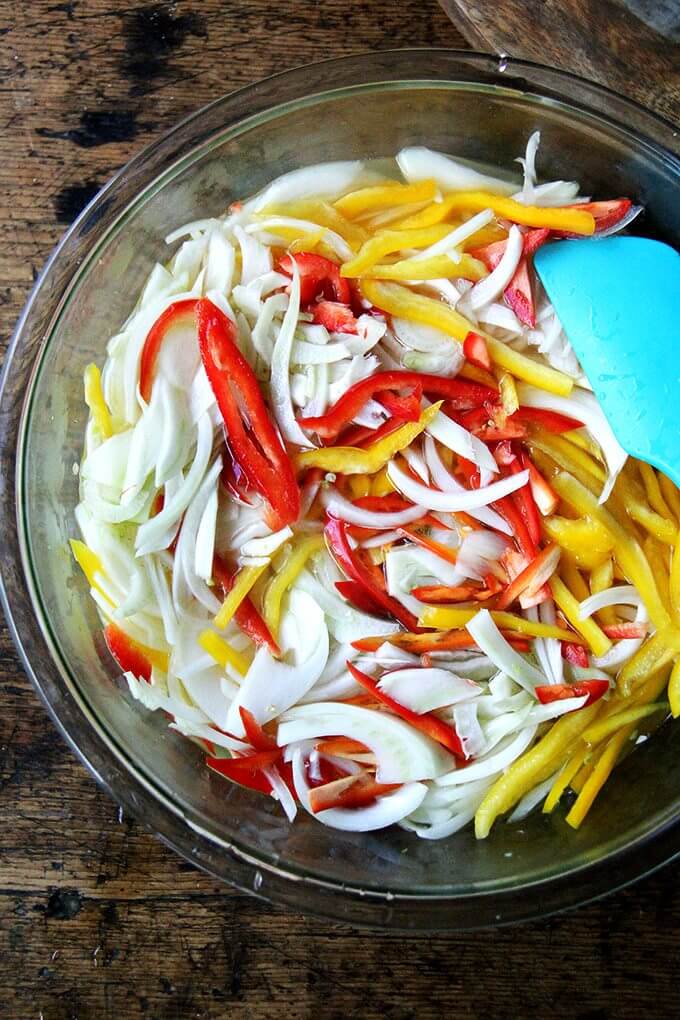
- Meanwhile, place the sliced peppers, fennel, onion, garlic, and chili peppers in a large bowl. Pour the pickling liquid over top. Press with a spatula to submerge.
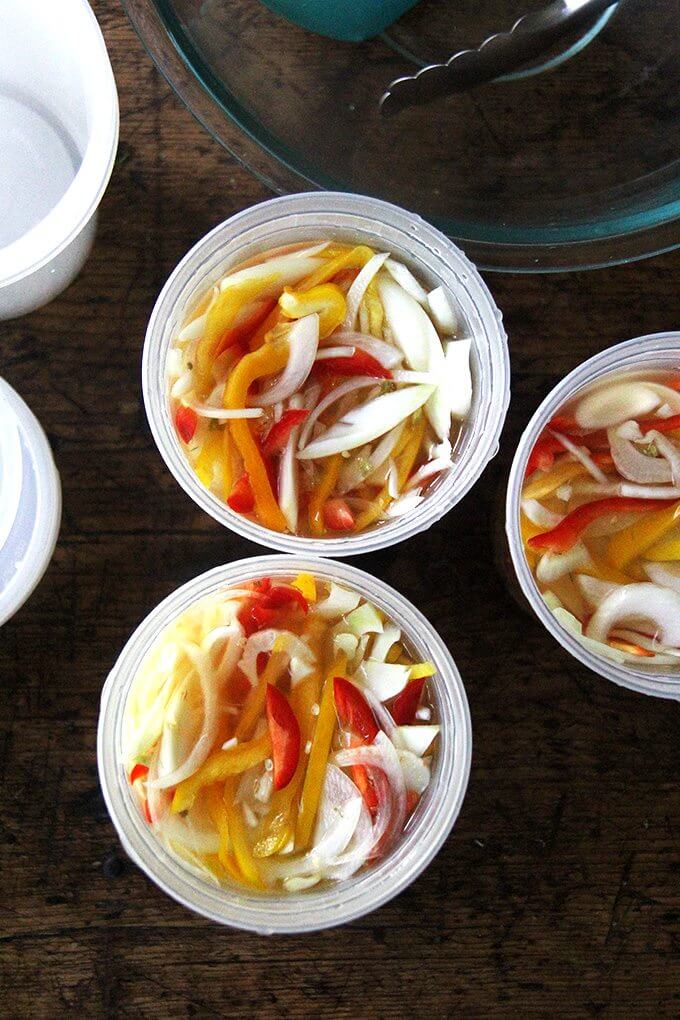
- Transfer the vegetables and liquid to storage containers. I love these deli containers, but glass canning jars are nice, too. Let cool to room temperature, then refrigerate. Store for weeks if not longer.
Description
This is a very simple recipe and use it as a guide: you can use more or less fennel, peppers, onion, etc. I have used the pickling liquid recipe, which I adapted from this pickled radish recipe from David Lebovitz , for a number of vegetables including carrots, turnips, and beets. It’s simple and good. I never process the jars, but the vegetables seem to keep indefinitely in the fridge.
- 2 cups water
- 2 cups cider vinegar
- 1 tablespoon + 1 teaspoon sugar
- 1 tablespoon + 1 teaspoon kosher salt
- 2 to 3 red, orange, or yellow bell peppers, seeded and thinly sliced
- 1 to 2 bulbs fennel, thinly sliced
- 1 onion, peeled and thinly sliced
- 2 cloves garlic, peeled and thinly sliced
- 1 hot chili pepper, thinly sliced on the bias, optional
- In a large non-reactive saucepan, bring the water, vinegar, salt, and sugar to a boil, until the sugar and salt are dissolved.
- Meanwhile, place the sliced peppers, fennel, onion, garlic, and chili peppers in a large bowl. Pour the pickling liquid over top. Press with a spatula to submerge.
- Transfer the vegetables and liquid to storage containers. I love these deli containers, but glass canning jars are nice, too. Let cool to room temperature, then refrigerate. Store for weeks if not longer.
Find it online : https://alexandracooks.com/2017/09/29/simple-pickled-vegetables-pizza-abc-kitchen-squash-pickled-veg/
Canned beans are incredibly convenient, and I always have a few on hand. Nothing, however, beats the flavor and texture of cooked-from-scratch beans. Once you get into a rhythm of cooking beans/chickpeas from scratch, I think you’ll find it effortless and satisfying.
A few years ago I discovered the brining method — soaking beans in salt water as opposed to water — for cooking beans. I’ve never looked back. I wrote about it in this post for Marcella Hazan’s Stewy White Beans , and I’ve outlined the steps in more details below.
That said, I do love my slow cooker and Instant Pot for cooking chickpeas, black beans, and other dried beans. Find instructions below for cooking beans in various methods:
- Slow Cooker Method
- Instant Pot Method
- Stovetop Method
How to Cook Dried Beans in the Slow Cooker
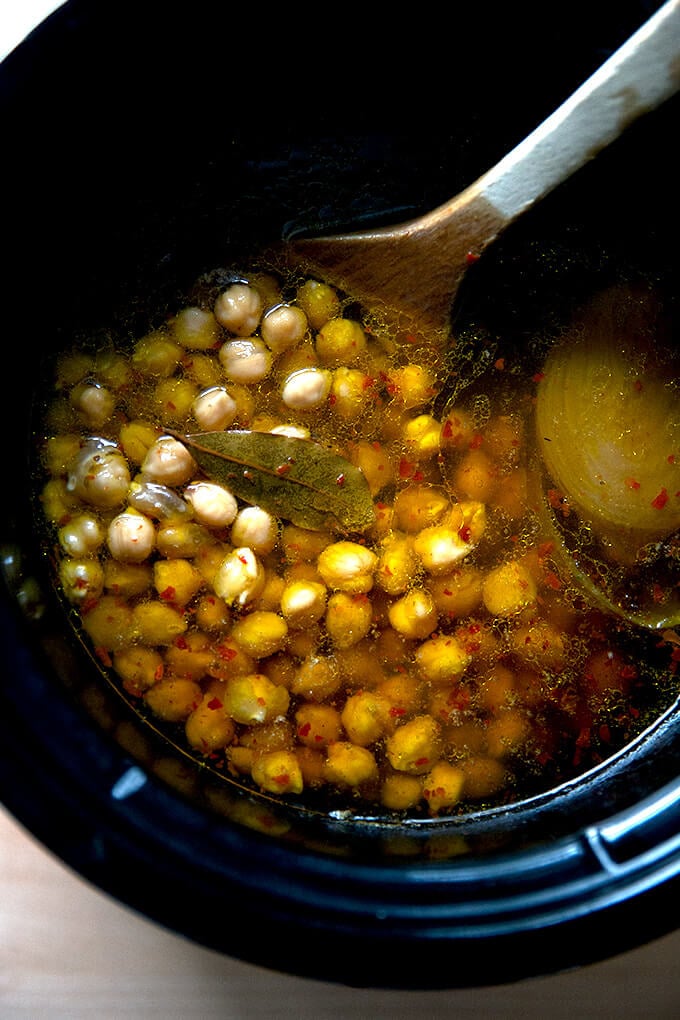
With a slow cooker , there’s no need to soak the beans. Simply dump the ingredients in the pot, set it, and forget it.
Here are two favorite recipes:
- Simplest Slow Cooker Chickpeas
- Simplest Slow Cooker Black Beans
Use the method with any bean you have on hand. You’ll want to eat the beans directly from the pot — they’re so good!
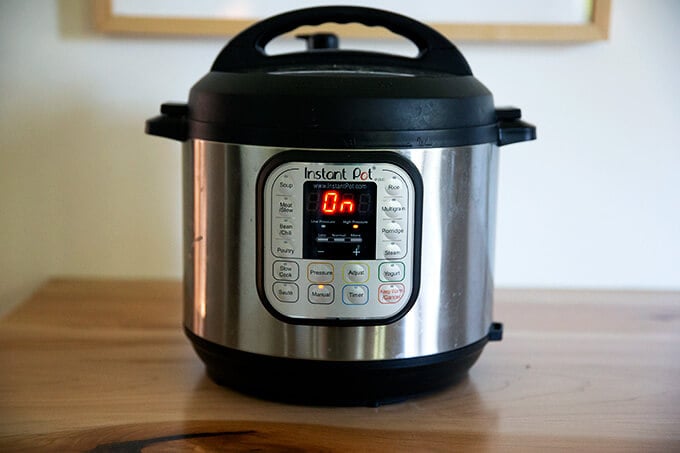
How to Cook Dried Beans in the Instant Pot
To cook beans in an Instant Pot add these ingredient into the inner pot:
- 1 lb. unsoaked, dried beans
- 6 cups water
- 1 half of a small onion, halved through the core to keep it intact, peeled
- 1 bay leaf
- 1 garlic clove, smashed and halved
- 2 teaspoons kosher salt
- 1 teaspoon crushed red pepper flakes, optional
- 1/4 cup olive oil
- Turn the valve to sealing. Set the Instant Pot to “Manual and High Pressure.” The times will vary depending on what type of bean you are using, and it might take some trial and error to get right. (For black beans, set it for 30 minutes. For pinto beans, set it for 40 minutes. For chickpeas, set it for 50 minutes.)
- Let the valve release naturally for at least 20 minutes. Uncover. Taste. Add more salt to taste.
How to Cook Dried Beans and Legumes on the Stovetop (Brining Method)
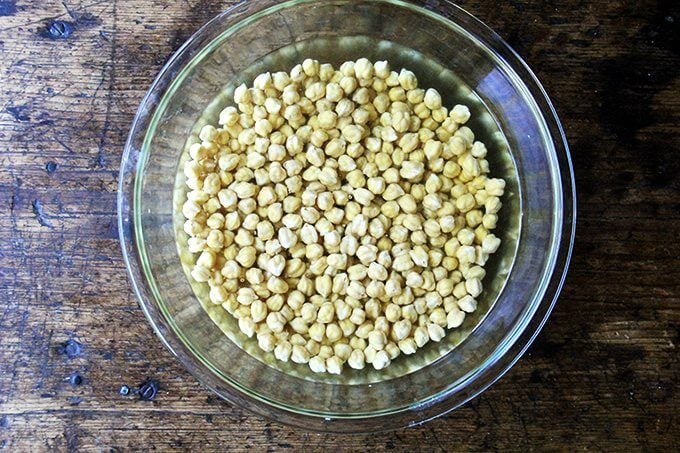
- Place dried chickpeas or beans in a large bowl and cover with water by at least 3 inches. Stir in 3 tablespoons kosher salt. Stir to dissolve. Let sit overnight or at least 8 to 10 hours.
- Drain and rinse. Place chickpeas/beans in a pot. Cover with water. Add 1.5 teaspoons kosher salt, a few sprigs thyme, a small onion, halved, and a bay leaf. (All of these aromatics are optional.)
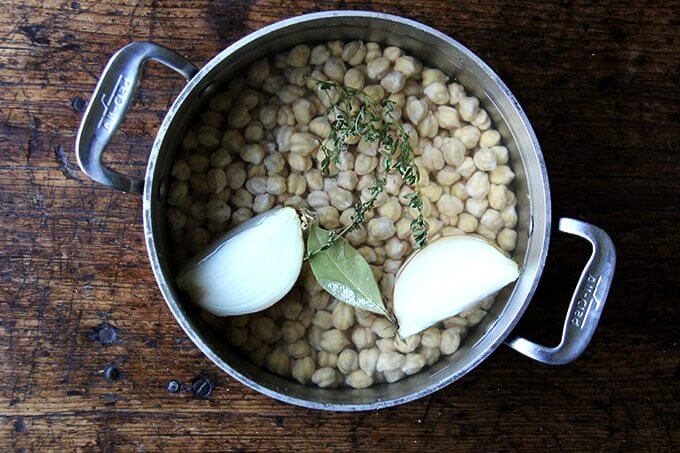
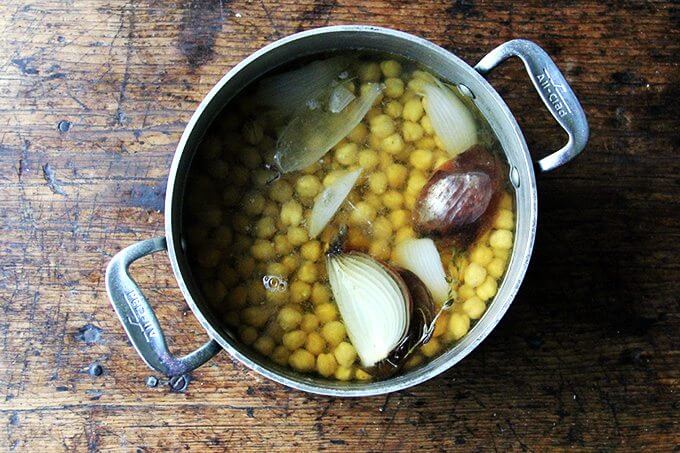
- Simmer for 45 minutes to an hour or till done — this may take more or less time depending on the age of your beans. Add water as needed to ensure beans are always submerged in water.
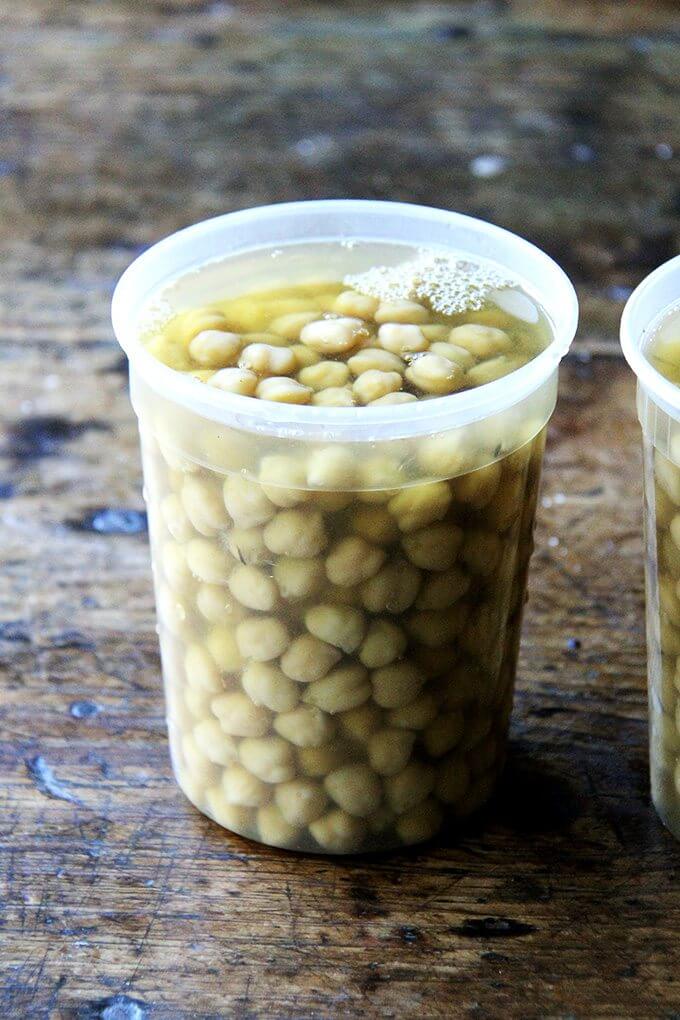
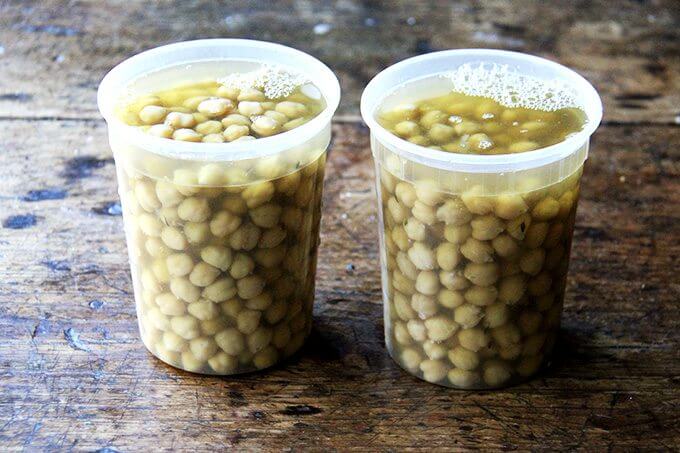
- Store in cooking liquid in fridge for about a week or in the freezer for many months. As you may know, I love these deli quart containers and this mixed set of quart, pint, and cup containers .
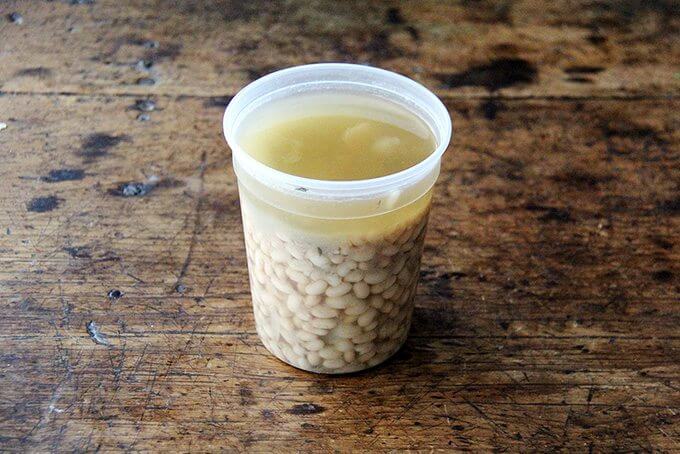
Same process for beans:
Description
Adapted from Cook’s Illustrated’s The Science of Good Cooking
See post above if you wish to cook your beans in an Instant Pot or slow cooker.
- 1 lb. dried chickpeas or beans
- 3 tablespoons + 1.5 teaspoon kosher salt
- 1 small onion, halved through the core
- 1 bay leaf
- 1/4 cup olive oil
- a few sprigs thyme, optional
- 1 clove garlic, smashed, optional
- 1 teaspoon , crushed red pepper flakes, optional
- Place the chickpeas or beans in a large bowl and cover with water by at least 3 inches. Add the 3 tablespoons of salt and stir to dissolve. Let sit at room temperature overnight or for 8 to 10 hours at least.
- Drain, rinse and place in a large pot with the remaining 1.5 teaspoons of salt and the remaining ingredients. Cover with water by three inches. Bring to a boil, then lower heat and cook at a gentle simmer for about 45 minutes or until the beans are cooked through. Note: Add water as need to ensure the beans/chickpeas are completely covered with water the entire time. Also, times will vary considerably depending on the type and age of your beans. It may take more or less than 45 minutes.
- Let beans cool in their cooking liquid. Discard thyme sprigs, bay leaf, and onion. Store beans in their cooking liquid for 5 to 7 days in the fridge or up to 3 months in the freezer.
- Prep Time: 10 hours
- Cook Time: 1 hour
- Category: Beans
- Method: Boil
- Cuisine: American
