My 6th-grade daughter recently asked me if the meat I cooked for our family was “lean”. Propelled by lessons learned in health class, she also had questions about brown rice and whole wheat flour and if I used them. Sometimes. But first: lean meat.
Wellllllll , I replied, not really . I explained I favor dark meat chicken over light and that I only buy 80/20 ground beef. I confessed to never having cooked ground turkey and that bacon was definitely not lean. And the reason she likes those ribs so much is because of the fat.
But I defended my choices, too, noting foremost that we don’t eat a lot of meat, and also that not all fat is bad. I explained that “leanness” is not the only factor to consider when evaluating what’s “healthy.” And I talked to her about factory versus sustainable farming. Despite my efforts, the conversation ended with a request: Can you make me a chicken breast?
Sure Sweetie Pie. I’d love to.
Sigh. As many of you know, chicken breasts do not excite me. There is one and only one chicken breast recipe on this site, and while I love it, my children do not. Would there be any point to this endeavor? Would I make the effort only to watch them push their chicken pieces around their plate? To guess how many seconds might pass before they asked for the ketchup?
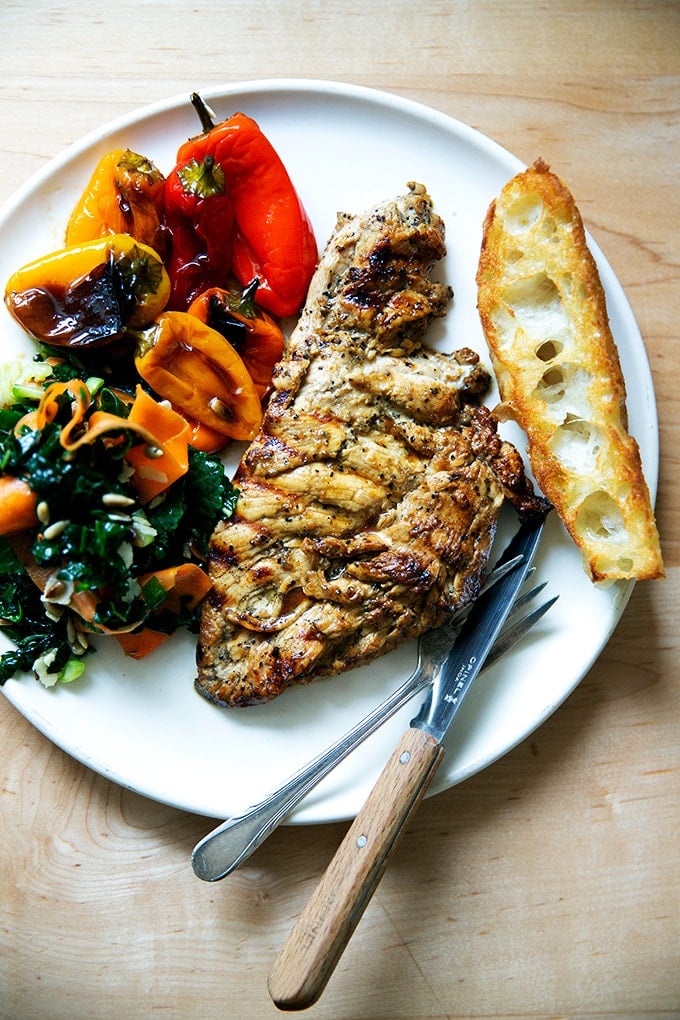
I wasn’t sure, but as you can gather from the title of this post, the exercise was a success, and it didn’t take too many tries to get there. When I presented the grilled breasts aside boiled (and well-buttered) broccoli, I waited with bated breath. And when I heard mmmmms all around and requests for seconds, I danced a very happy jig.
This is what I did:
3 Tips for Juicy Grilled Chicken Breasts
- Pound.
- Brine.
- Marinate.
Pound. Pounding not only ensures the thickness of the breast is uniform, it also tenderizes the meat.
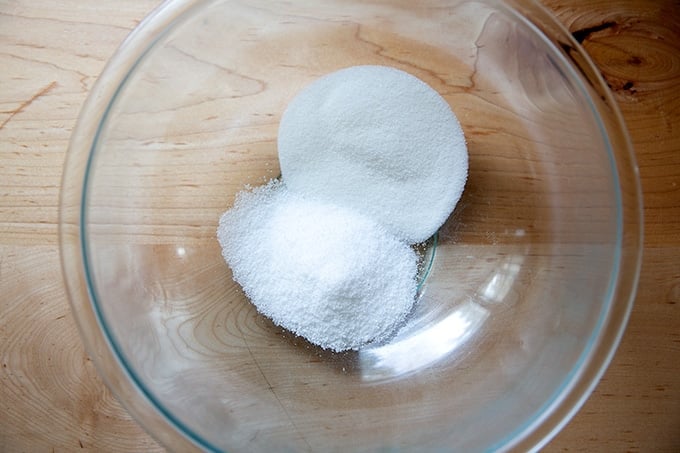
Brine. Inspired by a recipe in Cook’s Science , I decided to make the effort to brine the chicken breasts briefly before grilling them. I understand if this step might be a page-turner for you — not too long ago it would have been for me as well — but it truly helps both season the meat and keep it moist during the cooking. And I promise you it’s not hard: simply dissolve 1/4 cup each of salt and sugar in cold water, submerge the breasts, leave for 30 to 60 minutes or up to 4 hours.
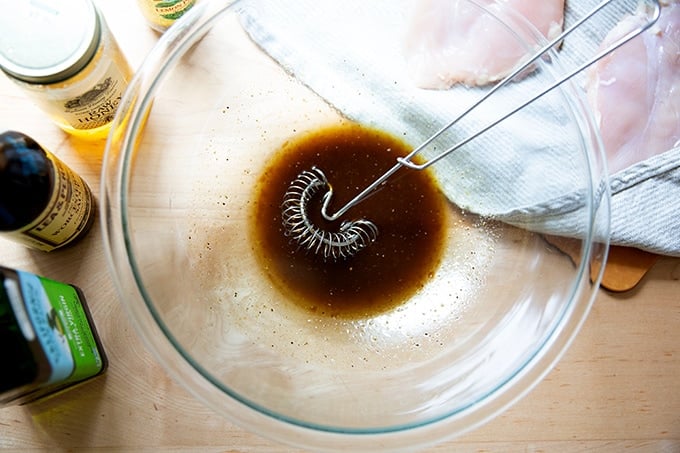
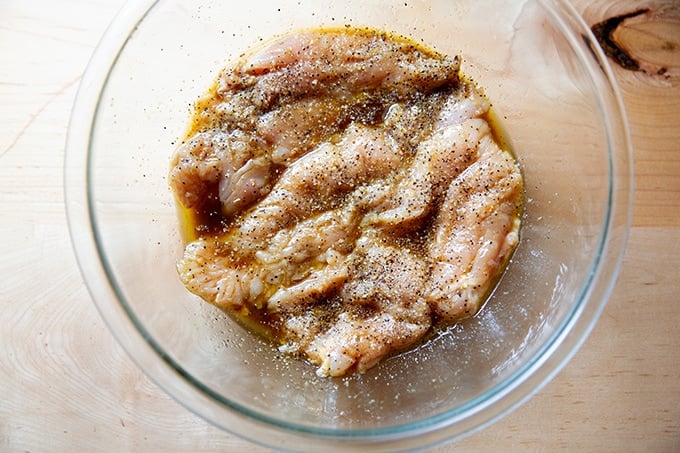
Marinate . The marinade I went with here is inspired by a reliable and simple favorite — olive oil, Worcestershire sauce, and lemon pepper — with the addition of a teaspoon of honey for flavor and to encourage browning. You can marinate for as few as 15 minutes or up to 24 hours.
An Interesting Note
In a sidebar in Cook’s Science , the authors name Bell & Evans Air-Chilled Boneless Skinless Chicken Breasts as their favorite specifically for its tender texture. And the reason the texture of this particular brand of chicken is more tender than others is that it’s given time to “age.” Once the chicken is broken down into parts, the breasts are aged on the bone for 12 hours before the bones and skin are removed. Why does aging make the meat more tender? Two reasons:
- Enzymes are at work during the aging process. “The natural protease enzymes break down the contracted muscle fibers making them more tender.”
- Boning meat too soon causes “the muscle to contract, and a shorter, contracted muscle is related to tougher meat.”
Interesting, right? Many companies skip this aging step because building time into the process costs money. If you live locally, the Niskayuna Co-op carries Bell & Evans chicken breasts.
Simple Grilled Chicken Breast, Step by Step
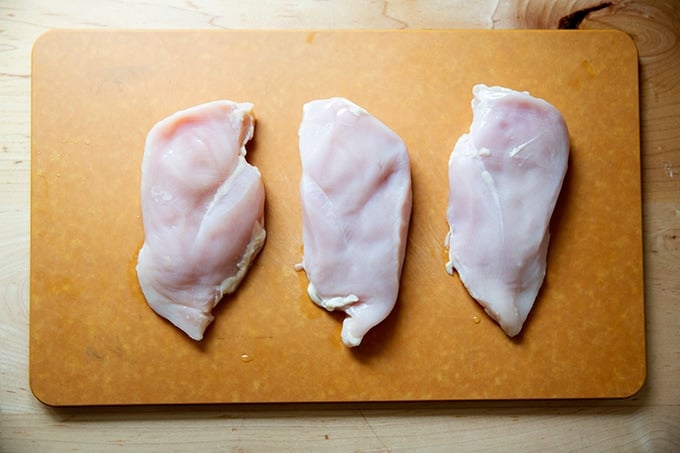
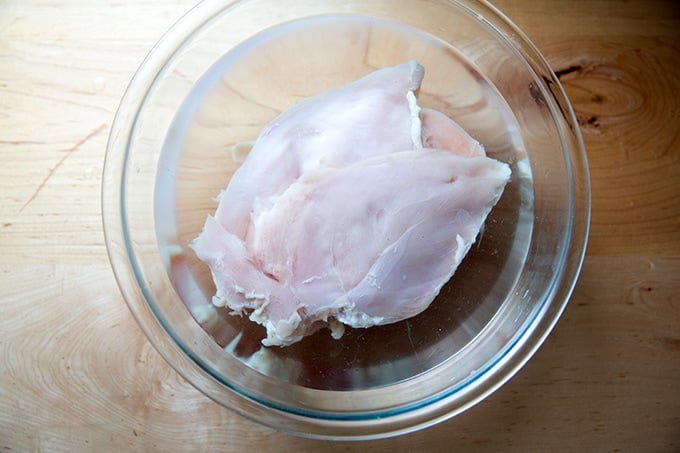
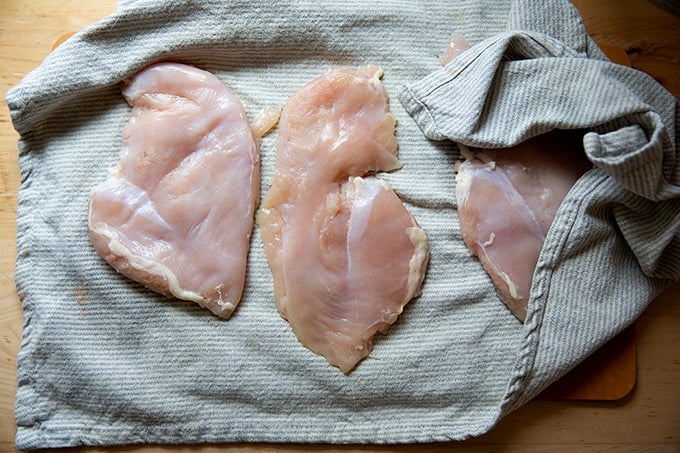
Place your chicken breasts on a clean work surface.
Cover with wax paper, parchment, or plastic wrap; then flatten them with a meat mallet.
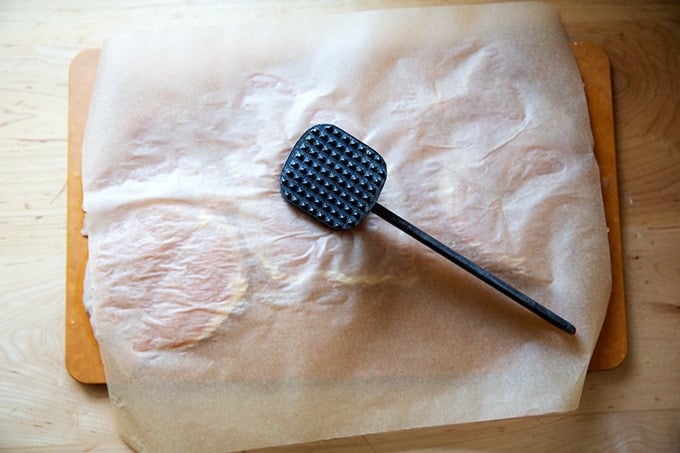
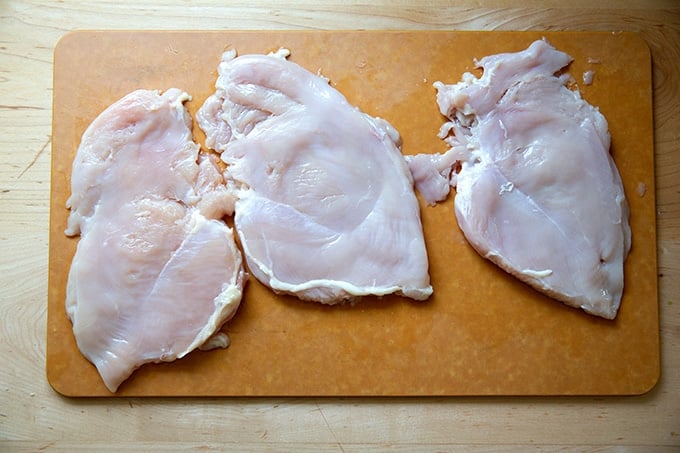
You want the breasts to be roughly 1/2-inch thick.
Make the brine by dissolving 1/4 cup each salt and sugar in 1.5 quarts of cold water.
Add the breasts and leave for 30 to 60 minutes. I’ve brined them for longer, too, with no adverse effects.
Pat dry.
Whisk together a simple marinade: olive oil, Worcestershire, honey, and lemon pepper.

Add the breasts and let marinate for as few as 15 minutes or as long as 24 hours.
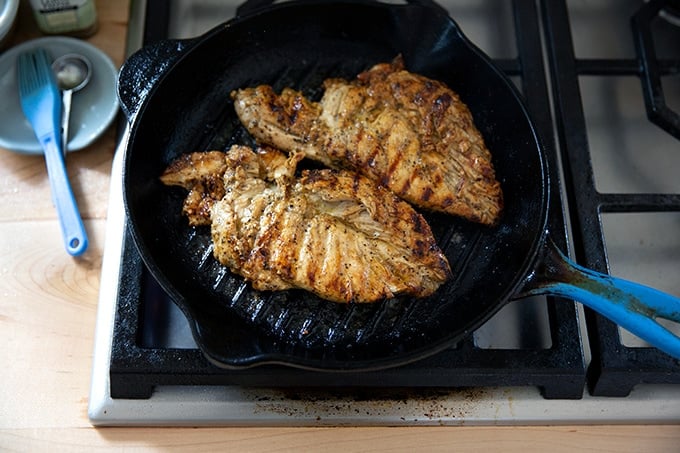
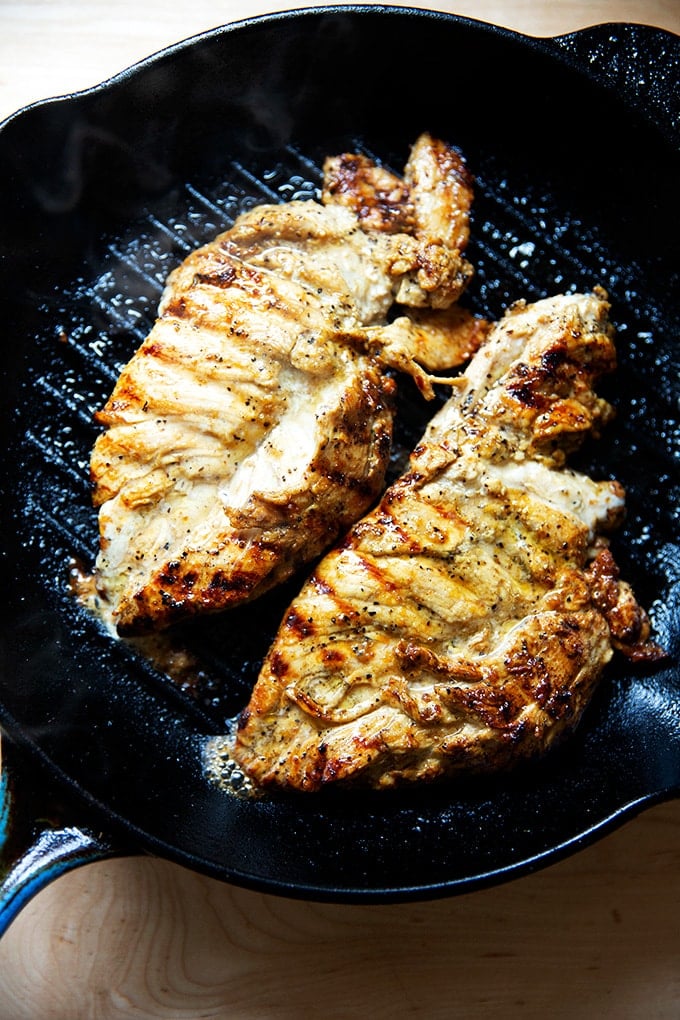
Place a grill pan (or heat an outdoor grill) over medium-high heat, brush with 2 teaspoons of oil, and grill the breasts for roughly 3 minutes a side.

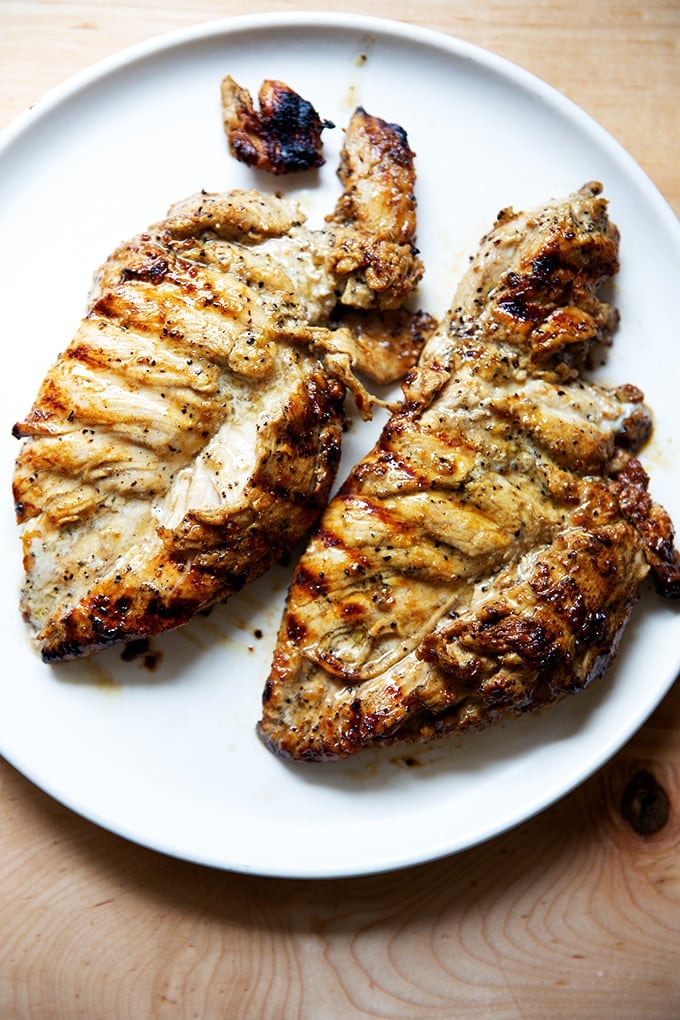
Transfer to a plate to rest for 5 minutes before serving.
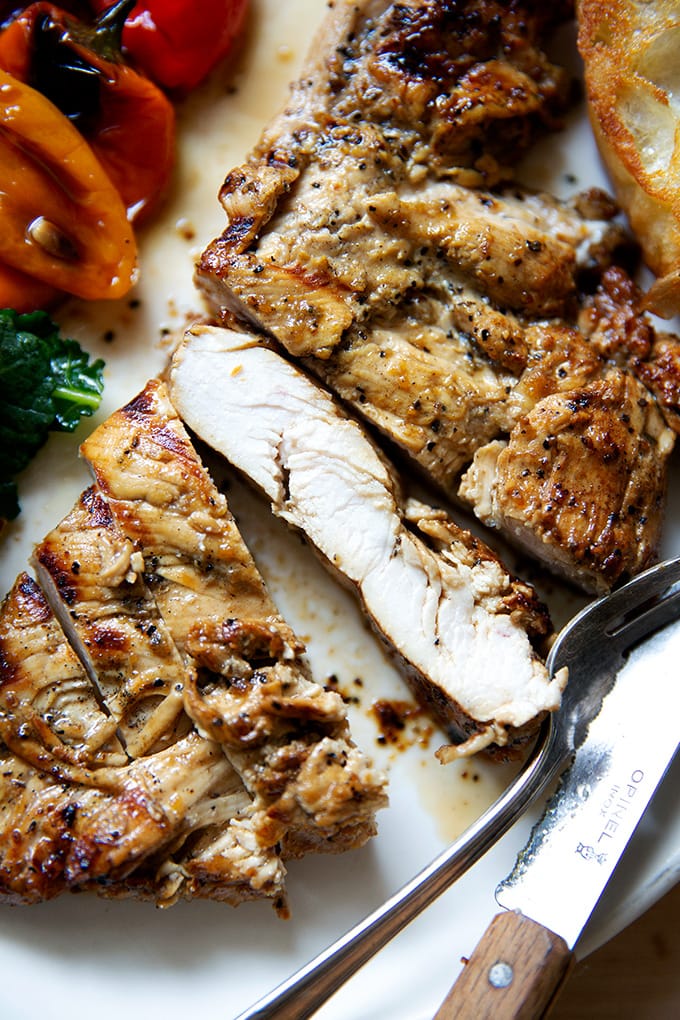
Serve aside whatever you like. Pictured below: balsamic-roasted mini peppers , kale salad with the addition of ribbony carrots, cucumbers, and toasted sunflower seeds, and focaccia .
So juicy!
Description
The brine recipe is from Cook’s Science . The marinade comes from this Dead Easy Steak Marinade .
Update: Recently, for time purposes, I skipped the brining step, and they breasts came out as juicy as ever — I pounded them, cut them in half (so I had 6 small-ish breasts) and let them marinate for several hours in the fridge. I do think brining is a wonderful technique for breasts, but perhaps pounding is more of the key to tenderness here.
For the brine (optional, see notes above):
- 1/4 cup salt
- 1/4 cup sugar
For the chicken:
- 3 to 4 boneless, skinless chicken breasts
- 1/4 cup olive oil
- 2 tablespoons Worcestershire sauce
- 1 teaspoon honey
- lemon pepper, salt-free if possible, to taste
- 2 teaspoons neutral oil or olive oil
- kosher salt to taste
- To make the brine (note I do not do this in anymore… see notes above): In a large bowl, dissolve the salt and sugar in 1.5 quarts of cold water.
- Place the chicken breasts on a clean cutting board. Cover with a sheet of plastic wrap, parchment paper, or wax paper. Use a meat mallet to pound the breasts to a thickness of 1/2 inch. Submerge the breasts in the water and leave for 30 to 60 minutes. I’ve also left the breasts in the brine for 3 to 4 hours without any adverse effects. I brine the breasts at room temperature if the brining period is going to be brief (under 1 hour), and I refrigerate the breasts if it’s going to be longer.
- Remove the breasts from the brine, and pat dry.
- In a large bowl, whisk together the olive oil, Worcestershire sauce, honey, and lemon pepper to taste — I use at least a teaspoon in the marinade. Let the breasts marinate for 15 minutes or up to 24 hours.
- Heat a grill or a grill pan over medium-high heat. When it’s hot, brush with 2 teaspoons of the neutral oil or olive oil. Remove the breasts from the marinade, letting the excess marinade drip off. Place the breasts on the grill or grill pan — if you are using a grill pan, you’ll likely need to do this in batches. Season the top side of the breasts with salt. I like to sprinkle on a little more lemon pepper at this step. Cook 3 minutes. Flip. Season the cooked side with salt, and cook for 3 minutes more or until the chicken is cooked through.
- Transfer the chicken to a plate to cool. Let rest for 5 minutes before serving.
- Prep Time: 60 minutes
- Cook Time: 6 minutes
- Category: Dinner
- Method: Grill
- Cuisine: American
My 6th-grade daughter recently asked me if the meat I cooked for our family was “lean”. Propelled by lessons learned in health class, she also had questions about brown rice and whole wheat flour and if I used them. Sometimes. But first: lean meat.
Wellllllll , I replied, not really . I explained I favor dark meat chicken over light and that I only buy 80/20 ground beef. I confessed to never having cooked ground turkey and that bacon was definitely not lean. And the reason she likes those ribs so much is because of the fat.
But I defended my choices, too, noting foremost that we don’t eat a lot of meat, and also that not all fat is bad. I explained that “leanness” is not the only factor to consider when evaluating what’s “healthy.” And I talked to her about factory versus sustainable farming. Despite my efforts, the conversation ended with a request: Can you make me a chicken breast?
Sure Sweetie Pie. I’d love to.
Sigh. As many of you know, chicken breasts do not excite me. There is one and only one chicken breast recipe on this site, and while I love it, my children do not. Would there be any point to this endeavor? Would I make the effort only to watch them push their chicken pieces around their plate? To guess how many seconds might pass before they asked for the ketchup?
I wasn’t sure, but as you can gather from the title of this post, the exercise was a success, and it didn’t take too many tries to get there. When I presented the grilled breasts aside boiled (and well-buttered) broccoli, I waited with bated breath. And when I heard mmmmms all around and requests for seconds, I danced a very happy jig.
This is what I did:
3 Tips for Juicy Grilled Chicken Breasts
- Pound.
- Brine.
- Marinate.
Pound. Pounding not only ensures the thickness of the breast is uniform, it also tenderizes the meat.
Brine. Inspired by a recipe in Cook’s Science , I decided to make the effort to brine the chicken breasts briefly before grilling them. I understand if this step might be a page-turner for you — not too long ago it would have been for me as well — but it truly helps both season the meat and keep it moist during the cooking. And I promise you it’s not hard: simply dissolve 1/4 cup each of salt and sugar in cold water, submerge the breasts, leave for 30 to 60 minutes or up to 4 hours.
Marinate . The marinade I went with here is inspired by a reliable and simple favorite — olive oil, Worcestershire sauce, and lemon pepper — with the addition of a teaspoon of honey for flavor and to encourage browning. You can marinate for as few as 15 minutes or up to 24 hours.
An Interesting Note
In a sidebar in Cook’s Science , the authors name Bell & Evans Air-Chilled Boneless Skinless Chicken Breasts as their favorite specifically for its tender texture. And the reason the texture of this particular brand of chicken is more tender than others is that it’s given time to “age.” Once the chicken is broken down into parts, the breasts are aged on the bone for 12 hours before the bones and skin are removed. Why does aging make the meat more tender? Two reasons:
- Enzymes are at work during the aging process. “The natural protease enzymes break down the contracted muscle fibers making them more tender.”
- Boning meat too soon causes “the muscle to contract, and a shorter, contracted muscle is related to tougher meat.”
Interesting, right? Many companies skip this aging step because building time into the process costs money. If you live locally, the Niskayuna Co-op carries Bell & Evans chicken breasts.
Simple Grilled Chicken Breast, Step by Step
Place your chicken breasts on a clean work surface.
Cover with wax paper, parchment, or plastic wrap; then flatten them with a meat mallet.
You want the breasts to be roughly 1/2-inch thick.
Make the brine by dissolving 1/4 cup each salt and sugar in 1.5 quarts of cold water.
Add the breasts and leave for 30 to 60 minutes. I’ve brined them for longer, too, with no adverse effects.
Pat dry.
Whisk together a simple marinade: olive oil, Worcestershire, honey, and lemon pepper.
Add the breasts and let marinate for as few as 15 minutes or as long as 24 hours.
Place a grill pan (or heat an outdoor grill) over medium-high heat, brush with 2 teaspoons of oil, and grill the breasts for roughly 3 minutes a side.
Transfer to a plate to rest for 5 minutes before serving.
Serve aside whatever you like. Pictured below: balsamic-roasted mini peppers , kale salad with the addition of ribbony carrots, cucumbers, and toasted sunflower seeds, and focaccia .
So juicy!
Description
The brine recipe is from Cook’s Science . The marinade comes from this Dead Easy Steak Marinade .
Update: Recently, for time purposes, I skipped the brining step, and they breasts came out as juicy as ever — I pounded them, cut them in half (so I had 6 small-ish breasts) and let them marinate for several hours in the fridge. I do think brining is a wonderful technique for breasts, but perhaps pounding is more of the key to tenderness here.
For the brine (optional, see notes above):
- 1/4 cup salt
- 1/4 cup sugar
For the chicken:
- 3 to 4 boneless, skinless chicken breasts
- 1/4 cup olive oil
- 2 tablespoons Worcestershire sauce
- 1 teaspoon honey
- lemon pepper, salt-free if possible, to taste
- 2 teaspoons neutral oil or olive oil
- kosher salt to taste
- To make the brine (note I do not do this in anymore… see notes above): In a large bowl, dissolve the salt and sugar in 1.5 quarts of cold water.
- Place the chicken breasts on a clean cutting board. Cover with a sheet of plastic wrap, parchment paper, or wax paper. Use a meat mallet to pound the breasts to a thickness of 1/2 inch. Submerge the breasts in the water and leave for 30 to 60 minutes. I’ve also left the breasts in the brine for 3 to 4 hours without any adverse effects. I brine the breasts at room temperature if the brining period is going to be brief (under 1 hour), and I refrigerate the breasts if it’s going to be longer.
- Remove the breasts from the brine, and pat dry.
- In a large bowl, whisk together the olive oil, Worcestershire sauce, honey, and lemon pepper to taste — I use at least a teaspoon in the marinade. Let the breasts marinate for 15 minutes or up to 24 hours.
- Heat a grill or a grill pan over medium-high heat. When it’s hot, brush with 2 teaspoons of the neutral oil or olive oil. Remove the breasts from the marinade, letting the excess marinade drip off. Place the breasts on the grill or grill pan — if you are using a grill pan, you’ll likely need to do this in batches. Season the top side of the breasts with salt. I like to sprinkle on a little more lemon pepper at this step. Cook 3 minutes. Flip. Season the cooked side with salt, and cook for 3 minutes more or until the chicken is cooked through.
- Transfer the chicken to a plate to cool. Let rest for 5 minutes before serving.
- Prep Time: 60 minutes
- Cook Time: 6 minutes
- Category: Dinner
- Method: Grill
- Cuisine: American
Find it online : https://alexandracooks.com/2022/03/27/simple-and-juicy-and-delicious-grilled-chicken-breasts/
Last Sunday I went to the Schenectady Green Market for the first time in months. Having lived in Upstate New York for almost a decade now, I know better than to expect asparagus and rhubarb this time of year, but I made the trek to confirm.
Sure enough, I found neither a majestic spear nor a ruby stalk, but I did find greens, bags and bags of greens — spinach, kale, pea shoots, bok choy, spring greens, and other baby lettuce mixes. After months of roasting root after root, these tender lettuces were a sight to behold, and I could not help loading my tote with ALL of them, along with a few enticing bundles of rainbow carrots and purple and green radishes.
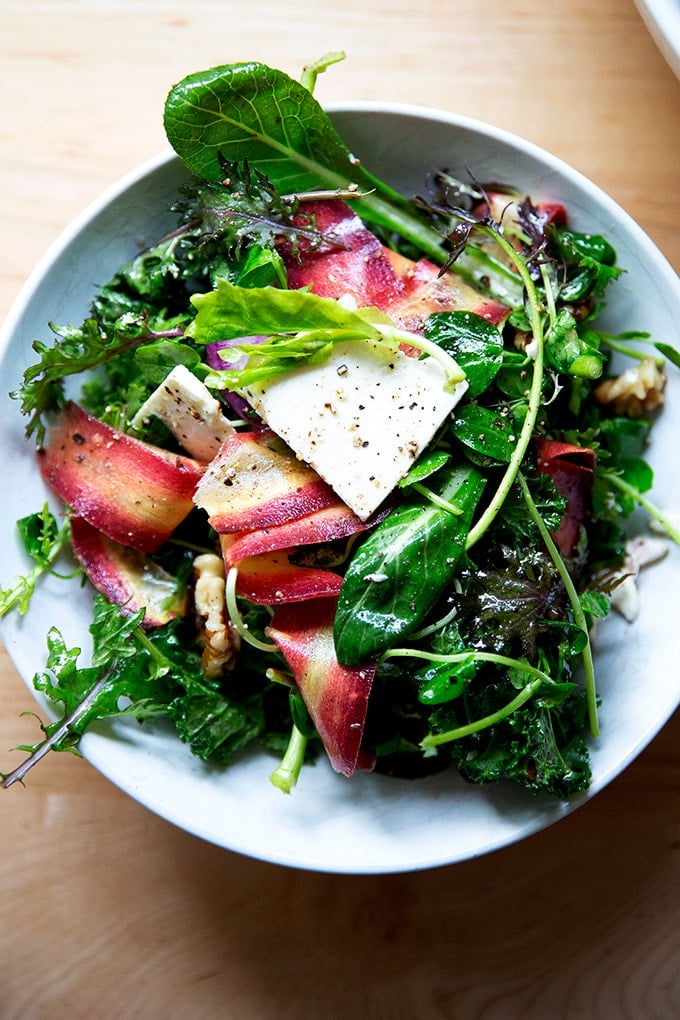
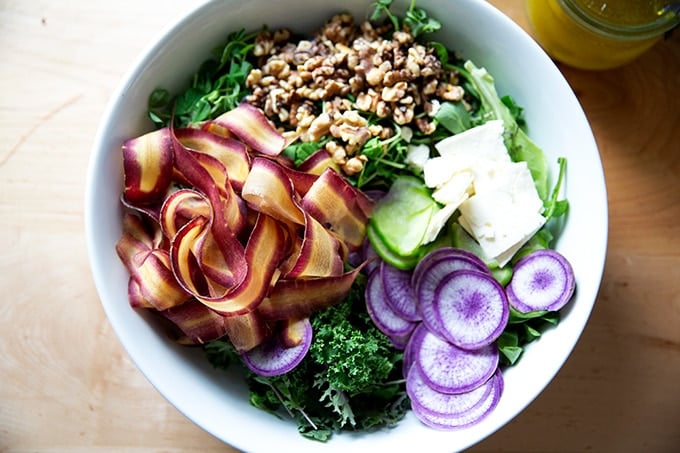
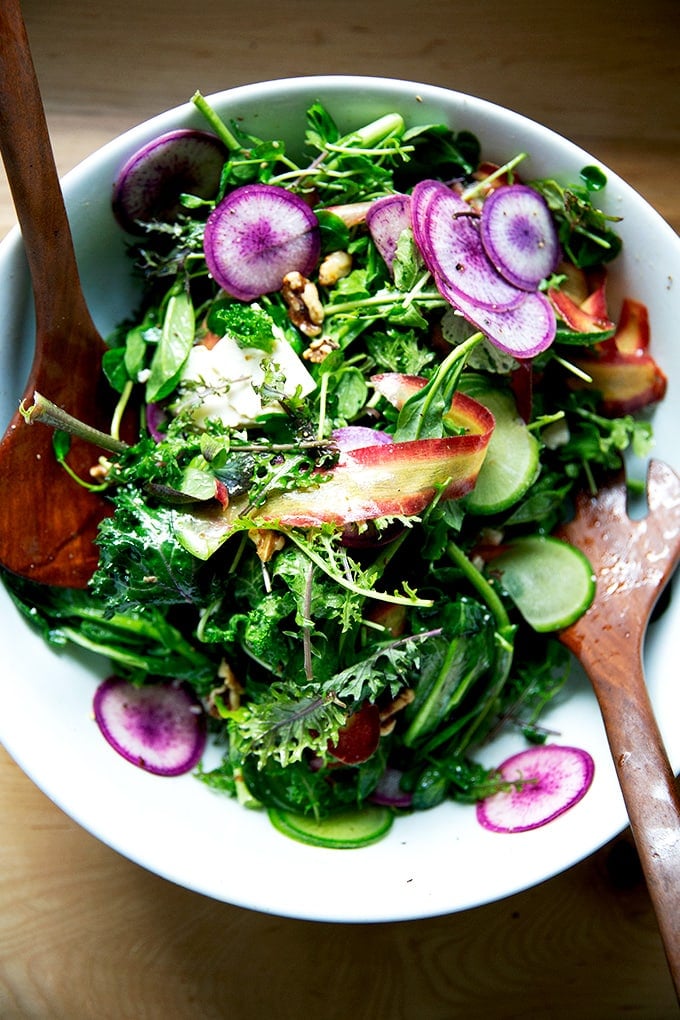
That night I made a salad with a mix of the greens, shaved carrots and radishes, toasted walnuts, and feta, all tossed together with a simple lemon vinaigrette, a mix of honey, fresh lemon juice, white balsamic vinegar, salt, and olive oil.
This lemon dressing is lighter than this cashew dressing and this tahini dressing , the two I favor during the winter for heartier greens. And, unlike my favorite large-batch shallot vinaigrette , this one requires no mincing or electrical equipment. It tastes fresh and bright, and for all of those tender spring greens, I don’t think there is a better match.
I hope you’ll agree.
All-Purpose Lemon Vinaigrette, Step by Step
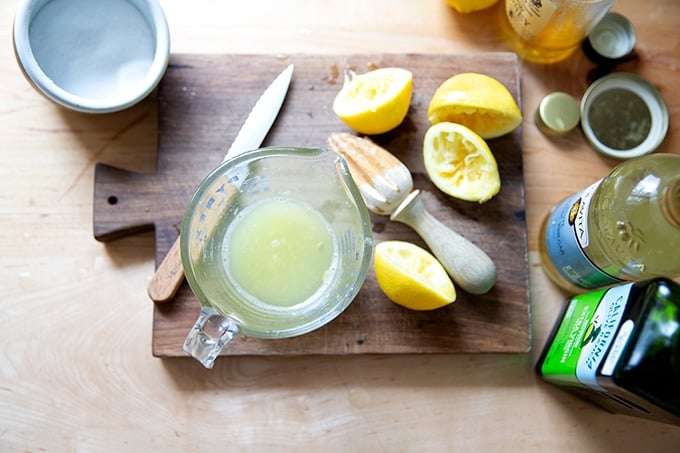
For this dressing, you need 1/3 cup of freshly squeezed lemon juice.
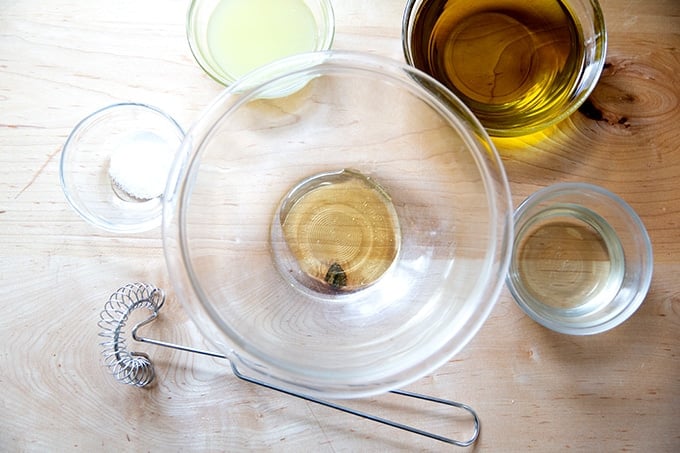
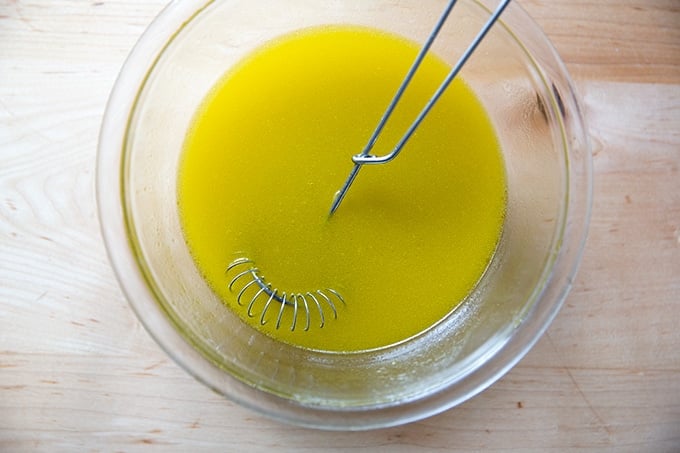
First, whisk together the honey, salt, lemon, and vinegar; then stream in the olive oil, and whisk to combine.
Taste, and adjust to taste as needed: Add more lemon or vinegar for more bite. Add more olive oil if it’s too acidic. If you like it sweeter, add more honey. If it needs more seasoning, add a pinch more salt.
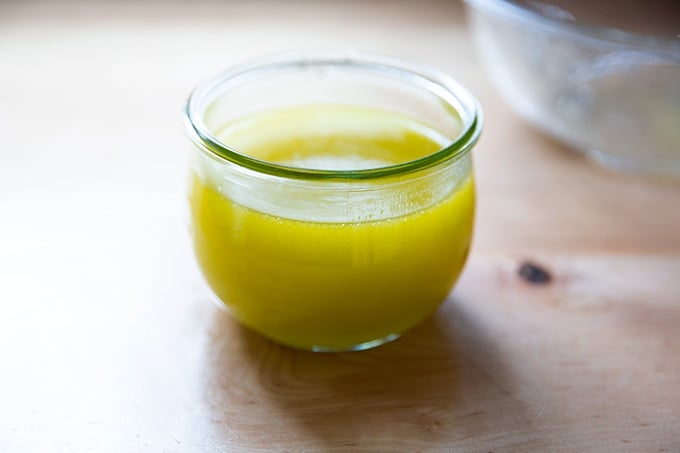
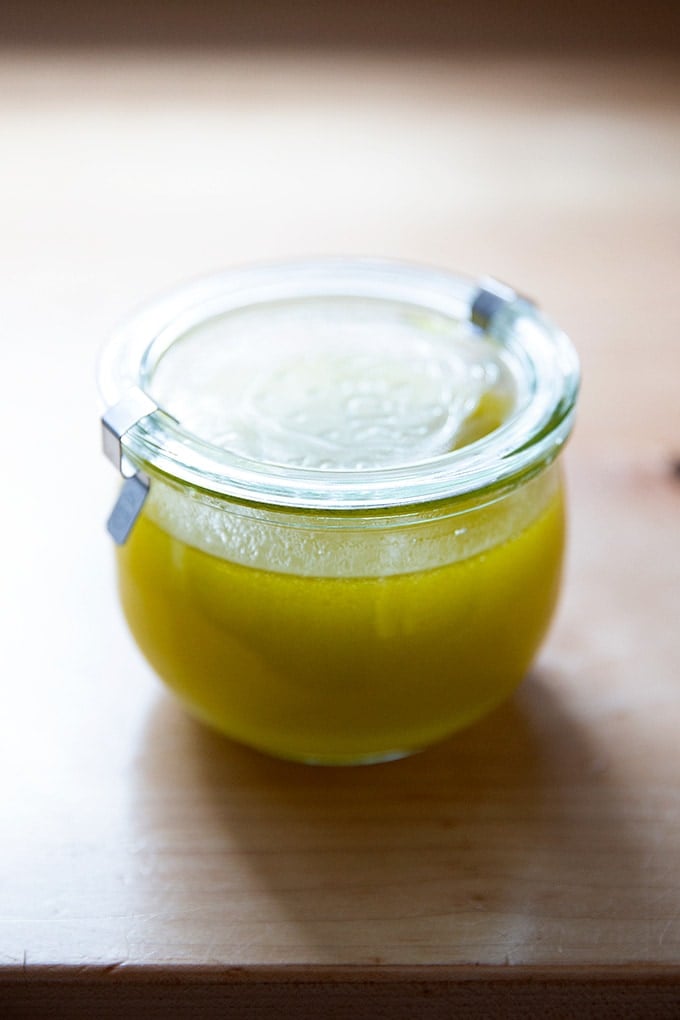
Store in the fridge for up to 2 weeks.
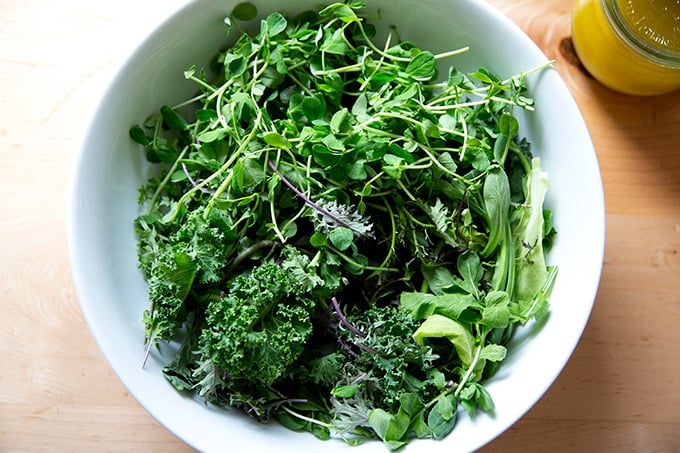
Here are some of the greens I returned home with last weekend from the market: kale, pea shoots, and mixed baby greens.
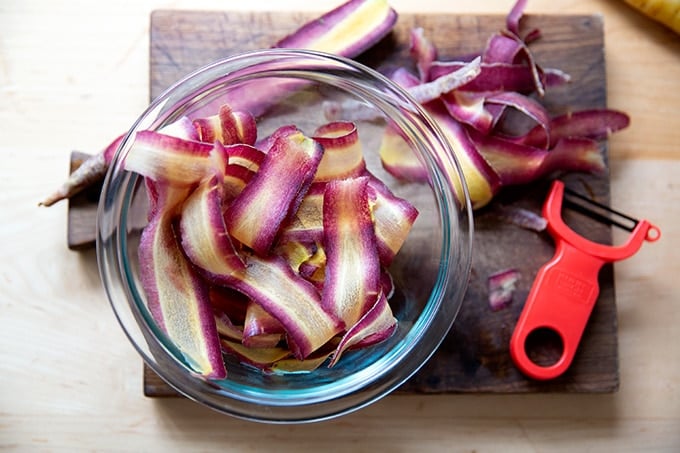
I used my peeler to shave the carrots into ribbons.
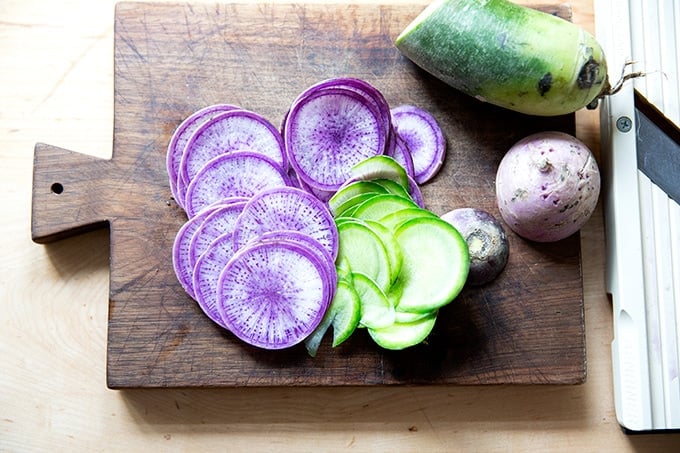
I ran the radishes down the mandoline . How pretty?
And I added toasted walnuts and feta.
Just before serving, I tossed everything together with the lemon vinaigrette and cracked lots of pepper over the top.
Description
This bright, lemony vinaigrette has become a go-to for dressing all of the light, spring greens I am currently finding at the farmers’ market. In the salad featured in this post, I used about 1/3 cup dressing with:
5 ounces mixed greens
1/2 cup toasted walnuts
2 shaved carrots
1 shaved purple radish
1 shaved green radish
feta cheese
⅓ cup fresh lemon juice
⅓ cup white balsamic vinegar
2 teaspoon honey or maple syrup
1 teaspoon kosher salt
1 cup olive oil
In a medium bowl, whisk together the lemon juice, vinegar, honey and salt. Whisk in the olive oil until emulsified. Taste and adjust as needed with more salt, honey, acid or oil to taste. Store in the fridge for up to 2 weeks. Bring to room temperature before using. Whisk or shake to emulsify before using.
- Prep Time: 5 minutes
- Category: Dressing
- Method: whisk
- Cuisine: American
