I typically don’t/never do this: 1. Post a recipe I’ve made only once. 2. Suggest you make something I’ve never tasted.
Why am I making the exception today? Well, this is the thing: preserving, as many of you know, takes time, and while I would prefer to wait a month to tell you how these preserved lemons turn out, I would prefer more if in a month from now you actually had these preserved lemons on hand, so when in the event I post about something else, something perhaps like the chicken tagine with preserved lemons and green olives I had at Tara Kitchen in early December, a dish I cannot stop thinking about and so hope to recreate at home, you’ll be able to participate, too.
Make sense? I mean, what if on February 10th, I posted about said tagine and exclaimed: Friends, you HAVE to make this. It is the BEST thing you will ever eat. All you need is a chicken, some stock, a bunch of herbs and preserved lemons. You would be like, are you serious? Oh sure, let me just run to my pantry and pull out my jar of preserved lemons. I mean, doesn’t everyone spend all of citrus season slicing and salting and stuffing Mason jars full of lemons? Couldn’t you have given us a head’s up? How hard would that have been? Am I right? Just making sure I can sleep at night.
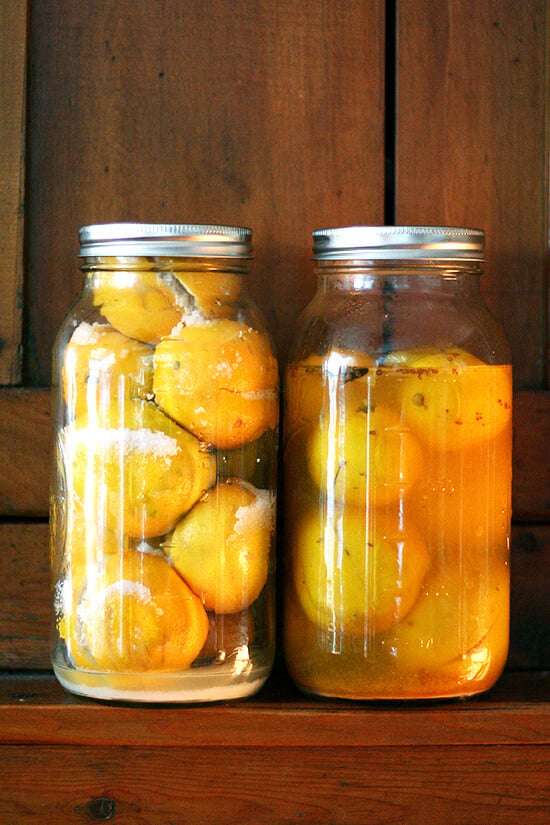
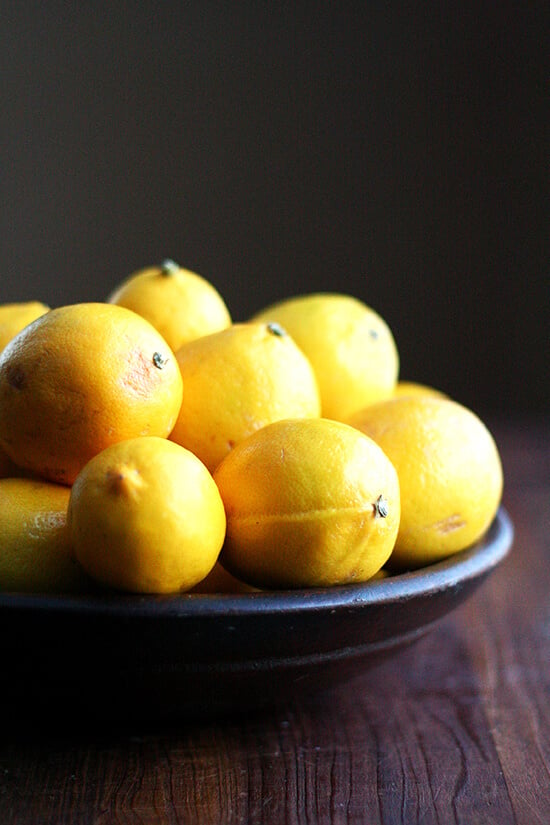
And so today I offer you two recipes for preserved lemons, one from Jerusalem , which will be ready in four weeks, and one from the September 2013 Bon Appétit , which will be ready in two weeks. Both sound promising. Fingers crossed?
PS: M oroccan Chicken with Green Olives and Preserved Lemon s
PPS: Canal House Chicken Thighs with Preserved Lemons
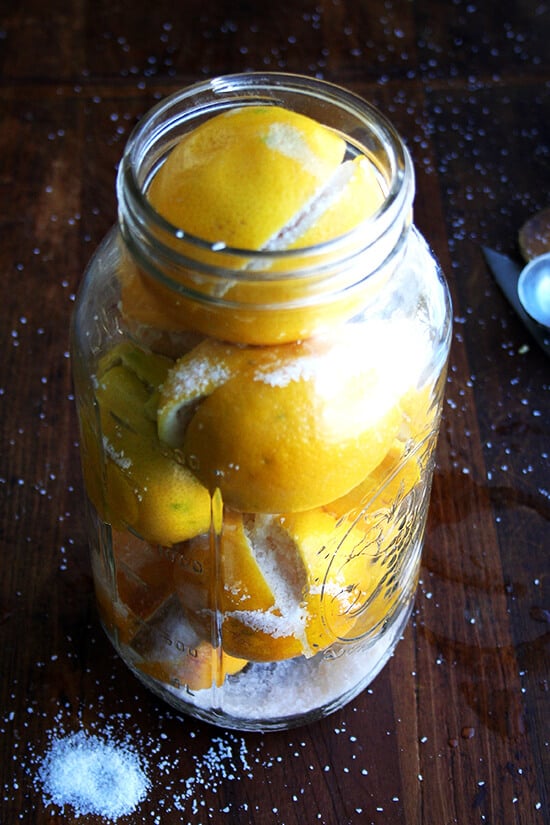
The first method, from Jerusalem , calls for a two phase process. During the first phase, scored lemons stuffed with salt sit for a week in a Mason jar. During the second phase, rosemary, chile, lemon juice and olive oil are added to the jar and everything mingles together for three more weeks.
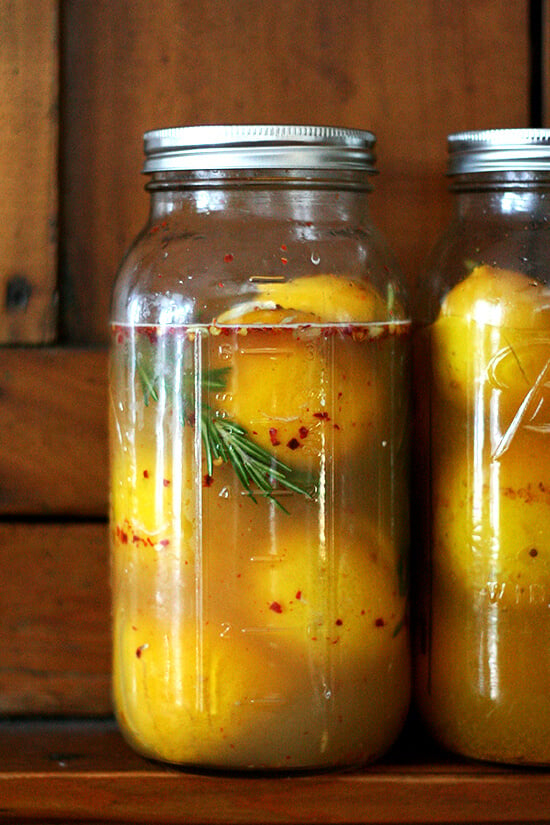
After 1 week, add a dried chili or 1/2 teaspoon crushed red pepper flakes and a sprig of rosemary.
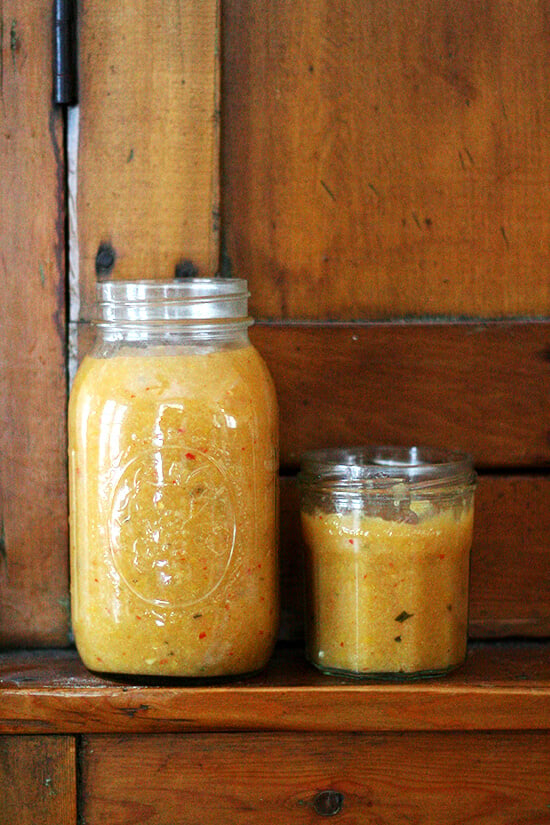
Update: 3/10/2014: Upon returning from a Tara Kitchen cooking class and learning that the owner, Aneesa, purées her preserved lemons — lemons, salt and juice — and uses spoonfuls of the purée in her dishes, I whizzed my whole batch of Jerusalem preserved lemons in the food processor and now have a jar of purée I am certain will last a decade.
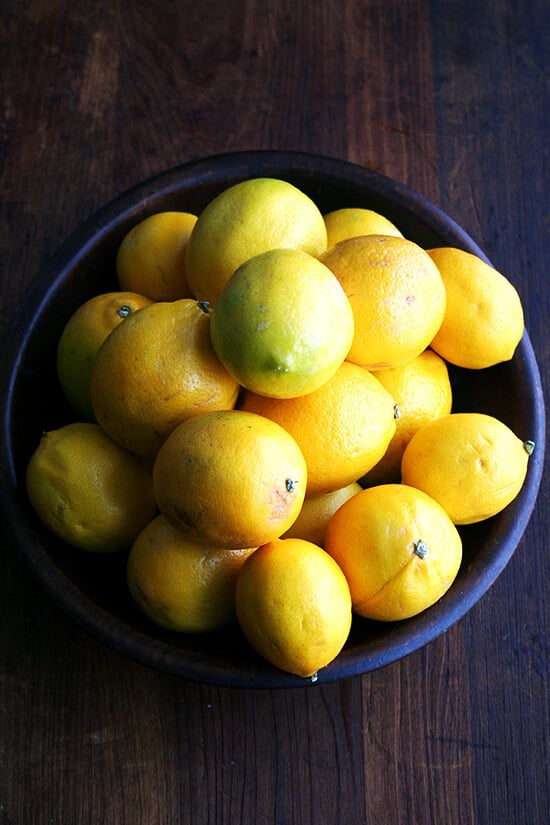
Here’s a little more I learned from Aneesa about making/using preserved lemons: Aneesa does not use Meyer lemons at the restaurant because of cost, but she believes their thin skin makes them ideal for preserving. She uses the more traditional preserving method (the Jerusalem method vs the BA method). She never rinses the lemons before using because once her lemons are preserved, she purées the whole batch and uses spoonfuls of her puréed preserved lemons in various dishes.
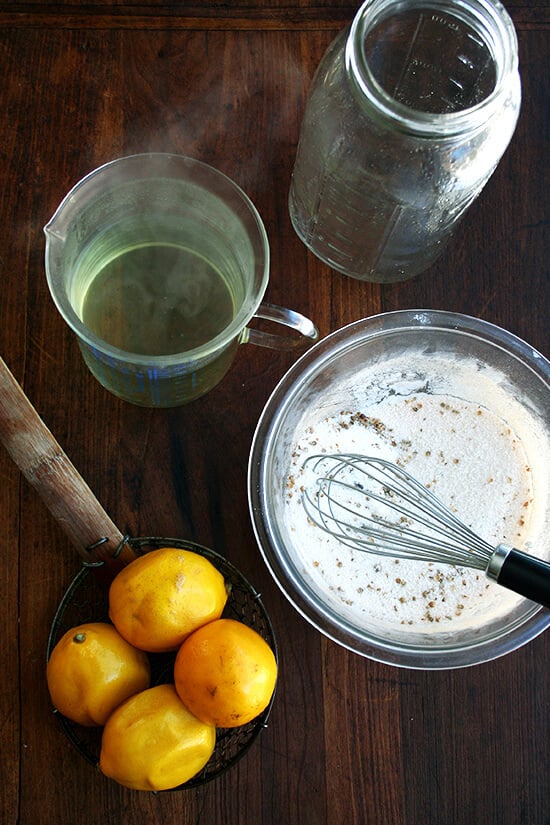
The second method, from Bon Appetit , calls for boiling the lemons first, then submerging them in a brine. From the bit of recipe comparison I did on preserving lemons, this method, which calls for a fair amount of sugar, seems to be a bit unconventional. That said, BA described the lemons as “the best [they’ve] ever tasted.” The recipe comes from Philip Krajeck, chef of Rolf & Daughters in Nashville.

Description
Having made these several times now, I’ve made a few teensy changes: I don’t add the rosemary and chilies anymore—I only use lemons, salt and lemon juice. After the 4 weeks, too, I purée the lemons, salt, juice and all. This was a tip I learned from Aneesa, the owner of Tara Kitchen in Schenectady. I find having the purée on hand to be much more user friendly.
- 6 lemons (or however many you want to make)
- 6 tablespoons coarse sea salt or kosher salt
- 2 rosemary sprigs, optional (see notes)
- 1 large red chile, optional (see notes)
- juice of 6 lemons
- olive oil (see notes)
- Before starting, find a jar large enough to accommodate all of the lemons snugly — I used a 2-quart jar for my 8 lemons. To sterilize it, fill it with boiling water, leave for a minute, and then empty it. Allow it to dry out naturally without wiping it so it remains sterilized.
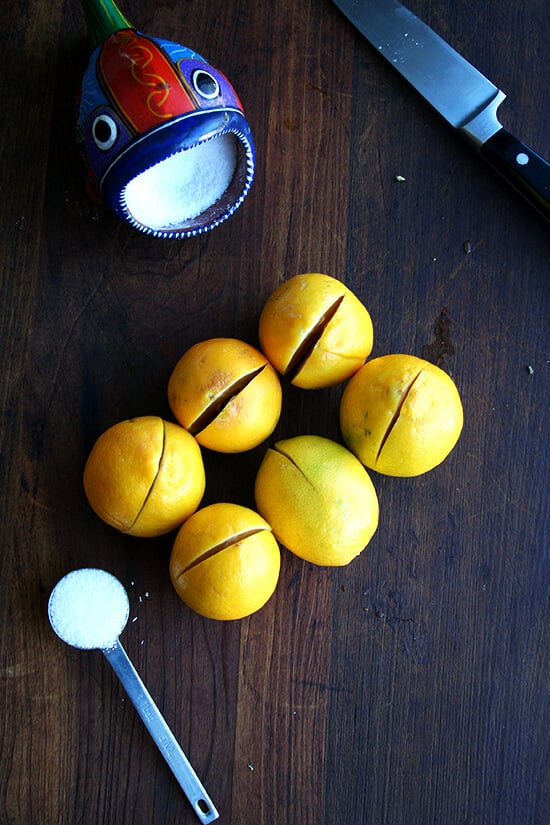
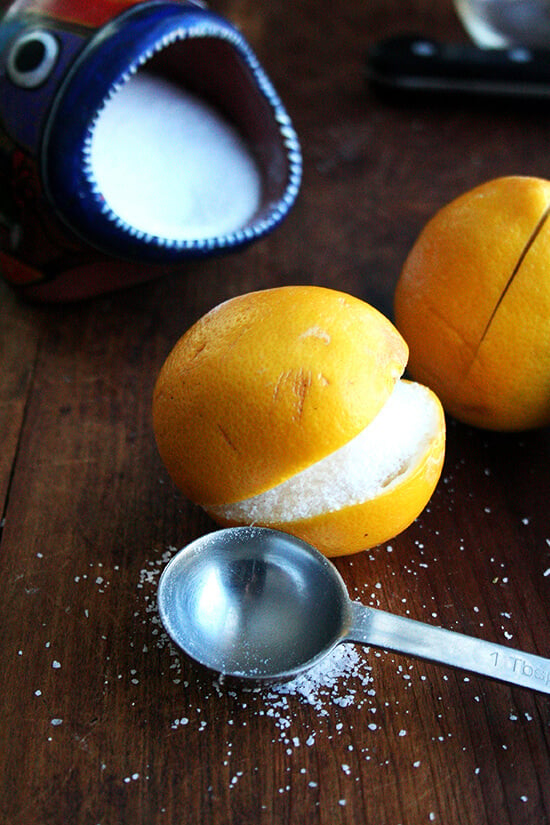
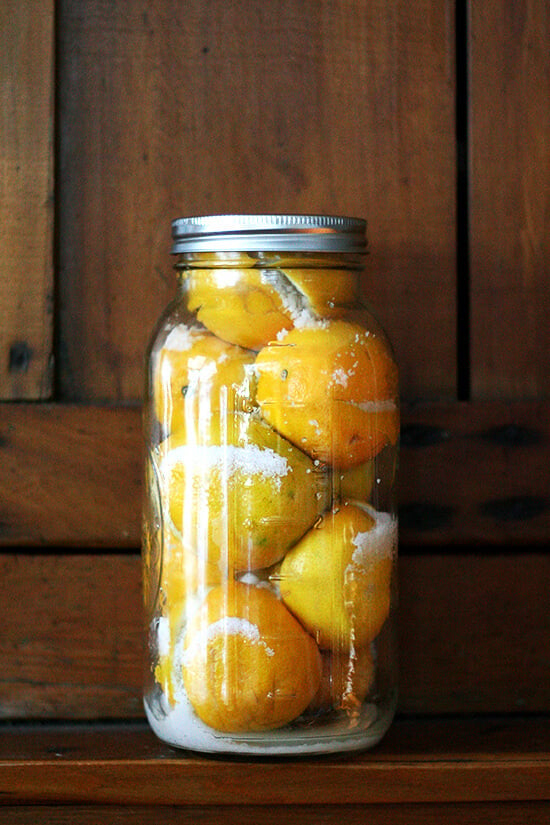
- Wash the lemons and cut a deep cross all the way from the top to within ¾ inch from the base. Stuff each lemon with about 1 tablespoon of the salt (if lemons are small, use 2 teaspoons) and place in the jar. Push the lemons in tightly so they are squeezed together snugly. Seal the jar and leave in a cool spot for at least a week.
- After the initial period, remove the lid and press the lemons as hard as you can to squeeze out as much of the juice as possible. Add the rosemary and chile, if using, and the lemon juice, and cover with a thin layer of olive oil—I don’d do this olive oil step. Seal the jar, transfer to the fridge, and leave for at least 4 weeks. The longer you leave them, the better the flavor.
- If desired, purée the whole batch—lemons, salt, juice and all.
- Prep Time: 20 minutes
Description
- 4 to 8 lemons, I used Meyer but you can use any kind
- ⅔ cup sugar
- 7 tablespoons kosher salt
- 1 teaspoon crushed coriander seeds
- ¼ teaspoon ground turmeric
- 1 clove
- Boil 4 scrubbed lemons until softened, 10-12 minutes.
- Transfer lemons to a bowl of ice water. (Oops, I didn’t do this.) Reserve cooking liquid.
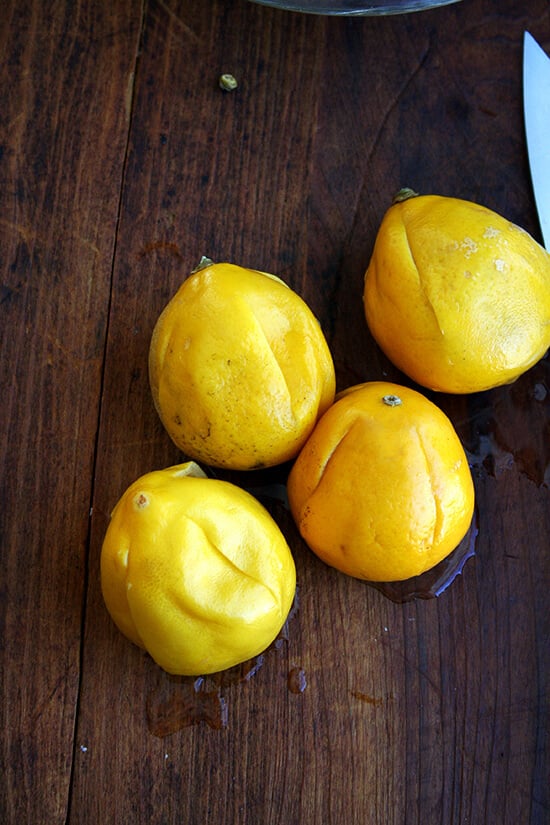
- Using a paring knife, deeply score lengthwise 4 times, leaving lemons intact.
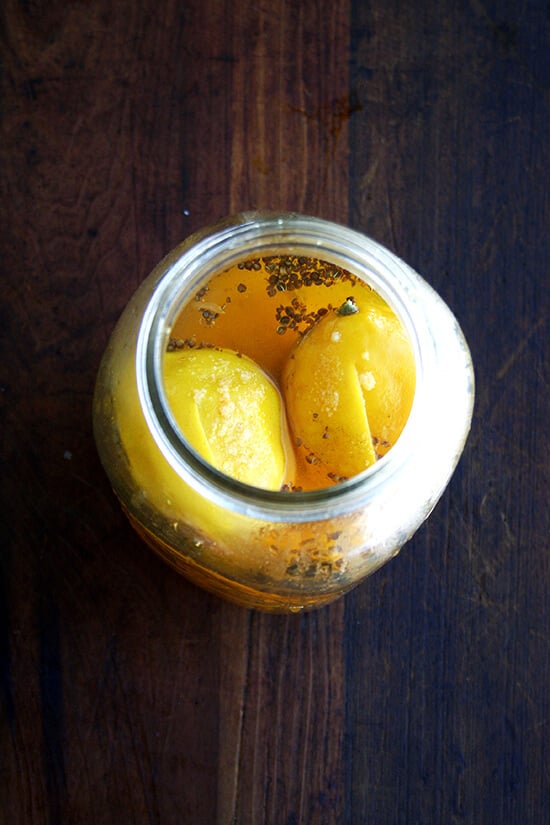
- Whisk ⅔ cup sugar, 7 tablespoons kosher salt, 1 teaspoon crushed coriander seeds, ¼ teaspoon ground turmeric, 1 clove, and 3 cups hot cooking liquid in a bowl. Transfer lemons to a one- or two-quart heatproof jar and add brine. Cover and chill at least 2 weeks. Update: Store these in the fridge. I store the Jerusalem variety at room temp, but I think these (with all that sugar) should be refrigerated unless you keep your house very cold.
I typically don’t/never do this: 1. Post a recipe I’ve made only once. 2. Suggest you make something I’ve never tasted.
Why am I making the exception today? Well, this is the thing: preserving, as many of you know, takes time, and while I would prefer to wait a month to tell you how these preserved lemons turn out, I would prefer more if in a month from now you actually had these preserved lemons on hand, so when in the event I post about something else, something perhaps like the chicken tagine with preserved lemons and green olives I had at Tara Kitchen in early December, a dish I cannot stop thinking about and so hope to recreate at home, you’ll be able to participate, too.
Make sense? I mean, what if on February 10th, I posted about said tagine and exclaimed: Friends, you HAVE to make this. It is the BEST thing you will ever eat. All you need is a chicken, some stock, a bunch of herbs and preserved lemons. You would be like, are you serious? Oh sure, let me just run to my pantry and pull out my jar of preserved lemons. I mean, doesn’t everyone spend all of citrus season slicing and salting and stuffing Mason jars full of lemons? Couldn’t you have given us a head’s up? How hard would that have been? Am I right? Just making sure I can sleep at night.
And so today I offer you two recipes for preserved lemons, one from Jerusalem , which will be ready in four weeks, and one from the September 2013 Bon Appétit , which will be ready in two weeks. Both sound promising. Fingers crossed?
PS: M oroccan Chicken with Green Olives and Preserved Lemon s
PPS: Canal House Chicken Thighs with Preserved Lemons
The first method, from Jerusalem , calls for a two phase process. During the first phase, scored lemons stuffed with salt sit for a week in a Mason jar. During the second phase, rosemary, chile, lemon juice and olive oil are added to the jar and everything mingles together for three more weeks.
After 1 week, add a dried chili or 1/2 teaspoon crushed red pepper flakes and a sprig of rosemary.
Update: 3/10/2014: Upon returning from a Tara Kitchen cooking class and learning that the owner, Aneesa, purées her preserved lemons — lemons, salt and juice — and uses spoonfuls of the purée in her dishes, I whizzed my whole batch of Jerusalem preserved lemons in the food processor and now have a jar of purée I am certain will last a decade.
Here’s a little more I learned from Aneesa about making/using preserved lemons: Aneesa does not use Meyer lemons at the restaurant because of cost, but she believes their thin skin makes them ideal for preserving. She uses the more traditional preserving method (the Jerusalem method vs the BA method). She never rinses the lemons before using because once her lemons are preserved, she purées the whole batch and uses spoonfuls of her puréed preserved lemons in various dishes.
The second method, from Bon Appetit , calls for boiling the lemons first, then submerging them in a brine. From the bit of recipe comparison I did on preserving lemons, this method, which calls for a fair amount of sugar, seems to be a bit unconventional. That said, BA described the lemons as “the best [they’ve] ever tasted.” The recipe comes from Philip Krajeck, chef of Rolf & Daughters in Nashville.
Description
Having made these several times now, I’ve made a few teensy changes: I don’t add the rosemary and chilies anymore—I only use lemons, salt and lemon juice. After the 4 weeks, too, I purée the lemons, salt, juice and all. This was a tip I learned from Aneesa, the owner of Tara Kitchen in Schenectady. I find having the purée on hand to be much more user friendly.
- 6 lemons (or however many you want to make)
- 6 tablespoons coarse sea salt or kosher salt
- 2 rosemary sprigs, optional (see notes)
- 1 large red chile, optional (see notes)
- juice of 6 lemons
- olive oil (see notes)
- Before starting, find a jar large enough to accommodate all of the lemons snugly — I used a 2-quart jar for my 8 lemons. To sterilize it, fill it with boiling water, leave for a minute, and then empty it. Allow it to dry out naturally without wiping it so it remains sterilized.
- Wash the lemons and cut a deep cross all the way from the top to within ¾ inch from the base. Stuff each lemon with about 1 tablespoon of the salt (if lemons are small, use 2 teaspoons) and place in the jar. Push the lemons in tightly so they are squeezed together snugly. Seal the jar and leave in a cool spot for at least a week.
- After the initial period, remove the lid and press the lemons as hard as you can to squeeze out as much of the juice as possible. Add the rosemary and chile, if using, and the lemon juice, and cover with a thin layer of olive oil—I don’d do this olive oil step. Seal the jar, transfer to the fridge, and leave for at least 4 weeks. The longer you leave them, the better the flavor.
- If desired, purée the whole batch—lemons, salt, juice and all.
- Prep Time: 20 minutes
Description
- 4 to 8 lemons, I used Meyer but you can use any kind
- ⅔ cup sugar
- 7 tablespoons kosher salt
- 1 teaspoon crushed coriander seeds
- ¼ teaspoon ground turmeric
- 1 clove
- Boil 4 scrubbed lemons until softened, 10-12 minutes.
- Transfer lemons to a bowl of ice water. (Oops, I didn’t do this.) Reserve cooking liquid.
- Using a paring knife, deeply score lengthwise 4 times, leaving lemons intact.
- Whisk ⅔ cup sugar, 7 tablespoons kosher salt, 1 teaspoon crushed coriander seeds, ¼ teaspoon ground turmeric, 1 clove, and 3 cups hot cooking liquid in a bowl. Transfer lemons to a one- or two-quart heatproof jar and add brine. Cover and chill at least 2 weeks. Update: Store these in the fridge. I store the Jerusalem variety at room temp, but I think these (with all that sugar) should be refrigerated unless you keep your house very cold.
Description
Having made these several times now, I’ve made a few teensy changes: I don’t add the rosemary and chilies anymore—I only use lemons, salt and lemon juice. After the 4 weeks, too, I purée the lemons, salt, juice and all. This was a tip I learned from Aneesa, the owner of Tara Kitchen in Schenectady. I find having the purée on hand to be much more user friendly.
- 6 lemons (or however many you want to make)
- 6 tablespoons coarse sea salt or kosher salt
- 2 rosemary sprigs, optional (see notes)
- 1 large red chile, optional (see notes)
- juice of 6 lemons
- olive oil (see notes)
- Before starting, find a jar large enough to accommodate all of the lemons snugly — I used a 2-quart jar for my 8 lemons. To sterilize it, fill it with boiling water, leave for a minute, and then empty it. Allow it to dry out naturally without wiping it so it remains sterilized.
- Wash the lemons and cut a deep cross all the way from the top to within ¾ inch from the base. Stuff each lemon with about 1 tablespoon of the salt (if lemons are small, use 2 teaspoons) and place in the jar. Push the lemons in tightly so they are squeezed together snugly. Seal the jar and leave in a cool spot for at least a week.
- After the initial period, remove the lid and press the lemons as hard as you can to squeeze out as much of the juice as possible. Add the rosemary and chile, if using, and the lemon juice, and cover with a thin layer of olive oil—I don’d do this olive oil step. Seal the jar, transfer to the fridge, and leave for at least 4 weeks. The longer you leave them, the better the flavor.
- If desired, purée the whole batch—lemons, salt, juice and all.
- Prep Time: 20 minutes
Find it online : https://alexandracooks.com/2014/01/10/preserved-lemons-two-ways-weekend-project/

Description
- 4 to 8 lemons, I used Meyer but you can use any kind
- ⅔ cup sugar
- 7 tablespoons kosher salt
- 1 teaspoon crushed coriander seeds
- ¼ teaspoon ground turmeric
- 1 clove
- Boil 4 scrubbed lemons until softened, 10-12 minutes.
- Transfer lemons to a bowl of ice water. (Oops, I didn’t do this.) Reserve cooking liquid.
- Using a paring knife, deeply score lengthwise 4 times, leaving lemons intact.
- Whisk ⅔ cup sugar, 7 tablespoons kosher salt, 1 teaspoon crushed coriander seeds, ¼ teaspoon ground turmeric, 1 clove, and 3 cups hot cooking liquid in a bowl. Transfer lemons to a one- or two-quart heatproof jar and add brine. Cover and chill at least 2 weeks. Update: Store these in the fridge. I store the Jerusalem variety at room temp, but I think these (with all that sugar) should be refrigerated unless you keep your house very cold.
Find it online : https://alexandracooks.com/2014/01/10/preserved-lemons-two-ways-weekend-project/

My senior year of college, a Chinese restaurant opened half a block from my apartment, and when I discovered that they used thighs to make their chicken teriyaki, I ran home to tell my roommate.
As you might imagine, my roommate neither shared nor understood my enthusiasm. Her silence spoke volumes: It mostly said, “Why should I be excited about this?” but also, “Only you would be excited about this.” (I love you, Chandra.)
I have known for a long time that most people prefer white meat chicken to dark and that no matter how many times I post a recipe featuring bone-in, skin-on thighs and drumsticks, I’m not going to make any converts. And so when I saw in last July’s Food & Wine , an issue highlighting mega-talents from the past 25 years and their tried-and-true recipes, that Nobu Matsuhisa’s recipe for classic chicken teriyaki called for boneless skinless breasts, I had to try it.
The five-ingredient sauce couldn’t be simpler to assemble: chicken stock, soy sauce, sugar, mirin and sake (or white wine) simmer together for 20 minutes or until the sauce has been reduced to a syrupy consistency. The beauty of the sauce is that it thickens based on the principles of reduction not by the addition of a cornstarch slurry, which would give it that icky cornstarchy taste so often found in these takeout-type dishes. Sure, this sauce relies on that unsubtle salty-sweet dynamic, but it is incredibly tasty and versatile, too — I love adding a spoonful to a vegetable stir-fry or stirring a few teaspoons into a pot of jasmine rice.
Once I discovered that I genuinely enjoyed the sliced pan-fried chicken breast drizzled with teriyaki sauce, I had to try the recipe with dark meat. When using thighs and drumsticks, the sauce and meat can cook together, allowing the sauce to thicken initially in the oven and finally on the stovetop once the chicken has finished cooking.
As you might imagine, I’m even more of a fan of the chicken teriyaki prepared with dark meat, and deep down I suspect Nobu might, too. A girl can dream, right?

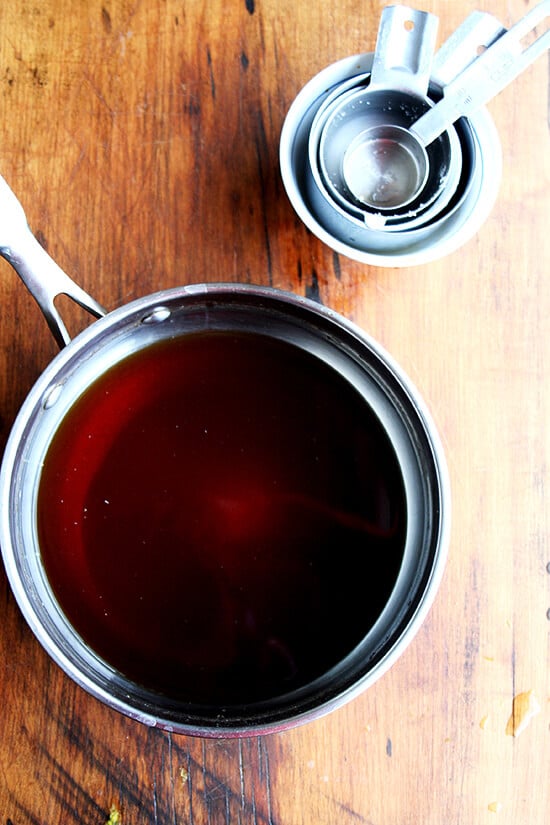
Who knew making teriyaki sauce was so easy? Five ingredients — chicken stock, soy sauce, sugar, mirin and sake (or white wine) — simmer together for 20 minutes or until syrupy in consistency:
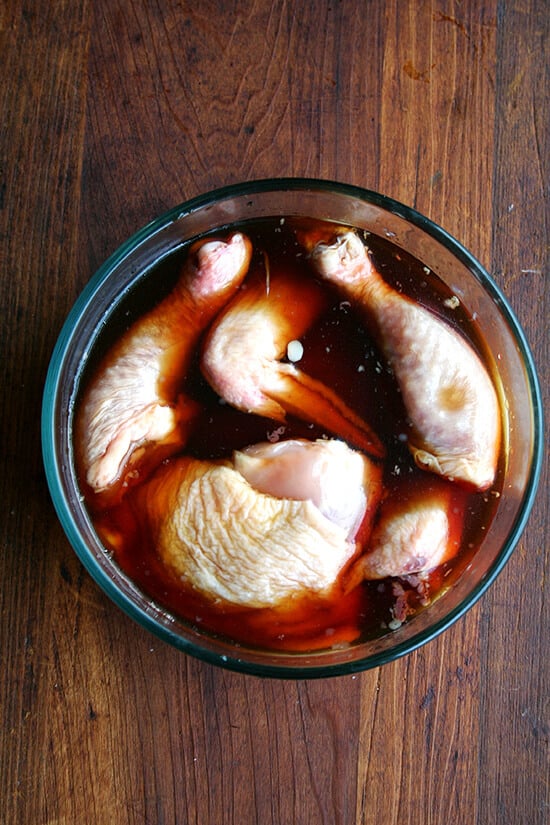
If you feel like marinating, great, but it’s not necessary:
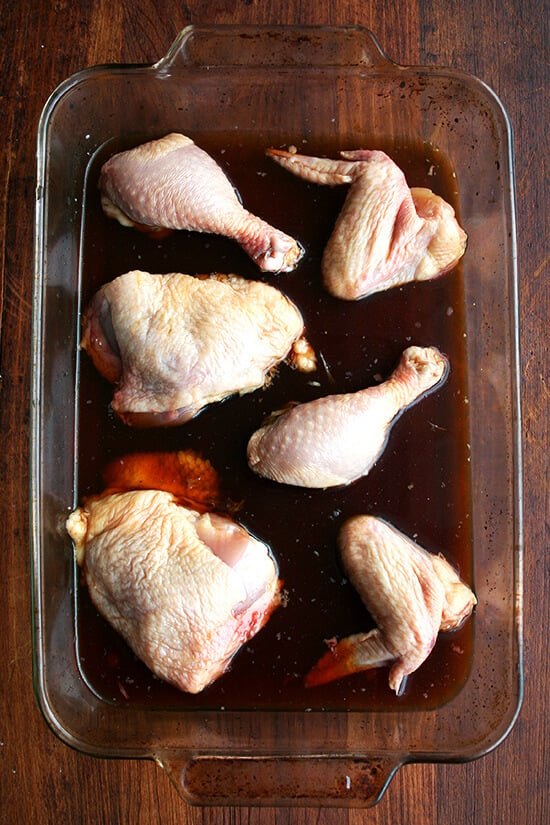
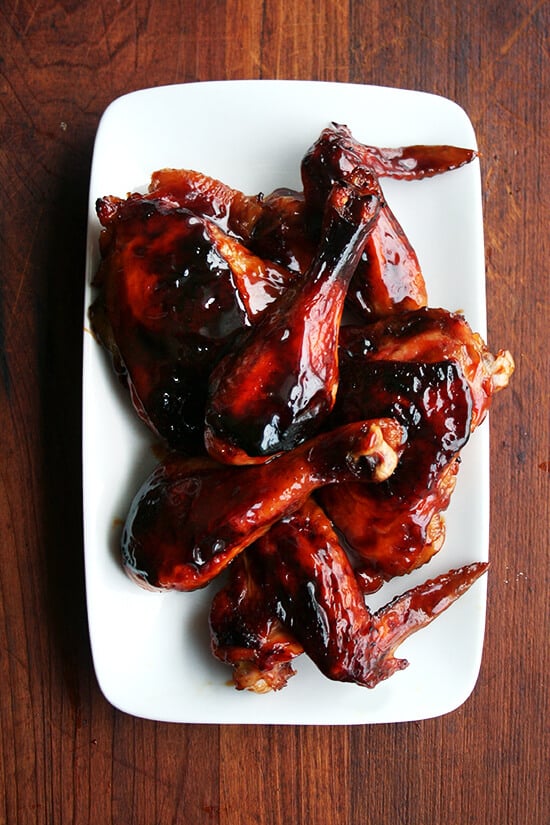
Roasting the chicken with the sauce is best when using thighs, drumsticks and wings:
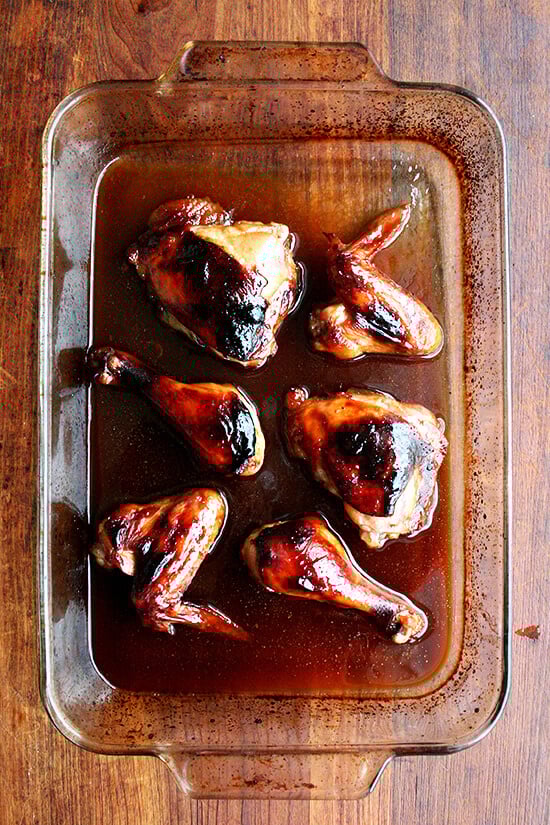
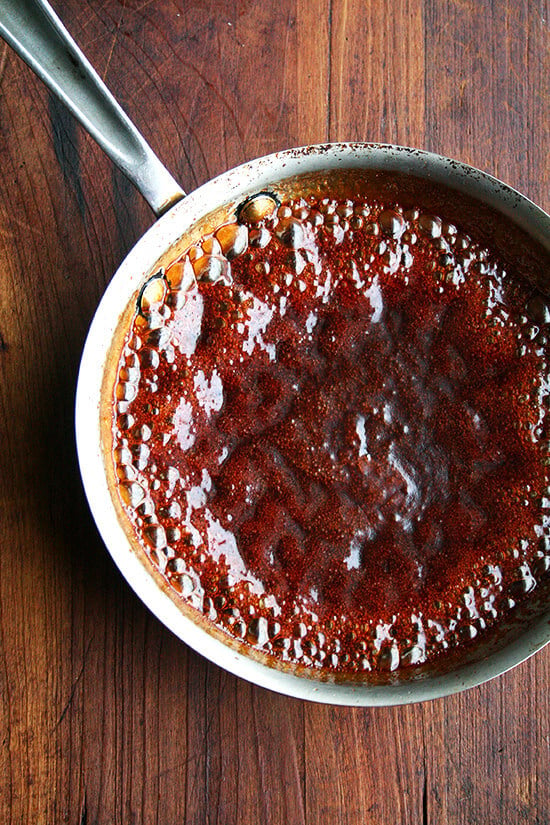
The sauce reduces a little more stovetop once the chicken has finished cooking:
If you are using breasts, simmer the sauce stovetop for 20 minutes…:
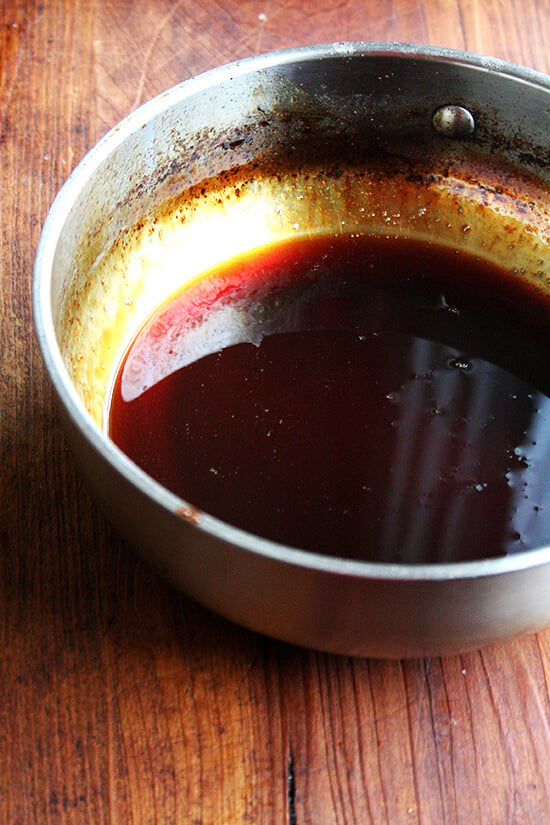
…or until it looks syrupy and thick:
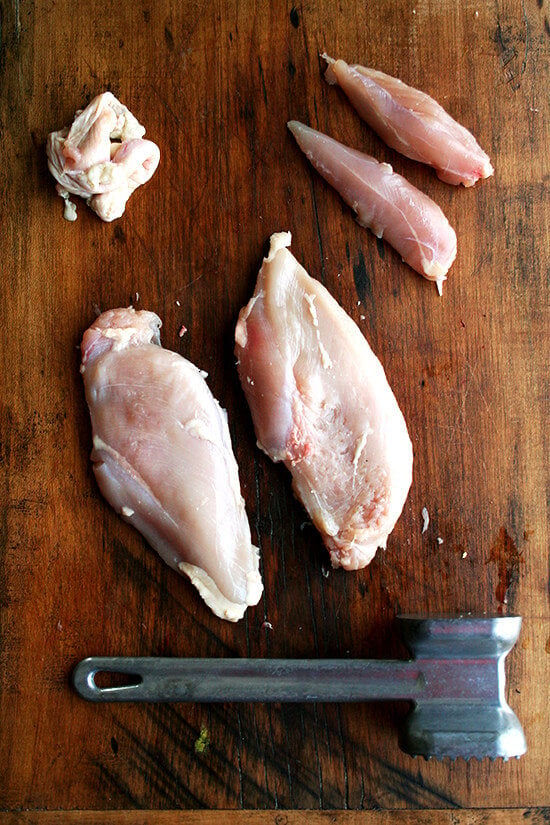
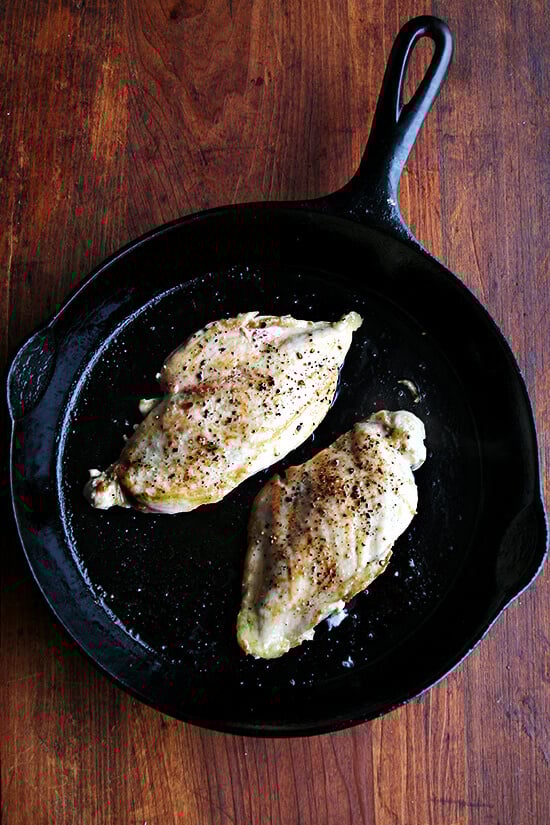
Lightly pound the breasts before pan-frying:
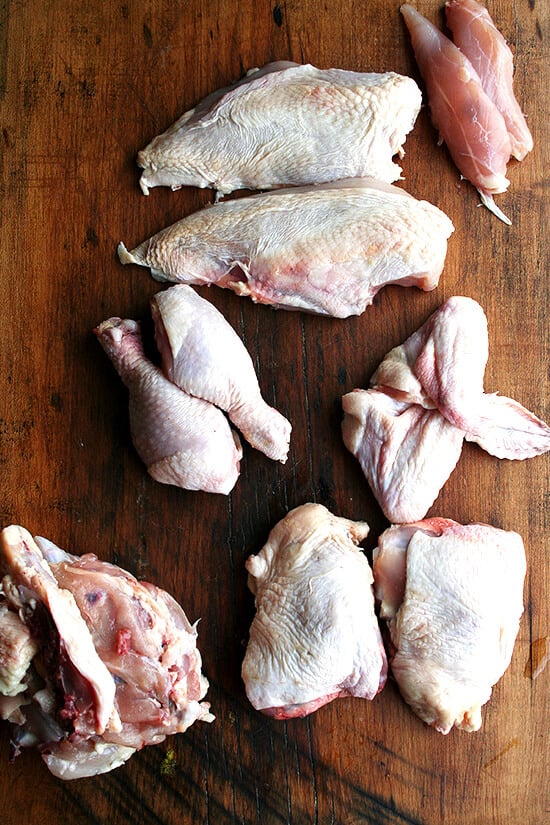
I’ve posted this video before, but I like to post it whenever we’re talking about cutting up chickens. Also, this post has more detailed instructions on cutting up the chicken.
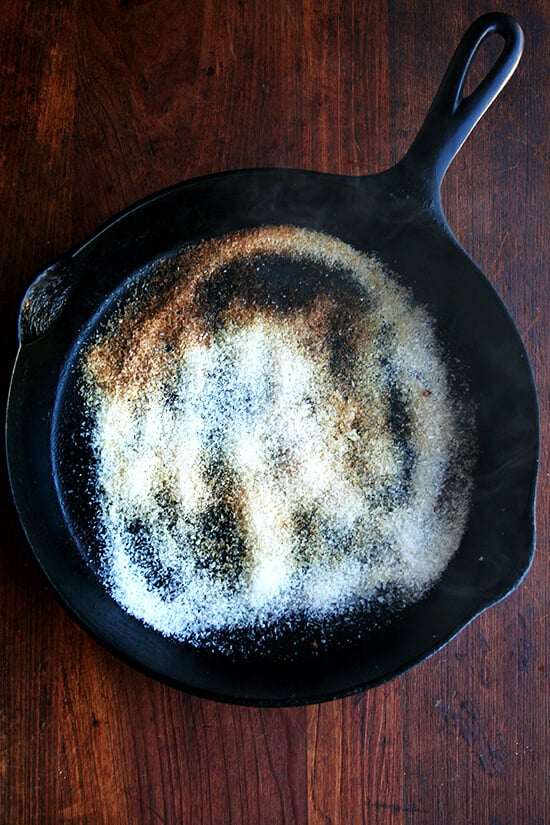
To clean your cast iron skillet, sprinkle kosher salt in an even layer and turn the heat to medium high:

When the salt starts to brown, turn off the heat and let the pan cool briefly. Use a bundled paper towel to wipe out the salt, scraping and food bits stuck to the bottom of the pan. Discard the salt. Drizzle in some oil, and give the pan one last wipe:
Description
Adapted from Food & Wine . I like to start with a whole chicken and cut it into 8 pieces. See video below. With this recipe, I cook the dark meat the first night, which leaves enough sauce to drizzle over the two breasts on the second night. The sauce can be made in advance, too, and reheated as needed. Serving ideas: Steamed broccoli seasoned with just a teensy pinch of salt and drop of sesame oil; plain white or brown rice — I love Jasmine rice. I have made this with both low-sodium soy and regular soy, and I do recommend using low-sodium — because the sauce reduces so much, the salt concentrates, resulting in a sauce that will be on the salty side especially if you are not using low-sodium soy and stock.
- 1 cup chicken stock, preferably homemade, low-sodium if otherwise
- 1/3 cup low-sodium soy sauce
- 1/3 cup sugar
- 2 tablespoons mirin
- 2 tablespoons sake or white wine
- 4 to 6 pieces bone-in skin-on chicken thighs, drumsticks or wings or four 6-ounce skinless, boneless chicken breasts, lightly pounded, or 1 chicken cut into 8 pieces
- Salt
- Freshly ground pepper
- 2 tablespoons olive oil
- If you are using dark meat: Preheat oven to 450ºF. Combine the stock, soy sauce, sugar, mirin and sake (or wine) in a bowl and whisk to combine. If you have time to marinate, place chicken in a storage vessel or plastic bag and pour sauce overtop. Marinate in fridge for as long as you are able.If you are using breasts:In a medium saucepan, combine the the stock, soy sauce, sugar, mirin and sake (or wine) and bring to a boil over high heat, stirring to dissolve the sugar. Reduce the heat to moderate and simmer until the teriyaki sauce is reduced to 1/2 cup and syrupy, about 20 minutes.
- If you are using dark meat: Place chicken pieces with sauce in 9×13-inch pan, being sure to leave enough space between each piece. Place pan in the oven and cook for 30 minutes, checking after 15 to make sure the pieces aren’t looking too dark — a little charring is good, but if the chicken is looking too dark, turn the oven down to 400ºF. After 30 minutes, reduce heat to 350ºF and cook for another 20 to 25 minutes or until the chicken is done. Remove chicken to a serving dish, bowl or plate. Transfer sauce to a small saucepan and place over medium heat. Simmer sauce until it is reduced to about 1/2 cup or until it looks thick and syrupy. Pour sauce over chicken. If you are using breasts: Season the chicken with salt and pepper. In a large skillet, heat 1 tablespoon of the oil. Add the chicken and cook over moderately high heat, turning once, until browned all over and cooked through, 8 to 9 minutes. Transfer the chicken to a plate and let stand for 5 minutes.
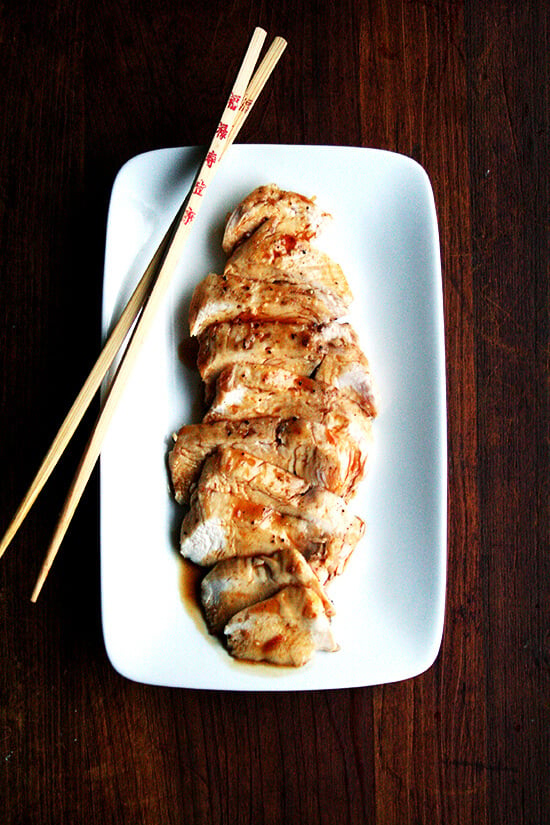
- Slice the chicken breasts crosswise at a slight bias and transfer to serving plates. Drizzle the teriyaki sauce over the chicken.
- Prep Time: 10 minutes
- Cook Time: 50 minutes
