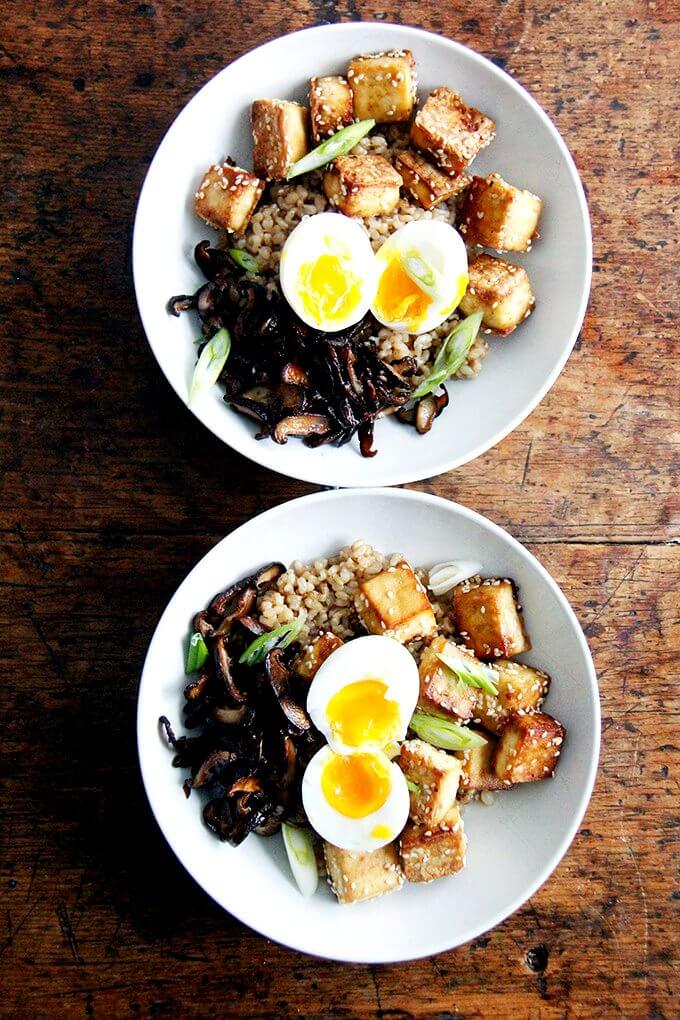
For perfect soft-boiled eggs, set your Instant Pot to 3 minutes and low pressure. The eggs will have perfectly jammy yolks and will peel like a dream!
My first Instant Pot success was a hard-boiled egg , my second was a soft-boiled. The virtues of making “boiled” eggs in an Instant Pot can be summed up as follows: 1. They peel like a dream. 2. They come out perfectly every time. Recipe is below.
My Instant Pot egg successes led me to make rice , which also came out perfectly. I’m keeping this entry short because I shared my Instant Pot story and some thoughts on to buy or not to buy an Instant Pot here: Perfect Instant Pot Brown Rice with Sesame, Soy, and Scallions .
PS: The Instant Pot Miracle: One-Pot Pasta with Meat Sauce
PPS: Instant Pot Hard-Boiled Eggs
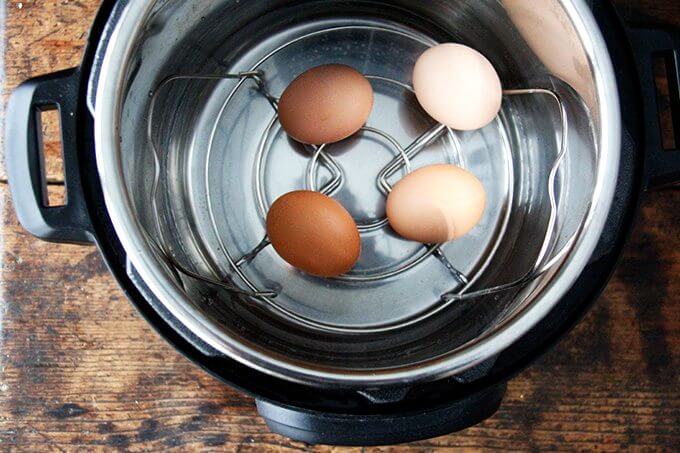
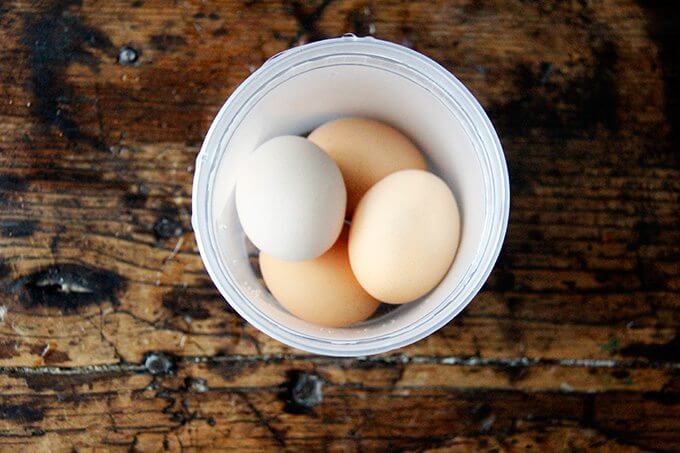
Here’s how to make Instant Pot soft-boiled eggs: Pour 2 cups water into the IP, place steamer insert inside, place eggs on top.
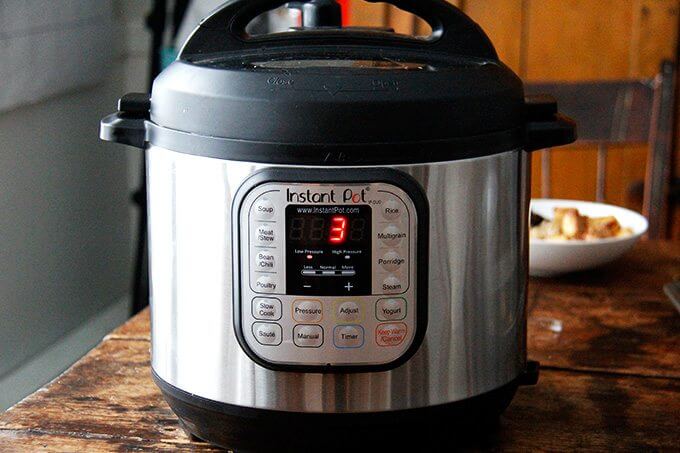
Set Instant Pot to 3 minutes at low pressure. {See recipe notes: times vary}
Open lid and …
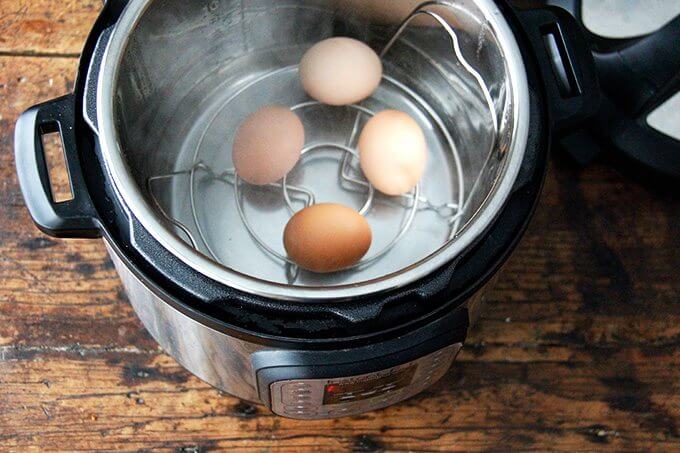
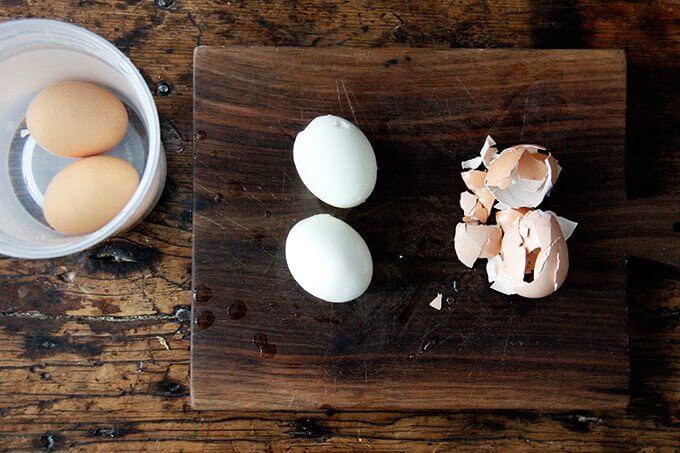
… transfer eggs to a water bath to cool briefly.
Peel the eggs (this is an incredible experience if you’ve ever struggled peeling boiled eggs).
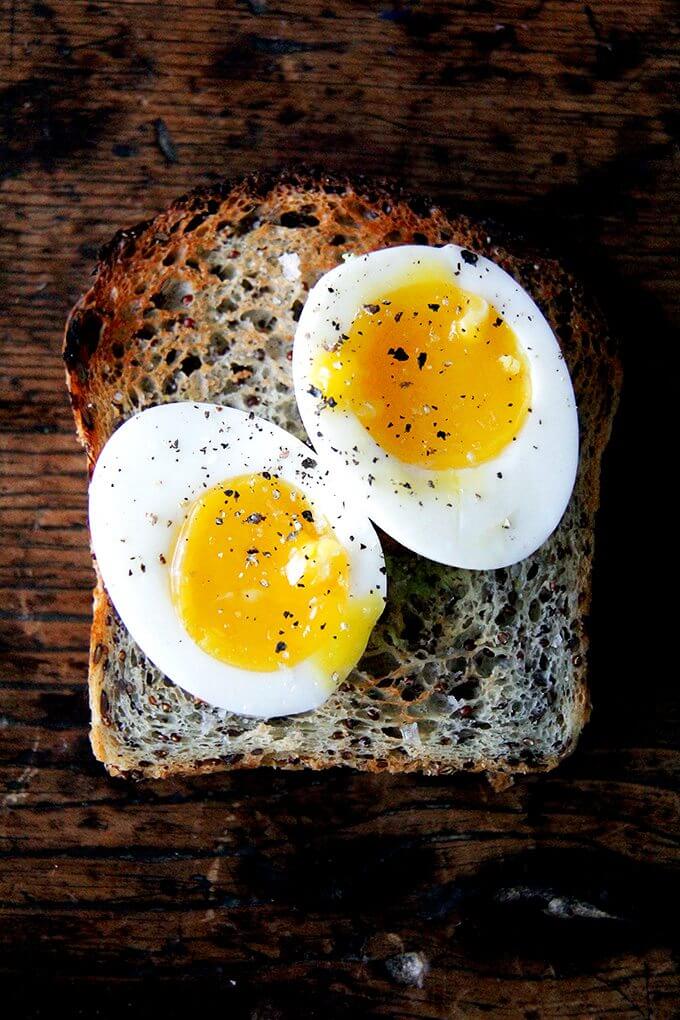
Eat on toast 🍞🍞🍞🍞🍞
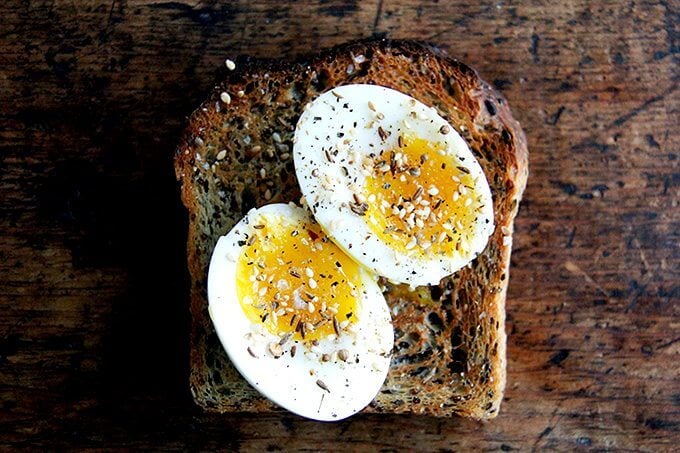
… maybe with some dukkah sprinkled on top. This is quinoa-flax toasting bread .
Description
I have this 6-qt Instant Pot , which is important only because the size of the pot may affect the timing. These instructions work perfectly for my IP, but it did take some trial and error to get the timing down.
Another variable that could affect the timing is altitude: at higher elevations, you’ll need to increase the cooking time. Again this may take some trial and error to get right.
Instant pot boiled eggs peel so incredibly easily. As the title says, these instructions are for soft-boiled eggs, which are so delicious on many a dish, namely toast: quinoa-flax toasting bread.
If you want to make hard-boiled eggs, follow the instructions here: Perfect Instant Pot Hard-Boiled Eggs.
- 2 cups water
- 4 eggs
- Pour the 2 cups of water into the insert of the Instant Pot. ( Note: Do measure 2 cups as opposed to using the markings on the inside of the insert. ) Lay the steamer insert inside. Place 4 eggs on top.
- Cover the pot. Using the manual button, set the pot to 3 minutes and low pressure. Make sure the valve on top is set to sealing. Fill a bowl with ice water or cold tap water. (See notes above regarding timing: timing will vary based on what model IP you have; timing will vary based on elevation as well. It may take some trial and error to get right.)
- When the 3 minutes are up, which will take more like 9 minutes, switch the valve to venting, let the steam escape for no more than 1 minute, carefully remove the lid to avoid steaming your face, transfer eggs to water bath, let cool for 30 seconds or so, then peel, season and eat.
- Prep Time: 2 minutes
- Cook Time: 3 minutes
- Category: Breakfast
- Method: Instant Pot
- Cuisine: American
For perfect soft-boiled eggs, set your Instant Pot to 3 minutes and low pressure. The eggs will have perfectly jammy yolks and will peel like a dream!
My first Instant Pot success was a hard-boiled egg , my second was a soft-boiled. The virtues of making “boiled” eggs in an Instant Pot can be summed up as follows: 1. They peel like a dream. 2. They come out perfectly every time. Recipe is below.
My Instant Pot egg successes led me to make rice , which also came out perfectly. I’m keeping this entry short because I shared my Instant Pot story and some thoughts on to buy or not to buy an Instant Pot here: Perfect Instant Pot Brown Rice with Sesame, Soy, and Scallions .
PS: The Instant Pot Miracle: One-Pot Pasta with Meat Sauce
PPS: Instant Pot Hard-Boiled Eggs
Here’s how to make Instant Pot soft-boiled eggs: Pour 2 cups water into the IP, place steamer insert inside, place eggs on top.
Set Instant Pot to 3 minutes at low pressure. {See recipe notes: times vary}
Open lid and …
… transfer eggs to a water bath to cool briefly.
Peel the eggs (this is an incredible experience if you’ve ever struggled peeling boiled eggs).
Eat on toast 🍞🍞🍞🍞🍞
… maybe with some dukkah sprinkled on top. This is quinoa-flax toasting bread .
Description
I have this 6-qt Instant Pot , which is important only because the size of the pot may affect the timing. These instructions work perfectly for my IP, but it did take some trial and error to get the timing down.
Another variable that could affect the timing is altitude: at higher elevations, you’ll need to increase the cooking time. Again this may take some trial and error to get right.
Instant pot boiled eggs peel so incredibly easily. As the title says, these instructions are for soft-boiled eggs, which are so delicious on many a dish, namely toast: quinoa-flax toasting bread.
If you want to make hard-boiled eggs, follow the instructions here: Perfect Instant Pot Hard-Boiled Eggs.
- 2 cups water
- 4 eggs
- Pour the 2 cups of water into the insert of the Instant Pot. ( Note: Do measure 2 cups as opposed to using the markings on the inside of the insert. ) Lay the steamer insert inside. Place 4 eggs on top.
- Cover the pot. Using the manual button, set the pot to 3 minutes and low pressure. Make sure the valve on top is set to sealing. Fill a bowl with ice water or cold tap water. (See notes above regarding timing: timing will vary based on what model IP you have; timing will vary based on elevation as well. It may take some trial and error to get right.)
- When the 3 minutes are up, which will take more like 9 minutes, switch the valve to venting, let the steam escape for no more than 1 minute, carefully remove the lid to avoid steaming your face, transfer eggs to water bath, let cool for 30 seconds or so, then peel, season and eat.
- Prep Time: 2 minutes
- Cook Time: 3 minutes
- Category: Breakfast
- Method: Instant Pot
- Cuisine: American
Find it online : https://alexandracooks.com/2018/01/19/perfect-instant-pot-soft-boiled-eggs/


This vegan kimchi fried rice, which calls for an entire 16-oz jar of kimchi, comes together in a snap and is so flavorful. I love the combination of bok choy and mushrooms, but the recipe is adaptable to any number of vegetables. Be sure to have your ingredients prepped and measured, because once the first vegetables hit the pan, the process moves incredibly quickly. So easy and good!

A little over two years ago, I bought my first vegan cookbook, Food52 Vegan , by Gena Hamshaw. Prior to opening it, I had dismissed a vegan diet as impossible given that I started every day with a bowl of muesli soaked in cow’s milk .
The book’s arrival, however, coincided with an evening of watching Cowspiracy , a movie that concludes — spoiler alert — that a vegan diet is the only globally sustainable diet. Feeling inspired to make some changes, I made Gena’s cashew milk, which turns out to be creamy and delicious, and which sent me on a many-months’-long-homemade-cashew-milk bender.
The bender has since ended. The nut milk obsession has not. I now soak my morning muesli with store-bought almond milk.
Friends, as you know, I am not vegan. I am, however, constantly inspired by vegan recipes, Gena’s in particular. From the recipes she posts weekly on her blog, The Full Helping , to the recipes from Food52 Vegan , including freekeh salad with roasted cabbage and kale, homemade cashew milk , cashew milk chia puddings , and roasted ratatouille pasta , which became a weekly favorite late last summer and fall, the food Gena makes is incredibly delicious and satisfying—nothing about it leaves me wanting.
Kimchi Fried Rice
Gena’s kimchi fried rice from her latest book, Power Plates , is no exception. Thanks to my recent Instant Pot brown rice discovery, which has left me with a reliable stash of rice in the fridge, I have made this so many times now, and what I love about the recipe is its adaptability.
The original recipe calls for bok choy, which I love, but I’ve loved it with broccoli and shiitake mushrooms, too, and I imagine so many vegetables could work.
Also, because I am without a proper kitchen and am constantly taking shortcuts, I’ve discovered I can throw the frozen edamame right into the mix without thawing or blanching it—it works like a charm.
My favorite part about the recipe? It calls for an entire jar (16 oz) of kimchi.
With cooked rice on hand, this recipe is especially weeknight friendly — see step-by-step process below — and because it comes together so quickly, it’s important to have all your ingredients prepped before cooking.
Macro-Nutrient Balanced
More to the point, this one-pan wonder is macro-nutrient balanced. Um, excuse me?
Gena notes in Power Plates that “what makes a meal balanced isn’t always clear. Our culture is flooded with conflicting philosophies regarding nutrition and strident opinions about what is and isn’t healthy.”
Through her work as a nutritionist and through personal experience, Gena has found that one way to think about balance is to place an emphasis on all three macronutrients within each meal.
Eating meals that include quality protein, fat and carbs, as well as a ton of fresh produce, can lead to increased satiety and energy and, in turn, prevent cravings and midday hunger.
Each of the recipes in Power Plates is designed around this philosophy. That said, it’s not a diet book. Gena set out to write Power Plates with the goal of offering 100 practical, flavor-packed, balanced vegan meals.
There are no snacks, no desserts, no appetizers — every recipe, whether it’s a breakfast, a salad, a soup, or other, is a balanced meal, which are the sorts of recipes these days I look for more and more.
In addition to the kimchi fried rice, I have made the cauliflower-chickpea scramble, which is seasoned with turmeric and smoked paprika and is loaded with kale—it is incredibly delicious (photo below), and I have so many other recipes bookmarked.
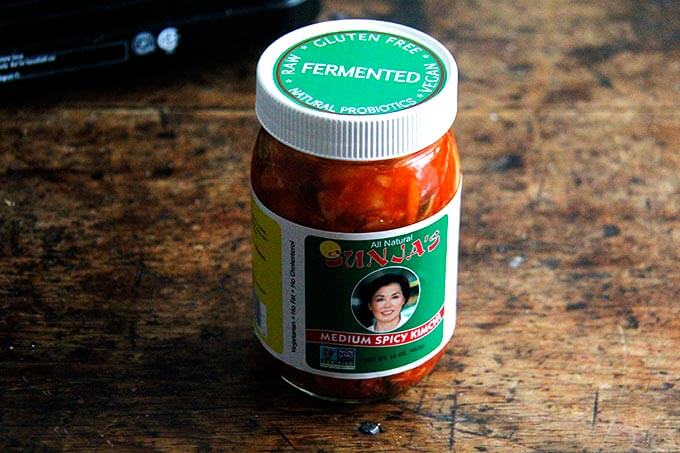
Sunja’s kimchi :
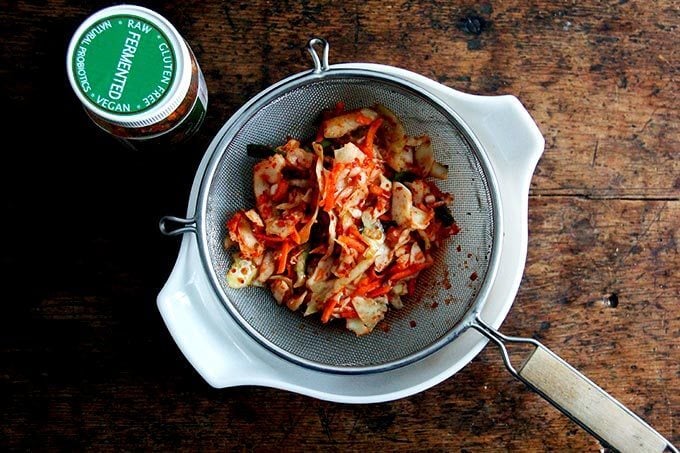
Here’s how to make this kimchi fried rice: Drain the kimchi:
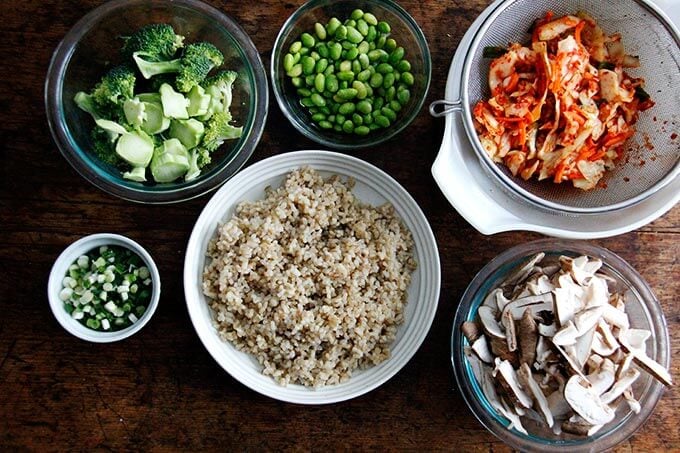
Here I’ve used brown rice, broccoli, and shiitake mushrooms, but I really love it with …:
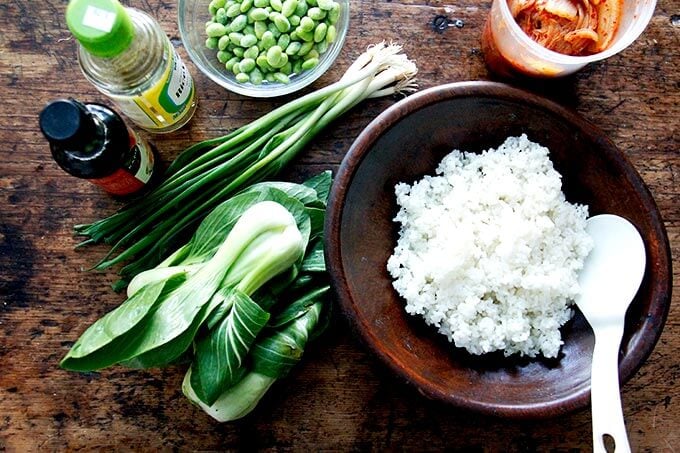
white rice and bok choy, too:
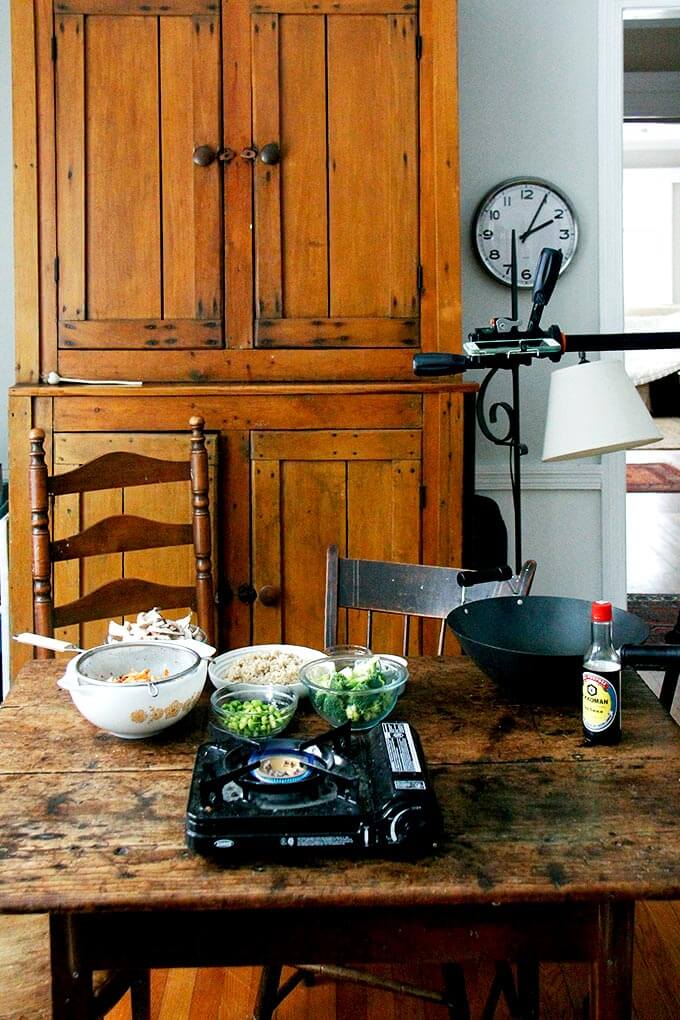
My kitchen:
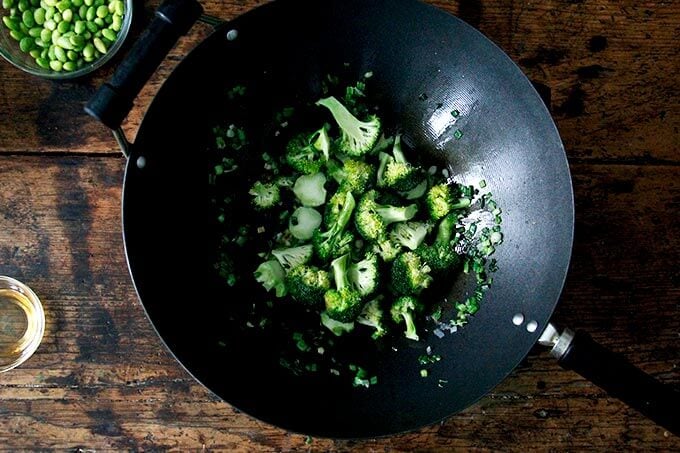
Cooking the broccoli:

Adding the shiitakes:
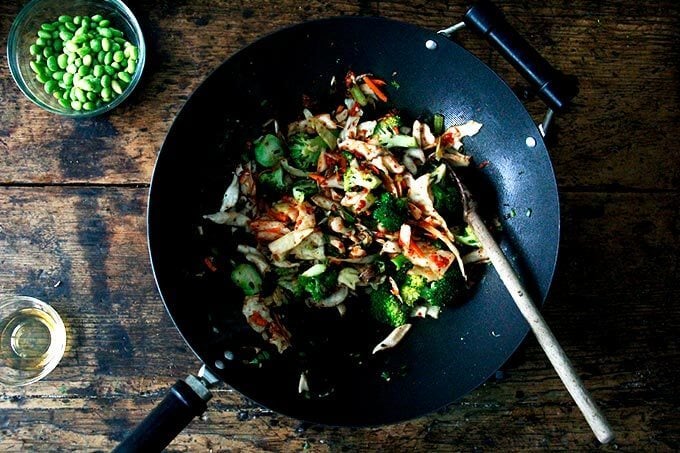
Adding the kimchi:
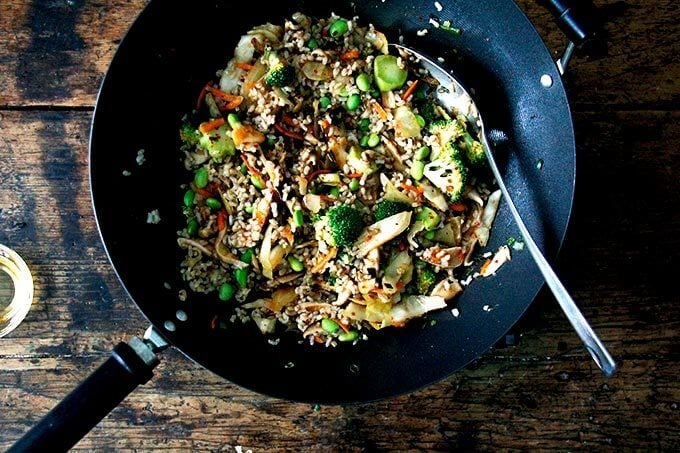
Adding everything else:
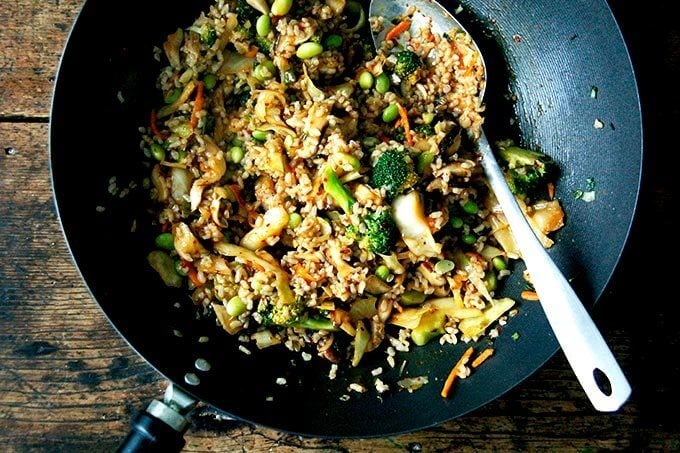
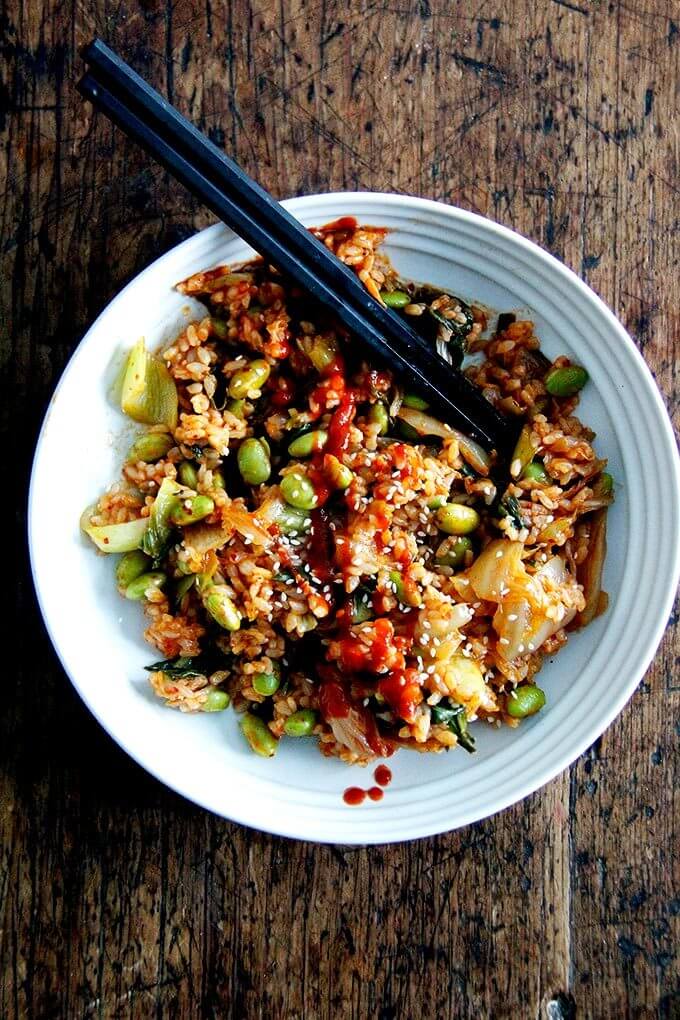
Kimchi fried rice:

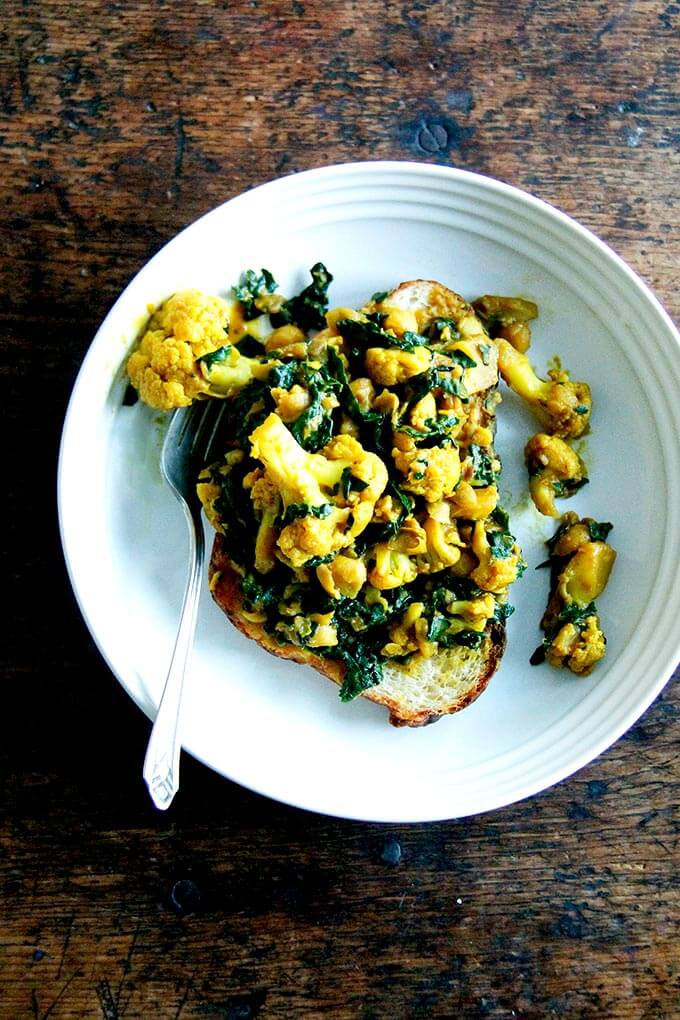
This is the chickpea-cauliflower scramble, which is so, so good:
Description
From Gena Hamshaw’s Power Plates
I used Sunja’s Kimchi , the medium-spicy jar , which I found at Honest Weight Food Co-op. I really love this kimchi. It’s already chopped into small-ish pieces, which is nice for this recipe because otherwise you have to chop it, and in addition to the cabbage there are lots of other vegetables: carrots, sweet red pepper, leek, and scallion, garlic, and ginger, all of which add to the flavor.
To simplify things, because I still do not have a kitchen, I don’t thaw or blanch the edamame — I just add them frozen directly to the wok…it works just fine. Give it a go!
Veg: My favorite combo is bok choy and shiitake mushrooms, but use what you like.
- 3 cups ( 540 g ) leftover cooked brown rice
- 1 16-oz jar kimchi, see notes
- 1 cup frozen edamame
- 3 baby bok choy, chopped, or other vegetables, such as 1 small head broccoli and 1/2 lb. shiitake mushrooms, see notes
- 2 tablespoons neutral vegetable oil
- 1 bunch scallions, white and pale green parts, chopped
- 1 teaspoon toasted sesame oil
- 2 teaspoons rice vinegar
- Tamari or soy sauce as needed, I use about 1 tablespoon
- sesame seeds, scallions, Sriracha, and/or pickled ginger for serving, optional
- Drain the kimchi in a colander or sieve, reserving the liquid. If necessary chop the kimchi — with the … brand, there’s no need to chop it.
- Heat the vegetable oil in a large skillet over medium-high heat. Add the scallions and cook, stirring frequently, for 2 to 3 minutes, or until tender. Add the bok choy (or broccoli if using), season with a pinch of salt, and cook, stirring occasionally, for 2 to 3 minutes, until the bok choy (or broccoli) is bright green and tender. If using shiitake mushrooms, add them now with another pinch of salt, and cook for another 2 minutes or until they are tender. Add the kimchi and cook for another minute, or until heated through.
- Stir in the rice, edamame, kimchi brine, toasted sesame oil, and rice vinegar. Cook, stirring frequently, for about 2 to 3 minutes until heated through. Taste and adjust the seasonings if desired. I add a tablespoon of Tamari or soy sauce, but you may not need it or as much of it depending on the acidity and saltiness of the kimchi. Serve right away with any desired toppings.
- Prep Time: 20 minutes
- Cook Time: 10 minutes
- Category: Dinner
- Method: Stovetop
- Cuisine: Asian
