This pasta is a variation of a favorite pasta I make all winter with Brussels sprouts, brown butter and walnuts , which I love, but which is a little fussy — peeling all of those sprouts takes time.
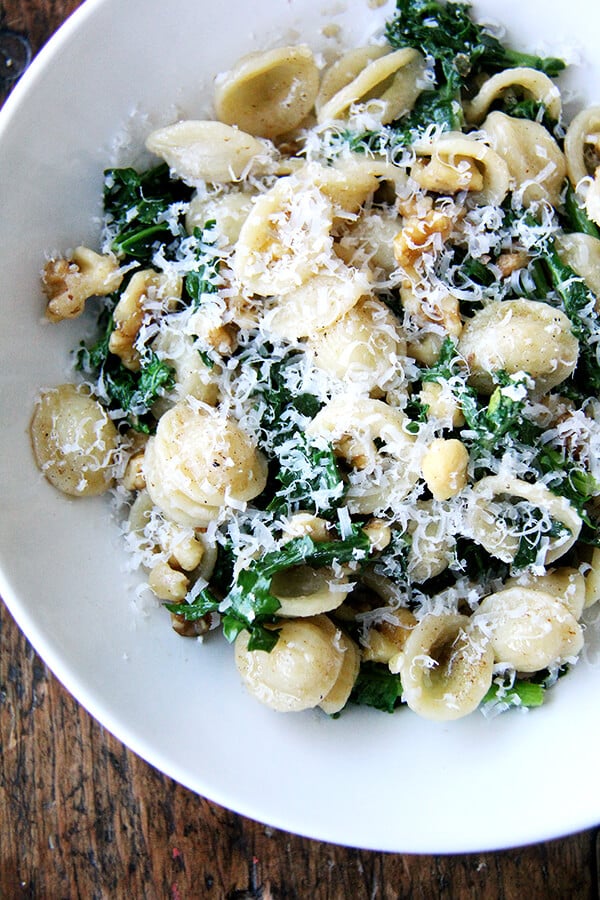
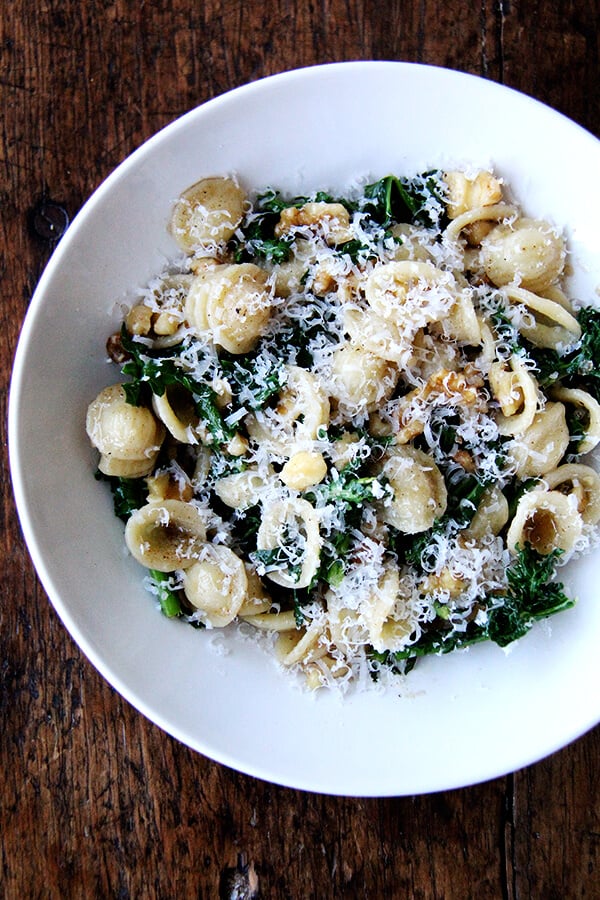
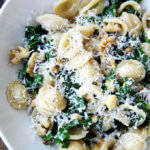
Here, the pasta is simply drained over the chard or kale — just enough to wilt it — and when you use baby Swiss chard or kale, which I found at my Green Market last Sunday, it is especially good.
Simply toss with brown butter, toasted walnuts, and lots of shaved parmesan, and call dinner done! Simple and delicious.
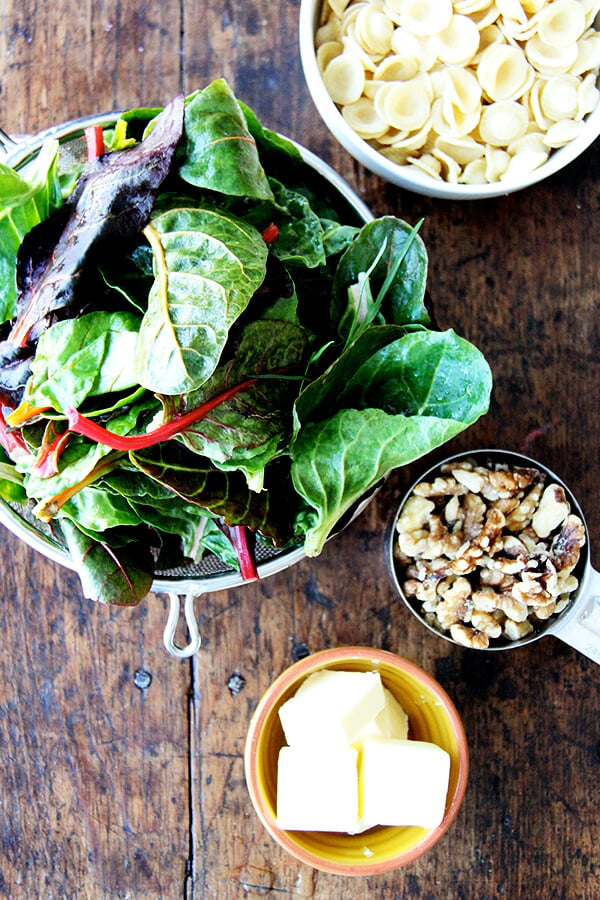

- 8 cups (about 9 oz .) packed baby Swiss chard, baby kale or spinach*
- 1 tbsp . kosher salt
- 1/2 lb. (8 oz.) orecchiette
- 6 tbsp . unsalted butter
- 1 cup walnuts
- a handful (about 1/4 cup) of grated Pecorino or Parmigiano
- salt and freshly cracked pepper, to taste
*These were the greens I found at the market most recently, and they were all incredibly tender. If you are using more mature greens and the stems feel tough, remove greens from stem. Also, asparagus, Brussels sprouts or peas—anything green, really—can be substituted for the greens. If you use one of these tougher vegetables, add them to the pot of pasta during the last two minutes of cooking time .
- Place greens in a large bowl and cover with cold water. Let sit for five minutes to allow any dirt to settle. Scoop greens from water and place in a large colander to drain. Any water clinging to the leaves is just fine.
- Fill a large pot with water and bring to a boil. Add the tablespoon of salt and stir in the pasta.
- In a large sauté pan (large enough to fit the pasta and greens) melt the butter over medium heat. Once the butter begins turning brown and smelling nutty, turn off the heat.
- Meanwhile, in a small sauté pan over medium heat, toast the walnuts until they become lightly browned and fragrant, about 10 minutes. (Alternatively, toast the walnuts on a baking sheet at 350F for 8 to 10 minutes—watch closely to prevent burning.) Place the toasted walnuts in a tea towel and rub together to remove papery skin. Transfer walnuts to a sieve and shake again to remove any additional skin. I know this is fussy, but it makes a difference. Set aside.
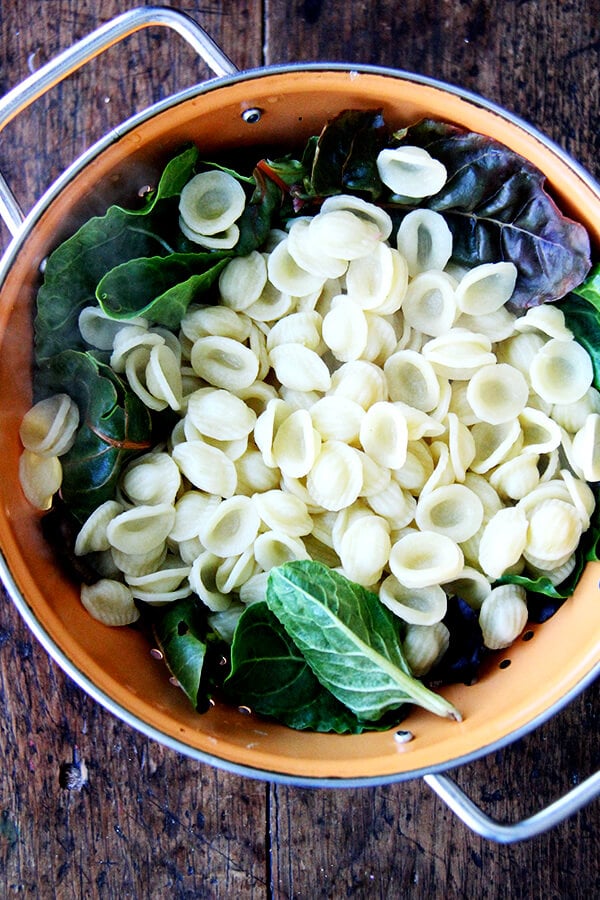
- Boil pasta till al dente. Reserve one half cup of the cooking liquid and set aside—you might not even need this, but it can be nice to have on hand. Drain pasta directly over the colander filled with the greens.
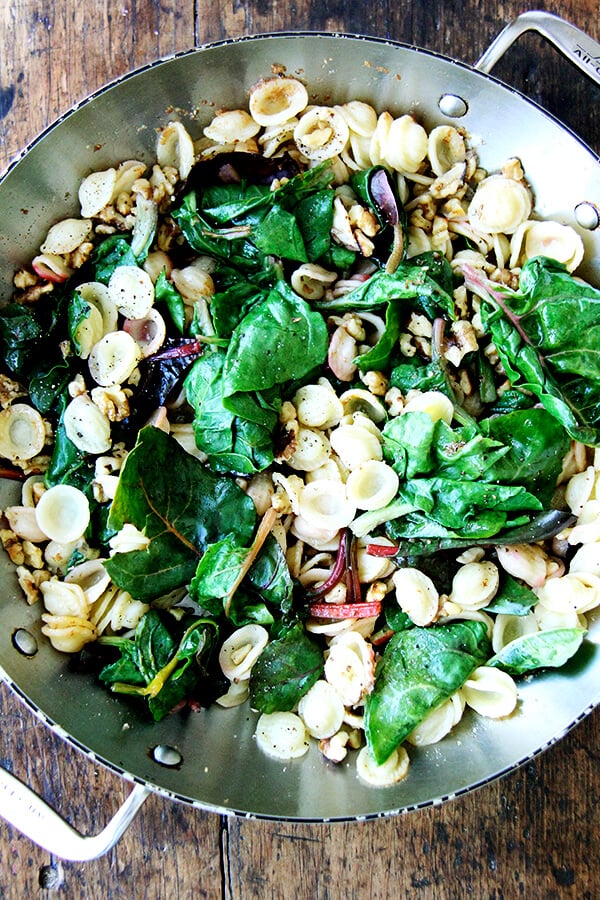
- Bring the brown butter back up to temperature over medium or medium-high heat; add the pasta and greens to the pan. Add the walnuts and toss to coat. Grate cheese over top and toss again. Taste. Add more salt (if you have salted the cooking water with the tablespoon of kosher salt, you shouldn’t have to add too much more salt) and pepper to taste. If necessary add some of the pasta cooking liquid to the pan—it’s nice to have reserved pasta cooking liquid on hand if you make this ahead and need to reheat it, but just beware that the cooking liquid is salty. Serve pasta, passing more cheese on the side.
Prep Time: 15 minutes
Cook Time: 10 minutes
Category: Pasta
Method: Stovetop
Cuisine: American
8 cups (about 9 oz .) packed baby Swiss chard, baby kale or spinach*
1 tbsp . kosher salt
1/2 lb. (8 oz.) orecchiette
6 tbsp . unsalted butter
1 cup walnuts
a handful (about 1/4 cup) of grated Pecorino or Parmigiano
salt and freshly cracked pepper, to taste
*These were the greens I found at the market most recently, and they were all incredibly tender. If you are using more mature greens and the stems feel tough, remove greens from stem. Also, asparagus, Brussels sprouts or peas—anything green, really—can be substituted for the greens. If you use one of these tougher vegetables, add them to the pot of pasta during the last two minutes of cooking time .
- Place greens in a large bowl and cover with cold water. Let sit for five minutes to allow any dirt to settle. Scoop greens from water and place in a large colander to drain. Any water clinging to the leaves is just fine.
- Fill a large pot with water and bring to a boil. Add the tablespoon of salt and stir in the pasta.
- In a large sauté pan (large enough to fit the pasta and greens) melt the butter over medium heat. Once the butter begins turning brown and smelling nutty, turn off the heat.
- Meanwhile, in a small sauté pan over medium heat, toast the walnuts until they become lightly browned and fragrant, about 10 minutes. (Alternatively, toast the walnuts on a baking sheet at 350F for 8 to 10 minutes—watch closely to prevent burning.) Place the toasted walnuts in a tea towel and rub together to remove papery skin. Transfer walnuts to a sieve and shake again to remove any additional skin. I know this is fussy, but it makes a difference. Set aside.
- Boil pasta till al dente. Reserve one half cup of the cooking liquid and set aside—you might not even need this, but it can be nice to have on hand. Drain pasta directly over the colander filled with the greens.
- Bring the brown butter back up to temperature over medium or medium-high heat; add the pasta and greens to the pan. Add the walnuts and toss to coat. Grate cheese over top and toss again. Taste. Add more salt (if you have salted the cooking water with the tablespoon of kosher salt, you shouldn’t have to add too much more salt) and pepper to taste. If necessary add some of the pasta cooking liquid to the pan—it’s nice to have reserved pasta cooking liquid on hand if you make this ahead and need to reheat it, but just beware that the cooking liquid is salty. Serve pasta, passing more cheese on the side.
- Prep Time: 15 minutes
- Cook Time: 10 minutes
- Category: Pasta
- Method: Stovetop
- Cuisine: American
Find it online : https://alexandracooks.com/2015/04/01/orecchiette-with-swish-chard-brown-butter-walnuts/


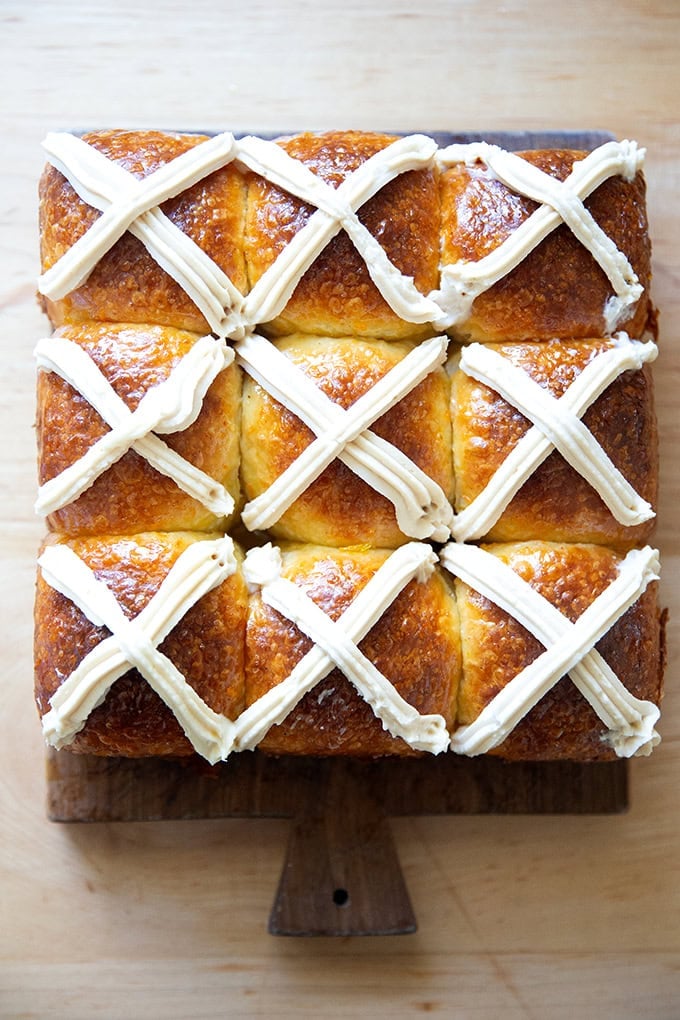
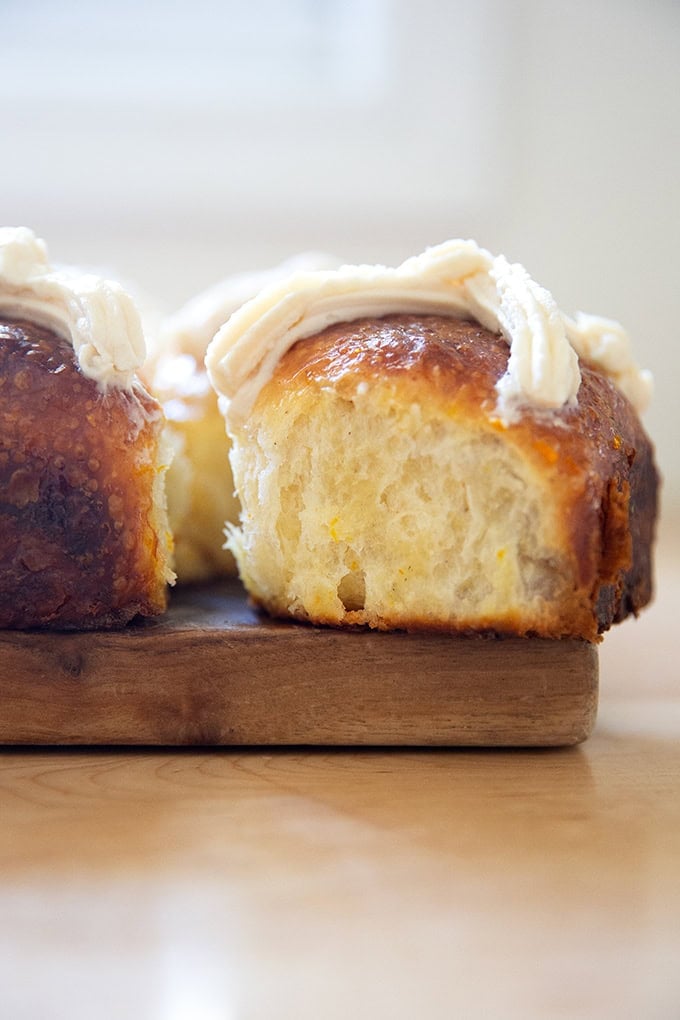
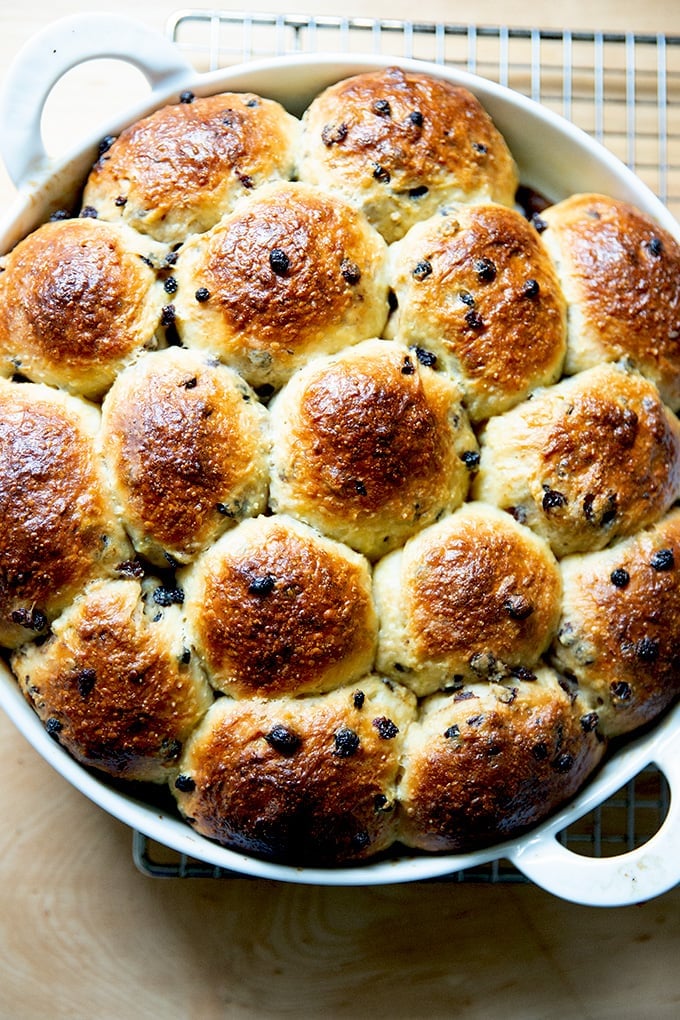
Spiced with a dash of nutmeg and freshly grated orange zest, these hot cross buns are perfectly sweet and such a treat! Find step-by-step instructions below for making hot cross buns from scratch two ways: overnight and same day.
Just as Holly’s challah can be twisted into babka and Nigella’s Danish pastry can be spiraled into croissants , cinnamon roll dough can be rolled into hot cross buns.
Here, I’ve used a simple sweet dough recipe as a base, adding a few dashes of nutmeg and freshly grated orange zest, both of which impart warmth and spice to the buns.
Hot Cross Buns are traditionally served for breakfast on Good Friday, and while you certainly could rise early on that morning and make them start to finish, a better idea is to start the dough the day beforehand. The pan of shaped buns can spend the night in the fridge, and on the morning of Good Friday, all you’ll need to do is pop the pan in the oven and relax with the paper while the smell of orange-scented sweet buns fills the air.
How to Make Overnight Hot Cross Buns, Step by Step
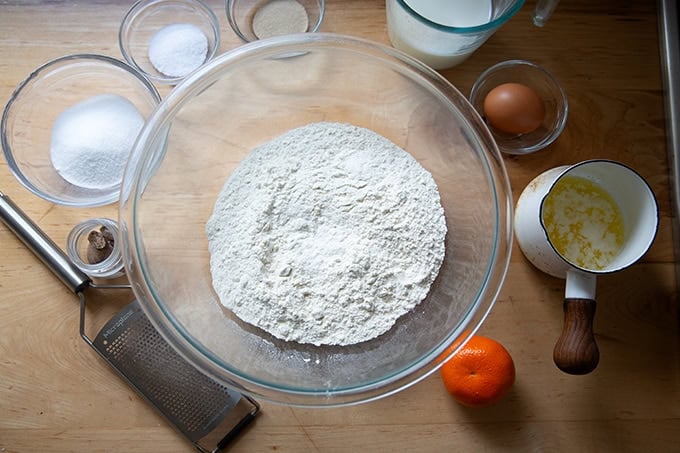
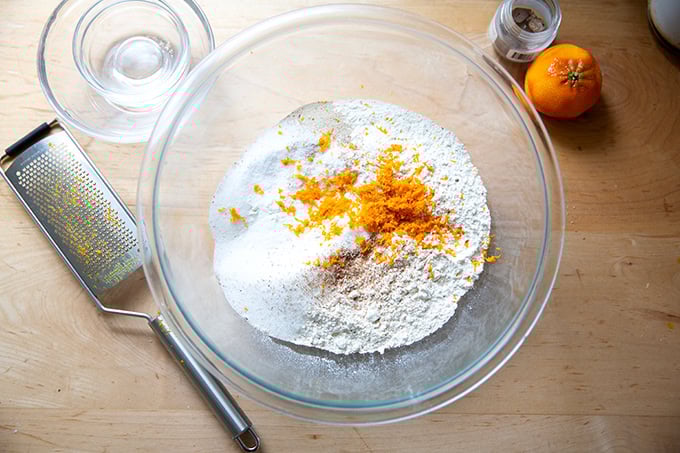
Gather your ingredients: Flour, salt, sugar, instant yeast, nutmeg, orange (for the zest), milk, egg, and melted butter:
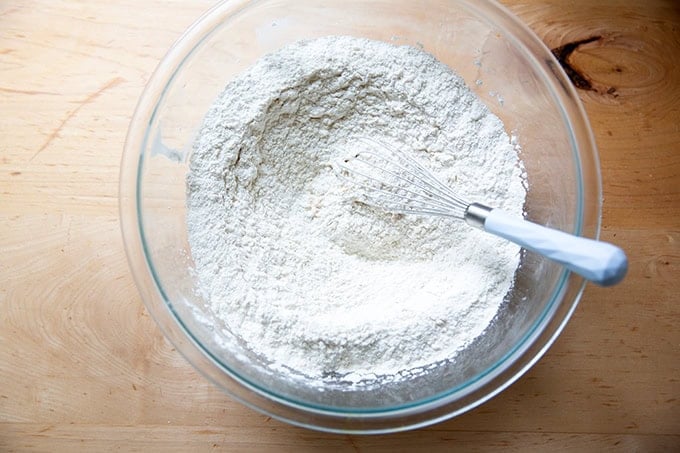
Place all of the dry ingredients in a large bowl:
And whisk to combine:
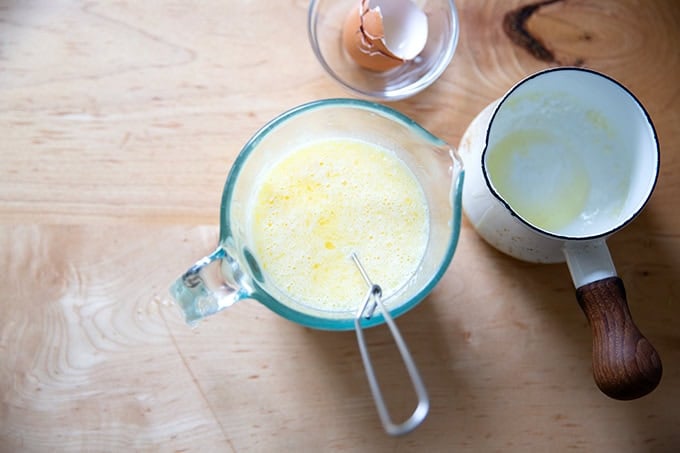
Whisk together the milk, egg, and melted butter:
Then add the wet ingredients to the dry ingredients:
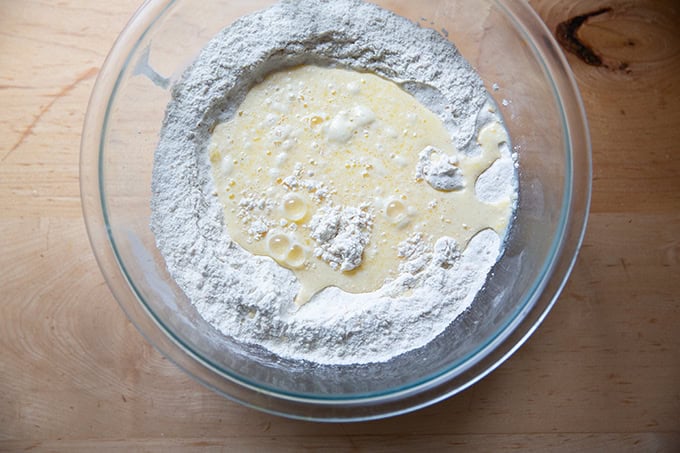
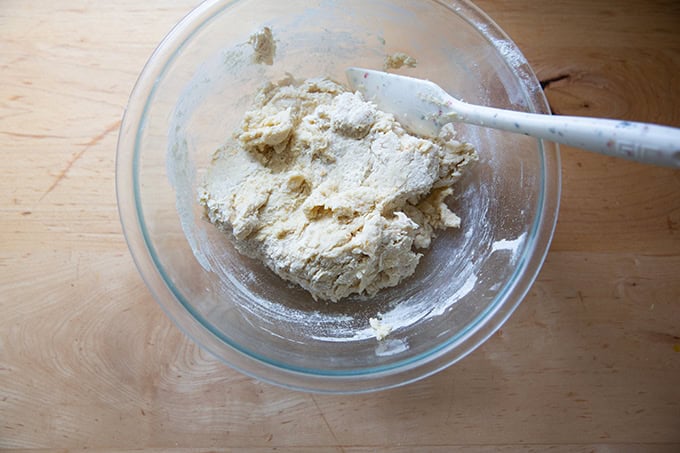
Mix with a spatula until you have a shaggy dough ball:
Then turn the dough out onto a floured work surface, reserving the bowl …
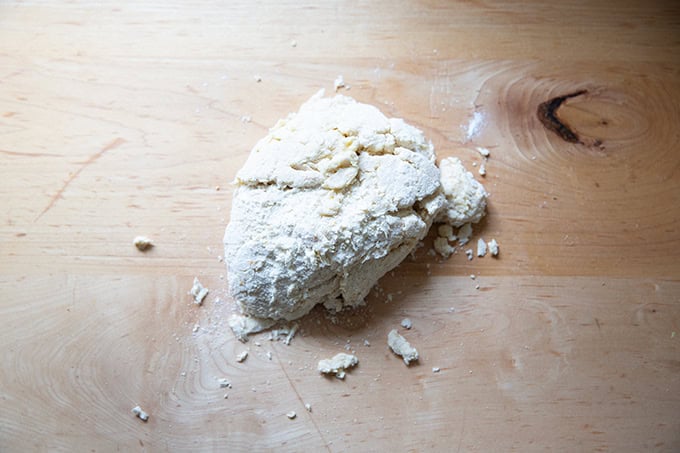
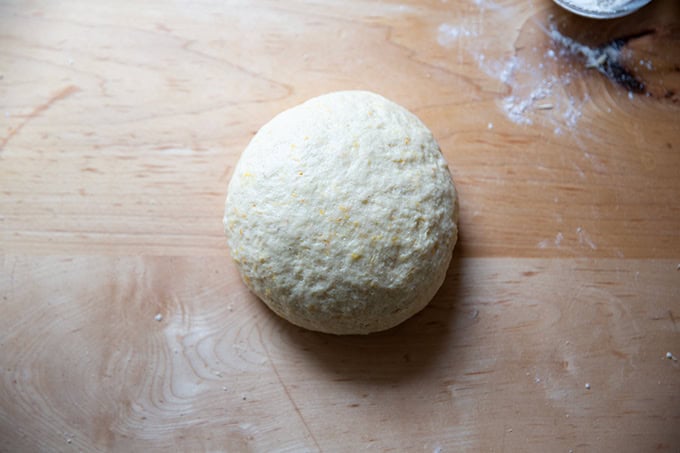
… and knead briefly, about 60 seconds, until the dough comes together in a cohesive mass:
Return the dough to the bowl and slick with oil to coat:
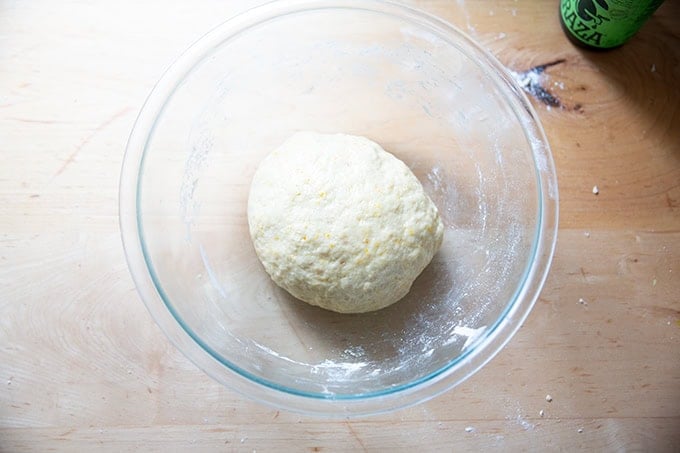
Cover the bowl and let it rise in a warm or draft-free area for 2 to 3 hours:
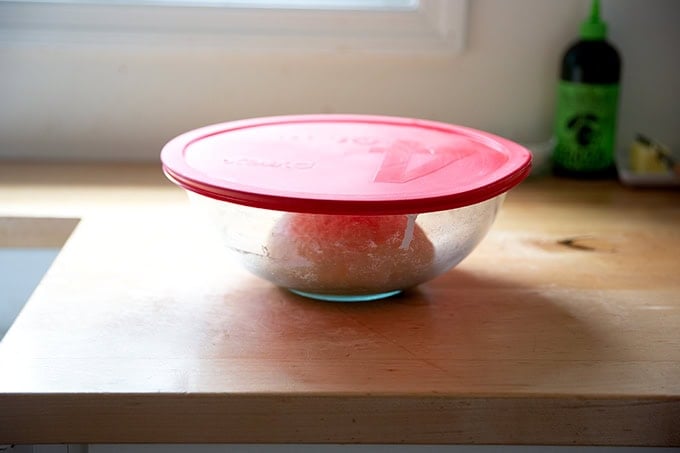
The dough will not have doubled in volume, but it will be poofier and feel light to the touch:
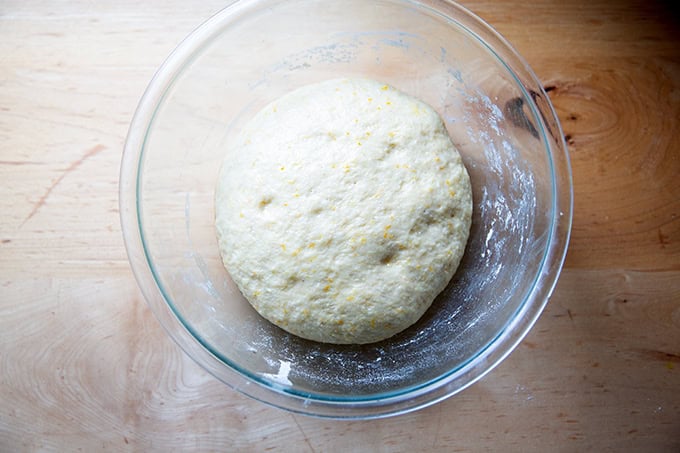
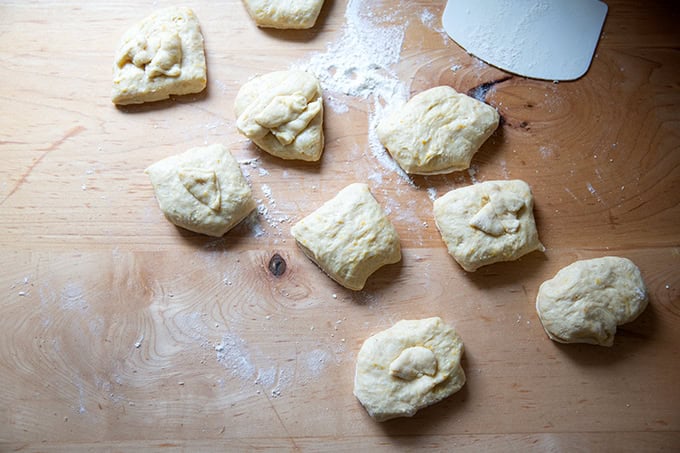
Turn out onto a floured work surface:
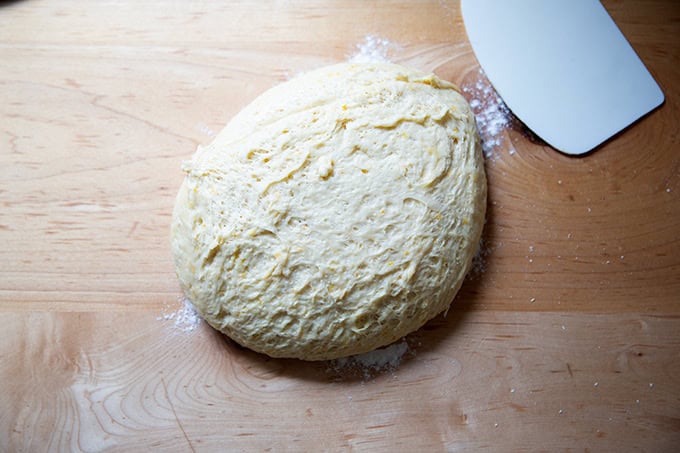
Then divide each into 9 portions:
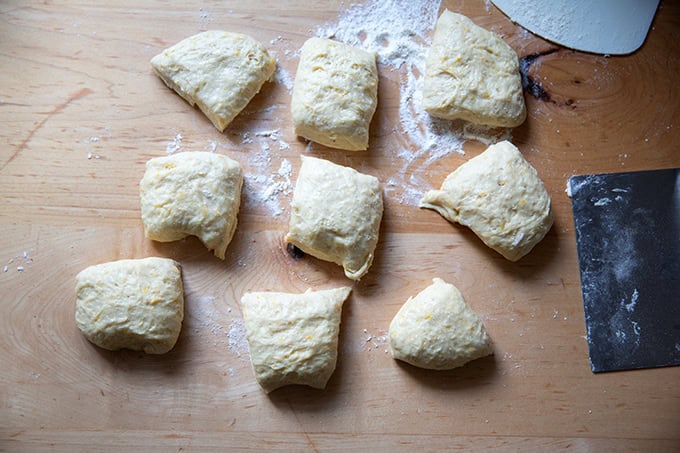
If you’d like to be precise, each portion should weigh roughly 101-102 grams:
Ball up each portion:
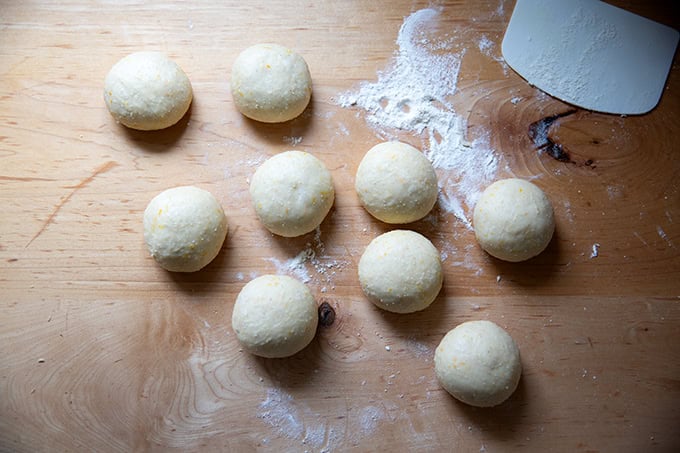
Then transfer to a buttered 9- or 10-inch baking dish:
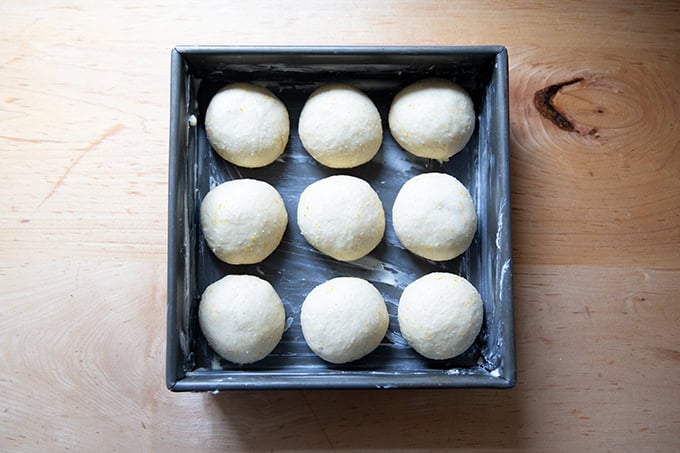
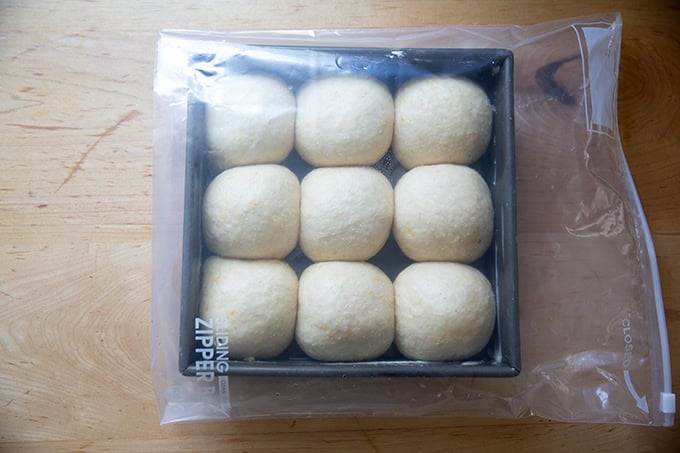
At this point, you can let the dough rise at room temperature, or you can cover the pan or stick it in a large ziptop bag and place in the fridge overnight:
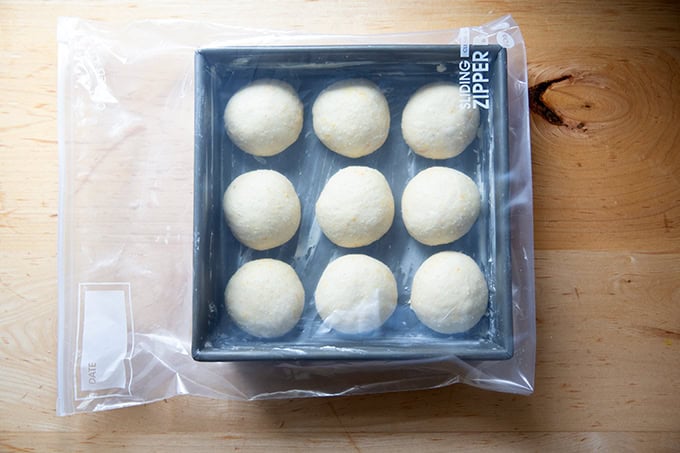
The following morning or the next, remove the pan from the fridge:
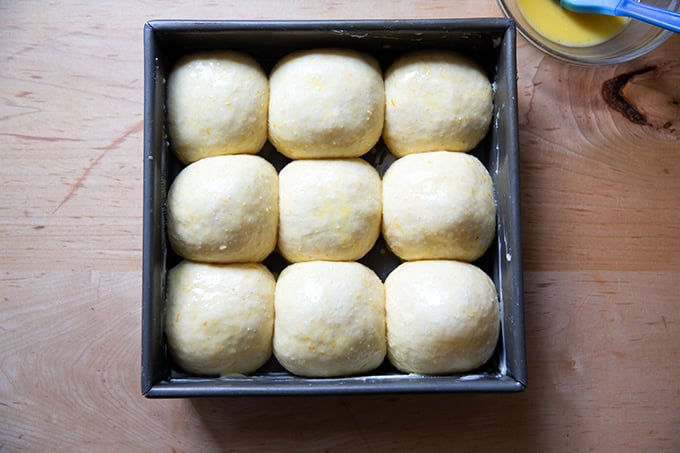
And let the dough rise at room temperature while the oven preheats the pan. The balls are ready for the oven once they are filling the pan and feel light to the touch. Brush with an egg wash:
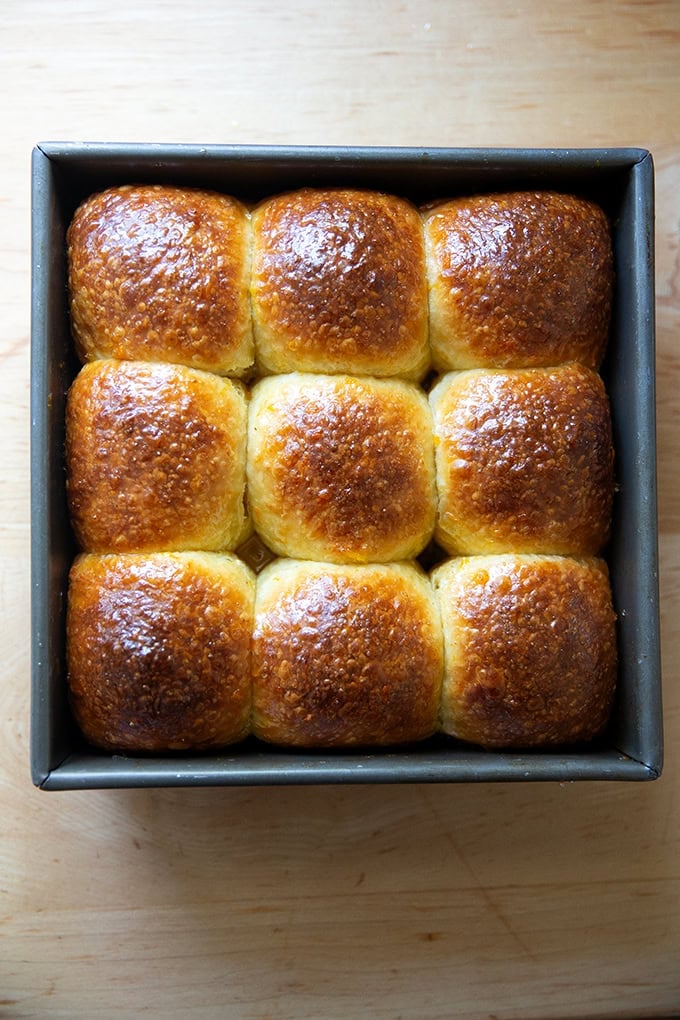
Then bake @ 375ºF for 25-30 minutes:

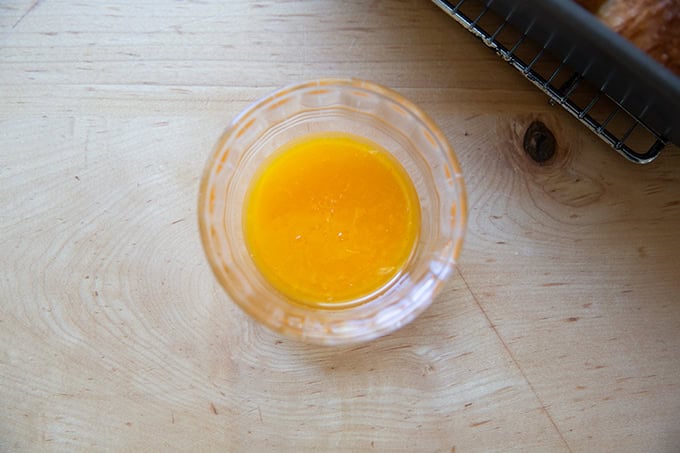
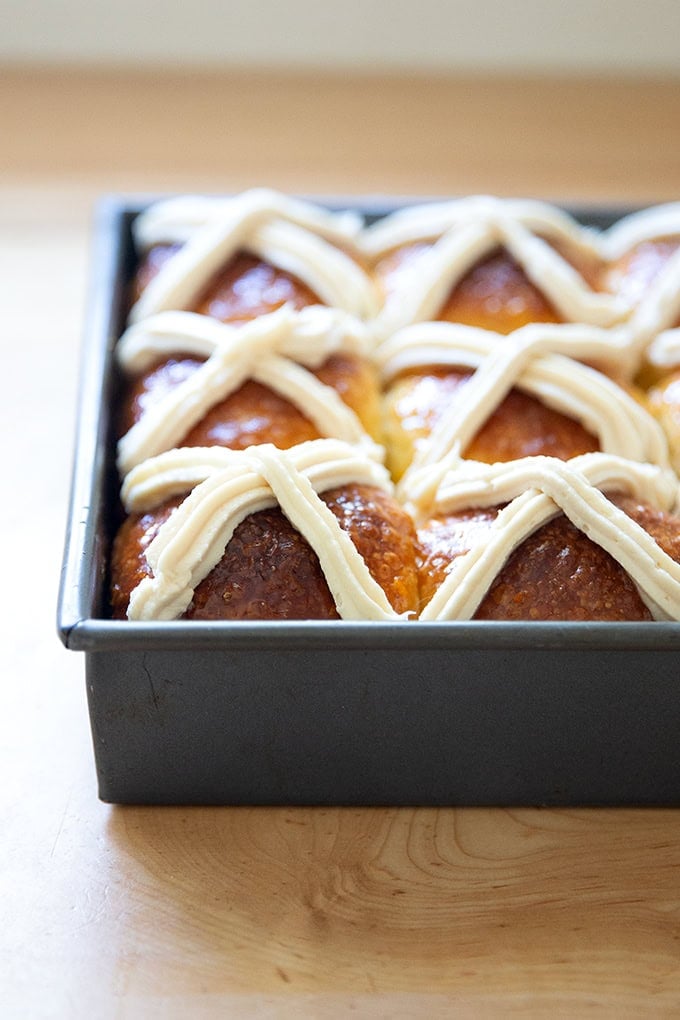
Out of the oven, if you wish, you can brush the buns with a very simple orange glaze: I just the clementine I use for its zest, and stir in an equal amount of sugar (roughly 2 tablespoons juice and 2 tablespoons sugar):
Brushing the glaze over the just-baked buns gives them the loveliest sheen:
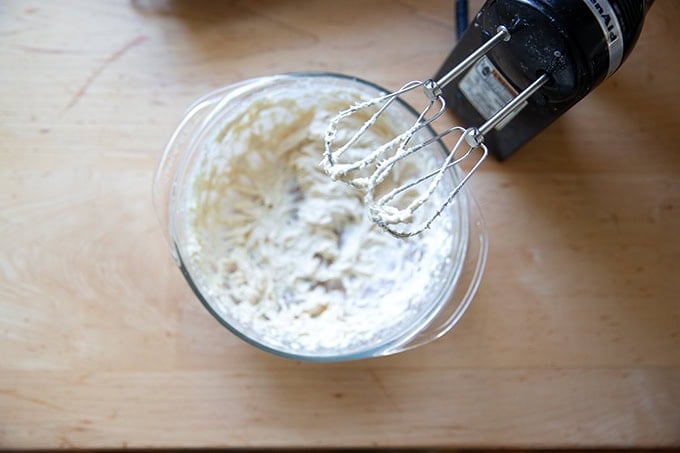
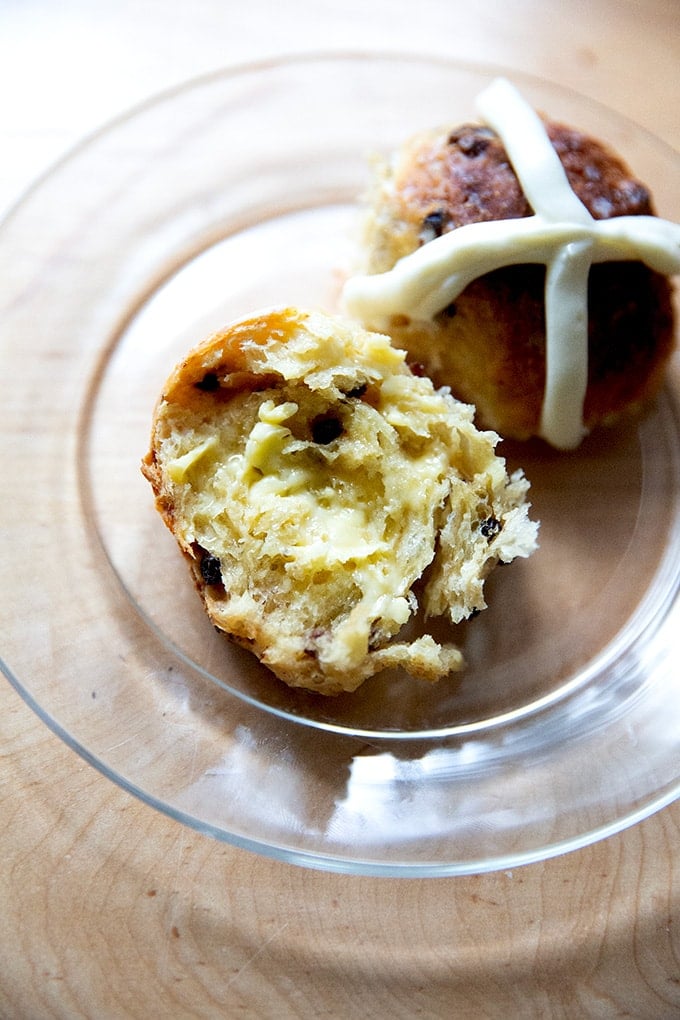
While the buns cool, make the icing for the cross: cream together cream cheese, confectioners sugar, vanilla and salt.
Using a ziplock bag with the corner snipped or a piping bag, pipe a cross across each bun:
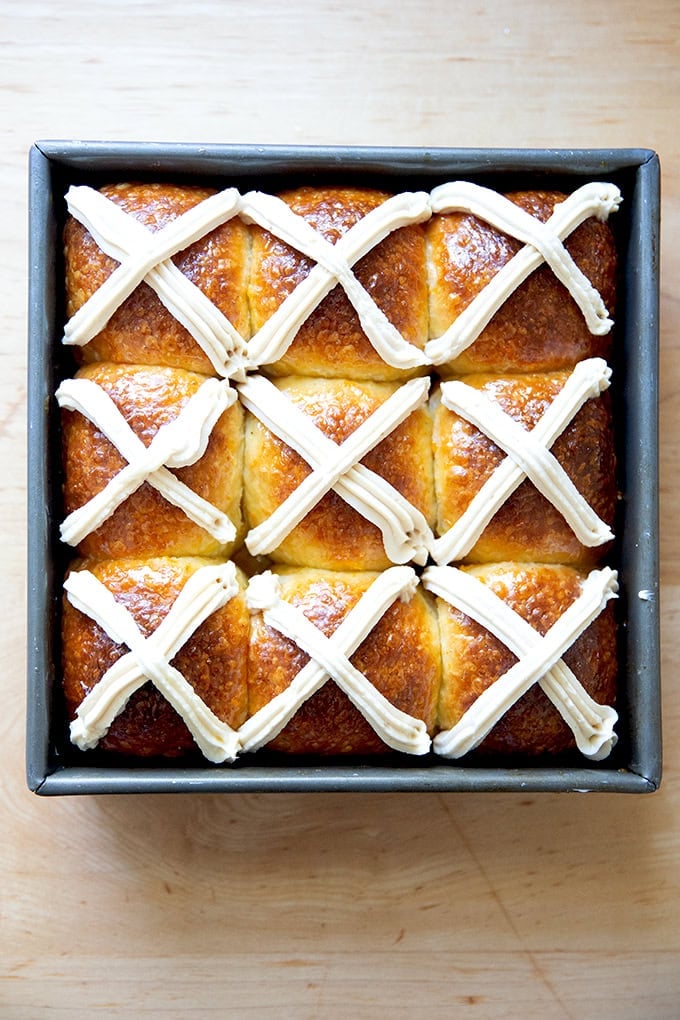
Transfer to a board for serving, if you wish:
If you wish to add currants or raisins, see the recipe notes for details.
Description
Spiced with a dash of nutmeg and freshly grated orange zest, these hot cross buns are perfectly sweet and such a treat! Find step-by-step instructions below for making hot cross buns from scratch two ways: overnight and same day.
Notes:
- Measure Accurately : For best results, please use a scale to measure.
- Warm Place to Rise: If you need a warm spot, preheat your oven for one minute, then turn it off — it shouldn’t get warmer than 100ºF or so and you should be able to press your hands on the grates without burning yourself. Place bowl of dough, covered, in this warm spot for 2 to 3 hours.
- Salt : If using a scale to measure, use 12 grams of whatever salt you are using. If you are using measuring spoons, use half as much if you are using Morton kosher salt or fine sea salt.
- If using active-dry yeast: Boil 1/3 cup of the milk and combine it with 2/3 cup cold milk — this should give you a nice lukewarm temperature. Test with your finger. Add a teaspoon of the white sugar and sprinkle the yeast over the top. Let stand for 15 minutes or until foamy. You can then whisk the egg into this mixture, and you can whisk in the melted butter, too, so long as it has cooled a bit. Then proceed with the recipe.
- Smaller Size Buns: In previous versions of this post, I divided the buns into 16 60-gram portions. If this is more appealing to you, go for it. You could also do 12 portions or really any size you like. There is something I find visually appealing about nine hot cross buns.
For the dough:
- 3½ cups ( 450 g ) or more unbleached bread flour or all-purpose
- 1/3 cup ( 65 g ) sugar
- 2 teaspoons ( 8 g ) instant yeast, see notes above
- 2.5 teaspoons ( 12 g ) Diamond Crystal kosher salt, see notes above
- zest of 1 clementine or orange
- nutmeg, about 1/4 teaspoon, or freshly grated, see instructions
- 1 cup ( 100 g ) of dried currants or raisins, optional
- 1 large egg
- 1 cup ( 256 g ) whole milk or 2%
- 4 tablespoons unsalted or salted butter, melted, plus more for greasing the pan
For the egg wash:
- 1 egg beaten with 2 teaspoons water
For the glaze (optional):
- juice of 1 clementine or orange to yield 2 tablespoons of juice
- 2 tablespoons of sugar
For the cross (See notes below for another option)
- 4 ounces softened cream cheese
- 1/4 cup confectioners’ sugar
- 1 teaspoon vanilla
- pinch flaky sea salt
- Make the dough: In a large bowl, whisk together the flour, sugar, yeast, and salt. Using a microplane grater, grate in nutmeg to taste (about 1/4 teaspoon). Using the grater again, zest the clementine into the bowl. Whisk to combine. Add the currants or raisins, if using, and whisk one last time to combine. Set aside.
- In a medium bowl, whisk the egg and the milk (no need to heat) together. Add the melted butter and whisk to combine.
- Add the milk-egg-butter mixture to the bowl with the flour mixture. Use a spatula to combine all ingredients until flour is absorbed and you have a shaggy dough ball. Turn the dough out onto a lightly floured work surface (reserving the bowl) and knead briefly, about 60 seconds, using flour as needed until you have a cohesive ball. Return the dough to the bowl and slick the dough lightly with olive oil, rubbing to coat.
- Let the dough rise: Cover the bowl with a lid, a cloth bowl cover, or plastic wrap. Let the dough rise in a warm draft-free area until it has puffed considerably and is light to the touch, 2.5 to 3 hours. (See notes above for creating a warm place for your dough to rise.)
- Portion and proof : Butter an 8- or 9-inch square or round baking pan. For easy removal of the buns, line it with parchment paper, too. Turn the dough out onto a lightly floured work surface. Sprinkle the surface of the dough lightly with flour; then, using a bench scraper, divide it into 9 equal portions (roughly 102 grams each; see notes above if you wish to make smaller portions). Using flour as needed, ball up each portion.
- Place the balls equally spaced into the prepared pan. At this point, you can cover the pan with plastic wrap or stick it in a large 2-gallon ziptop bag and place it in the fridge overnight; or, if baking immediately, let the buns rise again (covered) until they have puffed considerably and are squishing against each other, about 60 minutes (or more depending on how cold your kitchen is).
- Eggwash and bake: Preheat the oven to 375ºF. If you are doing the refrigerator rise, remove the pan an hour (if possible) before baking. Ideally, the buns should be puffed, filling the pan, and light to the touch but it’s fine if you don’t see much of a change — they will puff in the oven. Brush the rolls with the egg wash. Bake for about 25 to 30 minutes, or until the rolls are evenly golden brown.
- While the buns bake, make the optional glaze and the not-optional icing: The glaze: Juice the clementine or orange you used for zest in step 1. You need roughly 2 tablespoons of juice. Stir in 2 tablespoons of sugar with a spoon until it mostly dissolves. The icing: In a stand mixer or with a handheld mixer, beat the cream cheese with the confectioners’ sugar until combined. Add 1 teaspoon vanilla and a pinch of sea salt. (Alternatively, if your cream cheese is very soft, you can mix this with a spatula.) Taste, and adjust with more sugar and salt to taste. Transfer to a piping bag or small ziplock bag.
- Remove the buns from the oven and place on a cooling rack. Brush with the orange glaze immediately.
- Frost the buns: Let buns cool for at least 15 minutes before icing: Snip off a corner of the storage bag, if using, and pipe a cross over each bun. Serve immediately.
Notes
If you’ve made these previously and used and liked the confectioners’ sugar frosting, here’s the recipe:
- 1 1/4 cups confectioners’ sugar
- 2 tablespoons milk or buttermilk
- pinch sea salt
- 1 teaspoon vanilla
- Stir confectioners’ sugar, milk, salt, and vanilla to form a glaze.
- Prep Time: 20 minutes
- Cook Time: 25 minutes
- Category: Breakfast
- Method: Oven
- Cuisine: American
