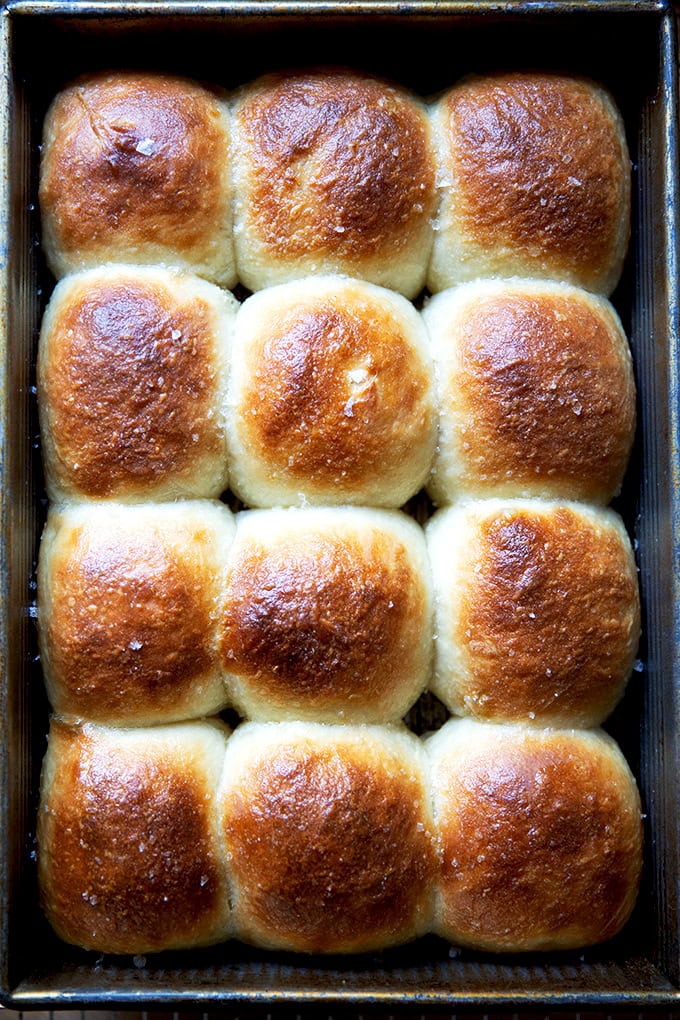
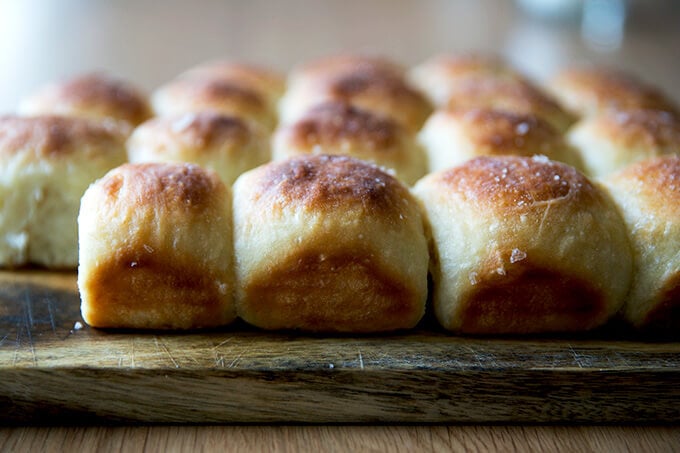
Soft and squishy, slightly sweet, these no-knead buttermilk pull-apart rolls resemble Parker House rolls in texture and taste. So easy and delicious!
Know this: any bread recipe you love can be mixed a day ahead of time and stashed in the fridge to rise. Or, if you like making rolls, you can make your recipe up to the point where you shape the rolls and stick them in the baking pan, at which point you can stick the pan in the fridge.
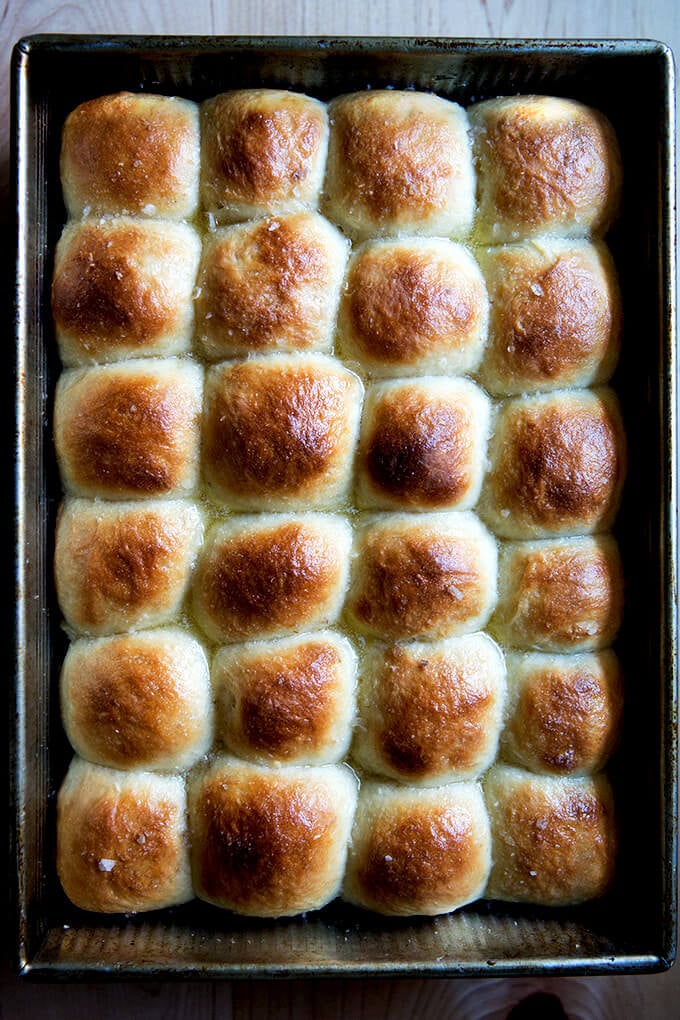
As I said, you can do this with any bread recipe you love, but if you don’t have one in mind, I have a thought: buttermilk pull-apart rolls. This is a recipe from Bread Toast Crumbs , my cookbook, and I made it recently with one small change: instead of splitting the dough and baking the rolls in two pans, I fit all 12 (or 24) rolls in one 9×13-inch baking pan.
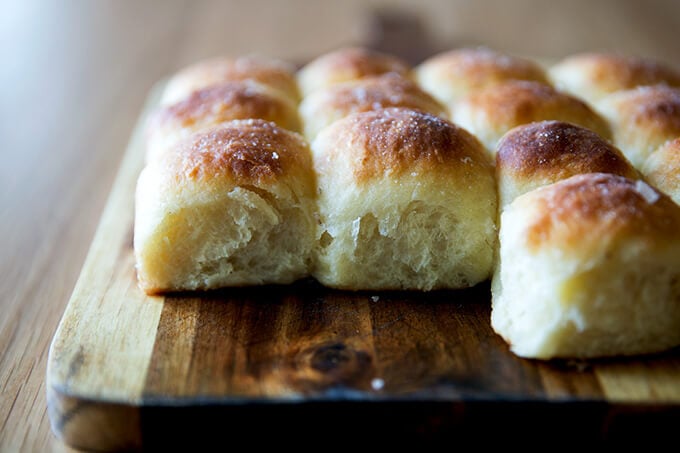
It’s fun seeing a whole mess of rolls all squished together, and my children enjoyed pulling the mass to pieces. Slightly sweet, soft and squishy, these pull-apart rolls resemble Parker House rolls in both taste and texture and are such a festive bread to serve at Thanksgiving or really any holiday gathering. Easy peasy, too. (There’s both video and photo guidance below.)
If you like to make bread for holiday gatherings or dinner parties, a great way to get a jumpstart on preparations is to make the dough a day in advance.
Happy Thanksgiving, My Friends! I hope all of your preparations are going well. Happy to answer any bread (or other) questions you might have.
PS: No-Knead Thyme Dinner Rolls
How to Make Buttermilk Pull-Apart Rolls, Step by Step
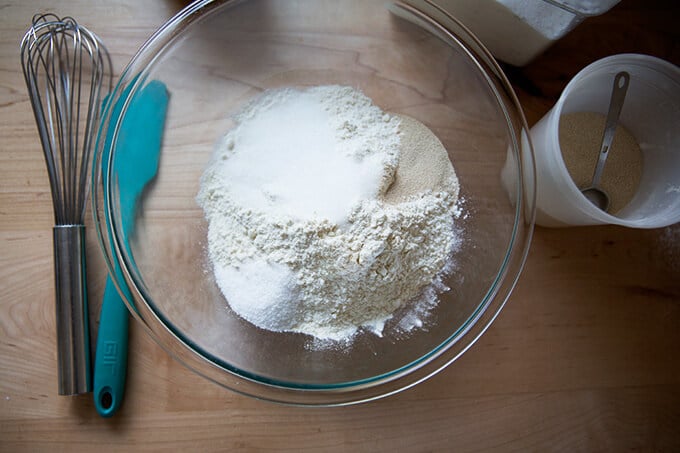
Mix together the dry ingredients: all-purpose or bread flour, instant yeast , kosher salt, and sugar. (Note: For best results use a scale! Metric measurements are given below.)
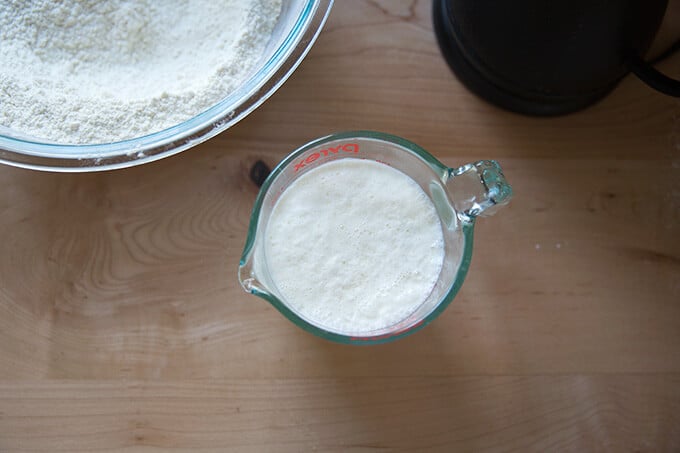
Pour a scant cup of boiling water over a scant cup of buttermilk and let stand for 10 minutes.
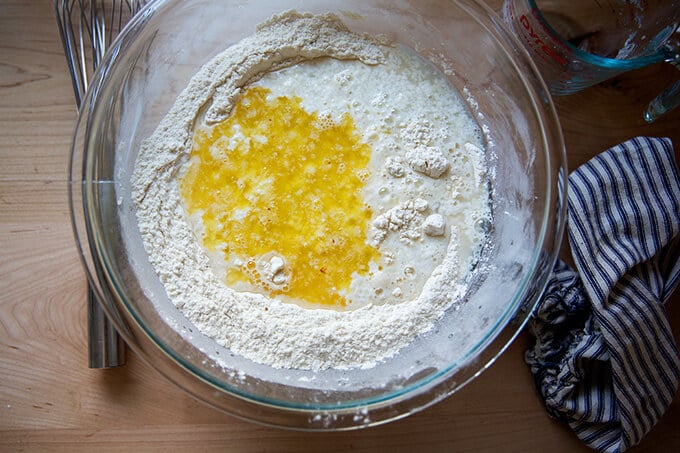
Add the buttermilk-water mixture along with 4 tablespoons melted butter to the bowl of dry ingredients.
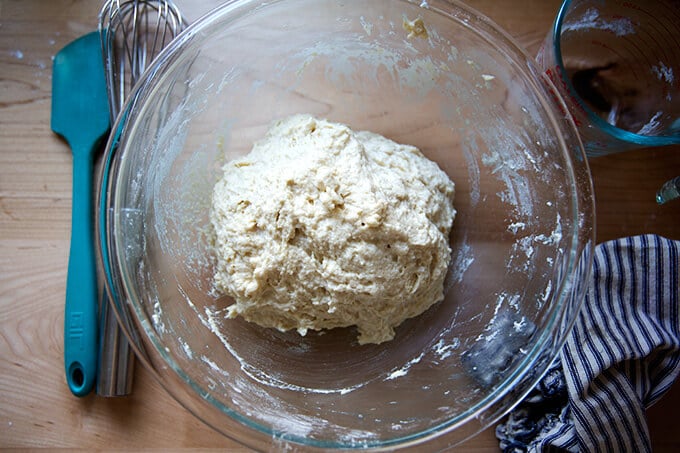
Mix to form a sticky dough ball.
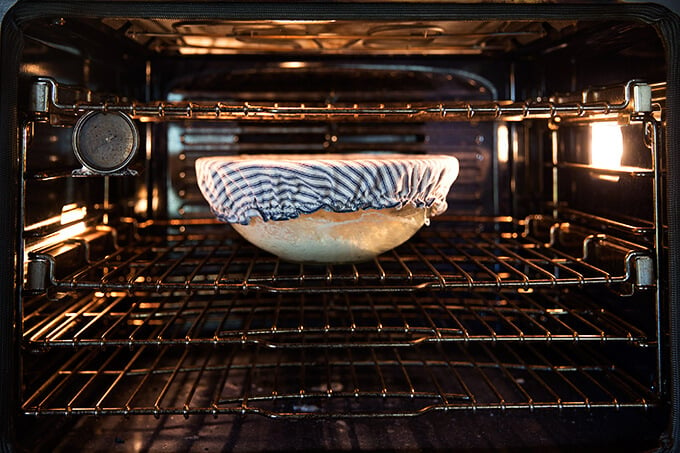
Let rise in a warm spot for 2 hours (see recipe notes for details). You can use a cloth bowl cover or a lid here — I love this 4-quart Pyrex bowl + lid set .
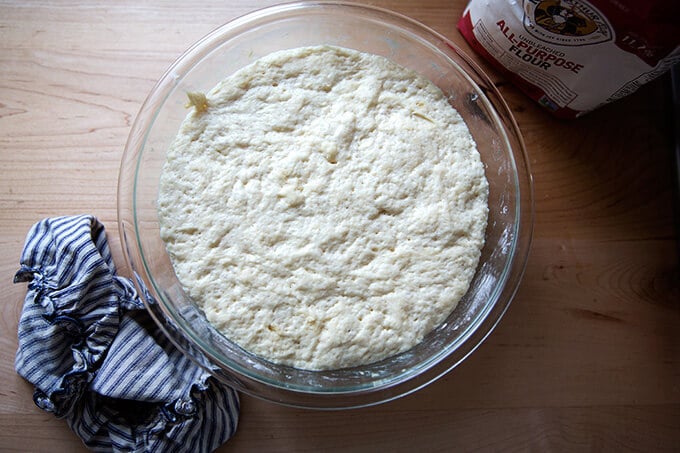
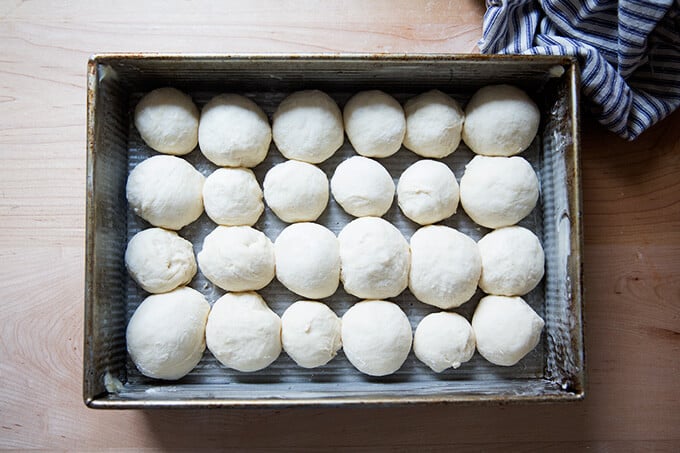
After 2 hours, the dough will look something like this:
Turn it out onto a floured work surface. Divide the mass into 12 or 24 small pieces depending on what size roll you wish to make. I prefer the larger size for ease… shaping 24 rolls takes a long time. I typically make a double batch and make 24 larger rolls. Plus the larger size is better for leftover sandwiches. ( Video guidance here. ) Shape each piece into a round and fit into a buttered 9×13-inch pan. I love this 9×13-inch USA pan for so many things.

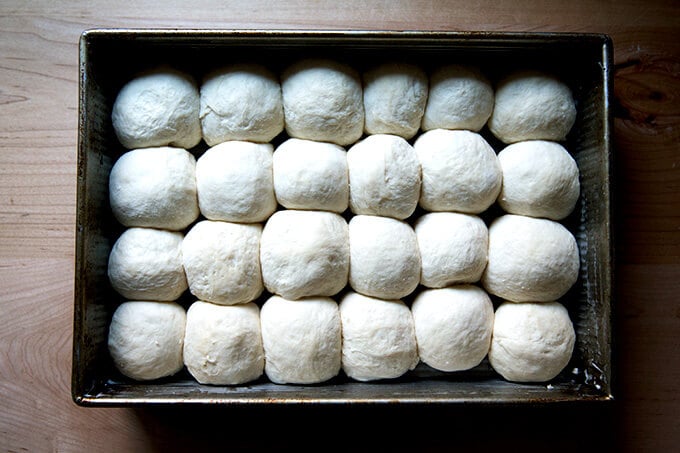
Cover and refrigerate overnight. I tuck the entire pan into a 2-gallon zip-top bag.
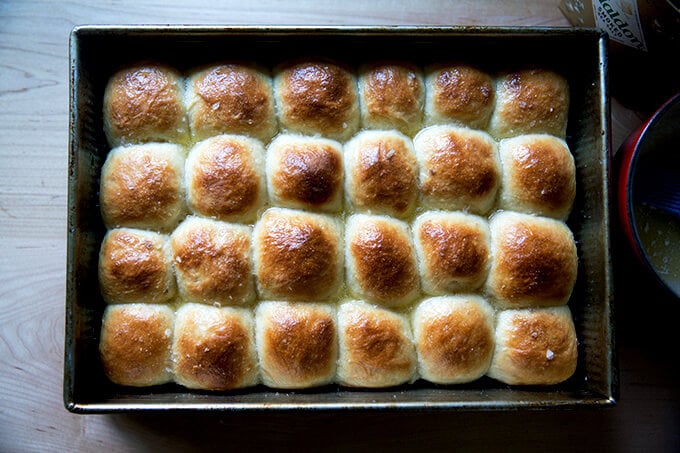
The following morning, let come to room temperature for 1 hour, then bake at 400ºF for 20 to 25 minutes.
Out of the oven, brush the rolls with 2 tablespoons melted butter and sprinkle with sea salt.
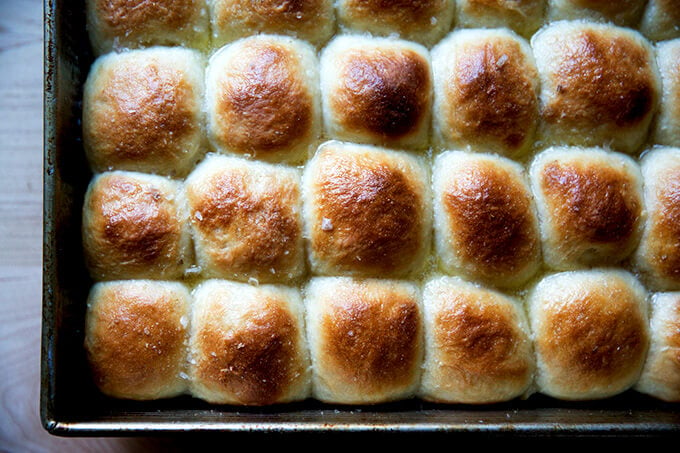
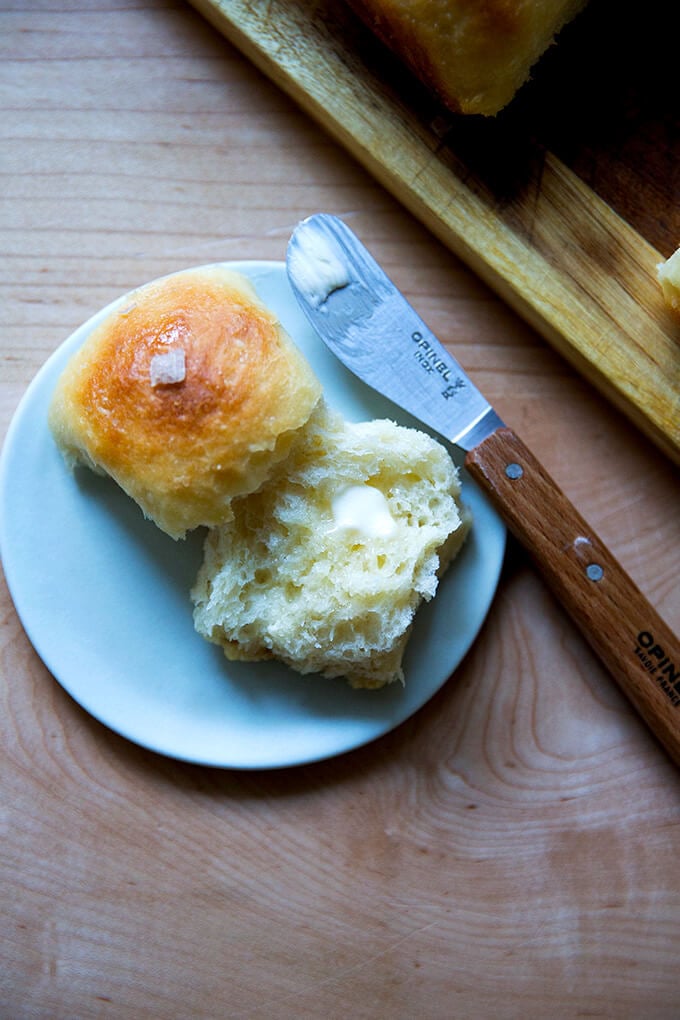
Serve immediately with softened butter.
Description
Adapted from Bread Toast Crumbs
11/15/2024 Update: I recently updated the recipe slightly in that I’ve upped the amount of flour from the start to 550 gram, and I’ve also, as a result, upped the salt. This higher amount of flour makes the dough slightly more manageable to work with and does not sacrifice any flavor.
Notes:
Scale: For best results, please use a digital scale to measure.
Salt: I now make these with 15 grams of kosher salt, which is about 5 teaspoons of Diamond Crystal kosher salt or 2.5 teaspoons of Morton. If you are sensitive to salt, use less: 12 grams or 4 teaspoons Diamond Crystal and 2 grams Morton. Note: 15 grams may seem like a lot but the rule of thumb for bread and pizza dough is that the salt should weigh 2 to 3% the weight of the flour. For this recipe, that’s 12 to 15 grams.
Warm place to rise: To create a warm place for your dough to rise, preheat your oven for 1 minute, then shut it off.
Other vessels: If you don’t have a 9×13-inch pan, you can use two 8- or 9-inch round or square pans. I love this 9×13-inch USA pan .
Water : If you live in a humid environment, consider holding back 2 to 4 tablespoons of water (15 to 30 grams) — this dough is very wet and sticky, and while you can use as much flour as needed while shaping, you might save yourself some trouble by holding back some of the water from the start.
Preparing the dough in advance: I have received questions about how many days the shaped rolls can stay in the fridge, and I recently experimented. I let the shaped rolls (with the pan wrapped in plastic wrap) sit in the fridge for 48 hours before baking them. While the texture was the same — as feathery light as ever — I did not like the flavor, which tasted sour, but not in a pleasant way. So, unfortunately, I cannot recommend stashing these in the fridge for much more than 18 – 24 hours. If you must make them ahead of time, I suggest baking them for 20 minutes — the rolls will not be completely brown. Let them cool completely; then wrap the pan. When you need them, place in a 400ºF oven for 5 to 10 minutes; then brush with the butter and sprinkle with salt.
4.25 cups (550 g) all-purpose or bread flour, plus more for shaping
4 to 5 teaspoons kosher salt (12 to 15 g), see notes above
2 tablespoons (25 g) sugar
2 teaspoons (8 g) instant yeast
1 scant cup (235 g) boiling water, or less, see notes above
1 scant cup (235 g) buttermilk
6 tablespoons melted butter, divided
flaky sea salt
- In a large bowl, whisk together the flour salt, sugar, and instant yeast.
- In a 2-cup liquid measure (or something similar), pour the boiling water over the buttermilk and let stand for 10 minutes. Give it a stir. The buttermilk will likely look curdled. This is okay.
- Pour the buttermilk mixture and 4 tablespoons of the melted butter over the flour mixture. Stir until a sticky ball of dough forms. Cover the bowl with a tea towel or lidded vessel — I love this 4-quart Pyrex bowl + lid set, and set aside in a warm place to rise (see notes above) for 2 hours, or until doubled in bulk.
- Grease a 9×13-inch baking dish. Flour a work surface and sprinkle flour lightly over the dough and around the edges. The dough will be very sticky, so use flour as needed. Gently coax the dough out of the bowl onto the floured work surface and shape into a rough ball ( video guidance here ) using flour as needed. Use a bench scraper to divide the ball into 24 portions (about 45 grams each if you feel like measuring) or 12 portions (about 90 grams each).
- Using as much flour as necessary, shape each piece roughly into a circle. It’s okay if each piece is a little misshapen. Place the dough balls into the prepared pan, spacing them evenly apart.
- At this point, you can cover the pan and refrigerate overnight. Otherwise, heat the oven to 400ºF. Let the dough rise, uncovered, for 25 to 35 minutes, or until the dough pieces have puffed to almost fill the pan. (Note: If you refrigerate overnight, remove the pan at least 1 hour prior to baking.)
- Transfer the pan to the oven and bake for 20-25 minutes, or until golden brown. Remove the pan from the oven and immediately brush the surfaces of the rolls with the remaining 2 tablespoons of melted butter. Sprinkle flaky salt over top to taste. Let the rolls cool in the pan for 5 minutes, then turn the pan out onto cooling racks and invert onto a plate or serving platter.
- Serve warm with more butter on the side.
- Prep Time: 3 hours
- Cook Time: 25 minutes
- Category: Bread
- Method: Oven
- Cuisine: American
Soft and squishy, slightly sweet, these no-knead buttermilk pull-apart rolls resemble Parker House rolls in texture and taste. So easy and delicious!
Know this: any bread recipe you love can be mixed a day ahead of time and stashed in the fridge to rise. Or, if you like making rolls, you can make your recipe up to the point where you shape the rolls and stick them in the baking pan, at which point you can stick the pan in the fridge.
As I said, you can do this with any bread recipe you love, but if you don’t have one in mind, I have a thought: buttermilk pull-apart rolls. This is a recipe from Bread Toast Crumbs , my cookbook, and I made it recently with one small change: instead of splitting the dough and baking the rolls in two pans, I fit all 12 (or 24) rolls in one 9×13-inch baking pan.
It’s fun seeing a whole mess of rolls all squished together, and my children enjoyed pulling the mass to pieces. Slightly sweet, soft and squishy, these pull-apart rolls resemble Parker House rolls in both taste and texture and are such a festive bread to serve at Thanksgiving or really any holiday gathering. Easy peasy, too. (There’s both video and photo guidance below.)
If you like to make bread for holiday gatherings or dinner parties, a great way to get a jumpstart on preparations is to make the dough a day in advance.
Happy Thanksgiving, My Friends! I hope all of your preparations are going well. Happy to answer any bread (or other) questions you might have.
PS: No-Knead Thyme Dinner Rolls
How to Make Buttermilk Pull-Apart Rolls, Step by Step
Mix together the dry ingredients: all-purpose or bread flour, instant yeast , kosher salt, and sugar. (Note: For best results use a scale! Metric measurements are given below.)
Pour a scant cup of boiling water over a scant cup of buttermilk and let stand for 10 minutes.
Add the buttermilk-water mixture along with 4 tablespoons melted butter to the bowl of dry ingredients.
Mix to form a sticky dough ball.
Let rise in a warm spot for 2 hours (see recipe notes for details). You can use a cloth bowl cover or a lid here — I love this 4-quart Pyrex bowl + lid set .
After 2 hours, the dough will look something like this:
Turn it out onto a floured work surface. Divide the mass into 12 or 24 small pieces depending on what size roll you wish to make. I prefer the larger size for ease… shaping 24 rolls takes a long time. I typically make a double batch and make 24 larger rolls. Plus the larger size is better for leftover sandwiches. ( Video guidance here. ) Shape each piece into a round and fit into a buttered 9×13-inch pan. I love this 9×13-inch USA pan for so many things.
Cover and refrigerate overnight. I tuck the entire pan into a 2-gallon zip-top bag.
The following morning, let come to room temperature for 1 hour, then bake at 400ºF for 20 to 25 minutes.
Out of the oven, brush the rolls with 2 tablespoons melted butter and sprinkle with sea salt.
Serve immediately with softened butter.
Description
Adapted from Bread Toast Crumbs
11/15/2024 Update: I recently updated the recipe slightly in that I’ve upped the amount of flour from the start to 550 gram, and I’ve also, as a result, upped the salt. This higher amount of flour makes the dough slightly more manageable to work with and does not sacrifice any flavor.
Notes:
Scale: For best results, please use a digital scale to measure.
Salt: I now make these with 15 grams of kosher salt, which is about 5 teaspoons of Diamond Crystal kosher salt or 2.5 teaspoons of Morton. If you are sensitive to salt, use less: 12 grams or 4 teaspoons Diamond Crystal and 2 grams Morton. Note: 15 grams may seem like a lot but the rule of thumb for bread and pizza dough is that the salt should weigh 2 to 3% the weight of the flour. For this recipe, that’s 12 to 15 grams.
Warm place to rise: To create a warm place for your dough to rise, preheat your oven for 1 minute, then shut it off.
Other vessels: If you don’t have a 9×13-inch pan, you can use two 8- or 9-inch round or square pans. I love this 9×13-inch USA pan .
Water : If you live in a humid environment, consider holding back 2 to 4 tablespoons of water (15 to 30 grams) — this dough is very wet and sticky, and while you can use as much flour as needed while shaping, you might save yourself some trouble by holding back some of the water from the start.
Preparing the dough in advance: I have received questions about how many days the shaped rolls can stay in the fridge, and I recently experimented. I let the shaped rolls (with the pan wrapped in plastic wrap) sit in the fridge for 48 hours before baking them. While the texture was the same — as feathery light as ever — I did not like the flavor, which tasted sour, but not in a pleasant way. So, unfortunately, I cannot recommend stashing these in the fridge for much more than 18 – 24 hours. If you must make them ahead of time, I suggest baking them for 20 minutes — the rolls will not be completely brown. Let them cool completely; then wrap the pan. When you need them, place in a 400ºF oven for 5 to 10 minutes; then brush with the butter and sprinkle with salt.
4.25 cups (550 g) all-purpose or bread flour, plus more for shaping
4 to 5 teaspoons kosher salt (12 to 15 g), see notes above
2 tablespoons (25 g) sugar
2 teaspoons (8 g) instant yeast
1 scant cup (235 g) boiling water, or less, see notes above
1 scant cup (235 g) buttermilk
6 tablespoons melted butter, divided
flaky sea salt
- In a large bowl, whisk together the flour salt, sugar, and instant yeast.
- In a 2-cup liquid measure (or something similar), pour the boiling water over the buttermilk and let stand for 10 minutes. Give it a stir. The buttermilk will likely look curdled. This is okay.
- Pour the buttermilk mixture and 4 tablespoons of the melted butter over the flour mixture. Stir until a sticky ball of dough forms. Cover the bowl with a tea towel or lidded vessel — I love this 4-quart Pyrex bowl + lid set, and set aside in a warm place to rise (see notes above) for 2 hours, or until doubled in bulk.
- Grease a 9×13-inch baking dish. Flour a work surface and sprinkle flour lightly over the dough and around the edges. The dough will be very sticky, so use flour as needed. Gently coax the dough out of the bowl onto the floured work surface and shape into a rough ball ( video guidance here ) using flour as needed. Use a bench scraper to divide the ball into 24 portions (about 45 grams each if you feel like measuring) or 12 portions (about 90 grams each).
- Using as much flour as necessary, shape each piece roughly into a circle. It’s okay if each piece is a little misshapen. Place the dough balls into the prepared pan, spacing them evenly apart.
- At this point, you can cover the pan and refrigerate overnight. Otherwise, heat the oven to 400ºF. Let the dough rise, uncovered, for 25 to 35 minutes, or until the dough pieces have puffed to almost fill the pan. (Note: If you refrigerate overnight, remove the pan at least 1 hour prior to baking.)
- Transfer the pan to the oven and bake for 20-25 minutes, or until golden brown. Remove the pan from the oven and immediately brush the surfaces of the rolls with the remaining 2 tablespoons of melted butter. Sprinkle flaky salt over top to taste. Let the rolls cool in the pan for 5 minutes, then turn the pan out onto cooling racks and invert onto a plate or serving platter.
- Serve warm with more butter on the side.
- Prep Time: 3 hours
- Cook Time: 25 minutes
- Category: Bread
- Method: Oven
- Cuisine: American
Find it online : https://alexandracooks.com/2019/11/24/no-knead-buttermilk-pull-apart-rolls-overnight-or-not/


Earlier this fall, Margaret Roach and I spent some time cruising around the cookbook table at HGS Home Chef and noticed a theme: spice!
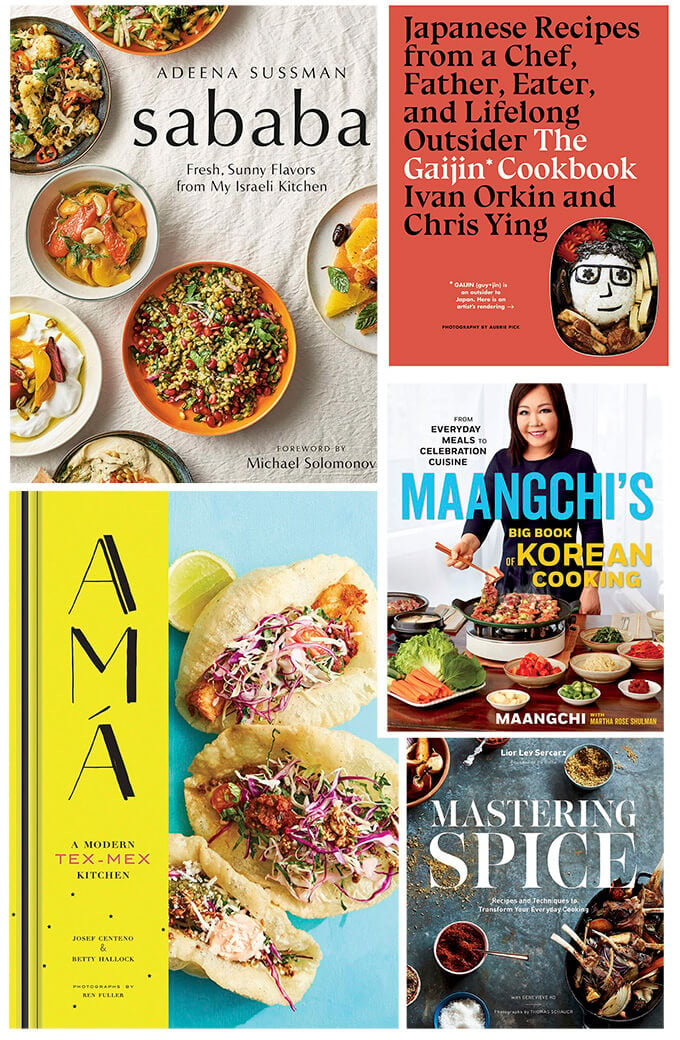
And so, for our annual cookbook chat , we’ve narrowed the focus to cookbooks whose recipes and resources will help spice things up in the kitchen. These are the five books we discuss (with the exception of Amá, due to time constraints):
- Sababa by Adeena Sussman
- The Gaijin Cookbook by Ivan Orkin and Chris Yin
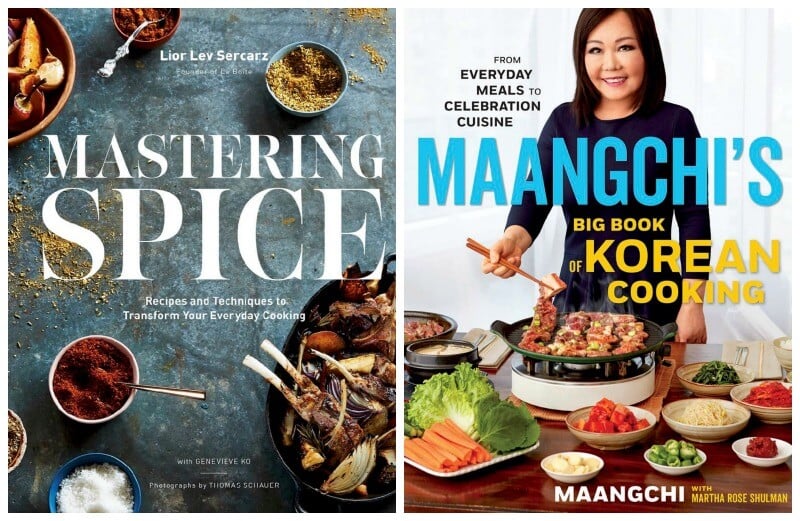
- Mastering Spice by Lior Lev Sercarz
- Maangchi’s Big Book of Korean Cooking by Maangchi
- Amá by Josef Centeno and Betty Hallock
Thanks to these new books, I’ve been enjoying: herby tahini sauce with harissa Brussels sprouts, stir-fried udon with cabbage, japchae with mushrooms and scallions, roasted vegetables with fennel and sumac, and tahini blondies with sesame seeds and cardamom.
But just as much as I am enjoying cooking from each of these cookbooks, I am enjoying reading them — the stories in each are captivating. I’ve reviewed each briefly below.
Listen to my chat with A Way to Garden’s Margaret Roach here .
Also: There’s a giveaway! I’m giving away a copy of Maangchi’s Big Book of Korean Cooking. Margaret’s giving away a copy of Mastering Spice . Details below.
UPDATE: Winner is Nancy Schwartz. I have emailed you.
PS: Margaret Roach’s Garden is Magical
PPS: Soup’s On! A Chat with Margaret Roach
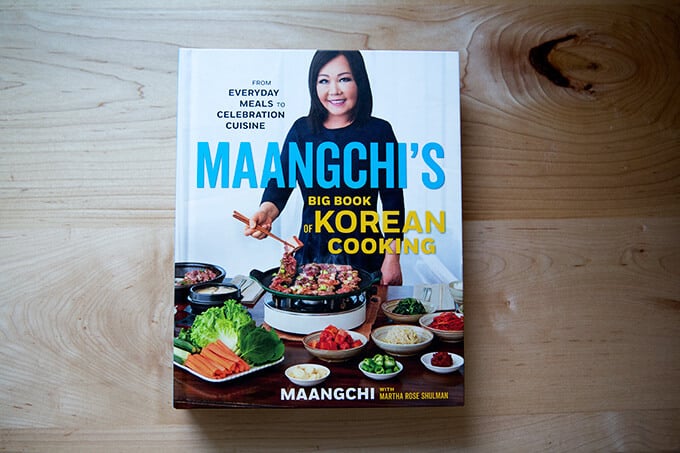
Maangchi’s Big Book of Korean Cooking
If you are familiar with Maangchi, you’ve likely watched one of her YouTube videos . But in the intro to Maangchi’s Big Book of Korean Cooking , Maangchi writes that while videos are great for demonstrating technique, they don’t show the larger picture of how recipes fit together to make up a cuisine.
But MBBKC does. It feels encyclopedic, a comprehensive guide to Korean cooking from how to shop and stock a pantry to the recipes themselves, which extend from banchan (small side dishes) to street food to one-bowl meals.
There is even a chapter dedicated to the vegan recipes she learned from a group of nuns while visiting a Buddhist temple in the mountains.
Maangchi is funny, and I love what she says about plating: she’s not into serving a tiny amount of food on a small plate, preferring instead to plate “mountain” style, in which everything is heaped into a large, gently sloping mound, which she says reflects her culture’s most important value: generosity.
I made her recipe for japchae, a dish made with translucent sweet potato starch noodles, lots of vegetables, and meat if you wish. Get the recipe: Vegetarian Japchae
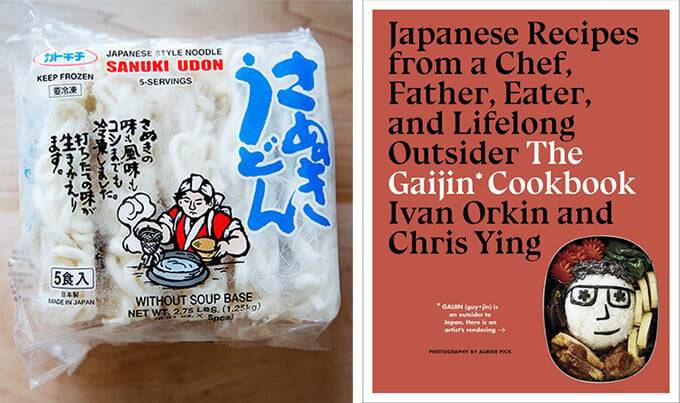
The Gaijin Cookbook
The word “gaijin” means foreigner or outsider but implies “intruder.”
Ivan loves both the culture and the food of Japan, and with The Gaijin Cookbook , he hopes to dispel the idea that all Japanese food is “precious and high flying stuff.”
He thinks in general Japanese food gets treated with an over-the-top reverence, but notes that “a Japanese life encompasses the same range of situations as an American one. There are busy weeknights and weekends when you feel ambitious, picky kids, special occasions, dreary winters, sweltering summers, picnics, potlucks, parties, and hangovers. And there’s food for every occasion.”
The Gaijin Cookbook is not a manual for making perfect sushi or a comprehensive guide to Japanese food. The recipes extend from mostly simple to more elaborate (homemade dumplings or dan dan noodles or temaki (hand rolls)) but the section I’m loving the most is the chapter about Teishokuya, which Ivan relates to an American diner: cheap, everyday Japanese food in its purest form.
Thanks to the book, I bought a big bag of frozen udon noodles, pictured above, and they are SO nice to have on hand as fresh udon noodles can be difficult to find. I made the stir fried udon with cabbage and loved it, and what I’m loving about the book is that if you have soy sauce, mirin, miso, and sake on hand, you can make so many of the recipes.
Final thought: Throughout the book, Ivan reflects on what he’s learned from the Japanese culture as a whole, such as: care for others, not getting in other’s way, reading the air. I love these little reflections and stories — it’s such a great read.
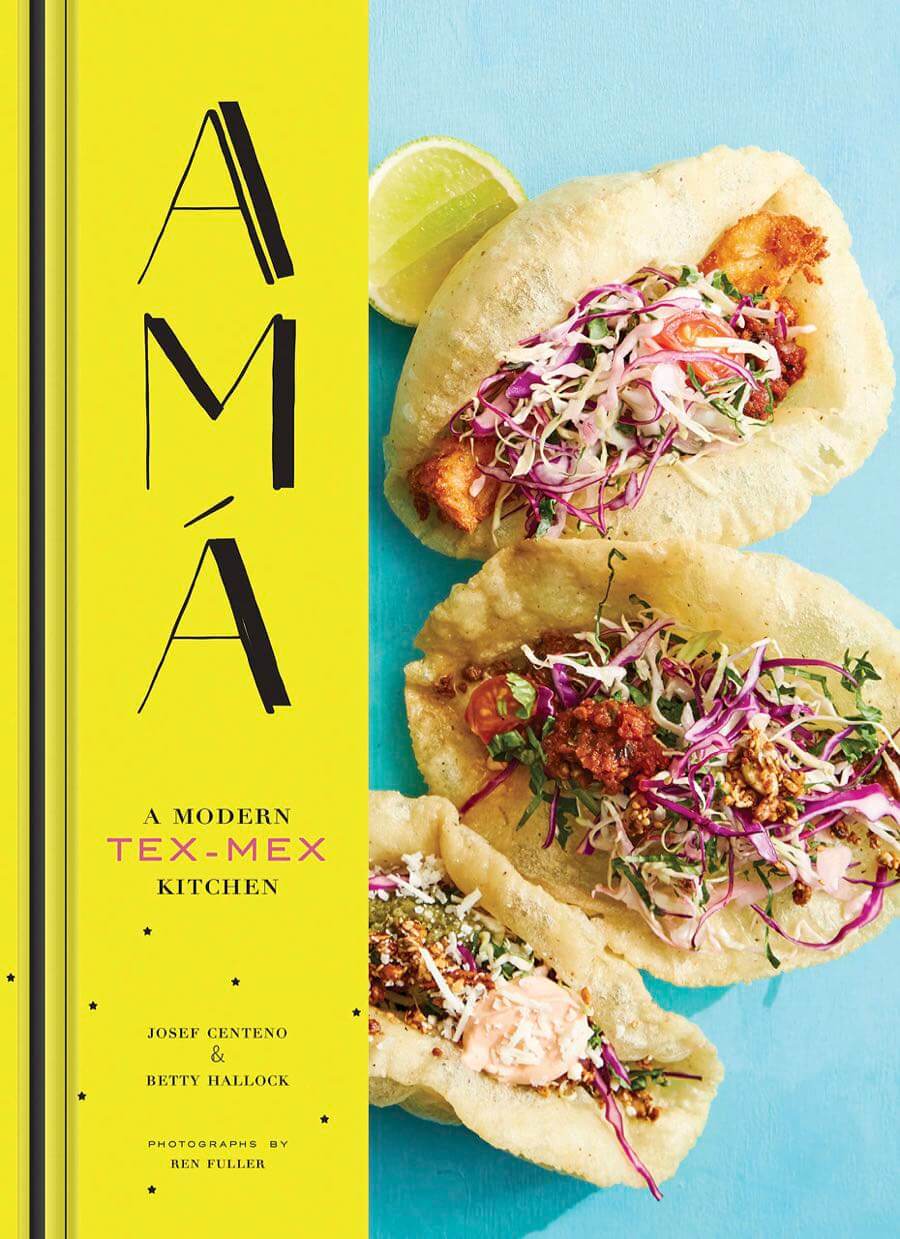
Amá: A Modern Tex-Mex Kitchen
Amá tells the story of Los Angeles chef, Josef Centeno, who grew up in San Antonio, Texas, but wanted to get away. In the intro he writes he once “turned his back” on Tex-Mex cuisine.
With aspirations to be a chef, a young Josef moves away from home, heading first to NYC and eventually to cities all over the country cooking French, Japanese, and Spanish cuisines in Michelin 3-star kitchens.
But when he finds himself thinking about Tex-Mex, the cuisine of his childhood, he returns to San Antonio. And after he eats all the tacos and queso he can, he discovers this is not the food he’s after either.
He’s searching, he realizes, for the food of his family, of his Amá (his grandmother), of a Tex-Mex cuisine the modern, commercialized version has bastardized.
Josef describes the food he grew up with as “simple cooking that [isn’t] authentically Mexican but not the melted-cheese-topped stuff people usually talk about when describing Tex-Mex.”
Contrary to what many people think, Tex-Mex can be very vegetable forward — the vegetable dishes are not limited to salsa and guacamole — and the influences can be diverse. Tex-Mex, moreover, doesn’t have to be super fatty; it can rely on spices to add flavor, not the deep fryer or heaps of queso and sour cream.
And like any cuisine, Tex-Mex, evolves and adapts.
I have not cooked any of the recipes yet but I’m feeling inspired by the many fresh, bright flavors. On my to-do list: pick up a ton of dried chilies along with Mexican oregano to make the Amá spice mix, a blend that finds its way into many of the recipes.
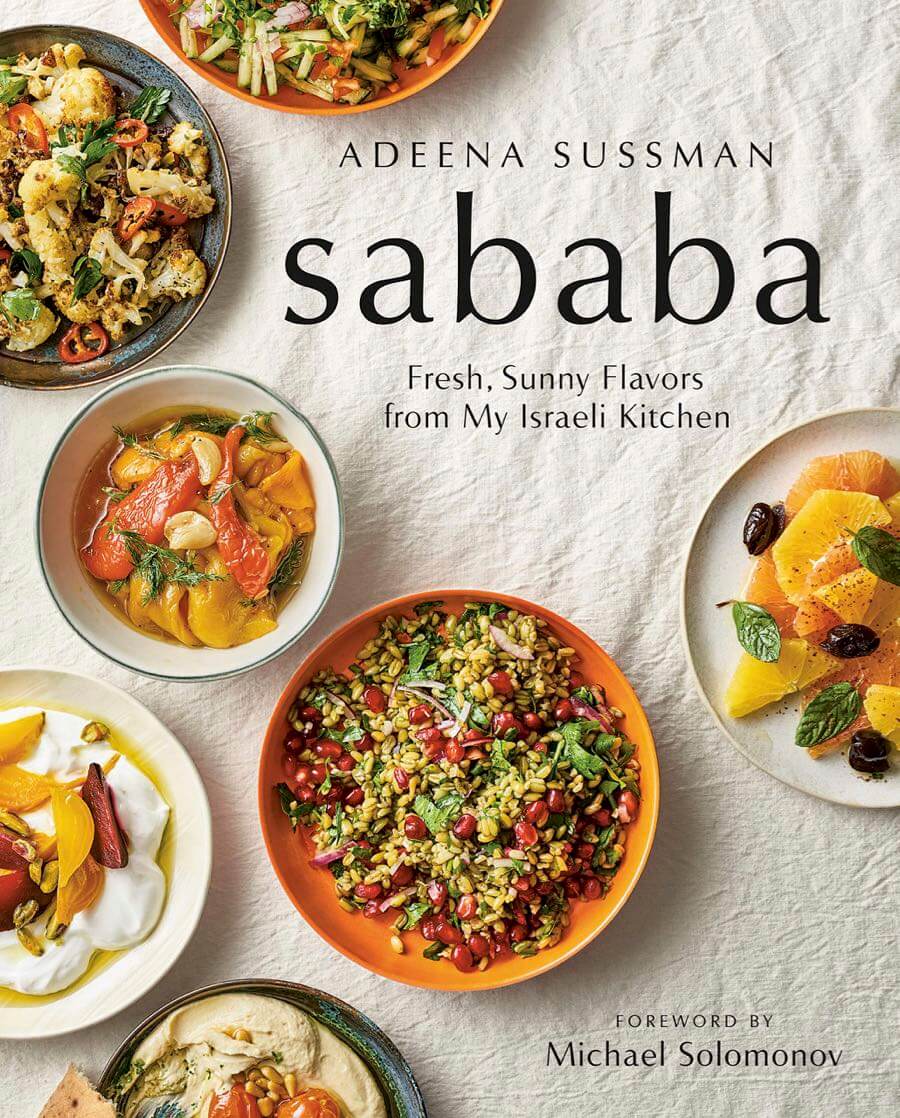
Sababa
“Sababa” means “everything is cool” or “it’s all good,” and as you flip through Adeena Sussman’s Sababa , this is the feeling you get — from her morning ritual visiting a local market, the Shuk HaCarmel, a place she describes as her “constant companion,” to her trips to world-renowned restaurants serving the best hummus and falafel, Adeena gives you a real glimpse into her dreamy Tel Aviv kitchen.
And with Sababa , she makes all of this food accessible to the home cook. In addition to providing resources for where to buy pantry staples, she gives recipes for homemade versions or alternatives if you can’t buy or make either. For instance, if you can’t find pomegranate molasses, you can make your own in 45 minutes with a bottle of pomegranate juice and honey. And if you can’t find dried Persian limes, you can use lime zest and fresh lime juice.
I made her basic tahini sauce recipe, which is delicious, and I made one of the variants by puréeing it with a ton of parsley and cilantro. I topped this herby purée with one of her suggested garnishes, harissa Brussels sprouts, which also were delicious. The combination as a whole with the many variations is something I foresee re-visiting often.
Sababa is not a comprehensive guide to Israeli food, but rather a window into how Adeena cooks right now. She uses a lot of fresh produce, a lot of acidity, and a lot of herbs, spices, and toasted nuts — I love this style of cooking.
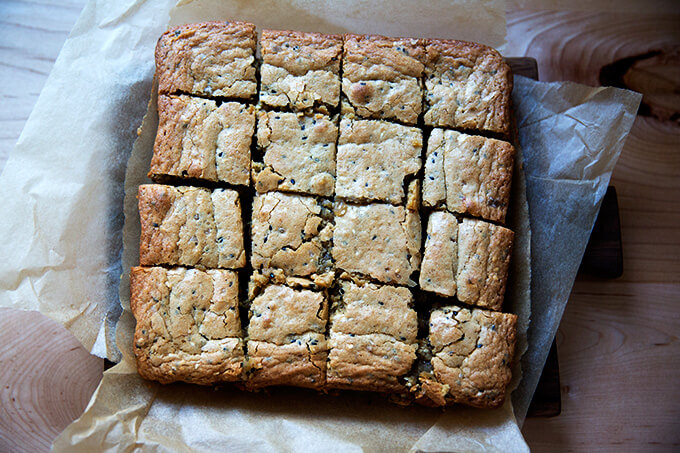
Tahini blondies from Sababa.
Mastering Spice
Mastering Spice is much more than a book about blending spices and learning about which spices go with which foods: it’s about cooking techniques that incorporate spice, and it’s about building off these basic techniques to transform everyday cooking.
Lior writes: “Rather than swap methods for roasting vegetables or simmering beans, I simply switch the seasonings. This is a great way to learn how to cook: mastering basic techniques makes it easier to master new seasonings.”
For example, a creamy carrot soup can be flavored with smoked paprika and cumin or basil and oregano or turmeric and lime. This same creamy carrot soup, incidentally, can be used to sauce pasta, a dish Lior garnishes with poppy seeds, which looks/sounds divine.
Mastering Spice is not a vegetarian cookbook, but there is a focus on non-meat dishes, because that’s mostly how Lior cooks these days.
I’m inspired by his use of spice in unexpected ways. For instant, he uses curry spices in dessert and cinnamon on meat. He writes: “No one spice or blend belongs to one culture or place: ras-el-hanout tastes amazing in a strawberry salad.”