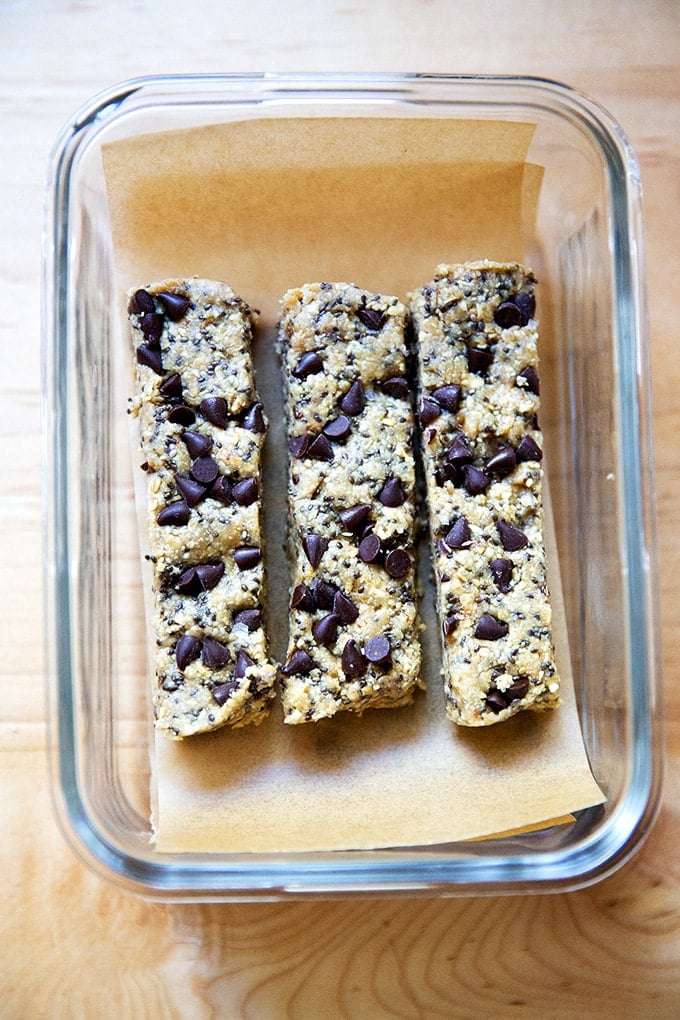
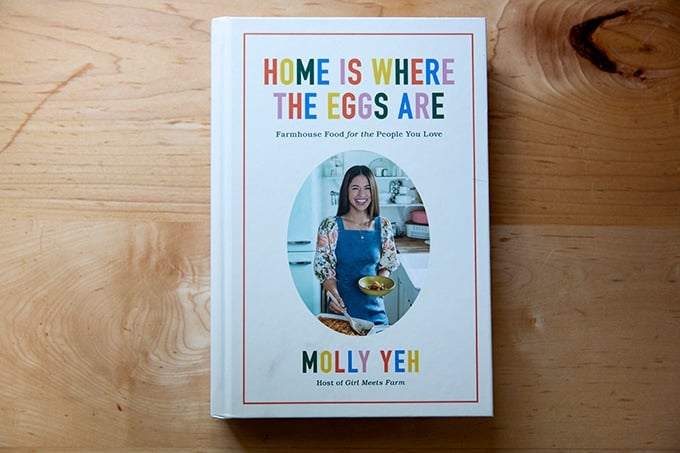
Upon flipping through Molly Yeh’s new book, Home is Where the Eggs Are , I found myself immediately drawn to the cookie dough oat bars, which Molly describes as “the new staple bar of your dessert-as-breakfast dreams.”
My children love granola bars — Z-Bars, Clif Bars, Chewy Quaker Oat Bars — and if I’m being honest, I do, too. When we have a box of peanut butter Clif Bars on hand, I have a hard time resisting them. And while there are worse things to snack on, I never feel great buying or eating them.
It was time to give making granola bars from scratch another go. Molly’s bars looked simple enough, a no-bake recipe she noted she could make with Bernie, her daughter, strapped to her in her carrier and “toss in whatever mix-ins were within arm’s reach.”
Encouraged by this note, along with another about the many variations — approximately 435,785,406 — Molly has made over the years, I made them with a few substitutions: chia seeds, melted butter, and chopped dark chocolate for the hemp seeds, coconut oil, and mini chocolate chips, respectively.
They turned out beautifully, tasting, as Molly promised, like cookie dough — seed-flecked, toasted-oat cookie dough. The first batch disappeared quickly, and I have since made many variations, including the original recipe as well as one with almond flour in place of the seeds, when I found myself without any. They all work, so play around! I do think the mini chocolate chips (as opposed to larger ones or a chopped chocolate bar) work best.
Friends, Molly Yeh’s new book, Home is Where the Eggs Are , is so much fun. If you follow Molly on Instagram or watch her Food Network Show , you know she exudes joy. But what this book has reminded me of is that she is such an excellent writer, too, her recipe head notes and chapter openers reflecting the witty and self-effacing, honest and curious, whimsical but approachable Molly Yeh that captivated us from the very beginning .
If you are someone who likes to read cookbooks cover to cover as you would a novel, this will be a great addition to your library. Bonus: All of the baking recipes include gram measurements 🎉🎉🎉
How To Make No-Bake Granola Bars, Step by Step
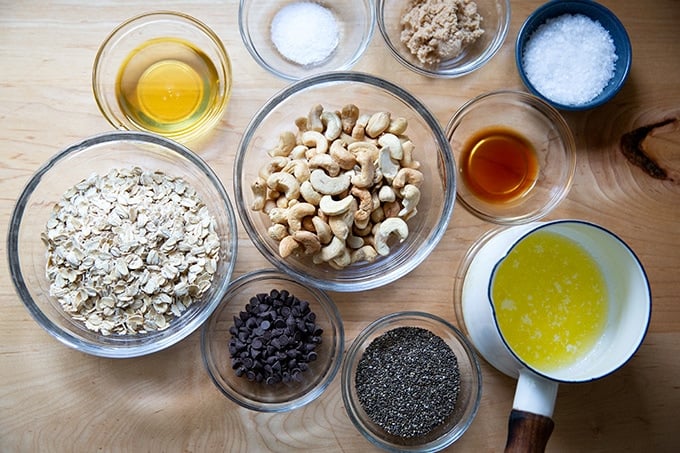
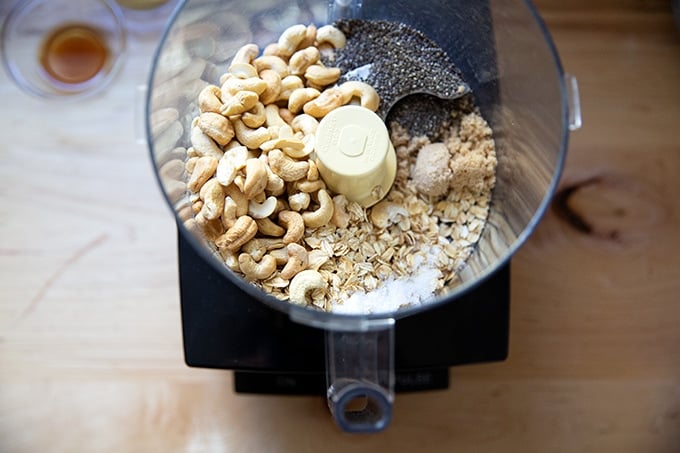
Gather your ingredients:
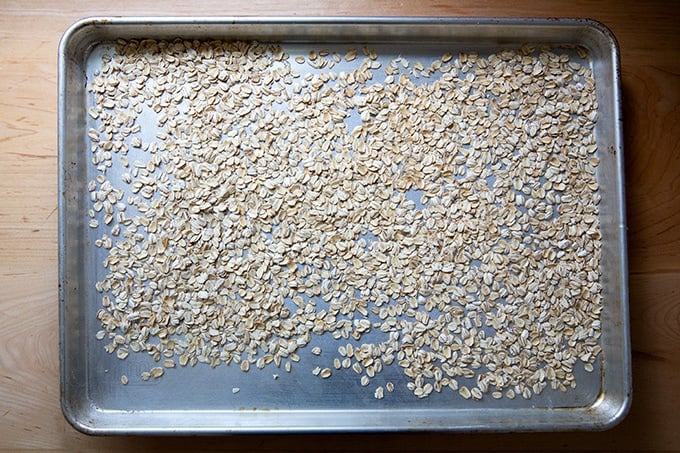
Toast the oats for 10 minutes.
Then transfer them to a food processor with cashews, chia or hemp seeds, salt, and brown sugar.
Purée until very fine.
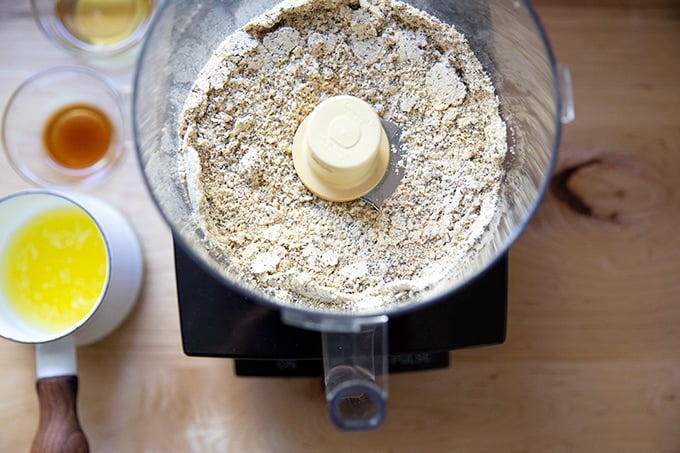
Add melted butter or coconut oil, honey or maple syrup, and vanilla.
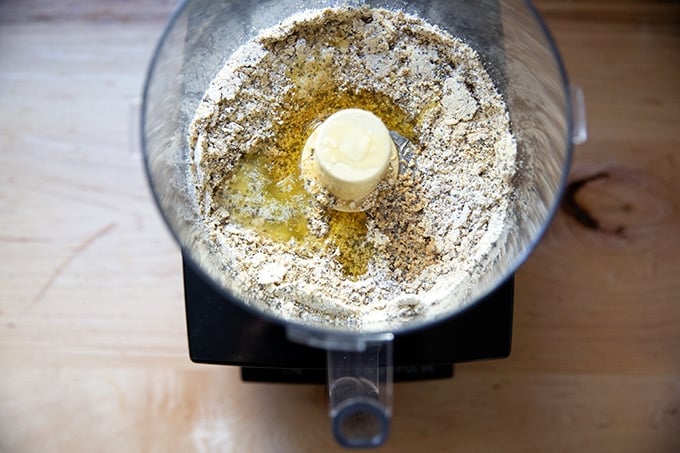
Process until the mixture begins to come together.
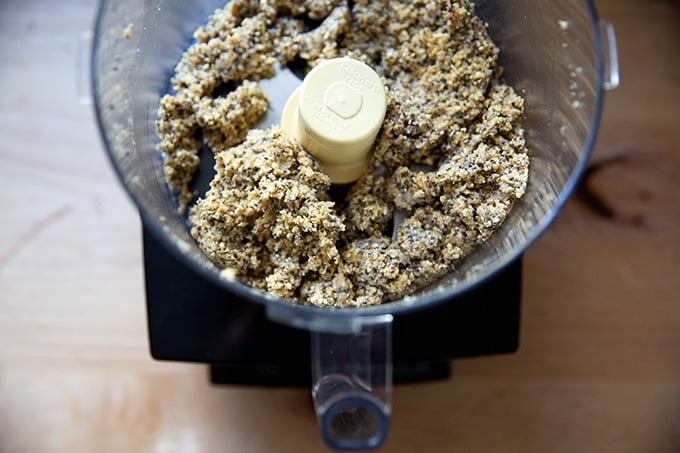
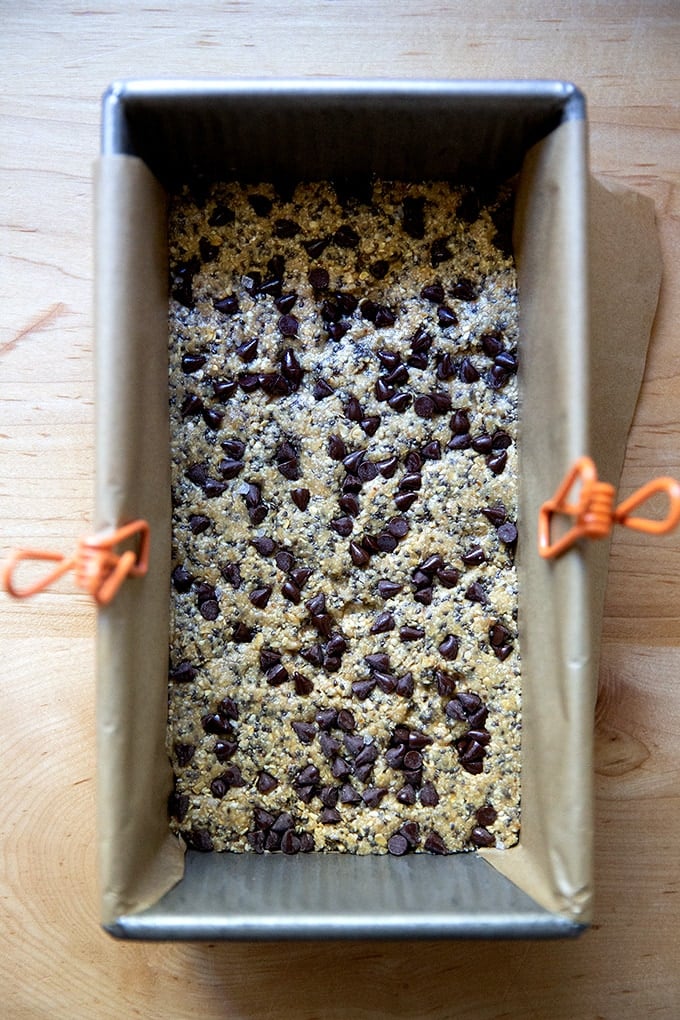
Press into a pan. Top with chocolate chips and sea salt. Press again. Then chill for 1 hour.
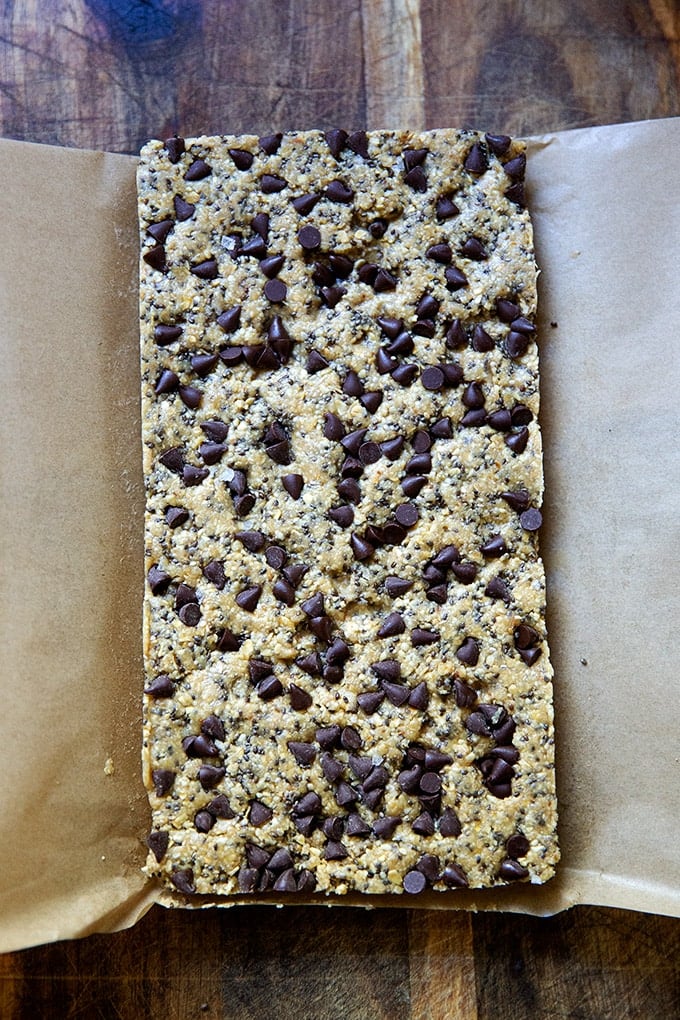
Remove from the pan.
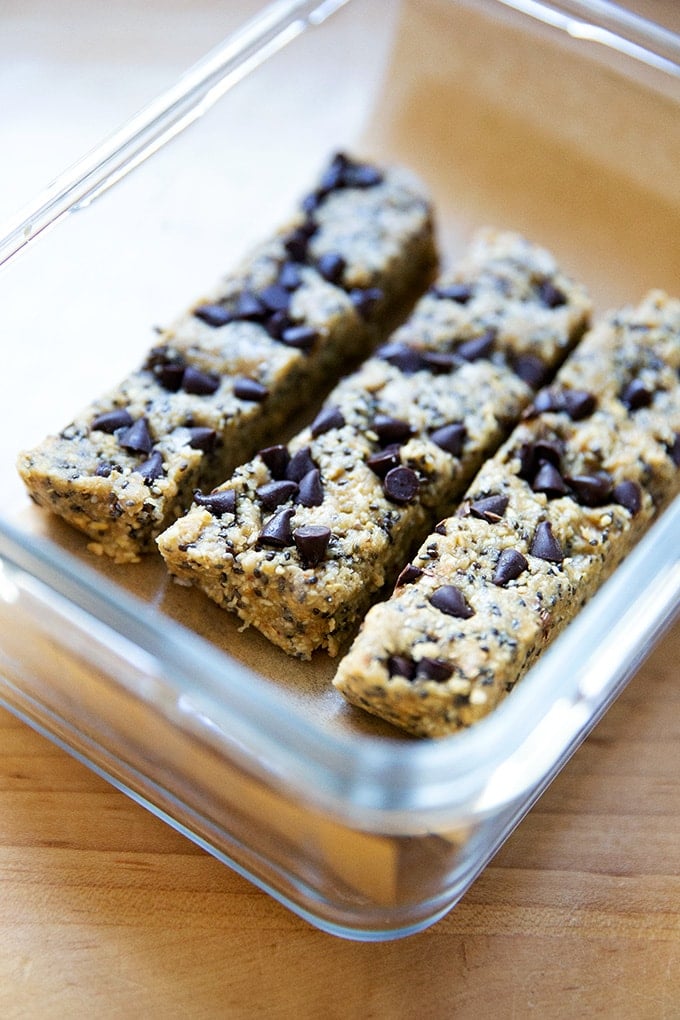
Then cut into bars and store in the fridge for up to two weeks.
Description
From Molly Yeh’s new book Home is Where the Eggs Are
In the book, Molly notes she has made approximately 435,785,406 variations of these bars, so I think it’s safe to say you can adapt this recipe to what you have on hand. I have tried many variations but the one I love best includes chia seeds, honey, and melted butter, which of course pushes them out of the vegan category. That said, I have made the vegan version with coconut oil and maple syrup, and they are delicious.
- 1 cup ( 90 grams ) rolled or quick-cooking oats
- 1 cup ( 144 grams ) whole raw cashews
- 1/4 cup ( 32 grams ) chia or hemp seeds
- 1 tablespoon ( 13 grams ) packed light brown sugar, plus more to taste
- 1/2 teaspoon kosher salt
- 3 tablespoons ( 38 grams ) coconut oil or melted butter
- 2 tablespoons ( 42 grams ) honey or maple syrup, plus more if needed
- 1 1/2 teaspoons vanilla extract
- 2 tablespoons ( 30 grams ) semisweet mini chocolate chips
- Flaky sea salt
- Heat the oven to 350ºF. Line a loaf pan with enough parchment to come all the way up on the long sides and allow 1-inch wings. Set aside.
- Spread the oats on a rimmed sheet pan and toast until fragrant and slightly darker, about 10 minutes. Add to a food processor along with the cashews, seeds, brown sugar, and salt and blend until very fine, like the consistency of fine breadcrumbs. Add the coconut oil or butter, honey or maple syrup, and vanilla and blend until the mixture is combined and starts to form a dough. It’ll still look crumbly in the food processor, but if you squeeze some in your hand, it should stick together. (If it feels a little too dry, you can add a touch more coconut oil/butter or honey/maple syrup.) Taste it and if you’d like it to be sweeter, blend in up to 1 tablespoon (13 grams) more brown sugar.
- Press the mixture into the prepared loaf pan, spreading it out firmly and evenly. I find if I lay one of my plastic bench scrapers atop the dough and press down on it, I can get a nice even layer. Press the chocolate chips firmly into the top and sprinkle with a pinch of flaky sea salt. Transfer to the fridge for at least 30 minutes, then remove and slice into 8 small bars. Return to the fridge. They are hard to resist upon cutting, but I like them even better when they’ve firmed up longer in the fridge. Store in an airtight container in the fridge for up to a couple of weeks.
- Prep Time: 20 minutes
- Category: Snack
- Method: No-Bake
- Cuisine: American
Find it online : https://alexandracooks.com/2022/10/15/no-bake-granola-bars-gluten-free-vegan/
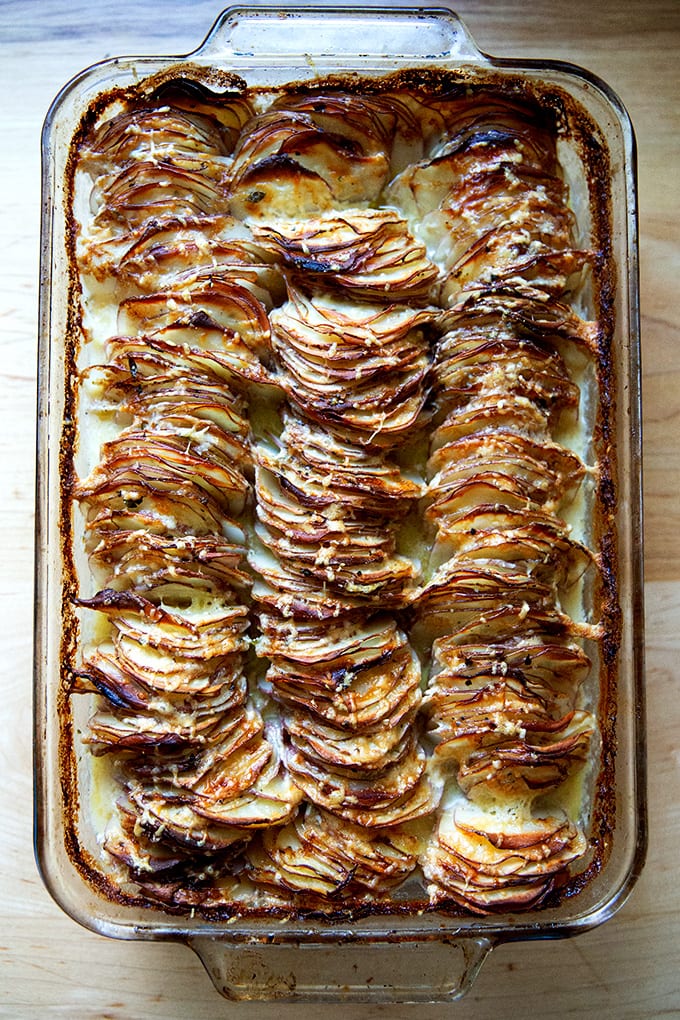
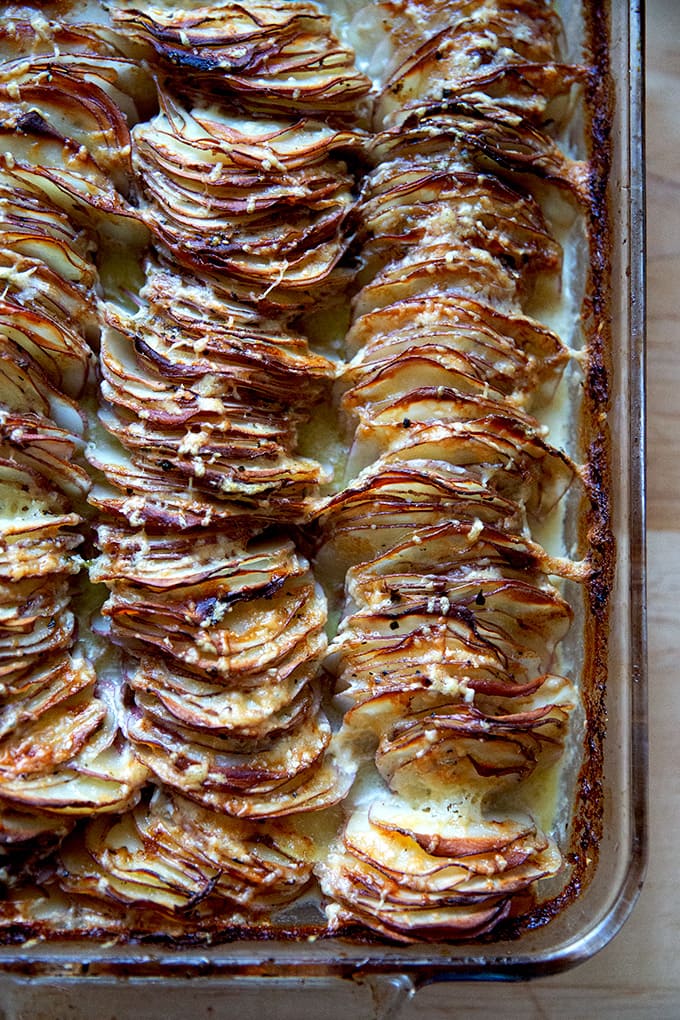
Last weekend, in an effort to make use of the many pounds of potatoes gathering on my counter, I made a recipe that had caught my eye about this time of year last fall: The New York Times Cheesy Hasselback Potato Gratin , a stunning assembly of cascading crispy-tipped, herb-flecked, cheese-encrusted potatoes.
I made the mistake of not reading the recipe before beginning, and halfway through grating the Gruyère, I realized the gratin would need to cook for 90 minutes.
I hadn’t even started on the potatoes, which required peeling and slicing, but I decided to push on anyway, taking some liberties with the instructions, namely one big time-saving step: I would skip peeling the potatoes.
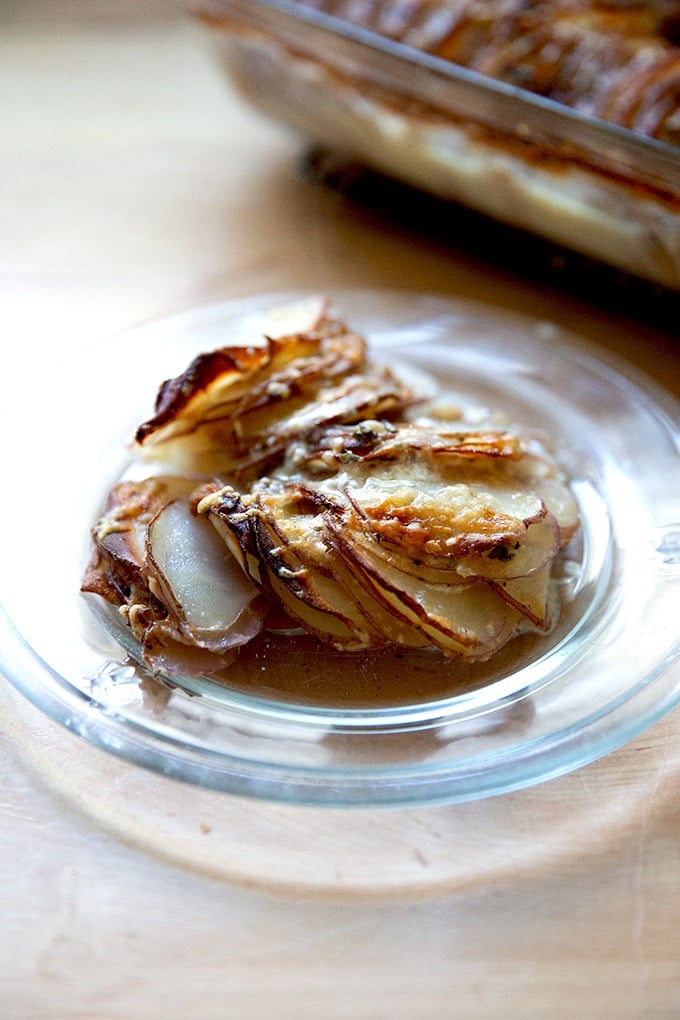
Friends, it was a gamble, but guess what? It didn’t matter! The gratin was just as beautiful visually and tasted heavenly, the earthy flavors of thyme and nutty notes of the cheese permeating the whole dish from the crispy potato tips to their creamy interiors. I served it aside roasted striped bass, and the whole combination filled me with excitement for the many holiday dinners in the months ahead.
I made one other small change to the recipe: in place of 1 cup of the heavy cream, I used one cup of stock, which is what I do in this favorite Alice Waters potato gratin recipe .
With that in mind: I cannot imagine a Thanksgiving without Alice’s potato gratin on the table, which has been a staple for as long as I can remember. That said, isn’t it kind of fun to switch it up? I no doubt will make both to ensure no betrayal is committed.
PS: Thanksgiving Menu 2022
PPS: 25+ Thanksgiving Side Dishes
How to Make This Potato Gratin Ahead of Time + Gear
Planning Thanksgiving dinner is about managing logistics more than anything else, and being able to make things ahead of time is essential. Here are some tips as well as a few notes about gear.
- To make this gratin ahead of time, follow the recipe removing it from the oven after it has baked for 60 minutes. Let it cool, cover it with foil, then chill. When ready to bake, bake it covered for 20 minutes, remove the foil, sprinkle with the reserved cheese, and return to the oven for another 20 minutes or until the mixture is evenly golden and bubbling.
- I would not recommend making this without a mandoline. This one works great and is very safe to use. This one also works great and, if you use the guard, is also safe.
- I can’t recommend enough investing in a very large bowl . At Thanksgiving especially, I find myself using this all the time for making double batches of things, namely stuffing.
Hasselback Potato Gratin, Step by Step
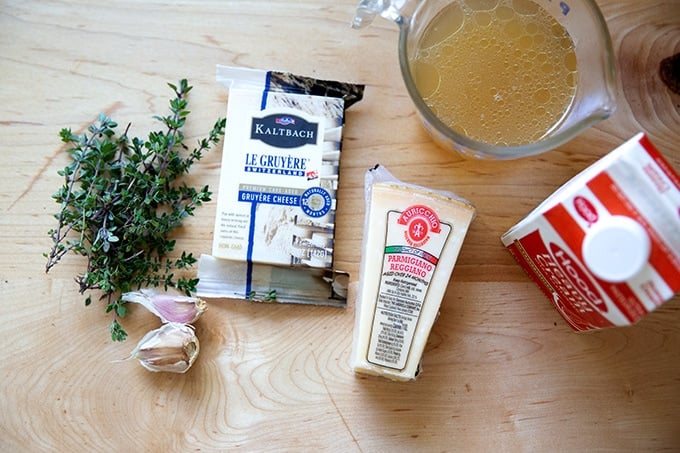
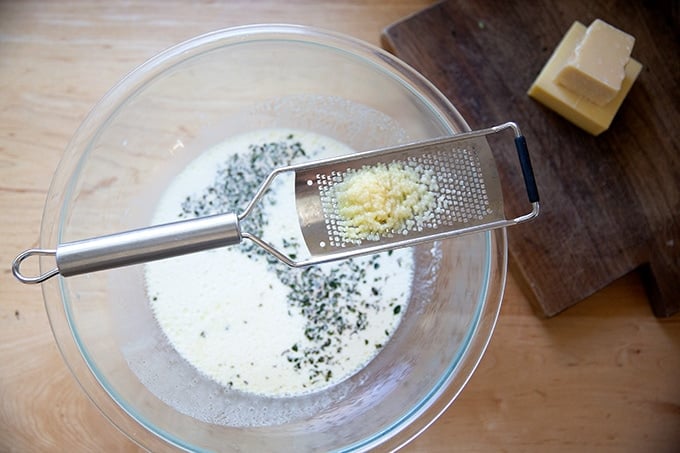
Gather your ingredients: thyme, garlic, Gruyère, parmesan, chicken stock or vegetable stock , and heavy cream.
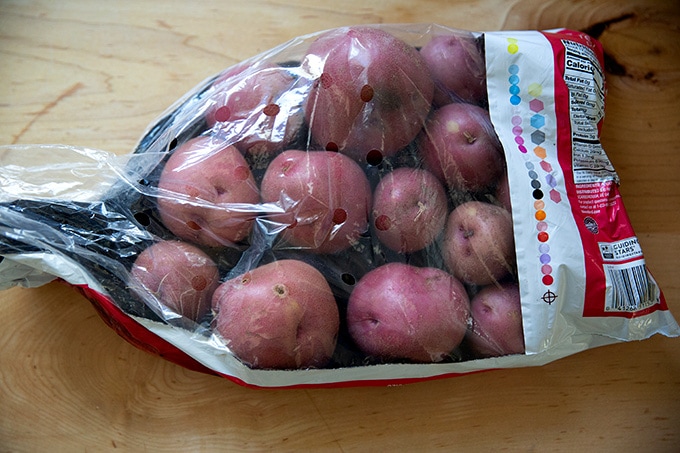
You’ll also need 4 to 4.5 pounds of potatoes. Red potatoes work well here.
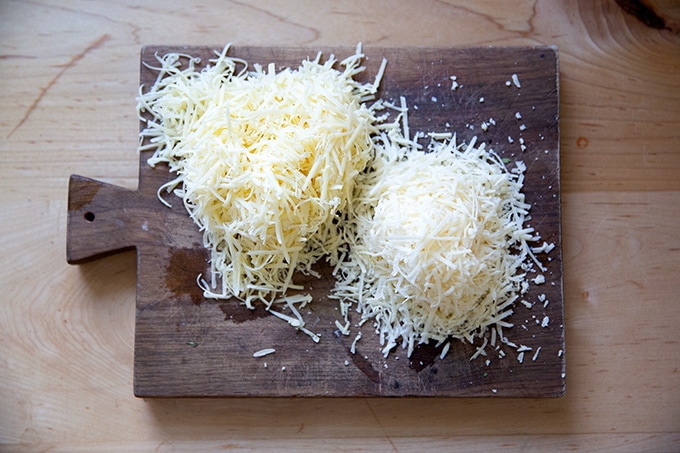
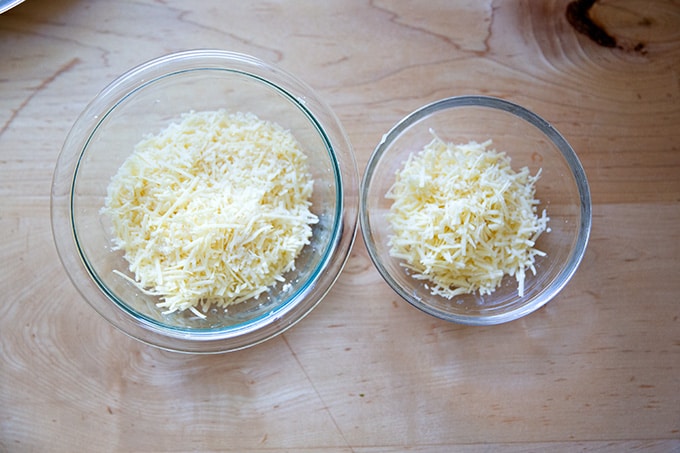
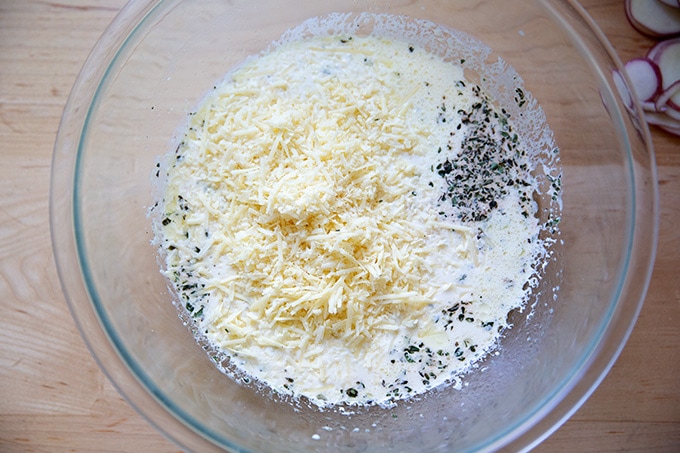
Start by grating the Gruyère and parmesan. Combine them in a bowl, then …
… set aside 2/3 cup of the mixture (bowl on the right).
In your largest bowl, stir together the cream, stock, chopped thyme, and minced garlic. I love using my microplane for garlic.
Add the grated cheese and stir to combine.
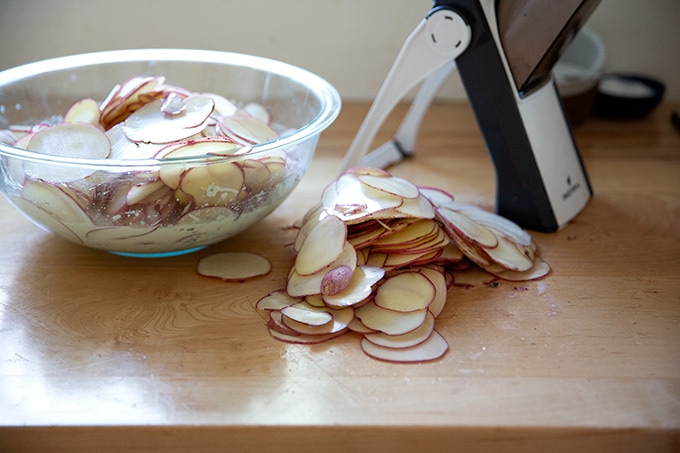
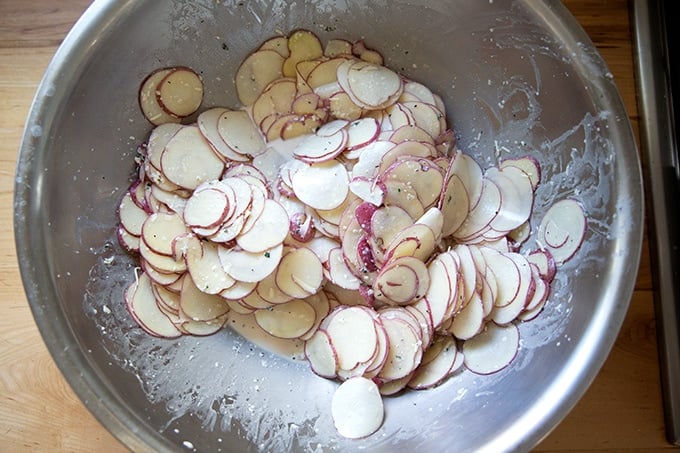
Next, you’ll slice the potatoes as thinly as possible. As noted above, I don’t recommend making this recipe without a mandoline. This one works great and is very safe to use. This one also works great and, if you use the guard, is also safe. Add the potatoes to the bowl as you slice.
Season generously with salt and pepper, then toss to coat.
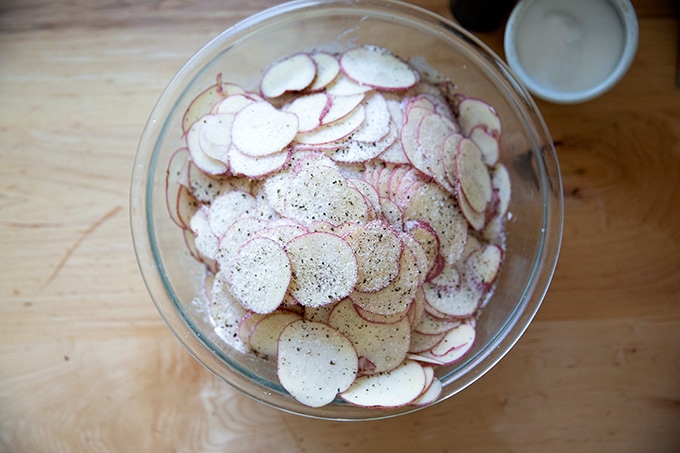
I broke out the big bowl! If you have the storage space, this bowl is wonderful for these sorts of jobs.
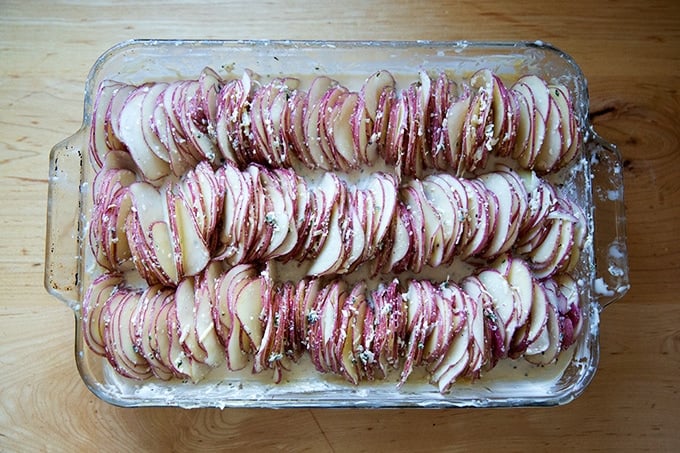
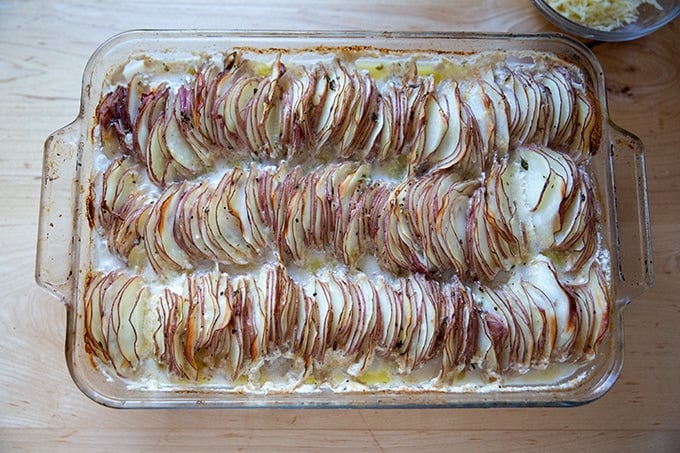
Finally, the fun part: assembly! Transfer the potatoes by the handful to the gratin dish arranging them vertically. Pour the remaining liquid from the bowl into the baking dish.
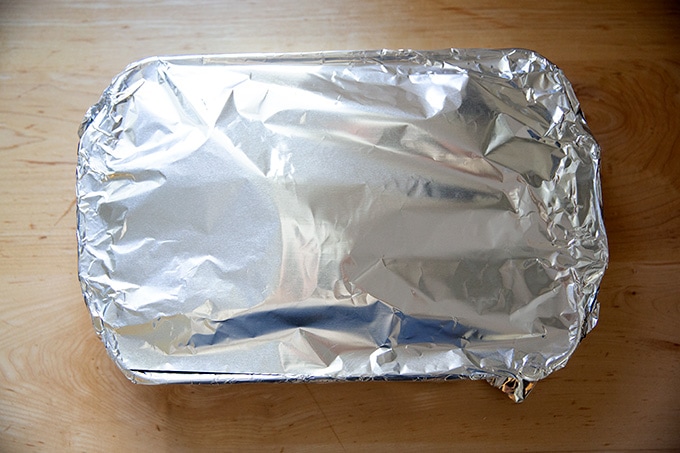
Cover with foil; then bake for 30 minutes at 400ºF.
Uncover; then return to the oven for another 30 minutes.
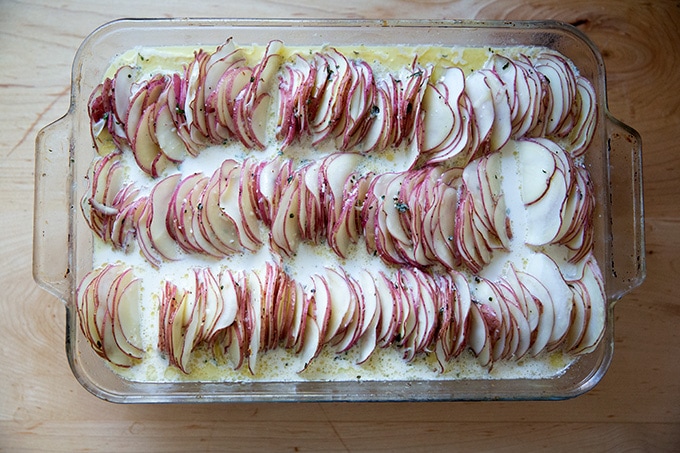
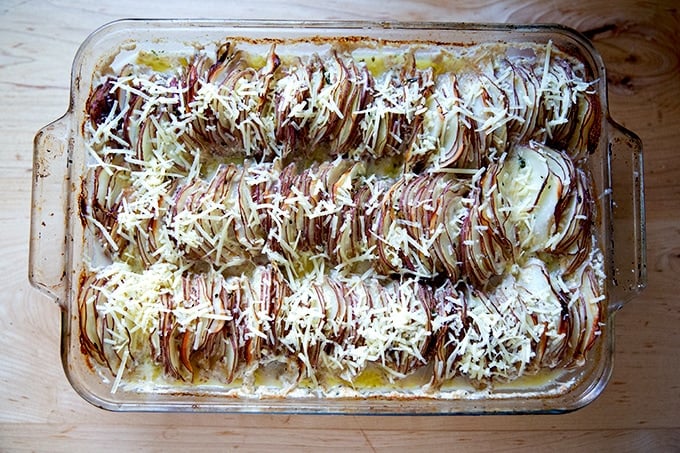
Remove again and …
… sprinkle with the reserved cheese. Return to the oven one last time for another 30 minutes.
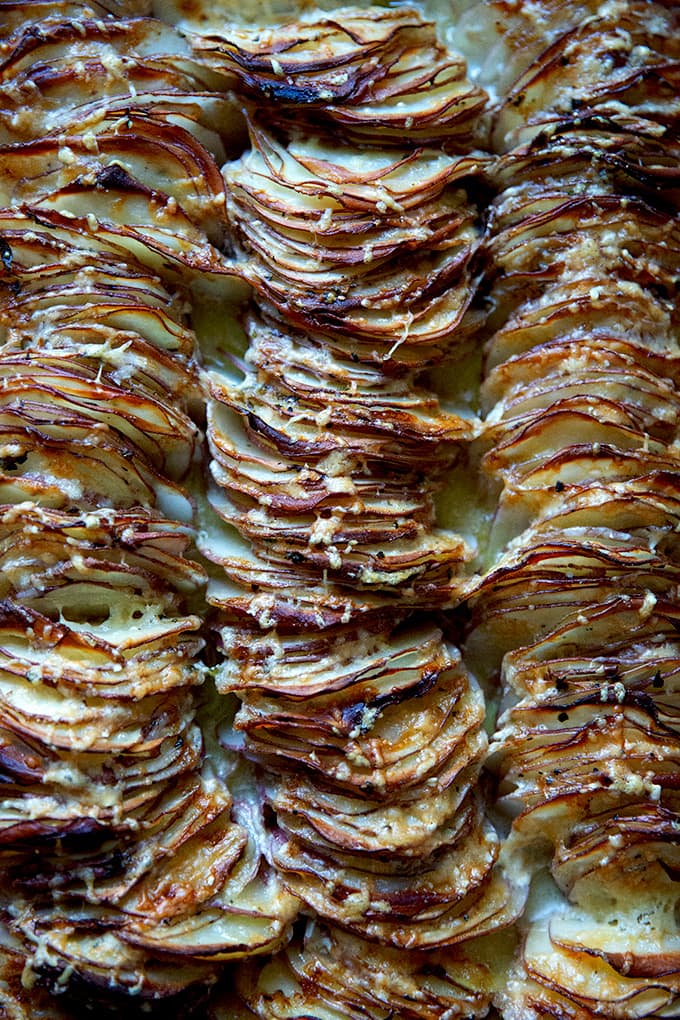
Ta-da!
Isn’t she pretty?
Description
Adapted from Serious Eats & The New York Times
Notes:
I would not recommend making this without a mandoline. This one works great and is very safe to use. This one also works great and, if you use the guard, is also safe.
Plan ahead: this recipe takes a total of 90 minutes to bake + 30 minutes to prep.
To make it ahead and reheat, remove the gratin from the oven after it has baked for 60 minutes. Let it cool, cover with foil, then chill. When ready to bake, bake covered for 20 minutes, remove foil, sprinkle with the reserved cheese, and return to the oven for another 20 minutes or until the mixture is evenly golden and bubbling.
I can’t recommend enough investing in a very large bowl . At Thanksgiving especially, I find myself using this all the time for making double batches of things, namely stuffing.
The original recipe calls for using 2 cups of heavy cream, but I find it just as tasty when made with 1 cup of heavy cream and 1 cup of stock.
The original recipe also calls for peeled potatoes, but I don’t think peeling is necessary.
3 ounces (about 1 1/3 cups ) grated Gruyère or comté cheese
2 ounces (about 2/3 cups ) grated Parmigiano-Reggiano
1 cup heavy cream
1 cup chicken stock or vegetable stock
2 medium cloves garlic, minced
1 tablespoon fresh thyme leaves, roughly chopped
Kosher salt and black pepper
4 to 4½ pounds red potatoes, unpeeled and sliced ⅛-inch thick on a mandoline slicer
softened butter for greasing
- Adjust the oven rack to the middle position and heat the oven to 400ºF.
- Combine the cheeses in your largest bowl, see notes above. Transfer ⅓ of the cheese mixture (roughly 2/3 cup) to a separate bowl and set aside. Add the cream, stock, garlic, and thyme to the large bowl. Season generously with salt and pepper — I season with 4 to 4.5 teaspoons of kosher salt (Diamond Crystal brand): I find a good rule of thumb to be 1 teaspoon of kosher salt per pound of potatoes. If you are using Morton Kosher salt or fine sea salt use half as much salt.
- Add potato slices and toss with your hands until every slice is coated with the cream mixture, making sure to separate any slices that are sticking together to get the cream mixture in between them.
- Grease a 9×13-inch baking dish with the softened butter. Pick up a handful of potatoes, then transfer them to the baking dish with their edges aligned vertically. Continue placing potatoes in the dish, until all the potatoes have been added. The potatoes should be tightly packed. If necessary, slice an additional potato, coat with the cream mixture, and add to the baking dish. Pour the excess cream/cheese mixture evenly over the potatoes.
- Cover the dish tightly with foil and transfer it to the oven. Bake for 30 minutes. Remove foil and continue baking until the top is pale golden brown, about 30 minutes longer. Carefully remove from oven, sprinkle with remaining cheese, and return to oven. Bake until deep golden brown and crisp on top, about 30 minutes longer.
- Remove from oven, let rest for a few minutes, and serve.
- Prep Time: 30 minutes
- Cook Time: 90 minutes
- Category: Side Dish
- Method: Oven
- Cuisine: American
