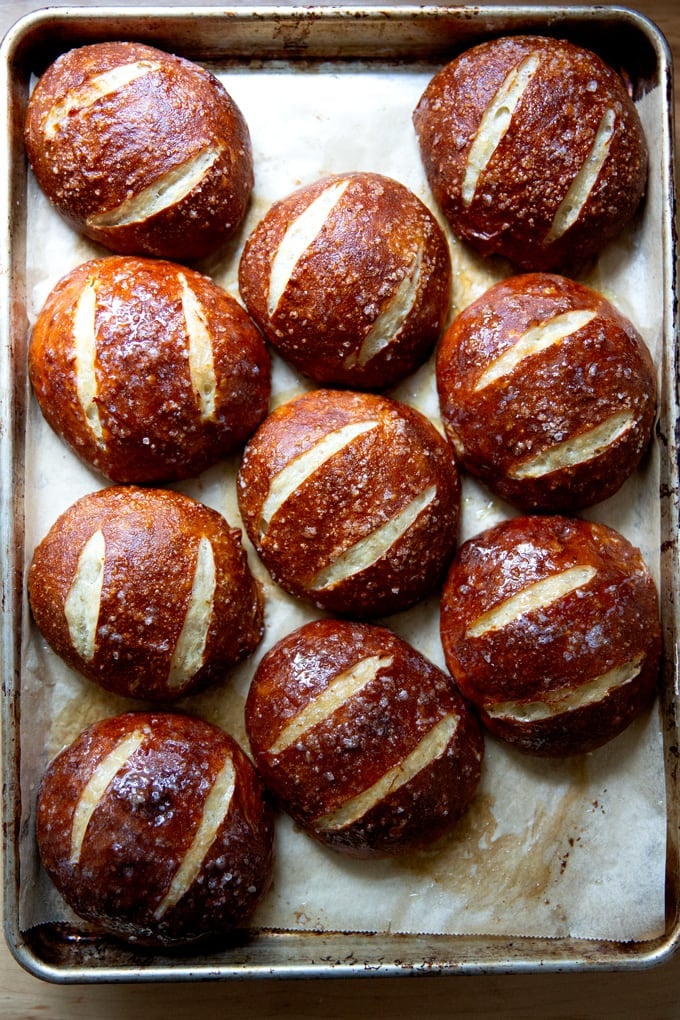
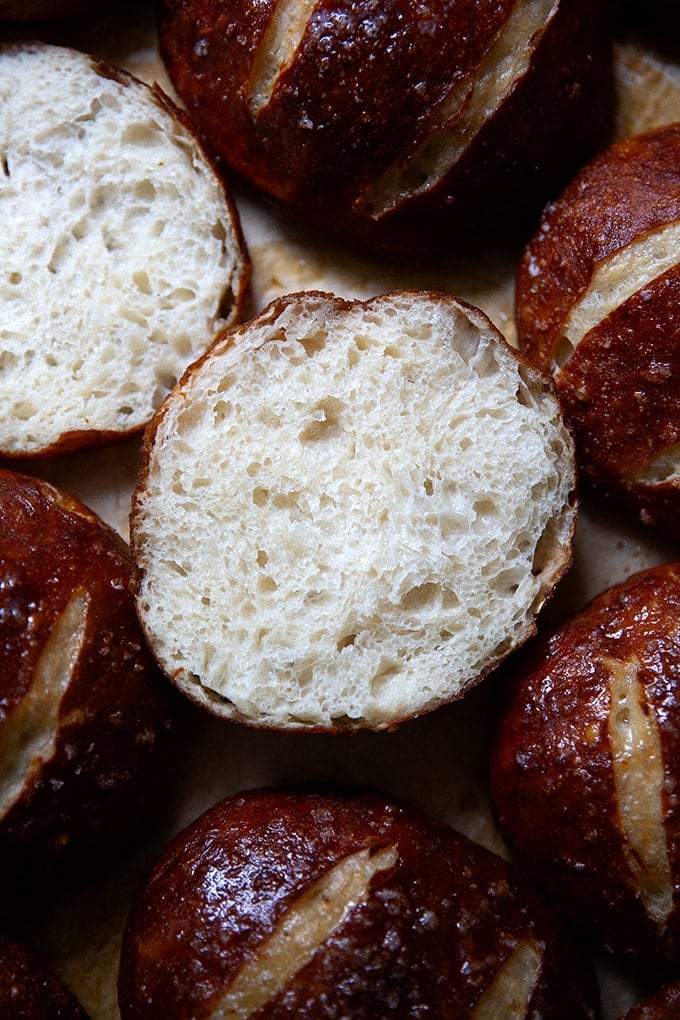
Soft-crumbed with a nice chew, these no-knead pretzel rolls are perfect for sandwiches of all kinds: egg and cheese, turkey and brie, roasted vegetables and mozzarella. The dough takes no time to mix together, and time does the work from there. Simple and delicious!

Upon discovering that my children love pretzel rolls, I set out to make them from scratch, using this favorite soft pretzel recipe as a starting point. After several experiments, I created what I was looking for: a soft-crumbed but sturdy roll, with a crisp but tender, very pretzel-y tasting crust.
To adapt the pretzel recipe to work for rolls, I increased the water, reduced the yeast, and employed a long, slow rise. I like to mix the dough in the evening, shape the rolls in the morning, then boil and bake them around lunchtime, but you can make the timeline work for your schedule. See the recipe box for guidance.
Friends, these pretzel rolls are irresistible. My children favor eating them on their own without any spreads or fillings, but I love them for a sandwich: pesto, tomato, and mozzarella in the summer; leftover turkey and ham around the holidays; and fried or scrambled eggs with bacon year-round. Find step-by-step instructions below.
How to Make Pretzel Rolls, Step by Step
First, gather your ingredients:
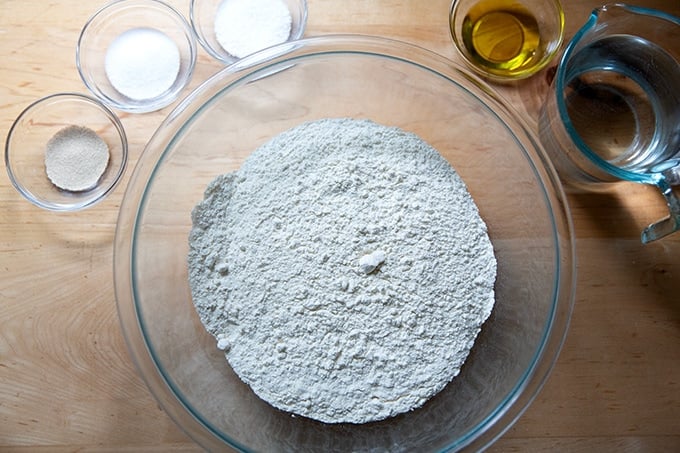
Whisk together the flour, salt, sugar, and instant yeast:
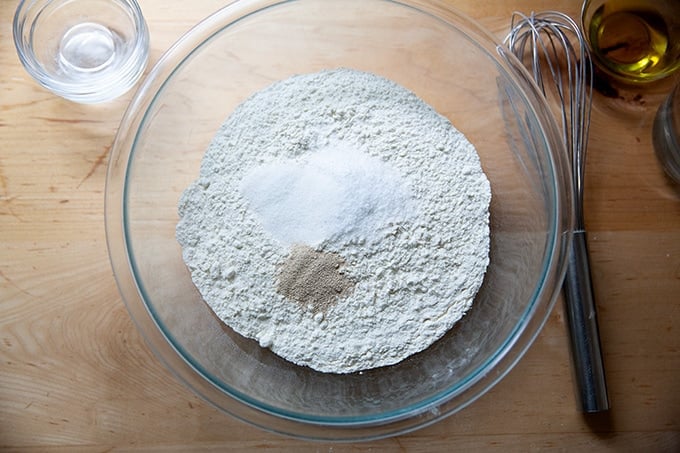
Then add the water and olive oil:
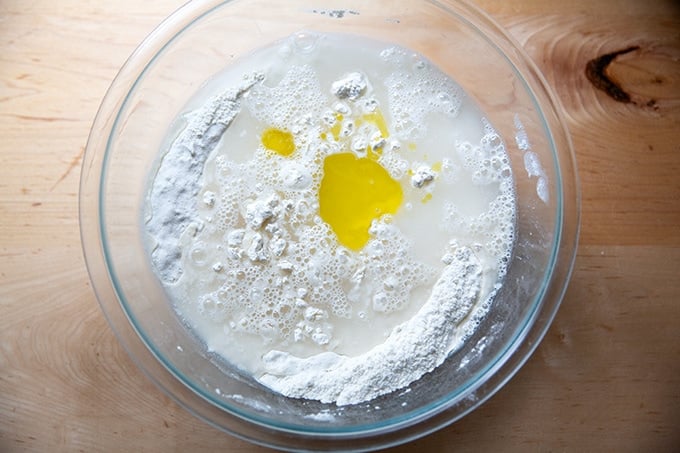
Using a spatula, mix until a shaggy dough forms:
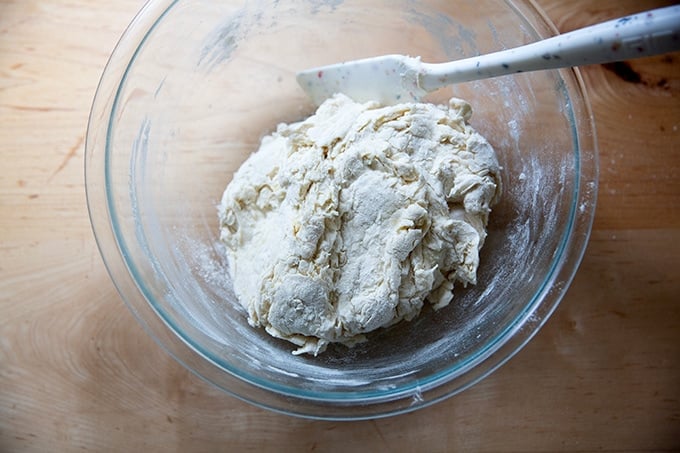
Knead briefly with your hands just until a sticky dough ball forms:
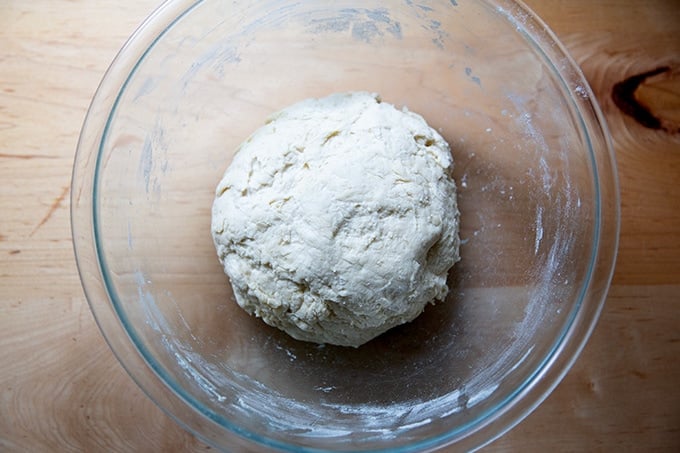
Cover the bowl tightly with a lid:

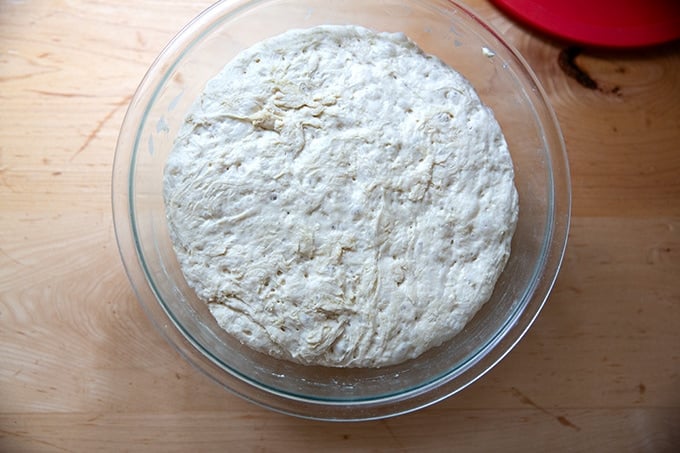
And let rise at room temperature for 8-10 hours or until doubled in volume:
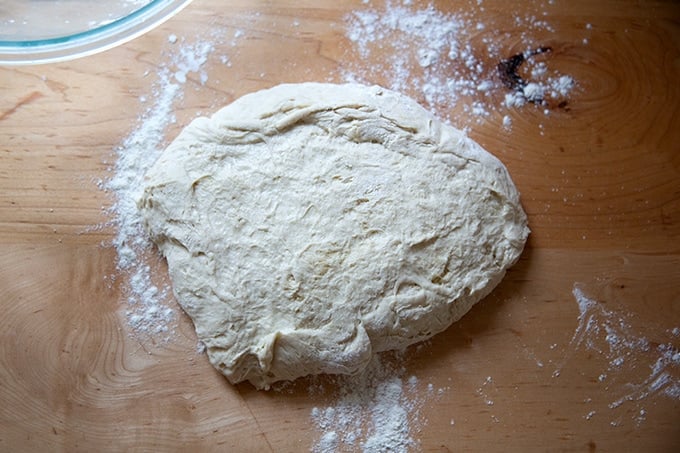
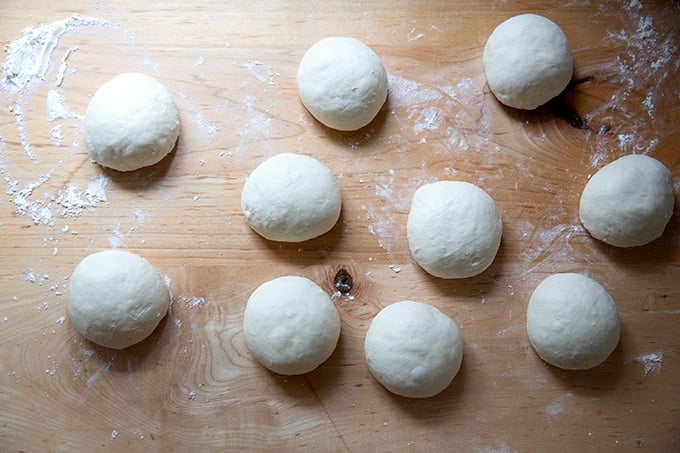
Turn the dough out onto a lightly floured work surface:
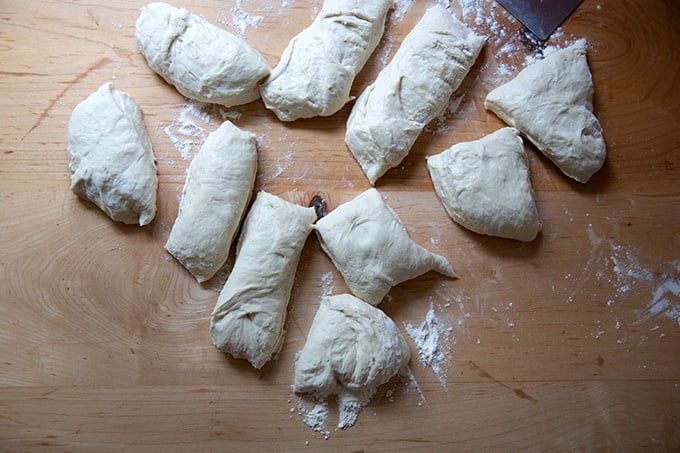
Divide the dough into 10 portions. Use as scale if you want evenly shaped rolls:
Ball up each portion:
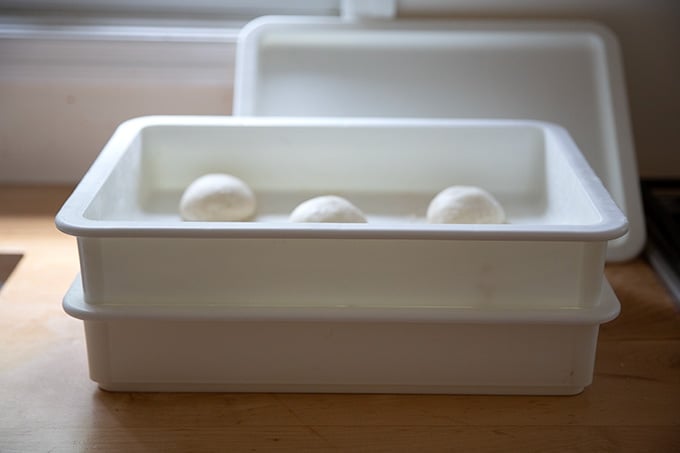
Then transfer to a lightly floured, roomy vessel to proof:
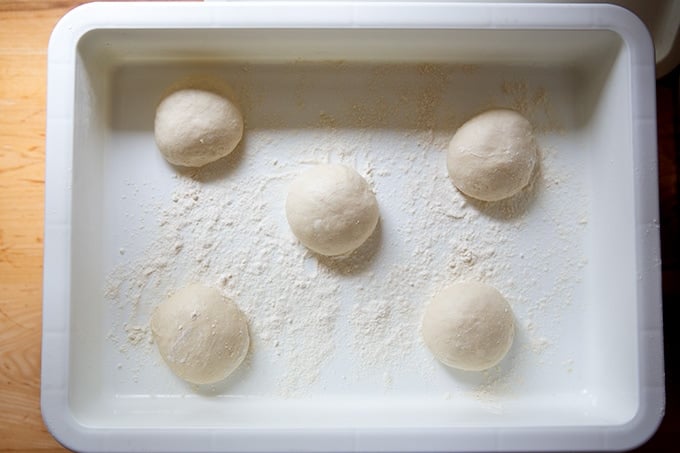
I love these DoughMate lidded containers and can’t recommend them enough if you have the space. If you don’t, use two 9×13-inch pans and cover with plastic wrap to ensure the dough balls don’t try out as they proof:
Four to five hours later or when the dough balls have doubled in volume…
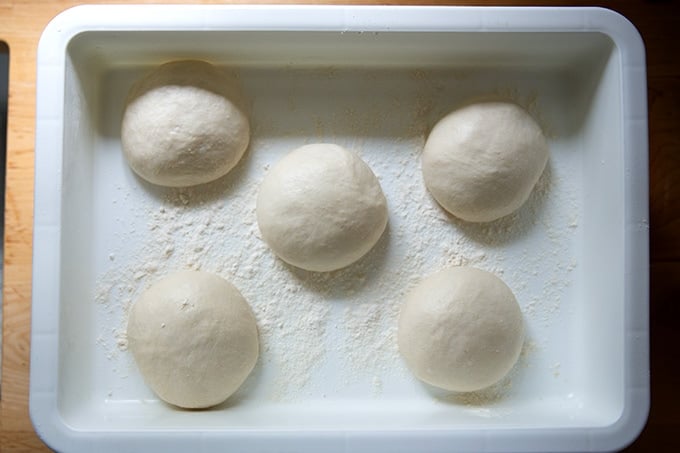
… it’s game time! Preheat your oven to 400ºF. Line a sheet pan with parchment paper. Fill a large pot with 8 cups of water and bring to a boil:
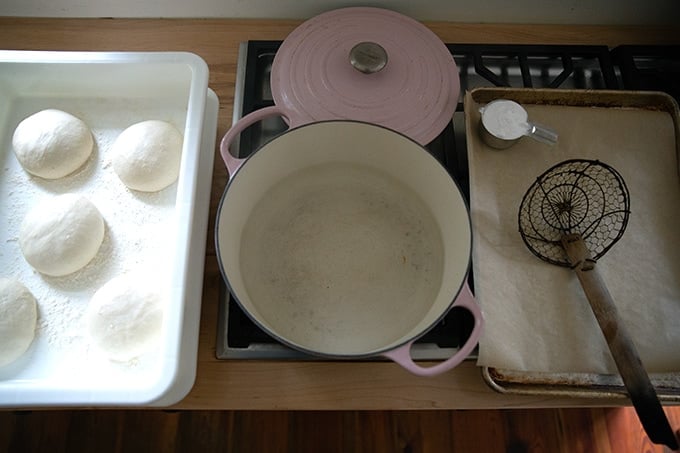
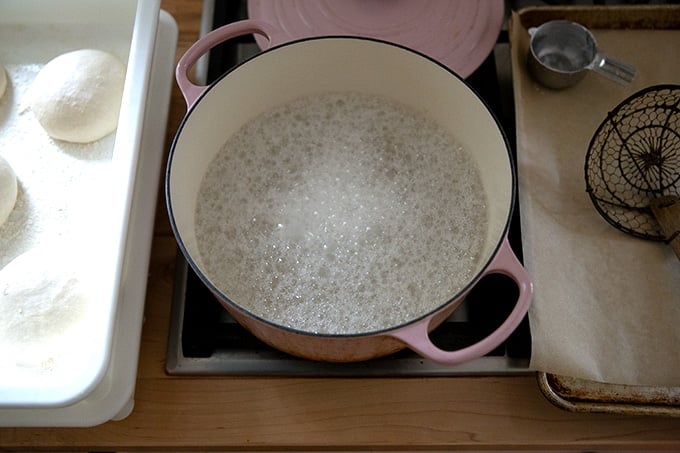
Add 1/2 cup of baking soda to the pot and stir to dissolve:
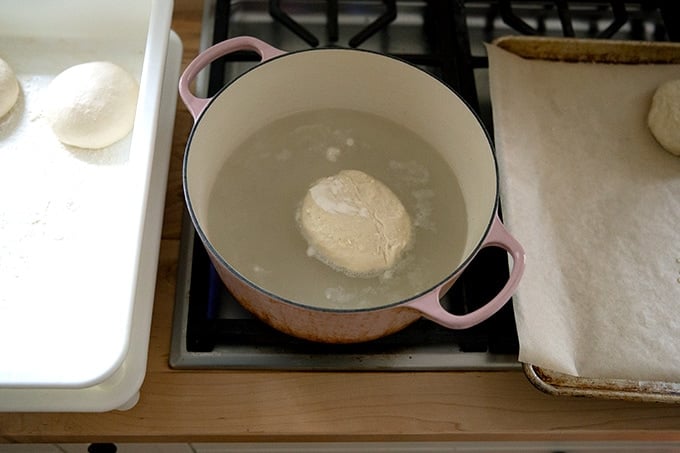
Working with one ball at a time, carefully lower it into the pot, flip it once or twice to submerge, then transfer it to the sheet pan:
Once you’ve dunked five dough balls in the hot water, brush each with melted butter and sprinkle generously with flaky sea salt:
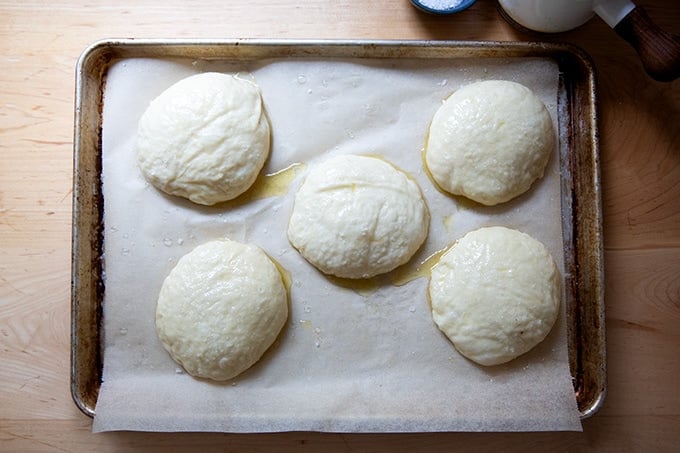
Use a sharp blade to make two slashes:
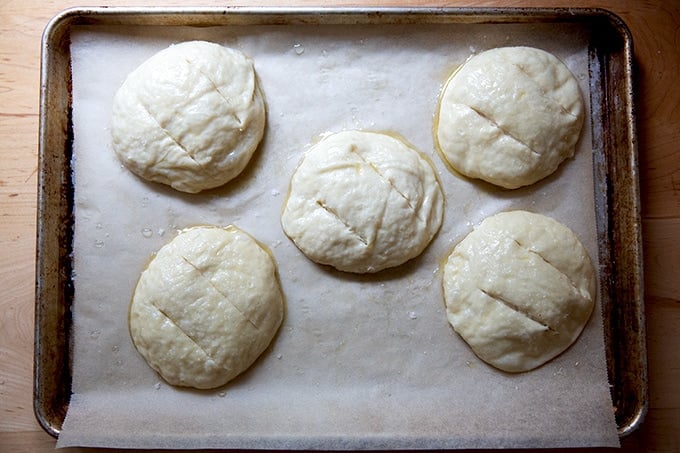
Then transfer to the oven for 22-25 minutes or until deeply golden brown:
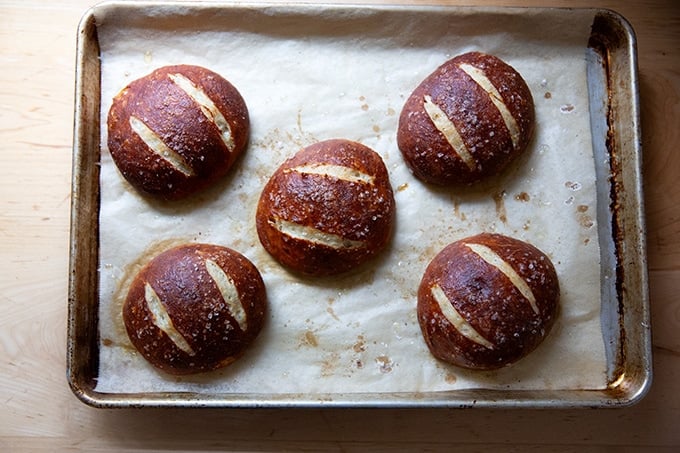
Brush with more melted butter immediately:
Let cool briefly before halving:
Description
Soft-crumbed with a nice chew, these no-knead pretzel rolls are perfect for sandwiches of all kinds: egg and cheese, turkey and brie, roasted vegetables and mozzarella. The dough takes no time to mix together, and time does the work from there. Simple and delicious!
Adapted from this recipe for buttery soft pretzels.
Notes:
- For best results, please use a scale to measure. It is the only way to measure accurately.
- Plan ahead: These rolls require an overnight rise (or an all-day rise, 8-10 hours), a 4- to 5-hour proof, a brief boil, and a 22- to 25-minute bake.
- Faster Method: Though I have not tried this yet, if you are looking for a faster way to make these pretzel rolls, try this: use 2 teaspoons of instant yeast and lukewarm water. Let the dough rise for 2 to 3 hours initially; then let the shaped rolls proof at room temperature for at least an hour before proceeding.
- Timing Help: If you are wondering how you might make the timing work with your schedule, consider this: after the dough doubles in volume, you can deflate it, and stick the bowl in the fridge until you can tend to it. The shaped rolls similarly can be stashed in the fridge until you can tend to them. The key is letting the shaped rolls proof at room temperature sufficiently — they should be very light to the touch before boiling,
- Yeast: If you are using active-dry yeast, sprinkle it over the cold water. Let it stand for 15 minutes; then proceed with the recipe.
- Salt: If you are using Morton Kosher salt or fine sea salt, use half as much by volume or roughly 2 teaspoons. (If you are measuring by weight, use 13 grams.)
- Equipment: You’ll need a spider or a large slotted spoon to remove the dough balls from the pot of water. You’ll also need a pastry brush to brush the dough balls with melted butter. Finally, you’ll need a sharp razor blade to slash the dough.
For the dough:
- 640 grams (about 5 cups ) all-purpose flour
- 2 grams (about 1/2 teaspoon ) instant yeast, see notes above if using active-dry
- 13 grams (about 4 teaspoons ) Diamond Crystal kosher salt, see notes above
- 12 grams (about 1 tablespoon ) granulated sugar
- 450 grams (about 2 cups ) cold water
- 14 grams (about 1 tablespoon ) olive oil or neutral oil
For finishing:
- 115 grams (about 1/2 cup ) baking soda
- 8 cups water
- flaky sea salt
- 6 tablespoons melted butter
- In a large bowl, whisk together the flour, yeast, salt, and sugar. Add the water and oil and stir with a rubber spatula until a shaggy dough forms. Use your hands to knead the dough briefly in the bowl just until it comes together — it will be wet and sticky.
- Cover the bowl with an airtight lid or plastic wrap and let rise until doubled in volume, 8 to 10 hours (or more or less depending on the time of year and the temperature of your kitchen).
- Turn the dough out onto a lightly floured work surface. Use a bench scraper to portion it into 10 pieces, using flour as needed. (Note: If you want identically sized pretzel rolls, weigh your total dough, then divide by 10. Each portion should weigh roughly 112 grams.)
- Ball up each portion: Using flour as needed, form each portion into a ball by grabbing the edges of the dough and pulling them toward the center to create a rough ball. Then flip the ball over, cup your hands around the dough, and drag it toward you, creating tension as you pull. Repeat this cupping and dragging until you have a tight ball.
- Transfer the balled portions to a roomier, lightly floured vessel to proof: I use two of these DoughMate containers, but you could use two 9×13-inch pans or something similar. Cover the pans with an airtight lid or plastic wrap to ensure the dough balls do not dry out. Let the dough balls proof for 4 to 5 hours or until doubled in volume and very light to the touch.
- Heat the oven to 400ºF. Line two sheet pans with parchment paper.
- Bring the 8 cups of water to a simmer in a large pot. With the heat on low, add the baking soda and stir to dissolve. Adjust the heat so that the water is barely simmering.
- Working with one ball at a time, carefully lift it from its proofing vessel — I like to use a bench scraper — and lower it into the water top-side down. Use a spider to flip it over immediately, then over again so that the ball is top-side down. Use the spider to remove the ball (still top-side down) and flip it onto the sheet pan top-side up. This should take no more than 30 seconds. Repeat until 5 balls have been dipped and transferred, evenly spaced, to one of the sheet pans.
- Brush the balls with melted butter. Sprinkle generously with sea salt. Use a razor blade or sharp knife to make two slashes on the top of the dough ball — don’t worry if the dough balls deflate slightly. Transfer the pan to the oven and bake for 22 to 25 minutes or until the rolls are a deep-brown hue.
- Remove the pan from the oven and immediately brush the hot rolls once more with melted butter.
- Repeat with the remaining dough balls using the remaining prepared sheet pan.
- Let cool briefly before serving or let cool completely if using for sandwiches.
- Prep Time: 18 hours
- Cook Time: 25 minutes
- Category: Bread
- Method: Oven
- Cuisine: American
Find it online : https://alexandracooks.com/2023/08/26/no-knead-soft-pretzel-rolls/
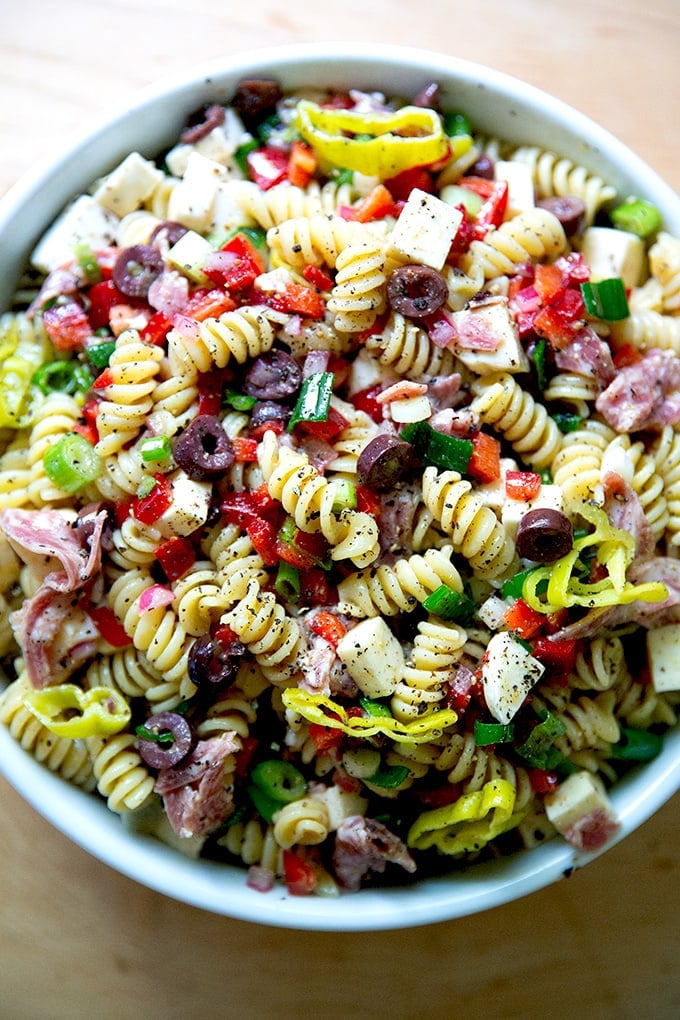
Inspired by the classic pasta salad found in delis the world over, this one combines olives, pepperoncini, soppressata, and cheese as well as scallions and red bell pepper. Dressed in a red wine vinaigrette and loaded with texture and flavor, this one gets better by the day, so don’t be afraid to make it ahead of time.
This has been the summer of discovery for my children and their palates: pretzel rolls , kani salad (from a local sushi restaurant), and muesli (my favorite, but historically not theirs).
Their latest love is classic, deli-style pasta salad, something we picked up on a whim a few weeks ago at a favorite deli in Chestertown en route home from the Adirondacks. It was as classic as they come, a mix of rotini, olives, cubed cheese, sliced meat, and chickpeas, and their enthusiasm for it both shocked and inspired me.
You’ve never liked olives , I thought. But also: Hooray! Perhaps this can be your school lunch (until you get bored with it anyway.)
Upon returning home, I had to recreate it. Much to the disappointment of the children, I did not use tri-color rotini, but despite this oversight, they approved of the rendition, which featured the expected pantry players — cubed meat and cheese, sliced olives and pepperoncini — as well as some fresh elements: diced bell peppers and scallions. I left out the chickpeas, and nobody complained.
As is the case with so many of these sorts of salads, this one is easily customizable to tastes and preferences: leave out the olives, add sun-dried tomatoes; leave out the raw bell pepper, add roasted red peppers; omit the meat and cheese, add chickpeas. The possibilities are endless.
In addition to school lunch, this salad would be great for many a lunch as it holds up well in the fridge, and tastes even better as it sits. And should you be searching for something to make for a long weekend get-together, look no further. This one’s just about potluck perfect.
How to Make Deli-Style Pasta Salad, Step by Step
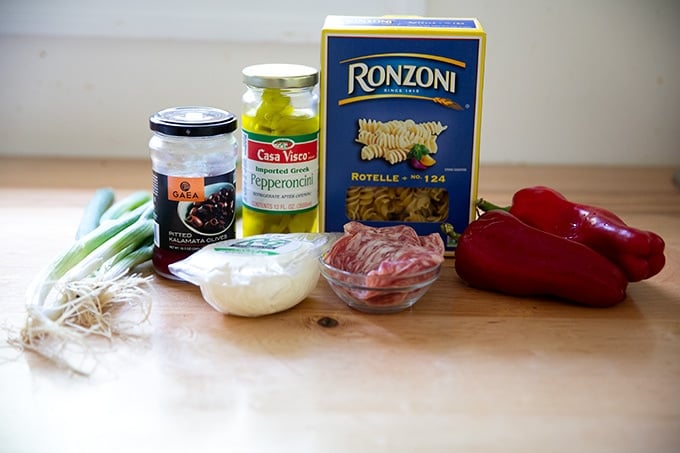
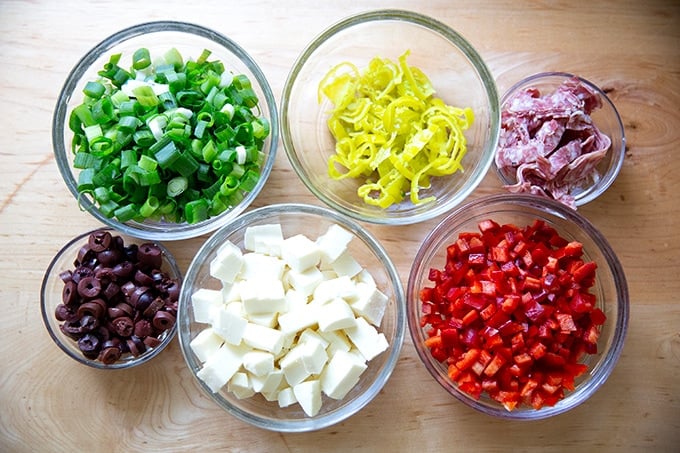
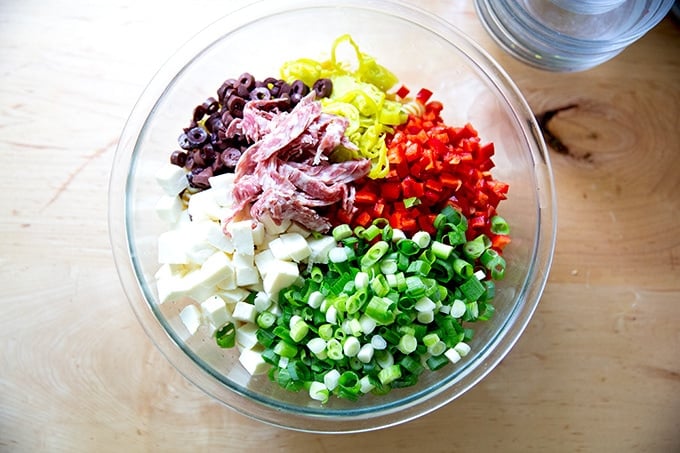
Gather your ingredients: I’m using olives, pepperoncini, mozzarella, scallions, red bell peppers, and soppressata.
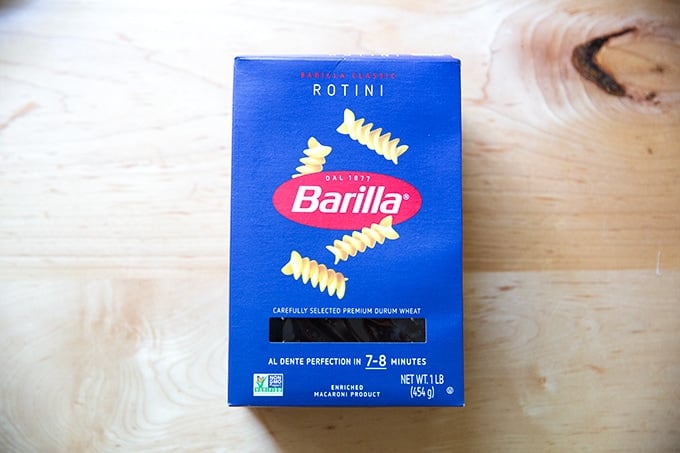
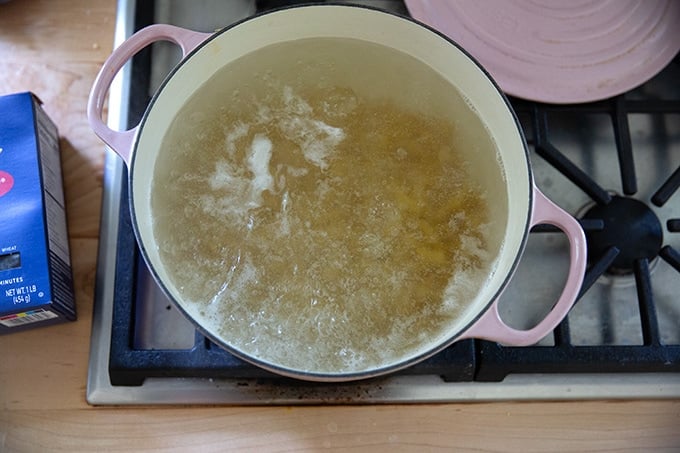
Incidentally, I prefer the Barilla brand for pasta. The one pictured above fell apart in the pot. Barilla holds its shape so nicely.
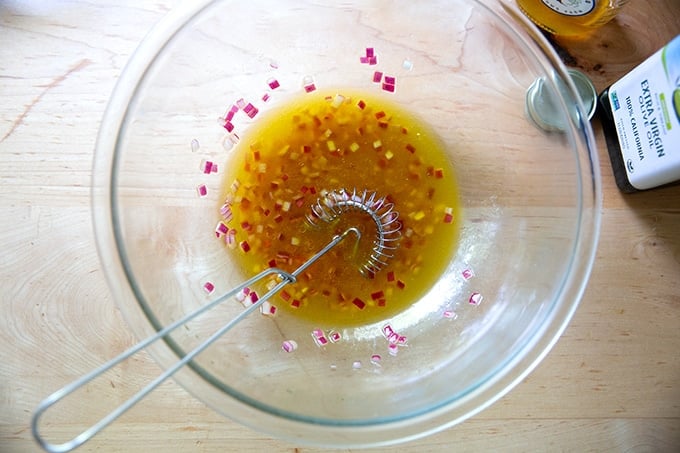
First, make the dressing:

In a large bowl, macerate diced red onion in red wine vinegar, fresh lemon juice, and salt.
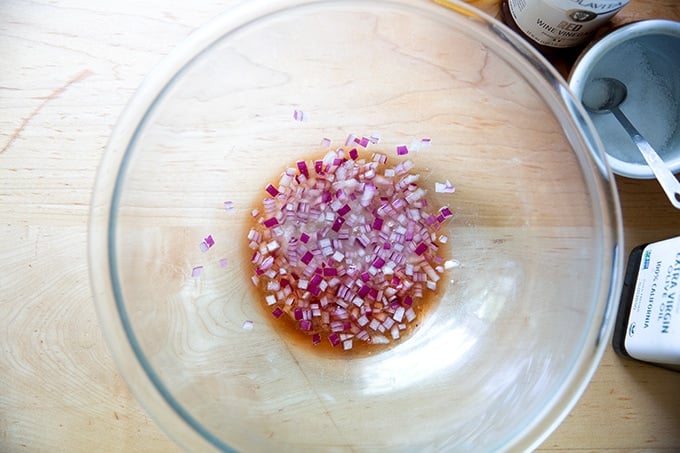
Let stand for at least five minutes, then whisk in honey and olive oil.
Chop up all the fixings: scallions, pepperoncini, olives, mozzarella or provolone, red bell peppers, and salami or soppressata.
Boil the pasta in well-salted water.
Drain the pasta and rinse under cold water, then transfer to the bowl with the dressing.
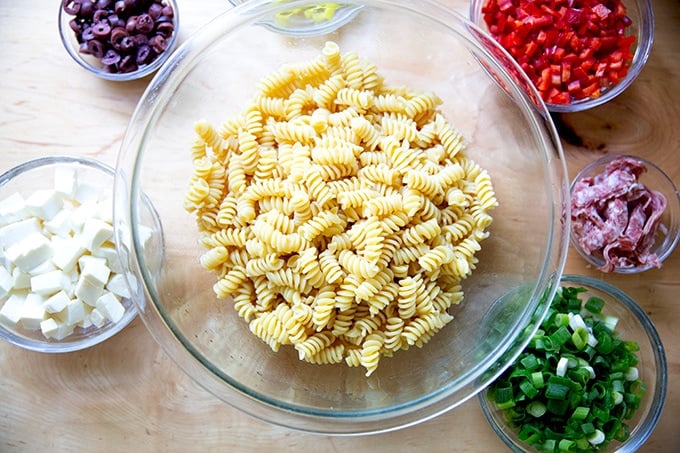
Add all of the fixings.
Toss. Taste, and adjust as needed with more salt, pepper, lemon, and/or vinegar.
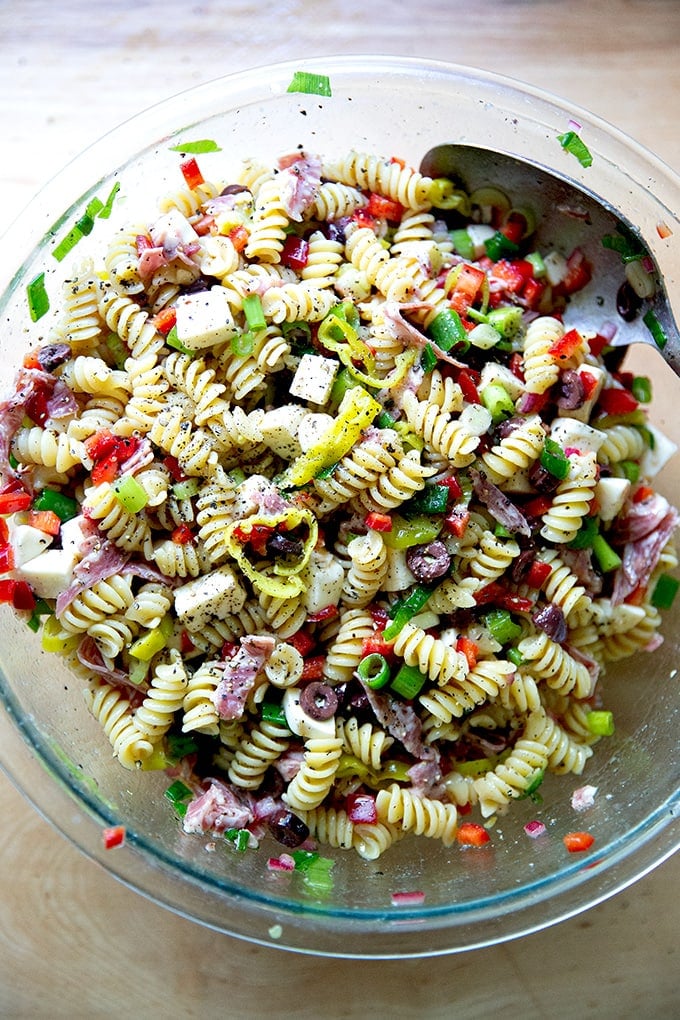
Transfer to a serving bowl or store in the fridge until ready to serve.
Description
Inspired by the classic pasta salads found in delis the world over, this one combines a red wine vinaigrette and a mix of pantry items and fresh produce. This is a salad that lends itself well to improvisation, so use what you have on hand, and use the ingredient list as a guide.
The dressing recipe is inspired by one I read about on Dinner A Love Story from Odette Williams’s Simple Pasta .
For the dressing:
1/4 cup finely diced onion
1 teaspoon kosher salt
3 tablespoons red wine vinegar
2 tablespoons freshly squeezed lemon juice
1 tablespoon honey
1/2 cup extra-virgin olive oil
kosher salt
1 pound pasta, such as rotini or ditalini
4 to 6 scallions, thinly sliced (to yield 1 1/2 cups )
2 red bell peppers, finely diced (to yield 1 1/2 cups )
1/2 cup sliced olives (I’ve been using kalamata)
1/2 cup thinly sliced pepperoncini
2 to 3 ounces soppressata or salami, thinly sliced
8 ounces cubed mozzarella or provolone
freshly cracked pepper to taste
flaky sea salt
- Make the dressing: In a large bowl, place the onions, salt, vinegar and lemon juice. Let stand for at least 5 minutes. Whisk in the honey and olive oil. Taste. Adjust with more salt to taste. Add more vinegar or lemon if you like a sharper dressing.
- Bring a large pot of water to a boil. Add 2 tablespoons kosher salt. Boil the pasta al dente according to package instructions. Drain and rinse under cold water.
- Assemble the salad : Add the pasta to the bowl with the dressing. Add the scallions, peppers, olives, pepperoncini, soppressata, mozzarella, and a few generous twists of black pepper. Toss to combine. Taste. Adjust with salt and pepper to taste. For a sharper dressing, squeeze in more lemon or add a splash more vinegar.
- Prep Time: 25 minutes
- Cook Time: 10 minutes
- Category: Pasta
- Method: Stovetop
- Cuisine: American
