These sourdough discard pancakes are light, fluffy, and so utterly delicious — one bite will make you never want to waste a drop of your sourdough discard again! This one-bowl, same-day recipe will leave you with dozens of pancakes to enjoy now or freeze for later 🥞🥞🥞

If you make a lot of sourdough bread , it’s great to have an arsenal of recipes that put your sourdough discard to good use. This simple sourdough discard pancake recipe will yield more than 2 dozen light and fluffy pancakes to enjoy now or freeze for later. What’s more, you can use up to 200 grams of discard in the recipe, which — if you’ve been stockpiling in your fridge — will make a nice dent in your supply.
Perfectly seasoned with a subtle tang thanks to both the buttermilk and the discard, I find these pancakes irresistible right off the skillet: no syrup or butter necessary. My children disagree — they love them with a generous glug of maple syrup and lots of fresh berries.
You can use either freshly discarded sourdough discard (from a room-temperature feeding of your starter ) or one that has been in your fridge for over a week (though ideally not more than two weeks). Find step-by-step instructions below. One bite will make you never want to waste a drop of your sourdough discard again 🥞🥞🥞
How to Make Sourdough Discard Pancakes, Step by Step
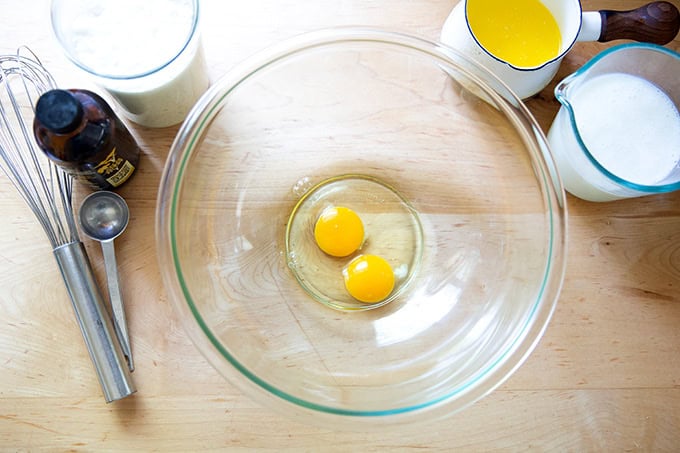
First, gather your ingredients: flour, sugar, baking powder, baking soda, salt, eggs, butter, buttermilk, vanilla, and, of course, your sourdough discard.

In a large bowl, beat the eggs:
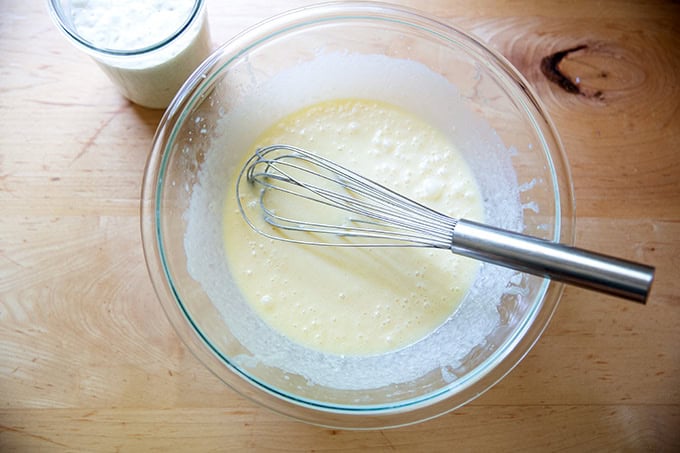
Then whisk in the buttermilk, melted butter, and vanilla:
Add 200 grams of sourdough discard (see recipe box if you wish to use less):
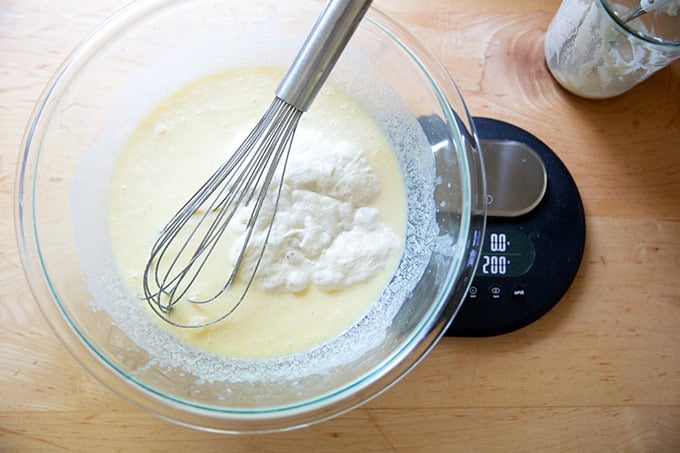
And whisk until mostly smooth:
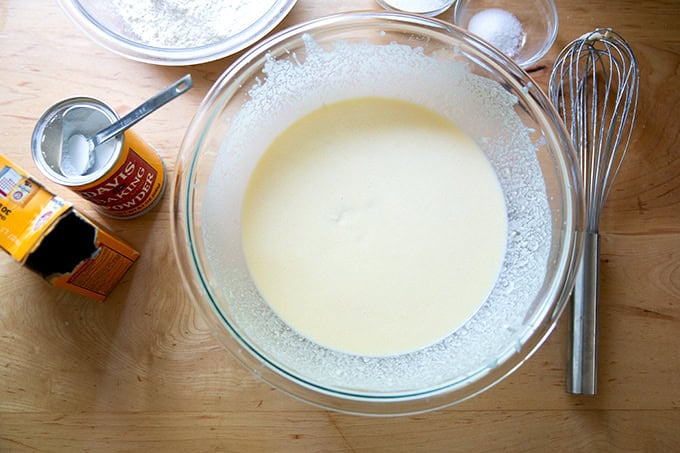
Finally, whisk in the baking powder, baking soda, salt, and sugar, followed by the flour:
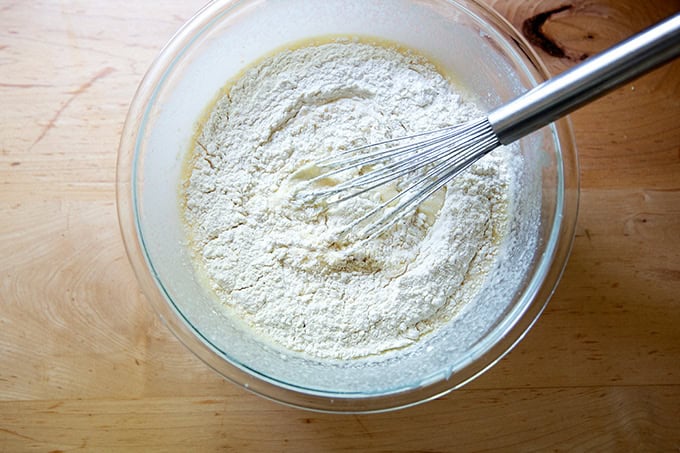
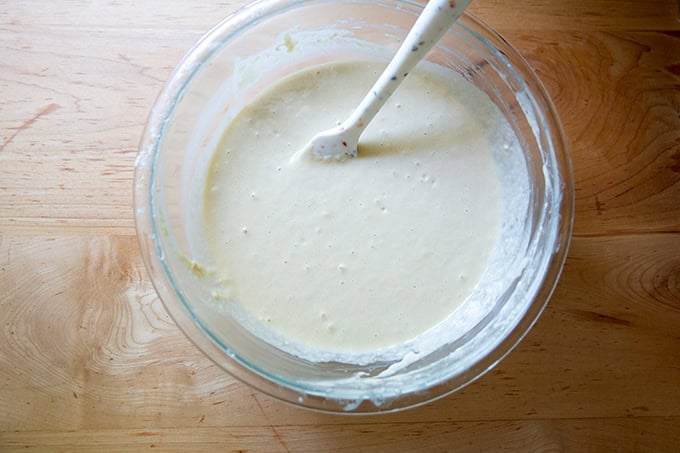
Whisk again until mostly smooth, then switch to a spatula for the final strokes:
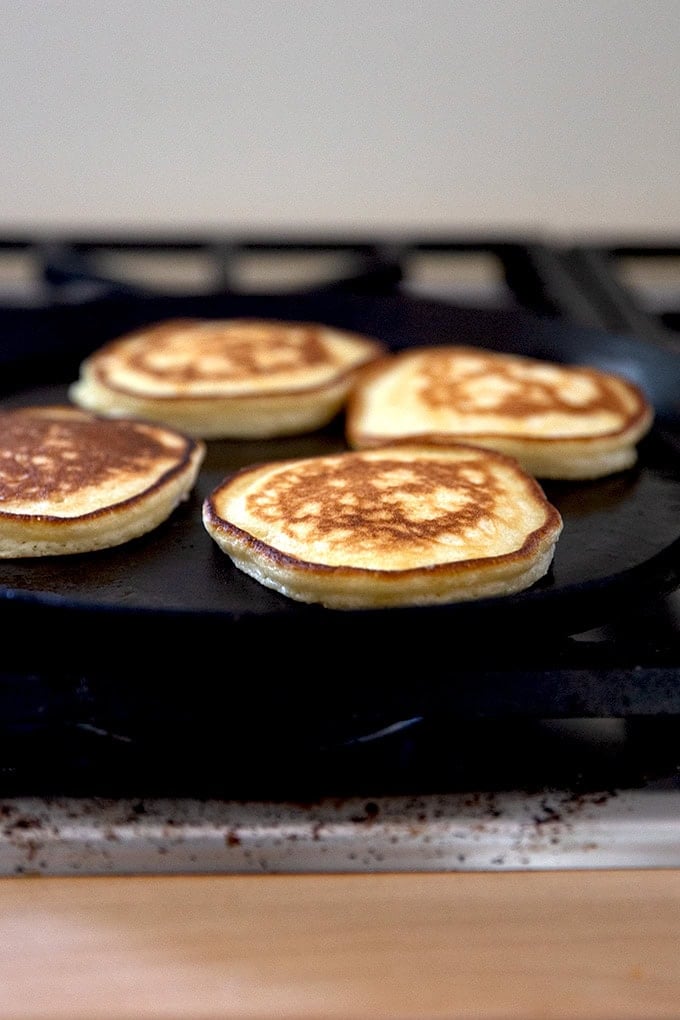
Heat roughly 1.5 teaspoons of olive oil in a large skillet over medium to medium-high heat. Swirl the pan to distribute the oil or spread it out using a brush. Then, using a 2-tablespoon measure (or something similar), pour the pancake batter into the skillet.
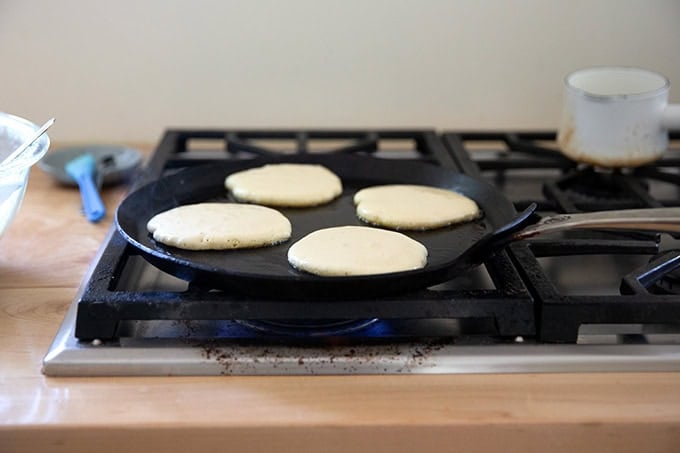
Cook for about a minute or until bubbles begin forming on the surface of the pancakes.

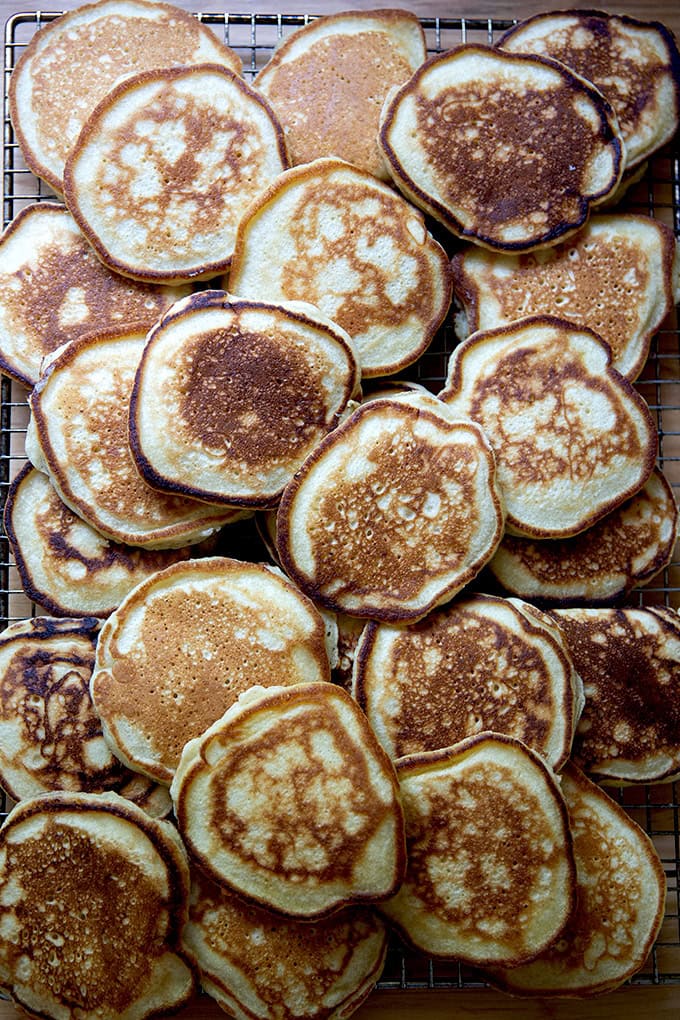
Flip and cook for another 30 to 60 seconds or until the pancakes are cooked through.
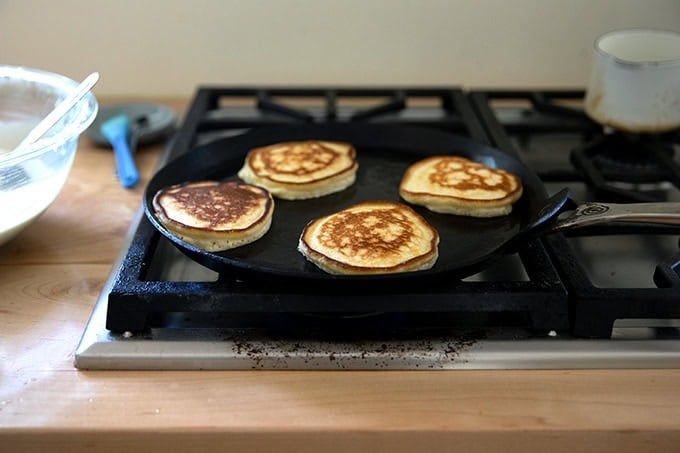
Transfer the pancakes to a cooling rack when they finish cooking or…
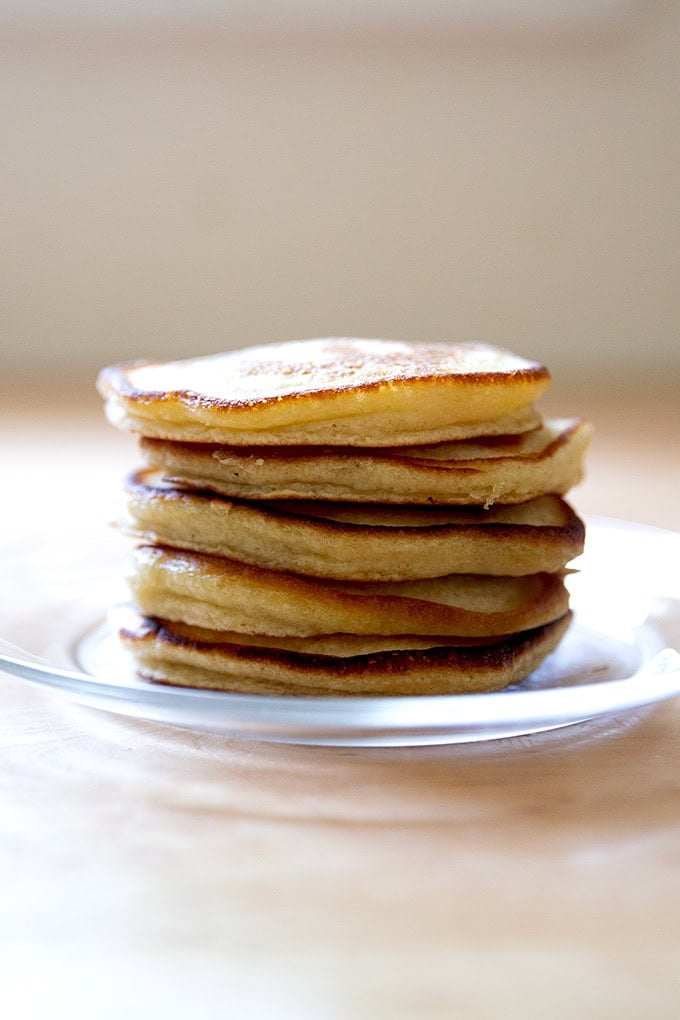
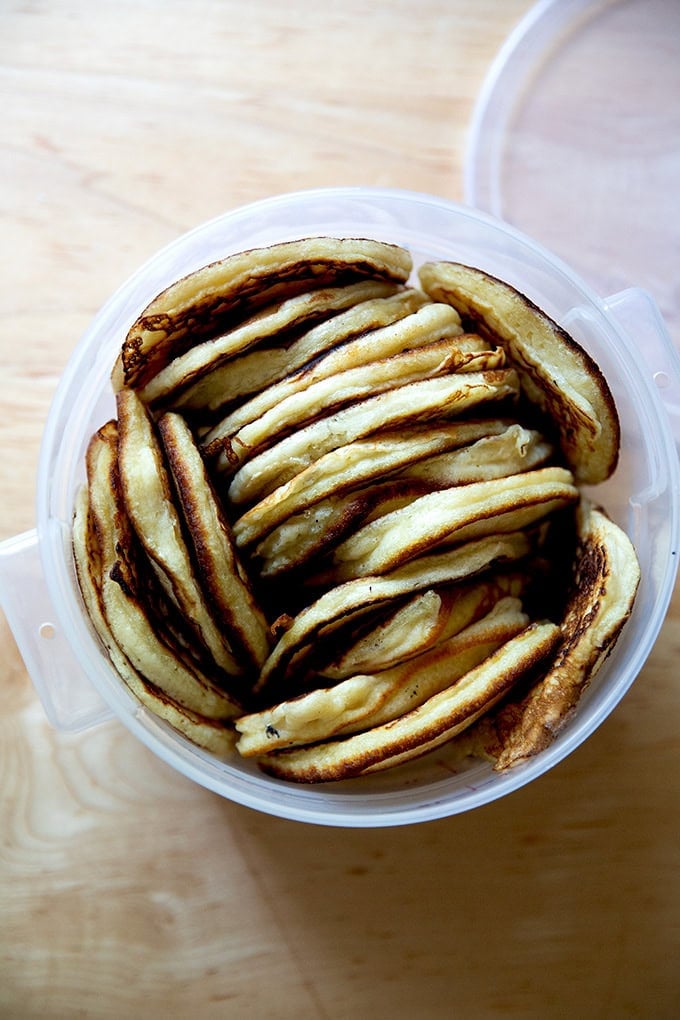
… stack them onto a plate and…
… drizzle with maple syrup.
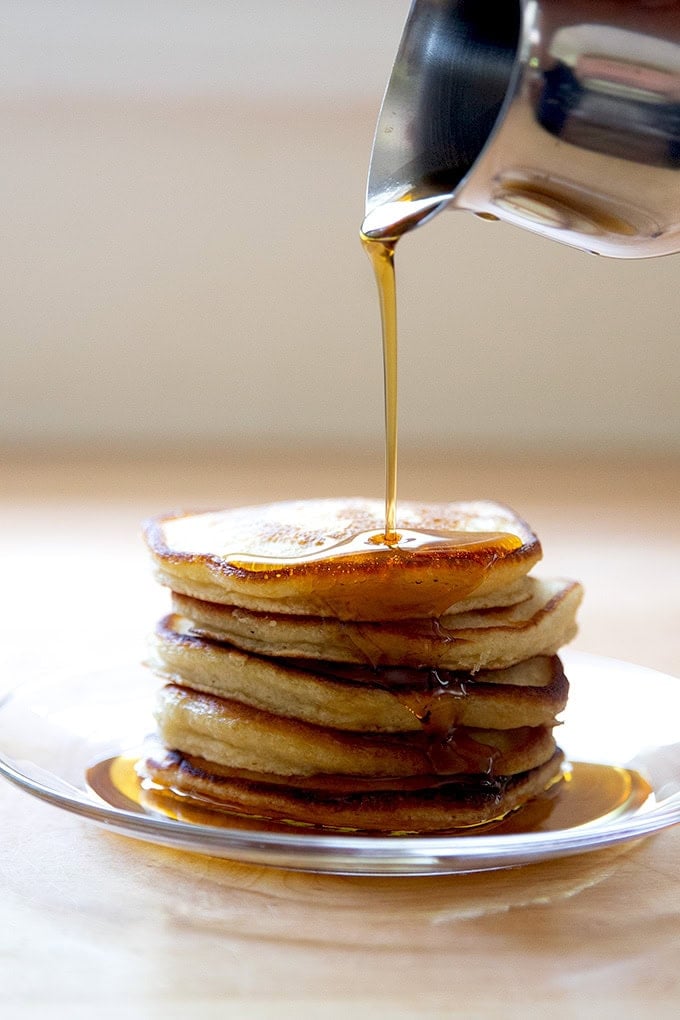
Serve with fresh berries if you wish.
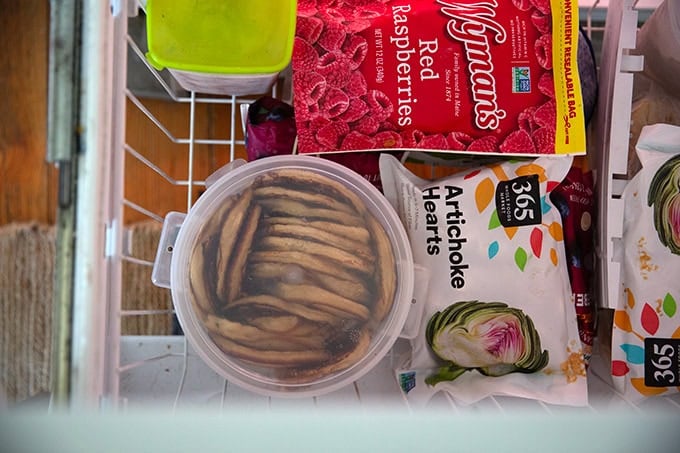
Any extra pancakes can be stashed in the freezer. I’m using this 2-quart vessel (one of my favorites) here.
To reheat, place the frozen pancakes directly into a toaster oven (or vertical oven) and toast until they are heated through and beginning to sizzle, 5 to 6 minutes.
Description
These sourdough discard pancakes are light, fluffy, and so utterly delicious — one bite will make you never want to waste a drop of your sourdough discard again! This one-bowl, same-day recipe will leave you with dozens of pancakes to enjoy now or freeze for later 🥞🥞🥞
Notes:
For best results, please use a scale to measure.
Salt: If you are using Morton Kosher salt or fine sea salt, use 3/4 teaspoon.
Sourdough Discard: You can use either freshly discarded discard (as in from a room-temperature feeding of your starter) or you can use discard you’ve had in the fridge (ideally not older than 2 weeks). Ideally, you are feeding your starter at 100% hydration, meaning equal parts by weight flour and water, which is the hydration of the starter I used in all of my waffle experiments. If you need to use less starter, such as 100 grams, simply increase the amount of flour and buttermilk by 50 grams each.
Buttermilk: To make your own buttermilk, place 1.5 cups of milk in a 2-cup measure. Stir in 2 tablespoons of vinegar or fresh lemon juice, and let it sit for 10 minutes. Stir it again; then use.
Pan: I love this 11-inch nonstick pan for pancakes due to its low sides, which make flipping easy. A griddle would be ideal.
2 eggs (about 100 grams )
380 grams (a heaping 1.5 cups) buttermilk, see notes above
113 grams (8 tablespoons) melted butter, salted or unsalted (I always use salted)
13 grams (1 tablespoon) vanilla extract
200 grams (about 1 cup ) sourdough discard, see notes above
6 grams ( 1.5 teaspoons ) Diamond Crystal kosher salt, see notes above
8 grams ( 2 teaspoons ) baking powder
3 grams ( 1/2 teaspoon ) baking soda
50 grams ( 1/4 cup ) sugar
240 grams (a heaping 1 3/4 cups ) all-purpose flour
extra-virgin olive oil or neutral oil, for cooking
maple syrup and fresh berries for serving
- Set a large skillet over low heat.
- Mix together the wet ingredients: In a large bowl, whisk the eggs until blended. Add the buttermilk, vanilla, and melted butter and whisk until smooth. Add the sourdough discard and whisk again until mostly smooth.
- Add the dry ingredients: Add the salt, baking powder, baking soda, and sugar, and whisk until incorporated. Finally add the flour and whisk until incorporated, switching to a spatula for the last few strokes to scrape the sides of the bowl and ensure everything is incorporated.
- Cook the pancakes: Raise the heat under the skillet to medium. Pour 1 to 1.5 teaspoons oil into the center of the skillet and swirl to coat. Using a 2-tablespoon measure, pour the pancake batter into the skillet. I find I can make 4 pancakes at a time in my 11-inch skillet. Cook for 1-2 minutes on the first side, peaking under the pancakes with a spatula every so often to ensure they aren’t browning too quickly (turn the heat down if they are) or too slowly (turn the heat up slightly if they still look pale after a minute). When the pancakes are lightly browned on the bottom and when their surfaces have some bubbles, flip the pancakes and cook for another 3o to 60 seconds.
- Transfer the pancakes to a cooling rack or directly to hungry eaters’ plates, and repeat the cooking process with the remaining batter, adding more oil to the skillet as needed.
- To freeze: Let the pancakes cool completely, then transfer to an airtight container and store in the freezer for up to 3 months. To reheat, transfer the frozen pancakes directly to your toaster oven or toaster and toast until thoroughly reheated and sizzling slightly, 5 to 6 minutes.
- Prep Time: 15 minutes
- Cook Time: 20 minutes
- Category: Breakfast
- Method: skillet
- Cuisine: American
Find it online : https://alexandracooks.com/2025/06/12/light-and-fluffy-sourdough-discard-pancakes-same-day/
Nearly every other week, I make a batch of these slow-cooker chickpeas . I am always astonished by how delicious the chickpeas taste straight from the pot: perfectly cooked and seasoned, all for about five minutes of effort.
In the winter, those chickpeas often become this curry or these taco bowls , and in the summer, I dress them with this cilantro-lime vinaigrette or toss them into this favorite chopped salad .
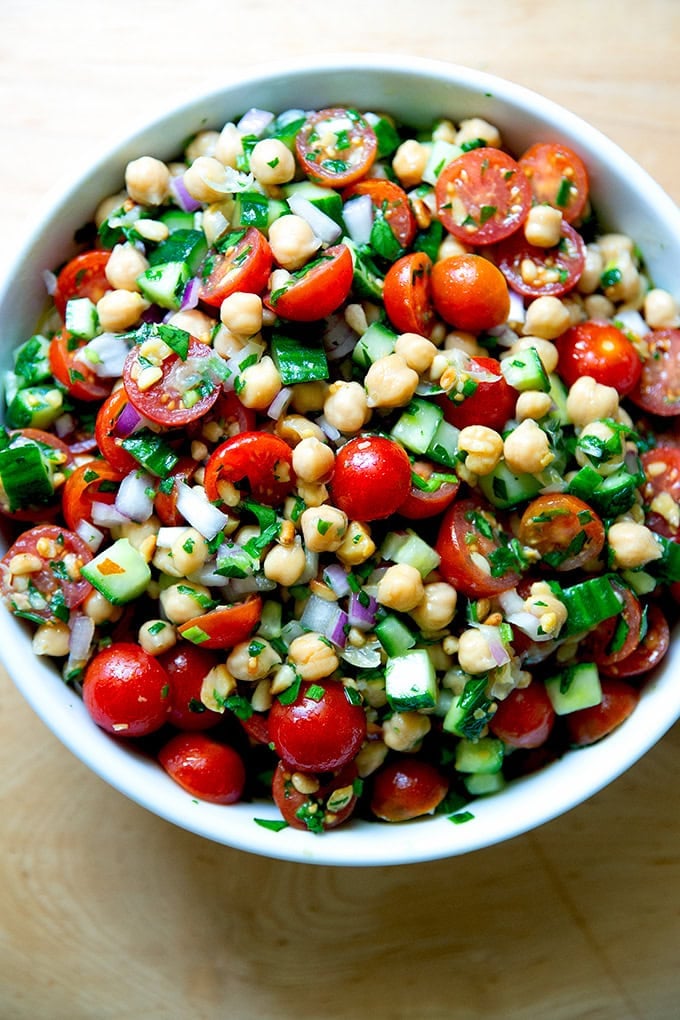
My latest favorite use for them is in this herby tabbouleh-inspired salad , loaded with chopped tomatoes, cucumbers, red onion, and toasted pine nuts, dressed in a lemon vinaigrette. Whereas tabbouleh is known for being very lemony and parsley-dominant, this salad isn’t quite as sharp or herby, intentionally so as my children don’t love a very acidic dressing.
The good news is that you can tailor this salad to your liking with more herbs, lemon, and veggies of all kind. This time of year, I could eat this salad morning, noon, and night — it is so refreshing, so satisfying, and just so darn tasty, perfect for summer lunches, BBQ side dishes, or packing for the week ahead.
How to Make Herby Chickpea Salad, Step by Step
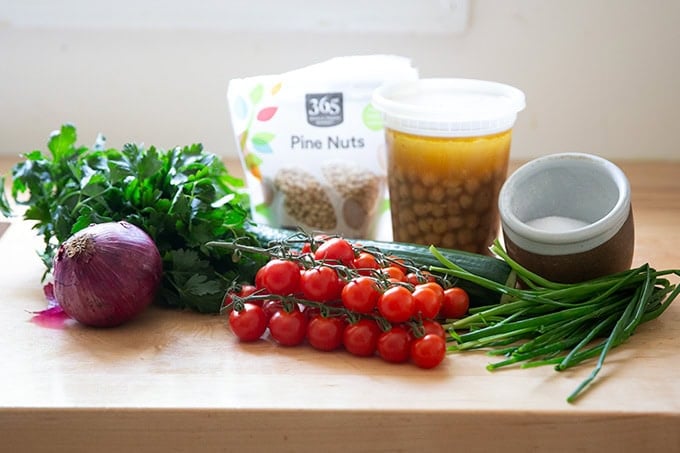
First, gather your salad ingredients: cooked chickpeas, tomatoes, cucumbers, red onion, parlsey, chives, pine nuts and salt.
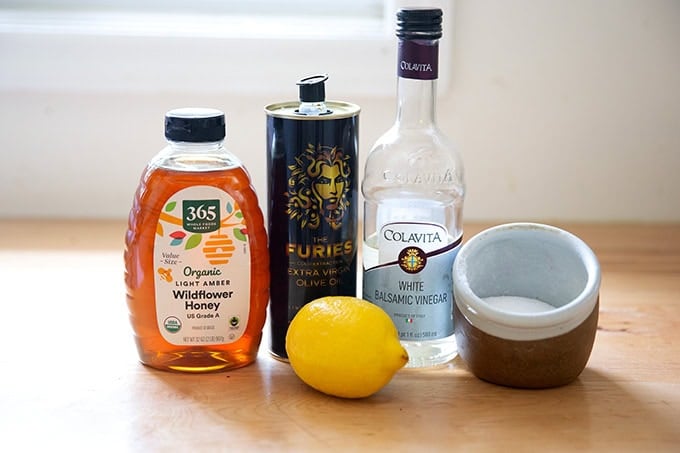
And your dressing ingredients: honey, white balsamic, lemon, salt, and extra-virgin olive oil.
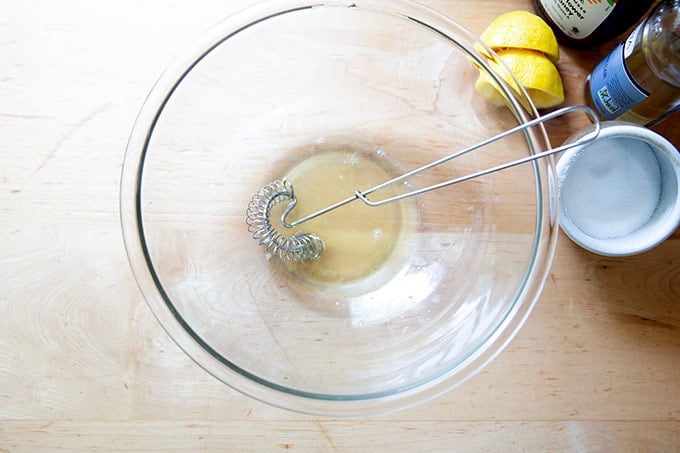
Start by making your dressing: in a large bowl, whisk together the honey, fresh lemon juice, white balsamic vinegar, and salt:
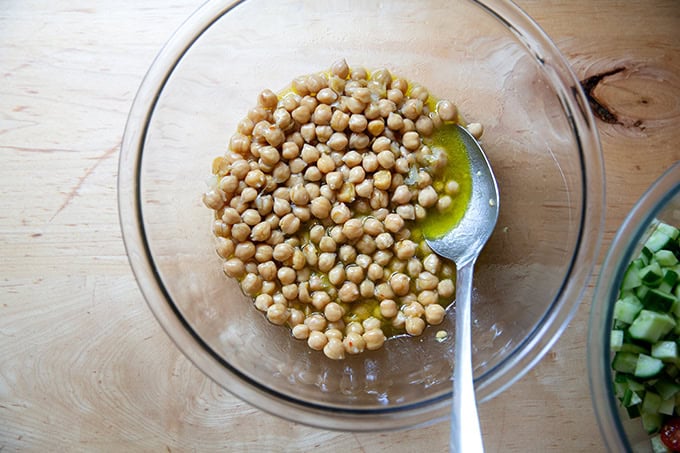
Then stream in the olive oil, whisking constantly, until emulsified:

Directly to this bowl, add 3 cups of cooked chickpeas (or two 15-oz cans, drained and rinsed):
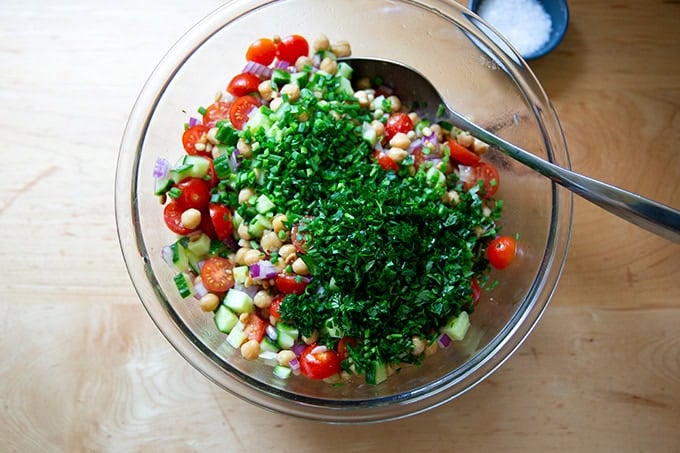
Toss the chickpeas in the dressing, then add the tomatoes, cucumbers, red onion, and toasted pine nuts:
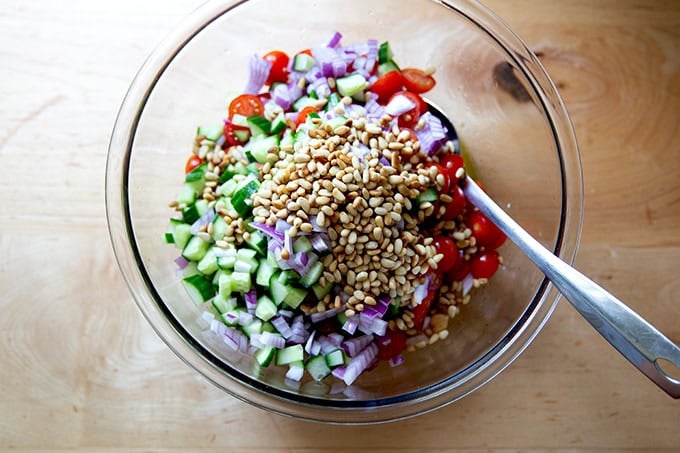
Add fresh chives and parsley, and season with salt to taste:
Toss to combine, taste, then adjust with more salt or fresh lemon to taste:
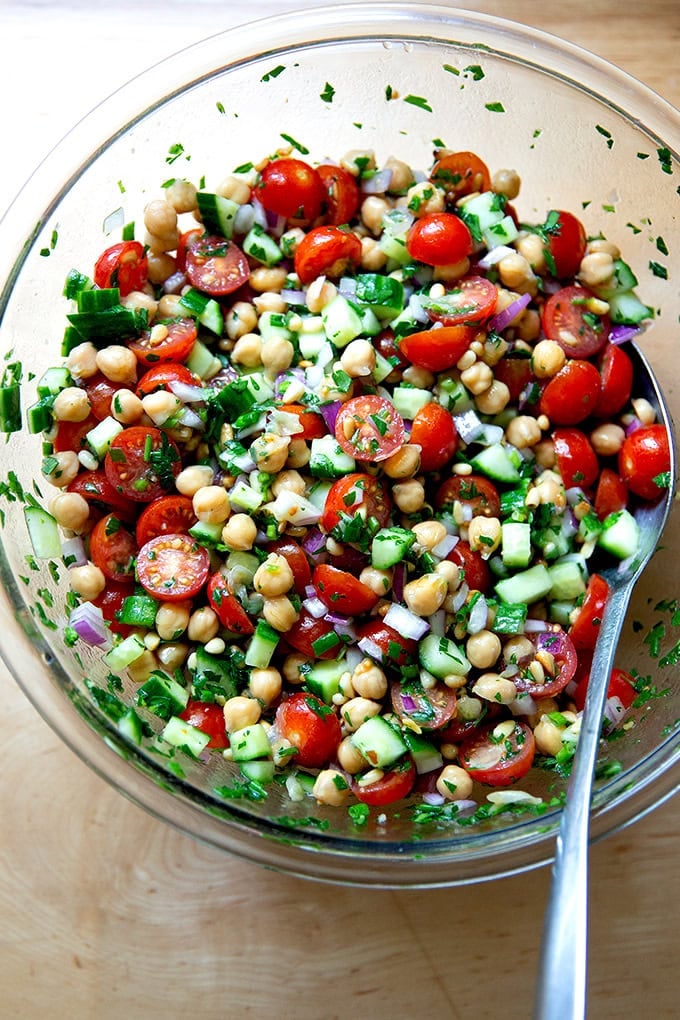
Transfer to a serving dish…
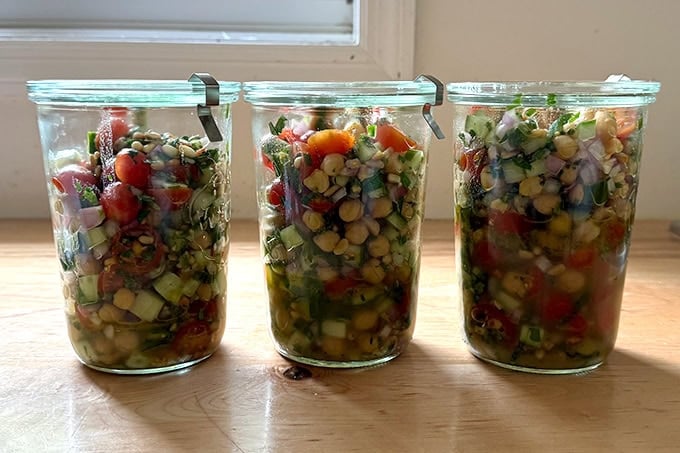
… or spoon into storage jars and stash in the fridge for 1-2 days:
Description
Notes:
- Salt: I use Diamond Crystal kosher salt. If you are using Morton or fine sea salt, use half as much.
- Chickpeas: I cannot encourage you all enough to make these slow cooker chickpeas : they are SO delicious straight from the pot and so nice to have on hand for chickpea dishes of all kinds. Also: they take five minutes to assemble. Often I make them right before I go to bed (if I need the chickpeas to be ready first thing in the morning) or I do this first thing in the morning (if I want them in time for dinner). If you do not own a slow cooker, here’s my guide for cooking chickpeas from scratch stovetop or in the Instant Pot.
For the dressing:
2 teaspoons honey
2 tablespoons white balsamic vinegar
3 tablespoons freshly squeezed lemon juice (from about 1 lemon)
1/2 teaspoon Diamond Crystal kosher salt, see notes above
1/2 cup extra-virgin olive oil
1/2 cup pine nuts
3 cups cooked chickpeas, see notes above, or two 15-oz cans of chickpeas drained and rinsed
3 cups halved cherry tomatoes
2 cups diced cucumber (from 1 English cucumber)
1 cup diced red onion (from 1 small onion)
1 teaspoon Diamond Crystal kosher salt, see notes above
1/2 cup finely chopped fresh chives
1/2 cup finely chopped fresh parsley
flaky sea salt to taste
- In a large bowl, whisk together the honey, white balsamic vinegar, fresh lemon juice, and 1/2 teaspoon kosher salt. Stream in the olive oil, whisking constantly, until emulsified.
- Place the pine nuts in a small skillet and set over low heat on the stovetop. Toast the nuts slowly while you prep the salad, and stir them occasionally. Remove the nuts from the heat when they are lightly browned and smell nutty.
- To the large bowl of dressing, add the chickpeas. Toss the chickpeas with the dressing to coat, then add the tomatoes, cucumber, onion, the 1 teaspoon of kosher salt, the toasted pine nuts, and the herbs. Toss to combine, then taste. Add more kosher salt or flaky sea salt to taste if it tastes under seasoned. Add more lemon or vinegar if you are looking for more acidity/bite.
- Transfer to a serving bowl or transfer to storage vessels and store in the fridge for 1 to 2 days. Note: It won’t go bad after 2 days, but it does begin to tire after 2 days.
- Prep Time: 30 minutes
- Category: Salad
- Cuisine: Amerian
