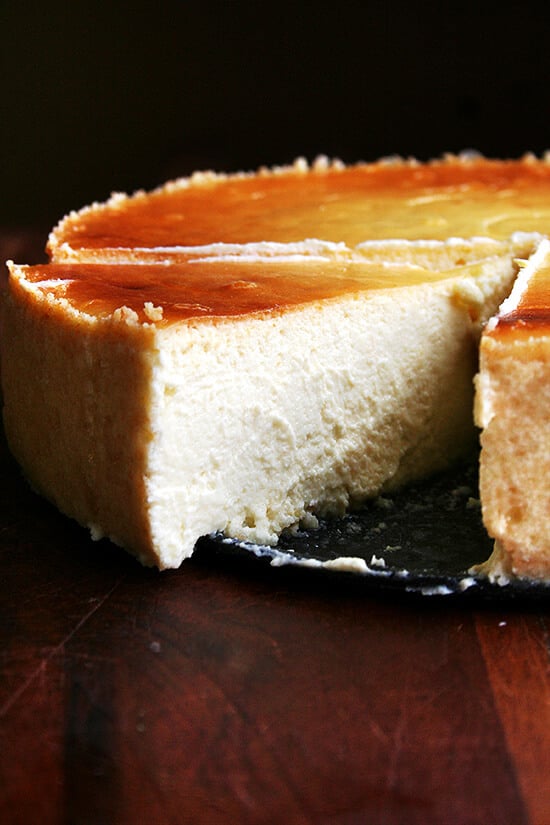
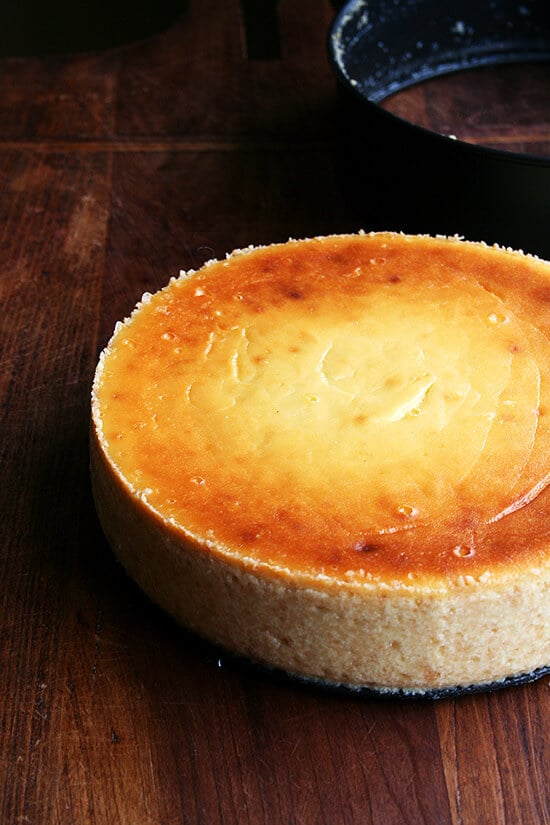
The virtues of cheesecake are as follows: it is incredibly easy to throw together; it can be made a day in advance; it feeds many people; and people generally love it. This one, made with both ricotta and mascarpone, and both lemon juice and zest is a huge crowd pleaser.
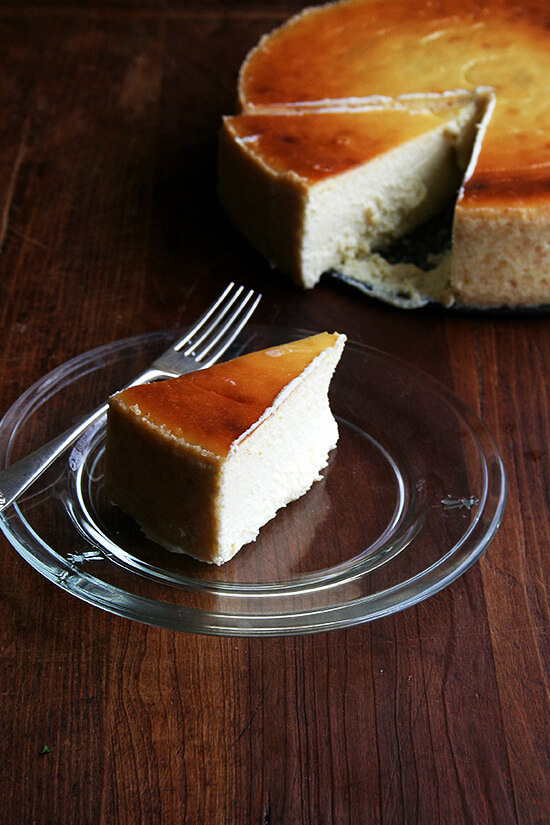
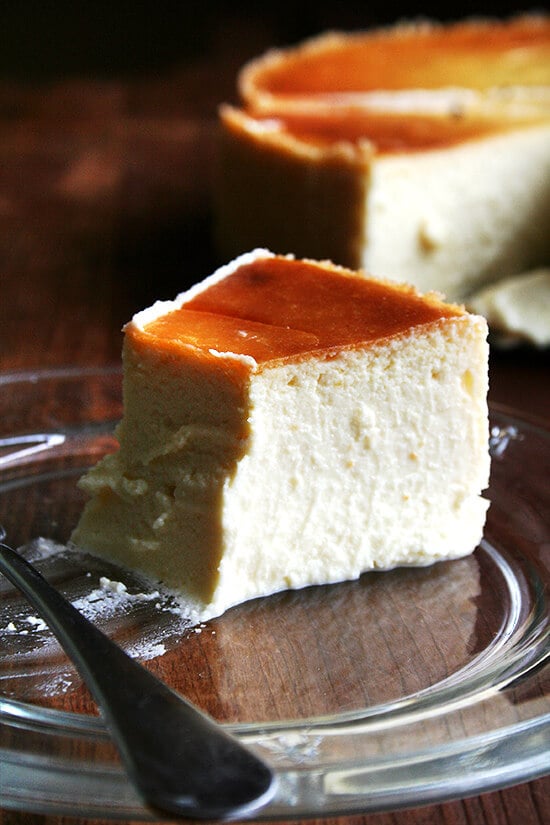
Unlike classic New York-style cheesecake, this lemon-ricotta cheesecake is sheathed by a simple cookie-crumb dusting, which allows it to come together in no time. Its silky texture tastes both rich and light at the same time, and though a small slice will suffice, it’s nearly impossible to resist seconds.
PS: Lemon-Ricotta Pound Cake
PPS: Lemon-Coconut Date Balls
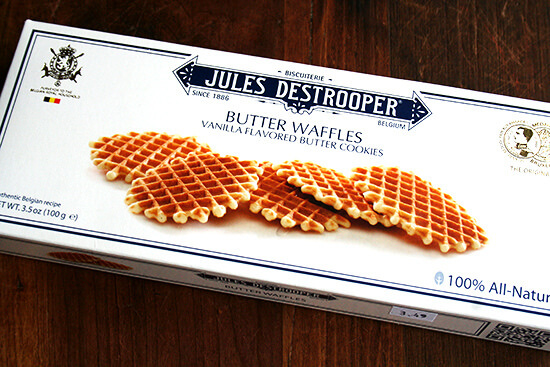
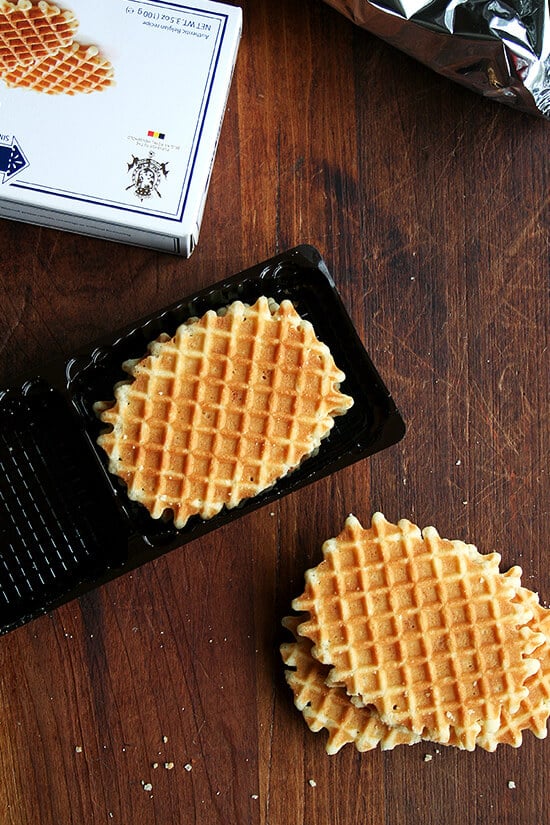
These are the cookies my mother always uses for her cookie crusts — they are so good and made with seven ingredients all of which you can pronounce: flour, butter, sugar, eggs, vanilla, salt, baking soda:

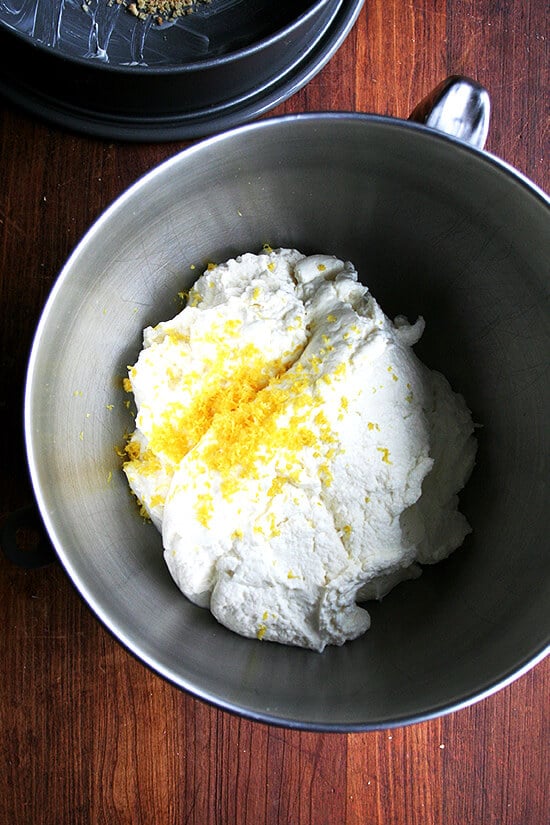
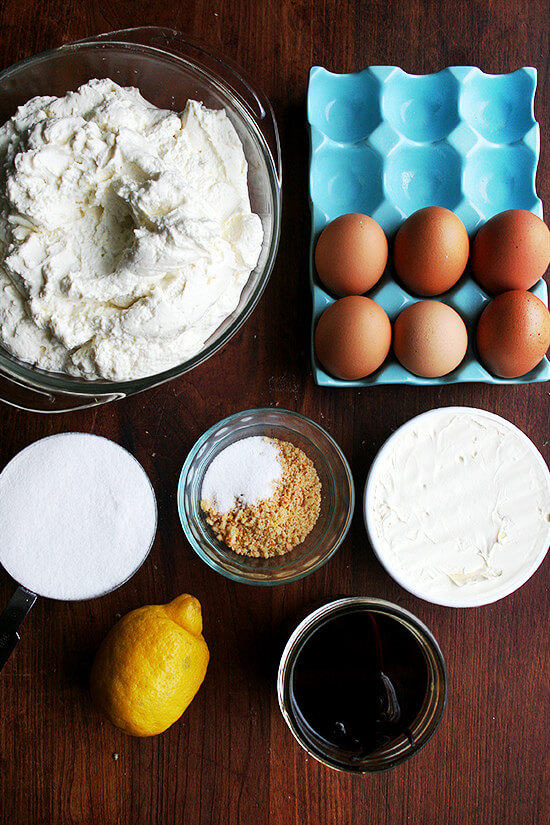
The lemon zest is key in this cheesecake — it complements the ricotta so nicely and just adds a lovely bright flavor.
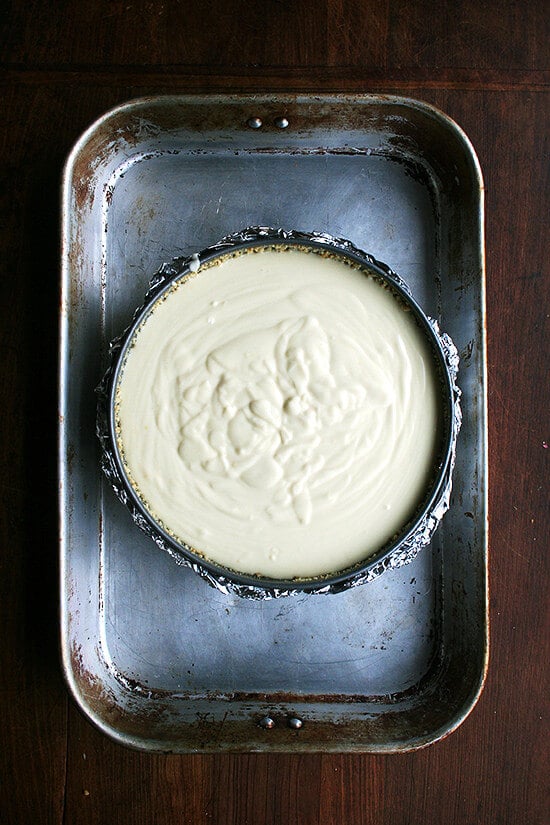
Ready for its water bath:
Description
Adapted from The New York Times
Notes:
Plan ahead! This takes time to make and bake and chill — it must chill for at least 4 hours, preferably overnight, before serving.
You’ll need a 10-inch springform pan for this recipe.
Ricotta: You must use whole milk ricotta here. Low-fat will leave the cheesecake with a gritty texture. Calabro brand, sold at Whole Foods, is nice. If you are serving this the same day you are making it, bake it first thing in the morning. As noted above, this can be made a day in advance. Bring to room temperature briefly before serving.
Fresh ricotta versus not : Fresh is best. My mother always uses fresh, but keep in mind you will need three pounds, which can get pricey. Most recently I made two using standard grocery store ricotta, and I still thought it was completely delicious, but several commenters have not had success with non-fresh ricotta, so I am advising to use fresh ricotta only here. Cooking times will vary dramatically depending on your oven, the pan you are using for the water bath and what type of fresh ricotta you are using. Start checking at 1 hour and 15 minutes.
The cookie crust is more of a cookie dusting than a crust — it melts into the cheesecake making it almost undetectable. It’s a subtle touch, but still really nice. Use whatever cookie you like, but I highly recommend the Jules Destrooper butter waffles if you can find them. This is what my mother always uses and what I use now, too. They are made of all good things — flour, butter, sugar, eggs, vanilla, salt, baking soda — and they are delicious to boot. You also could skip the cookie coating all together for simplicity.
If you have a Thermapen (highly recommend!) , use it to test the temp of the cheesecake, and remove it when it reads 150-155ºF.
I have never done this, but the next time I make this, I’m tempted to skip the water bath, and bake the cake on a rimmed sheet pan at 350ºF for about an hour — I’ve seen a number of recipes that skip the water bath without issue.
3 lbs. whole milk fresh ricotta, (low-fat won’t work here; Calabro brand, sold at Whole Foods, is nice)
1 tablespoon butter, softened
¼ cup grated or smashed cookie of choice, Jules Detrooper butter waffles are so good
1 teaspoon plus 1½ cups sugar
1 cup mascarpone
6 large eggs
2 teaspoons vanilla extract
2 teaspoons grated lemon zest
2 teaspoons fresh lemon juice
- Place ricotta in a sieve over a bowl and let drain for 1 hour.
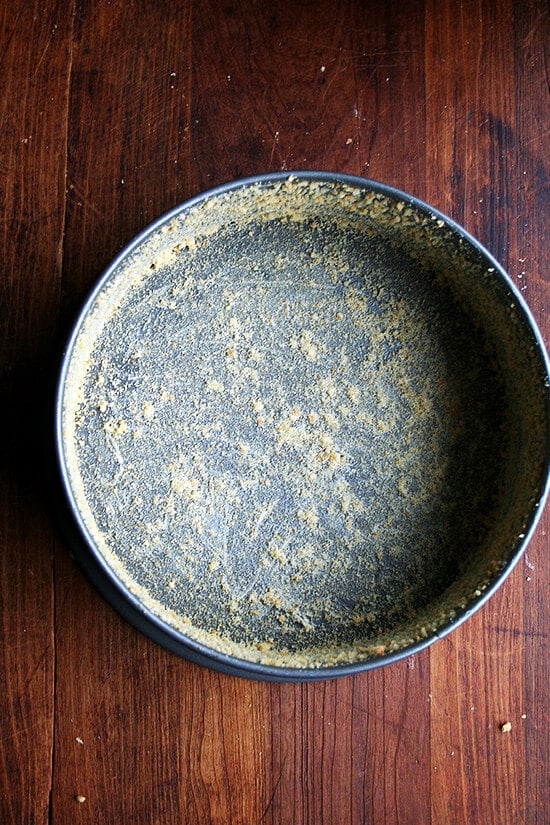
- Triple wrap the bottom and sides of 3×10-inch springform pan with aluminum foil. Butter the sides, bottom and rim of pan. Mix the smashed or grated cookie crumbs with 1 teaspoon sugar and coat the pan.
- Preheat the oven to 350ºF. Fill a teapot with water and bring to a boil. Place the mascarpone in the bowl of an electric mixer and beat until light. Transfer to a small bowl; then add ricotta and lemon zest to bowl of electric mixer. Beat at low speed until smooth. Beat in the eggs one at a time until smooth. Beat in the remaining 1½ cups sugar. Continue to beat until mixture is very smooth. Beat in the mascarpone, vanilla and lemon juice. Pour into the pan and smooth the top.
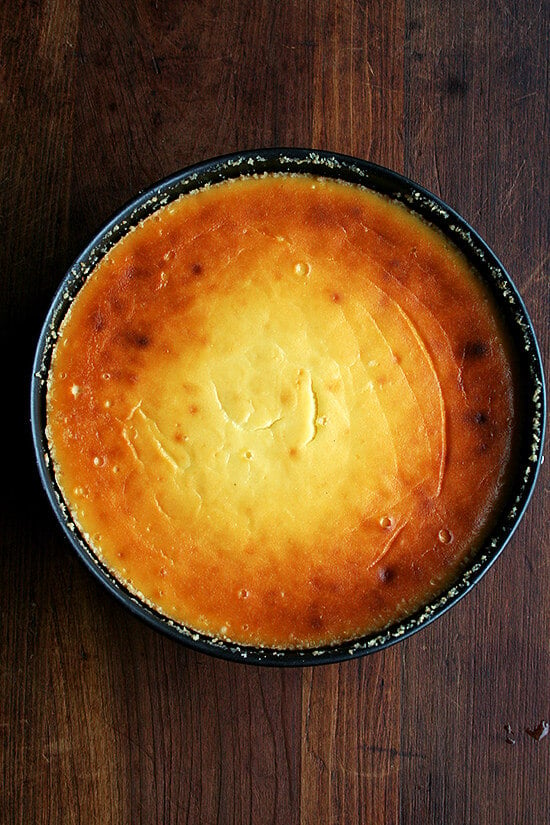
- Place the pan inside a roasting pan whose sides are not higher than the cake pan. Open oven and pull rack out halfway — make sure it’s stable. Place pan on rack, then pour in the boiling water from the teapot into the larger pan to within 1 inch of the top of the smaller pan. Bake for one hour and 15 minutes. Test with finger — the top should spring back a bit. Give the pan a shake — if the batter ripples under the surface too much, it probably needs more time. It should be slightly golden on top. Note: Cooking times will vary dramatically depending on your oven, the pan you are using for the water bath and what type of fresh ricotta you are using. Start checking at 1 hour and 15 minutes. If you have a Thermapen (highly recommend!), use it to test the temp of the cheesecake, and remove the cheesecake when the thermometer reads 150-155ºF. The cheesecake may take 30-40 minutes longer, so just be patient.
- Remove and let cool to room temperature in the water bath. Refrigerate overnight or for at least 4 hours before serving. It will firm up as it rests.
- To unmold, slide a thin knife around the cake edges. Release the sides of the springform pan. Refrigerate until serving.
- Prep Time: 1 hour
- Cook Time: 1 hour 15 minutes
- Category: Dessert
- Method: Oven
- Cuisine: Italian/American
The virtues of cheesecake are as follows: it is incredibly easy to throw together; it can be made a day in advance; it feeds many people; and people generally love it. This one, made with both ricotta and mascarpone, and both lemon juice and zest is a huge crowd pleaser.
Unlike classic New York-style cheesecake, this lemon-ricotta cheesecake is sheathed by a simple cookie-crumb dusting, which allows it to come together in no time. Its silky texture tastes both rich and light at the same time, and though a small slice will suffice, it’s nearly impossible to resist seconds.
PS: Lemon-Ricotta Pound Cake
PPS: Lemon-Coconut Date Balls
These are the cookies my mother always uses for her cookie crusts — they are so good and made with seven ingredients all of which you can pronounce: flour, butter, sugar, eggs, vanilla, salt, baking soda:
The lemon zest is key in this cheesecake — it complements the ricotta so nicely and just adds a lovely bright flavor.
Ready for its water bath:
Description
Adapted from The New York Times
Notes:
Plan ahead! This takes time to make and bake and chill — it must chill for at least 4 hours, preferably overnight, before serving.
You’ll need a 10-inch springform pan for this recipe.
Ricotta: You must use whole milk ricotta here. Low-fat will leave the cheesecake with a gritty texture. Calabro brand, sold at Whole Foods, is nice. If you are serving this the same day you are making it, bake it first thing in the morning. As noted above, this can be made a day in advance. Bring to room temperature briefly before serving.
Fresh ricotta versus not : Fresh is best. My mother always uses fresh, but keep in mind you will need three pounds, which can get pricey. Most recently I made two using standard grocery store ricotta, and I still thought it was completely delicious, but several commenters have not had success with non-fresh ricotta, so I am advising to use fresh ricotta only here. Cooking times will vary dramatically depending on your oven, the pan you are using for the water bath and what type of fresh ricotta you are using. Start checking at 1 hour and 15 minutes.
The cookie crust is more of a cookie dusting than a crust — it melts into the cheesecake making it almost undetectable. It’s a subtle touch, but still really nice. Use whatever cookie you like, but I highly recommend the Jules Destrooper butter waffles if you can find them. This is what my mother always uses and what I use now, too. They are made of all good things — flour, butter, sugar, eggs, vanilla, salt, baking soda — and they are delicious to boot. You also could skip the cookie coating all together for simplicity.
If you have a Thermapen (highly recommend!) , use it to test the temp of the cheesecake, and remove it when it reads 150-155ºF.
I have never done this, but the next time I make this, I’m tempted to skip the water bath, and bake the cake on a rimmed sheet pan at 350ºF for about an hour — I’ve seen a number of recipes that skip the water bath without issue.
3 lbs. whole milk fresh ricotta, (low-fat won’t work here; Calabro brand, sold at Whole Foods, is nice)
1 tablespoon butter, softened
¼ cup grated or smashed cookie of choice, Jules Detrooper butter waffles are so good
1 teaspoon plus 1½ cups sugar
1 cup mascarpone
6 large eggs
2 teaspoons vanilla extract
2 teaspoons grated lemon zest
2 teaspoons fresh lemon juice
- Place ricotta in a sieve over a bowl and let drain for 1 hour.
- Triple wrap the bottom and sides of 3×10-inch springform pan with aluminum foil. Butter the sides, bottom and rim of pan. Mix the smashed or grated cookie crumbs with 1 teaspoon sugar and coat the pan.
- Preheat the oven to 350ºF. Fill a teapot with water and bring to a boil. Place the mascarpone in the bowl of an electric mixer and beat until light. Transfer to a small bowl; then add ricotta and lemon zest to bowl of electric mixer. Beat at low speed until smooth. Beat in the eggs one at a time until smooth. Beat in the remaining 1½ cups sugar. Continue to beat until mixture is very smooth. Beat in the mascarpone, vanilla and lemon juice. Pour into the pan and smooth the top.
- Place the pan inside a roasting pan whose sides are not higher than the cake pan. Open oven and pull rack out halfway — make sure it’s stable. Place pan on rack, then pour in the boiling water from the teapot into the larger pan to within 1 inch of the top of the smaller pan. Bake for one hour and 15 minutes. Test with finger — the top should spring back a bit. Give the pan a shake — if the batter ripples under the surface too much, it probably needs more time. It should be slightly golden on top. Note: Cooking times will vary dramatically depending on your oven, the pan you are using for the water bath and what type of fresh ricotta you are using. Start checking at 1 hour and 15 minutes. If you have a Thermapen (highly recommend!), use it to test the temp of the cheesecake, and remove the cheesecake when the thermometer reads 150-155ºF. The cheesecake may take 30-40 minutes longer, so just be patient.
- Remove and let cool to room temperature in the water bath. Refrigerate overnight or for at least 4 hours before serving. It will firm up as it rests.
- To unmold, slide a thin knife around the cake edges. Release the sides of the springform pan. Refrigerate until serving.
- Prep Time: 1 hour
- Cook Time: 1 hour 15 minutes
- Category: Dessert
- Method: Oven
- Cuisine: Italian/American
Find it online : https://alexandracooks.com/2014/04/15/lemon-ricotta-cheesecake/
Bon Appetit began running a column this month called The Project , in which they detail how to make involved dishes, ones that require ambition, energy, thought, dishes such as cassoulet or ramen or their debut project: kouign-amann , a buttery pastry from Brittany, France.
I love this idea. So often these days I am too focused on what’s easy, what’s familiar, what’s going to get dinner on the table fastest. I miss the days when I would come home with a rabbit — oh to be young! — and open up my favorite Sally Schneider cookbook to find an impossibly involved recipe for ragù, which I would make and then serve over homemade pappardelle — oh to be young! — even if it meant serving dinner at 10pm.
Today if I see more than five ingredients in a recipe, my eyes glaze over, I file it into the “perhaps-one-day” folder, and I move on to the “fast, easy, fresh” recipe.
I love the spirit of this BA column so much that I almost didn’t write this post. Because the thing is that I cheated. One glimpse of those flaky, buttery, caramelized kouign-amann , and I thought: I need those in my belly. Immediately.
And so I cheated. Because Nigella Lawson, with her food processor Danish pastry dough, has made me a cheater. I fell for her dough when I made cheese danishes with lemon-ricotta filling last spring; I fell in love with her dough when I used it to make cronuts last fall. Twenty years from now, I might just learn to laminate dough properly, but until then, whenever I see recipes calling for that butter block and that folded pastry dough and that laborious process, I will cheat. And I will not look back.
Because this is the thing: Nigella’s processor Danish pastry is hardly cheating. It’s not opening a box of puff pastry, brushing it with butter, sprinkling it with sugar, pinching its corners and calling it kouign-amann .
This pastry dough requires thought and planning and a little bit of elbow grease. The dough, made mostly in the food processor with butter, flour, yeast, etc., requires a night’s rest in the fridge. And on shaping day, it requires rolling and folding and rolling and folding and rolling and folding. And in the case of kouign-amann , it requires another night in the fridge. If you want freshly baked kouign-amann on Easter Sunday, you start Friday night. That’s tomorrow. That’s 36+ hours in advance. That is planning. That is work. That is love. And that is why you deserve kouign-amann on Easter morning — on any morning — regardless of how hard it is to make.

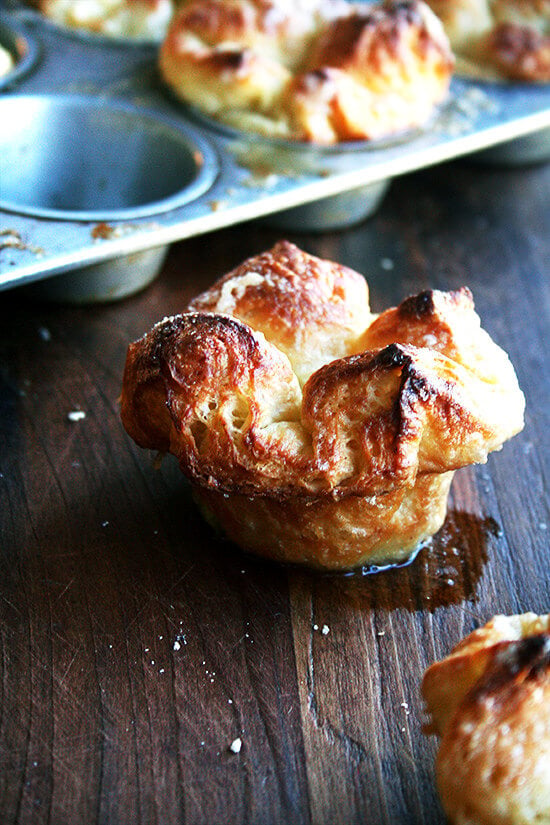
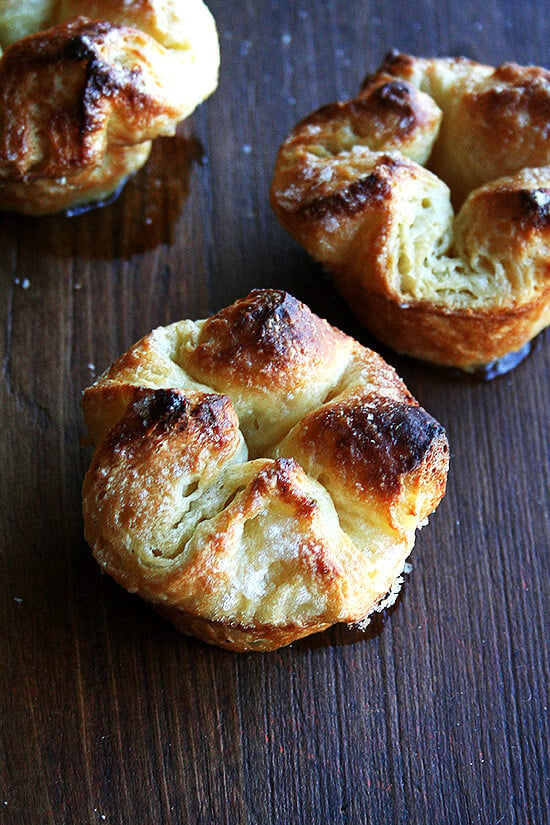
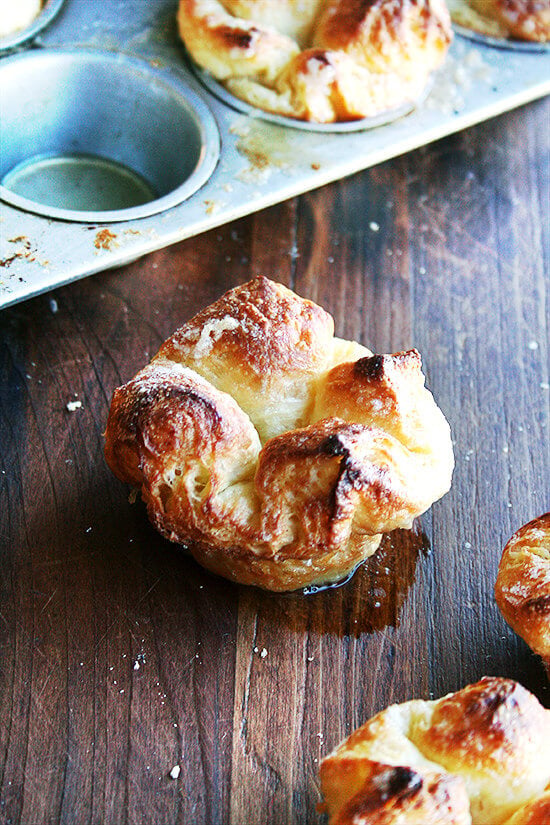
Of all of the pastries I have made with Nigella’s food processor Danish pastry dough, this is the simplest, and it might be my favorite. The only addition to the master dough recipe here is sugar — there are no egg washes, no fillings, no toppings. These pastries caramelize so beautifully in the oven, and they disappear too quickly — truly, they are irresistible. You likely have all of the ingredients on hand to make these but do remember to plan ahead.
A few other ways to use this magical processor Danish pastry: Cheese Danishes made with a lemon-ricotta filling that I absolutely love. Prosciutto & Gruyère Croissants Cronuts — I didn’t detail/blog about this process. If you would like some guidance, please let me know.
Description
Notes: This processor Danish pastry dough should rest in the fridge overnight, and the shaped kouign amann also rest in the fridge overnight. So, if you want to have freshly baked kouign amann for Easter Sunday, make the dough on Friday.
If you need to rush the process, see the Cheese Danishes post.
- 1/4 cup ( 60 ml) warm water
- 1/2 cup ( 125 ml) milk at room temperature
- 1 large egg at room temperature
- 2 1/4 cups ( 10 1/8 oz | 286g ) all-purpose flour
- 1 package (2.25 tsp. | 1/4 oz | 7g) rapid rise yeast (instant) or 1 tablespoon fresh yeast*
- 1 teaspoon kosher salt
- 1 tablespoon ( 1 oz . | 25g ) sugar
- 1 cup ( 8 oz | 250g ) unsalted butter, cold, cut into thin slices
- You can use active dry yeast, too — just let it stand with the milk and water for about 10 minutes until it is a little foamy.
- 1/2 cup plus 2 tablespoons sugar, divided
- Pour the water and milk into a measuring cup and add the egg, beating with a fork to mix. Set aside.
- Place a large bowl near your food processor. Then put the flour, yeast, salt and sugar in the processor, and give it one quick whizz just to mix. Add the cold slices of butter and process briefly so that the butter is cut up a little. You still want visible chunks of butter about least 1/2 inch in size — about 5 short pulses.
- Empty the contents of the food processor into the large bowl, then add in the milk-egg mixture. Use your hands or a rubber spatula to mix the ingredients together, but don’t overdo it: expect to have a gooey mess with some butter lumps pebbling it. Cover the bowl with plastic wrap, put in the refrigerator, and leave overnight or up to 4 days.
- In the late afternoon or evening the day before you are baking the kouign-amann , take the dough out of the refrigerator, let it get to room temperature (about 15 minutes or so), and roll the dough out into a 20-inch square. (Note: Don’t worry too much about inches here — just try to roll the dough out into a large square that is relatively thin. Also, you will probably need to lightly dust your work surface with flour and add more flour as needed to your rolling pin and board. See video below for guidance.) Fold the dough square into thirds, like a business letter, turning it afterward so that the closed fold is on your left, like the spine of a book. Roll the dough out again into a large square, repeating the steps above 3 times.
- After the three rolls, roll the dough into a 16×12″ rectangle. Sprinkle the surface with 1/4 cup sugar. Gently pat the sugar into the dough. Flip the rectangle. Sprinkle with another 1/4 cup sugar. Gently pat again. Cut the dough into 12 squares — you need a 4×3 grid. Brush excess flour from dough and surface.
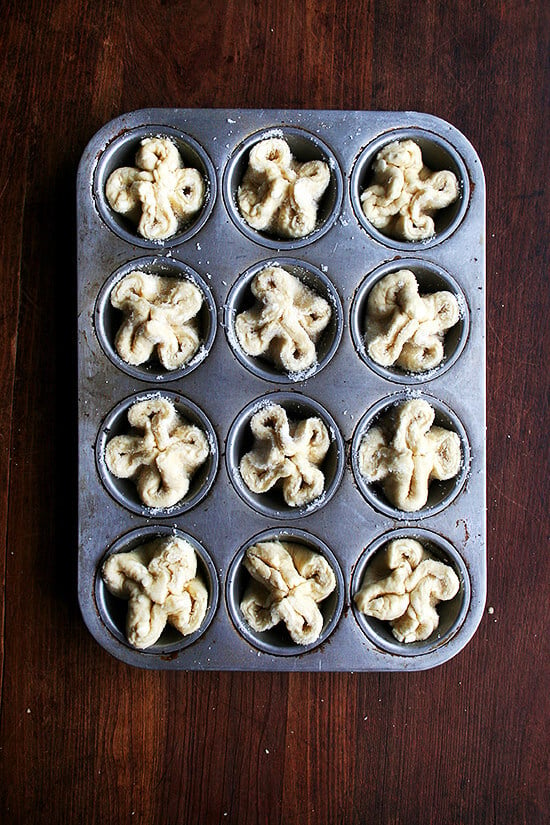
- Butter a 12-cup muffin tin. Lift corners of each square and press into the center. Fit each pinched parcel into each muffin cup. Cover with plastic wrap and place in the fridge.
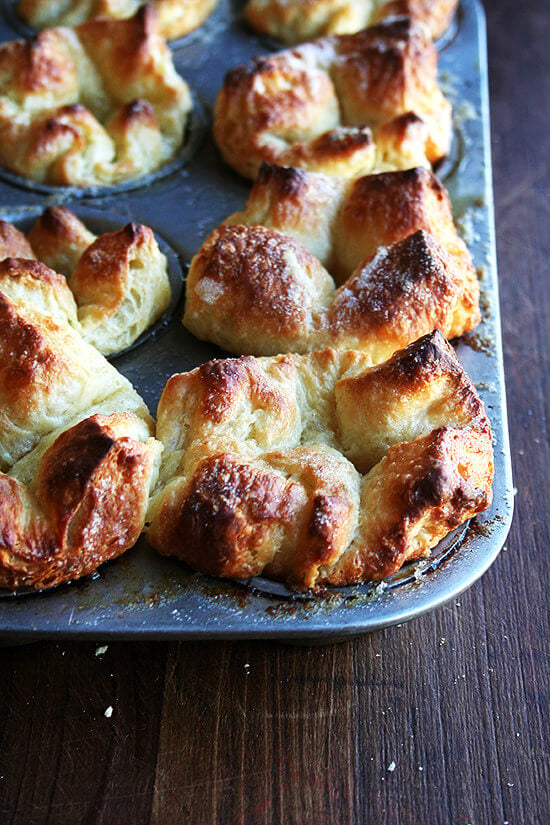
- About an hour before baking, remove pan from fridge. Preheat the oven to 375ºF. Sprinkle remainging two tablespoons of sugar over top of pastries. Bake for 20 to 25 minutes or until golden on top. Let cool briefly before serving.
- Prep Time: 30 minutes
- Cook Time: 25 minutes
