Every so often I get an email from someone with questions regarding blogging and where to begin. This blog is in its 17th year of existence, and I’m still learning and tweaking all the time.
Getting started:
- First things first: you need a name. If only I had given the naming process five minutes of thought, I could have prevented years of confusion. When I named this blog Alexandra’s Kitchen, the URL “alexandraskitchen.com” wasn’t available, so I chose alexandracooks.com, which has confused people over the years — is it Alexandra’s Kitchen? or Alexandra Cooks?
My advice: Match your blog name to its URL. Before you commit, run the name by some friends. Keep it short and snappy. Make it memorable. Be clever. Not too clever. I have failed on all accounts. And before you get your heart set on a name, check to see if it’s available.
- You need a publishing platform and a host . I have used WordPress — a Content Management System (CMS) for years — which I love for a number of reasons: ease of use, community support (answers to any question can be found online), and plugins. There are many CMS’s out there, but I can only speak with any knowledge about WordPress.
There are two routes you can take: wordpress.com (free) or wordpress.org (not free). WordPress.com is a great place to start if you want to test out the world of blogging. If you discover you like blogging, you can easily migrate your content to wordpress.org. You can compare the differences in more depth here , but in short, wordpress.org gives you more control over the design, plugins, and themes for your site.
When you use wordpress.org, you need a host (someone you rent space from). I used Bluehost when I first started because it is extremely affordable. Monthly fees for hosting are nominal: $3.95/month to start. If you find your traffic growing and you need more support, WP Engine is a great option.
If you go the wordpress.org route, your host company (Bluehost, WP Engine, Liquid Web, Flywheel, etc.) should be able to install WordPress for you. Don’t struggle. Get on the phone; let someone walk you through it.

- Designing your site . The beauty of WordPress is that there are thousands of themes out there, many of which are free . Think of a theme as this: a basic framework or layout. Colors and fonts can all be tailored as can layout. But the most important requirement you should consider when picking a theme is this: that it’s responsive , meaning the layout of your site will adjust to the device on which it is being displayed. Not only does google care if your site is responsive, but many people now appreciate — expect — a responsive site when reading websites from their phones and tablets.
I used Feast Design Co. for my most recent Alexandra’s Kitchen logo.
With the release of Gutenberg , WordPress’ new editing experience, it is important to pick a theme that is Gutenberg ready.
Four Essentials to Keep in Mind During the Design Process:
• Speed : A fast site is imperative.
• Search : A good search function clearly located at the top of the page is essential. This search function should be easily accessible in the mobile arena (phones, tablets, etc.) as well.
• Organization : Assigning categories — the beauty of WordPress! — to each post you write will allow people to browse your archives. You can then create links for these categories — for example: Breakfast , Salads , CSAs , Desserts , Bread — and make them accessible from your main menu. I only just found a way to display my categories in a way that I like with good-sized thumbnail images: see, for example, Vegetarian .
• Printer-friendly : People really appreciate when recipes can be easily printed (a feature I failed to provide for years). I use the WP Tasty recipe plugin , whose printer-friendly display I really like.
- You need a camera and a phone . I use the Canon 5D Mark III . All Photography tips here . I use my iphone for Instagram and Instagram stories.
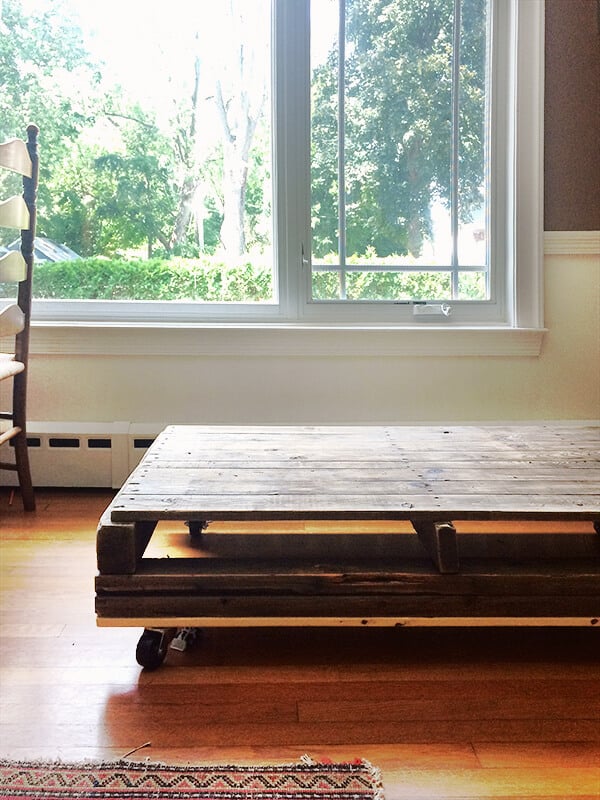
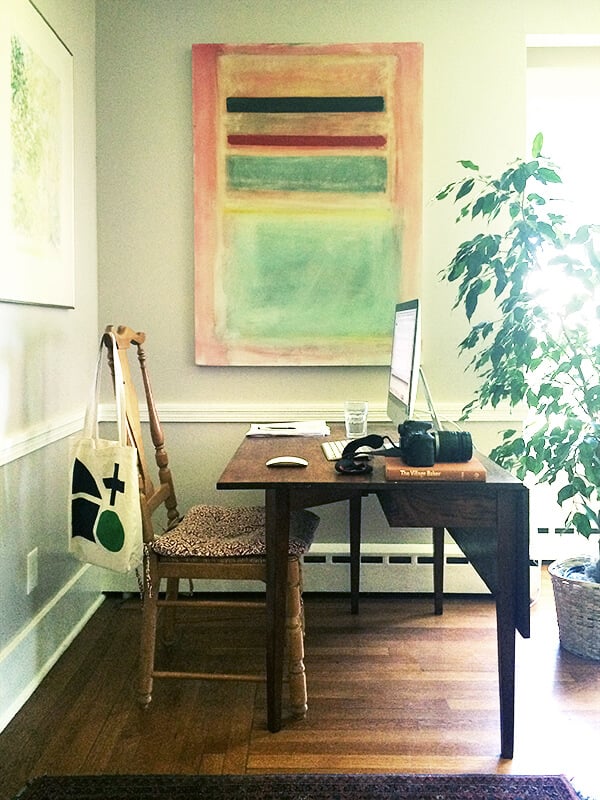
workspace:
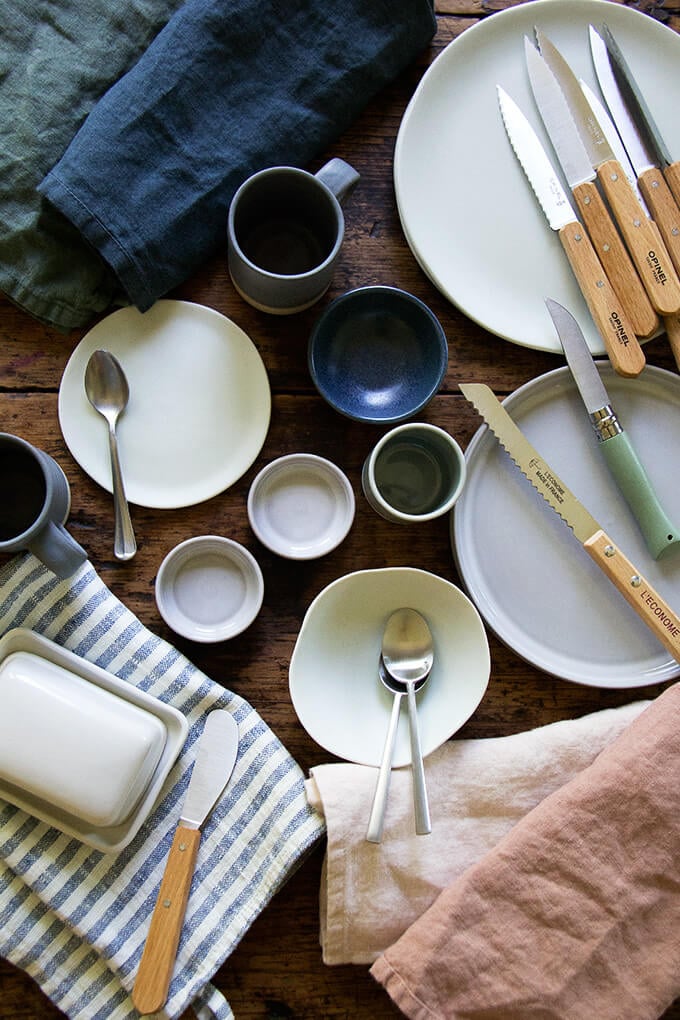
props:
- Photography . There are countless resources on the web for photography. I have created this Pinterest board which features images from some inspiring food photographers. Word of advice: don’t get overwhelmed. I find myself feeling two things these days: The photography on the web has gotten SO good. 2. It’s also gotten too good. I almost don’t trust a site when the photography is too styled or perfect looking. I suggest finding a few photographers whose work you really like, study their photos, then start practicing. You need to get comfortable with your camera. Props such as cloths, bowls and vintage silverware aren’t going to make the image.
Photo-editing software, however, will help. I use Photoshop , which I love and highly recommend. If you go the Photoshop route, I also recommend taking an online course (I did) to learn the basics — it’s not intuitive. Lightroom is also what many photographers recommend or even prefer to Photoshop. There also are a few free options out there. I’ve heard good things about gimp.org .
One other thought:
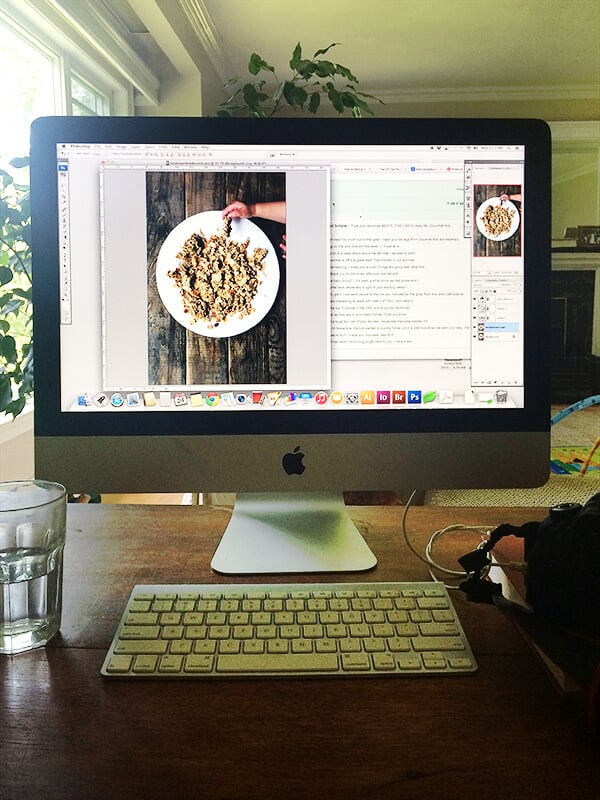
Vertical vs. Horizontal images. Pinterest is one of the largest and fastest-growing social media sites. Vertical images shine . Horizontal images get lost. Moreover, people are using their phones and tablets (vertically oriented) more and more. Having a mix of both horizontal and vertical is a nice option, too, though in my opinion, a majority of vertical images is probably best. Editing in Photoshop:
- WordPress plugins/features I like:
Search box : This is trickier than you might think. Some themes come with built-in search functions that are great. Some themes come with the default WordPress search function that is not so great, especially in the way in which it displays results. My advice: find an example of a search function you like; then hire a designer to do the same for your site.
Swift Type Search Akismet Yoast SEO WP Tasty Recipes WP Tasty Pins
Social Media . As I mentioned above, blogging and social media are nearly inseparable. Create a Facebook page and set up accounts with Twitter , Pinterest , Instagram. Even if you don’t use these various social channels that often, you never know which channels your readers may prefer for gathering and sharing information.
Make friends. Reach out to bloggers you admire. Find bloggers whose cooking styles align with yours. Maybe you have taken an interest in vegan or gluten-free cooking . Maybe you like baking or gadgets . Maybe you’re interested in food policy or reviewing cookbooks or starting a podcast . For every interest, there is a community out there. Learn from bloggers who spread the “link love” and keep the content fun.
You’ve got this! Let’s review:
- Pick a name. 2. Pick a CMS such as WordPress. 3. Design your site. 4. Create profiles on social channels. 5. Start cooking, photographing, writing, posting.
Let me know how it goes. Questions? Thoughts? What have I forgotten? Good luck!
Cook’s Illustrated’s The Science of Good Cooking , my latest library rental, is organized by concepts — 50 of them! — but none so much as #28 halted my page turning: Don’t Soak Beans—Brine ‘Em. I read on to discover that Cook’s Illustrated recommends not only soaking beans in salted water but also cooking beans in salted water — as in salted water right from the start. Note: This is NOT a book to give to your favorite nonna .
I’ve tried the method now on both cannellini beans and black beans, and I have to say, the beans are cooking up so nicely — creamy, intact, and cooked through — in just about 45 minutes. Let me share with you Cook’s Illustrated’s scientific explanation:
“Soaking the beans in salted water is the key to beans that cook up with tender skins. Why? As the beans soak, the sodium ions replace some of the calcium and magnesium ions in the skins. (I’m lost, you?)
Because calcium and magnesium ions form links between pectin molecules, they are responsible for creating strong cells that are tightly bound together. (Um?)
When they are replaced by sodium ions, the pectin weakens, leading to a softer texture. During soaking, the sodium ions will filter only partway into the beans, so their greatest effect is on the cells in the outermost part of the beans. (Head hurts.)
When brined beans are cooked, preferably with a little salt, the result is tender skins. (Got it!).”
I haven’t done a side-by-side comparison — I’ve left that to America’s Test Kitchen — but once again , I’ve drunk the bean-cookery Kool Aid: from here on out, beans will be brined and cooked with salt from the start. I’ve been soaking/cooking a pound of cannellini beans at a time and then making Marcella Hazan’s white bean soup from her Essentials of Classic Italian Cooking , (a better choice for your favorite nonna ).
It’s simple: sauté garlic in olive oil, add beans, cover the pot, and cook for 6 minutes. Uncover, add water (or stock), and cook for another 6 minutes. As the beans simmer, some of them break down and cloud the broth, turning it creamy.
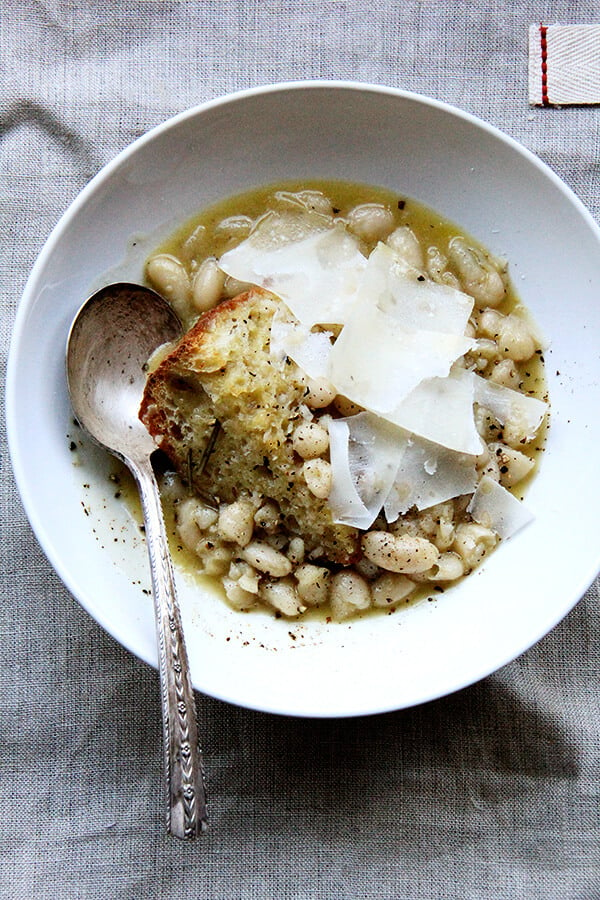
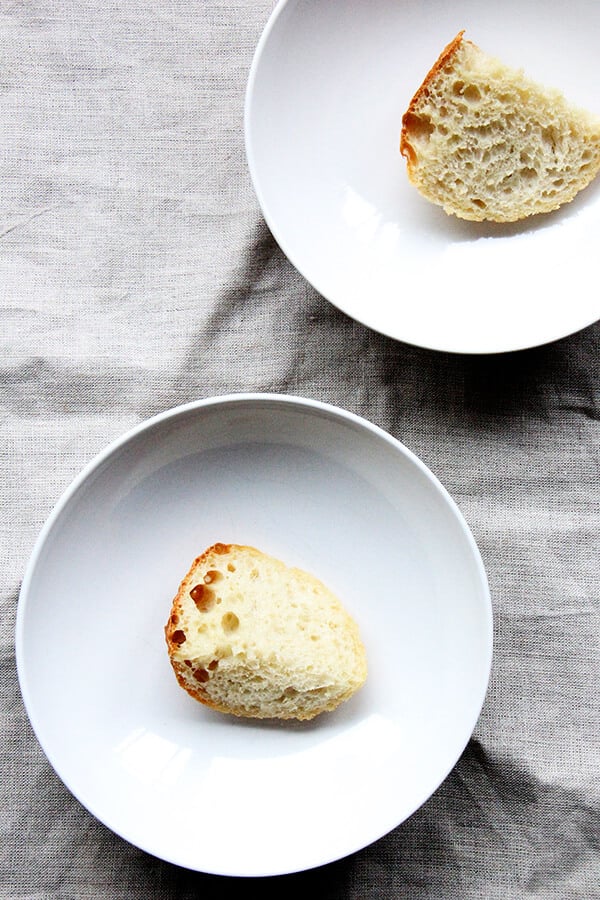
For a bean soup, there is very little liquid, and in the preface to the recipe, Marcella notes why: “If one really loves beans, all one really wants in a bean soup is beans.” She adds only enough liquid, olive oil and garlic “to help the cannellini express the best of themselves.” This isn’t a brothy soup and Marcella actually notes, too, that it can thickened up and served as a side dish. I’ve been toasting hunks of bread, smothering them with the stewy beans, and shaving Parmigiano Reggiano over top. It is delicious. Yes, soaking the beans and cooking them takes time, but once you have them on hand, these beans take no time to materialize.
Have a wonderful weekend, Everyone.
PS: Rancho Gordo named a bean after Marcella . I had to order some immediately.
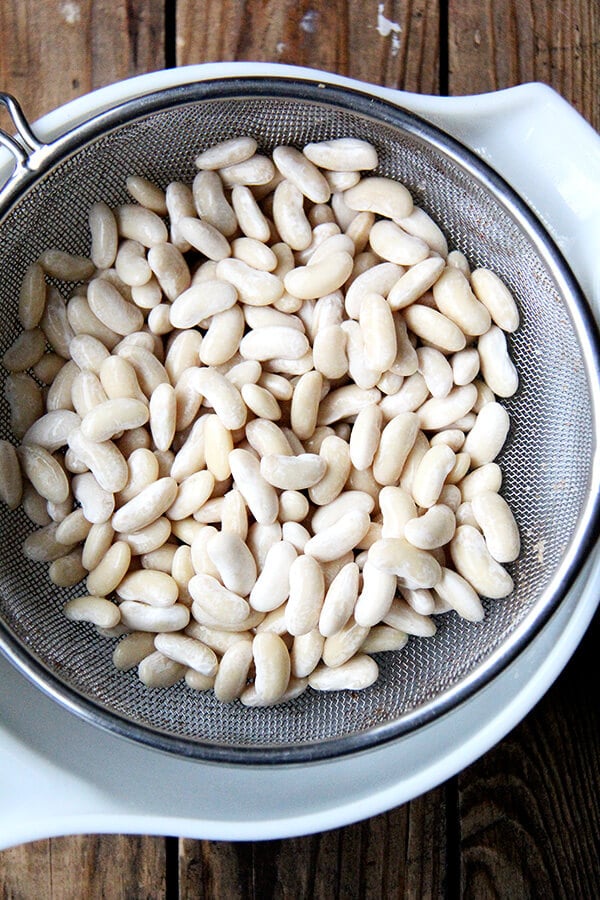
Cooked beans:
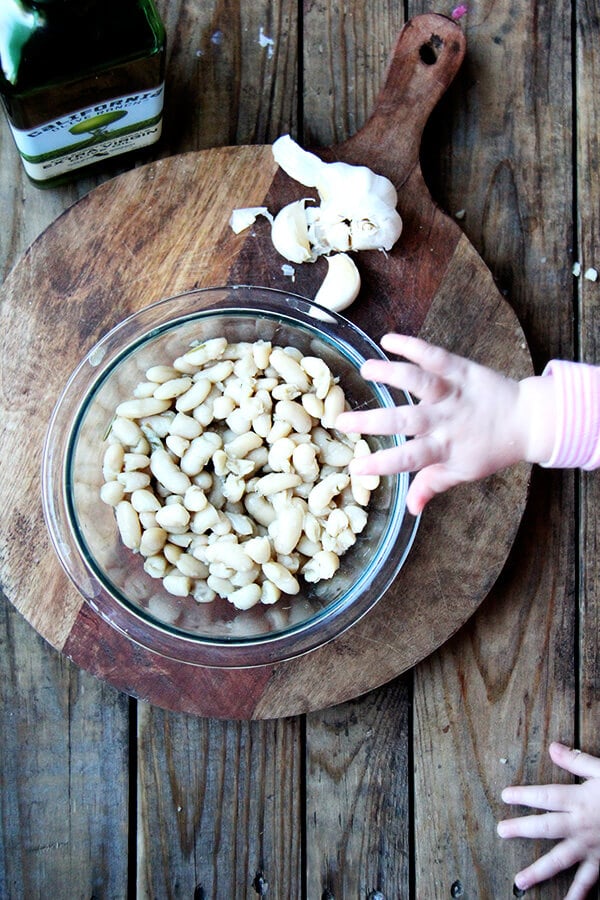
Stewy bean ingredients:
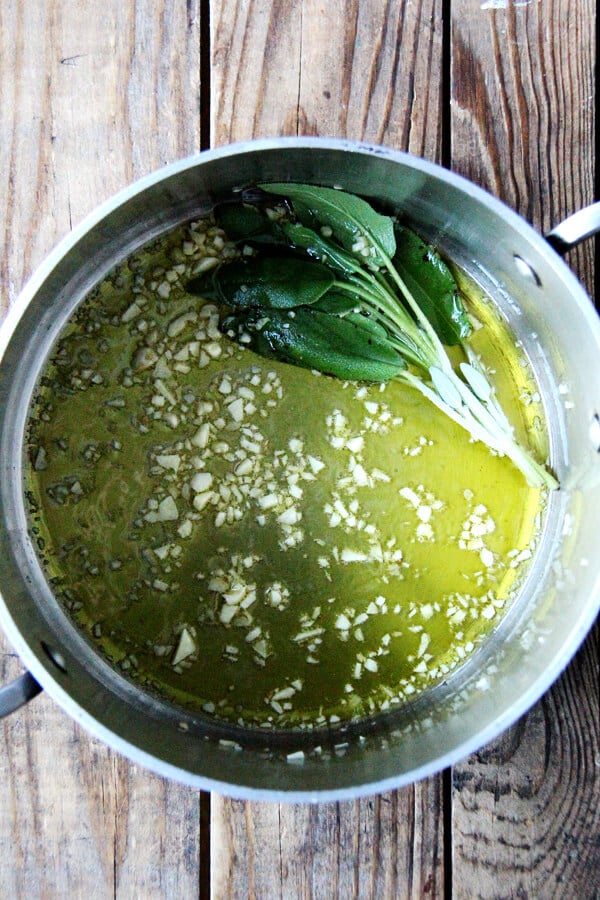
Sauté garlic and sage (if you’d like):
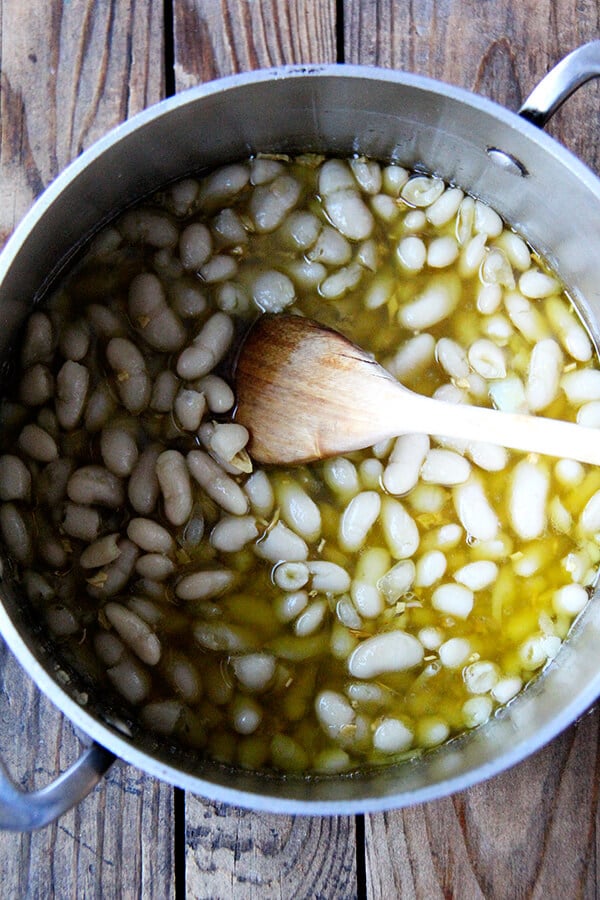
Add beans:


Serve:

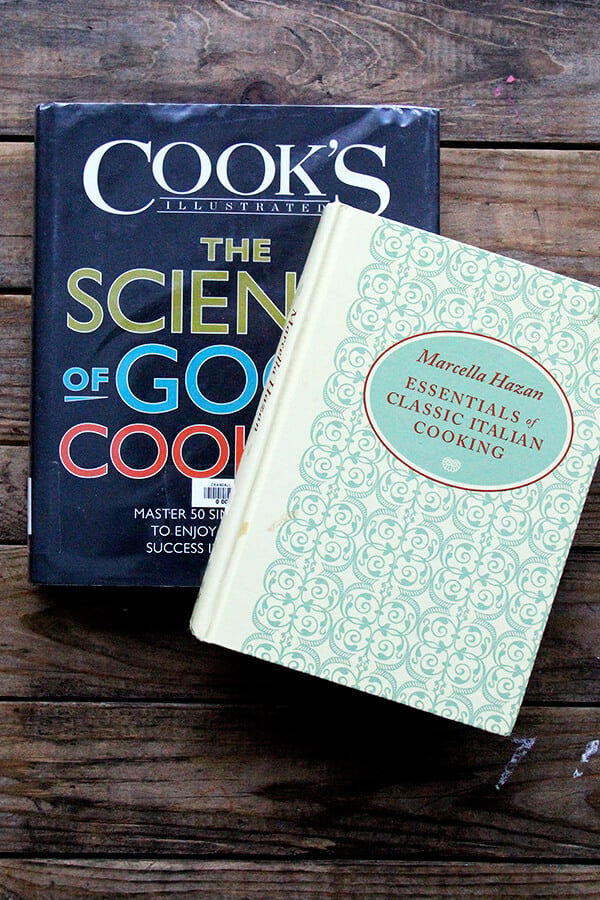
An unlikely but very nice pair: Marcella Hazan’s Essentials of Classic Italian Cooking and Cook’s Illustrated The Science of Good Cooking
Description
Bean soaking method: Cook’s Illustrated The Science of Good Cooking.
Stewy Beans adapted from Marcella Hazan’s Essentials of Classic Italian Cooking (In the book, the recipe is called “White Bean Soup with Garlic and Parlsey”)
This is a half recipe, so if you wish to make more, double the quantities keeping the cup of water/stock the same. Marcella adds parsley (no sage) to her beans, so if that sounds nice, go for it — she adds the parsley at the very end. She also purées a half cup of the beans through a food mill. I find this step unnecessary because the beans break down on their own.
soaking and cooking the beans:
- 3 tablespoons + 1 teaspoon salt
- 4 qts water
- 1 lb. dried white beans, such as cannellini or great northern
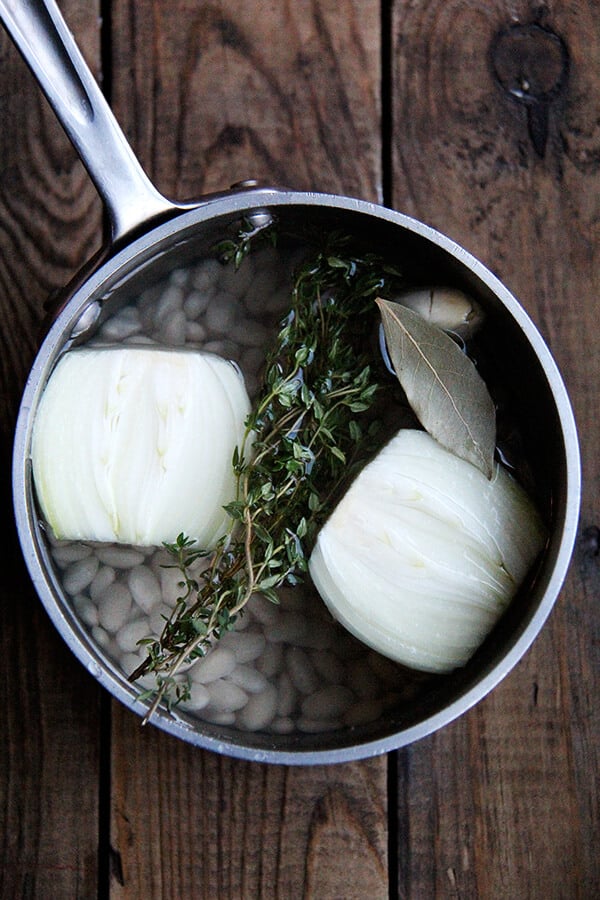
- 1 onion, peeled and halved through the core
- a few sprigs thyme
- 1 clove garlic, smashed
- 1 bay leaf
for the stewy beans:
- ¼ cup olive oil
- 3 cloves garlic, minced
- 1 small bundle sage, optional
- 3 cups cooked white beans, drained
- salt and pepper to taste
- 1 cup water, chicken stock or vegetable stock, plus more as needed
- bread for serving
- grated Parmigiano Reggiano for serving
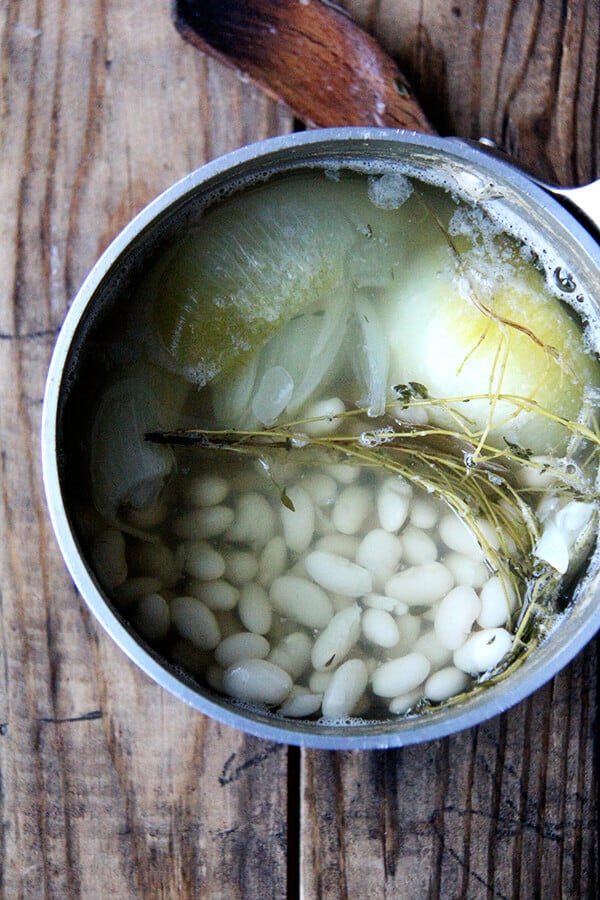
- Soaking and cooking the beans:Dissolve the 3 tablespoons of salt into the water. Add the beans and soak for 8 to 24 hours. Drain, rinse and place in a pot with the onion, thyme, garlic, bay leaf and remaining teaspoon of salt. Cover with water by three inches. Bring to a boil, then lower heat and cook at the gentlest simmer for about 45 minutes or until the beans are cooked through. Let beans cool in their cooking liquid. Discard thyme sprigs, bay leaf, and onion. Store beans in their cooking liquid.
- Making the stewed beans: Place the oil and chopped garlic (and sage bundle if using) in a soup pot and turn the heat to medium. Cook the garlic, stirring it until it becomes colored a very pale gold.
- Add the beans, a pinch of salt (I added about ½ teaspoon kosher salt, but you may want less), and a few grindings of pepper. Turn the heat to low, cover and simmer gently for 5 to 6 minutes.
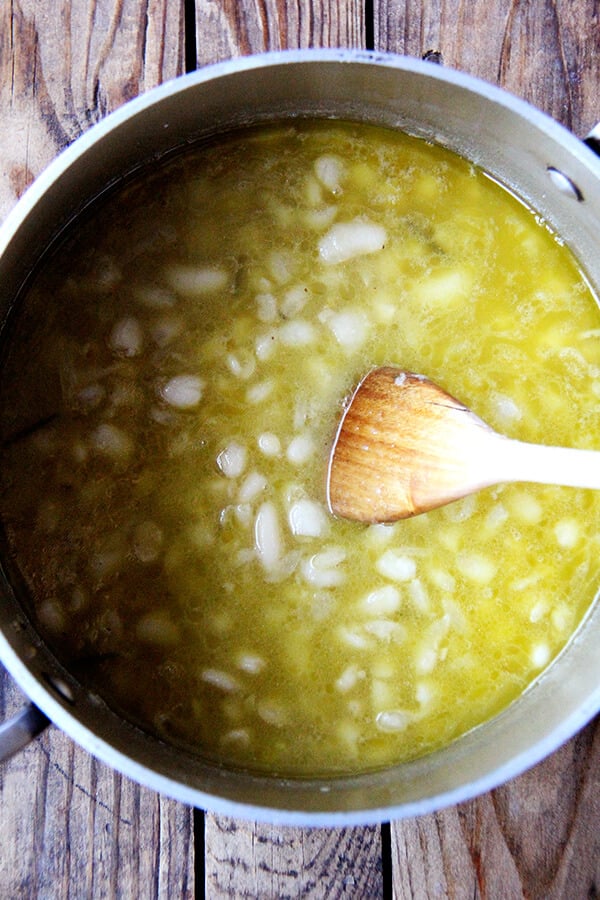
- Uncover, add the cup of water or stock and simmer for another 6 to 8 minutes or until some of the beans have broken down and turned the broth creamy. Taste, and correct for salt and pepper. Turn off the heat. Note: If the bean liquid thickens up too much, add water or stock as needed to thin it out. If you make this ahead and plan on reheating, you most likely will need to thin with water or stock. Taste again, and correct seasoning as needed.
- Place toasted bread into soup bowls. Ladle beans over top. Shave cheese over top.
- Prep Time: 24 hours
- Cook Time: 1 hour
- Category: Beans
- Method: Stovetop
- Cuisine: Italian
