Roger.
There is no “recipe” for ghee in Indian-ish , just a little guidance: “Melt a stick of butter, turn off the heat, skim the white stuff off the top, and you’ll be left with clear ghee.”
Since I had many recipes in Indian-ish flagged, I made a pound of ghee. Advised by a friend, I strained the nutty, clarified butter through cheesecloth, and it worked like a charm.
How Does Ghee Differ from Clarified Butter?
The process of clarifying butter removes water (through evaporation) and milk solids (through skimming or straining).
Ghee is clarified butter taken one step further, until the milk solids turn brown, leaving behind nutty, toasty liquid gold.
Why Use Ghee? And Why Has Ghee Become A Darling of the Wellness World?
Cooks/chefs love cooking with clarified butter because, without those milk solids in the mix, the butter has a higher smoke point, which allows it to be used at higher temperatures without burning. Ghee has the added bonus of imparting nutty, toasty flavors to the food it is cooking.
Ghee is loved by the wellness world because many people with dairy sensitivities don’t have to give it up — when the milk solids are removed from the butter, so are most of the problematic lactose sugars and casein proteins.
Woohoo! Go Ghee!
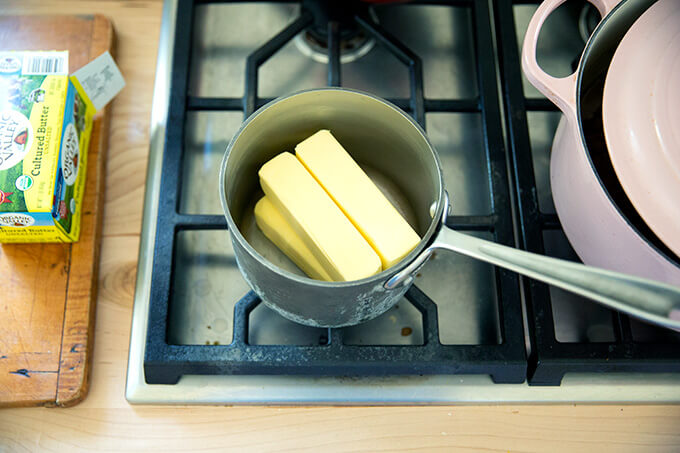
How To Make Ghee: In a medium saucepan over medium to medium-high heat, melt as much butter as you like.
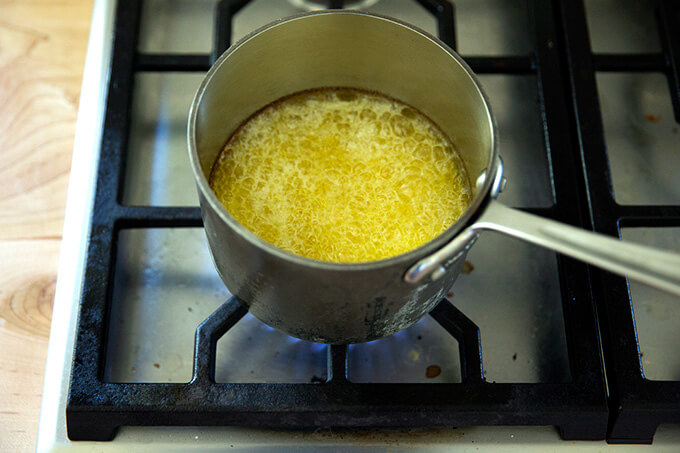
Within five minutes, you will see a brown rim around the top of the bubbling butter. It should begin smelling slightly nutty. This is a sign it’s just about done.

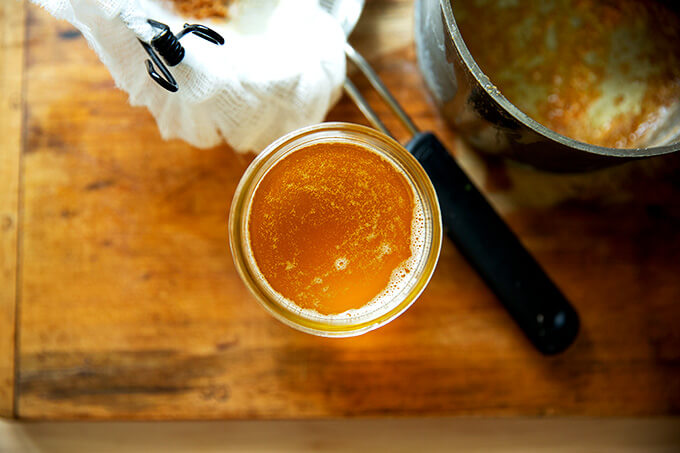
Strain the ghee through a cheesecloth.
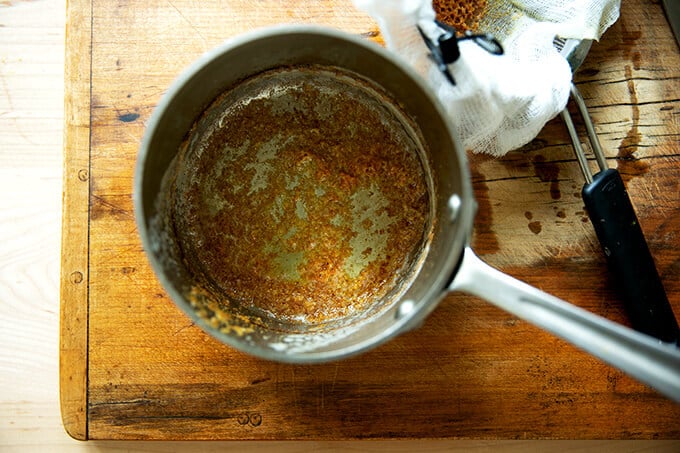
These are butter solids left behind.
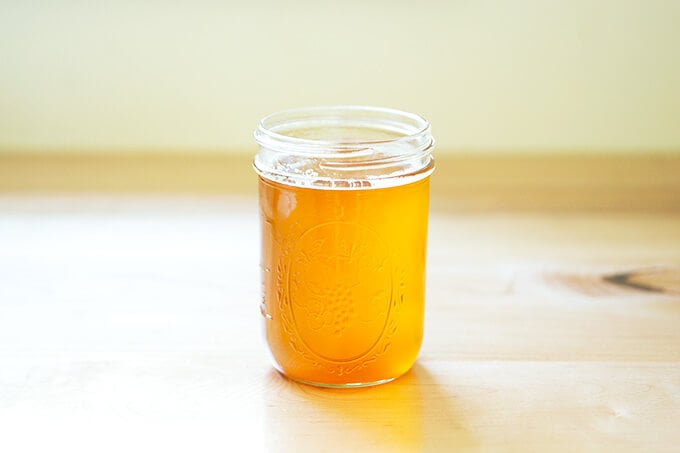
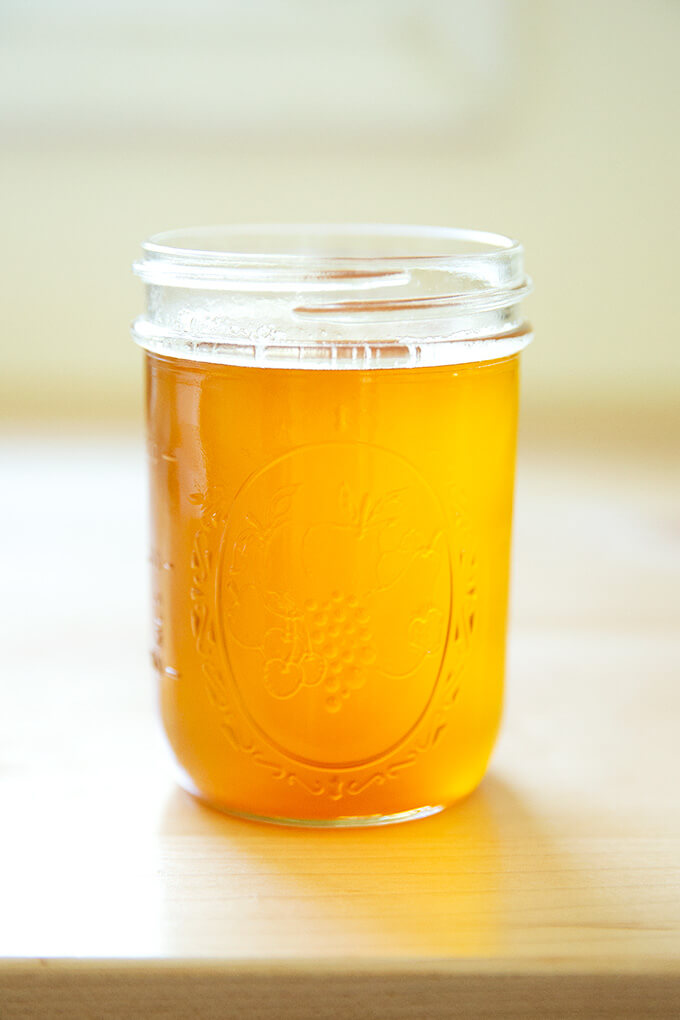
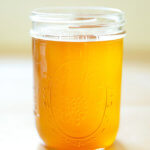
Ta-da! Ghee.
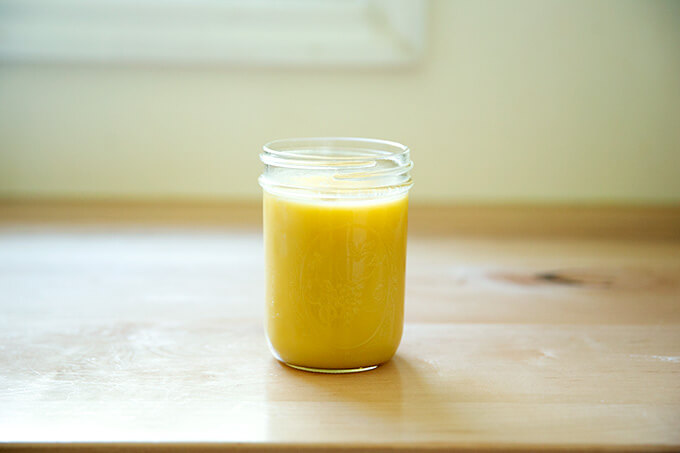
Ghee, cooled to room temperature.
Description
Ghee is clarified butter cooked one step further till the milk solids turn slightly brown, leaving behind nutty, toasty liquid gold.
As I researched how to make it, I came across many recipes that call for simmering the butter slowly for 15 to 20 minutes, skimming off the white solids from the top, then cooking the fat that remains till it becomes toasty. This no-doubt is the proper way to do it, but I’ve found cooking the butter over medium to medium-high heat for about 5 minutes achieves the same end point: slightly toasted clarified butter.
- 1 lb. unsalted butter, or more or less
- cheesecloth
- In a medium saucepan over medium heat, melt as much butter as you like.
- Adjust heat to that butter is bubbling, not violently but at a nice clip. Within five minutes, you will see a brown rim around the top of the bubbling butter. It should begin smelling slightly nutty. This is a sign it’s just about done.
- Strain the ghee through a cheesecloth-lined sieve.
- Transfer ghee to a glass jar, leaving any dark solids that may have slipped through the sieve behind.
- Prep Time: 1 minute
- Cook Time: 5 to 7 minutes
- Category: Sauce
- Method: Stovetop
- Cuisine: Indian
Find it online : https://alexandracooks.com/2019/04/23/how-to-make-ghee-a-step-by-step-guide/
Why I have never thought to dress leftover rice with something other than soy sauce, sesame oil, and a showering of scallions escapes me.
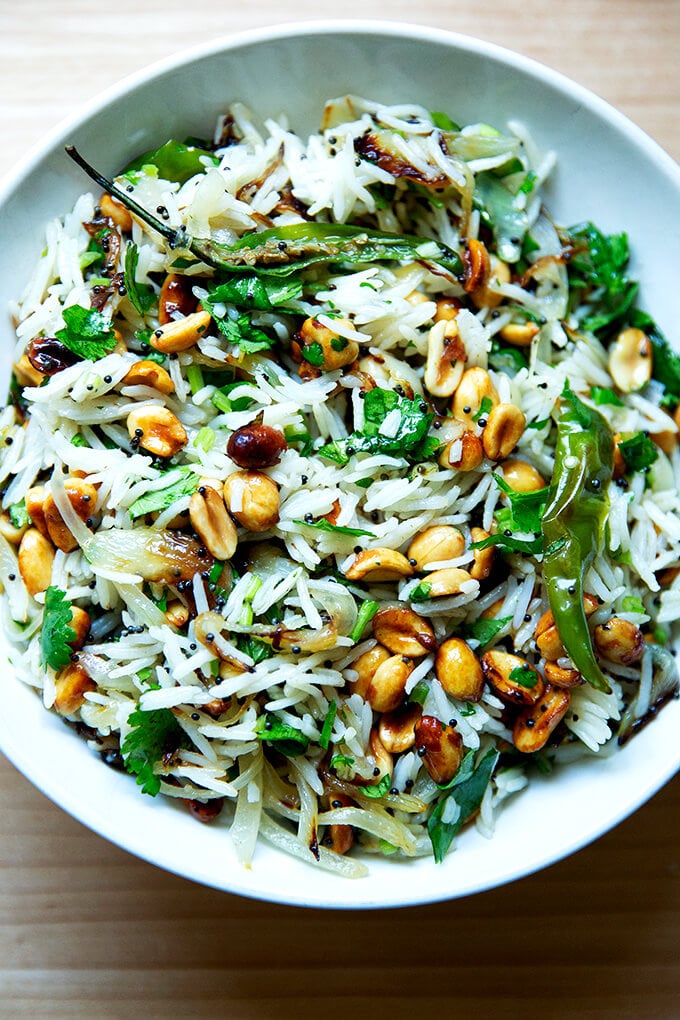
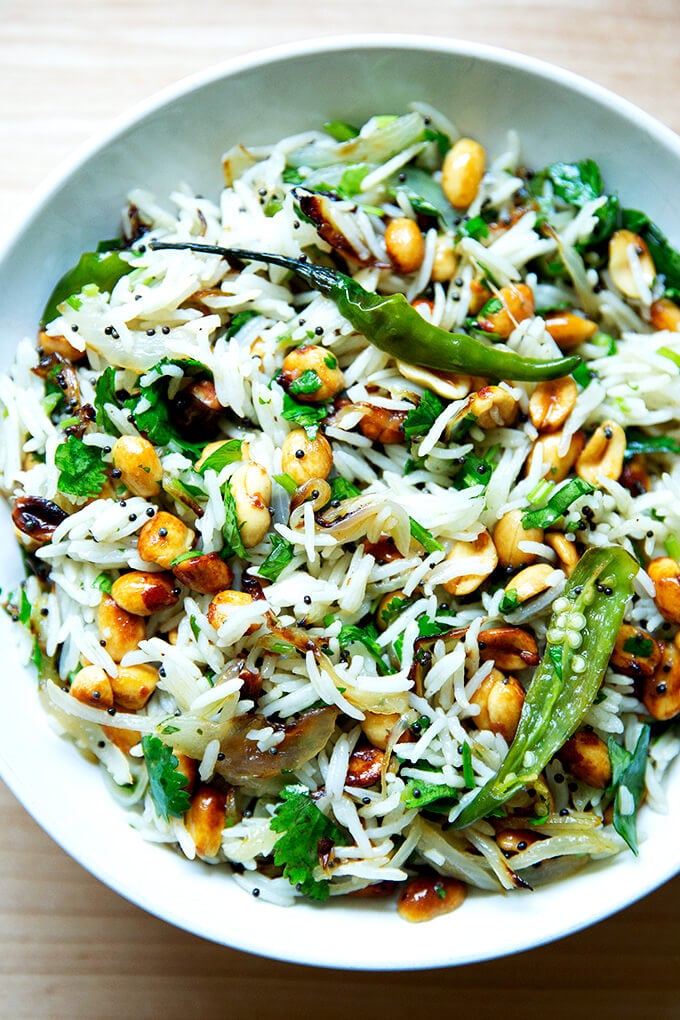
Indian. Fried. Rice. Where have you been my whole life?
To be clear: this isn’t exactly fried rice — there’s no frying of the leftover rice. And how nice, too? There’s nothing to stress over: Is the rice old/dry enough? Will it fry well enough? Will I have the patience to let it brown before I push it around?
Here, leftover rice is simply dressed with spices, herbs, acid, and fat. (Also: peanuts, caramelized onions and chilies). The balance of flavors, the textures, and, of course, the use of day-old rice evokes fried rice, but the process is different; easier, too.
Four Steps to Make Indian-Fried Rice
- Dress leftover rice with fresh lime juice and salt.
- Heat ghee (or olive oil) with mustard seed, curry leaf, and peanuts.
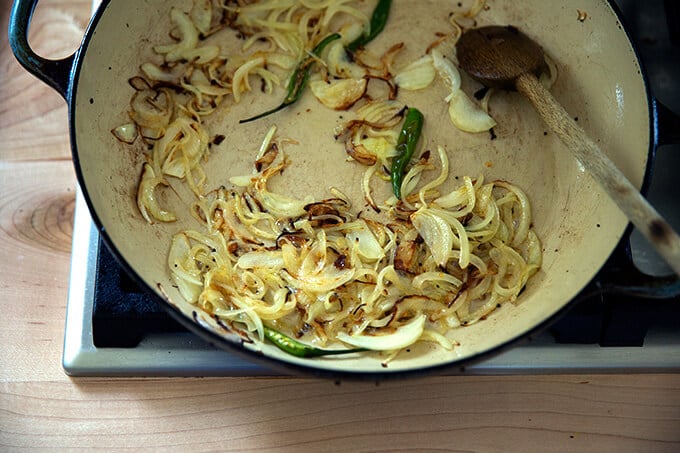
- Heat more ghee (or olive oil), with onions and chilies, till the onions begin to caramelize.
- Toss everything together with fresh cilantro.
The whole combination is completely irresistible. I find adjusting the flavor at the end with more lime and salt to taste to be essential — I like lots of each.
This dish is strikingly pretty and makes me want to invite people over for an Indian-ish meal, maybe starring these curried chickpeas with cauliflower and coconut milk or this cumin- and coriander-spiced sheet pan chicken .
Indian-ish:
This recipe comes from Priya Krishna’s Indian-ish , a book that has already taught me more about Indian cooking than any other. To be fair to other Indian cookbooks I own, I haven’t given them a great go; but to Indian-ish’ s credit, no other has been as welcoming.
Throughout the book there are helpful guides that demystify the many and often-used spices and lentils as well as charts simplifying cooking techniques like dal and chhonk — also known as tadka or tempering or, in Priya’s words, “the greatest Indian cooking technique ever.” ( Chhonk is ghee or oil infused with spices, then poured over a finished dish. This fried rice recipe gets double chhonked: first with curry leaves and mustard seed; then with onions and chilies.)
I have only cooked a few dishes from Indian-ish , but I feel I already have a better grasp on how to cook a cuisine I have always loved and always found a little too daunting to tackle at home. I will be sure to keep you posted on all of my Indian-ish experiments, those chhonk-ified and otherwise.
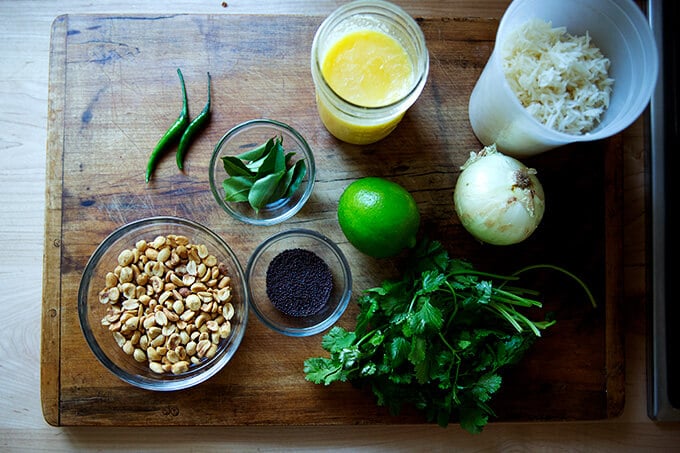
Here’s the play-by-play : Gather your ingredients.
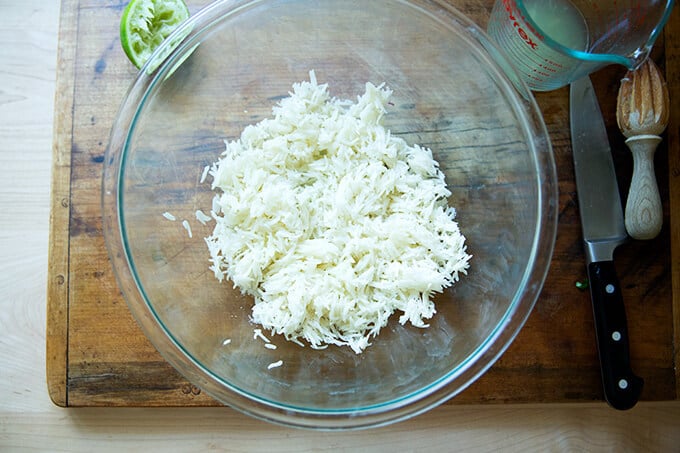
Dress day-old basmati rice with fresh lime juice and salt.
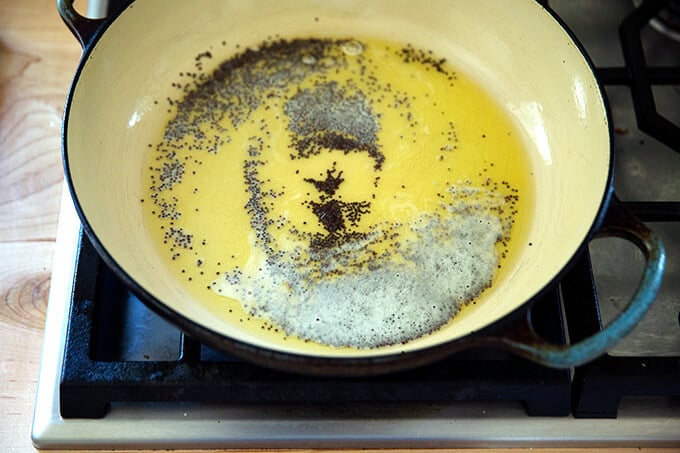
Heat ghee (or olive oil) with mustard seeds.
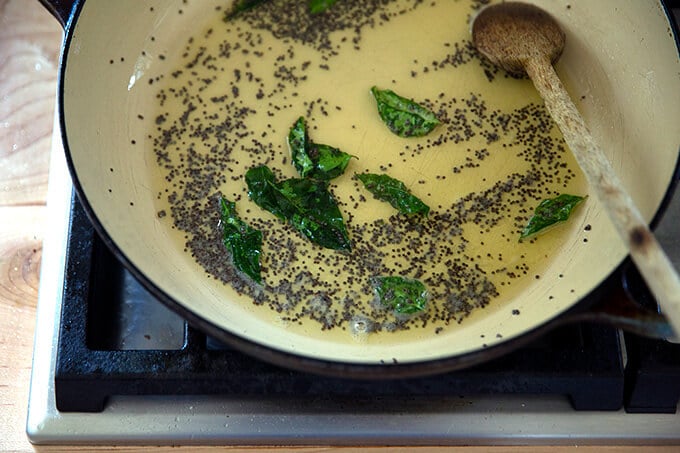
Add curry leaves.
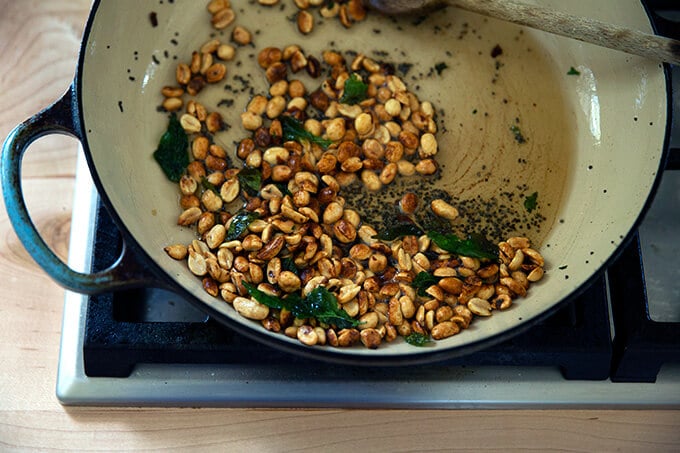
Add peanuts.
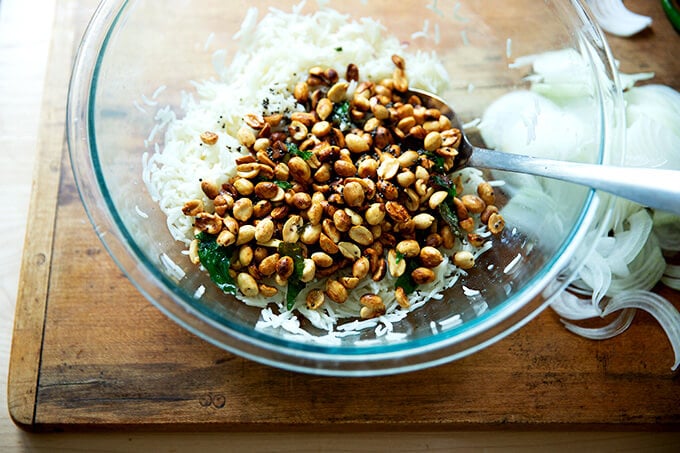
Pour this mixture over the rice.
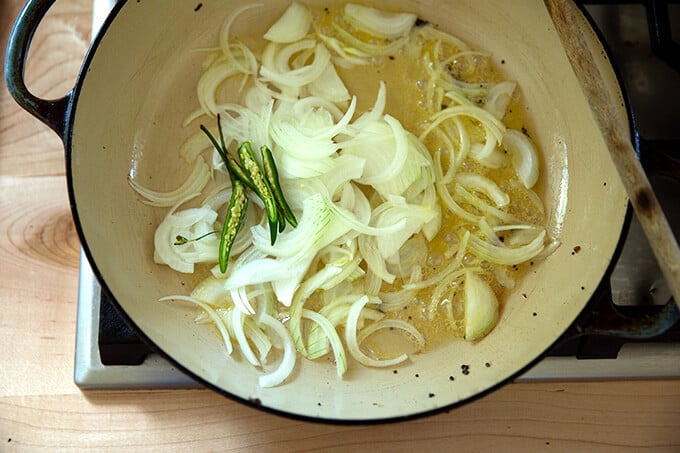
Return the pan to the stovetop and sauté a sliced onion with a few halved hot chilies.
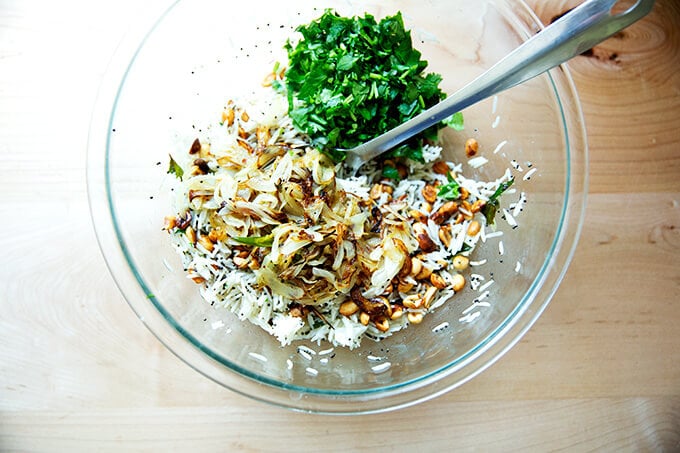
Add the onions and chilies to the bowl of rice along with some chopped cilantro.
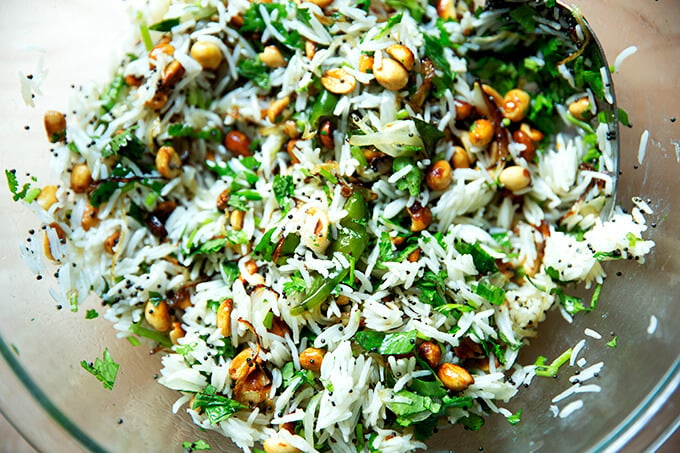
Toss. Taste. Add more lime and salt to taste.
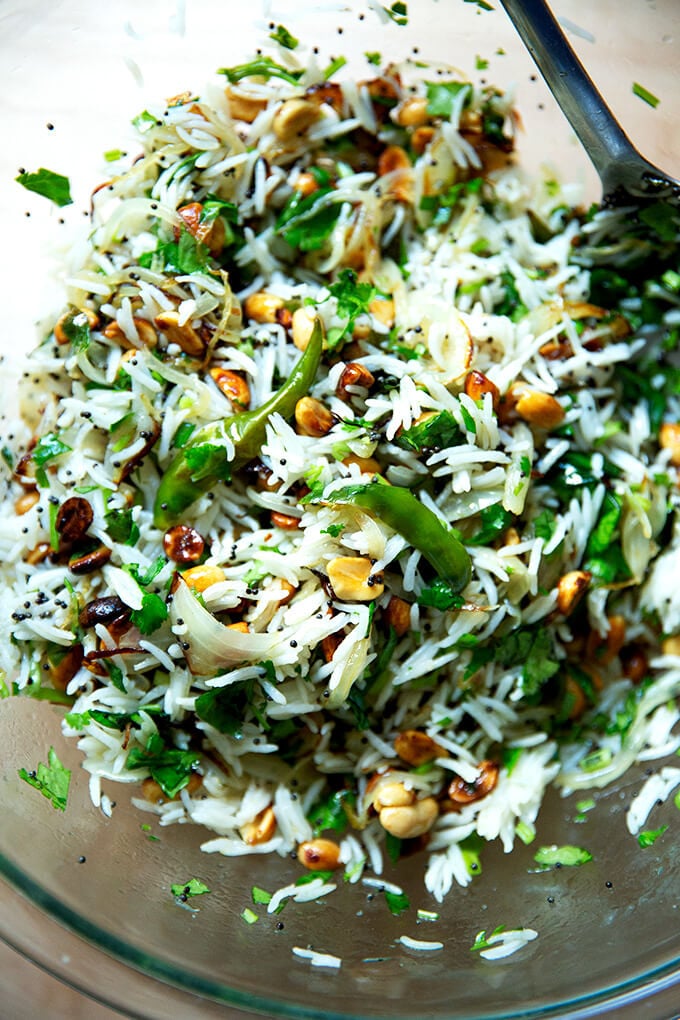
Serve.

Such a fun book: Priya Krishna’s Indian-ish
Description
From Priya Krishna’s Indian-ish
Notes:
The original recipe calls for 8 tablespoons of ghee total, but I think it’s equally delicious with 4 tablespoons. If you’re not afraid, use 8!
Ghee: Inspired by the book, I made a batch of ghee . Unsalted butter or olive oil are fine substitutes.
Curry leaves may require some hunting to track down. I bought mine at the Karam Asian Grocery & Halal Meat in Schenectady. If you don’t feel like searching for them, simply omit.
Peanuts: I’ve been using Planters roasted and salted … it hasn’t been making the dish too salty.
3 cups cooked basmati rice or 1 cup dried basmati rice, rinsed
kosher salt
2 tablespoons fresh lime juice plus more to taste
4 to 8 tablespoons ghee or olive oil, divided
1 tablespoon black mustard seeds
10 fresh curry leaves
1 cup roasted unsalted peanuts
2 small hot chilies, halved lengthwise
1 medium yellow onion, sliced thinly
2 tablespoons chopped fresh cilantro or more to taste
- If you need to cook the rice, here how: Instant Pot Method: Place the rice, 1 cup water, and 3/4 teaspoon kosher salt into the Instant Pot. Set the IP to: manual, high heat, 6 minutes, natural release 10 minutes (or more). Fluff with fork. Stovetop Method: Place the rice, 1.5 cups water, and 3/4 teaspoon kosher salt into a medium pot. Bring to a simmer. Cover. Reduce heat to low. Cook 15 minutes. Remove pan from heat. Let stand 10 minutes (or longer) before fluffing with a fork.
- If you have leftover basmati rice on hand, bravo—start here: In a large bowl combine the cooked rice, 1 teaspoon kosher salt, and lime juice. Set aside.
- In a medium skillet over medium heat, warm 2 to 4 tablespoons of ghee or oil (depending on your preferences, see notes above). Once the ghee or oil begins to shimmer, add the mustard seed. As soon as they begin to pop and dance around in the oil, which will happen very quickly, remove the pan from the heat. Add the curry leaves, making sure they get fully coated in the oil. The leaves will immediately begin to crisp up.
- Return the pan to medium-low heat and add the peanuts. Cook, stirring occasionally, until the peanuts turn a medium shade of brown and become fragrant, 3 to 5 minutes. Pour the peanut-spice-oil mixture over the rice and toss gently to incorporate.
- In the same pan over medium heat, warm the remaining 2 to 4 tablespoons ghee or oil. Once it begins to shimmer, add the chilies and onions. Season with a pinch of salt. Cook, stirring occasionally until the onion begins to caramelize, 5 to 7 minutes. Stir this mixture into the rice. Add the cilantro and toss to combine. Taste. Add more salt and lime to taste — go big with both; you won’t be disappointed.
- Prep Time: 15 minutes
- Cook Time: 15 minutes
- Category: Side Dish
- Method: Stovetop
- Cuisine: Indian
