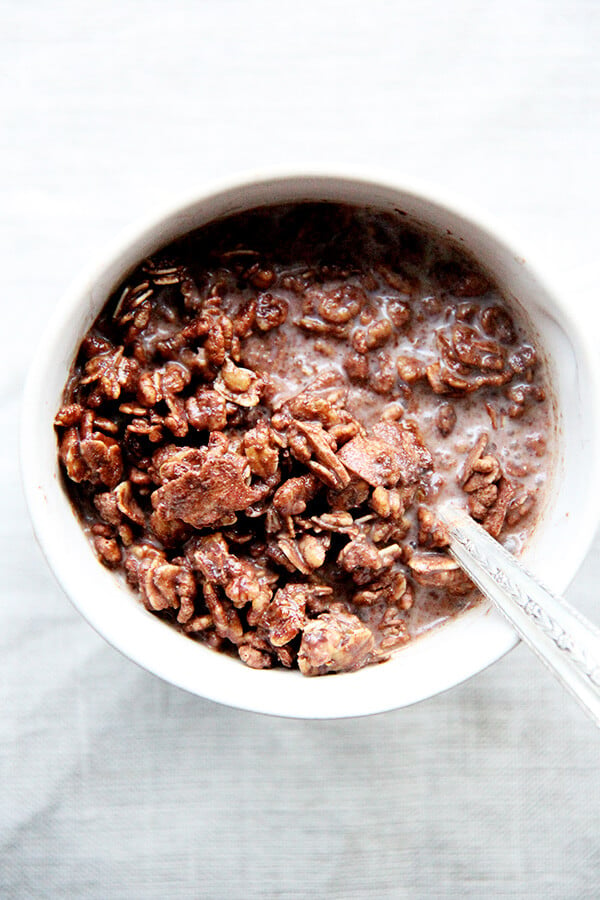
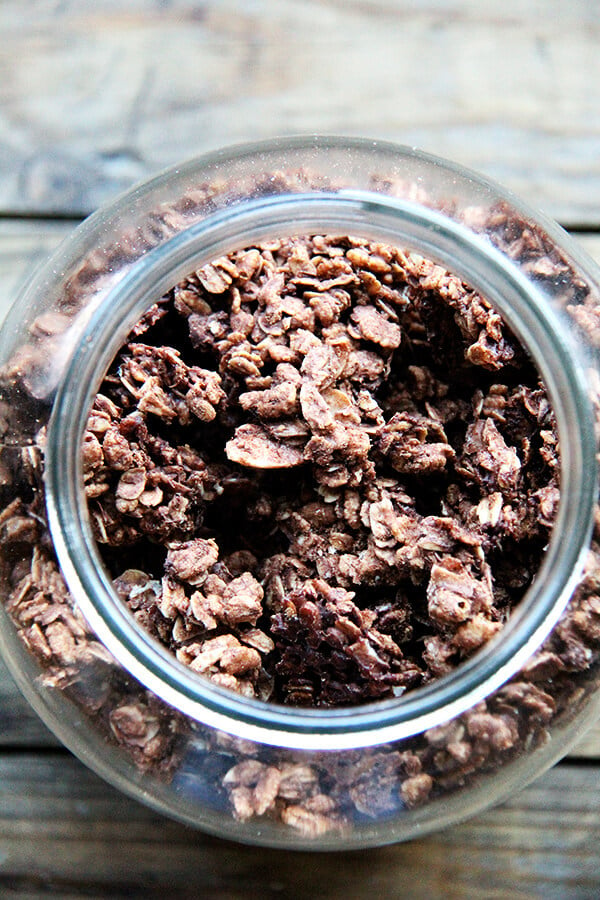
This delicious homemade cocoa crunch is my children’s favorite! In essence, it’s chocolate granola, a mixture of oats, crispy rice cereal, coconut, cocoa, and chocolate. It’s nut-free and gluten-free, which makes it great for sharing and gifting. Adults and children alike adore this one!
The origin of cocoa crunch — not Koko Krunch — dates back to the onset of the organic movement and a UK company called Whole Earth Foods, who extolled the importance of planet-friendly fare 40 years before it became a trend, and who created this breakfast cereal to appeal to adults and children alike.
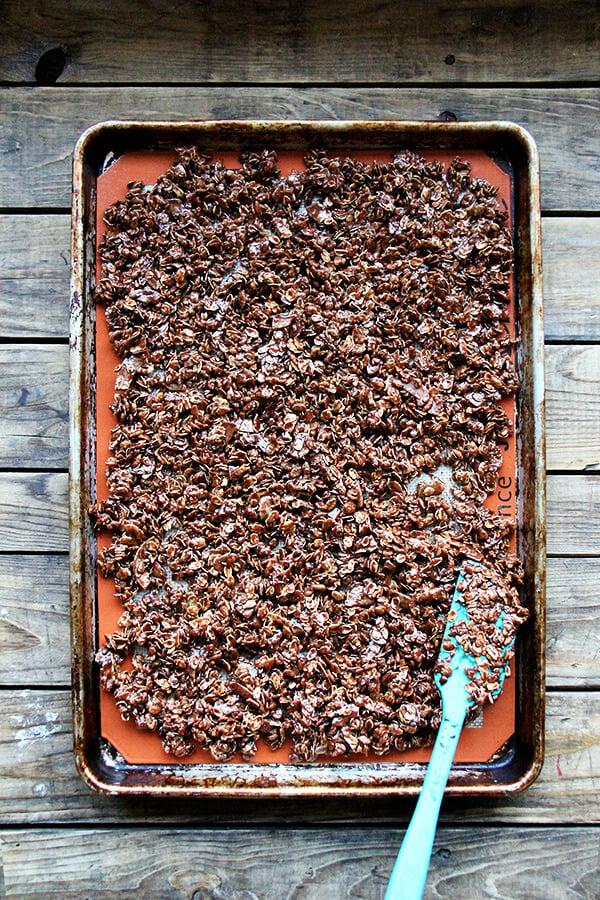
In essence it’s chocolate granola made without nuts, a mixture of oats, crispy rice cereal, coconut, cocoa, and chocolate, which bake into clusters fit for snacking on their own or drowning in milk, which ultimately turns into chocolate milk, a boon for little ones especially.
The original recipe, from Green and Black’s Chocolate Recipes , calls for making a thick sugar syrup, which I have replaced with maple syrup. Eliminating the syrup-making step simplifies the process and the maple flavor does not dominate the chocolate.
Like the coconut oil granola , this cocoa crunch makes a great gift, but is also a treat to have on hand: my children and many of the neighborhood kiddies have been gobbling it up after school, but on more than one occasion, too, I have spotted in my kitchen an adult, head thrown back, bowl covering face, finishing off a late-night snack.

Cocoa Crunch: Proudly feeding the neighborhood since 2016!
Description
Rice cereal: I don’t love buying products like crispy rice cereal for recipes, but it’s sort of essential in this one. Here I’ve used Erewhon Crispy Brown Rice , which has only three ingredients — Michael Pollan approved! — though the original Rice Krispy cereal would work just fine, and in fairness to RK, its ingredient list isn’t horrid.
Cocoa and chocolate: I’ve been using Hershey’s unsweetened cocoa and Ghirardelli 60% cacao bittersweet chocolate. After you make this once, you may want to alter the amount/type of chocolate.
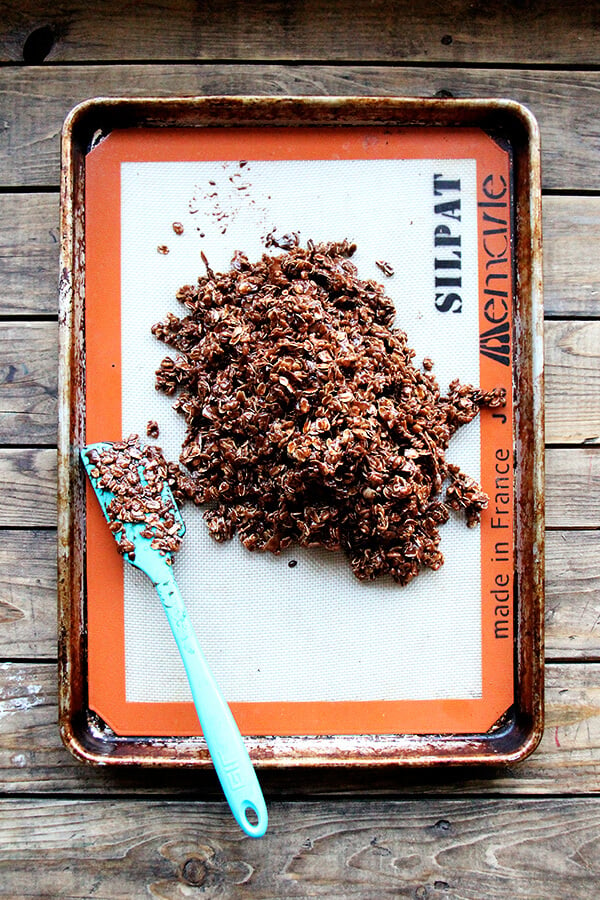
Silpat: My parchment paper use had gotten a little out of control, so I recently bought a Silpat , which I have owned and loved before, and which I am loving having on hand again.
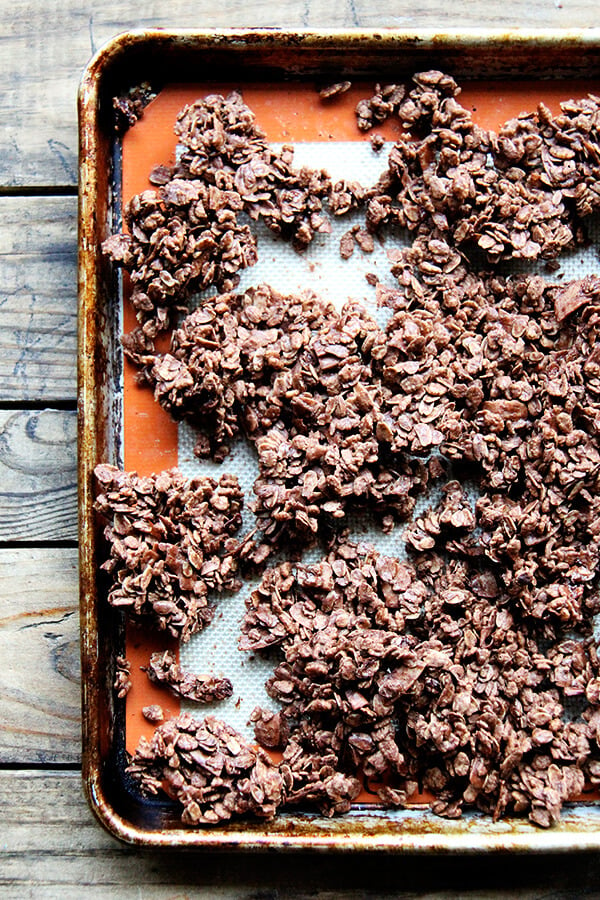
To stir or not? The key to getting nice chunks of cocoa crunch is to not stir the mixture at all while it bakes. Once it cools completely, it will break into nice shards, which can be broken up further. That said, big shards can be hard to eat. So as you break this up before transferring it to a storage vessel, you may want to break it into bite-sized chunks.
- 1½ cups ( 154g ) oats
- 2 cups crispy brown rice cereal ( 71g ), such as Erewhon brand* (see notes above)
- ½ cup ( 40g ) unsweetened coconut flakes
- 3 tablespoons (17 to 20g ) cocoa
- ½ teaspoon salt
- ¼ cup melted coconut oil or vegetable or canola oil
- 1.5 oz . ( 42.5 g ) dark chocolate, see notes above
- ½ cup maple syrup
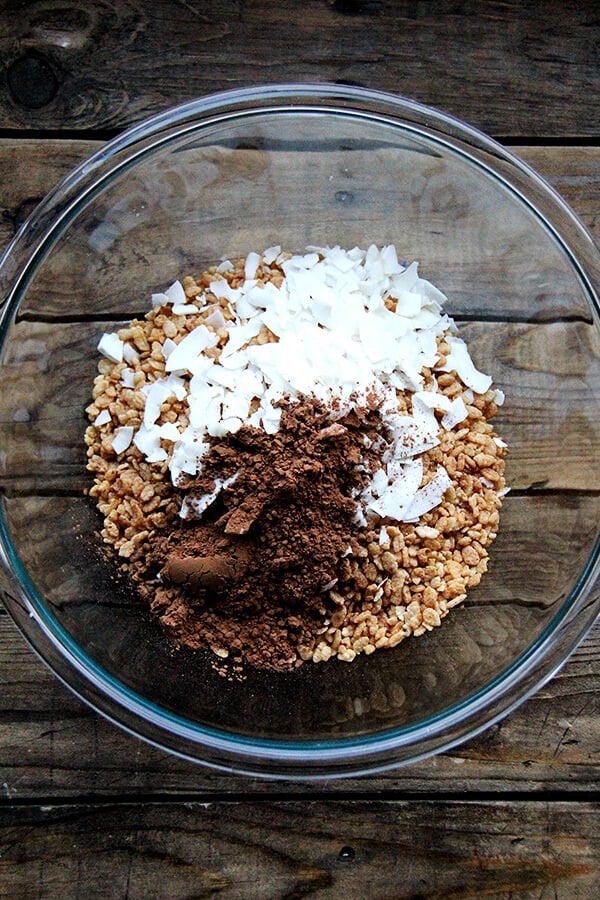
- Preheat oven to 275ºF. In a large bowl, combine oats, rice cereal, coconut, cocoa, and salt. Toss to combine.
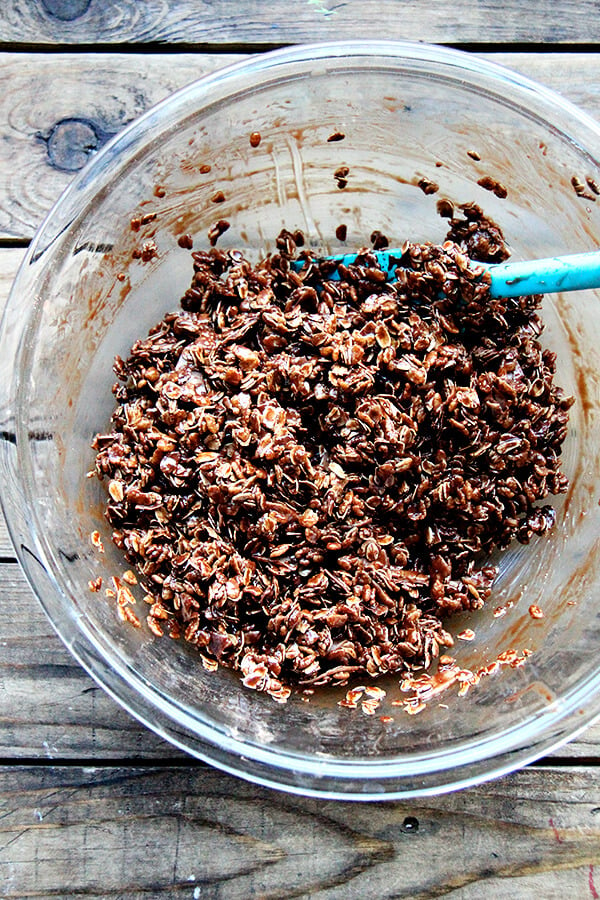
- Heat the coconut oil and dark chocolate together in a small skillet over low heat until chocolate has melted. Alternatively, melt in microwave. Stir to blend; then add to dry ingredients along with the maple syrup. Stir to combine.
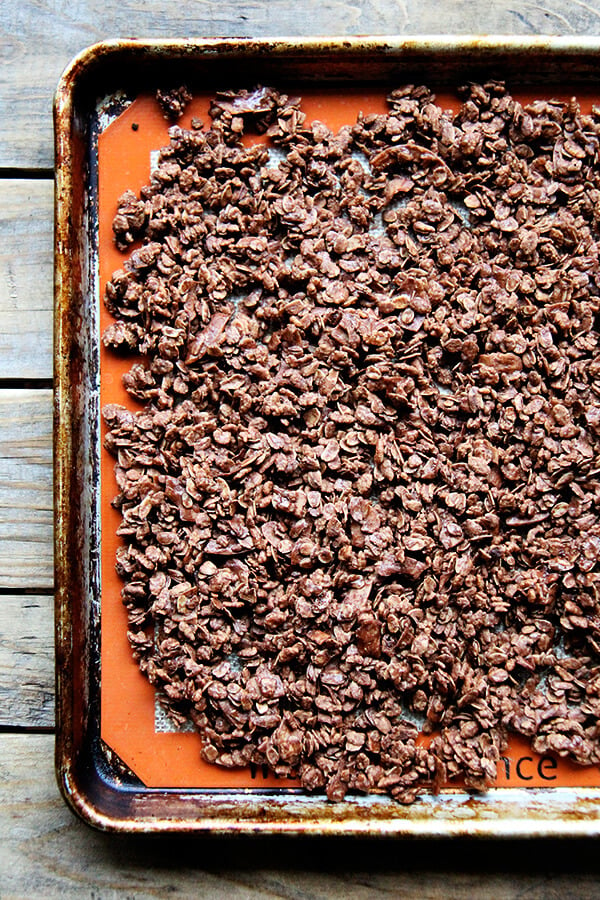
- Turn mixture out onto a Silpat- or parchment-lined baking sheet. Spread into an even layer. Cook 35 minutes. Remove from oven and let cool. Break into shards or into small pieces (see notes above).
- Prep Time: 15 minutes
- Cook Time: 35 minutes
- Category: Cereal
- Method: Oven, Bake
- Cuisine: American
This delicious homemade cocoa crunch is my children’s favorite! In essence, it’s chocolate granola, a mixture of oats, crispy rice cereal, coconut, cocoa, and chocolate. It’s nut-free and gluten-free, which makes it great for sharing and gifting. Adults and children alike adore this one!
The origin of cocoa crunch — not Koko Krunch — dates back to the onset of the organic movement and a UK company called Whole Earth Foods, who extolled the importance of planet-friendly fare 40 years before it became a trend, and who created this breakfast cereal to appeal to adults and children alike.
In essence it’s chocolate granola made without nuts, a mixture of oats, crispy rice cereal, coconut, cocoa, and chocolate, which bake into clusters fit for snacking on their own or drowning in milk, which ultimately turns into chocolate milk, a boon for little ones especially.
The original recipe, from Green and Black’s Chocolate Recipes , calls for making a thick sugar syrup, which I have replaced with maple syrup. Eliminating the syrup-making step simplifies the process and the maple flavor does not dominate the chocolate.
Like the coconut oil granola , this cocoa crunch makes a great gift, but is also a treat to have on hand: my children and many of the neighborhood kiddies have been gobbling it up after school, but on more than one occasion, too, I have spotted in my kitchen an adult, head thrown back, bowl covering face, finishing off a late-night snack.
Cocoa Crunch: Proudly feeding the neighborhood since 2016!
Description
Rice cereal: I don’t love buying products like crispy rice cereal for recipes, but it’s sort of essential in this one. Here I’ve used Erewhon Crispy Brown Rice , which has only three ingredients — Michael Pollan approved! — though the original Rice Krispy cereal would work just fine, and in fairness to RK, its ingredient list isn’t horrid.
Cocoa and chocolate: I’ve been using Hershey’s unsweetened cocoa and Ghirardelli 60% cacao bittersweet chocolate. After you make this once, you may want to alter the amount/type of chocolate.
Silpat: My parchment paper use had gotten a little out of control, so I recently bought a Silpat , which I have owned and loved before, and which I am loving having on hand again.
To stir or not? The key to getting nice chunks of cocoa crunch is to not stir the mixture at all while it bakes. Once it cools completely, it will break into nice shards, which can be broken up further. That said, big shards can be hard to eat. So as you break this up before transferring it to a storage vessel, you may want to break it into bite-sized chunks.
- 1½ cups ( 154g ) oats
- 2 cups crispy brown rice cereal ( 71g ), such as Erewhon brand* (see notes above)
- ½ cup ( 40g ) unsweetened coconut flakes
- 3 tablespoons (17 to 20g ) cocoa
- ½ teaspoon salt
- ¼ cup melted coconut oil or vegetable or canola oil
- 1.5 oz . ( 42.5 g ) dark chocolate, see notes above
- ½ cup maple syrup
- Preheat oven to 275ºF. In a large bowl, combine oats, rice cereal, coconut, cocoa, and salt. Toss to combine.
- Heat the coconut oil and dark chocolate together in a small skillet over low heat until chocolate has melted. Alternatively, melt in microwave. Stir to blend; then add to dry ingredients along with the maple syrup. Stir to combine.
- Turn mixture out onto a Silpat- or parchment-lined baking sheet. Spread into an even layer. Cook 35 minutes. Remove from oven and let cool. Break into shards or into small pieces (see notes above).
- Prep Time: 15 minutes
- Cook Time: 35 minutes
- Category: Cereal
- Method: Oven, Bake
- Cuisine: American
Find it online : https://alexandracooks.com/2016/03/09/cocoa-crunch/


This simple Irish soda bread recipe requires only 5 minutes of hands-on time. Made with a simple dough that includes baking soda and buttermilk, it emerges from the oven with the perfect crumb, perfect for slathering with butter or marmalade. No yeast required! Ready in one hour, start to finish. ☘️☘️☘️☘️

I was all set to complicate Irish soda bread by making a yeasted version when I started looking into its history and discovered that the soda — the baking soda — is perhaps the most traditional part of the bread, much more so than butter, sugar, eggs, and raisins, which likely entered the equation when the bread crossed the pond.
Inspired by my research , I made a traditional loaf of soda bread with flour, salt, buttermilk, and baking soda, leaving out the yeast. And while it was perfectly edible, I found myself missing the richness of eggs and sugar — missing the scone-like texture created by the addition of butter…what can I say, I’m American!
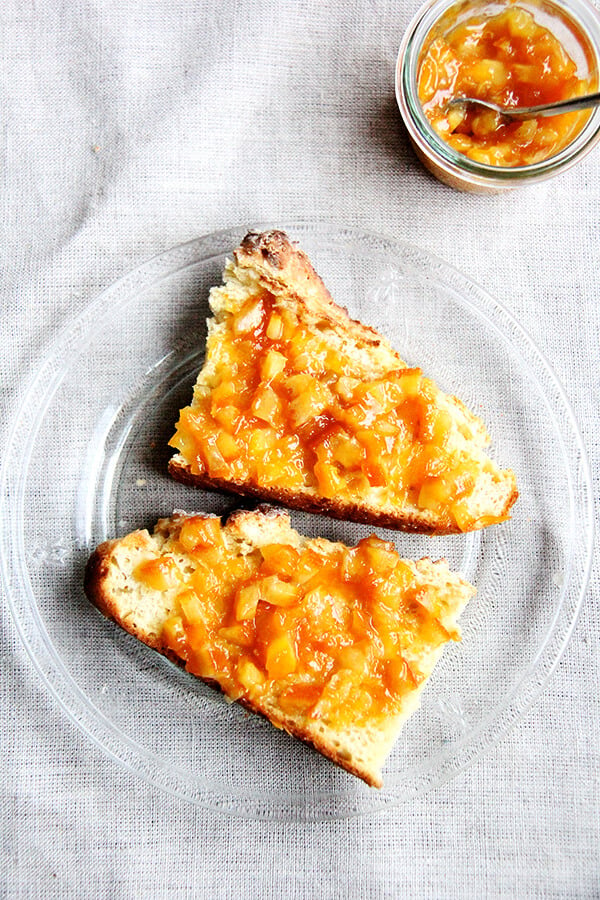
And so here, I’ve added a bit of the riches back in: one egg, one tablespoon of sugar, and a couple of tablespoons of melted butter, which produces a loaf that resembles a giant biscuit, especially delicious toasted and slathered with softened butter and marmalade.
PS: Simple Irish Brown Bread
Irish Soda Bread in 4 Simple Steps
Whisk together the dry ingredients.
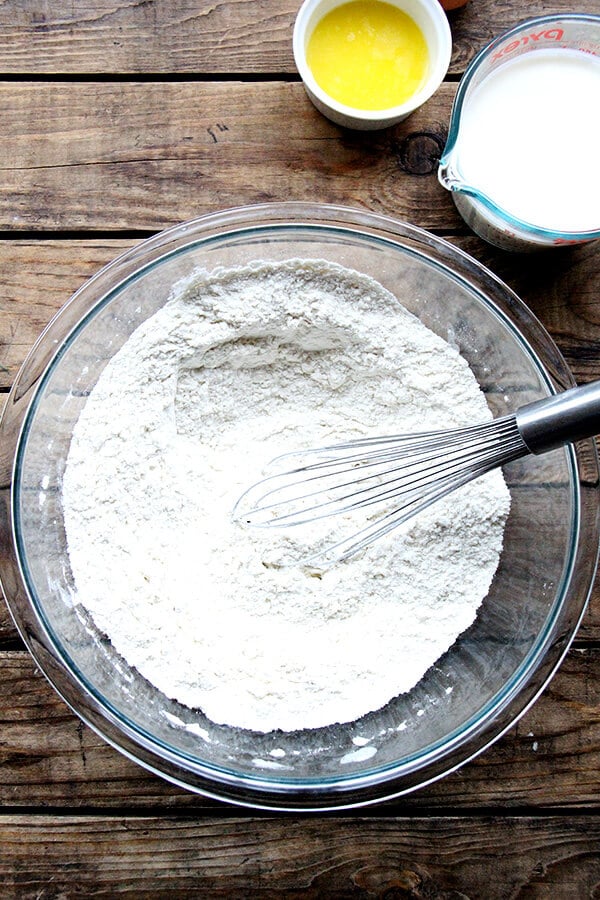
Add the wet ingredients: a mix of buttermilk, melted butter, and egg.
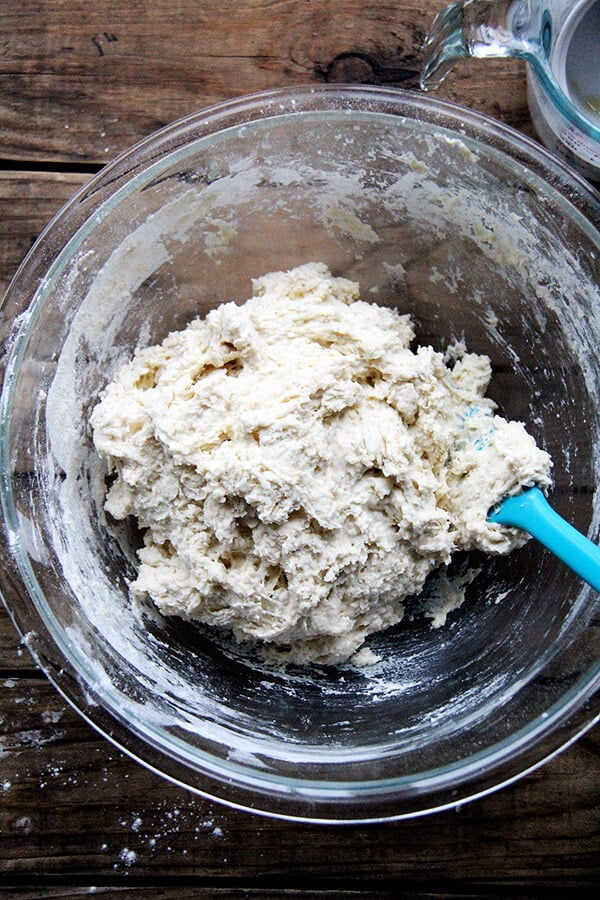
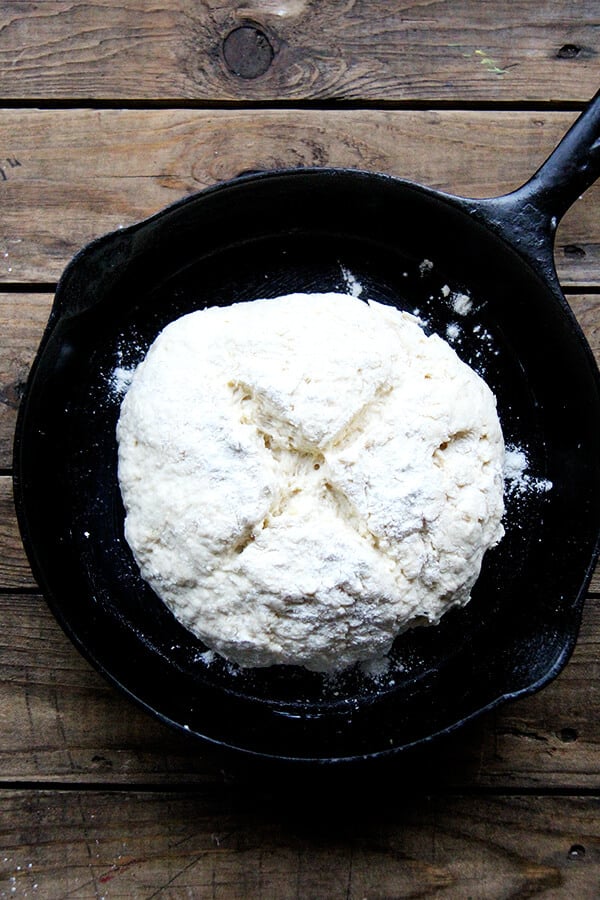
Form into a ball using floured hands, transfer to a cast-iron skillet (or other similarly sized baking vessel), and score:
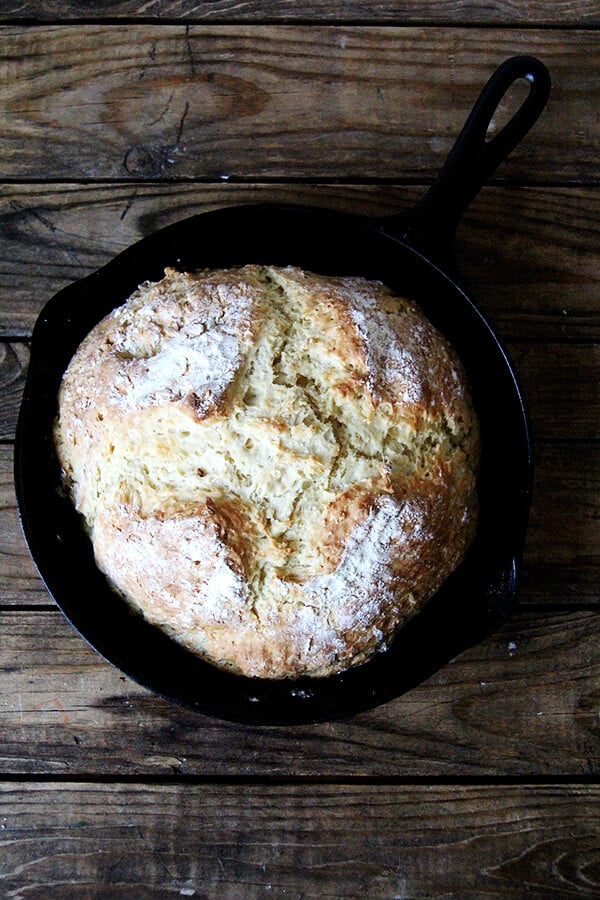
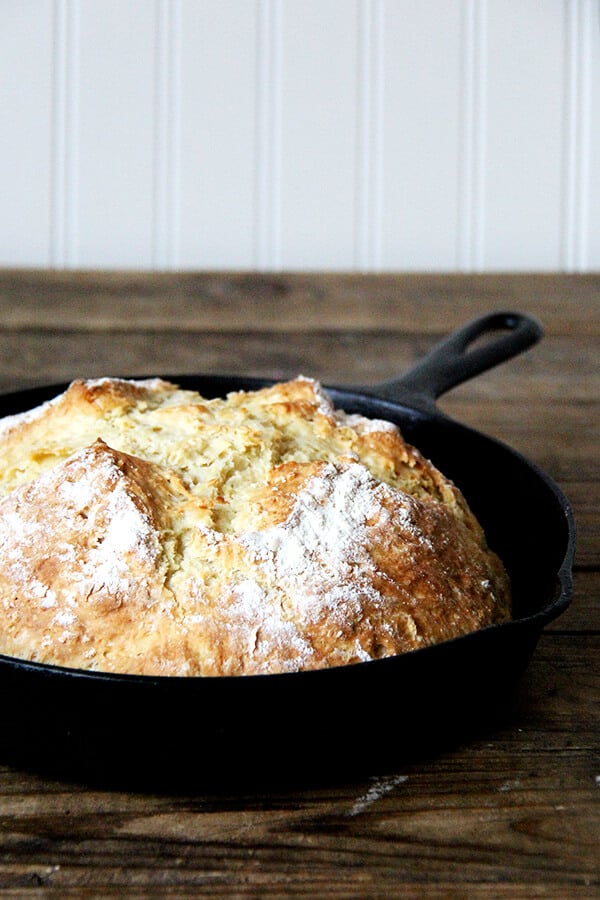
Bake until golden.
When cool enough to handle, slice it up.
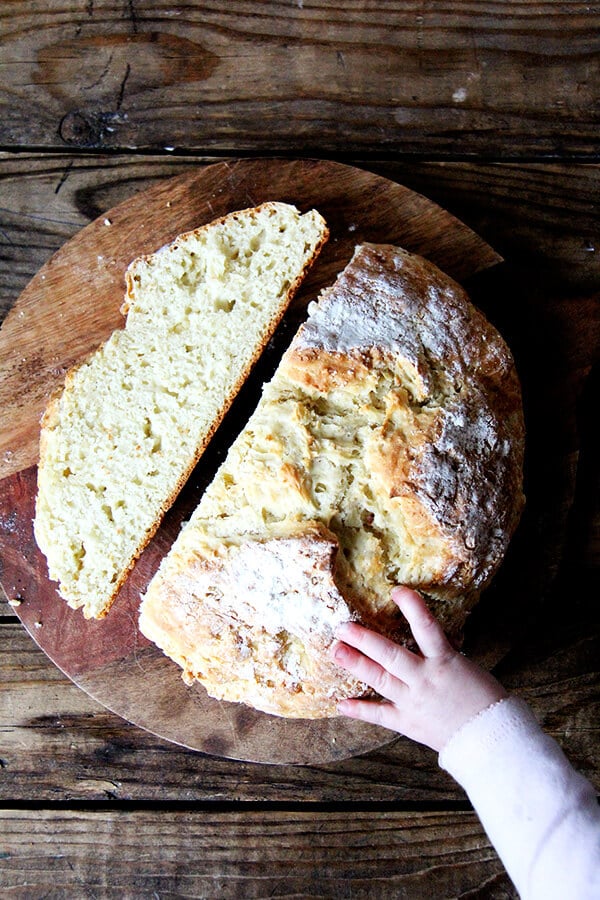
Slather with butter or orange marmalade.
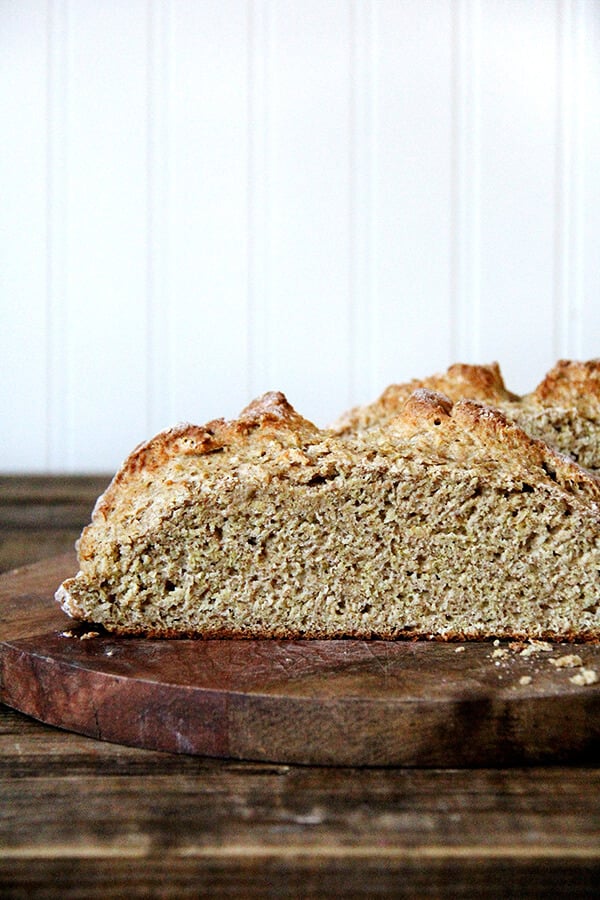
This is the soda bread when made with a mix of all-purpose and whole wheat flour as well as wheat germ:

Whole grain soda bread, sliced:
Description
This simple Irish soda bread recipe requires only 5 minutes of hands-on time. Made with a simple dough that includes baking soda and buttermilk, it emerges from the oven with the perfect crumb, perfect for slathering with butter or marmalade. No yeast required! Ready in one hour, start to finish.
Notes:
Inspired by Simply Recipes
If you want to use whole grain flour in your soda bread , see the notes below the recipe.
Salt: The rule of thumb with bread is that the weight of the salt should be 2 to 3% the weight of the flour. For this recipe that is 10 to 15 grams. I always use 12 grams of salt, and I do not find the bread to be too salty, but I have a high salt tolerance. Use an amount appropriate to your tastes and preferences. Finally, I use Diamond Crystal kosher salt, but you can use fine sea salt or whatever salt you like. If you measure by weight, use the weight listed; if you measure by volume, use half as much by volume if you are using Morton kosher salt or fine sea salt.
If you need to make the buttermilk from scratch:
- Place 2 tablespoons of vinegar or lemon juice in a 2-cup liquid measure.
- Fill cup with milk (2% or whole is best) until it reaches the 1.75-cup line.
- Let stand for five to 10 minutes. Stir.
If you want to use sourdough discard in place of some of the flour/liquid , you can use 100 grams of sourdough discard, 460 grams of flour, 12 grams salt, 13 grams sugar, 5 grams baking soda, 1 egg, 360 grams buttermilk, 2 tablespoons melted butter. Follow the same method outlined in the directions. Watch the video here for guidance .
- 4 cups ( 510 g ) all-purpose flour, see notes below for making it whole grain
- 2 teaspoons ( 12 g ) Diamond Crystal kosher salt, see notes above
- 1 tablespoon ( 13 g ) sugar
- 1 teaspoon ( 5 g ) baking soda
- 1 cup dried currants, optional
- 1 egg
- 1¾ cups ( 410 g ) buttermilk, see notes above
- 2 tablespoons melted butter
For finishing:
- room temperature butter
- flour
- Preheat the oven to 400ºF. Whisk together the flour, salt, sugar, baking soda, and currants (if using).
- In a medium bowl, beat the egg and buttermilk. Add the melted butter and stir to combine. Add the liquid ingredients to the dry ingredients and stir with a rubber spatula until combined. Mixture will be sticky. Grease a 9- or 10-inch cast iron skillet (or other similarly sized oven-safe vessel) with softened butter. Set aside.
- Lightly flour your hands and sprinkle a little flour over the sticky dough ball. Use your hands to scrape the dough from the sides of the bowl and to quickly shape the mass into a ball, kneading lightly if necessary. Transfer to prepared skillet. Sprinkle with a teensy bit more flour. Use a sharp knife to make an X across the top of the dough ball. Place in oven and bake for 35 to 40 minutes or until lightly golden and bottom sounds hollow when tapped. Remove from oven, transfer to cooling rack, and let cool for 15 minutes before slicing.
- To store Irish soda bread, tuck it into an airtight bag (such as a ziplock) or an airtight vessel. You can store it at room temperature for about 3-4 days or freeze it for up to 2-3 months.
Notes
For Whole Wheat Irish Soda, Use These Proportions:
2 cups (256 g) all-purpose flour
1½ cups (192 g) whole wheat flour
½ cup (55 g) wheat germ
These proportions are inspired by an America’s Test Kitchen recipe.
Prep Time: 5 minutes
Cook Time: 40 minutes
Category: Bread
Method: Oven
Cuisine: Irish
