This recipe for gluten-free chocolate chip cookies is perfect both in taste and texture. Good ingredients, plus time in the fridge before baking is the BIG secret! This recipe, from JeffreyLarsen’s Gluten Free Baking at Home, includes three very specific tips for making chewy, exceptionally tasty cookies. Dive into the tips, or skip to the recipe—either way, this recipe is a winner!
Yesterday, Jeffrey Larsen’s Gluten-Free Baking at Home made its way into the world. It’s filled with 100+ recipes for gluten-free cakes, cookies, scones, breads, biscuits and more. And while it is a goldmine for anyone on a gluten-free diet who loves baking (and/or eating treats!), the many tips and tricks peppered throughout — the culmination of 18 years of testing and retesting — make it a treasure for any baker.
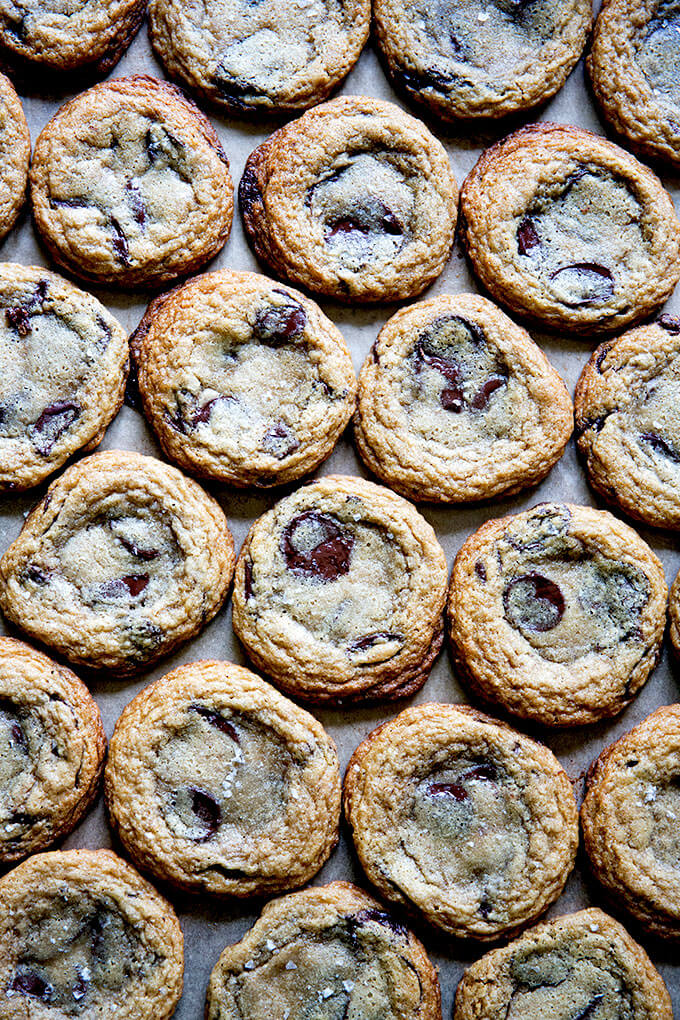
Let’s dive right in with three tips I picked up from Jeffrey’s gluten-free chocolate chip cookie, which are soft and chewy and exceptionally tasty. Jeffrey revised the recipe 14 times (!!) before giving it the green light.
3 Tips For Making The Best Gluten-Free Chocolate Chip Cookies
Tip 1: Refrigerate your cookie dough.
Jeffrey says: “Cookie dough should always be set aside to chill in the refrigerator before it is baked. This allows the fat to solidify, which keeps the cookies from spreading as they bake.” Moreover, by allowing the flours to fully hydrate during their time in the fridge, you’ll avoid baking off a “gritty, flat cookie.”
I do this with my favorite soft and chewy chocolate chip cookie dough balls, and it makes a world of difference: cookies baked from refrigerated dough (preferably 2 to 3 days refrigerated) compared to freshly mixed dough are hands-down superior both in texture and flavor. Now I know why.
Tip 2: Take it one step further: Portion the cookie dough, and freeze it. Bake straight from the freezer.
Jeffrey says: “Freezing cookies, scones, and biscuits before baking allows for a more gradual bake and thus less spread and a higher rise. If the butter in each of these items is frozen, it takes longer for the butter to melt.”
Makes sense. Note: The timing with cookies baked straight from the freezer does not change.
Tip 3: Use clarified butter.
Part of Jeffrey’s interest in using clarified butter stems from having personal trouble with lactose — clarified butter is both lactose- and casein-free, the two allergens that make dairy troubling for many people.
But there’s another reason to use it in baking and in cookies in particular. Jeffrey describes clarified butter as “miraculous” because it keeps cookies from spreading as they bake. Butter has a lot of water in it — clarifying it removes both the water and the milk solids, leaving the butter fat behind.
Interesting, right?
Friends, I’m only just scratching the surface here. Here’s a bit more:
Highlights From Gluten-Free Baking at Home
- Weight measurements. Measuring by weight is important for consistent and accurate results in all baking but most especially in gluten-free baking: if you’ve every scooped potato starch or tapioca starch, you’ll know why — it’s as light as dust, which makes the chances of measuring it inaccurately by volume very high.
- Unique formula for each recipe : Jeffrey does not use a one-mix-fits-all approach to gluten-free baking. The ingredients — the various flours, starches, leaveners, etc. — for each recipe have been thoughtfully chosen based on the item being baked: a flaky biscuit, a buttery scones, a tender cake, etc.
- Care for nutrition and flavor: Jeffrey does not settle on using rice flour, a great ingredient for gluten-free baking not only for its neutral flavor but also for its performance. Because many rice flours on the market contain high amounts of pesticides and heavy metals, Jeffrey uses them sparingly.
- Whole grain and nut flours: Jeffrey’s recipes include almond, oat, sorghum, millet, teff, and buckwheat flours to name a few.
- Dairy-free and vegan substitutions: It is rare to find treats that are both gluten-free and vegan, and Jeffrey offers alternatives to milk, butter, and eggs in nearly every recipe.
- Vegetable and fruit purees: Inspired by an old cake recipe that used whole poached oranges, Jeffrey used the technique to create a variety of purées to add to his breads and baked goods, which not only add flavor but also nutrition. (He also has a tip on using high-quality baby food if you don’t feel like making your own purée.)
There’s so much more, too: from the tutorials preceding each chapter to Jeffrey’s food styling tips inserted throughout. For instance, for a better presentation of your chocolate chip cookies, don’t mix in all of the chocolate chips — set some aside for adding on top of the cookies just before baking. So smart.
Final Note: Jeffrey , if you are unfamiliar, is not only a food stylist but also a recipe developer, pastry chef, and instructor living in the Bay Area. He was the food stylist for the Bread Toast Crumbs photoshoot, which was hilarious because he couldn’t eat any of the food we churned out day after day for two weeks. He is a perfectionist and an artist, not to mention one of the kindest, best people I have ever met.
My 5 Tips for Exceptional Chocolate Chip Cookies
- Weigh your ingredients. I know I say this all the time (sorry!) but a digital scale ($9) will transform your baking.
- Use good chocolate. Two of my favorites are pictured below. Local friends, you can find the Guayaquil Pistoles (64% cacao) at Honest Weight Food Co-op in Albany. Below, the Guittard chocolate wafers (74% cacao) are more readily available. I love these two chips not only for their flavor, but also for their shape — there is something about the flatness of the wafer and how it settles into the dough that I find so nice. Personal preference.
- Weigh the dough balls. [Optional!] For me, there is something deeply reassuring knowing that each cookie dough ball weighs exactly the same before entering the oven, which helps ensure each will bake nearly identically. I know, it’s a weird habit, but I can’t shake it. (Help me.) Jeffrey uses a scoop, so use a scoop if you wish.
- Refrigerate the dough balls for at least 3 hours and up to 5 days. Better, freeze them.
- Bake a tester cookie to get it right. I found 12 minutes to be perfect for me, but every oven is different as is every pan. Also, experiment with removing cookies from the oven before they look done. At 12 minutes, for instance, the cookies don’t necessarily look done, but as they settle and cool completely on the sheet pan, they set up perfectly. Another weird preference of mine: I prefer completely cool cookies, preferably day old. To me, warm, freshly baked cookies are overrated. (Help me.)
- Bonus! This likely sounds a little passé, but a sprinkling of Maldon sea salt (or other flaky sea salt) on top just makes them all the more irresistible.
Gluten-Free Chocolate Chip Cookie How-To:
- Gather your ingredients:
- Cream together the clarified butter and brown sugar.
- Add the eggs one at a time, mixing after each addition (oops!).
- Mix until light and fluffy.
- Add the dry ingredients.
- Add the chocolate chip cookies and mix slowly to incorporate.
- Refrigerate dough before portioning. Once portioned, freeze the balls.
- Bake cookie balls straight from the freezer. No need to adjust the timing.
- Remove cookies from the oven before they look done; let cookies cool completely on sheet pan.
- Share with everyone you know!
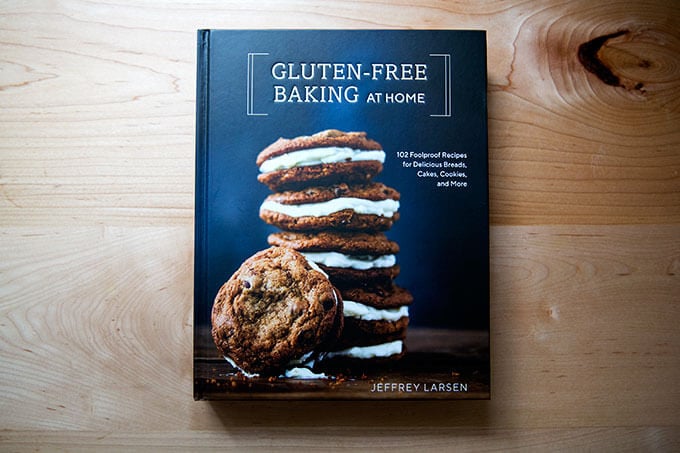
Jeffrey Larsen’s Gluten-Free Baking at Home :
Description
From Jeffrey Larsen’s Gluten-Free Baking at Home
Notes:
For best results: Use a scale .
For best results: Make the batter at least a day in advance. Better: make the batter in advance, portion the batter into balls, and freeze the balls. These cookies bake best straight from the freezer.
In place of almond meal, you can use: pecan meal, sunflower meal, hazelnut meal or 45 g (1/2 cup) oat flour.
Clarified butter. Jeffrey describes clarified butter as “miraculous” because it keeps cookies from spreading as they bake. Butter has a lot of water in it — clarifying it removes both the water and the milk solids, leaving the butter fat behind. You’ll want to clarify a little bit more than 3/4 cup — I clarified a cup to ensure I had 3/4 cup to use in the recipe.
In place of the eggs, you could use 1/2 cup unsweetened applesauce.
I prefer chocolate wafers to chocolate chips. Local friends, you can find the Guayaquil Pistoles (64% cacao) at Honest Weight Food Co-op in Albany or online . Guittard chocolate wafers are more readily available.
108 g ( 3/4 cup ) potato starch
90 g ( 1 cup ) gluten-free oat flour
90 g ( 3/4 cup ) sorghum flour
45 g ( 1/2 cup ) almond meal, see notes above
1 1/2 teaspoons baking soda
1 teaspoon xanthan gum
1 teaspoon fine sea salt
285 g ( 1 1/2 cups ) firmly packed brown sugar
3/4 cup melted and slightly cooled clarified butter or coconut oil, see notes above
2 eggs room temperature, see notes above
1 tablespoon vanilla extract
10 to 12 ounces ( 2 to 2.25 cups) chocolate chips, see notes above
flaky sea salt, optional
- In a large bowl, whisk together the potato starch, oat flour, sorghum flour, almond meal, baking soda, xanthan gum, and salt.
- In the bowl of a stand mixer fitted with the paddle attachment, mix together the brown sugar and clarified butter on medium speed. Add the eggs one at a time, mixing after each addition. Add the vanilla, and mix until fluffy and light in color, 1 to 2 minutes.
- Add the dry ingredients to the bowl and mix on low speed until well incorporated. On very low speed, mix in the chocolate chips.
- Cover the bowl and refrigerate the dough for at least 3 hours and up to 5 days . This step is important, so the dry ingredients have a chance to absorb all the moisture, which keeps the cookies from spreading too much when baked. Optional: I like to refrigerate the dough until it is firm enough to scoop, an hour or two. Then I portion the dough into 48 g balls using my scale. Then I freeze the dough balls on a tray before transferring them to an airtight container or ziplock bag. Jeffrey says these cookies bake best straight from the freezer, and I agree.
- When you’re ready to bake the cookies, heat the oven to 350ºF. Lightly spray a cooking sheet with gluten-free nonstick spray or line with parchment paper.
- If you haven’t portioned the dough balls out already, use a 1-ounce scoop or a tablespoon measure, portion out the dough and roll into balls. Arrange the balls on the prepared baking sheet 2 inches apart. Sprinkle with sea salt if you wish.
- Bake for 12 to 14 minutes , until the cookies are light golden brown. Remove the pan from the oven and let the cookies cool completely on the sheet pan. Once the cookies are completely cool, test one. If you like the texture/consistency, transfer cookies to a rack and repeat. If the cookies are overcooked, reduce the cooking time with the next batch. If the cookies are undercooked, increase the cooking time. I find 12 minutes for my 48g dough balls to be perfect.
- Prep Time: 24 hours
- Cook Time: 12 minutes
- Category: Dessert/Cookie
- Method: Oven
- Cuisine: American
Find it online : https://alexandracooks.com/2019/09/25/soft-chewy-gluten-free-chocolate-chip-cookies/

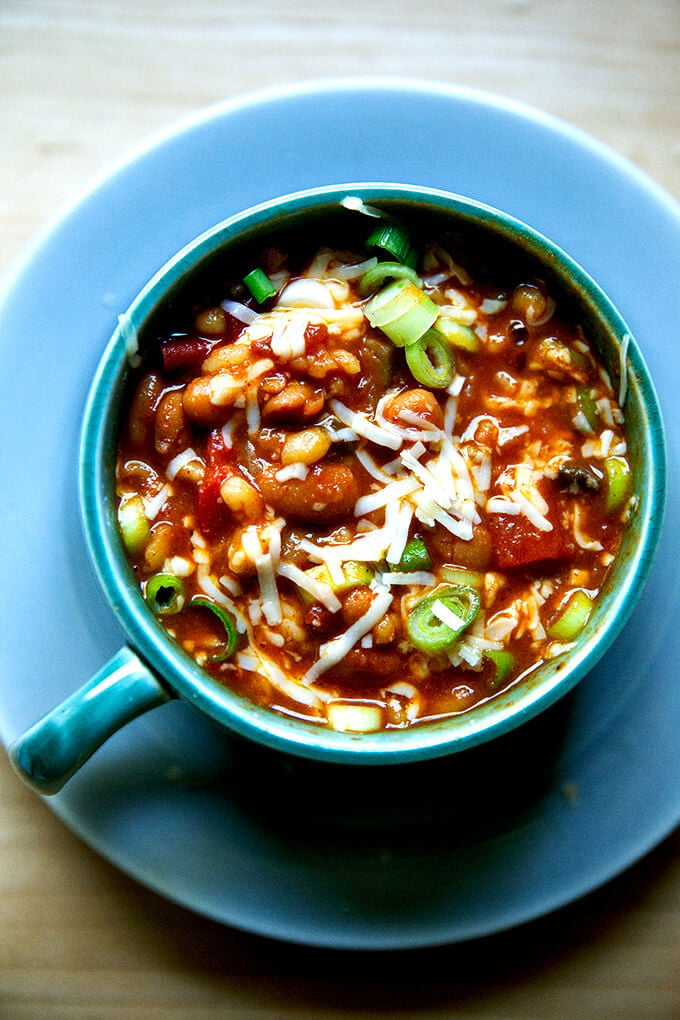
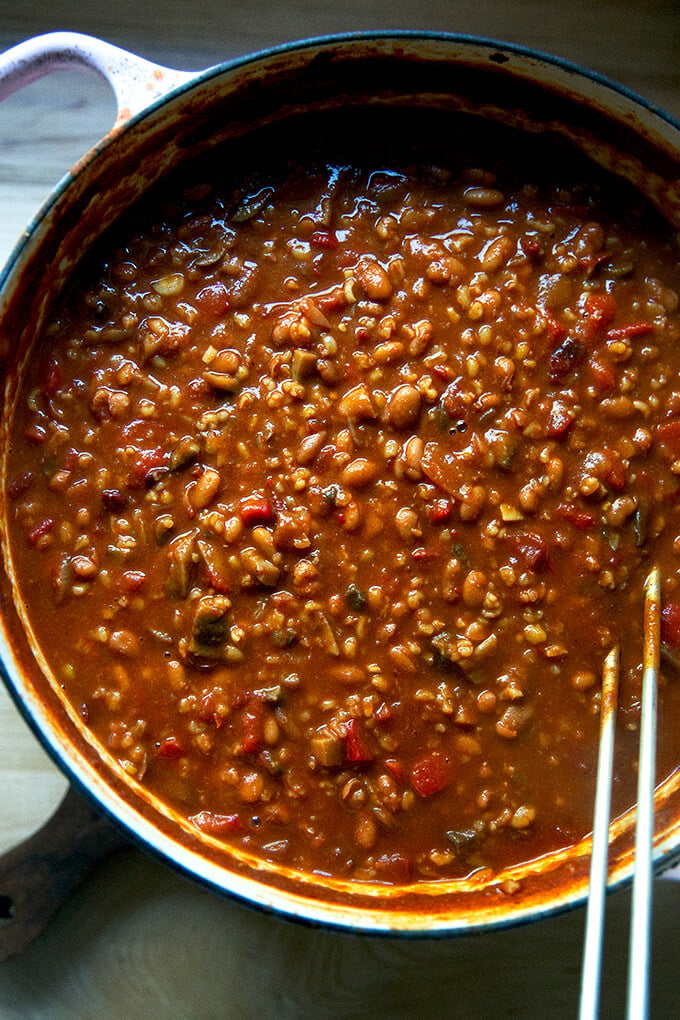
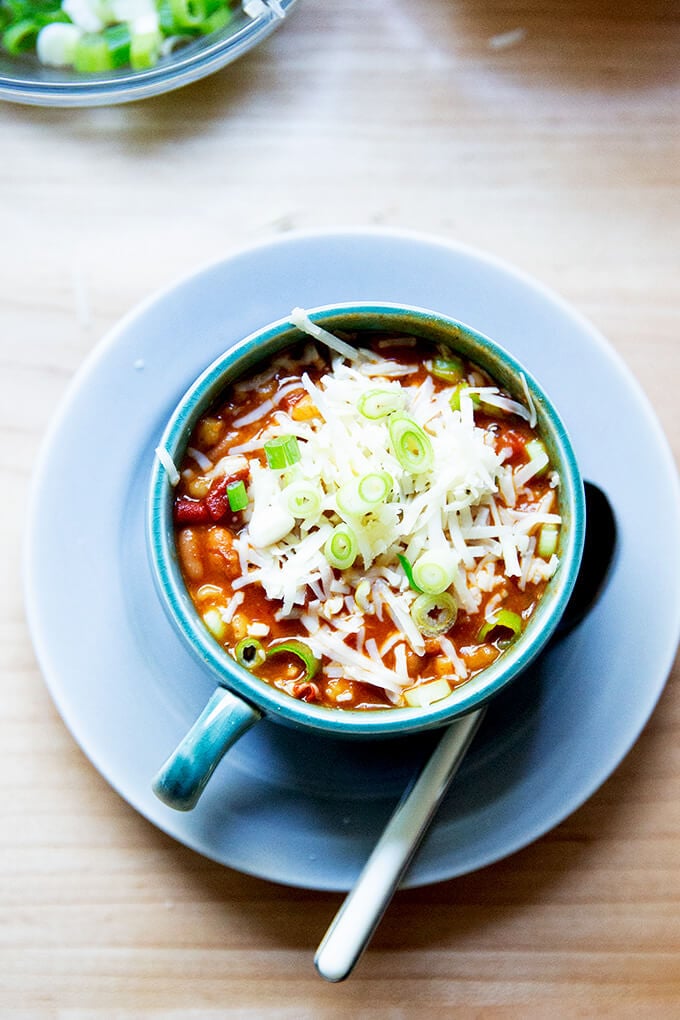
To me, this is the BEST chili, vegetarian or otherwise. It’s loaded with vegetables, and it has nice body thanks to bulgur (or quinoa) as well as beans. Chipotles in adobo give it a nice smokiness and heat, and chili powder and cumin offer more spice and smoky notes. This is a staple all fall and winter long. You won’t miss the meat — I promise!
Last Greek Easter while standing around the lamb turning on a spit, a few of my cousins confessed:
- They had become mostly vegetarians.
- They had been making my meaty weeknight chili recipe without the meat.
These admissions, I should note, didn’t stop anyone from fighting over the crispy lamb skin, but they did inspire me to create a vegetarian chili recipe.
Upon returning home, I set to work with a few goals in mind, namely ease and flavor: I wanted it to feel as effortless (or nearly so) as the weeknight chili recipe mentioned above, but just as satisfying with good heat, smoke, and heft.
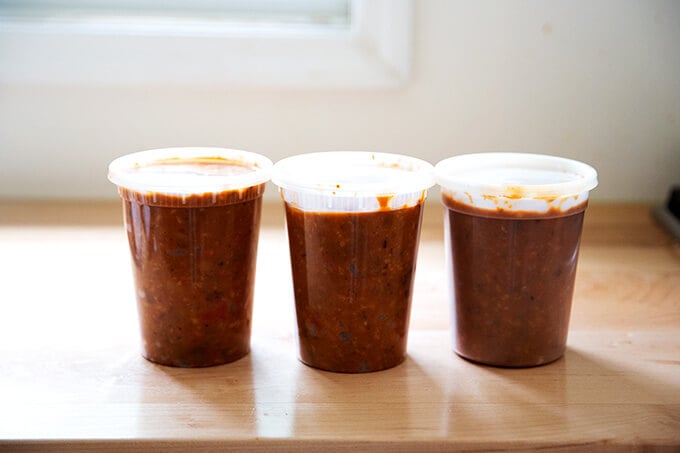
This recipe is the product of my experiments, a hearty mix of both beans and bulgur (or quinoa), a heap of vegetables, spices, and umami-rich pantry staples. It has nice spice and smoke, thanks to chipotles in adobo sauce, cumin, and chili powder. It yields a good amount — about 6 quarts — and it freezes well. I find it deeply comforting, and I hope you will, too.
Here are the details:
Vegetarian Chili: Key Ingredients
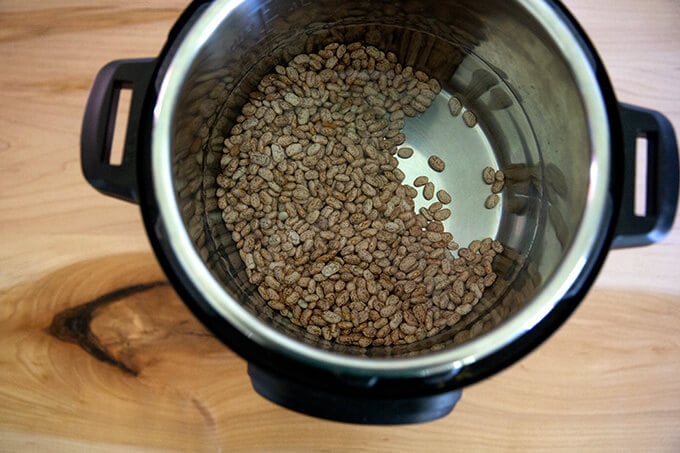
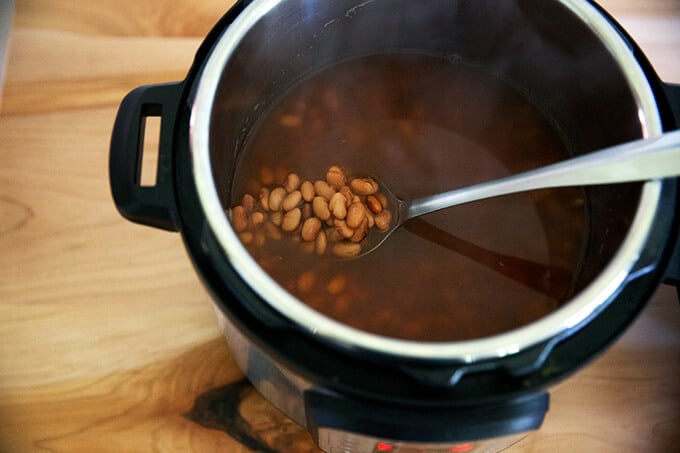
- Pinto Beans: As you may know, I can be a little particular about cooking beans from scratch . With chili, however, I don’t fuss so much — the beans need not be cooked perfectly. Here, dried un-soaked pinto beans go right into my Instant Pot with six cups of water for 40 minutes at high pressure followed by a quick release. The beans emerge cooked, but firm, and they soften up perfectly as they simmer with the other chili ingredients. Canned, rinsed pinto beans will, of course, work here as well.
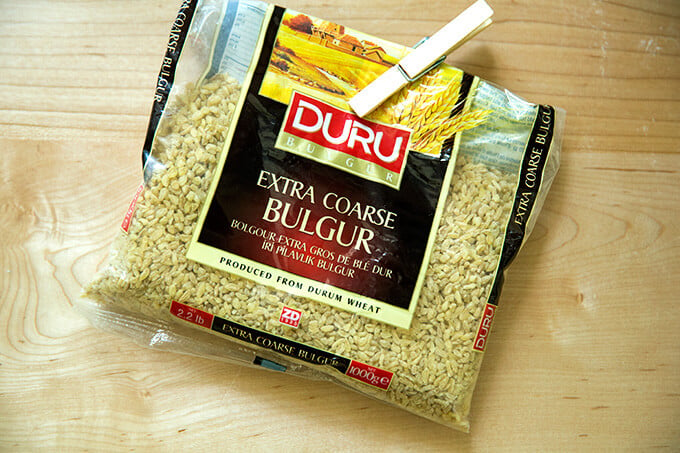
- Bulgur or Quinoa: Inspired by a favorite old vegetarian chili recipe in The Frog Commissary Cookbook , I’ve added bulgur here, which, in addition to the beans, provides texture and substance. It doesn’t taste “meaty” but it adds a meatiness. Duru extra-coarse bulgur is my favorite brand. It makes excellent tabbouleh . That said, if you can’t find extra-coarse bulgur, quinoa works beautifully in its place.
- Chili powder and cumin: Chili powder and cumin, two classic chili spices, provide heat and smoke respectively. I like to use a mix of chipotle chili powder and traditional chili powder. Chipotle chili powder is very spicy, but its got great flavor.
- Chipotles in adobo. Chipotles in adobo sauce are are dried, smoked jalapeños. I love their intense smoky, fiery flavor. As with the chipotle chili powder, you can tailor the amount to include depending on your heat tolerance.
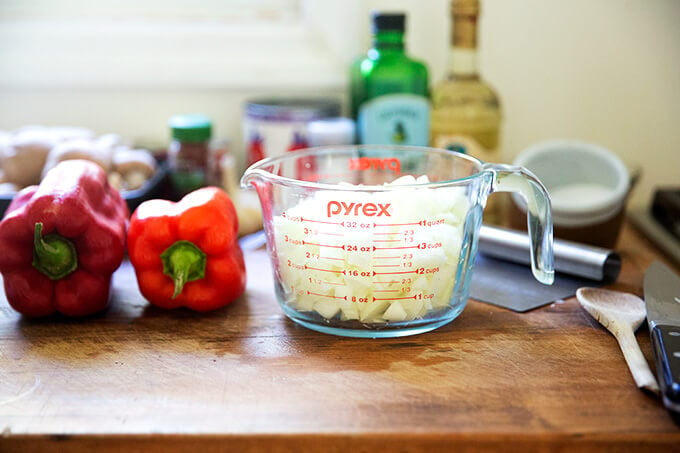
- Vegetables : Here I’ve used nearly 4 quarts of chopped vegetables, a mix of onions, bell peppers, and mushrooms. You can use whatever vegetables you like, just go big — a heap is key!
- Tomato paste : Just as it does with soups and sauces, tomato paste adds depth of flavor (umami!) to chili.
- Vinegar: A hefty splash of vinegar in soups, stews, and the like is never a bad idea, and chili is no exception. Colavita white balsamic is what I use for nearly everything, but any white vinegar you have on hand will work.
Here’s the play-by-play: Gather your ingredients:
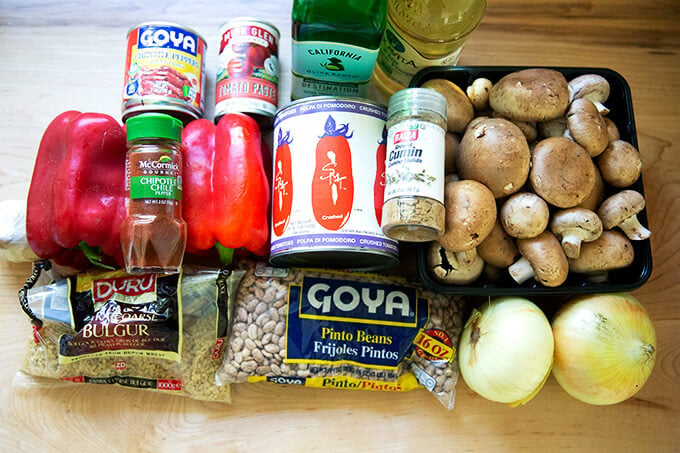
This is the bulgur I love: Duru extra-coarse bulgur . Quinoa works beautifully in its place. I like the red quinoa .
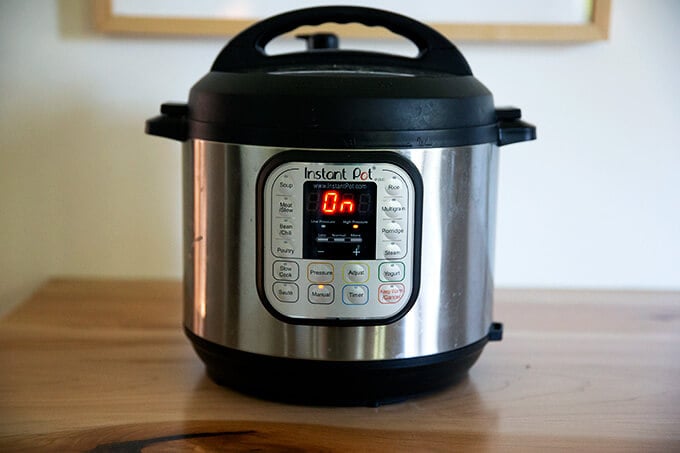
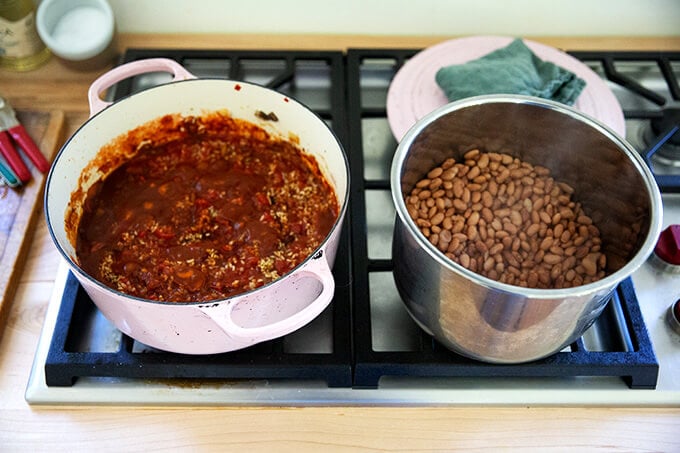
Cook your beans (or open a few cans): In the Instant Pot : 40 minutes, high pressure, quick release.
While the beans cook, chop the onions.
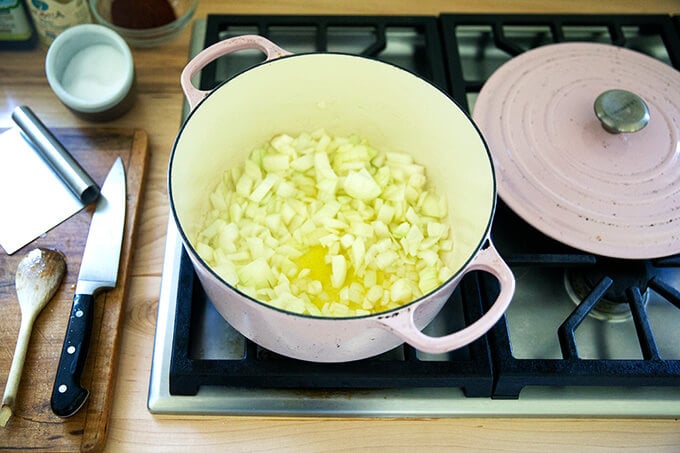
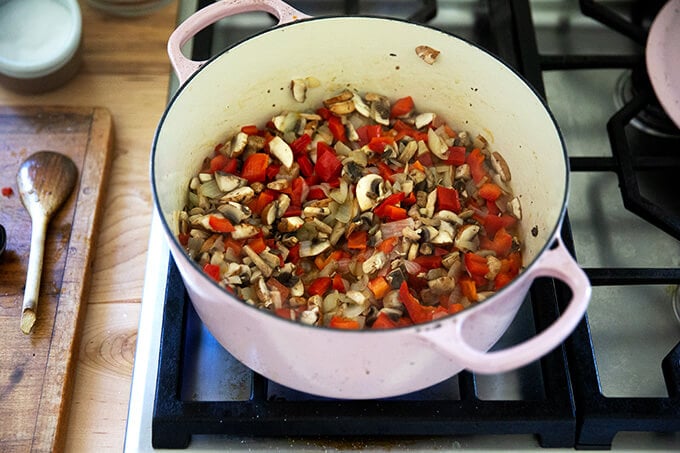
Then sauté them in olive oil.
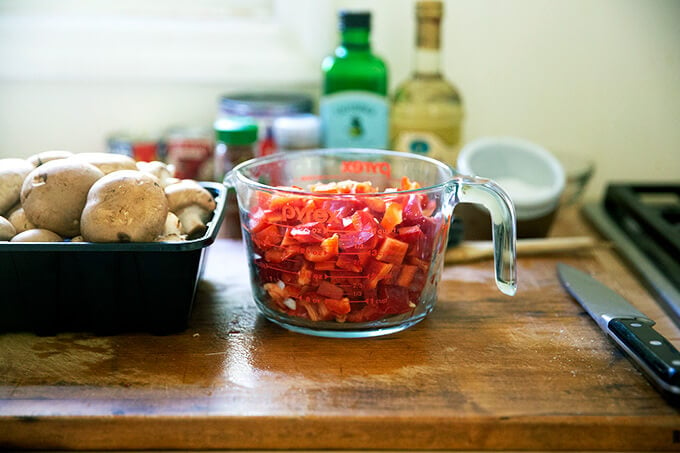
While they cook, chop the peppers, then add them to the pot.
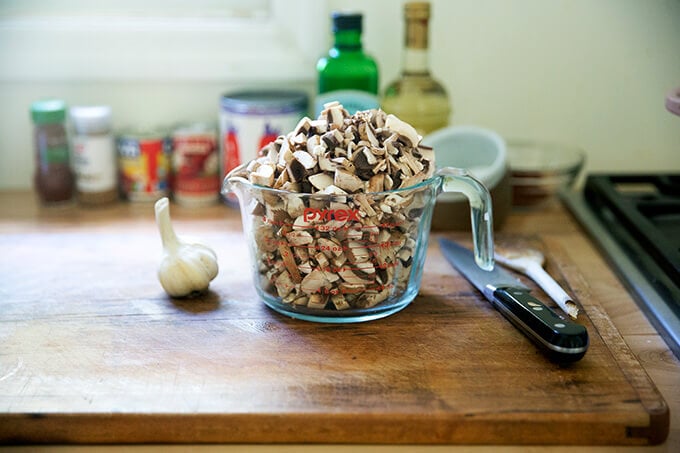
While they cook, chop the mushrooms.
Then add them to the pot with the onions and peppers.
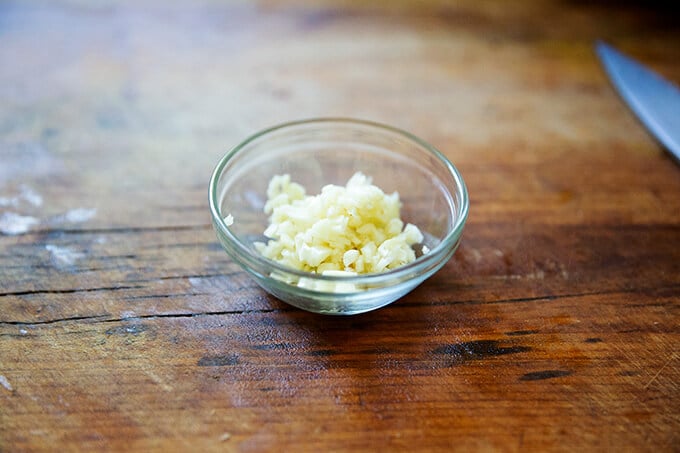
Meanwhile, mince up some garlic, and add it to the pot.
Meanwhile, chop up some chipotles in adobo sauce, and open up a few more cans.
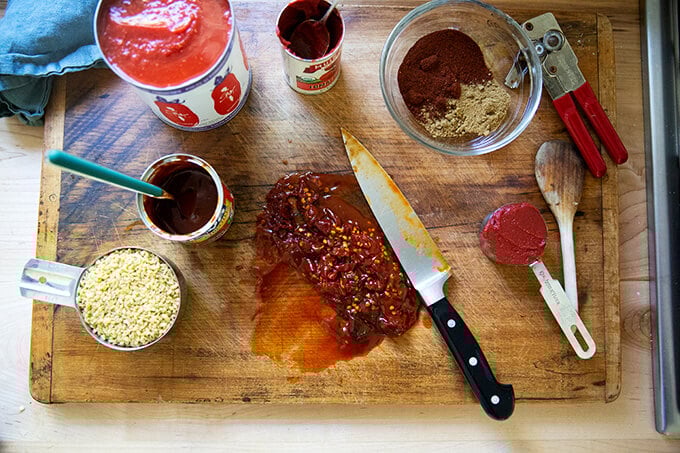
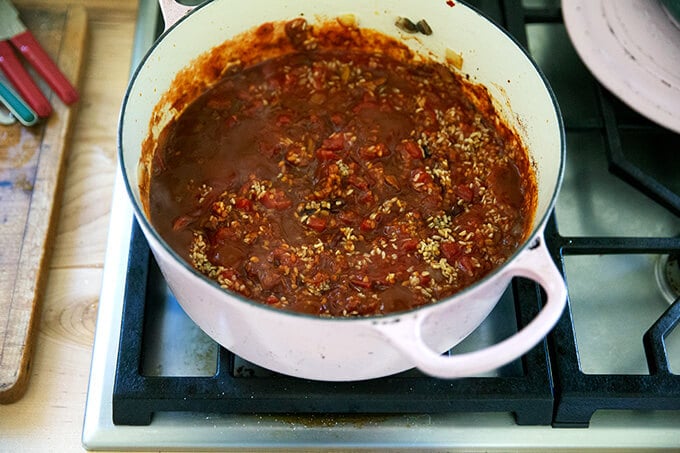
Add tomato paste and spices to the pot of vegetables and cook for about a minute.
Add the bulgur, chipotles, and crushed tomatoes.
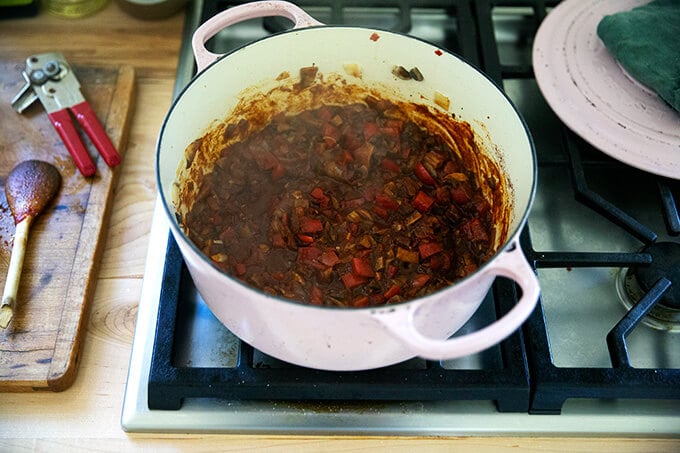
Add the beans.
Add water and bring to a simmer.
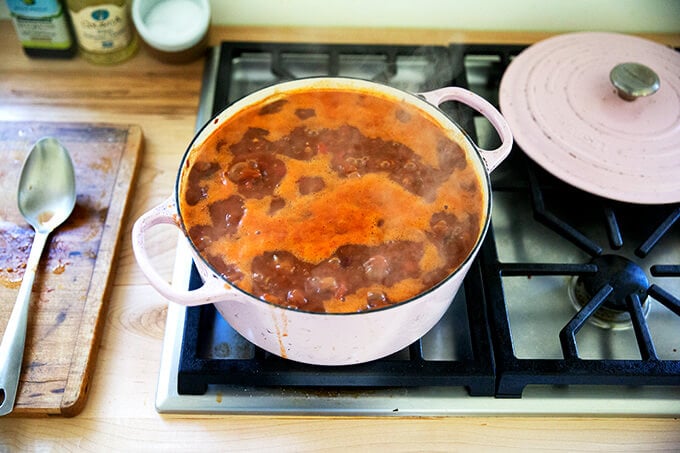
Simmer for about 45 minutes.
Top with scallions, grated cheese, and sour cream if you wish.
Have you stocked up on quart containers ?? Soup season is around the corner. These are my favorite containers for storing, freezing, and gifting soups, stocks, stews, etc.
Description
Notes:
Beans: I love pinto beans for chili. I’ve included instructions for cooking the beans in the Instant Pot below. If you don’t have a pressure cooker, you can simply simmer the beans stovetop in plenty of water until they are cooked — this could take 45 minutes to an hour depending on how fresh your beans are. If you want to soak them overnight, here is my preferred method .
Chili powder: Chili powders vary dramatically in spiciness from brand to brand. I like using 1 tablespoon chipotle chili powder and 2 tablespoons traditional chili powder (both McCormick’s brand) — this mix gives the chili a nice kick. If you are sensitive to heat, I would tone this back. If you don’t feel like searching for chipotle chili powder, use 3 tablespoons (or less) of traditional chili powder.
Bulgur or quinoa: This is my favorite bulgur: Duru extra-coarse bulgur . It has the nicest texture — it’s worth seeking out not only for chili but also for tabbouleh . If you can’t find it, quinoa works beautifully in its place.
Chipotles in adobo: If you are sensitive to heat, use one small chipotle to start. You can add more at the end, if you want the chili to be spicier. Also: if you know you are very sensitive to heat, simply omit.
For the chili:
- 1 pound dried pinto beans, see notes above, or three 15-oz cans pinto beans
- 1/4 cup olive oil
- 2 onions, diced to yield about 4 cups
- kosher salt to taste
- 2 to 4 large bell peppers
- 1.25 lbs. crimini mushrooms
- 4 cloves garlic
- 1/4 cup tomato paste
- 1 tablespoon chipotle chili powder + 2 tablespoons traditional chili powder, see notes above
- 1 tablespoon cumin
- 1 cup bulgur or quinoa, see notes above
- 1 28-oz can crushed tomatoes
- 1 to 2 chipotles in adobo, minced, + 1 tablespoon of the adobo sauce
- 1/4 cup white balsamic vinegar
For serving:
- grated cheddar or Monterey Jack cheese
- sliced scallions
- sour cream
- If you are using dried beans and have an Instant Pot , place them in the inner pot. Cover with 6 cups water. Set the IP to high pressure, 40 minutes. After 40 minutes, quick release the valve, remove the inner pot, and set aside. (If you don’t have an IP, see notes above.) If you are using canned beans , drain and rinse the beans. Set aside.
- In a large pot (7 quarts at least), heat the oil over high heat. Add the onions and a pinch of salt. Cover the pot, immediately turn heat to low, and let cook for about 5 minutes. While the onions cook, stem and seed the peppers. Dice the peppers (you should have 4 to 5 cups), then add to the pot with the onions. Season with a pinch of salt. Stir. Return the lid. Meanwhile, roughly chop the mushrooms (you should have about 8 cups), then add to the pot with the onions and peppers. Season with a pinch of salt, stir, then cover the pot. Mince the garlic, then add to the pot with the vegetables. Stir to combine. Leave the cover off the pot from here on out.
- Raise the heat to medium. Add the tomato paste and stir. Add the spices and cook for 1 minute. Add the bulgur or quinoa, crushed tomatoes, minced chipotles plus tablespoon of adobo sauce. Drain the beans — it’s OK if some of the liquid remains — and add to the pot. Add 4 to 6 cups of water (if your pot is getting very full, start with 4 cups; then add the remaining 2 as needed while it simmers). Add the vinegar.
- Bring to a simmer over low heat and let it cook slowly, stirring often to scrape the bottom of the pot for 45 minutes to an hour or until the liquid has reduced slightly, the bulgur or quinoa is cooked, and everything tastes good and smoky and spicy. Taste. Add salt and or more vinegar if necessary. I often add a teaspoon (or two) of kosher salt, and I often add another tablespoon or two of vinegar, too. Just keep tasting and adjust as needed to taste.
- Serve, passing cheese, scallions, and sour cream on the side.
- Prep Time: 20 minutes
- Cook Time: 1 hour
- Category: Chili
- Method: Stovetop
- Cuisine: American, Vegetarian
