<img loading=“lazy” src=“https://alexandracooks.com/wp-content/uploads/2017/05/mothersdaybook-683x1024.jpg" onerror=“this.onerror=null;this.src=‘https://blogger.googleusercontent.com/img/a/AVvXsEhe7F7TRXHtjiKvHb5vS7DmnxvpHiDyoYyYvm1nHB3Qp2_w3BnM6A2eq4v7FYxCC9bfZt3a9vIMtAYEKUiaDQbHMg-ViyGmRIj39MLp0bGFfgfYw1Dc9q_H-T0wiTm3l0Uq42dETrN9eC8aGJ9_IORZsxST1AcLR7np1koOfcc7tnHa4S8Mwz_xD9d0=s16000';" alt=“Bread baked in a flowerpot. Brushed with butter, sprinkled with sea salt, does anything say, “I love you Mom!” more than this flower pot bread? // alexandracooks.com - 1”>
About a month ago, a friend texted me a photo of an adorable loaf of bread baked in a flowerpot. She was at Terrain’s garden café in Westport, CT, which looks as magical as the pages of its catalog . I immediately picked up half a dozen small flowerpots from a local garden shop and gave the peasant bread dough the flowerpot treatment. It worked like a charm. Brushed with butter, sprinkled with sea salt, does anything say, “I love you Mom!” more?
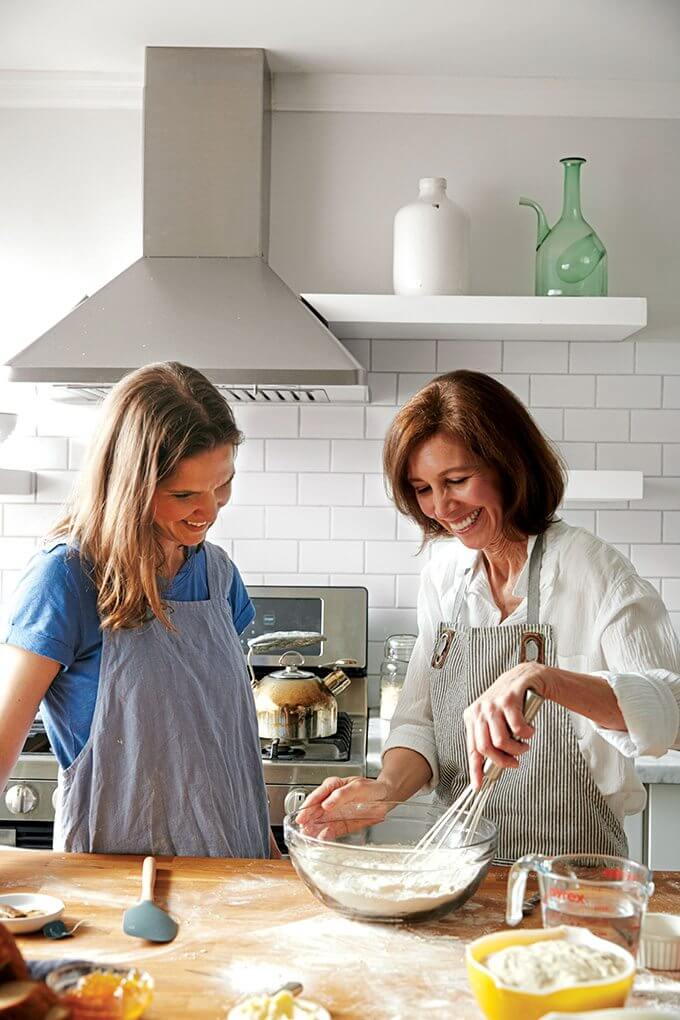
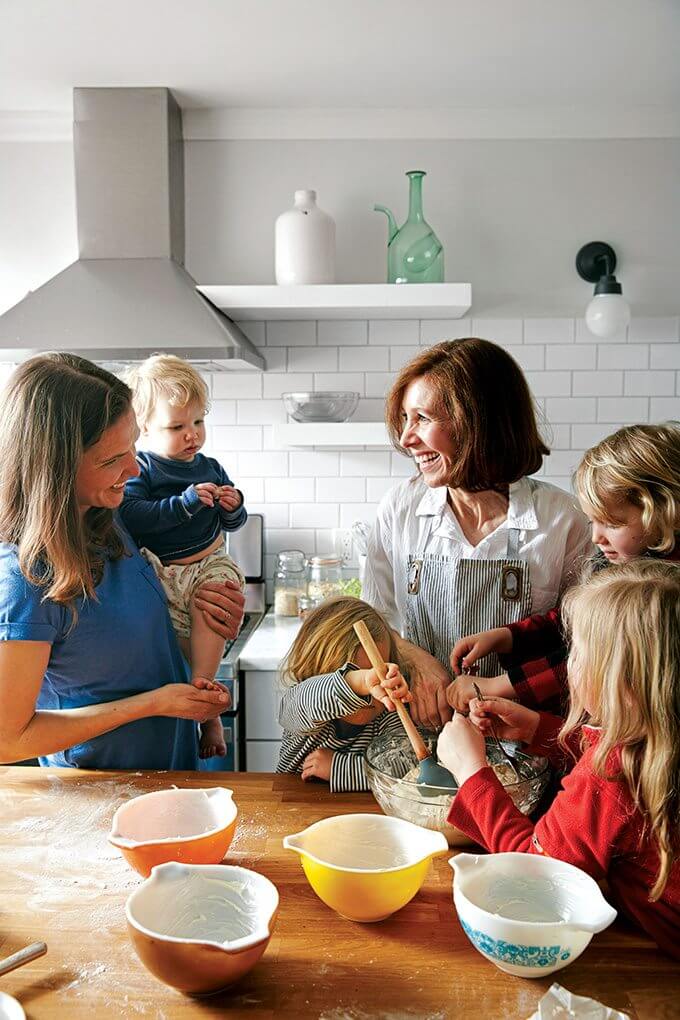
Baking with my mom! From the Bread Toast Crumbs photo shoot last spring:
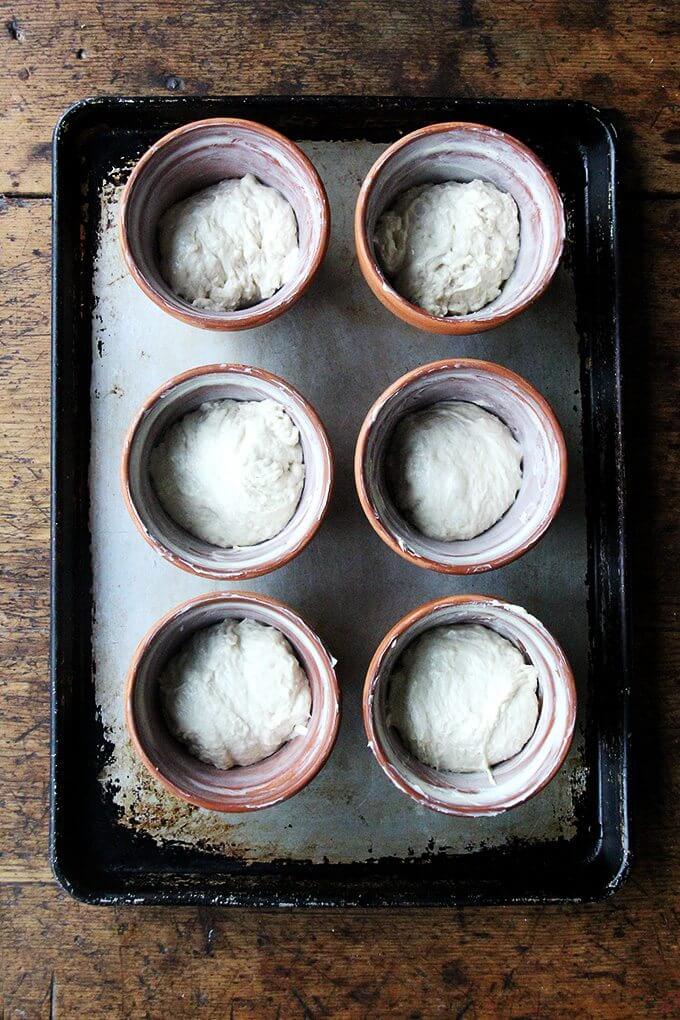
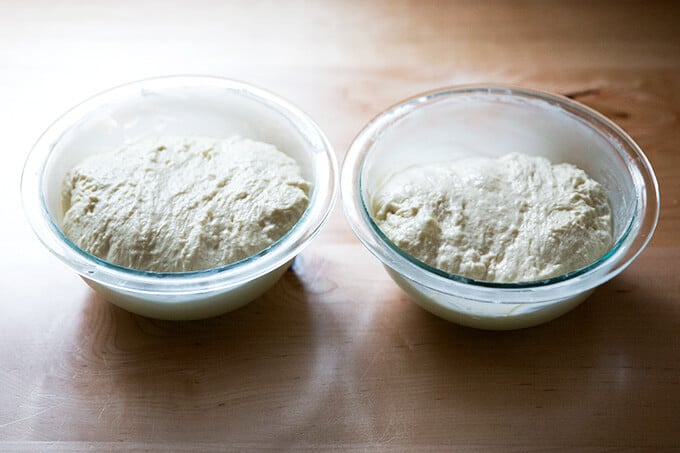
Dough, rising:
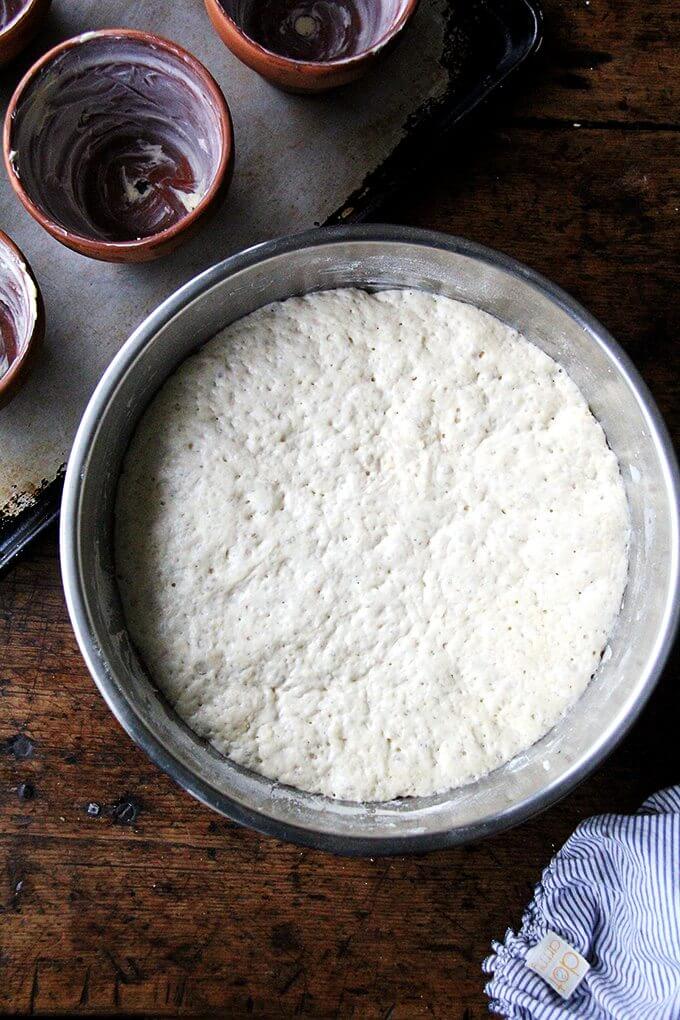
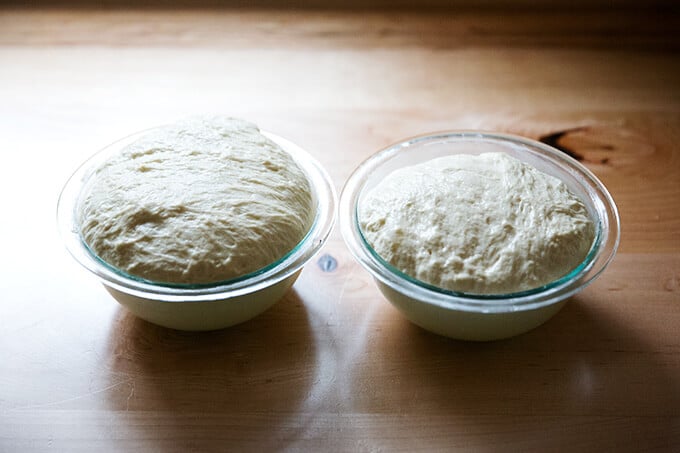
Dough, risen:
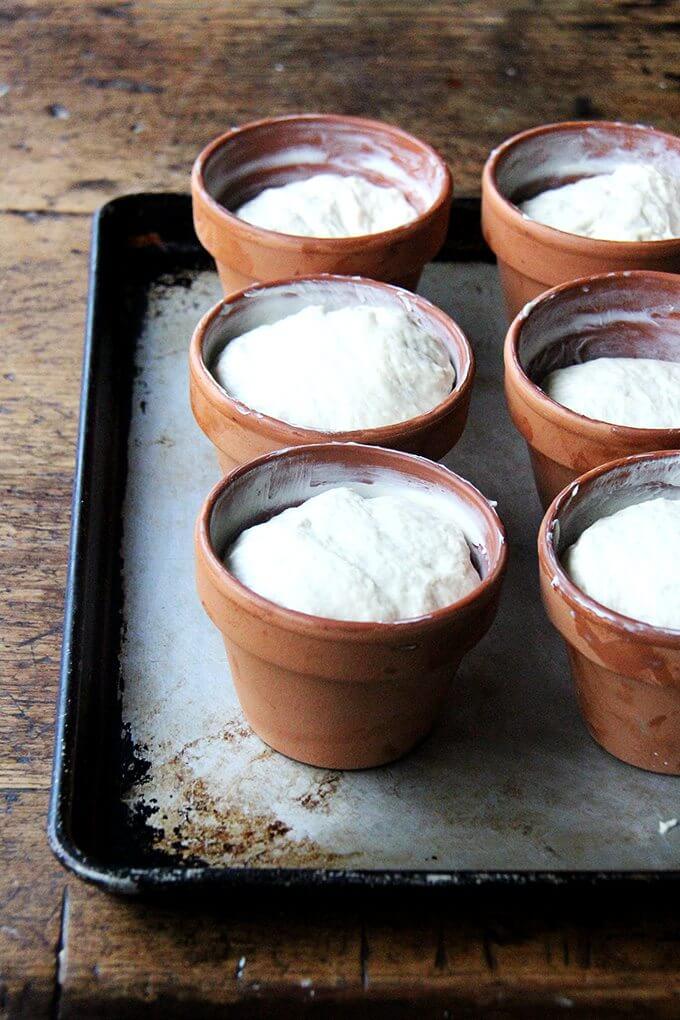
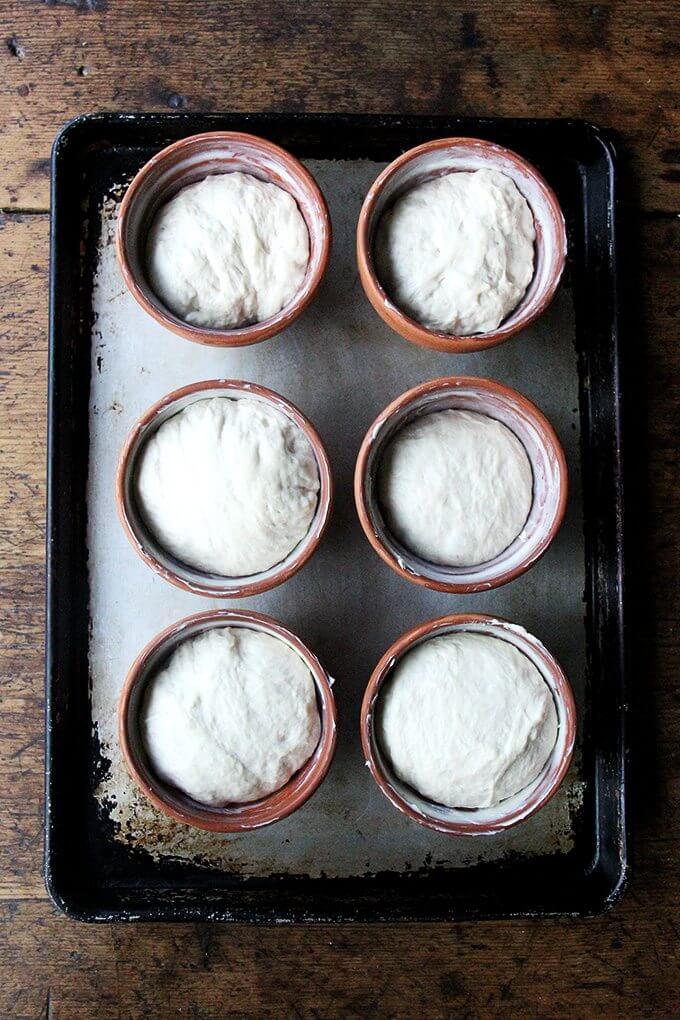
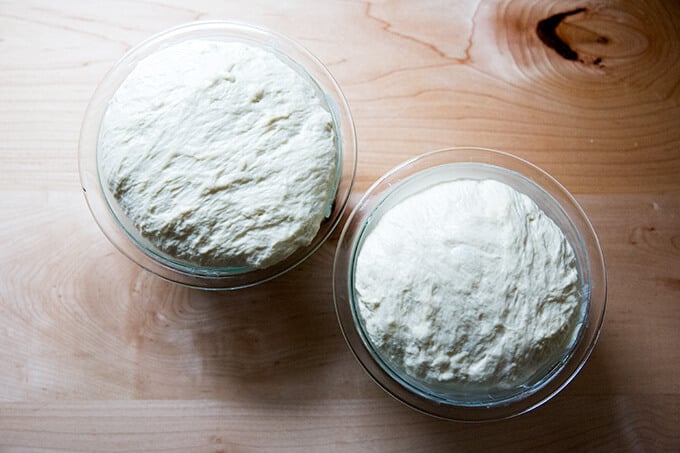
Ready for the oven:
<img loading=“lazy” src=“https://alexandracooks.com/wp-content/uploads/2017/05/flowerpots680.jpg" onerror=“this.onerror=null;this.src=‘https://blogger.googleusercontent.com/img/a/AVvXsEhe7F7TRXHtjiKvHb5vS7DmnxvpHiDyoYyYvm1nHB3Qp2_w3BnM6A2eq4v7FYxCC9bfZt3a9vIMtAYEKUiaDQbHMg-ViyGmRIj39MLp0bGFfgfYw1Dc9q_H-T0wiTm3l0Uq42dETrN9eC8aGJ9_IORZsxST1AcLR7np1koOfcc7tnHa4S8Mwz_xD9d0=s16000';" alt=“Bread baked in a flowerpot. Brushed with butter, sprinkled with sea salt, does anything say, “I love you Mom!” more than this flower pot bread? // alexandracooks.com - 12”>
<img loading=“lazy” src=“https://alexandracooks.com/wp-content/uploads/2017/05/brushingwithbutter.jpg" onerror=“this.onerror=null;this.src=‘https://blogger.googleusercontent.com/img/a/AVvXsEhe7F7TRXHtjiKvHb5vS7DmnxvpHiDyoYyYvm1nHB3Qp2_w3BnM6A2eq4v7FYxCC9bfZt3a9vIMtAYEKUiaDQbHMg-ViyGmRIj39MLp0bGFfgfYw1Dc9q_H-T0wiTm3l0Uq42dETrN9eC8aGJ9_IORZsxST1AcLR7np1koOfcc7tnHa4S8Mwz_xD9d0=s16000';" alt=“Bread baked in a flowerpot. Brushed with butter, sprinkled with sea salt, does anything say, “I love you Mom!” more than this flower pot bread? // alexandracooks.com - 13”>
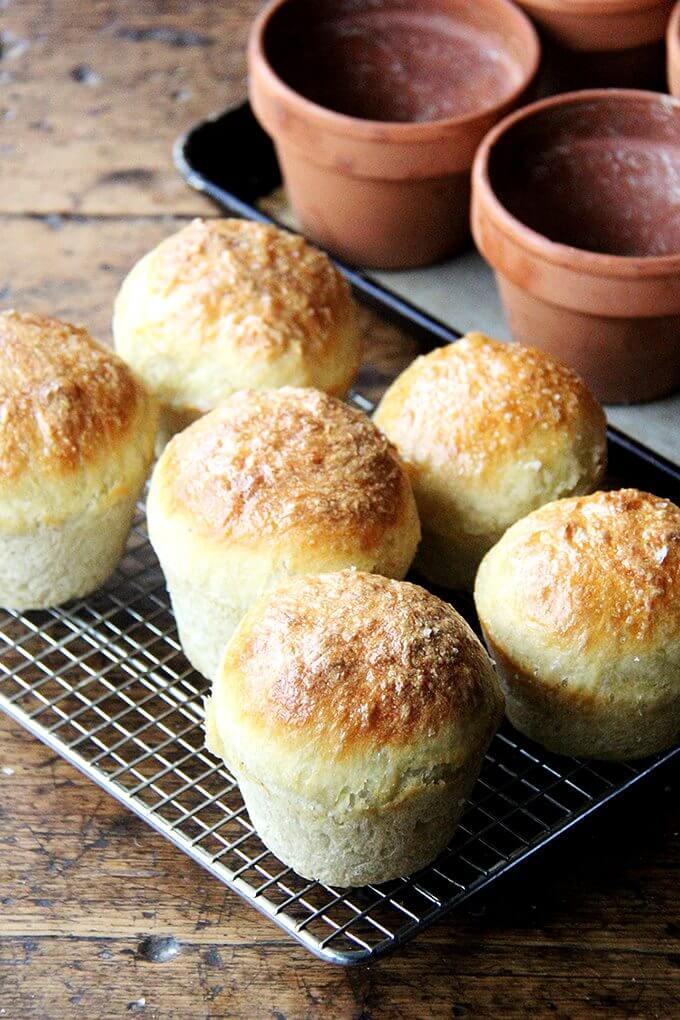
Freshly baked:
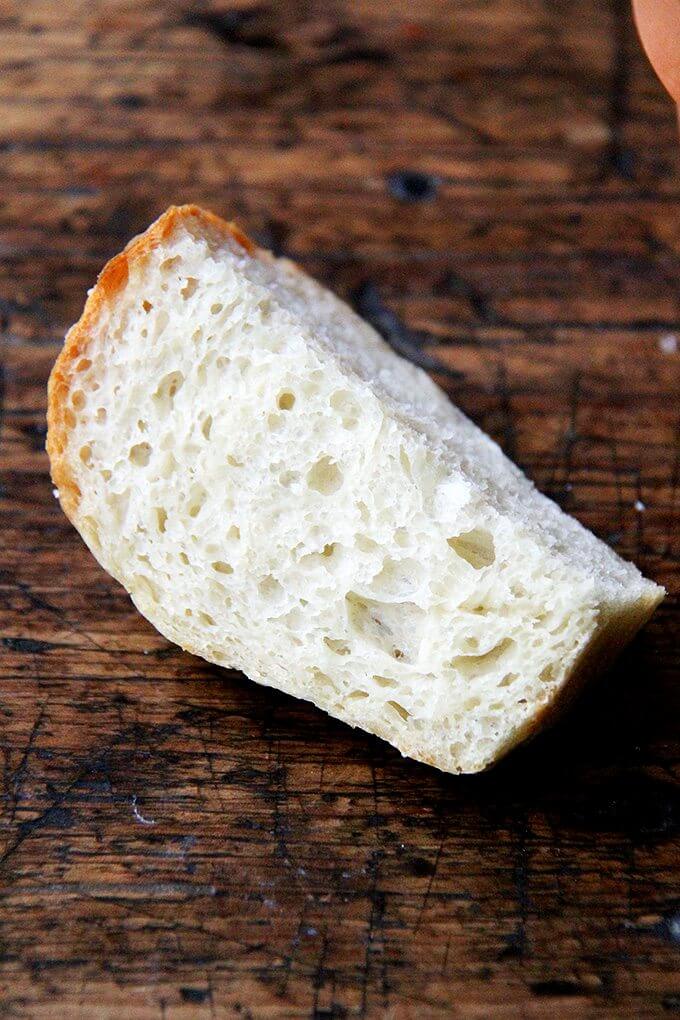
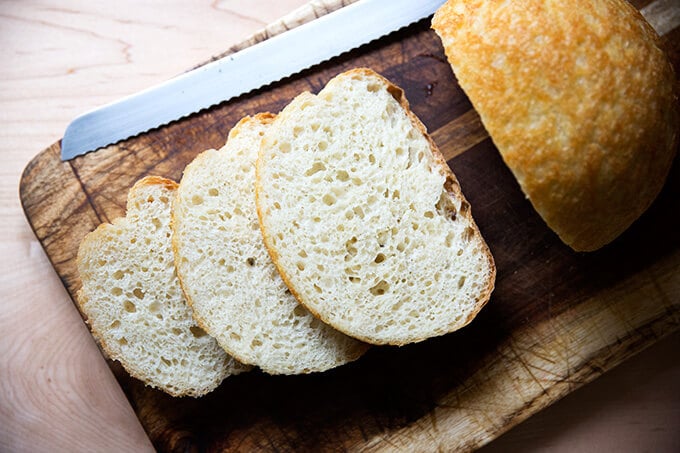
<img loading=“lazy” src=“https://alexandracooks.com/wp-content/uploads/2017/05/cutbread.jpg" onerror=“this.onerror=null;this.src=‘https://blogger.googleusercontent.com/img/a/AVvXsEhe7F7TRXHtjiKvHb5vS7DmnxvpHiDyoYyYvm1nHB3Qp2_w3BnM6A2eq4v7FYxCC9bfZt3a9vIMtAYEKUiaDQbHMg-ViyGmRIj39MLp0bGFfgfYw1Dc9q_H-T0wiTm3l0Uq42dETrN9eC8aGJ9_IORZsxST1AcLR7np1koOfcc7tnHa4S8Mwz_xD9d0=s16000';" alt=“Bread baked in a flowerpot. Brushed with butter, sprinkled with sea salt, does anything say, “I love you Mom!” more than this flower pot bread? // alexandracooks.com - 16”>
<img loading=“lazy” src=“https://alexandracooks.com/wp-content/uploads/2017/05/cutbread.jpg" onerror=“this.onerror=null;this.src=‘https://blogger.googleusercontent.com/img/a/AVvXsEhe7F7TRXHtjiKvHb5vS7DmnxvpHiDyoYyYvm1nHB3Qp2_w3BnM6A2eq4v7FYxCC9bfZt3a9vIMtAYEKUiaDQbHMg-ViyGmRIj39MLp0bGFfgfYw1Dc9q_H-T0wiTm3l0Uq42dETrN9eC8aGJ9_IORZsxST1AcLR7np1koOfcc7tnHa4S8Mwz_xD9d0=s16000';" alt=“Bread baked in a flowerpot. Brushed with butter, sprinkled with sea salt, does anything say, “I love you Mom!” more than this flower pot bread? // alexandracooks.com - 17”>
A sprinkling of sea salt is especially nice:
Description
Adapted from the master peasant bread recipe in Bread Toast Crumbs .
Flowerpots: I use 6 small flowerpots measuring about 4 inches in diameter at the top opening and a little over 3 inches tall. Are they safe to use? I can’t say for sure. The ones I purchased from a local shop, Faddegan’s, are made in Italy and of terra cotta.
Warm spot to rise: This is how to create a slightly warm spot for your bread to rise: Turn the oven on at any temperature (350ºF or so) for one minute, then turn it off. Note: Do not allow the oven to get up to 300ºF, for example, and then heat at that setting for 1 minute — this will be too hot. Just let the oven preheat for a total of 1 minute — it likely won’t get above 100ºF. The goal is to just create a slightly warm environment for the bread.
- 4 cups ( 512 g ) unbleached all-purpose flour
- 2 teaspoons kosher salt
- 2 cups lukewarm water (made by mixing 1 1/2 cups cold water with 1/2 cup boiling water)
- 2 teaspoons sugar
- 2 teaspoons instant or active-dry yeast
- room temperature butter for greasing the flower pots, plus more, if you wish, for brushing over top
- sea salt for sprinkling
- Mixing the dough: If you are using instant yeast: In a large mixing bowl, whisk together the flour, salt, sugar, and instant yeast. Add the water. Mix until the flour is absorbed. If you are using active-dry yeast: In a small mixing bowl, dissolve the sugar into the water. Sprinkle the yeast over top. There is no need to stir it up. Let it stand for about 10 to 15 minutes or until the mixture is foamy and/or bubbling just a bit — this step will ensure that the yeast is active. Meanwhile, in a large bowl, whisk together the flour and salt. When the yeast-water-sugar mixture is foamy, stir it up, and add it to the flour bowl. Mix until the flour is absorbed.
- Cover bowl with a tea towel or plastic wrap and set aside in a warm spot (see notes above) to rise for at least an hour. (In the winter or if you are letting the bread rise in a cool place, it might take as long as two hours to rise.)
- Position an oven rack in the lower third of your oven. Preheat the oven to 425ºF. Grease 6 flowerpots (see notes above) with about a tablespoon of butter each—it is imperative to be generous here. Using two forks, punch down your dough, releasing it from the sides of the bowl, which it will be clinging to. As you release the dough from the sides, pull it towards the center. Then, take your two forks and divide the dough into two equal portions. Use your two forks to break off a third of one of these portions (1/6 of the total amount), and plop it in one of the buttered flowerpots. Repeat until all of the dough has been portioned into the pots—it’s OK if they aren’t evenly portioned out. Place the pots on a rimmed baking sheet.
- Let the dough rise for about 20 to 30 minutes on the countertop near the oven (or near a warm spot) or until it has risen to just below the rim of the pot. Be patient—it may take longer.
- Bake for 15 minutes. Reduce the heat to 375º and make for 15 minutes longer. Remove pan from oven. Brush the loaves with melted butter and sprinkle with sea salt if you wish. Run a knife around the edge of each flowerpot loaf of bread to loosen it from the sides. Turn each one out onto a cooling rack and let cool for 20 minutes or longer. When you’re ready to give the loaf as a gift, return the bread to the pot, wrap a bough around the pot, tuck it in a basket with some more goodies: butter, jam, flowers, etc.
Find it online : https://alexandracooks.com/2017/05/07/flowerpot-bread-free-toast-bookplate/
Do you fear yeast? Do you dread kneading?
Fear no more. Dread no more. If you can whisk and stir, you can bake bread. It’s that simple. I promise. Anyone can make bread. Really good bread.
Ready? First: you need some gear.
First, you need to do one thing. The single most important step you can take to make bread baking a simpler and more enjoyable process is invest in a digital scale. This one is very reasonably priced and works beautifully.
Simple as it is though, questions still arise. Often the questions center around the consistency of the dough. Sometimes the dough is too stiff; sometimes it’s too loose. This is where the importance of the scale comes in. These variances arise when we use cups to measure flour—we all scoop differently. When we use a scale to measure flour, on the other hand, we all measure the same—512 grams of flour is 512 grams of flour.
If you want consistent results every time, use a scale. And once you start baking by weight, you’ll never go back. I use my scale to make granola , muesli , brownies , portioning chocolate chip cookie dough , portioning hamburger patties , portioning hamburger buns , etc. not to mention weighing boxes so I can print mailing labels at home, making trips to the post office a breeze.
A few more things:
- Instant yeast is another game changer. It will simplify all of your bread-baking endeavors. No more “proofing” or “blooming” yeast. Just stir the yeast directly into the flour. SAF is my preference .
- Two 1-quart Pyrex bowls are recommended for the peasant bread recipe.
- King Arthur Flour : It’s what my mother used; it’s what I use. If you like using bread flour, by all means, use it. If you like using locally milled or stone-milled flours, go for it.
Finally, with a good whisk , a good spatula (my favorite), and a 4-qt mixing bowl on hand, you’re good to go. Remember: I f you can whisk and stir, you can make bread.
The Recipe: No-Knead Peasant Bread
A photo step-by-step of the peasant bread recipe follows; here’s where to find the recipe:
Five Favorite Peasant Bread Variations
- Overnight Refrigerator Focaccia
- Everything Bagel Seasoning Peasant Bread
- Gluten-Free Peasant Bread
- Quinoa-Flax Toasting Bread
- No-Knead Thyme Dinner Rolls
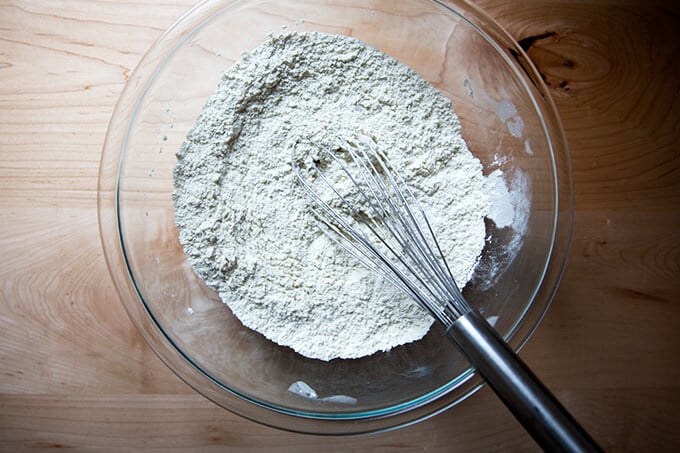
Peasant Bread Step by Step:
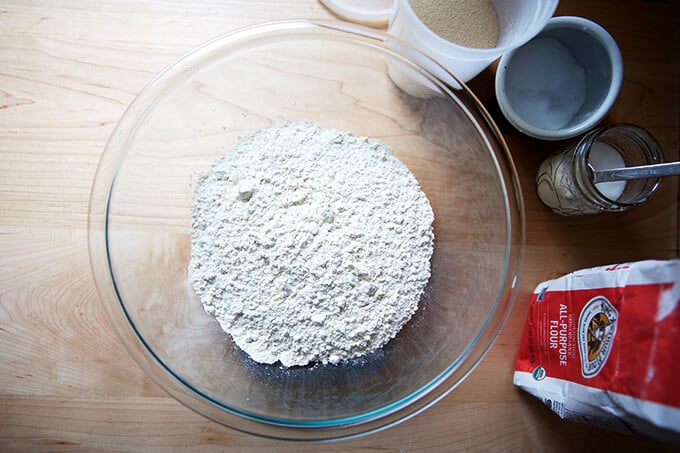
Whisk together flour, salt, sugar, and yeast.
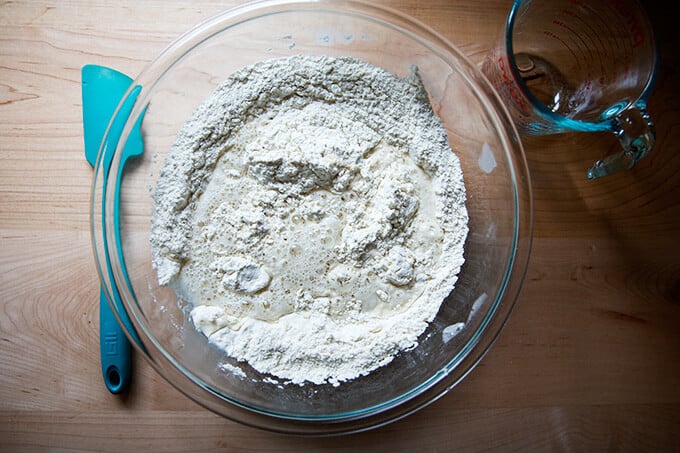
Add water.
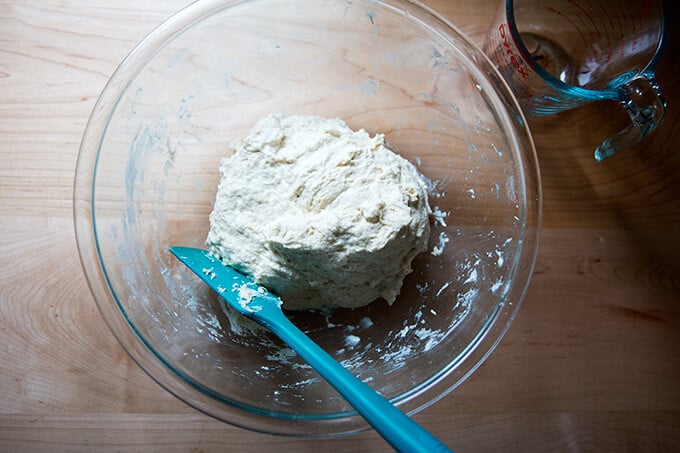
Stir to form a sticky dough ball.
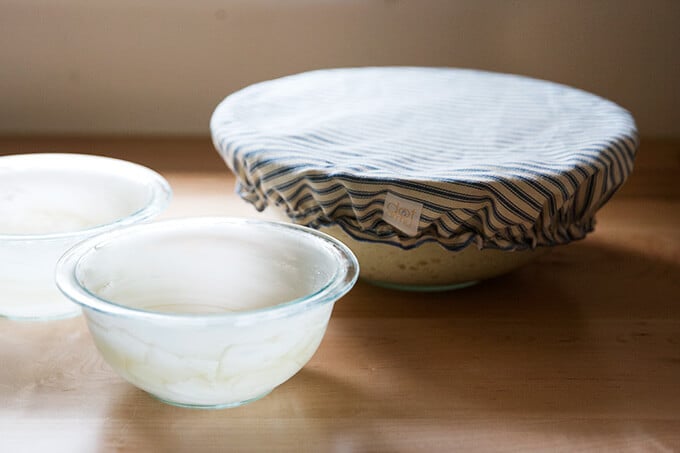
Let rise in a warm spot …

… until doubled in bulk. Butter two 1-qt oven-safe bowls.
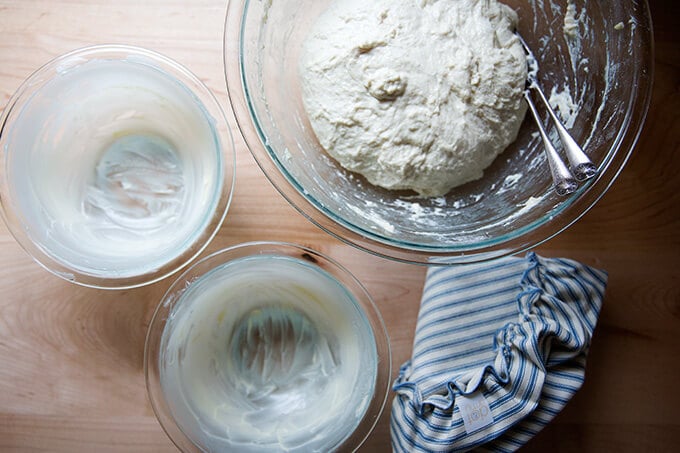
Deflate the dough using forks.
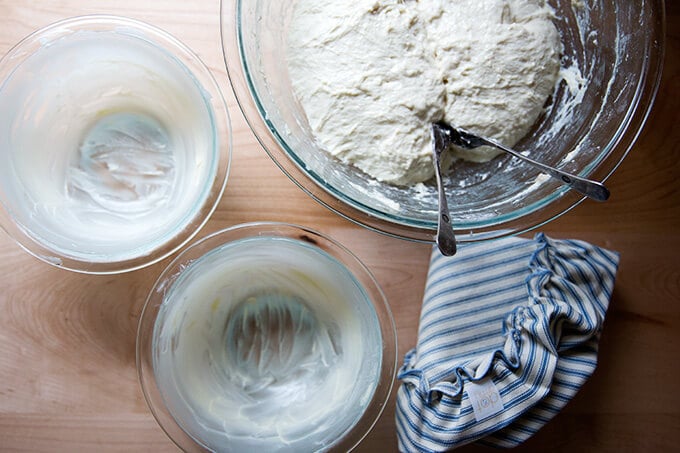
Separate the dough into two equal portions using the forks.
Transfer the dough to the prepared bowls.
Let rise until dough crowns the rims of the bowls.

Transfer the oven and bake until golden.
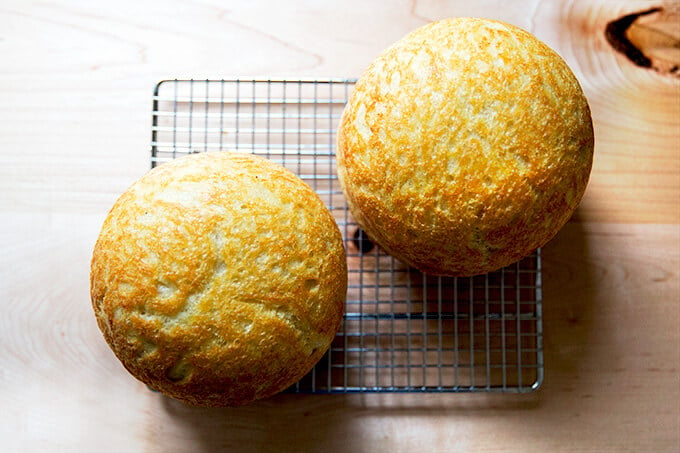
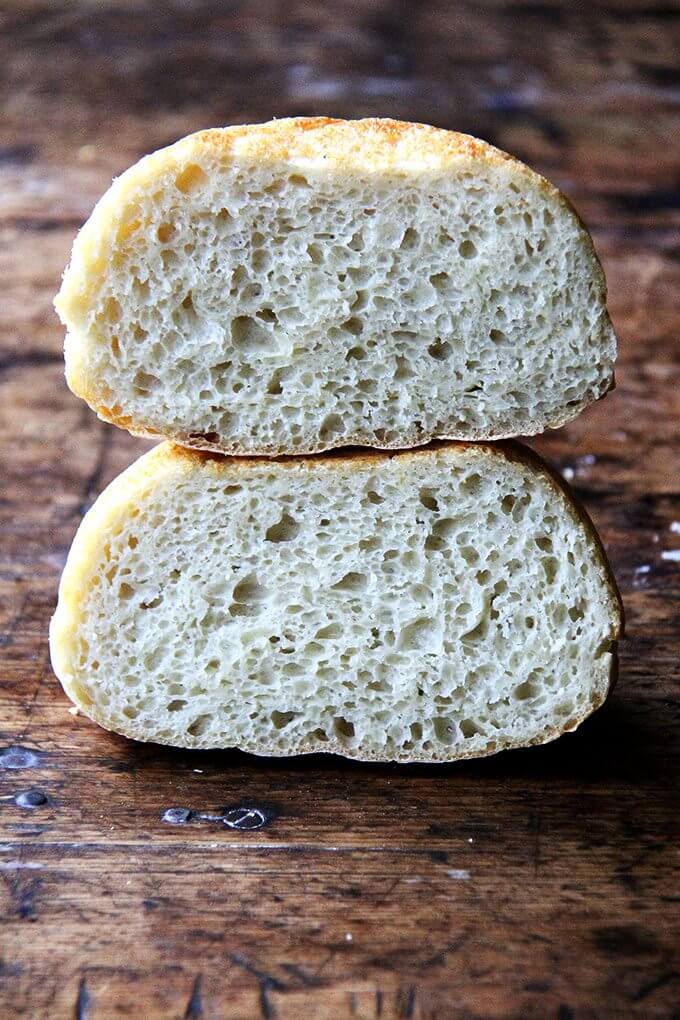
Turn out onto cooling racks. Let cool for at least 15 minutes before slicing.
The Book: Bread Toast Crumbs
Watch the 1-minute video below; feel any bread-making fears you might be harboring dissolve.

When you have success with the peasant bread recipe, know that you can now adapt it however you wish. In addition to its simplicity, the beauty of the master peasant bread recipe is its adaptability. Want to add herbs, nuts, seeds, spices? Want to use whole grain flours? Want to add cheese? Want to make pizza? Pissaladière? Focaccia? Sandwich bread? Monkey Bread? Brioche? Cinnamon-Swirl Bread? I wrote a cookbook all about the peasant bread, Bread Toast Crumbs , and the first chapter includes 40 variations of the simple recipe.
But Bread Toast Crumbs isn’t just about baking bread. Because once you see how easy bread baking can be, you’ll be baking bread all the time. The second and third chapters of Bread Toast Crumbs are filled with recipes that will find delicious purpose for the many heels, nubs, and crumbs from the many loaves you bake. See photos, watch more videos, and find recipes from Bread Toast Crumbs here: Cookbook News & Notes
Bread Toast Crumbs
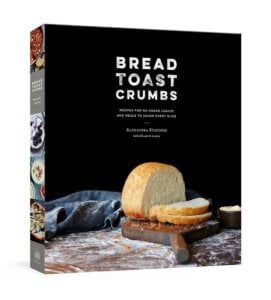
A 2017 IACP Nominee for the Julia Child First Book Award
With praise from Dorie Greenspan, Jim Lahey, and David Lebovitz, Bread Toast Crumbs is the definitive bread-baking book for a new generation. But this book isn’t just about baking bread—it’s about what to do with the slices and heels and nubs from those many loaves you’ll bake.
