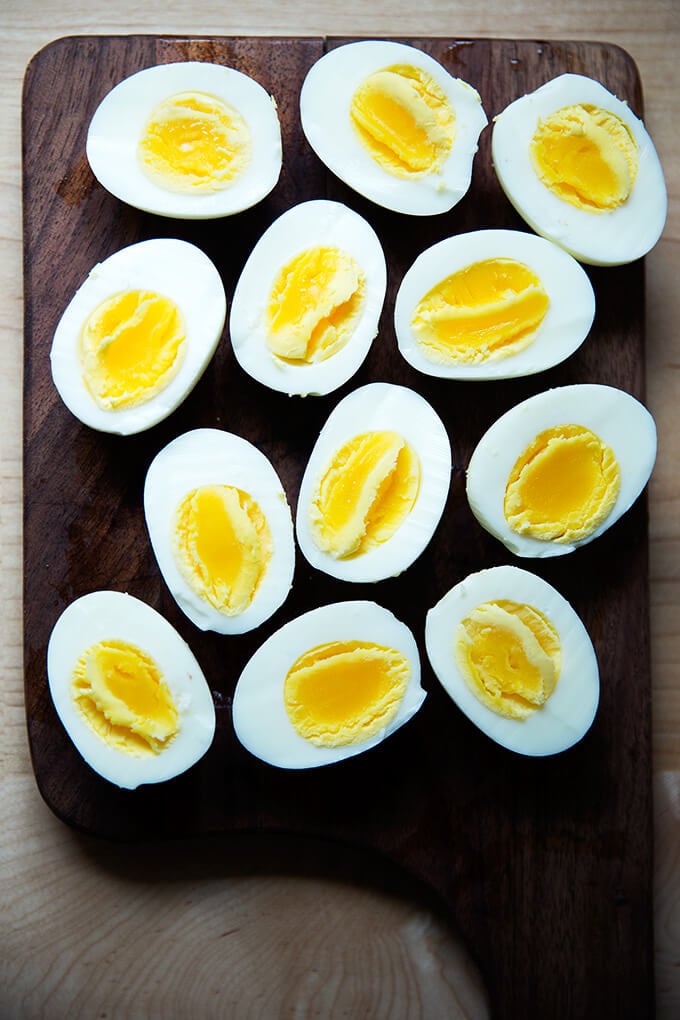
The virtues of making hard-boiled eggs in an Instant Pot can be summed up as follows: they peel like a dream, and they come out perfectly every time!
Upon learning that steaming eggs is the trick to producing perfectly cooked hard-cooked eggs with shells that slip right off, I tried the method in my Instant Pot, and it worked like a dream! This feat earned my Instant Pot a permanent spot on my countertop. If you or your family loves eggs, you can’t have too many easy egg recipes for breakfast in your repertoire.
In sum, the virtues of making hard-boiled eggs in an electric pressure cooker include:
- They peel like a dream.
- They come out perfectly every time.
PS: Perfect Instant Pot Soft-Boiled Eggs
How to make Instant Pot hard-boiled eggs, Step by Step
Gather your ingredients: eggs + water.
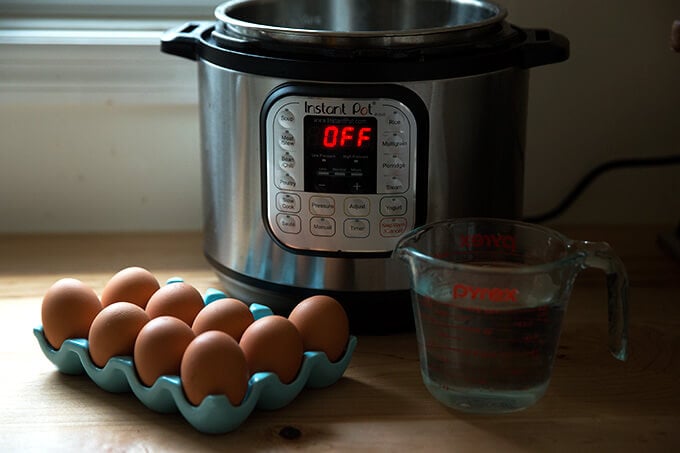
Pour 2 cups water into the Instant Pot, place steamer insert inside, place 6 eggs on top. Spread eggs out so they are not touching one another.

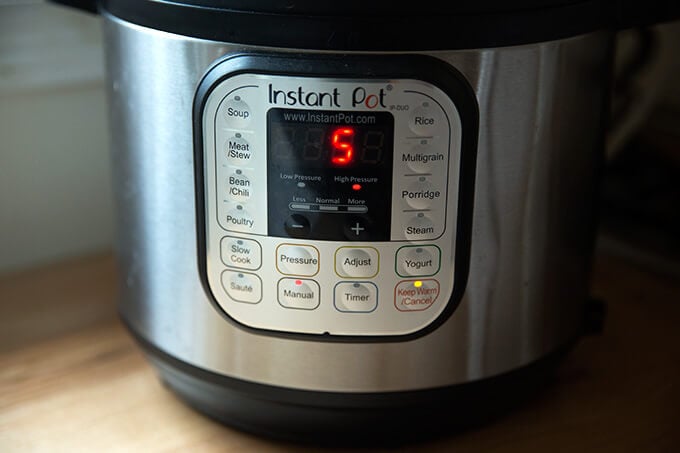
Close lid. Turn valve to sealing. Set the Instant Pot to: manual, high pressure, 5 minutes:
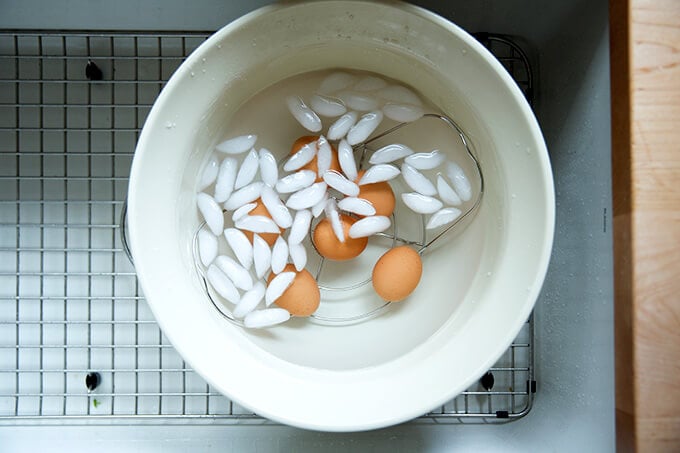
When the time lapses, release the valve naturally for no more than 1 minute; then plunge the eggs into an ice bath.
When you are ready, begin the incredibly enjoyable process of peeling the eggs …
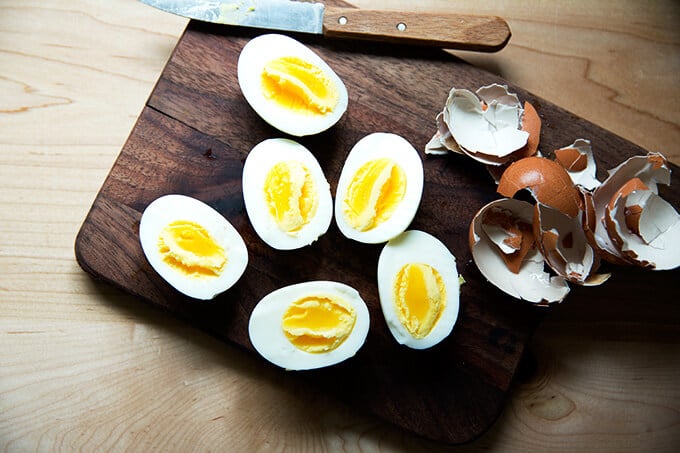
You won’t ever want to stop.
Description
The virtues of making hard-boiled eggs in an Instant Pot can be summed up as follows: they peel like a dream and they come out perfectly every time!
Notes:
Timing may vary: I have this 6-qt Instant Pot , which is important only because the size of the pot may affect the timing. These instructions work perfectly for my Instant Pot, but it did take some trial and error to get the timing down.
For perfect Instant Pot soft-boiled eggs, follow instructions on this post .
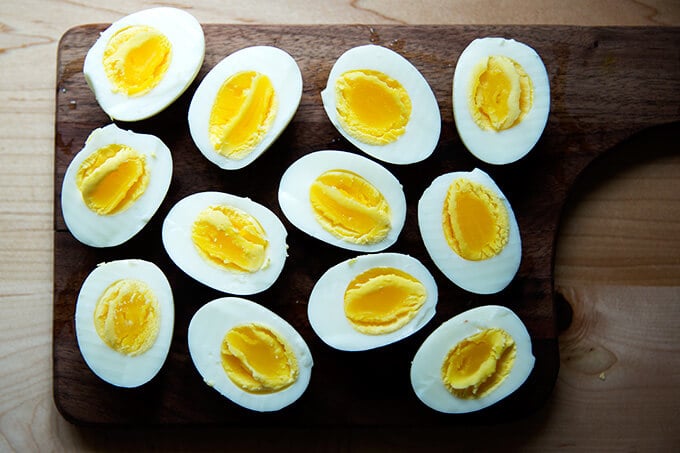
The downside of hard-boiling eggs in an Instant Pot? The quantity you can do at one time. Unless you have an accessory that allows you to make tiers in your pot, you can’t cram a dozen eggs onto the steamer rack without the eggs banging against one another and eventually cracking under the pressure.
I would recommend hard-boiling no more than 6 eggs at one time using the standard steamer insert.
- 2 cups water
- 6 eggs, see notes above
- Pour the 2 cups of water into the insert of the Instant Pot. ( Note: Do measure 2 cups as opposed to using the markings on the inside of the insert. ) Lay the steamer insert inside. Place eggs on top, spreading them out to ensure they are not touching one another.
- Cover the pot. Using the manual button, set the pot to 5 minutes and high pressure. Make sure the valve on top is set to sealing. Fill a large bowl with ice and cold tap water.
- When the 5 minutes are up, switch the valve to venting, let the steam escape for 1 minute, then carefully twist open the lid to avoid steaming your face. Transfer eggs to ice-water bath, let cool for 30 seconds or longer, then peel, season and eat.
- Prep Time: 5 minutes
- Cook Time: 5 minutes
- Category: Breakfast
- Method: Instant Pot/Pressure cooker
- Cuisine: American
Description
The virtues of making hard-boiled eggs in an Instant Pot can be summed up as follows: they peel like a dream and they come out perfectly every time!
Notes:
Timing may vary: I have this 6-qt Instant Pot , which is important only because the size of the pot may affect the timing. These instructions work perfectly for my Instant Pot, but it did take some trial and error to get the timing down.
For perfect Instant Pot soft-boiled eggs, follow instructions on this post .
The downside of hard-boiling eggs in an Instant Pot? The quantity you can do at one time. Unless you have an accessory that allows you to make tiers in your pot, you can’t cram a dozen eggs onto the steamer rack without the eggs banging against one another and eventually cracking under the pressure.
I would recommend hard-boiling no more than 6 eggs at one time using the standard steamer insert.
- 2 cups water
- 6 eggs, see notes above
- Pour the 2 cups of water into the insert of the Instant Pot. ( Note: Do measure 2 cups as opposed to using the markings on the inside of the insert. ) Lay the steamer insert inside. Place eggs on top, spreading them out to ensure they are not touching one another.
- Cover the pot. Using the manual button, set the pot to 5 minutes and high pressure. Make sure the valve on top is set to sealing. Fill a large bowl with ice and cold tap water.
- When the 5 minutes are up, switch the valve to venting, let the steam escape for 1 minute, then carefully twist open the lid to avoid steaming your face. Transfer eggs to ice-water bath, let cool for 30 seconds or longer, then peel, season and eat.
- Prep Time: 5 minutes
- Cook Time: 5 minutes
- Category: Breakfast
- Method: Instant Pot/Pressure cooker
- Cuisine: American
Find it online : https://alexandracooks.com/2019/04/16/perfect-instant-pot-hard-boiled-eggs/

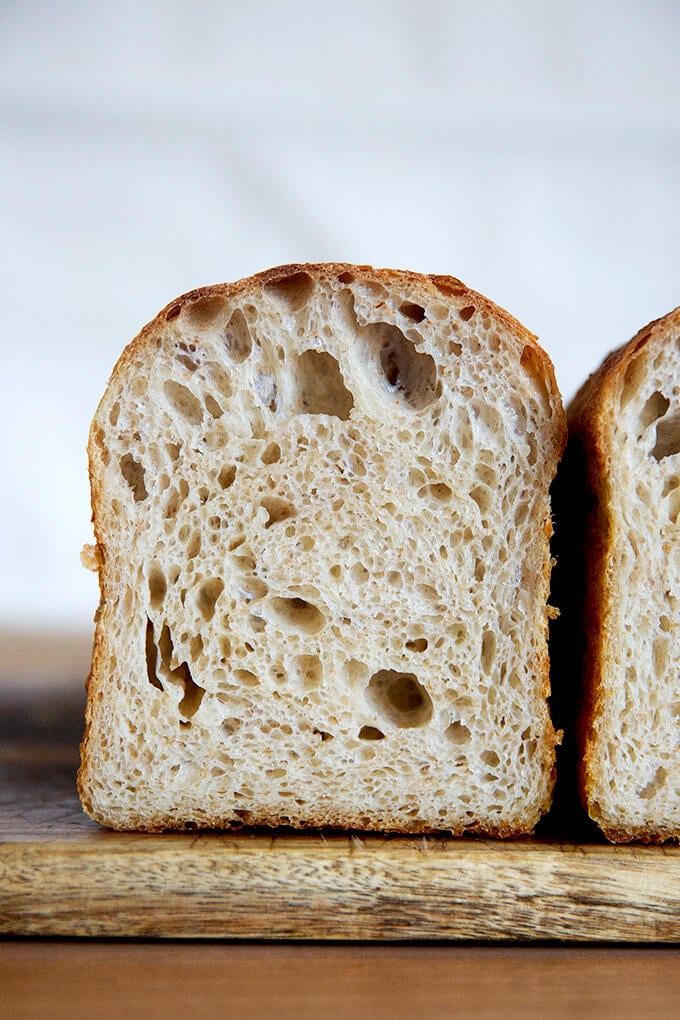
This 4-ingredient sourdough sandwich bread requires no complicated shaping, no scoring, and no preheated heavy Dutch oven. Grab your mixing bowl, pull out a spatula, and butter your loaf pan. This one is simple and delicious!
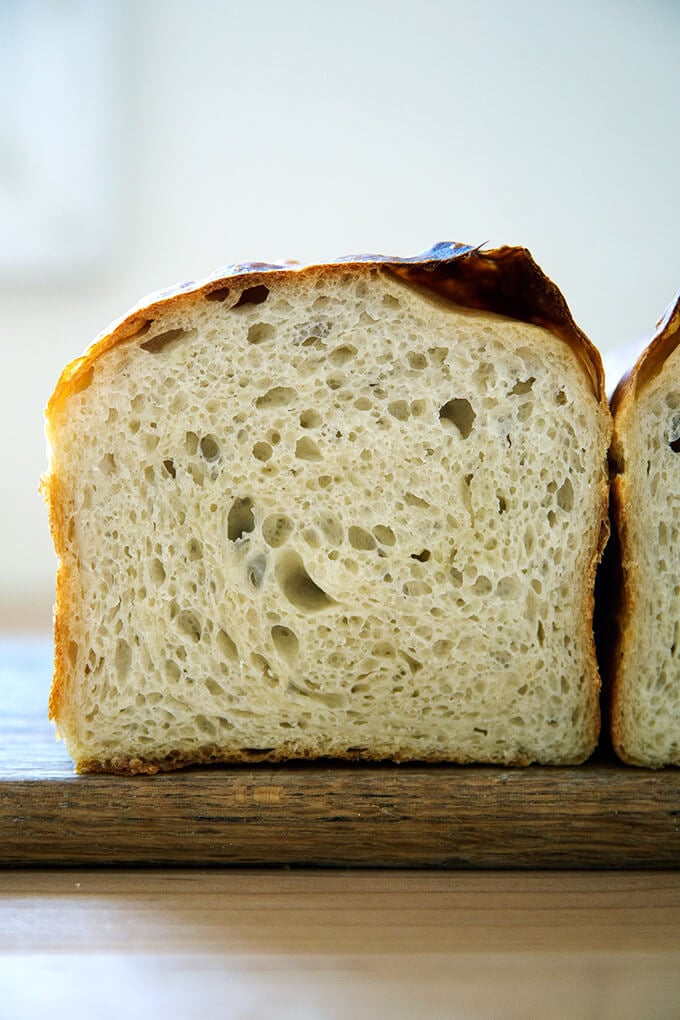
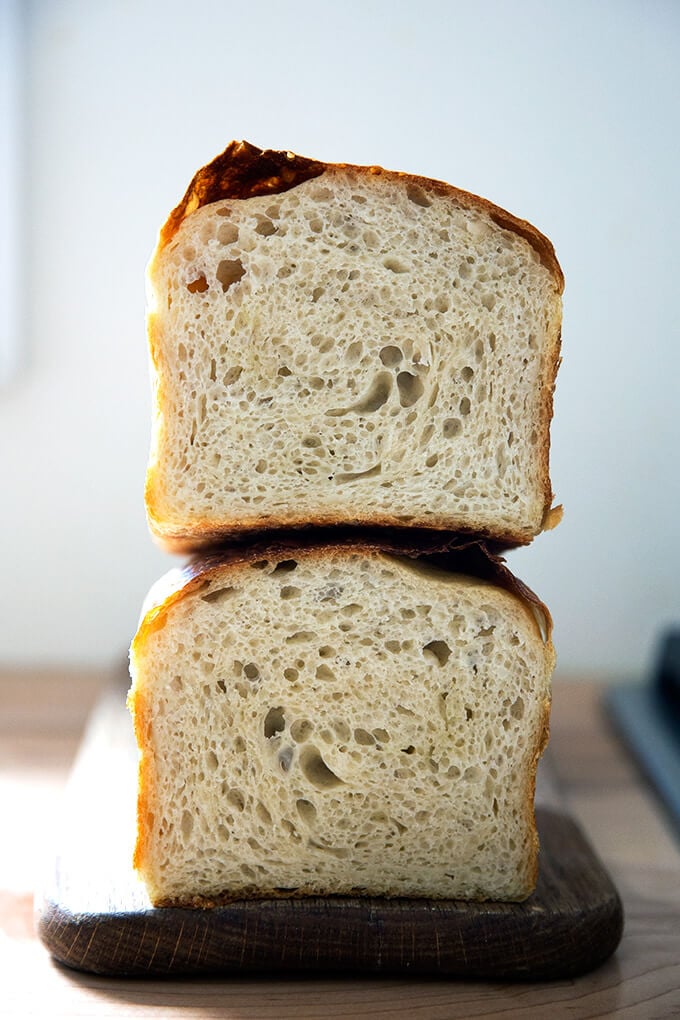
As its name suggests, this sourdough sandwich bread recipe is easy, a simple mix of flour, water, salt, and sourdough starter. In sum, it’s an adaptation of my mother’s peasant bread recipe with the sugar and yeast omitted and sourdough starter added. Like this sourdough focaccia , the dough is high-hydration, which yields a soft crumb, perfect for sandwiches when freshly baked and excellent for toast, too.
In the world of sourdough bread baking, crusty boules , open-crumbed rolls , and pillowy focaccia get all the glory. But I would argue a simple sandwich loaf deserves just as much praise, if not more, not only for its ease in assembly, but also its utility.
Find step-by-step instructions as well as video guidance below.
PS: How to Build a Sourdough Strater from Scratch
PPS: How to Activate, Feed, and Maintain A Sourdough Starter
How to Make Sourdough Sandwich Bread, Step by Step
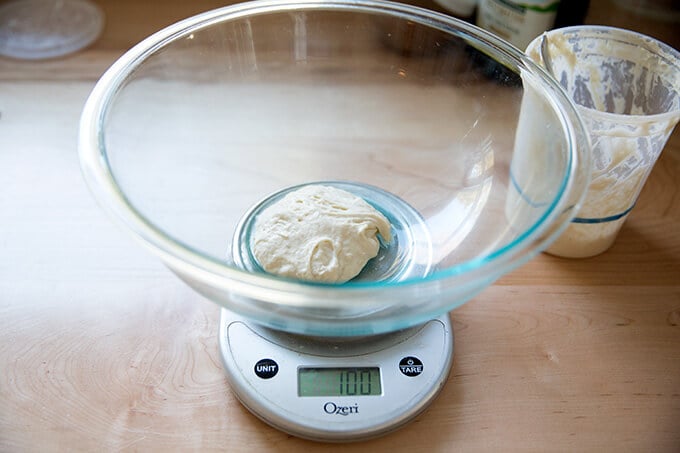
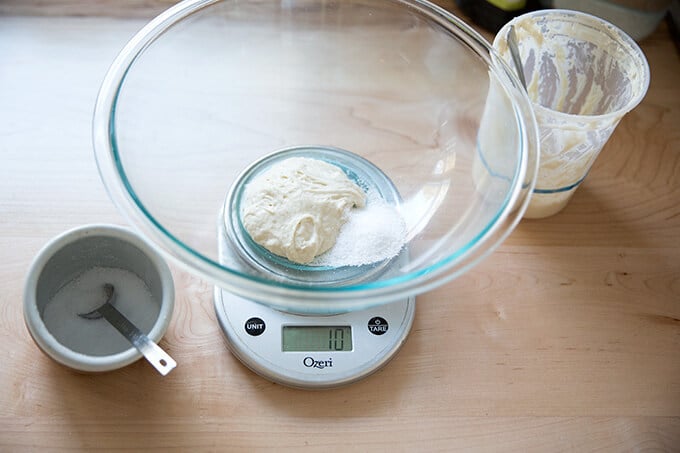
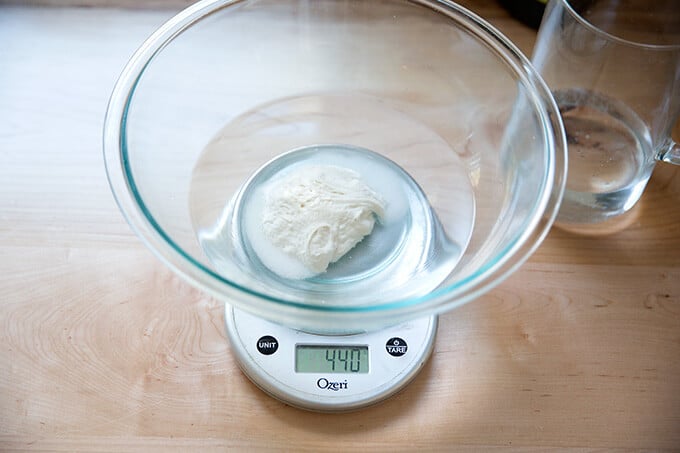
First, place 100 grams of starter in a large bowl. As always, for best results, please use a digital scale to measure.
Add 10 grams of salt.
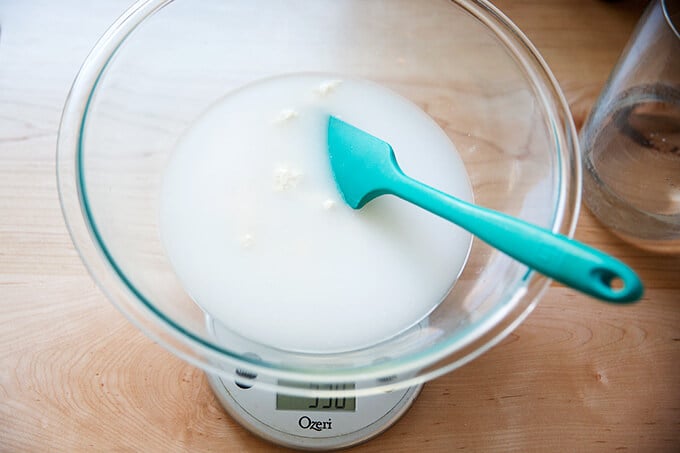
Add 430 grams of water. (You may need to use less water: see recipe box for notes.)
Stir to combine.
Then add 512 grams of bread flour.
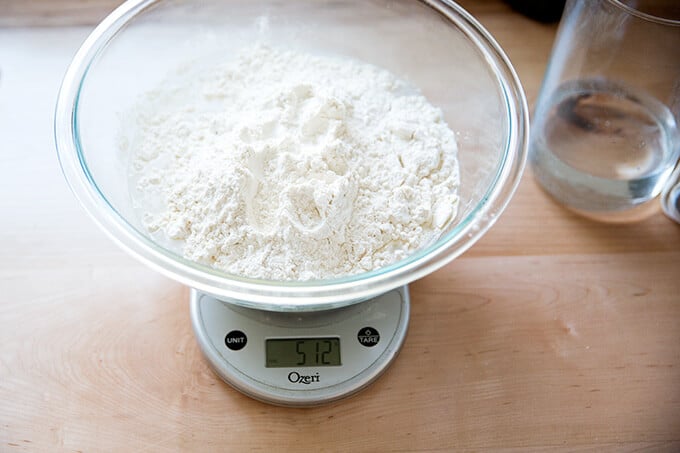
Stir to form a sticky dough ball.
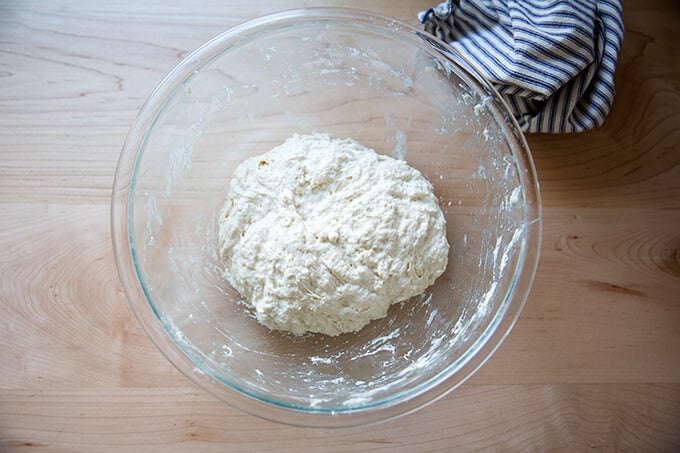
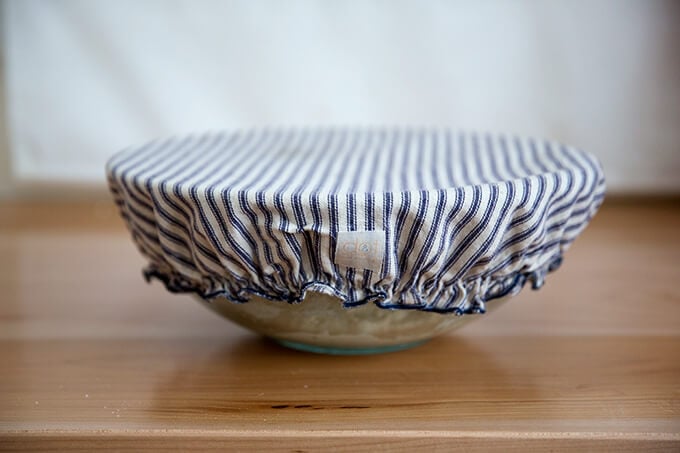
Cover with a towel or cloth bowl cover or, preferably, a lidded vessel , and let rest for 30 minutes.
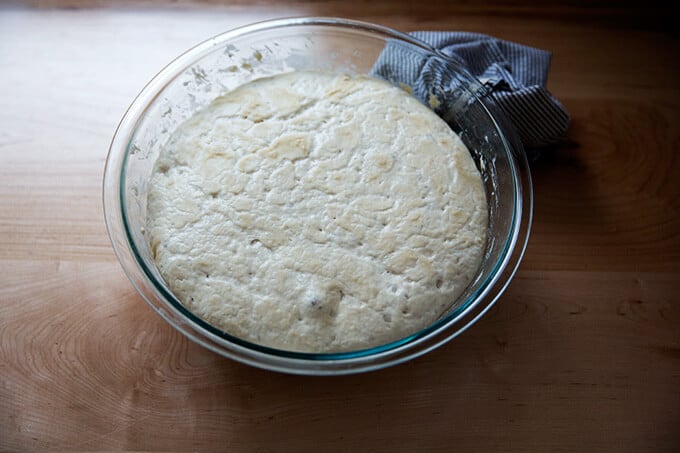
Then, perform a series of stretches and folds. See video for guidance (skip ahead to 1:13). Repeat this 3 more times for a total of 4 sets of stretches and folds during the first two hours. Then, let rise for 6 to 18 hours* (see recipe notes) at room temperature:
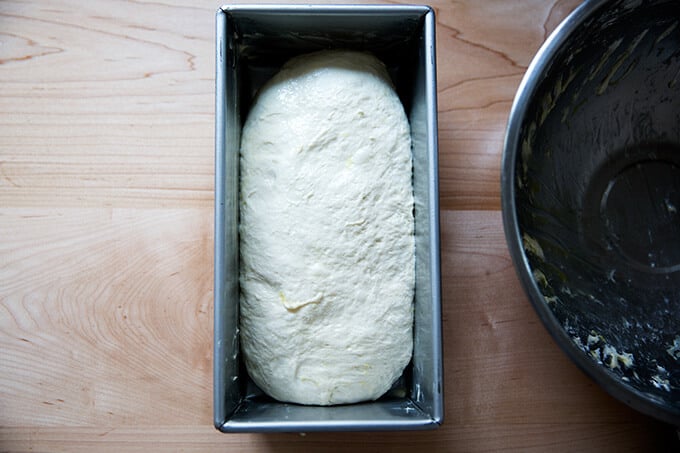
Drizzle the surface of the dough with a little bit of olive oil; then fold the dough inwards from the sides to deflate.
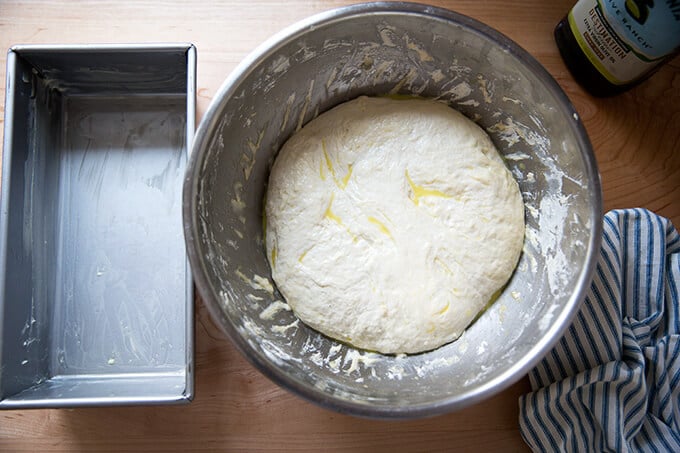
Transfer the dough to a large, buttered loaf pan. I use this 10 x 5-inch loaf pan but a 9×5-inch loaf pan will also work.
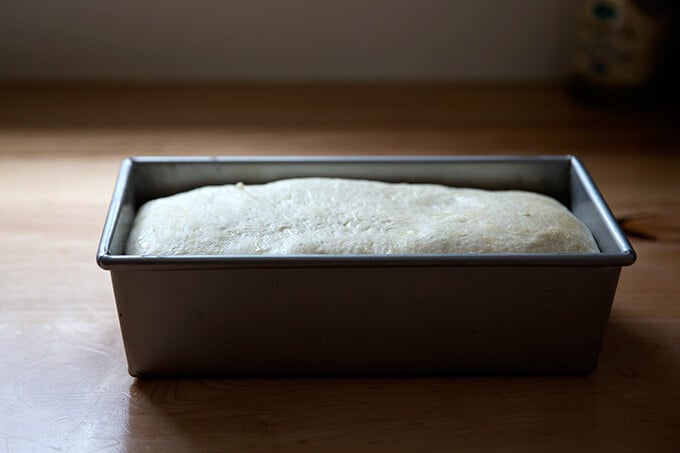
Let the dough rise just until it begins to crown the rim of the pan, about 6 hours.
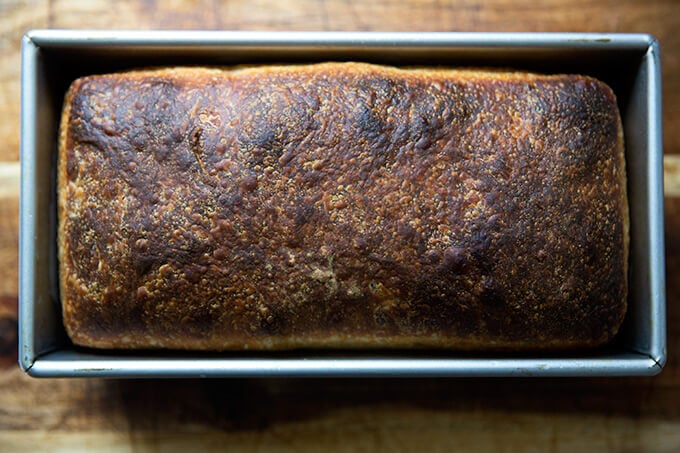
Bake for about 45 minutes or until golden brown all around.
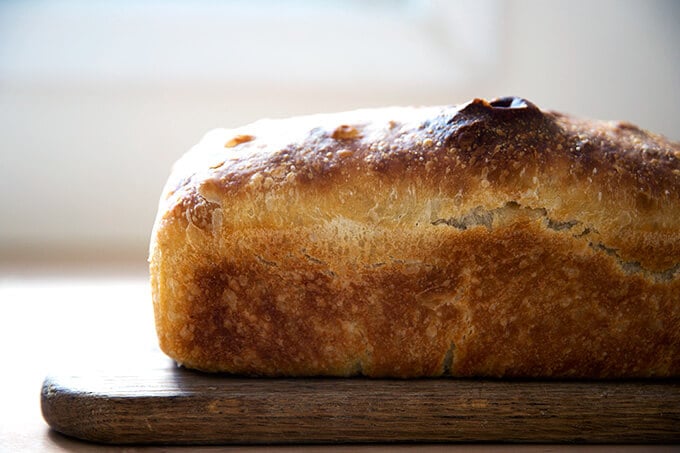
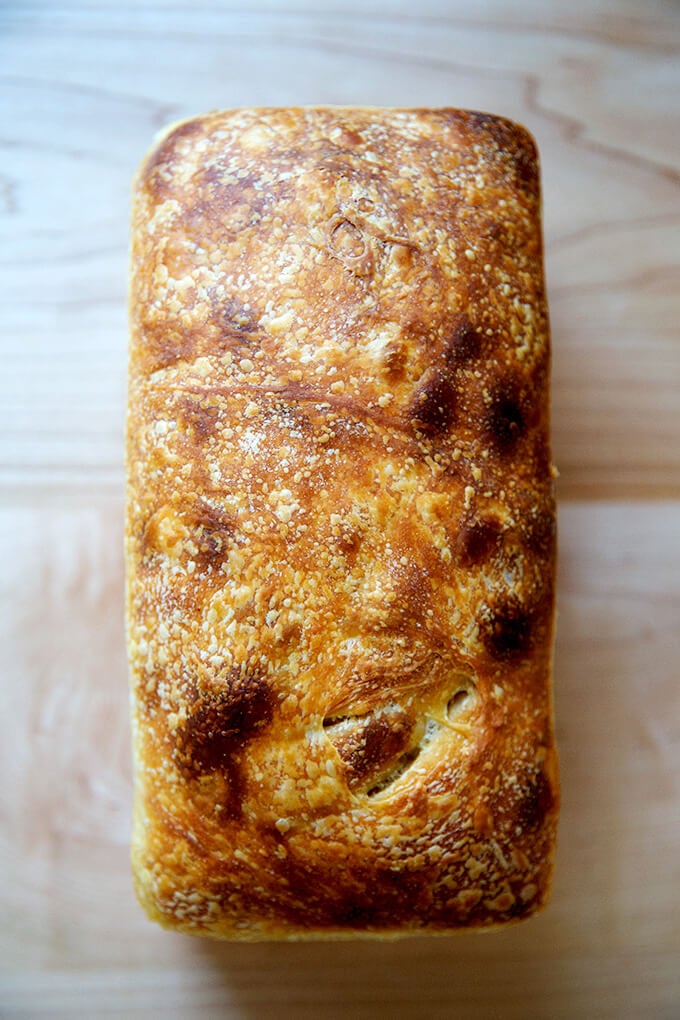
Let cool for at least 30 minutes before slicing.
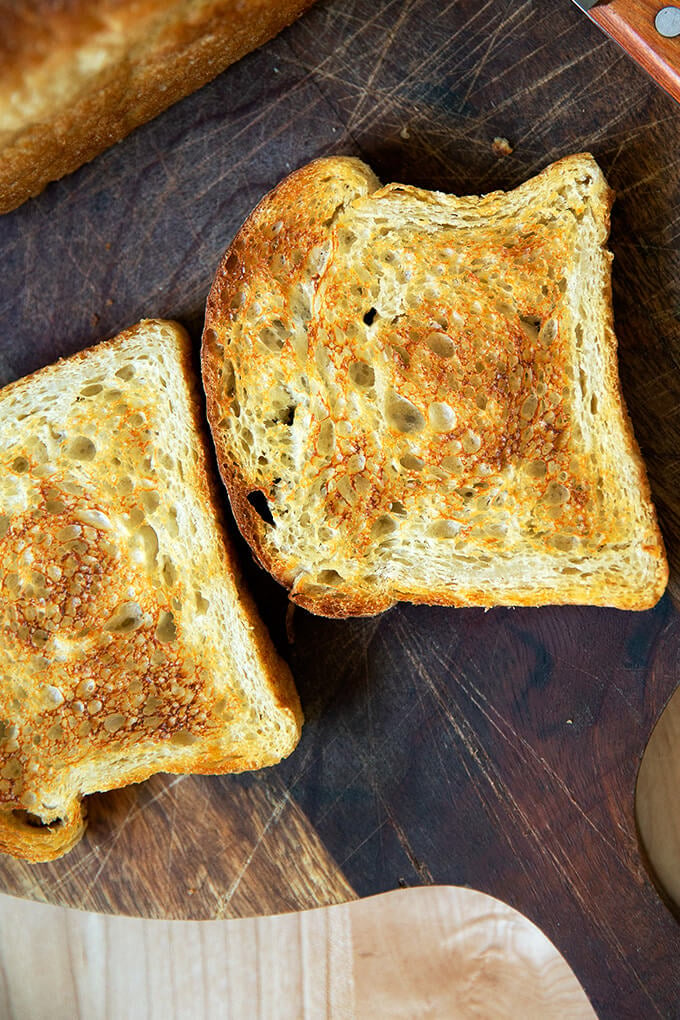
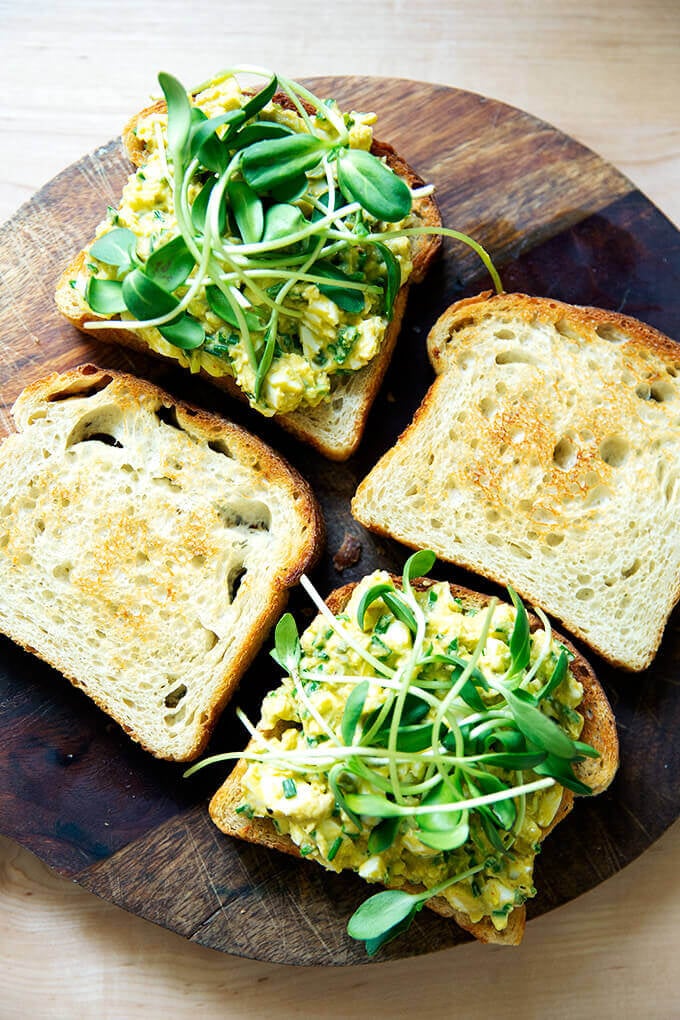
It makes excellent toast, too.
I love this tall-sided pullman loaf pan, too:
Description
This easy sourdough sandwich bread requires no complicated shaping, no scoring, and no preheated heavy Dutch oven. Grab your mixing bowl, pull out a spatula, and butter your loaf pan. This one is simple and delicious!
Notes:
Pan: You’ll need either a 10 x 5-inch loaf pan or a 9×5-inch loaf pan .
Troubleshooting: If you have issues with your dough being too sticky, please read this post: Why is my sourdough so sticky? The 4 common mistakes.
If you’re just getting started with sourdough, check out this post first . You’ll find tips there on procuring a starter as well as how to feed it and maintain it. If you’re up for making your starter from scratch , you can do so in just about 1 week.
Water: Chlorine in water can adversely affect sourdough. Leaving water at room temperature for 24 hours will allow most of the chlorine to escape. When I am in the habit of making sourdough bread, I fill a large pitcher with water and leave it out at room temperature. I use this for my sourdough breads and starter. Truth be told, I’ve used water straight from the tap and have not noticed a difference.
Water quantity: Also, depending on where you live and the time of year, you may need to cut the water back. If you live in a humid environment, for instance, I would suggest starting with 400 g or 420 g water. If you are not using bread flour, you also may need to cut the water back a bit. So much success with sourdough relies on getting the water quantity right.
Starter: I use a 100% hydration starter, meaning it is equal parts by weight flour and water. If you need guidance on how to maintain a starter, see this post.
- 100 grams (about 1/2 cup ) active starter, see notes above
- 10 grams (about 2.5 teaspoons ) kosher salt
- 430 grams water (or less, see notes above), room temperature
- 512 grams ( 4 cups ) bread flour, such as King Arthur Flour
- a few tablespoons extra-virgin olive oil
- room temperature butter, for greasing
- Mix the dough: Place the starter, salt, and water in a large bowl. Stir with a spatula to combine — it doesn’t have to be uniformly mixed. Add the flour. Mix again until the flour is completely incorporated. If you have a straight-sided vessel , transfer the dough to it — it really helps monitor the rise and allows you to see the true growth in volume of the dough.
- Perform one (or more) “stretches and folds” : 30 minutes after you mix the dough, reach into the bowl and pull the dough up and into the center. Turn the bowl quarter turns and continue this pulling 8 to 10 times. See video for guidance. If time permits, repeat this “folding” step every 30 minutes for the first two hours. (Note: even if you perform just 1 fold, your dough will be in good shape.)
- Let it rise. Drizzle with a splash of olive oil and rub to coat. Cover bowl with a tea towel, bowl cover, or a lidded vessel , and set aside to rise at room temperature (70ºF/21ºC) for 4 to 18 hours — if it is super hot out or if you live in a humid environment, it may only take 4-6 hours. When the dough has nearly doubled in volume (or UPDATE: increased in volume by 50%, which is when I now end the bulk fermentation), it is ready. ( Note: Do not use an oven with the light on for the bulk fermentation — it will be too warm. It is best to rely on visual cues (increasing in volume by 50% or doubling if you’ve had success with doubling) as opposed to time to determine when the bulk fermentation is done. A straight-sided vessel makes monitoring the bulk fermentation especially easy. )
- Prepare the pan. When the dough has nearly doubled, grease a 9×5-inch loaf pan or 10 x 5-inch loaf pan with butter (or nonstick spray).
- Let it proof. Drizzle dough with a few tablespoons of olive oil. Rub your hands with a little bit of oil to coat. Use your hand to release the dough from the sides of the vessel, being careful not to completely deflate the dough. Video guidance here . Turn the dough out onto a work surface. Quickly, shape the dough into a rectangle — fold the dough envelope-style first; then use a bench scraper to shape the dough into a rough rectangle. Transfer dough, seam-side down to prepared loaf pan and gently stretch into an oblong shape. (At this point, you can transfer the pan to the fridge if it makes sense with your schedule: rub the dough with oil and cover with plastic wrap, or tuck the whole pan into a 2-gallon ziptop bag). Transfer to the fridge till the next day. Then proceed with the recipe.) Leave the pan alone for 5 to 6 hours or until the dough begins reaching the rim of the pan — this may take less time when it is very warm out. Do be patient with this second rise: to get good height, the dough should be near the rim of the pan before you transfer it to the oven.
- Bake it. Heat oven to 425ºF. Transfer the pan to the oven and bake for about 20 minutes. Reduce heat to 375ºF. Bake for 20 to 25 minutes more or until golden all around. If you have an instant read thermometer , it should register 206-210ºF or so before removing. Remove the pan from the oven and turn the bread out onto a cooling rack. Cool for at least 30 minutes before slicing.
- Prep Time: 24 hours
- Cook Time: 45 minutes
- Category: Bread
- Method: Sourdough/Natural Leavening
- Cuisine: American
