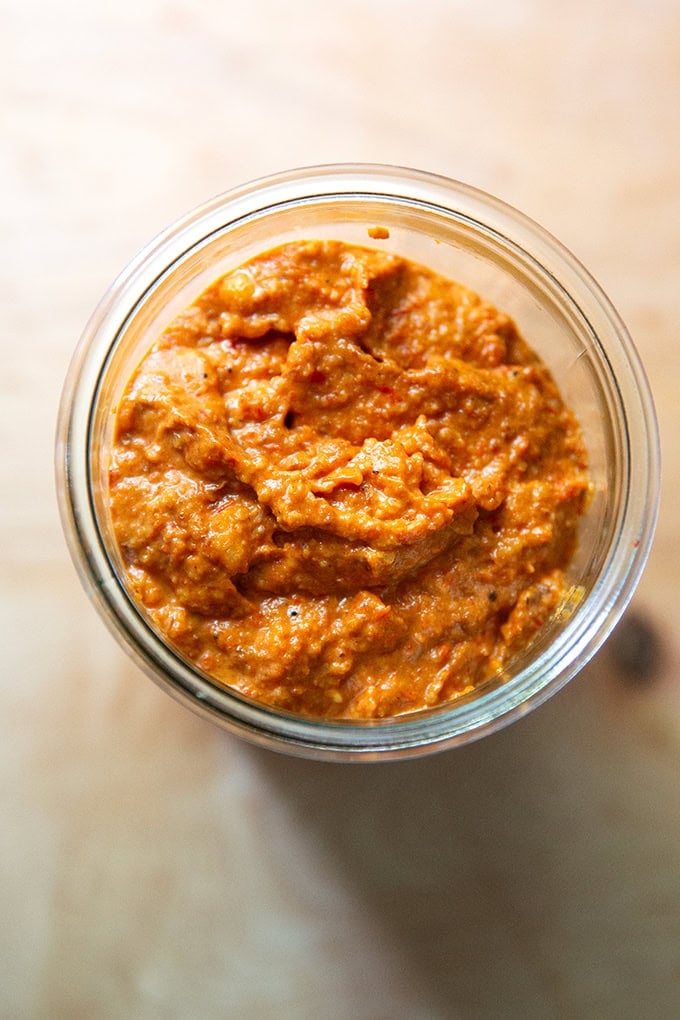
This homemade romesco sauce comes together in no time and is so incredibly flavorful. The beauty of this recipe is that you don’t peel the peppers — you roast them with the tomatoes and garlic; then you purée them with olive oil, vinegar, almonds, and spices. You will want to spread this smoky romesco sauce on everything!
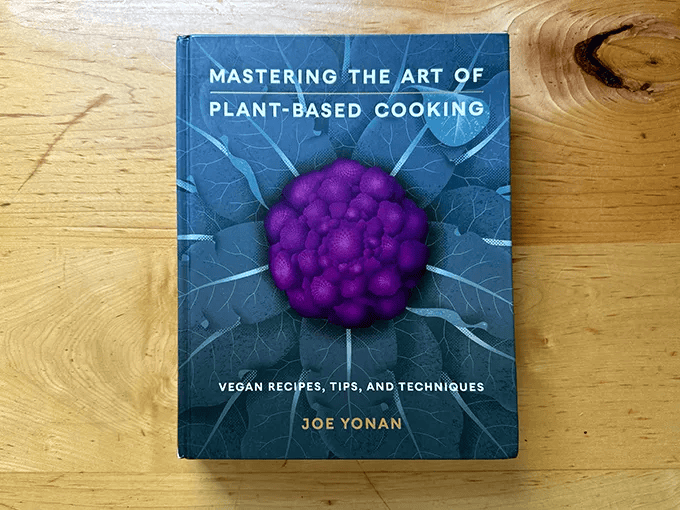
A few months ago I opened Joe Yonan’s latest book, Mastering the Art of Plant-Based Cooking , and was immediately struck by a recipe for romesco sauce. It called for placing all of the essential components — peppers, tomatoes, unpeeled garlic, stale bread, and almonds — on a sheet pan, roasting them all together; then puréeing them with smoked paprika, vinegar, and olive oil.
If you’ve made romesco sauce before, you know it often calls for roasting and peeling peppers first, a step that usually deters me from getting started. Joe’s method sounded so promising, so I gave it a go and was astounded by the ease in which the sauce came together as well as the flavor: smoky, bright, slightly sweet and with the loveliest texture thanks to the generous amount of almonds.
I loved not having to peel the peppers, and I loved how easily the roasted unpeeled cloves of garlic released from their skins after 15 minutes in the oven.
Second: I now omit the bread cubes. Out of stale bread on one occasion, I carried on without it, and I could not taste a difference in the finished sauce. I think this is because the toasted almonds provide so much by way of body, texture, and flavor. If you wish to add stale bread to this sauce, which is traditional, see the notes in the recipe card below.
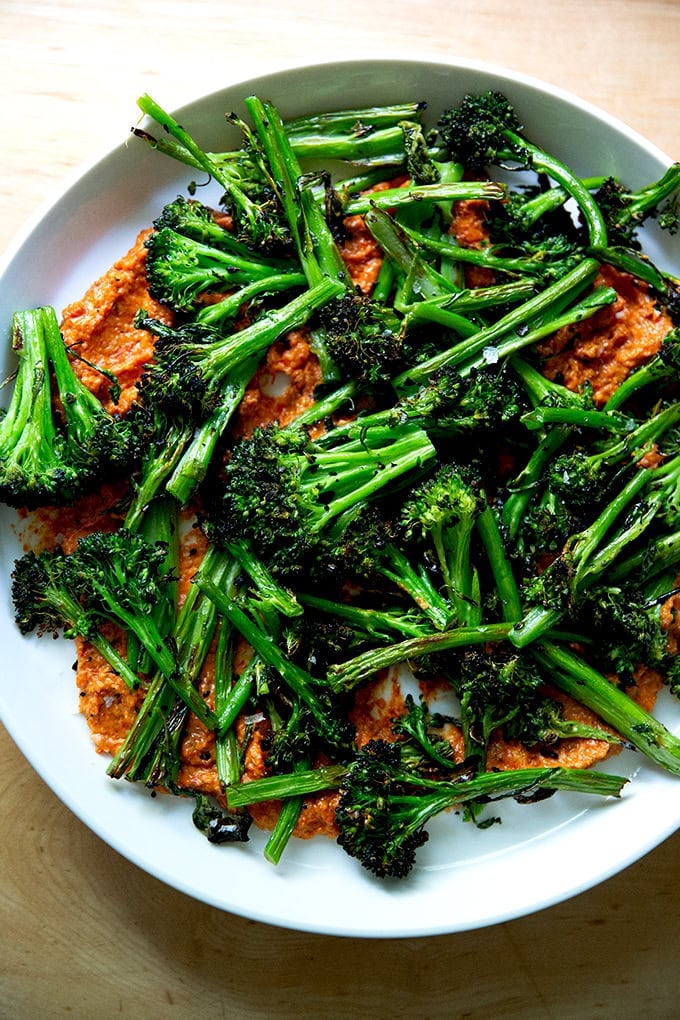
Friends, I can’t stop making this sauce! It is heavenly served as a dip with raw or blanched vegetables of all kinds — carrots, snap peas, bell peppers, radishes — but my favorite way to use it is as such: spread it over a platter and tumble charred vegetables over the top. Broiled broccolini is my favorite:
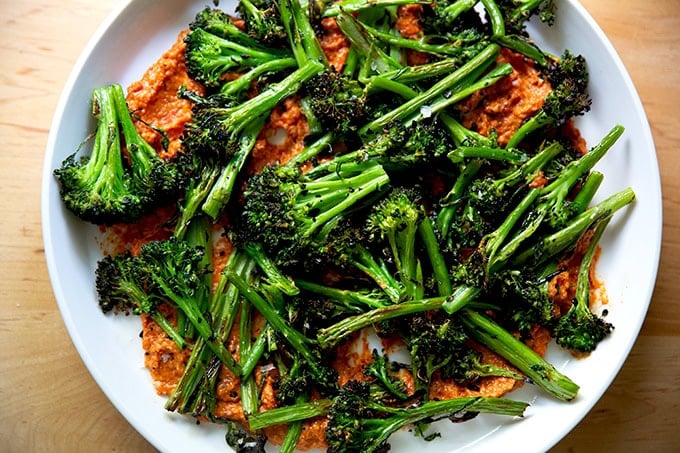
You’ll find instructions for both the broccolini and romesco below. I can’t wait for you to make it!
Joe Yonan’s latest book: Mastering the Art of Plant-Based Cooking
Homemade Romesco Sauce, Step by Step
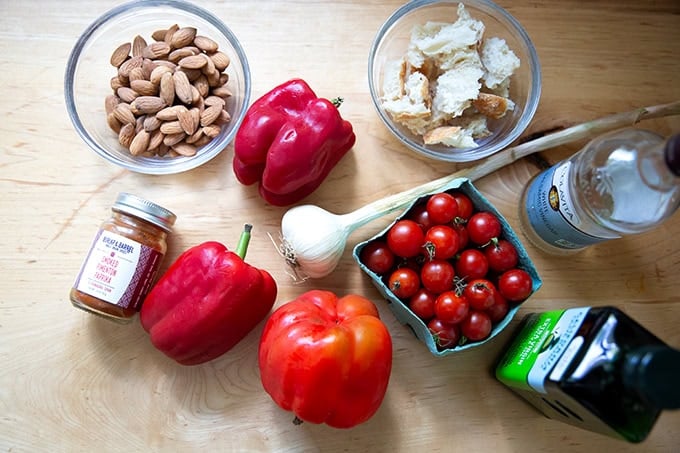
Gather your ingredients: almonds, peppers, garlic, tomatoes, smoked paprika, olive oil, vinegar, and stale bread (optional… I now omit).
Chop the peppers and place them on a sheet pan with tomatoes, unpeeled but lightly smashed garlic, and the bread cubes (if using).
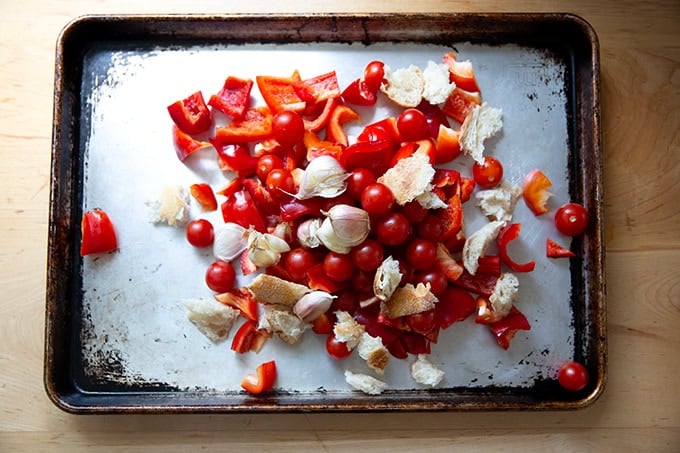
Toss with olive oil and salt…
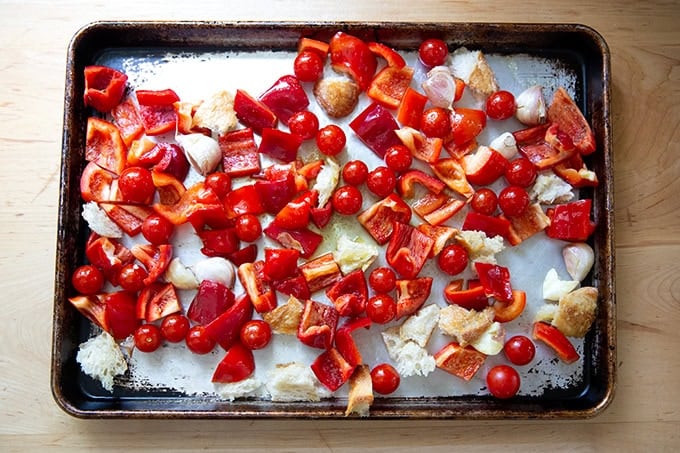
… then roast for 15 minutes at 500ºF.
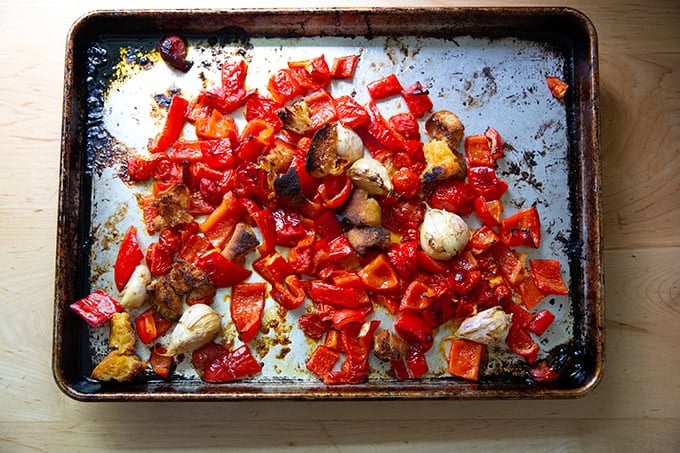
Peel the cloves of garlic — the skins will slip right off.

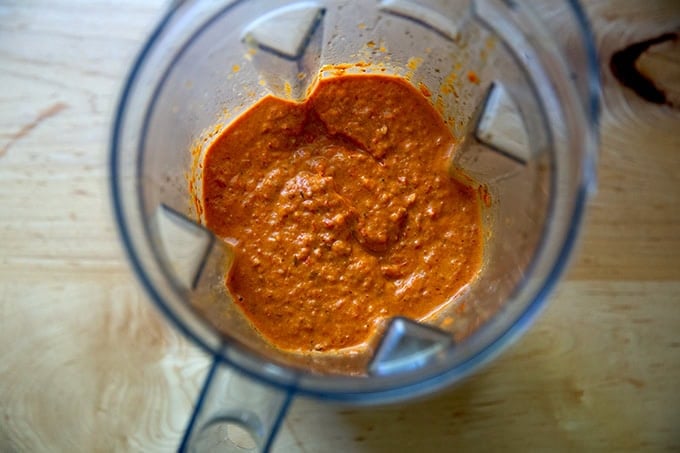
Then place everything into a blender with toasted almonds, smoked paprika, olive oil, vinegar, and salt.
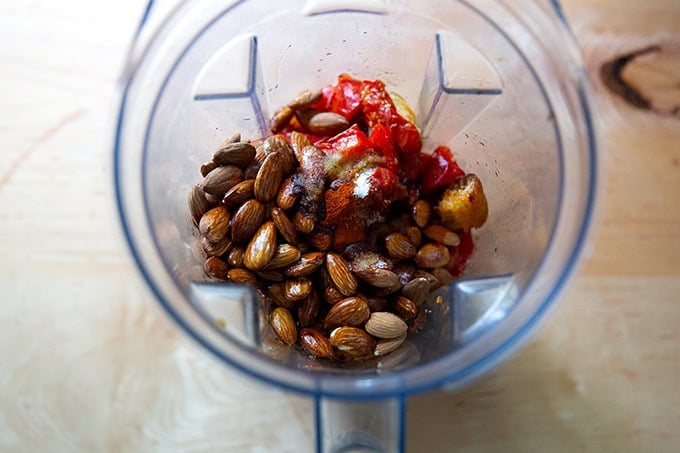
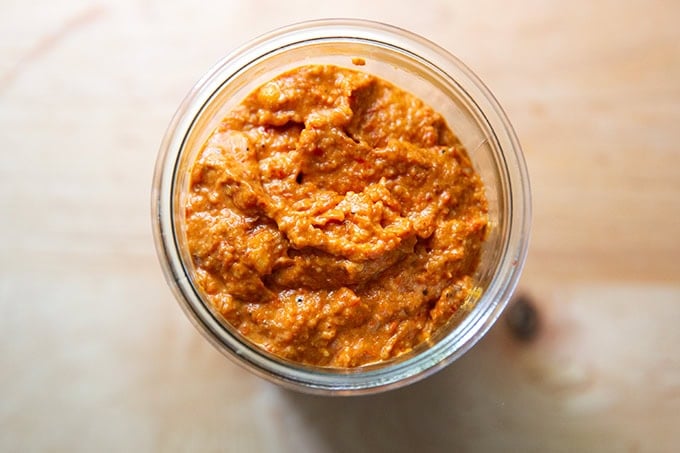
Purée until blended with a lightly coarse texture.
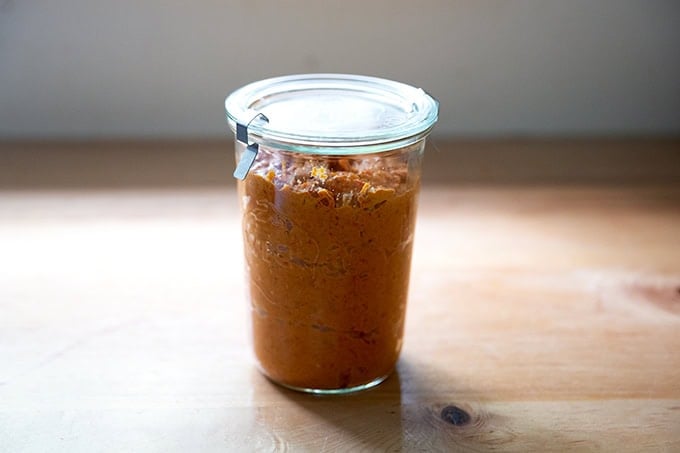
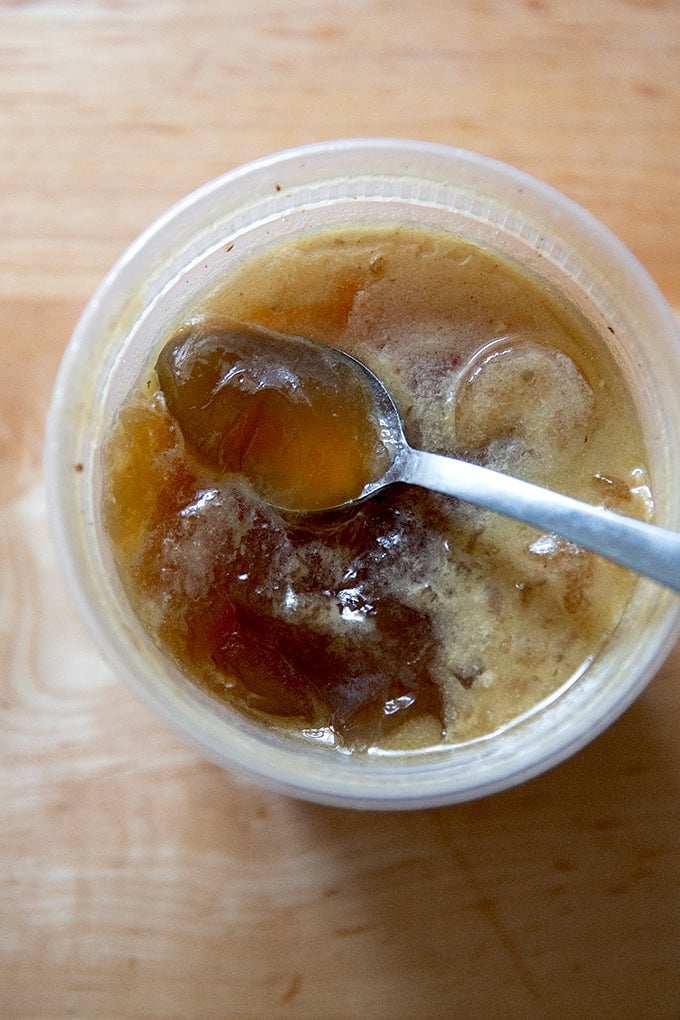
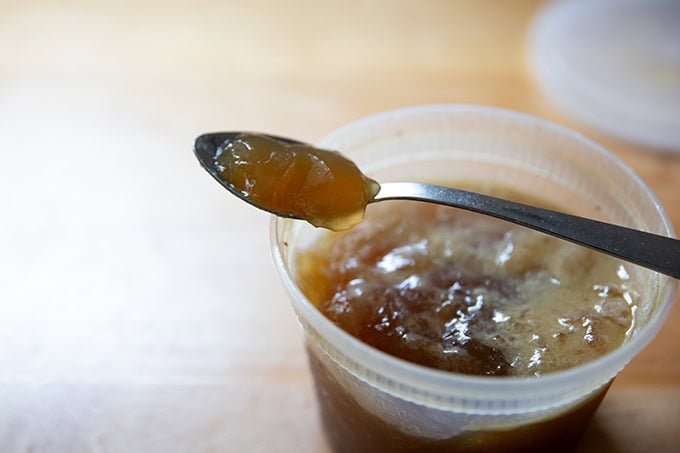
Transfer to a jar and store in the fridge for up to two weeks.
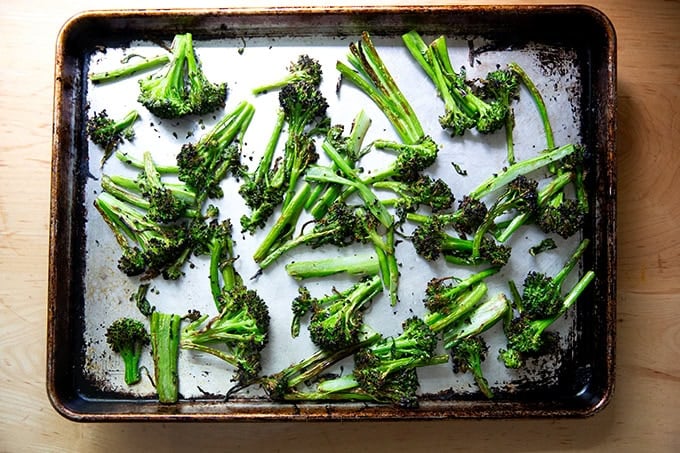
A favorite way to eat it: Place 1 pound of chopped broccolini on a sheet pan. Dress with 2 tablespoons of extra-virgin olive oil and 1 teaspoon of kosher salt (Diamond Crystal). Toss to combine then spread into an even layer.
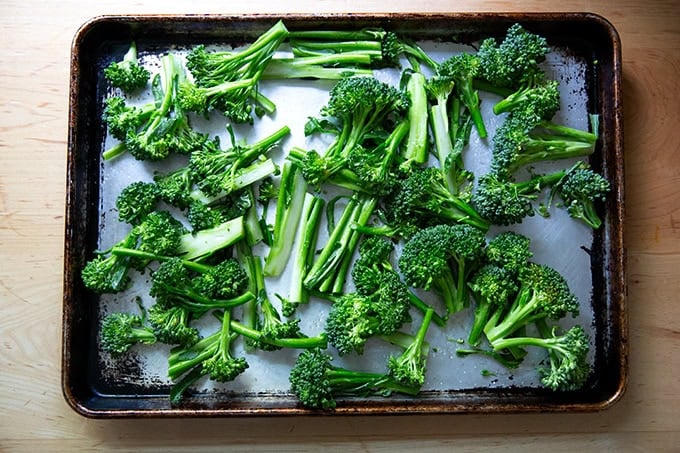
Broil for 5 to 6 minutes, checking every two minutes, until charred to your liking.
Tumble the broccolini onto a platter spread with romesco. Drizzle with a little more olive oil and season with a pinch of flaky sea salt if you wish.
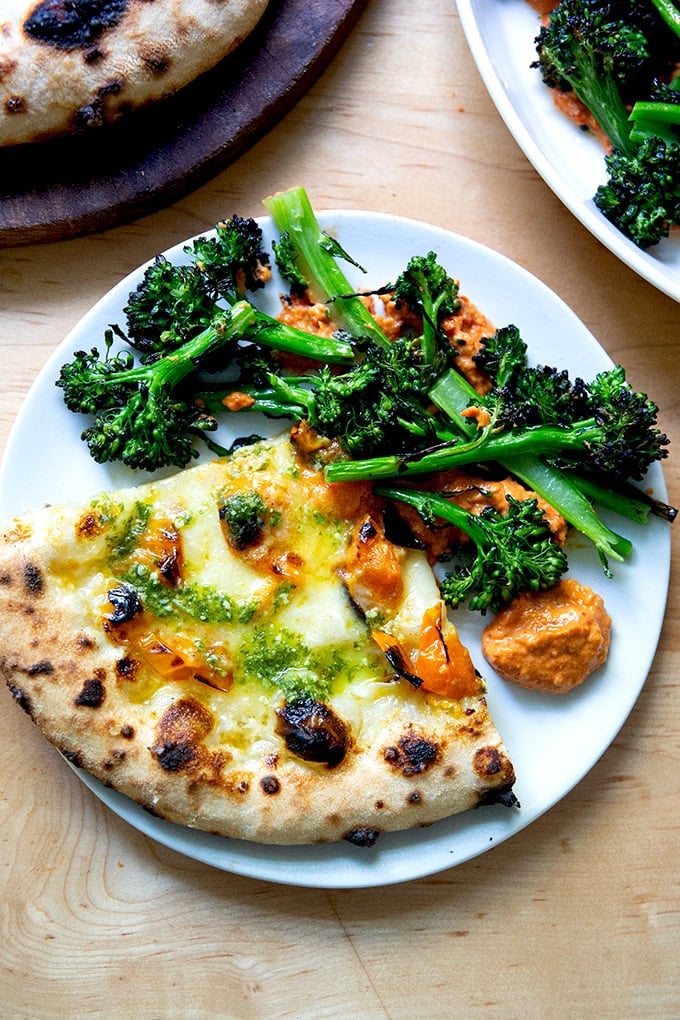
This has been my choice side dish for my pizza nights of late.
Description
Notes:
The original recipe calls for roasting everything — the peppers, tomatoes, bread cubes, garlic, and almonds — at 500ºF for 15 minutes. This method works — I’ve made it like this multiple times successfully — but on one or two occasions, I have found it to be a little less forgiving: sometimes my almonds got too toasted as did my bread cubes.
I’ve found that toasting the almonds in a skillet stovetop over low heat while the other ingredients roast is just as simple and allows me to get a little more char on the peppers and tomatoes in the oven. I often roast them for 20 minutes total.
Also, I now omit the bread cubes. This is for a few reasons, first, because, as noted, I found the bread often chars a bit too much during the 15 minutes, but mostly because I don’t feel the bread crumbs add anything. I cannot taste a difference between a romesco made with toasted bread and one made without. I think this is because the almonds provide so much by way of body, texture, and flavor. If you wish to add bread cubes to this, which is traditional for romesco, do so. To the sheet pan of vegetables add:
- 1 cup lightly packed (56 g) bread cubes
A Few More Notes:
Vinegar: Sherry vinegar is traditional here, but it can be overpowering. If you want to use it, I’d suggest starting with 1 tablespoon and then using a milder vinegar for the other few tablespoons.
Salt : I use Diamond Crystal kosher salt. If you use Morton or fine sea salt, you’ll need half as much by volume.
Heat: If you like a little heat, add ½ teaspoon cayenne, or to taste.
To make the charred broccolini: Place 1 pound of chopped broccolini on a sheet pan. Dress with 2 tablespoons of extra-virgin olive oil and 1 teaspoon of kosher salt (Diamond Crystal). Toss to combine then spread into an even layer. Broil for 5 to 6 minutes, checking every two minutes, until charred to your liking. Drizzle with a little more olive oil and season with a pinch of flaky sea salt if you wish.
- 1 cup (142 g) raw almonds
- 3 large bell peppers (1.25 lbs), cut into 2 -inch chunks
- 8 ounces cherry tomatoes or 2 large tomatoes
- 6 garlic cloves, unpeeled and lightly smashed
- ¼ cup extra-virgin olive oil, plus 1/3 cup for blending
- kosher salt or fine sea salt, see notes above
- 2 teaspoons smoked paprika
- 3 to 4 tablespoons white balsamic vinegar, plus more to taste, see notes above
- Preheat the oven to 500ºF.
- Place the almonds in a small skillet and set on the stovetop over low heat.
- On a sheet pan, toss together the peppers, tomatoes, garlic cloves, 1/4 cup olive oil, and 1 1/2 teaspoon kosher salt (Diamond Crystal, see notes above). Roast for 15 minutes, stirring halfway, or until the mixture browns in spots. Often I roast for 20 minutes total. Let cool slightly.
- Extract the garlic cloves and peel them. Then add the contents of the sheet pan plus the garlic to a food processor or blender. Add the smoked paprika, almonds, another 1 1/2 teaspoons kosher salt (Diamond Crystal, see notes above), 1/3 cup extra-virgin olive oil, and 3 tablespoons of vinegar. Purée until mostly smooth with a little chunky texture. Taste and season with more salt and/or vinegar if needed: I often add another 1/2 teaspoon of kosher salt as well as another tablespoon of vinegar.
- Drizzle with olive oil before serving.
- Prep Time: 10 minutes
- Cook Time: 20 minutes
- Category: Condiment
- Method: Oven, Blender
- Cuisine: Spanish, American
Description
Notes:
The original recipe calls for roasting everything — the peppers, tomatoes, bread cubes, garlic, and almonds — at 500ºF for 15 minutes. This method works — I’ve made it like this multiple times successfully — but on one or two occasions, I have found it to be a little less forgiving: sometimes my almonds got too toasted as did my bread cubes.
I’ve found that toasting the almonds in a skillet stovetop over low heat while the other ingredients roast is just as simple and allows me to get a little more char on the peppers and tomatoes in the oven. I often roast them for 20 minutes total.
Also, I now omit the bread cubes. This is for a few reasons, first, because, as noted, I found the bread often chars a bit too much during the 15 minutes, but mostly because I don’t feel the bread crumbs add anything. I cannot taste a difference between a romesco made with toasted bread and one made without. I think this is because the almonds provide so much by way of body, texture, and flavor. If you wish to add bread cubes to this, which is traditional for romesco, do so. To the sheet pan of vegetables add:
- 1 cup lightly packed (56 g) bread cubes
A Few More Notes:
Vinegar: Sherry vinegar is traditional here, but it can be overpowering. If you want to use it, I’d suggest starting with 1 tablespoon and then using a milder vinegar for the other few tablespoons.
Salt : I use Diamond Crystal kosher salt. If you use Morton or fine sea salt, you’ll need half as much by volume.
Heat: If you like a little heat, add ½ teaspoon cayenne, or to taste.
To make the charred broccolini: Place 1 pound of chopped broccolini on a sheet pan. Dress with 2 tablespoons of extra-virgin olive oil and 1 teaspoon of kosher salt (Diamond Crystal). Toss to combine then spread into an even layer. Broil for 5 to 6 minutes, checking every two minutes, until charred to your liking. Drizzle with a little more olive oil and season with a pinch of flaky sea salt if you wish.
- 1 cup (142 g) raw almonds
- 3 large bell peppers (1.25 lbs), cut into 2 -inch chunks
- 8 ounces cherry tomatoes or 2 large tomatoes
- 6 garlic cloves, unpeeled and lightly smashed
- ¼ cup extra-virgin olive oil, plus 1/3 cup for blending
- kosher salt or fine sea salt, see notes above
- 2 teaspoons smoked paprika
- 3 to 4 tablespoons white balsamic vinegar, plus more to taste, see notes above
- Preheat the oven to 500ºF.
- Place the almonds in a small skillet and set on the stovetop over low heat.
- On a sheet pan, toss together the peppers, tomatoes, garlic cloves, 1/4 cup olive oil, and 1 1/2 teaspoon kosher salt (Diamond Crystal, see notes above). Roast for 15 minutes, stirring halfway, or until the mixture browns in spots. Often I roast for 20 minutes total. Let cool slightly.
- Extract the garlic cloves and peel them. Then add the contents of the sheet pan plus the garlic to a food processor or blender. Add the smoked paprika, almonds, another 1 1/2 teaspoons kosher salt (Diamond Crystal, see notes above), 1/3 cup extra-virgin olive oil, and 3 tablespoons of vinegar. Purée until mostly smooth with a little chunky texture. Taste and season with more salt and/or vinegar if needed: I often add another 1/2 teaspoon of kosher salt as well as another tablespoon of vinegar.
- Drizzle with olive oil before serving.
- Prep Time: 10 minutes
- Cook Time: 20 minutes
- Category: Condiment
- Method: Blender, Oven
- Cuisine: Spanish, American
Find it online : https://alexandracooks.com/2024/10/06/easiest-homemade-romesco-sauce-no-peel-peppers/
Made with turkey wings, carrots, onions, and celery, this roasted turkey stock will give you 6+ quarts of rich, golden stock to have on hand for the holidays ahead. Use it immediately in your favorite stuffing, potato gratin, and gravy recipes, or store it in the freezer for up to 3 months.
Last year, after a many-year hiatus, I brought back Gourmet’s roasted turkey stock recipe . It was originally published in the October 2006 issue, which I still have somewhere, and I made it every Thanksgiving for many years. Why I stopped I do not know, but I’m so happy it’s back.
The recipe calls for roasting turkey wings (or drumsticks or thighs) followed by some vegetables (onions, carrots, celery), deglazing the pan to release the fond (see below), then transferring the contents to a pot, covering them with water, and simmering them for 3 hours. The exercise will make your house smell like Thanksgiving and, as you ladle your rich, golden, aromatic stock into storage vessels, you will feel so accomplished, so inspired, and so ready to tackle the holiday season ahead.
Last year I used this stock in my stuffing recipes ( this one and this one ), in my potatoes ( Alice Waters Potato Gratin and Hasselback Potato Gratin ), and in this gravy , all of which can be made ahead.
Why Roasted Turkey Stock is More Flavorful
In short because: browning = flavor and aroma. Let’s go deeper: the reason roasted turkey stock is more flavorful than a non-roasted stock comes down to two things: the Maillard reaction and fond.
The Maillard reaction, if you are unfamiliar, is a chemical reaction that occurs between proteins and sugars when food is cooked at high temperatures. You know and love foods that have undergone the Maillard reaction: think the edges of a seared steak, the crust of a loaf of sourdough , caramelized onions, etc.
In the context of roasted stock, the maillard reaction takes place when the turkey parts and vegetables roast in the oven. Moreover, this roasting creates a “fond”: a layer of concentrated juices and browned bits stuck to a pan. By deglazing the roasting pan and incorporating those browned bits into the stock, you are loading it with flavor compounds giving it incredible depth of flavor.
Roasted Turkey Stock, Step by Step
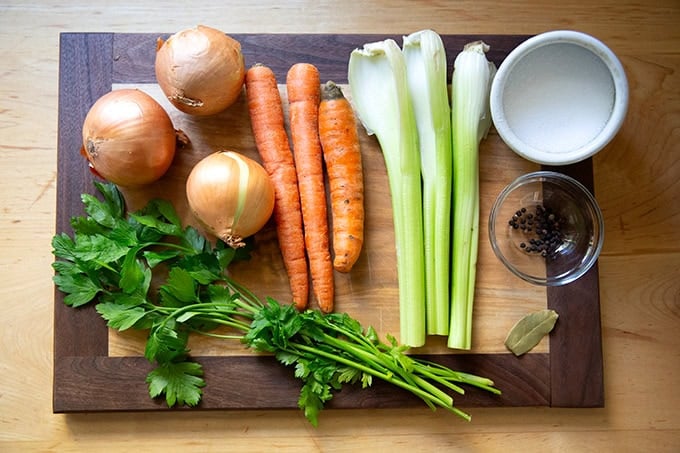
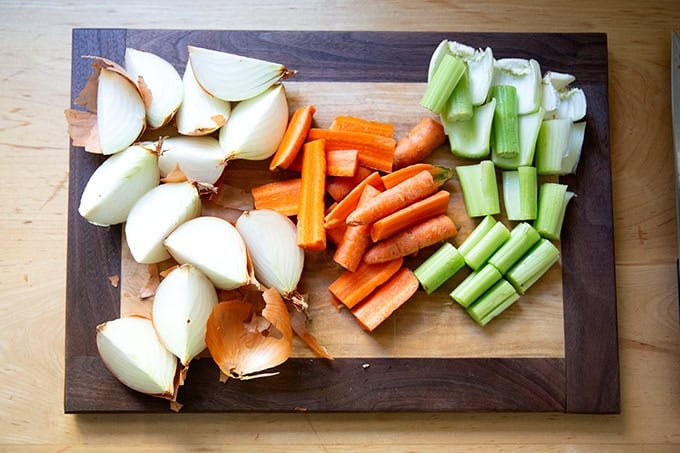
Gather your ingredients: carrots, onions, celery, parsley, a bay leaf, peppercorns, salt, and…
… turkey wings!
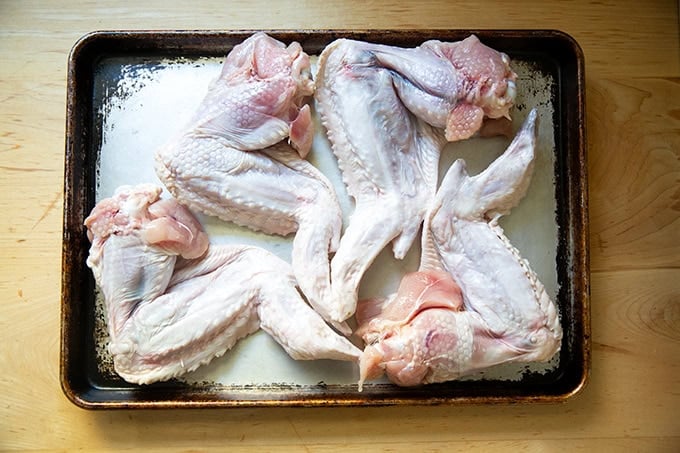
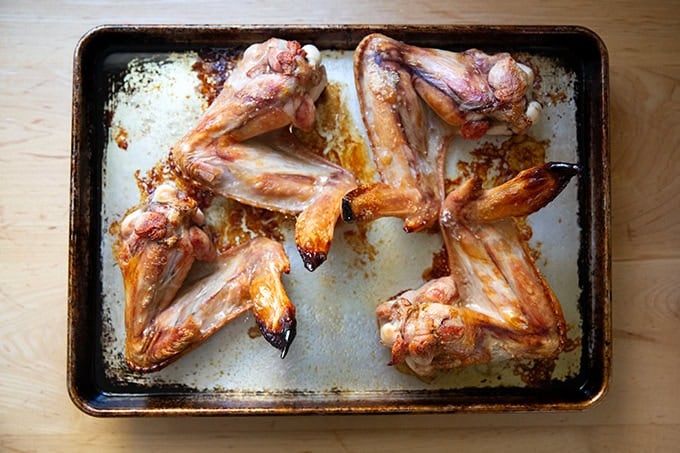
You’ll start by roasting the wings seasoned with salt at high heat:
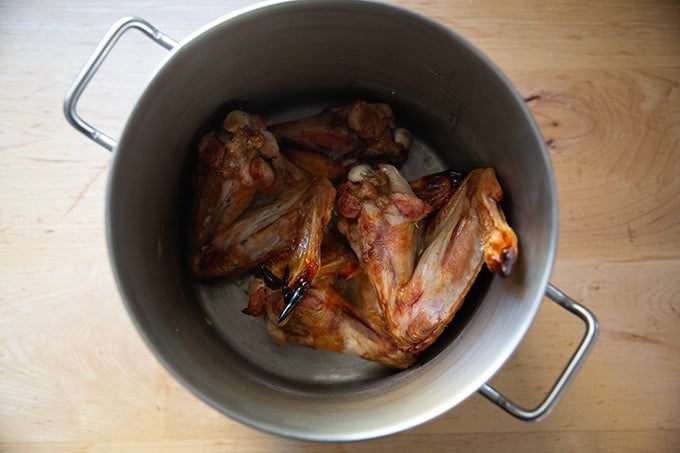
Then you’ll transfer them to a pot reserving your sheet pan:
To the sheet pan, add your chopped vegetables:
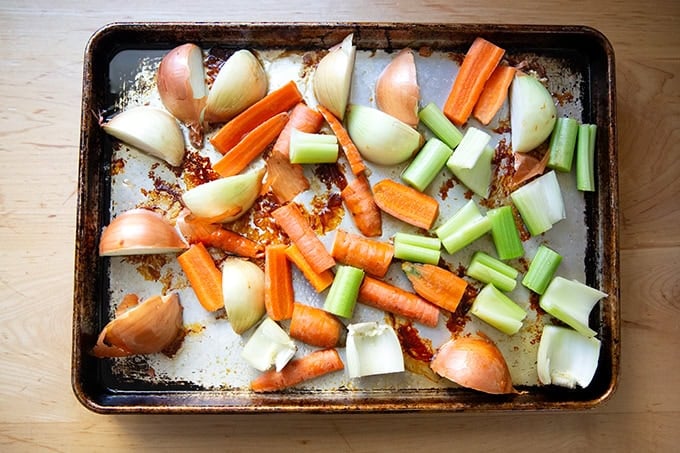
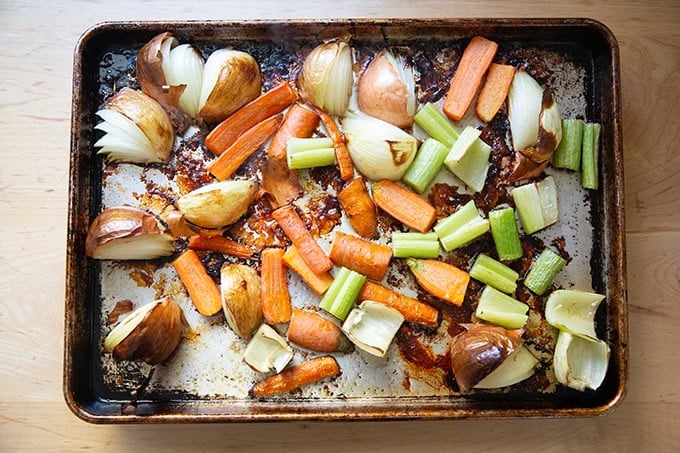
Then transfer them to the oven:
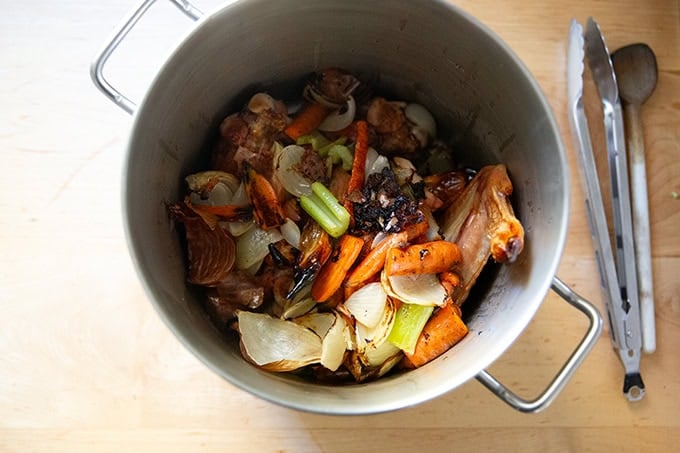
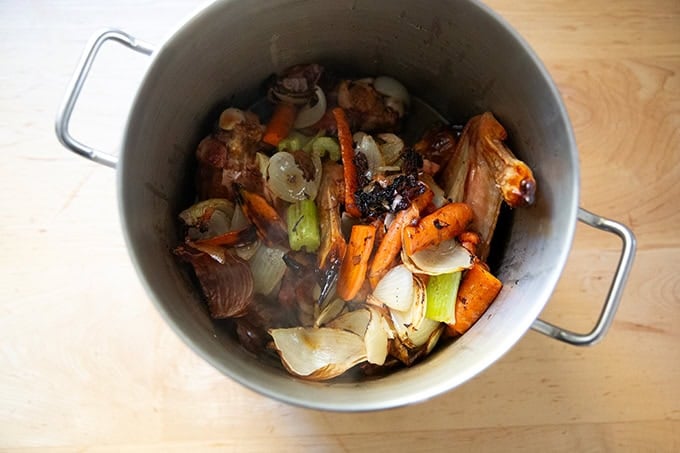
Add the vegetables to the pot:
Then straddle your sheet pan across two burners and add some water:
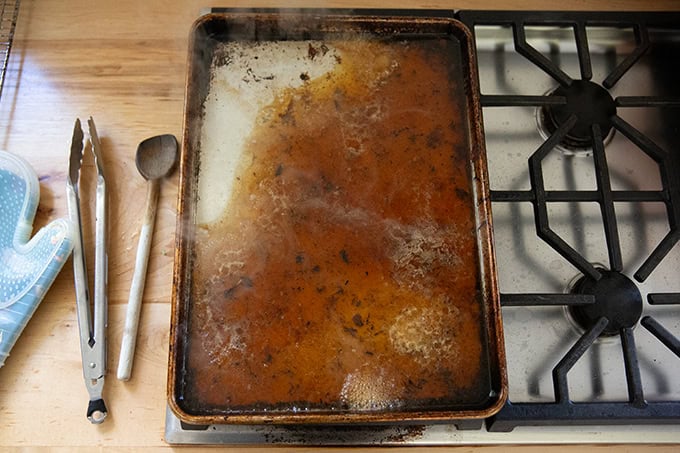
Use a wooden spoon to scrape up the fond and any stuck bits on the sheet pan; then transfer to the pot:
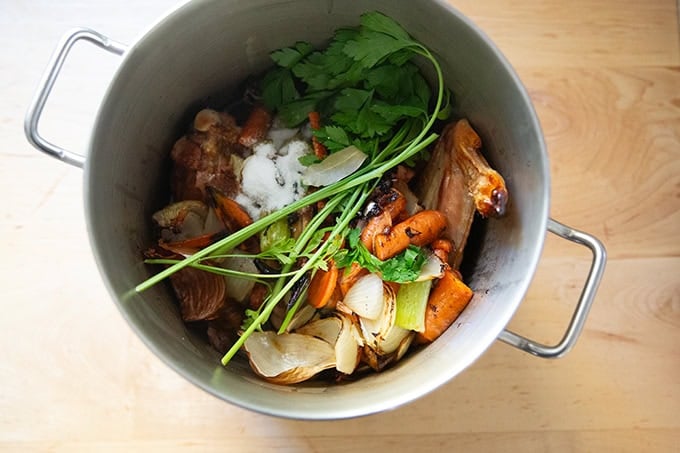
Add the parsley, bay leaf, salt, and peppercorns:
Then cover with 6 to 7 quarts of water depending on the size of your pot:
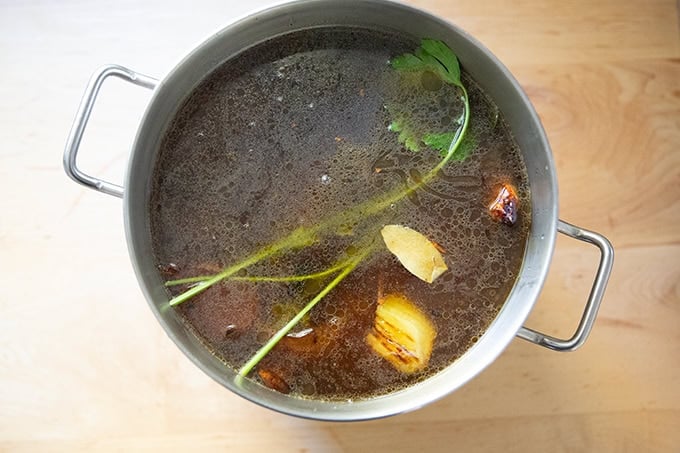
Transfer to your stovetop:
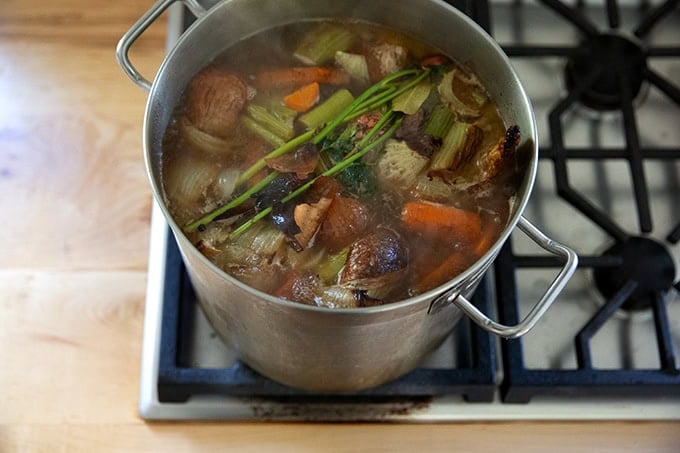
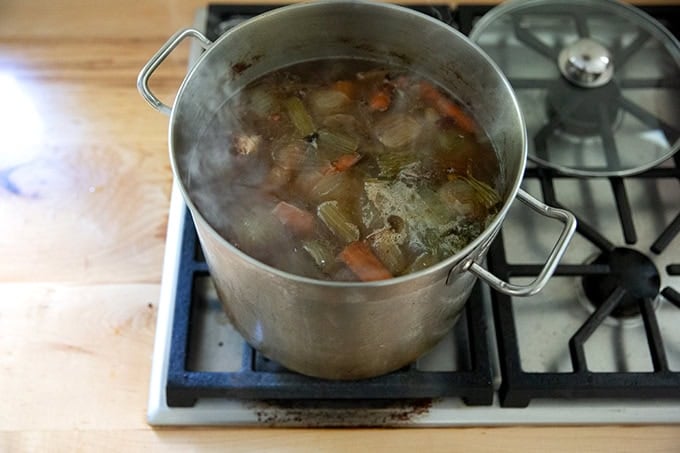
And simmer for 3 to 4 hours:
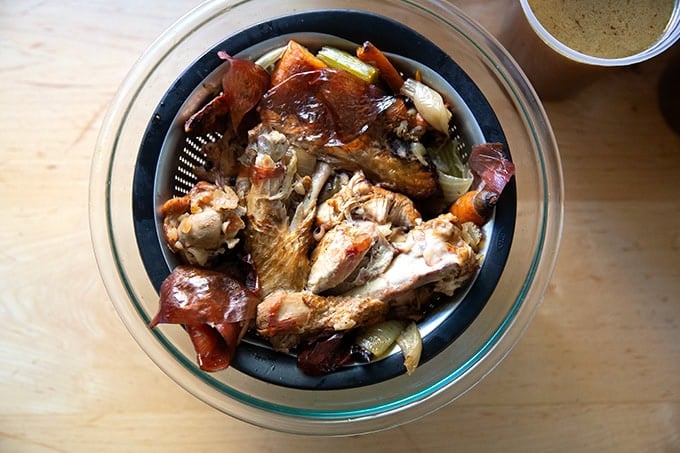
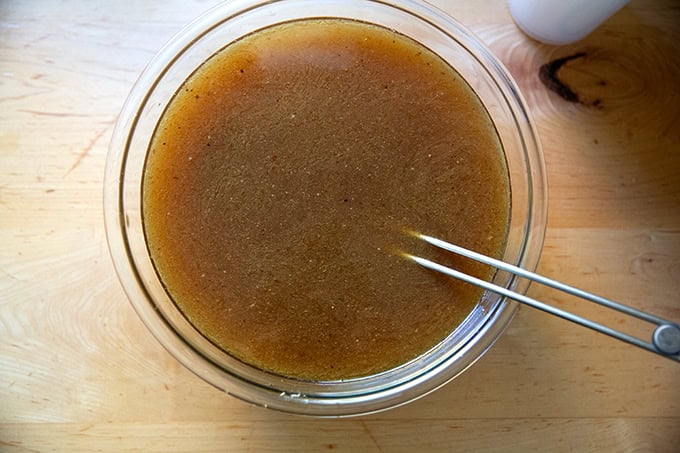
Strain the stock in batches:
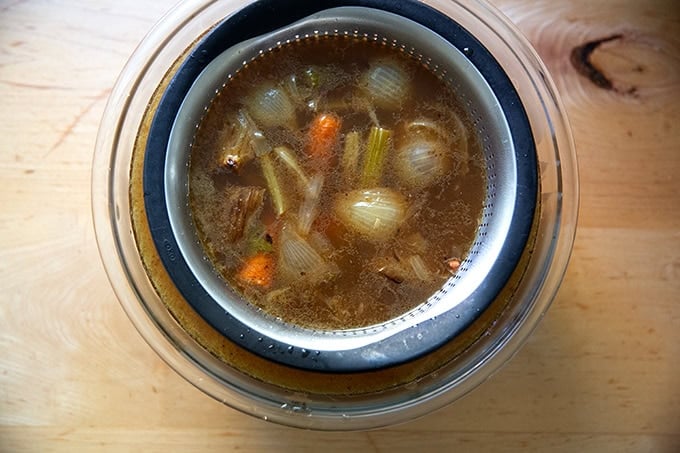
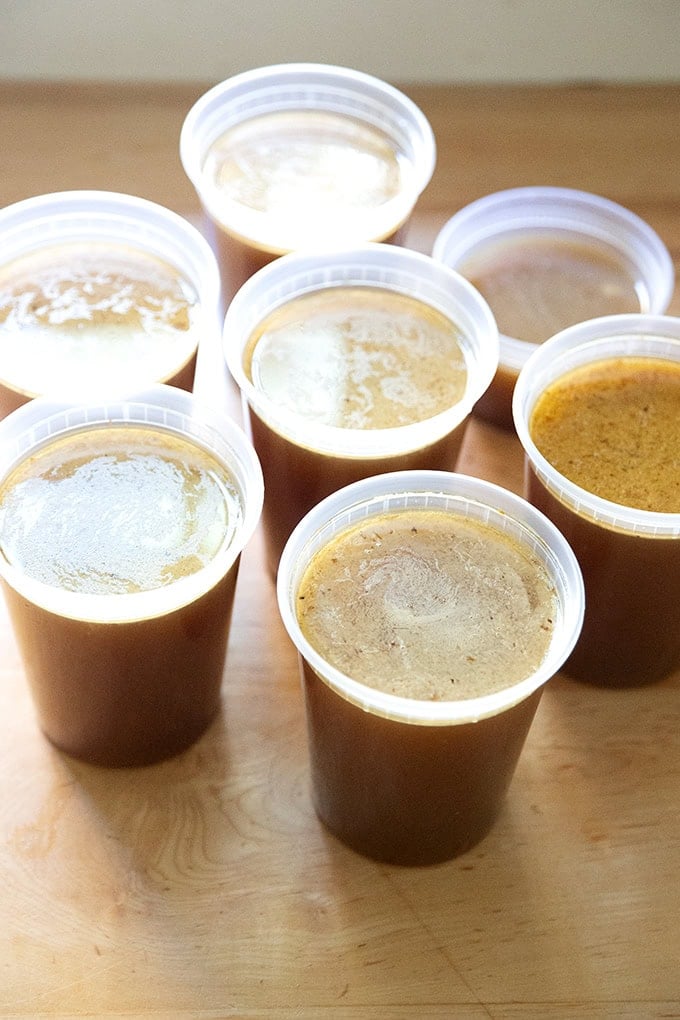
When the stock has cooled, transfer it to storage vessels: these are so handy to have on hand this time of year:

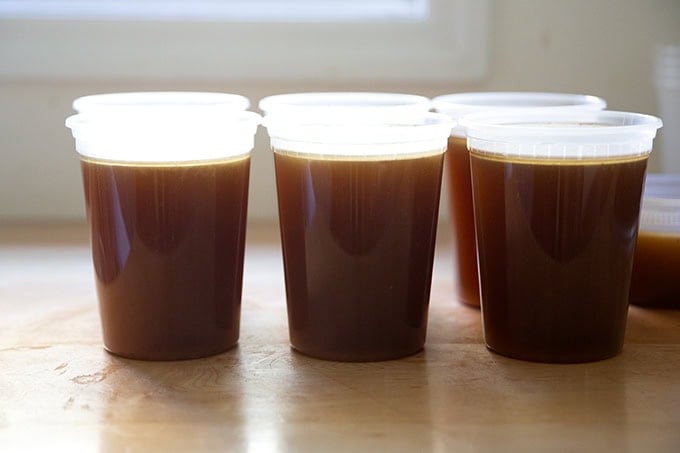
It is the best feeling having 6+ quarts of rich, roasted turkey stock on hand:
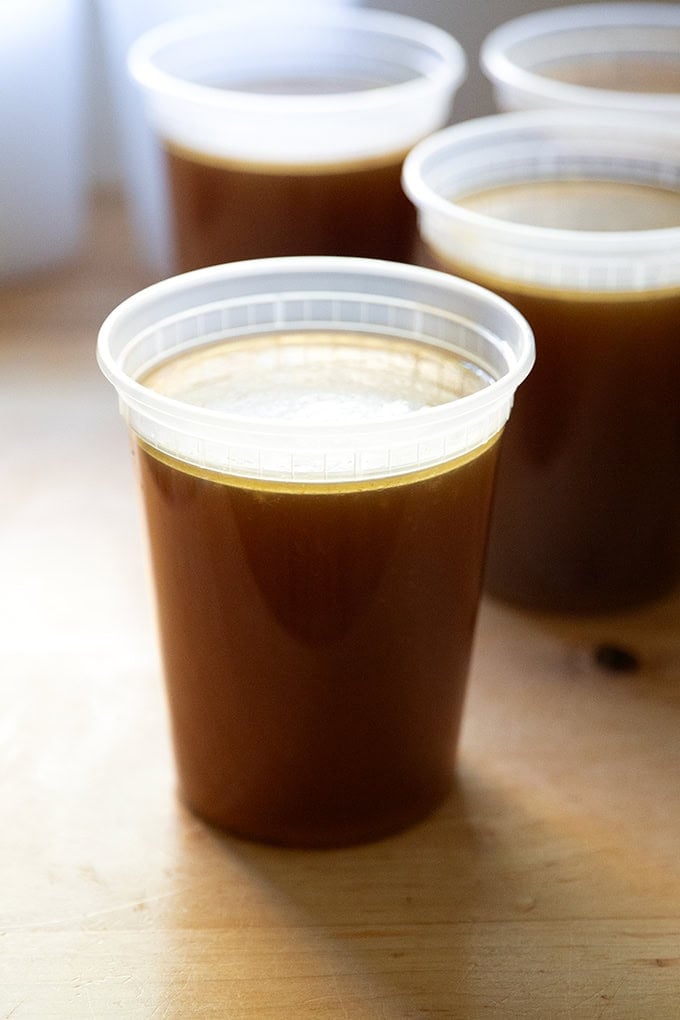
You can freeze the stock for up to 3 months or store in the fridge for 1 week.
A beautiful sight:
Description
Adapted from this old Gourmet recipe.
Storage vessels: These deli containers are so great to have on hand this time of year: I love this set of mixed sizes . And this set of quart sizes is great, too.
- 5 to 6 pounds turkey wings
- kosher salt
- 3 medium yellow onions, unpeeled, quartered
- 3 celery ribs, cut into 2-inch lengths
- 3 carrots, unpeeled, quartered
- 6 to 7 quarts of water
- 4 to 5 sprigs of parsley
- 1 bay leaf
- 10 black peppercorns
- Preheat the oven to 500°F. Place the turkey wings skin side down on a rimmed sheet pan. Season generously with kosher salt. Transfer to the oven and roast until well browned, about 45 minutes. Transfer to an 8- to 10-quart stockpot, reserving the sheet pan.
- Add the onions, celery, and carrots to the pan. Transfer to the oven and roast until golden, about 20 minutes more. Add vegetables to the stockpot.
- Straddle the sheet pan across 2 burners, then carefully add 2 cups of water and deglaze by boiling, stirring, and scraping up the brown bits, about 1 minute. Carefully add the deglazing liquid to the stockpot, then add the parsley, bay leaf, peppercorns, and 1 tablespoon of kosher salt (Diamond Crystal brand; use half as much if you are using Morton). Cover with 6 to 7 quarts of water depending on the size of your stock pot.
- Bring to a simmer over high heat; then reduce the heat to allow the stock to gently simmer. Simmer for 3 hours.
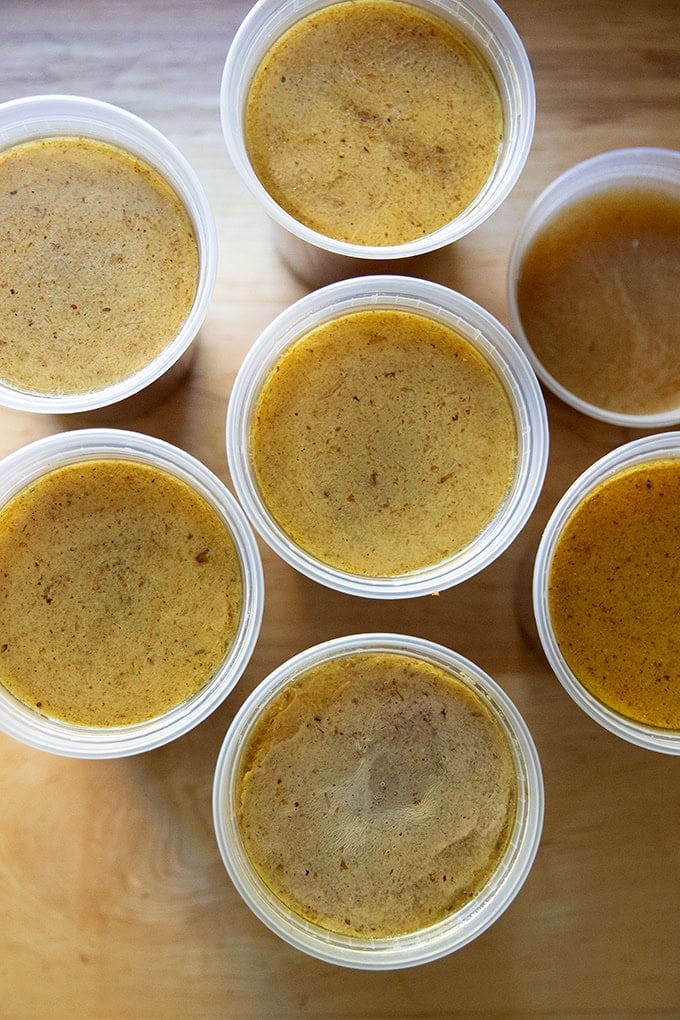
- Strain the stock in batches — I do this by setting a collander over a large bowl. Discard the solids. Once cool, transfer to storage vessels (see notes above). I like to chill my stock in the fridge for a day. This allows the fat to solidify on the top. If a lot of fat rises to the top, scrape it off. If it doesn’t, just leave it. At this point, transfer the stock to the freezer for up to 3 months. Or keep it in the fridge for 1 week.
- Prep Time: 20 minutes
- Cook Time: 4 hours
- Category: Sauce
- Method: oven, stovetop
- Cuisine: American
