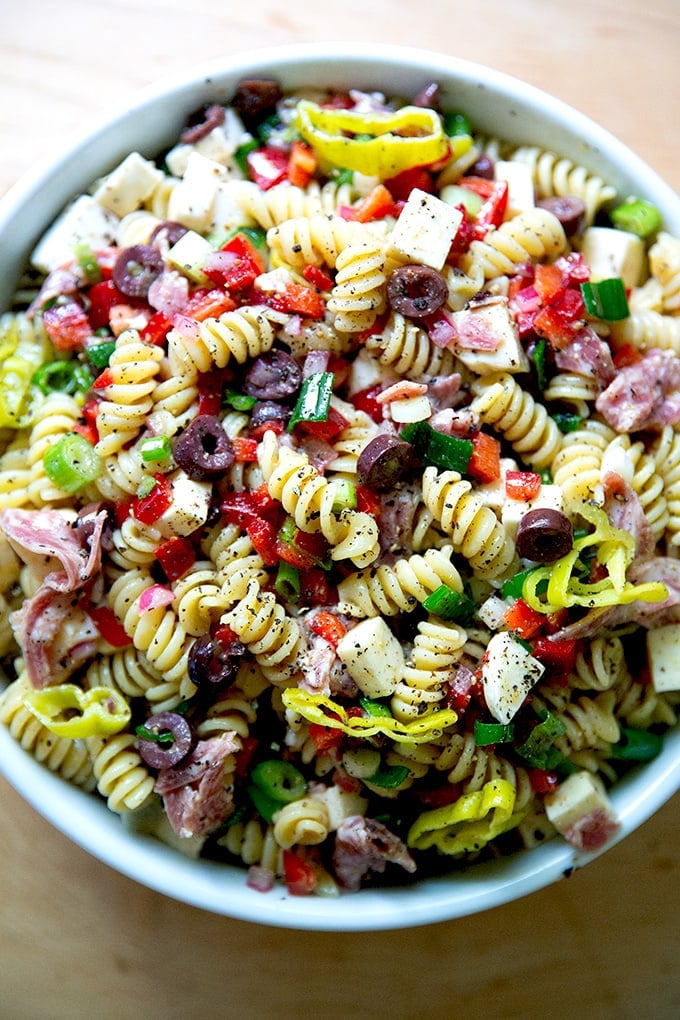
Inspired by the classic pasta salad found in delis the world over, this one combines olives, pepperoncini, soppressata, and cheese as well as scallions and red bell pepper. Dressed in a red wine vinaigrette and loaded with texture and flavor, this one gets better by the day, so don’t be afraid to make it ahead of time.
This has been the summer of discovery for my children and their palates: pretzel rolls , kani salad (from a local sushi restaurant), and muesli (my favorite, but historically not theirs).
Their latest love is classic, deli-style pasta salad, something we picked up on a whim a few weeks ago at a favorite deli in Chestertown en route home from the Adirondacks. It was as classic as they come, a mix of rotini, olives, cubed cheese, sliced meat, and chickpeas, and their enthusiasm for it both shocked and inspired me.
You’ve never liked olives , I thought. But also: Hooray! Perhaps this can be your school lunch (until you get bored with it anyway.)
Upon returning home, I had to recreate it. Much to the disappointment of the children, I did not use tri-color rotini, but despite this oversight, they approved of the rendition, which featured the expected pantry players — cubed meat and cheese, sliced olives and pepperoncini — as well as some fresh elements: diced bell peppers and scallions. I left out the chickpeas, and nobody complained.
As is the case with so many of these sorts of salads, this one is easily customizable to tastes and preferences: leave out the olives, add sun-dried tomatoes; leave out the raw bell pepper, add roasted red peppers; omit the meat and cheese, add chickpeas. The possibilities are endless.
In addition to school lunch, this salad would be great for many a lunch as it holds up well in the fridge, and tastes even better as it sits. And should you be searching for something to make for a long weekend get-together, look no further. This one’s just about potluck perfect.
How to Make Deli-Style Pasta Salad, Step by Step
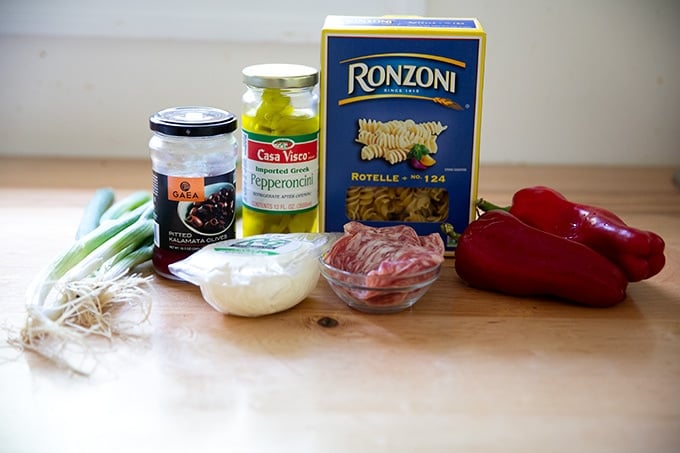
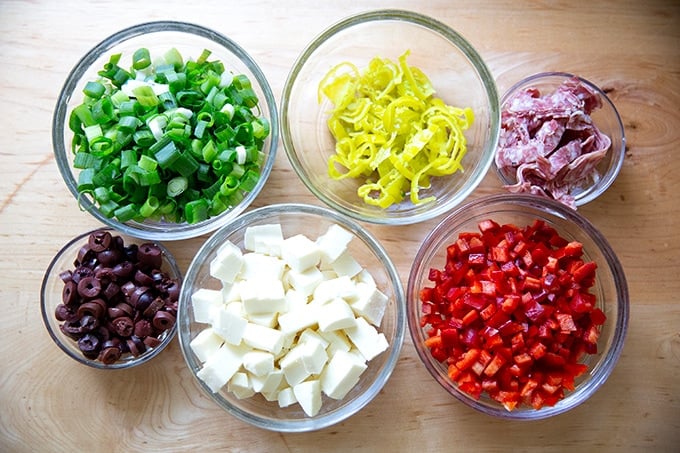
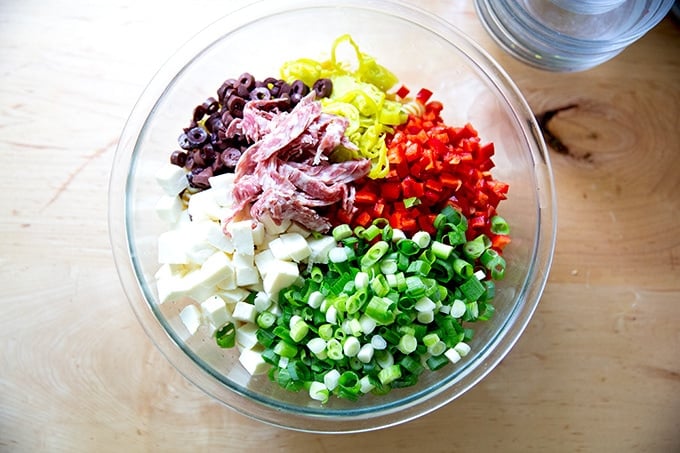
Gather your ingredients: I’m using olives, pepperoncini, mozzarella, scallions, red bell peppers, and soppressata.
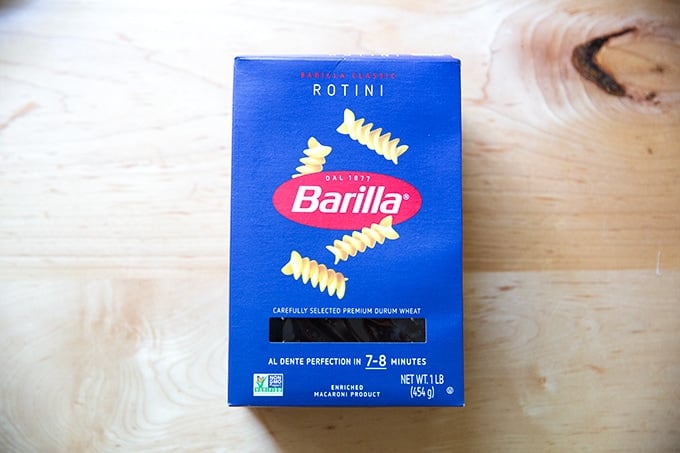
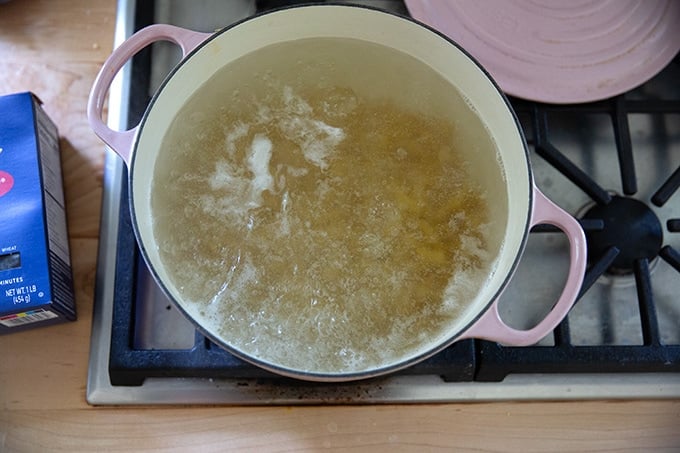
Incidentally, I prefer the Barilla brand for pasta. The one pictured above fell apart in the pot. Barilla holds its shape so nicely.
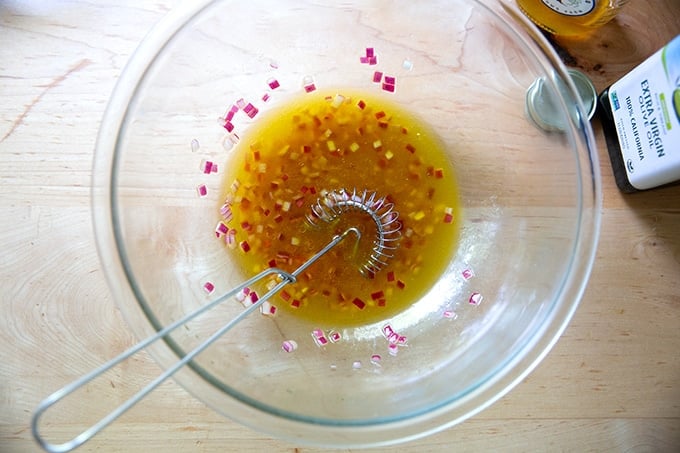
First, make the dressing:

In a large bowl, macerate diced red onion in red wine vinegar, fresh lemon juice, and salt.
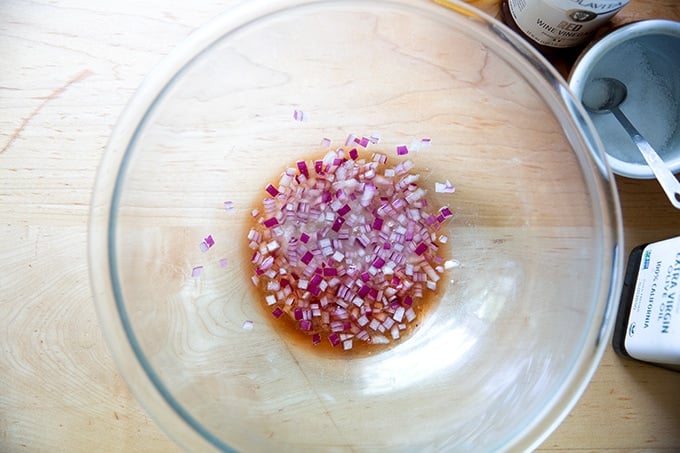
Let stand for at least five minutes, then whisk in honey and olive oil.
Chop up all the fixings: scallions, pepperoncini, olives, mozzarella or provolone, red bell peppers, and salami or soppressata.
Boil the pasta in well-salted water.
Drain the pasta and rinse under cold water, then transfer to the bowl with the dressing.
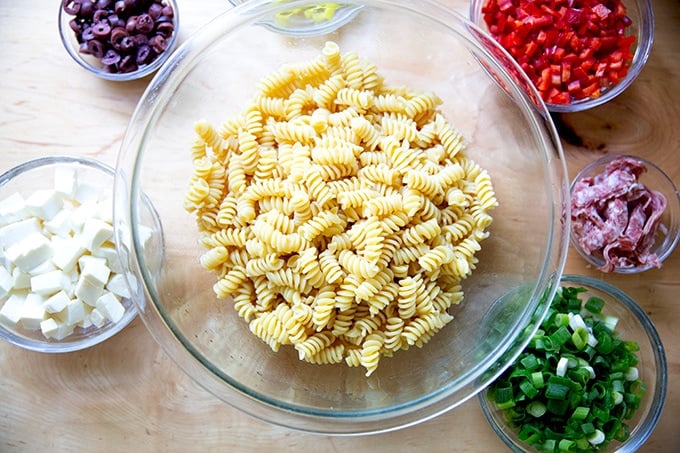
Add all of the fixings.
Toss. Taste, and adjust as needed with more salt, pepper, lemon, and/or vinegar.
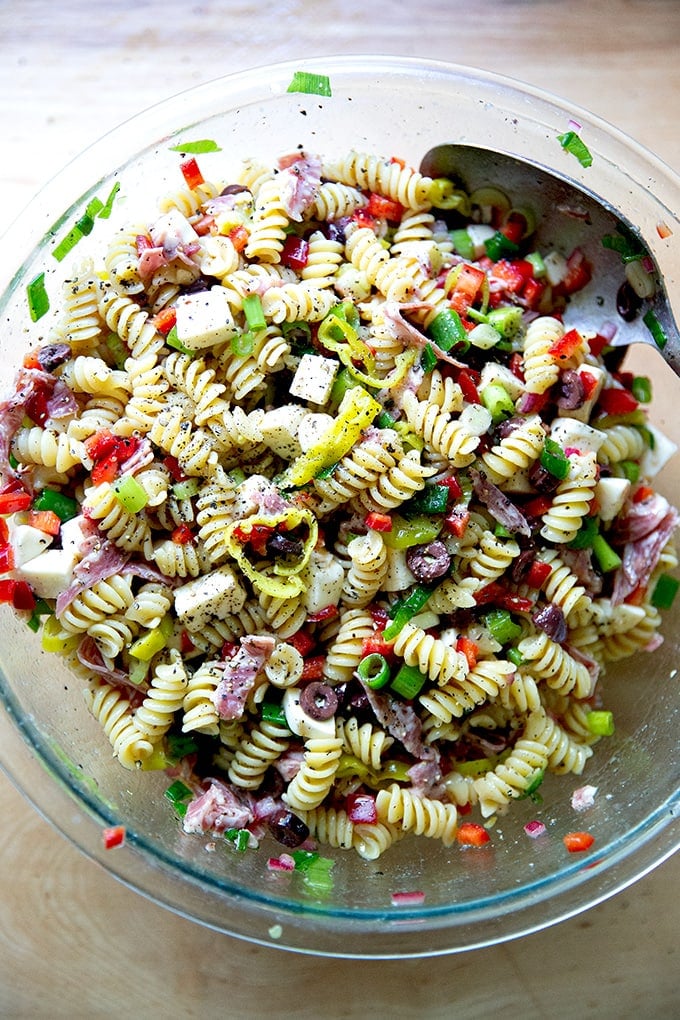
Transfer to a serving bowl or store in the fridge until ready to serve.
Description
Inspired by the classic pasta salads found in delis the world over, this one combines a red wine vinaigrette and a mix of pantry items and fresh produce. This is a salad that lends itself well to improvisation, so use what you have on hand, and use the ingredient list as a guide.
The dressing recipe is inspired by one I read about on Dinner A Love Story from Odette Williams’s Simple Pasta .
For the dressing:
1/4 cup finely diced onion
1 teaspoon kosher salt
3 tablespoons red wine vinegar
2 tablespoons freshly squeezed lemon juice
1 tablespoon honey
1/2 cup extra-virgin olive oil
kosher salt
1 pound pasta, such as rotini or ditalini
4 to 6 scallions, thinly sliced (to yield 1 1/2 cups )
2 red bell peppers, finely diced (to yield 1 1/2 cups )
1/2 cup sliced olives (I’ve been using kalamata)
1/2 cup thinly sliced pepperoncini
2 to 3 ounces soppressata or salami, thinly sliced
8 ounces cubed mozzarella or provolone
freshly cracked pepper to taste
flaky sea salt
- Make the dressing: In a large bowl, place the onions, salt, vinegar and lemon juice. Let stand for at least 5 minutes. Whisk in the honey and olive oil. Taste. Adjust with more salt to taste. Add more vinegar or lemon if you like a sharper dressing.
- Bring a large pot of water to a boil. Add 2 tablespoons kosher salt. Boil the pasta al dente according to package instructions. Drain and rinse under cold water.
- Assemble the salad : Add the pasta to the bowl with the dressing. Add the scallions, peppers, olives, pepperoncini, soppressata, mozzarella, and a few generous twists of black pepper. Toss to combine. Taste. Adjust with salt and pepper to taste. For a sharper dressing, squeeze in more lemon or add a splash more vinegar.
- Prep Time: 25 minutes
- Cook Time: 10 minutes
- Category: Pasta
- Method: Stovetop
- Cuisine: American
Find it online : https://alexandracooks.com/2023/09/01/deli-style-pasta-salad/
This post outlines how to build a sourdough starter from scratch simply and quickly. In less than a week, with minimal effort, you will have a bubbly, active starter on your hands to use in all your favorite sourdough recipes.
A sourdough starter is a fermented mixture of flour and water that contains wild yeast and bacteria . It both leavens and flavors sourdough bread.
How? It’s time for a science lesson.
Wild yeasts and bacteria exist everywhere, namely in flour, but also in the air and on your hands. When we mix flour and water and let it sit, wild yeasts begin searching for food, which they find in the flour: they convert the starch in the flour into sugar. As they digest this sugar, they produce two things: carbon dioxide, which makes the starter rise, and alcohol, which the wild bacteria drink up and in turn produce various types of lactic and acetic acids — these acids are what give the bread the sour flavor.
Cool, right? The wild yeasts and bacteria work symbiotically to both leaven and flavor our starter and ultimately our bread.
3 TipsFor Success
Because wild yeast and bacteria are the backbone of a sourdough starter, it is crucial that these microbes are happy for your starter to thrive: the happier they are, the more they multiply, the more powerful the starter you create.
Building up a colony of happy microbes takes time and care. Here are three tips for success:
Tip #1: Use Pineapple Juice : Using pineapple juice in place of water initially can shorten the overall timeline for building a sourdough starter from scratch. This is because wild yeast cells prefer a somewhat acidic pH (which pineapple juice is) in which to grow.
Tip #2: Keep Your Starter Cozy : Ideally, you’ll attempt this project while it’s hot outside — I find 80ºF (26ºC) to be ideal. If you’re building your starter when it’s cold outside, find a place to keep it warm. See recipe box for some ideas.
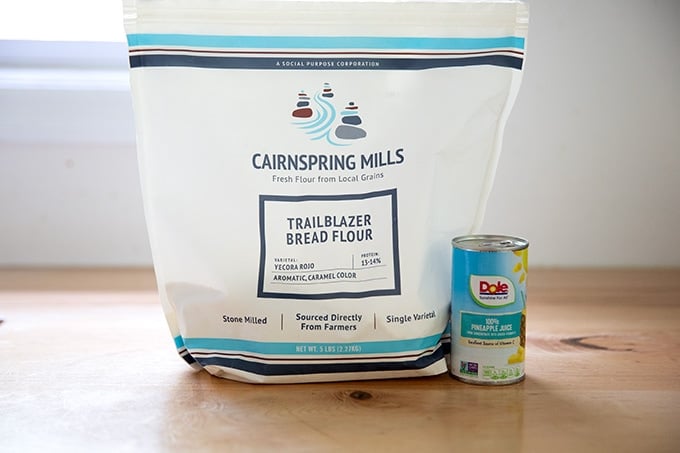
Tip #3: Use Good Flour : Use freshly milled, stone-milled flour because the added minerals and nutrients provide better food for the microbes (yeast and bacteria) to thrive. If you have a local source, use it! Health food markets, co-ops, and stores like Whole Foods often carry freshly milled flour. See recipe box for a few online sources I love.
How to Build a Sourdough Starter From Scratch, Step by Step
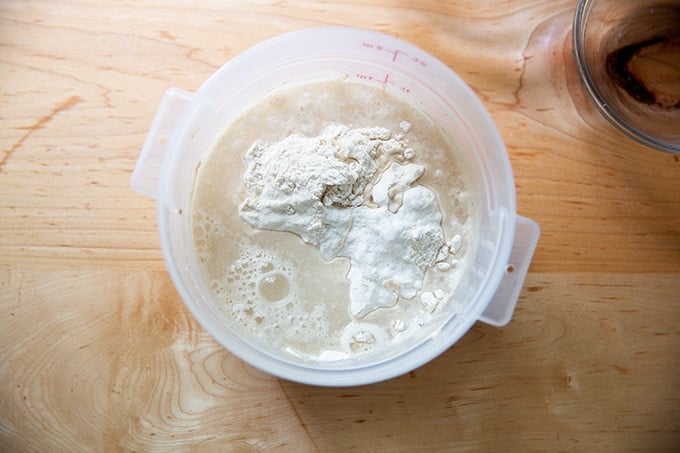
Day 1 : Gather your materials: flour and pineapple juice. (If possible, pick up a bag of freshly milled stone-milled flour; see the recipe box for sources.)
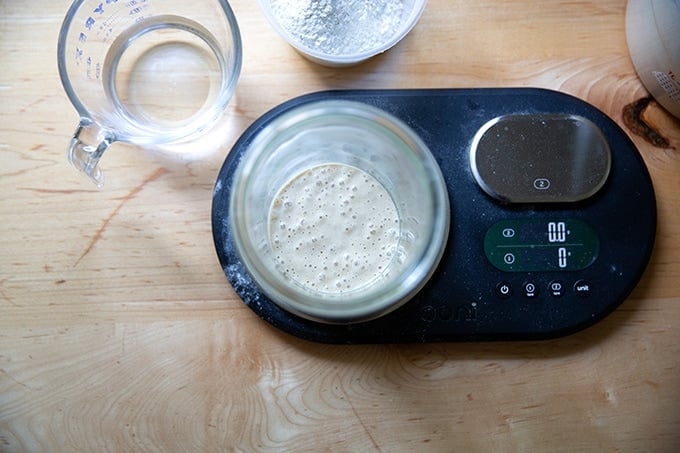
Pour the can of juice into a large bowl or ideally a straight-sided vessel on a tared scale.
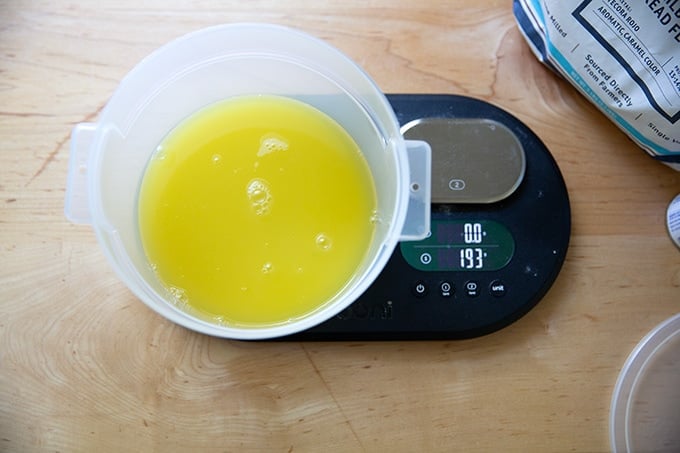
Add an equal amount of flour by weight. It should be about 192-193 grams of juice and flour each.
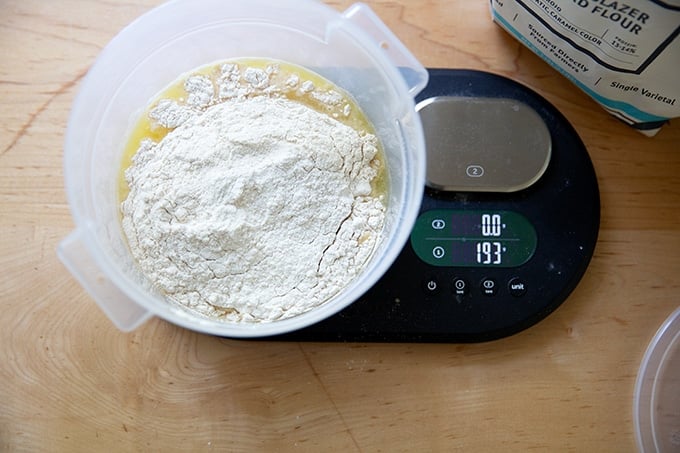
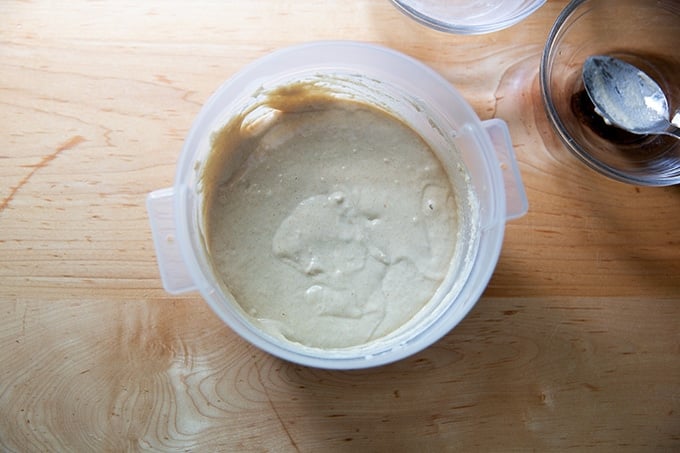
Stir the flour and juice together until the flour is absorbed.
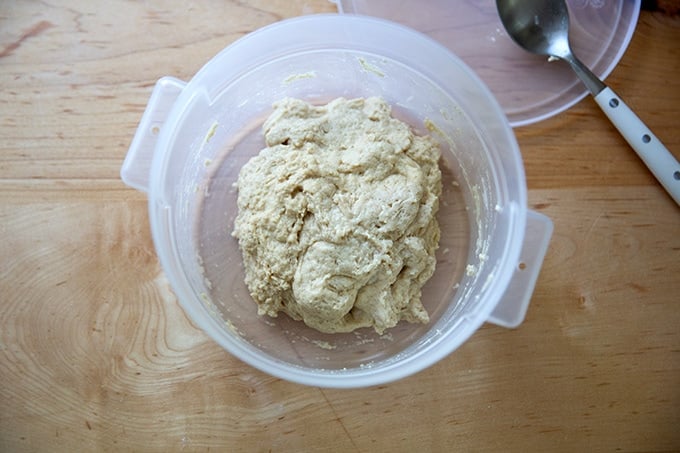
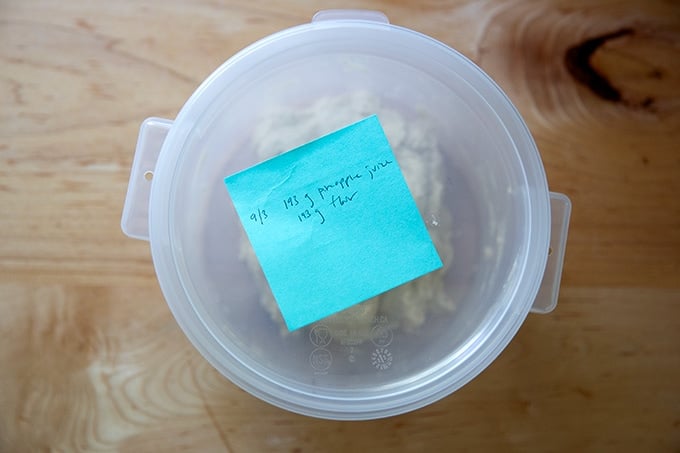
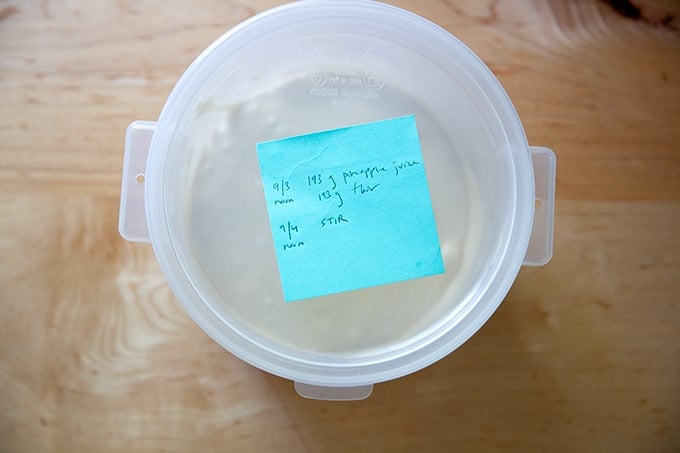
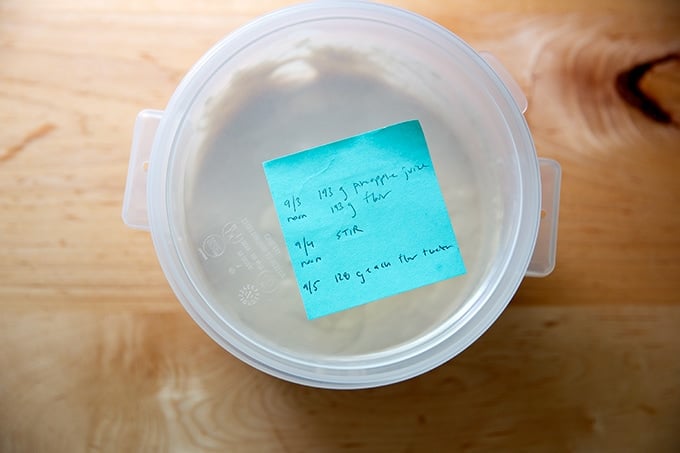
Cover the vessel. Record the date, time, and measurements — you will forget which day you started if you don’t. Let it sit at room temperature for 24 hours.
Day 2: Uncover the vessel and…
… give it a stir.

Re-cover the vessel, and record your work. Let it sit at room temperature for another 24 hours.
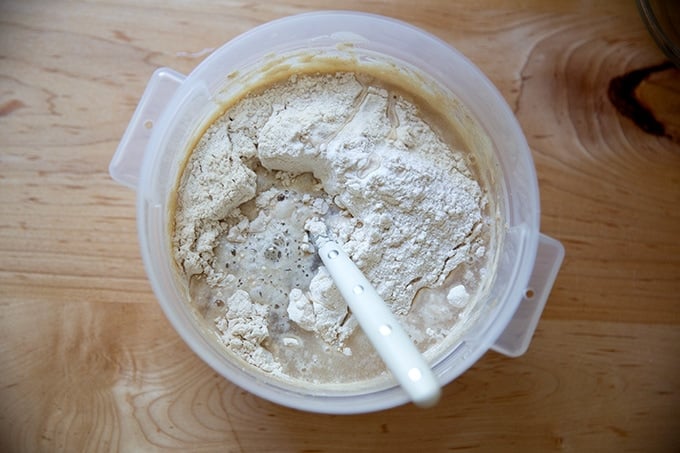
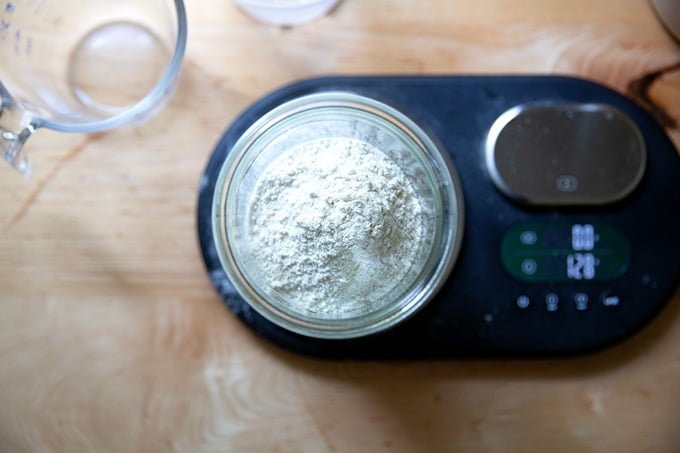
Day 3: Uncover the vessel.
Measure out 128 grams (about 1 cup) of flour and 128 grams (about 1/2 cup) of water:
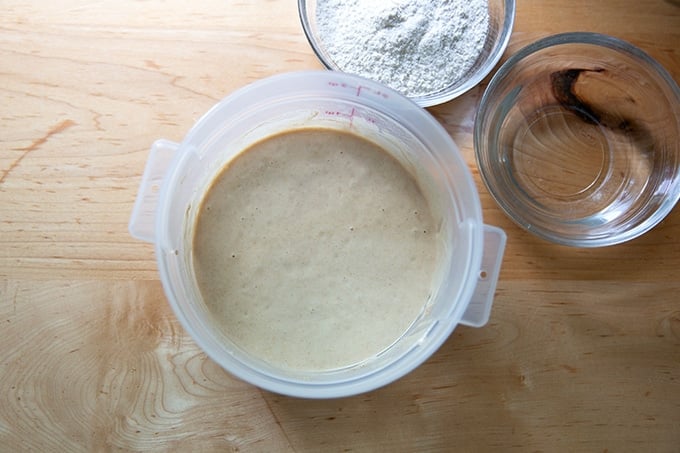
Add them to the vessel.
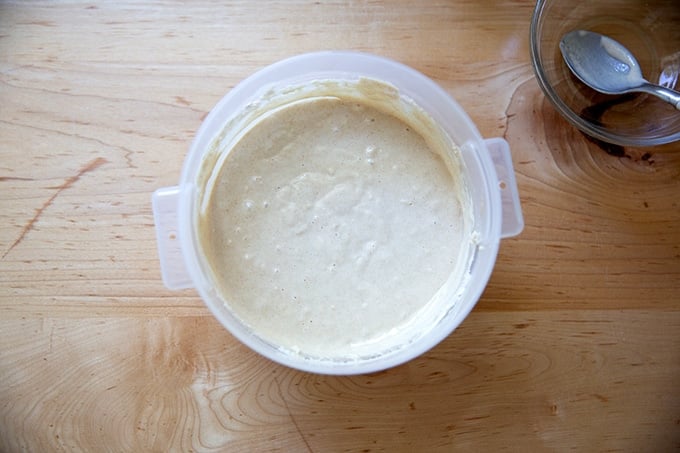
Stir to combine.
Cover the vessel and record your work again. Let it sit at room temperature for 24 hours, stirring once or twice.
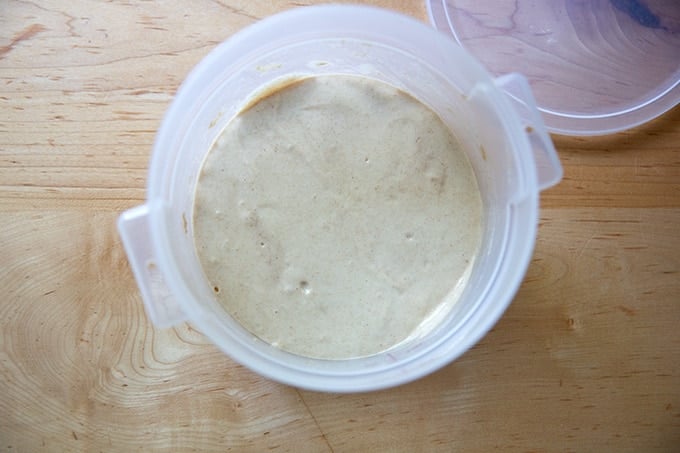
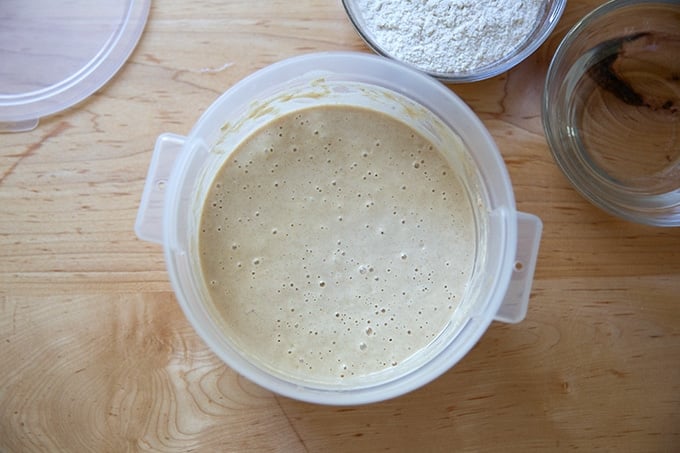
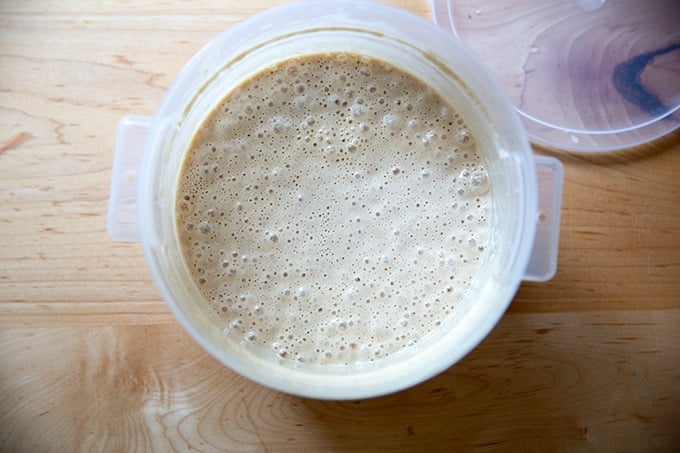
Day 4: Uncover the vessel. You should see a little action (bubbles). Measure out 128 grams (about 1 cup) of flour and 128 grams (about 1/2 cup) of water:
Add them to the container.
Stir to combine.
On this day, record your work again, and mark the height of your mixture with tape on the side of your vessel. Let it sit at room temperature for 24 hours, keeping a closer watch this time around.
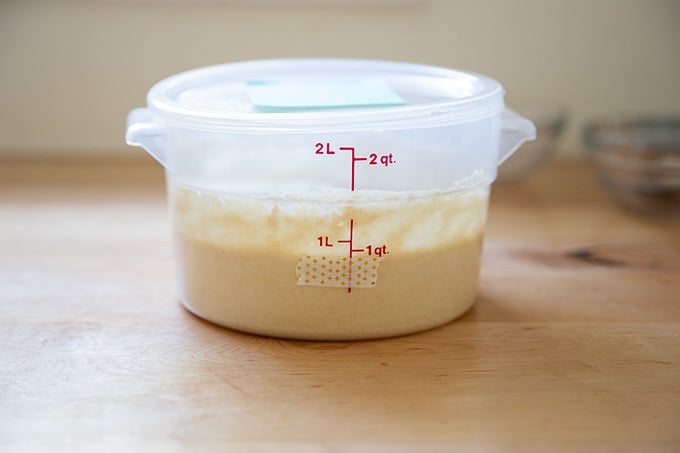
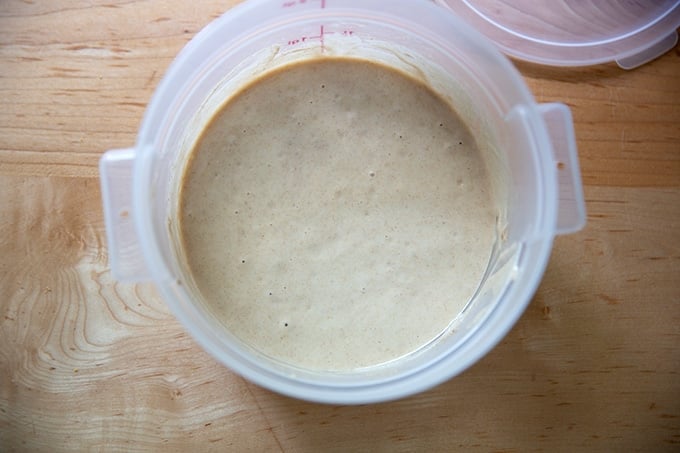
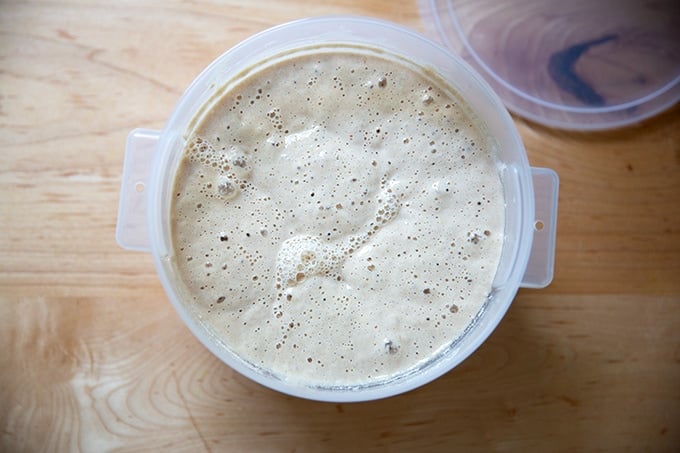
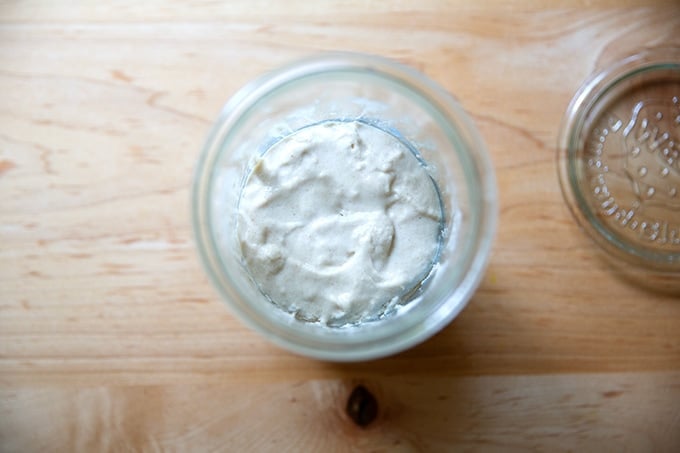
You will likely see some action…
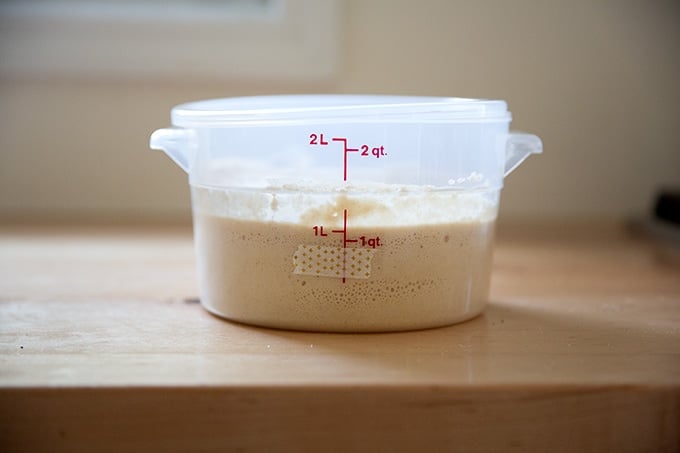
The mixture might even double in volume.
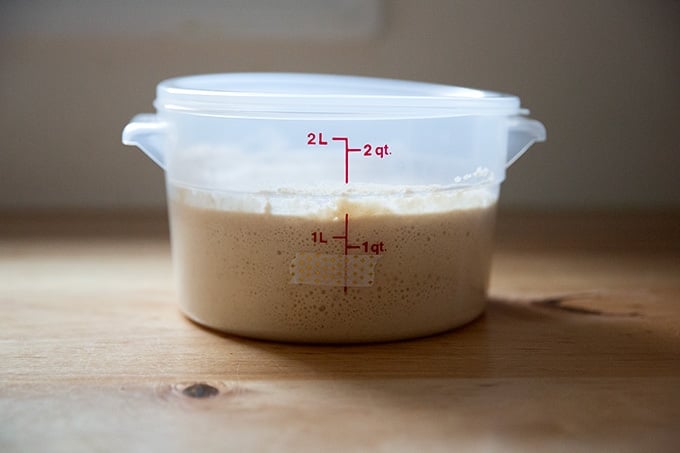
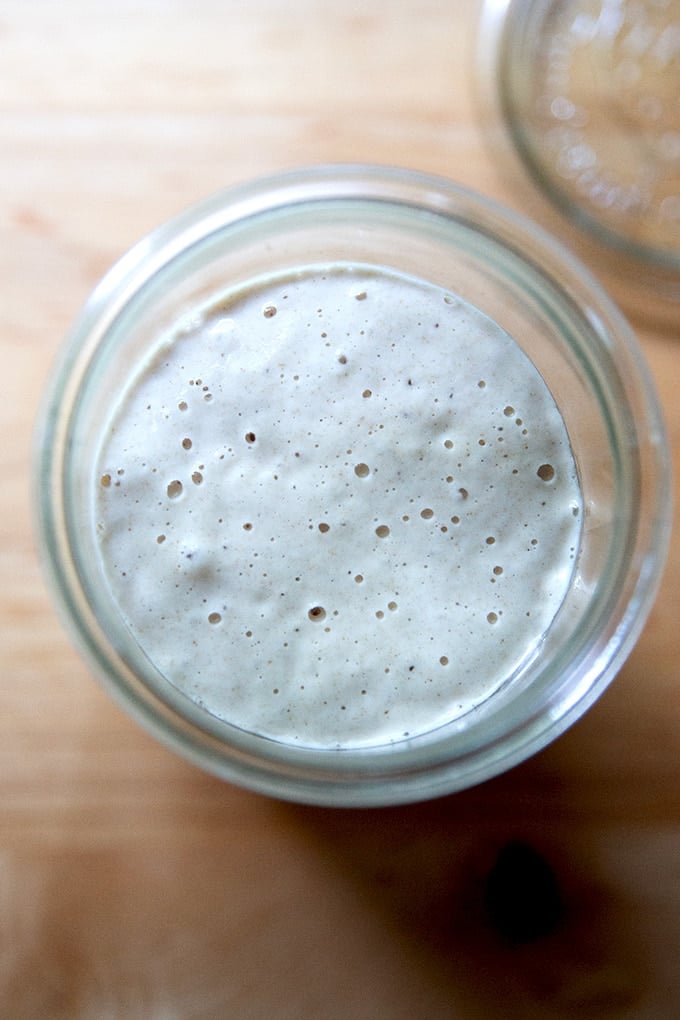
And you should see lots of bubbles on the surface.
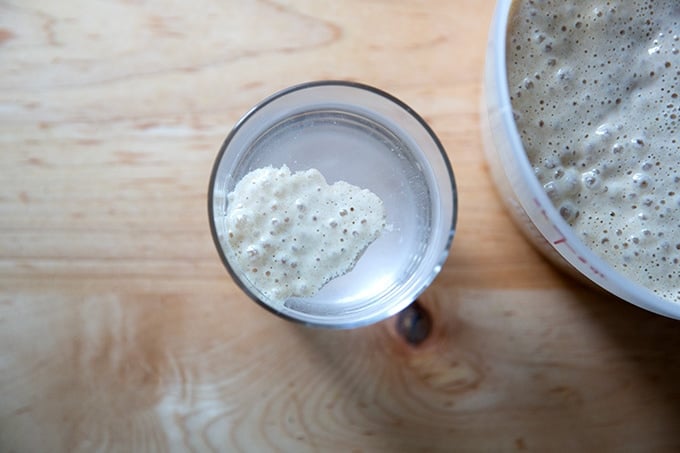
If your mixture is in fact rising, let it rise until it nearly doubles in volume; then drop a spoonful of it in water. If it floats, you’re in business. Note: Your starter might rise (and maybe fall) while you are sleeping — don’t worry if you don’t “catch” it at its peak. Continue on with the process that follows.
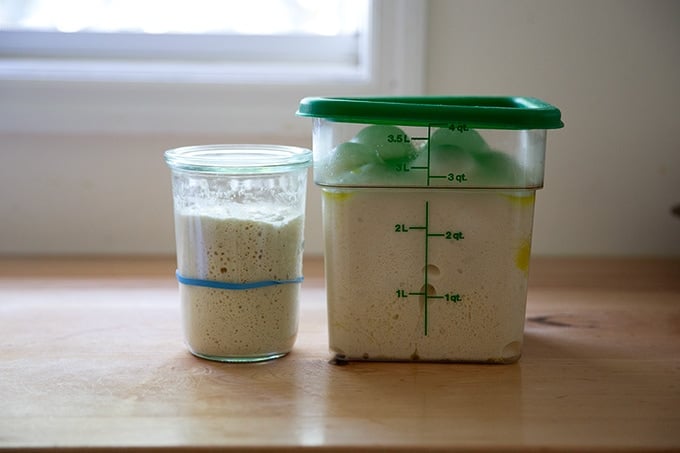
Spoon 128 grams of the starter into a new vessel.
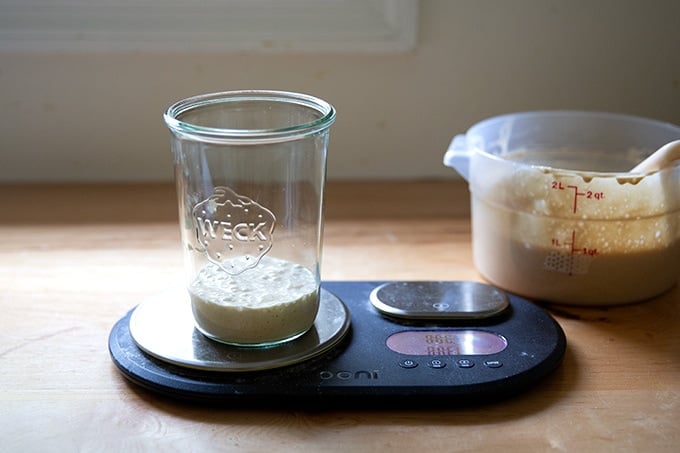
Measure another 128 grams of flour and water each.
Add the flour and water to the starter.
Stir to combine.
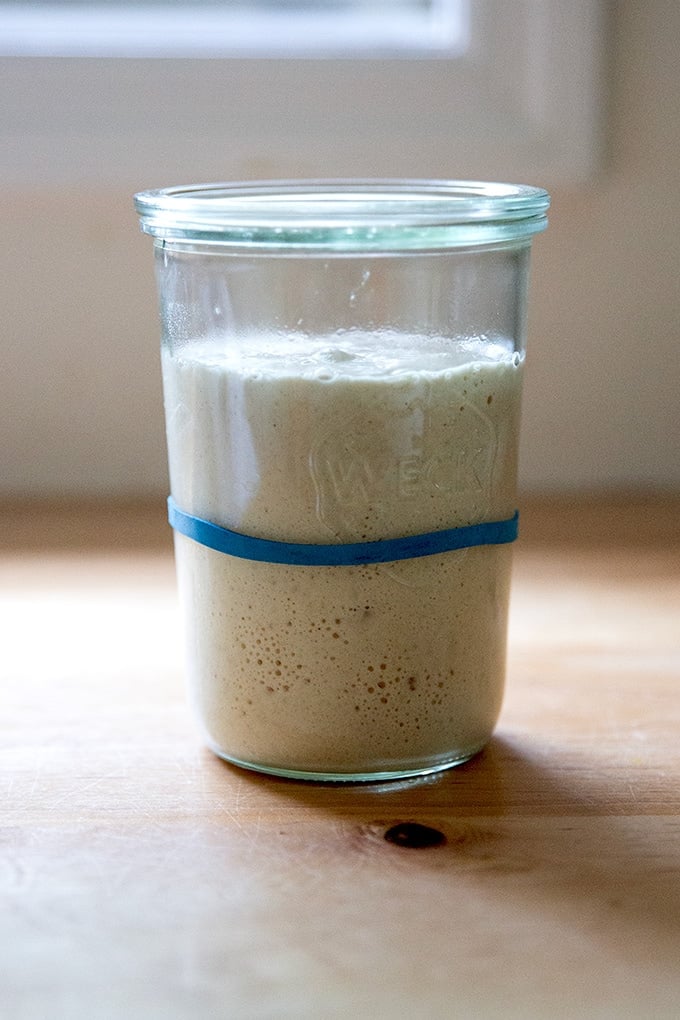
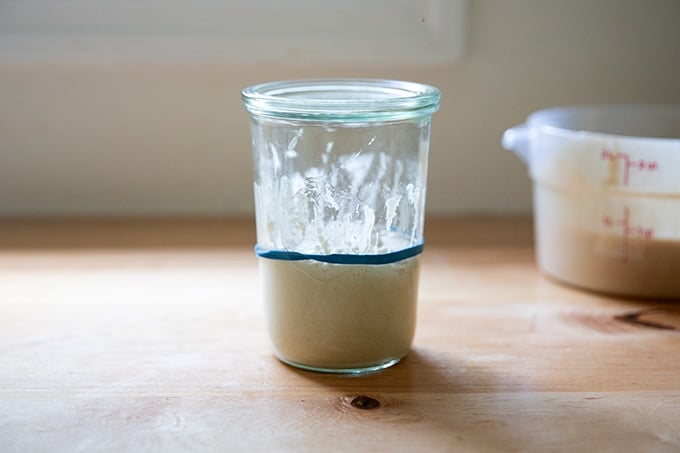
Mark the height with a rubber band.
This original vat of sourdough starter is now your discard bucket. Transfer it to the fridge or use it in one of your favorite sourdough discard recipes: tortillas , crackers , pancakes , soda bread .
Day 5: When your starter doubles…
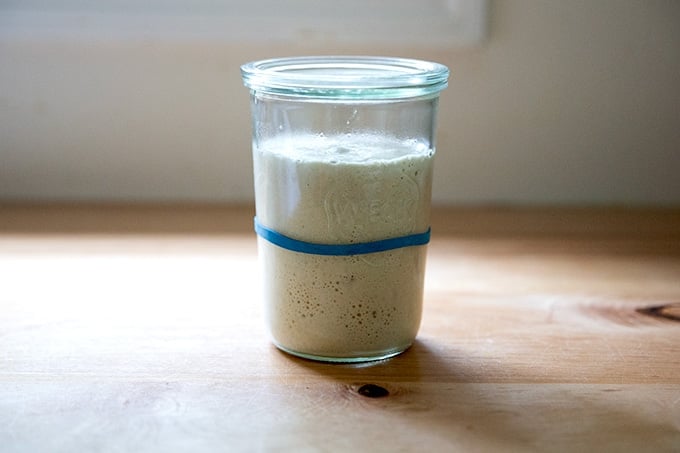
… and floats…

…you can do one of three things:
- Repeat this process: spoon 128 grams of starter into a new vessel and add 128 grams each flour and water. (Transfer the remaining starter to your bucket of discard.) Let the new starter rise until it doubles. Your starter will get stronger with every feeding.
- Transfer it to the fridge if you need to take a break from the process. You can pick up where you let off when you are ready.
- Test it out…
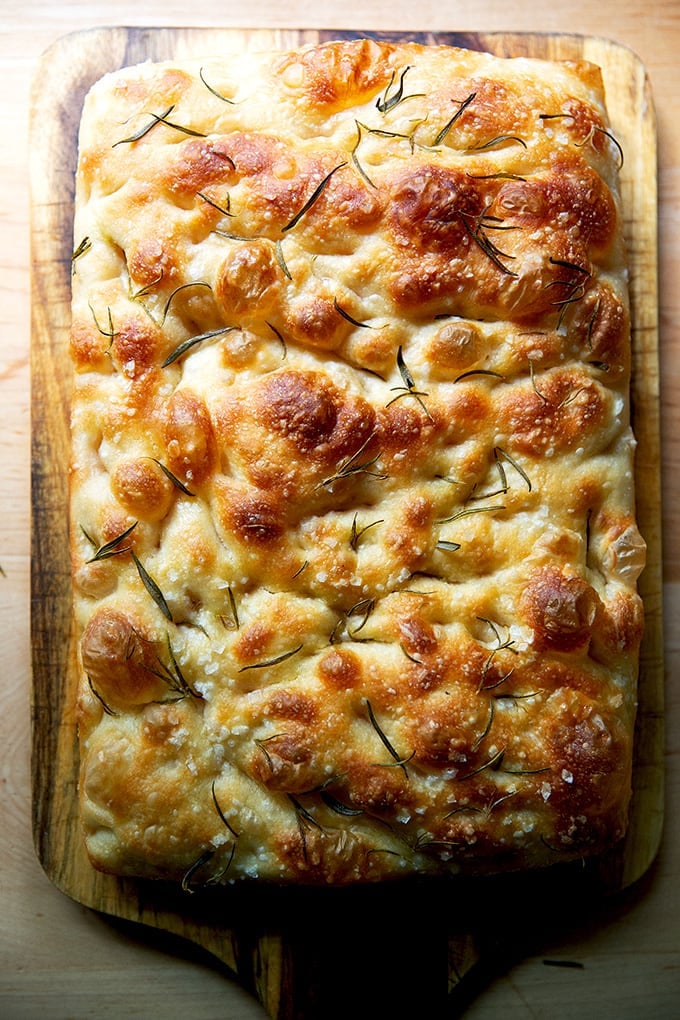
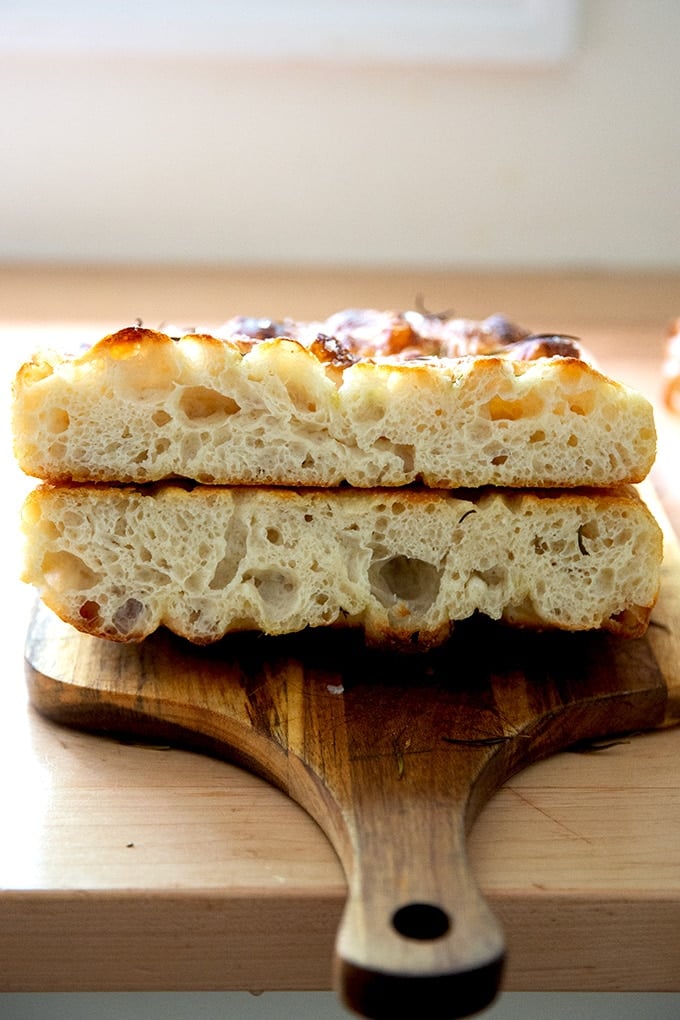
… in a sourdough bread recipe . I recommend starting with…
… focaccia , one of the easiest breads to make.
Description
This post outlines how to build a sourdough starter from scratch simply and quickly. In less than a week, with minimal effort, you will have a bubbly, active starter on your hands to use in all your favorite sourdough recipes.
Notes:
Adapted from Peter Reinhart’s method, outlined in Perfect Pan Pizza (and many of his other books as well).
If you are looking for guidance on how to feed, maintain, and store your already strong starter, see this post: How to Feed, Maintain, and Store a Sourdough Starter.
5 Tips for Success
- Use a scale to measure. It is the only way to measure accurately.
- Use a straight-sided vessel , which will help you more accurately see how much your starter is growing.
- Attempt this project while it’s hot outside or create a cozy place for your starter to rise: Find a warm place in your kitchen (like on top of your refrigerator) to let it rest. Invest in the Brod and Taylor Sourdough Home : I do not own this, but it gets good reviews should you have the space for it Build your own “sourdough home “: one of you ingeniously made a homemade proofing box by placing a seed heating pad in a box and covering it with a towel. Try the warm oven trick: turn your oven on for 1 minute (at any temperature) and then turn it off. It likely won’t get above 100ºF — it will just create a cozy spot for your dough to rise. Consider sticking a post-it note to the oven to remind you that you have a starter in there so that you don’t accidentally preheat your oven and kill your starter. (Note: I do not recommend using the oven with the oven light on, because I discovered the hard way that the oven light can actually be too hot and cause your starter or sourdough bread to overferment.)
- Start with pineapple juice.
- Use freshly milled stone-milled flour. If you have a source local to you, use it! Health food markets, co-ops, or markets such as Whole Foods often carry freshly milled flour. Here are a few mail-order options: Cairnspring Mills Anson Mills Community Grains Red Tail Grains
Pineapple Juice: My small cans of pineapple juice are labeled as 6 ounces (177 ml), but when I actually weigh the juice inside, it always weighs around 192 grams. The important thing is to use an equal amount by weight of flour and pineapple juice.
Pineapple Juice Alternatives : Orange Juice or Water
Water: I have no trouble using tap water when building a sourdough starter or when making a sourdough bread recipe. If you have concerns about your water, you can:
- Use water that you’ve left out overnight to ensure any chlorine has evaporated.
- Buy spring water. In some places, letting water sit out overnight will not be effective, and your tap water may kill your starter.
Discard: At the end of the first four days of the process, you’ll be left with a decent amount of sourdough discard, which you can use in countless recipes. Here are a few of my favorites:
Simple Sourdough Discard Waffles
Simple Sourdough Discard Crackers
Sourdough Tortillas
Favorite Pancakes
Irish Soda Bread
1 small can (192 grams) pineapple juice, see notes above for alternatives
stone-milled flour, see notes above
Room temperature water, see notes above
- Day 1: Pour the can of juice (roughly 192 grams) into a large bowl or ideally a straight-sided vessel on a tared scale. (A straight-sided vessel allows you to truly see how much your starter is growing. I’m using this Cambro .) Add an equal amount of flour (roughly 192 grams) by weight. Stir the flour and juice together until the flour is absorbed. Cover the vessel. Record the date, time, and measurements — you will forget which day you started if you don’t. Let it sit at room temperature for 24 hours.
- Day 2 : Uncover the vessel. Stir the mixture. Re-cover the vessel, and record your work. Let it sit at room temperature for another 24 hours.
- Day 3: Uncover the vessel. Add 128 grams (1 cup) flour and 128 grams (about 1/2 cup) water. Stir to combine. Cover the vessel and record your work again. Let it sit at room temperature for 24 hours, stirring once or twice.
- Day 4: Uncover the vessel. You should see a little action (bubbles) and it should smell pleasant, not unlike a fruity yogurt. Measure out 128 grams (about 1 cup) of flour and 128 grams (about 1/2 cup) of water. Add them to the container. Stir to combine. Cover the vessel. On this day, record your work again, and mark the height of your mixture with tape on the side of your vessel. Let it sit at room temperature for 24 hours, keeping a closer watch this time around. You may see action — rising and bubble formation — within a few hours. If your mixture is in fact rising, let it rise until it nearly doubles in volume; then drop a spoonful of it in water. If it floats, you’re in business. Note: Your starter might rise (and possibly fall) while you are sleeping — don’t worry if you don’t “catch” it at its peak. Continue on with the process.
- Day 5 : At this point, you should be observing some activity in your starter, meaning the starter should have risen slightly (perhaps doubled but perhaps not) and fallen with bubbles transforming from big to small. You’ll now take a small portion of this mixture and build a new starter: Transfer 128 grams of the starter to a new jar or vessel, and add 128 grams (about 1 cup) of flour and 128 grams (about 1/2 cup) of water. Stir well to combine, then cover the jar. Mark the height with a rubber band. Let sit at room temperature. Transfer the remaining starter to the fridge — this original mixture is now your sourdough discard and can be used in all sorts of recipes, see notes above. When your new starter doubles in volume, you can do one of three things: Repeat this process: spoon 128 grams of starter into a new vessel and add 128 grams each flour and water. (Transfer the remaining starter to your bucket of discard.) Let the new starter rise until it doubles. Your starter will get stronger with every feeding. Transfer it to the fridge if you need to take a break from the process. You can pick up where you let off when you are ready. Test it out in a sourdough bread recipe .
- Maintaining your starter: Once you have a strong, active starter on your hands, follow the steps in this post: How to Feed, Store, and Maintain a Sourdough Starter.
- Category: Bread
- Method: Stir
- Cuisine: American
