These homemade fries emerge from the oven with crispy edges and light, creamy centers thanks to a simple trick and baking method. Read on to learn the secret to making exceptional oven fries at home.

As someone who loves fries but refuses to deep fry at home, I was intrigued when I first read about America’s Test Kitchen’s method for making oven fries.
The ATK method calls for soaking the cut potatoes in hot water for 10 minutes before baking them. When developing the recipe, ATK drew inspiration from the technique used in making traditional French fries, which calls for a brief blanching in hot oil before the final fry.
This blanching step “not only disrupts the starch molecules inside the potato (encouraging a fluffy interior), but also washes away some of the starch on the outside of the potato (preventing a leathery exterior).”
During their testing, much to their surprise, ATK discovered that soaking the potatoes in water before baking them had the same effect as blanching the potatoes in oil — a boon for home cooks!
Friends, the method works. When I made oven fries following the ATK method for my family, everyone around the table kept asking why the fries tasted especially good — why were they so crispy at the edges? Why so light, airy, and creamy in the middle?
I haven’t looked back since. These fries have been a family favorite for over a decade. I have no doubt you will love them, too 🍟🍟🍟
How to Make Crispy Oven-Baked Fries at Home, Step by Step
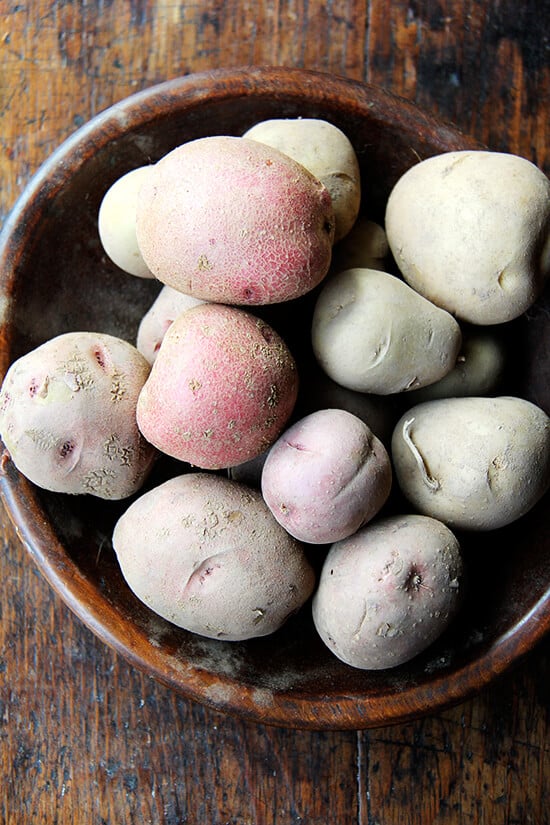
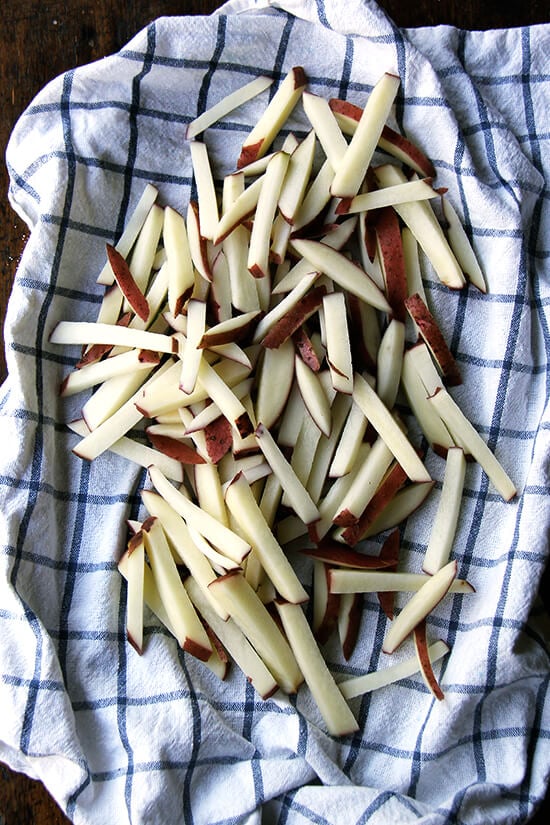
First, gather your potatoes.
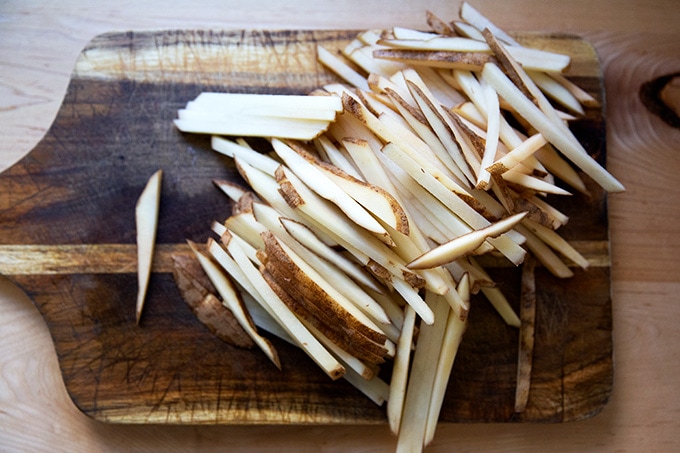
Cut them into 1/4 to 1/2-inch thick sticks:
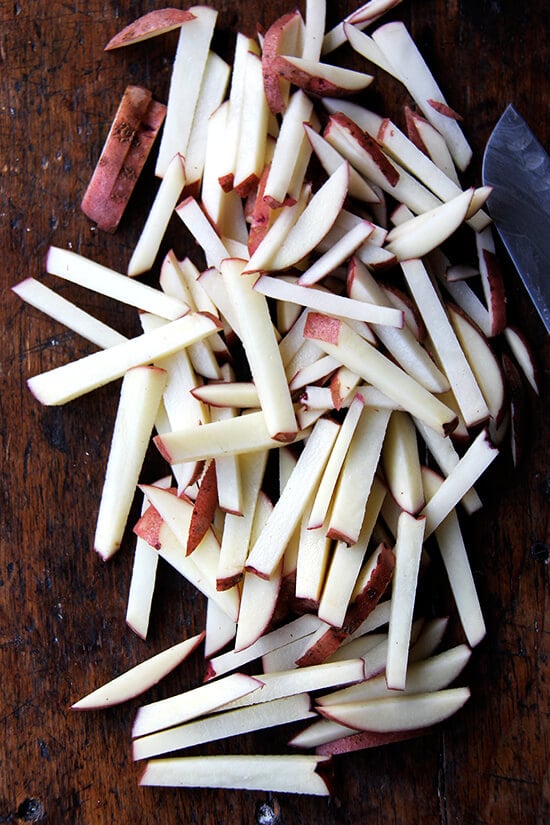
I prefer 1/4-inch thick:
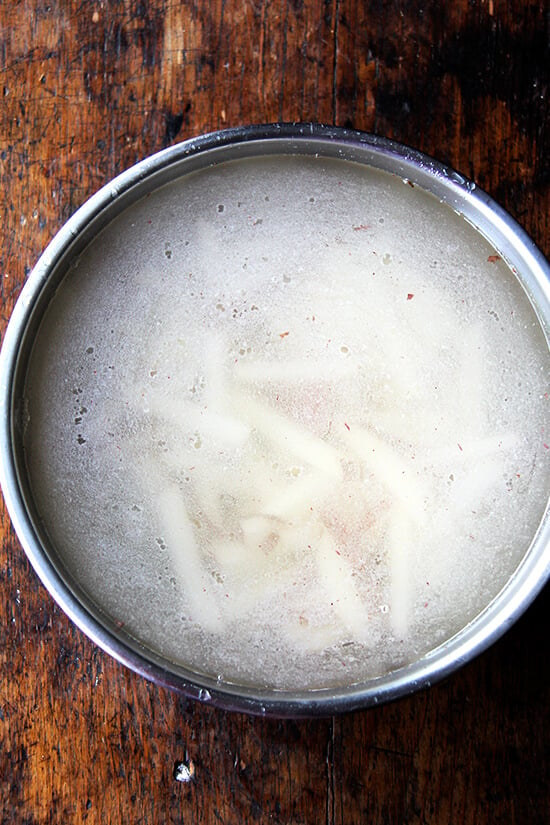
Soak them in hot water for 10 minutes.
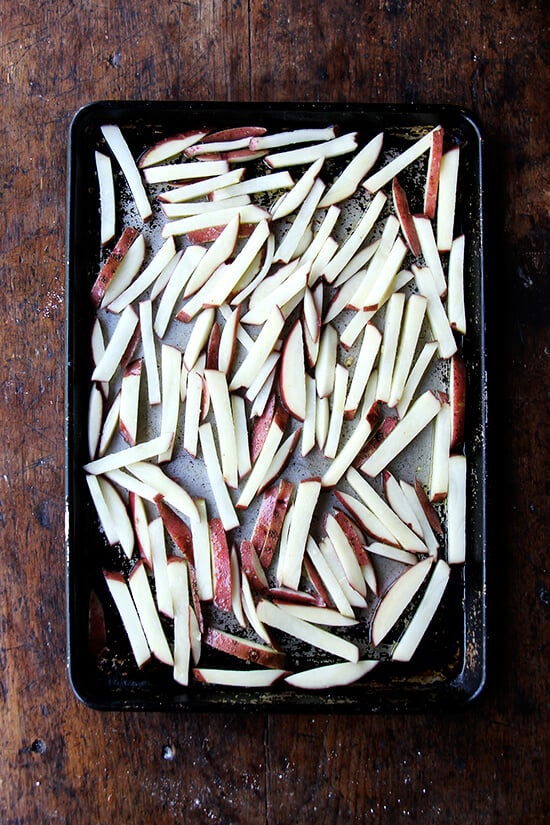
Then drain and dry them.
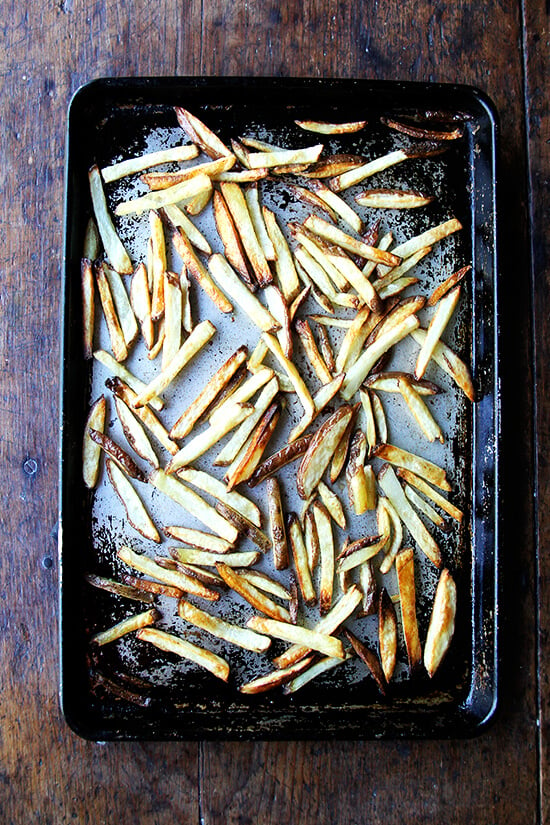
Spread them onto a sheet pan and toss with olive oil and salt. Cover the pan with foil and bake for 5 minutes covered; then 20-25 minutes uncovered.
When the edges are evenly golden, remove the pan from the oven and transfer to a platter for serving.
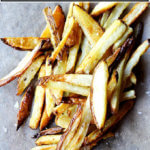
Taste, and finish with more flaky sea salt to taste:

Heaven!
Description
These homemade fries emerge from the oven with crispy edges and light, creamy centers thanks to a simple trick and baking method. Read on to learn the secret to making exceptional oven fries at home.
Slightly adapted from The America’s Test Kitchen Family Cookbook
A note on potatoes: Russets are most often cited as the best frying potato. Unlike many potatoes, Russets will release their starch (which is what causes potatoes to absorb oil) upon being soaked or rinsed. I’ve had success with Russets but also with a handful of others from our CSA and the farmers’ market, including Salem, Red Chieftain, and Kuka Gold.
Updated Method/Notes:
I find that for 2 lbs. of potatoes, an extra-large sheet pan is especially helpful. If you are using a standard-sized sheet pan, 2 Russet potatoes sliced will likely fit in a single layer.
I roast at 450ºF convection — I find that my potatoes cook a little more evenly when I cook them at a slightly lower temperature for longer.
I don’t stir the potatoes.
2 to 4 Russet potatoes, about 1½ – 2 pounds total, see notes above
1/4 cup olive oil
1 teaspoon kosher salt
nice flaky sea salt such as Maldon for seasoning at the end
- Adjust an oven rack to the lowest position, and preheat the oven to 475ºF (or 450ºF convection — this is what I do now). Cut the potatoes lengthwise, into 1/4-inch thick sticks: it’s helpful to cut the potatoes into 1/4-inch thick slabs first; then into 1/4-inch sticks.
- Place the sliced potatoes into a large bowl and cover them with hot tap water. Let them soak for 10 minutes.
- Drain the potatoes and dry them thoroughly with a tea towel (a bath or beach towel gets the job done better!). Line a sheet pan — extra large if you have it — with parchment. Place the potatoes on top of the parchment, drizzle with the 1/4 cup olive oil and sprinkle with the teaspoon of salt. Toss to combine.
- Spread the potatoes in a single layer on the baking sheet and cover the sheet tightly with foil. Bake for 5 minutes, then remove the foil and continue to bake for 20 minutes or until the potatoes are golden and crisp. Check on the potatoes after 10 minutes — if they are not browning evenly, rotate the pan. Bake until the fries are golden and crisp, rotating the pan as necessary to help them brown evenly.
- Remove from the oven, and season with more sea salt and/or any other seasonings you wish. Serve immediately or as soon as they are cool enough to eat.
- Prep Time: 25 minutes
- Cook Time: 35 minutes
- Category: Vegetable
- Method: Oven
- Cuisine: American
These homemade fries emerge from the oven with crispy edges and light, creamy centers thanks to a simple trick and baking method. Read on to learn the secret to making exceptional oven fries at home.
As someone who loves fries but refuses to deep fry at home, I was intrigued when I first read about America’s Test Kitchen’s method for making oven fries.
The ATK method calls for soaking the cut potatoes in hot water for 10 minutes before baking them. When developing the recipe, ATK drew inspiration from the technique used in making traditional French fries, which calls for a brief blanching in hot oil before the final fry.
This blanching step “not only disrupts the starch molecules inside the potato (encouraging a fluffy interior), but also washes away some of the starch on the outside of the potato (preventing a leathery exterior).”
During their testing, much to their surprise, ATK discovered that soaking the potatoes in water before baking them had the same effect as blanching the potatoes in oil — a boon for home cooks!
Friends, the method works. When I made oven fries following the ATK method for my family, everyone around the table kept asking why the fries tasted especially good — why were they so crispy at the edges? Why so light, airy, and creamy in the middle?
I haven’t looked back since. These fries have been a family favorite for over a decade. I have no doubt you will love them, too 🍟🍟🍟
How to Make Crispy Oven-Baked Fries at Home, Step by Step
First, gather your potatoes.
Cut them into 1/4 to 1/2-inch thick sticks:
I prefer 1/4-inch thick:
Soak them in hot water for 10 minutes.
Then drain and dry them.
Spread them onto a sheet pan and toss with olive oil and salt. Cover the pan with foil and bake for 5 minutes covered; then 20-25 minutes uncovered.
When the edges are evenly golden, remove the pan from the oven and transfer to a platter for serving.
Taste, and finish with more flaky sea salt to taste:
Heaven!
Description
These homemade fries emerge from the oven with crispy edges and light, creamy centers thanks to a simple trick and baking method. Read on to learn the secret to making exceptional oven fries at home.
Slightly adapted from The America’s Test Kitchen Family Cookbook
A note on potatoes: Russets are most often cited as the best frying potato. Unlike many potatoes, Russets will release their starch (which is what causes potatoes to absorb oil) upon being soaked or rinsed. I’ve had success with Russets but also with a handful of others from our CSA and the farmers’ market, including Salem, Red Chieftain, and Kuka Gold.
Updated Method/Notes:
I find that for 2 lbs. of potatoes, an extra-large sheet pan is especially helpful. If you are using a standard-sized sheet pan, 2 Russet potatoes sliced will likely fit in a single layer.
I roast at 450ºF convection — I find that my potatoes cook a little more evenly when I cook them at a slightly lower temperature for longer.
I don’t stir the potatoes.
2 to 4 Russet potatoes, about 1½ – 2 pounds total, see notes above
1/4 cup olive oil
1 teaspoon kosher salt
nice flaky sea salt such as Maldon for seasoning at the end
- Adjust an oven rack to the lowest position, and preheat the oven to 475ºF (or 450ºF convection — this is what I do now). Cut the potatoes lengthwise, into 1/4-inch thick sticks: it’s helpful to cut the potatoes into 1/4-inch thick slabs first; then into 1/4-inch sticks.
- Place the sliced potatoes into a large bowl and cover them with hot tap water. Let them soak for 10 minutes.
- Drain the potatoes and dry them thoroughly with a tea towel (a bath or beach towel gets the job done better!). Line a sheet pan — extra large if you have it — with parchment. Place the potatoes on top of the parchment, drizzle with the 1/4 cup olive oil and sprinkle with the teaspoon of salt. Toss to combine.
- Spread the potatoes in a single layer on the baking sheet and cover the sheet tightly with foil. Bake for 5 minutes, then remove the foil and continue to bake for 20 minutes or until the potatoes are golden and crisp. Check on the potatoes after 10 minutes — if they are not browning evenly, rotate the pan. Bake until the fries are golden and crisp, rotating the pan as necessary to help them brown evenly.
- Remove from the oven, and season with more sea salt and/or any other seasonings you wish. Serve immediately or as soon as they are cool enough to eat.
- Prep Time: 25 minutes
- Cook Time: 35 minutes
- Category: Vegetable
- Method: Oven
- Cuisine: American
Description
These homemade fries emerge from the oven with crispy edges and light, creamy centers thanks to a simple trick and baking method. Read on to learn the secret to making exceptional oven fries at home.
Slightly adapted from The America’s Test Kitchen Family Cookbook
A note on potatoes: Russets are most often cited as the best frying potato. Unlike many potatoes, Russets will release their starch (which is what causes potatoes to absorb oil) upon being soaked or rinsed. I’ve had success with Russets but also with a handful of others from our CSA and the farmers’ market, including Salem, Red Chieftain, and Kuka Gold.
Updated Method/Notes:
I find that for 2 lbs. of potatoes, an extra-large sheet pan is especially helpful. If you are using a standard-sized sheet pan, 2 Russet potatoes sliced will likely fit in a single layer.
I roast at 450ºF convection — I find that my potatoes cook a little more evenly when I cook them at a slightly lower temperature for longer.
I don’t stir the potatoes.
2 to 4 Russet potatoes, about 1½ - 2 pounds total, see notes above
1/4 cup olive oil
1 teaspoon kosher salt
nice flaky sea salt such as Maldon for seasoning at the end
- Adjust an oven rack to the lowest position, and preheat the oven to 475ºF (or 450ºF convection — this is what I do now). Cut the potatoes lengthwise, into 1/4-inch thick sticks: it’s helpful to cut the potatoes into 1/4-inch thick slabs first; then into 1/4-inch sticks.
- Place the sliced potatoes into a large bowl and cover them with hot tap water. Let them soak for 10 minutes.
- Drain the potatoes and dry them thoroughly with a tea towel (a bath or beach towel gets the job done better!). Line a sheet pan — extra large if you have it — with parchment. Place the potatoes on top of the parchment, drizzle with the 1/4 cup olive oil and sprinkle with the teaspoon of salt. Toss to combine.
- Spread the potatoes in a single layer on the baking sheet and cover the sheet tightly with foil. Bake for 5 minutes, then remove the foil and continue to bake for 20 minutes or until the potatoes are golden and crisp. Check on the potatoes after 10 minutes — if they are not browning evenly, rotate the pan. Bake until the fries are golden and crisp, rotating the pan as necessary to help them brown evenly.
- Remove from the oven, and season with more sea salt and/or any other seasonings you wish. Serve immediately or as soon as they are cool enough to eat.
- Prep Time: 25 minutes
- Cook Time: 35 minutes
- Category: Vegetable
- Method: Oven
- Cuisine: American
Find it online : https://alexandracooks.com/2014/09/25/the-crispiest-oven-fries/


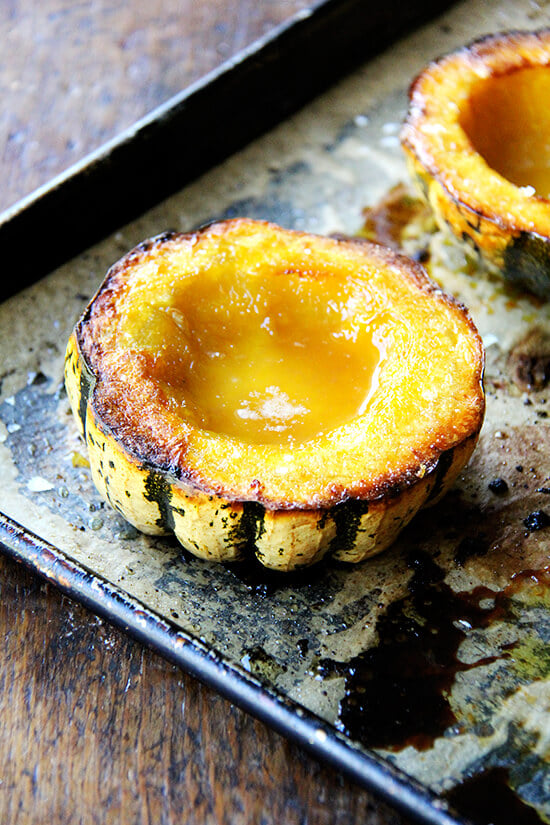
The only thing I love more than roasted acorn squash is …

…stumbling upon Roberta’s at something called Madison Square Eats just minutes after emerging from Penn Station:
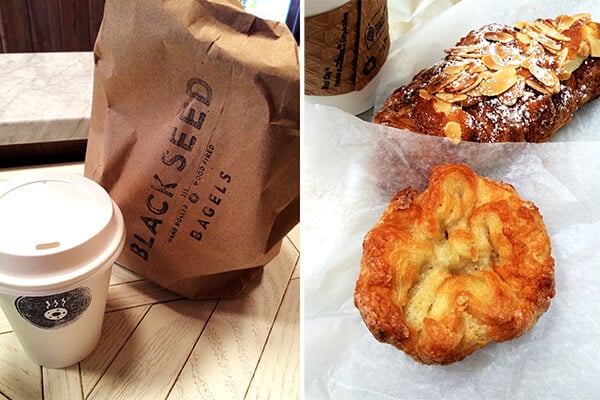
…eating beet-cured lox and cream cheese on Black Seed everything bagels followed by kouign amann from Dominique Ansel :

…meeting a dear high school friend for dinner at a place called Ichabod’s that serves the most unbelievable squash dumplings with brown butter, sage, and truffle oil (not pictured), flowering kale caesar (not pictured), duck breast with dirty wild freekah (not pictured), Old Bay chips (pictured! addictive!) and …

…the most unbelievable ice cream sundae: homemade vanilla ice cream, salted caramel sauce, pretzel bits and roasted marshmallow! It’s the only dessert on the menu. I can’t stop thinking about it:
There is never enough time in New York.
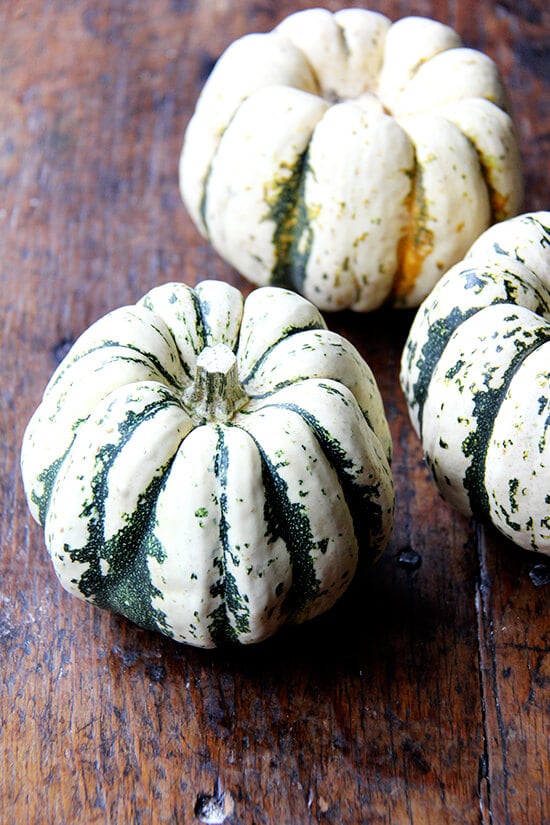
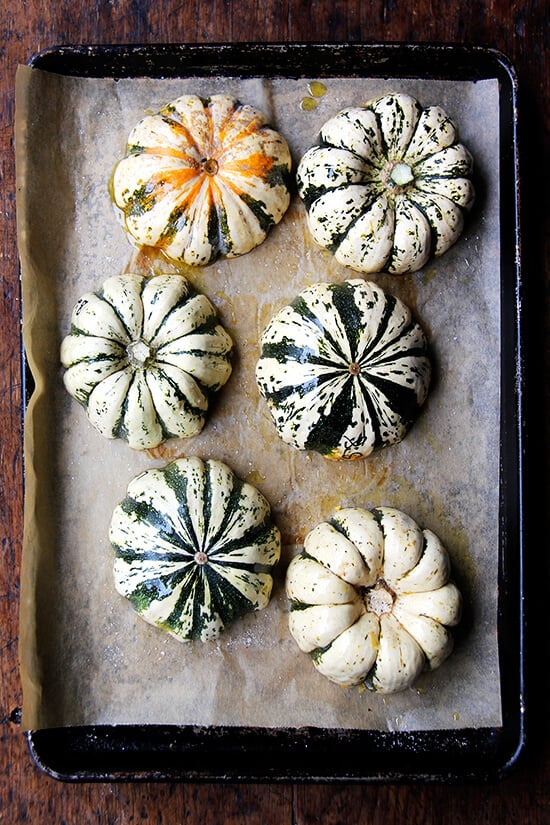
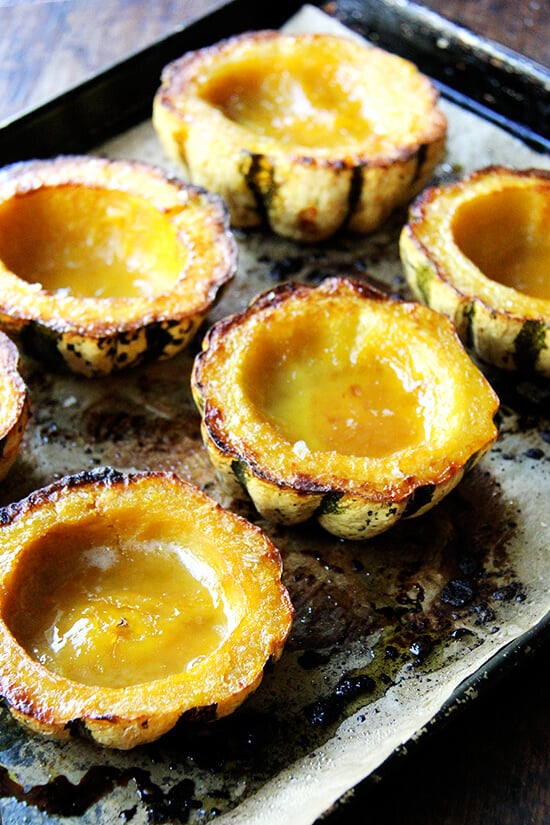
Alas. I returned from NYC to find a few acorn squash on my counter and made a recipe I had been drooling over on the train ride home. I rarely season squash with anything more than olive oil, salt and pepper, but I do love the flavor of maple, and the recipe reminded me of a roasted parsnip recipe I became addicted to last winter. The parsnip recipe called for the addition of chilies, which would be nice here, too, but the maple-butter alone is delicious. It also encouraged some nice caramelization on the top surfaces.
Description
Adapted from Dana Cowin’s Mastering My Mistakes in the Kitchen.
Notes: You can get away with using about a tablespoon of sauce in each squash half, which will leave you with plenty of sauce to repeat the recipe on the following evening. So, you could either halve the sauce recipe or make it as is and save some of it for a future evening or just go all out and use it all.
- 3 acorn squash
- extra-virgin olive oil, for rubbing the squash
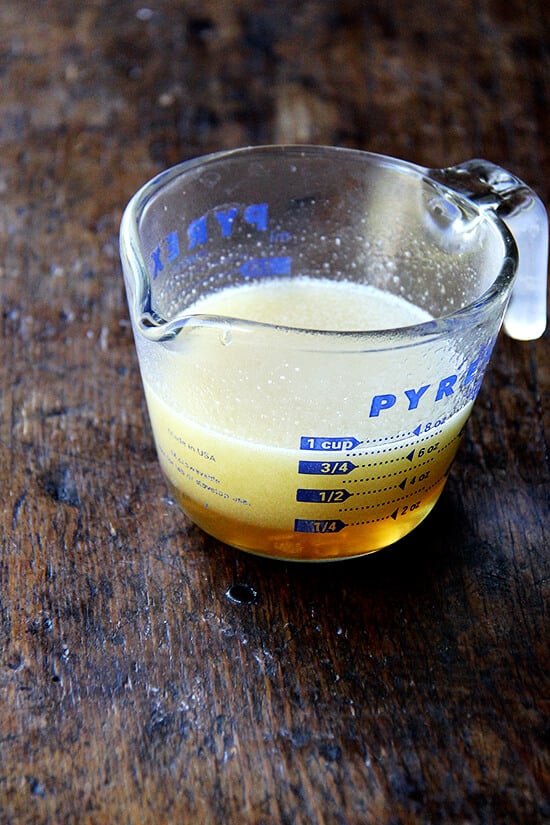
- 6 tablespoons unsalted butter, melted (see notes re halving this part of the recipe)
- 1/4 cup plus 2 tablespoons maple syrup
- 1 teaspoon ground coriander (optional, I omit because of the little people in the house)
- 3/4 teaspoon salt
- Preheat oven to 400ºF. Line a baking sheet with parchment paper.
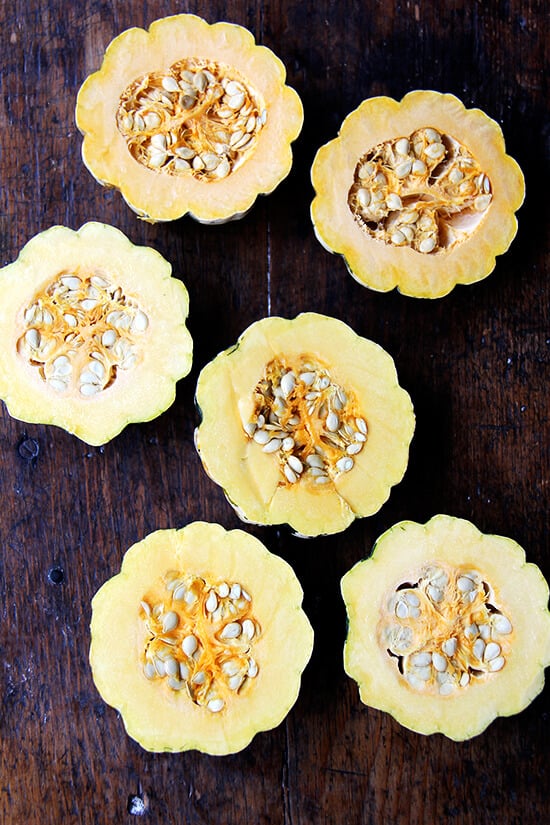
- Using a heavy chef’s knife, carefully cut each squash lengthwise in half. Using a spoon, scoop out the seeds and the stringy interior and discard. Rub the squash halves with olive oil and place them cut side down on the prepared baking sheet.
- Place the squash in the oven and bake until nearly tender (test with paring knife), about 25 minutes, rotating the baking sheet halfway through baking.
- Meanwhile, in a small bowl, stir together the butter, maple syrup, coriander (if using), and salt.
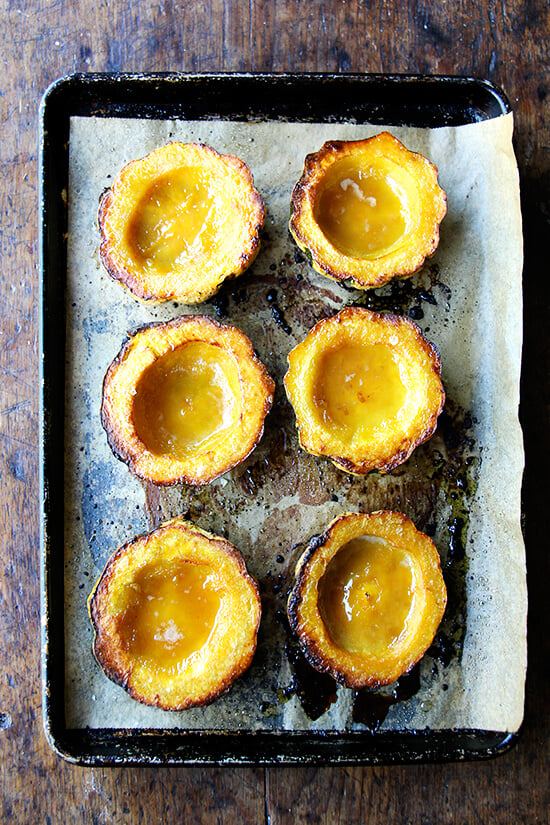
- Remove the squash from the oven, turn them cut side up and pour the maple butter evenly into the cavities — I use about a tablespoon per cavity. Return the squash to the oven and bake until it is totally tender, the maple butter is absorbed and everything is slightly caramelized, about 20 minutes longer. Serve hot. Sprinkle additional sea salt on top if necessary.
- Prep Time: 5 minutes
- Cook Time: 50 minutes
- Category: Side Dish
- Method: Roast, Oven
- Cuisine: American
