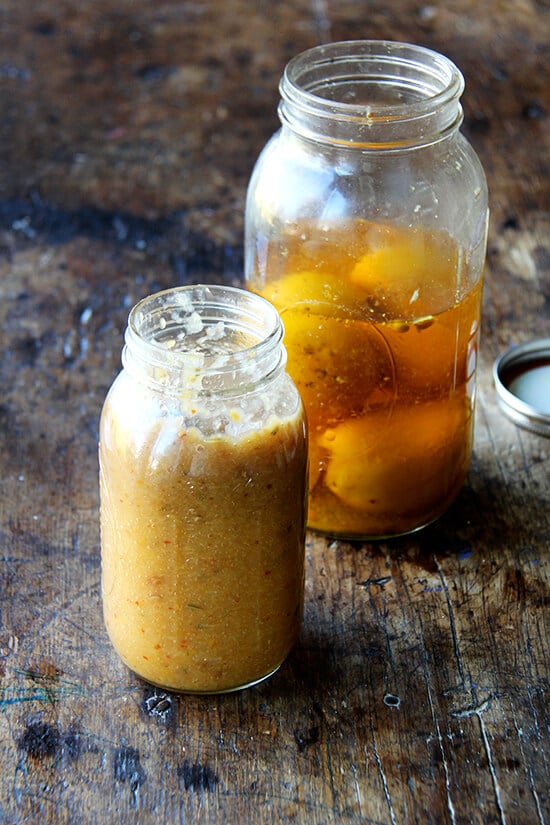
Remember those preserved lemons we made last fall ? Well, I think I’ve found my favorite use for them yet: this five-ingredient chicken, a recipe which arrived two weeks ago in my mailbox — my real, outdoor mailbox — on a 4×6-inch recipe card.
Shortly after the card, one of three, arrived, I secured it to my fridge, and I made the recipe, chicken thighs with lemon from Canal House, a day later. And then I made it the next day and the next.
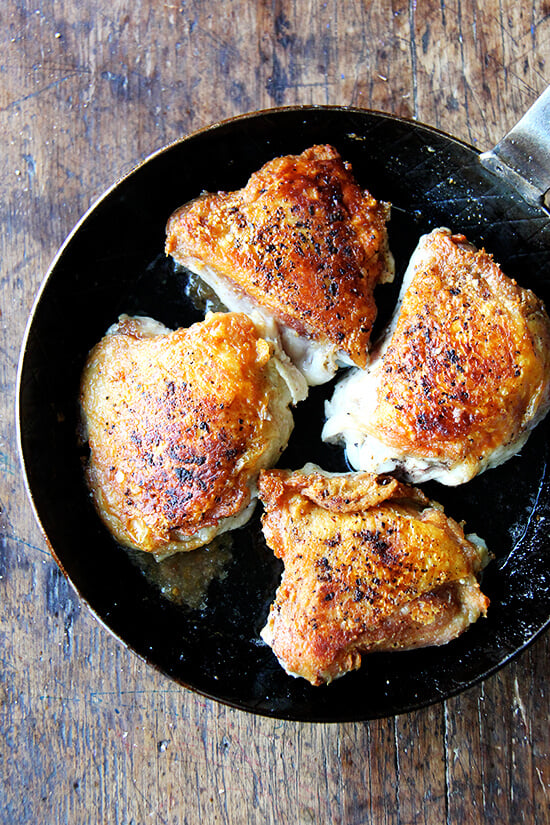
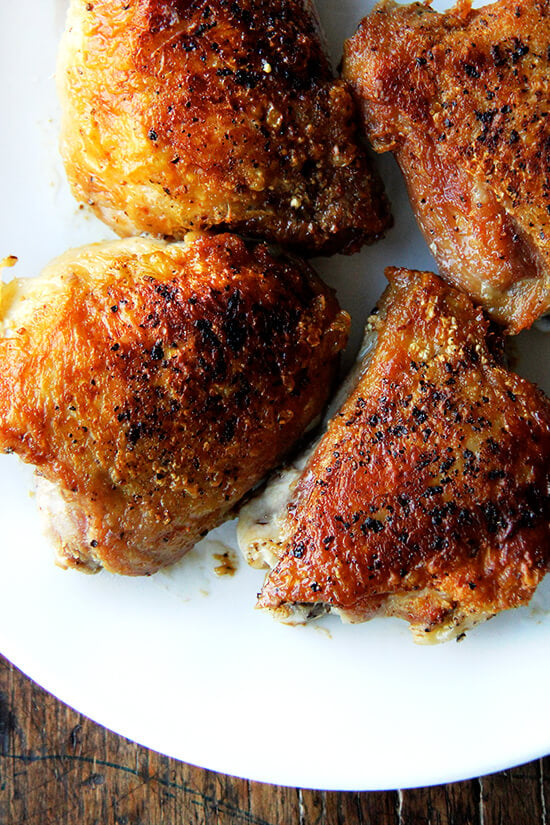
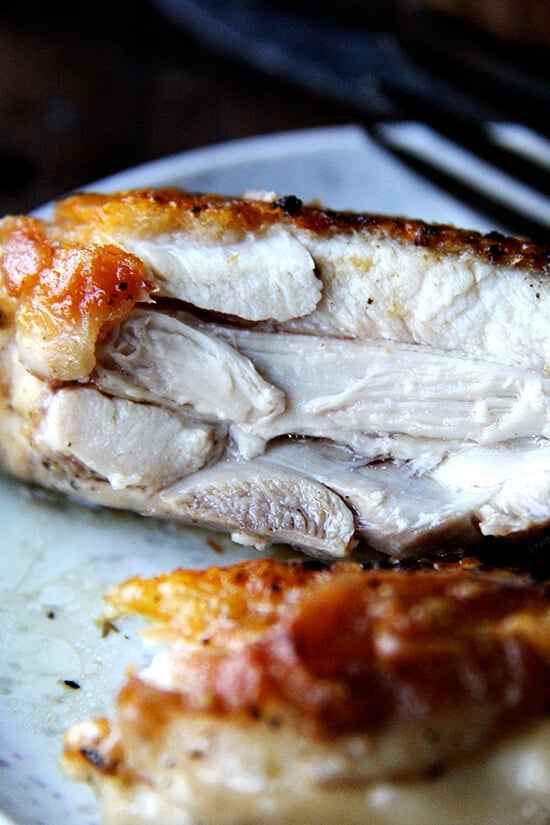
I should know by now not to be so confounded when simple meets spectacular, but one bite of these thighs left me puzzled: How can this be? How can salt, pepper and preserved lemon alone produce something so tasty? Why have I never used this method — 30 minutes skin side down, 10 minutes skin side up — to cook thighs? How can such a simple method create the crispiest skin, the juiciest meat?
If I had my way, we’d skip turkey altogether this year. This recipe is just one of many I cannot wait to have in printed form when the Genius Recipes Cookbook arrives at my door next spring. The recipe not only embodies the spirit of the Canal House ladies’ cooking, which I adore, but also captures the essence of “genius recipes,” which, in Food52’s words, “surprise us and make us rethink cooking tropes. They’re handed down by luminaries of the food world and become their legacy. They get us talking and change the way we cook. And, once we’ve folded them into our repertoires, they make us feel pretty genius too.”
Many of you likely read Kristen Miglore’s Genius Recipes column on Food52 and over the years probably have discovered a few gems of your own. A few of my favorites include Roger Vergé’s Fried Eggs with Wine Vinegar , Ideas in Food’s Korean-Style Chicken Wings , Kevin Gillespie’s Barbecue Chicken with Alabama White Barbecue Sauce , and Cook’s Illustrated Blondies .
If you want in on the book’s sneak preview fun, order a copy today, and when those three little cards arrive at your door, email me the recipes? But make this chicken first.
Description
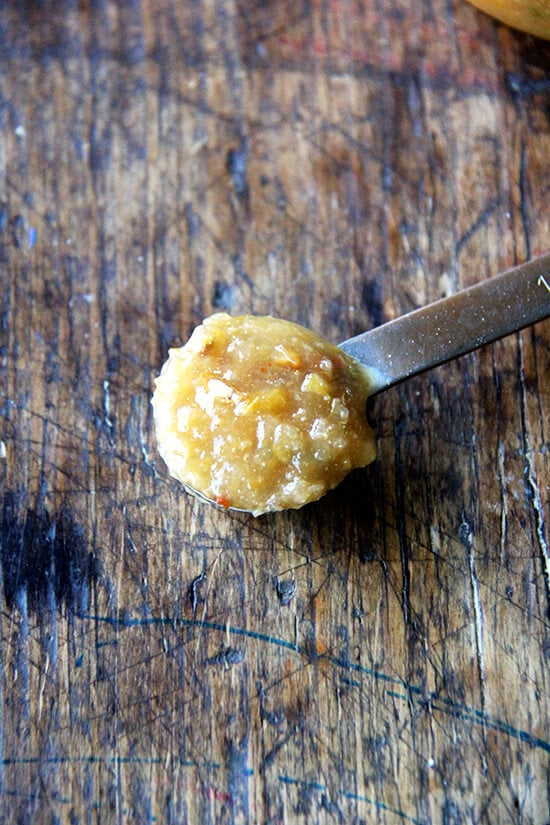
Notes: You may recall, after I took my Moroccan Cooking Class last fall, I puréed my batch of preserved lemons , which is what the chef of Tara Kitchen does. If you did this as well, start with a teaspoon of the purée and add more if necessary. The beauty of the purée is that it dissolves so nicely into whatever it is being used.
- 1 to 2 tablespoon olive oil (I use grapeseed)
- 4 to 8 chicken thighs
- kosher salt and pepper to taste
- 1/2 rind of a preserved lemon , finely chopped (see notes above for using purée)
- lemon wedges for serving
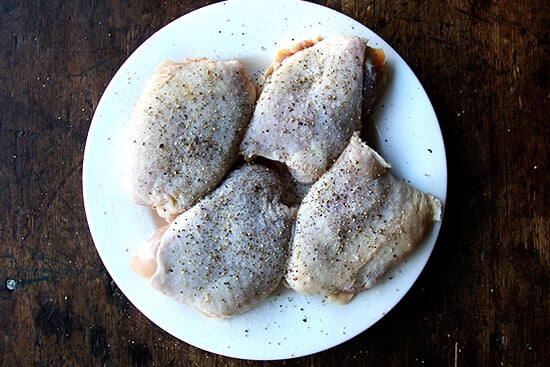
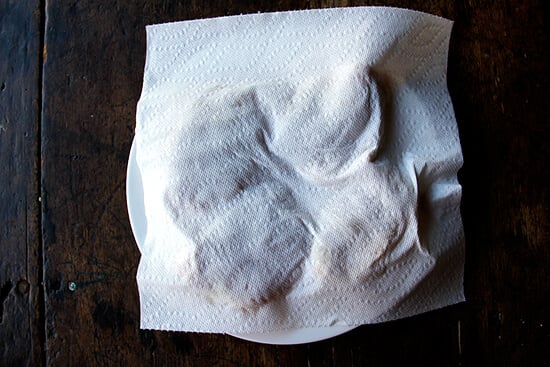
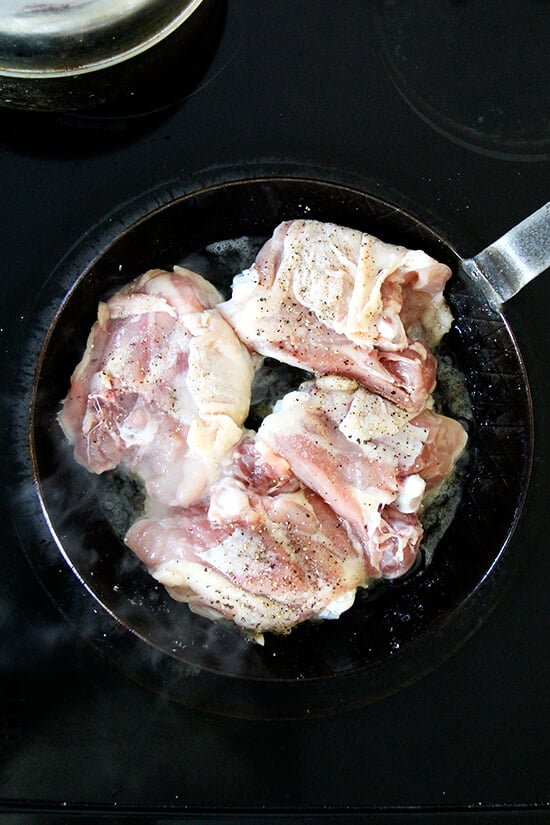
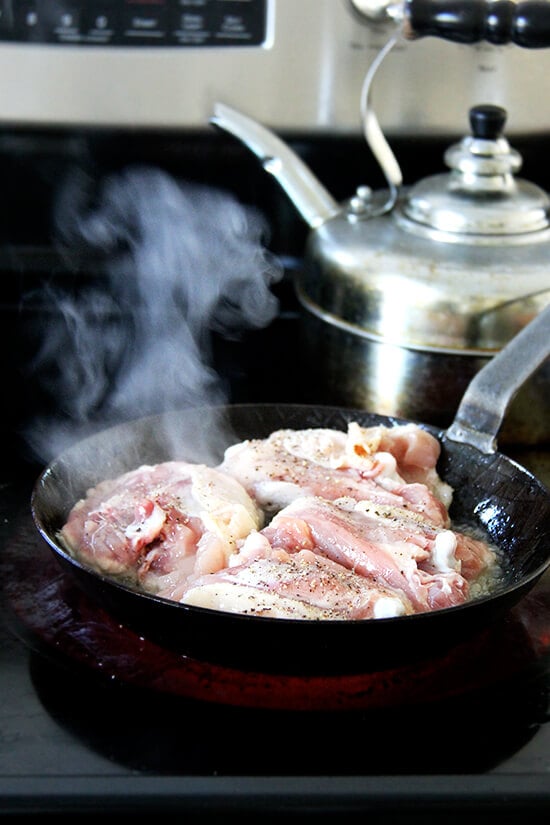
- Put the olive oil in a large, heavy skillet over medium heat. (If you are using 8 thighs, I suggest using two pans, with 1 tablespoon of oil in each.) Pat the chicken dry — don’t skip this as this will help it brown and not stick. Season generously with salt and pepper on both sides. When the oil is hot, place the thighs in the skillet, skin side down.
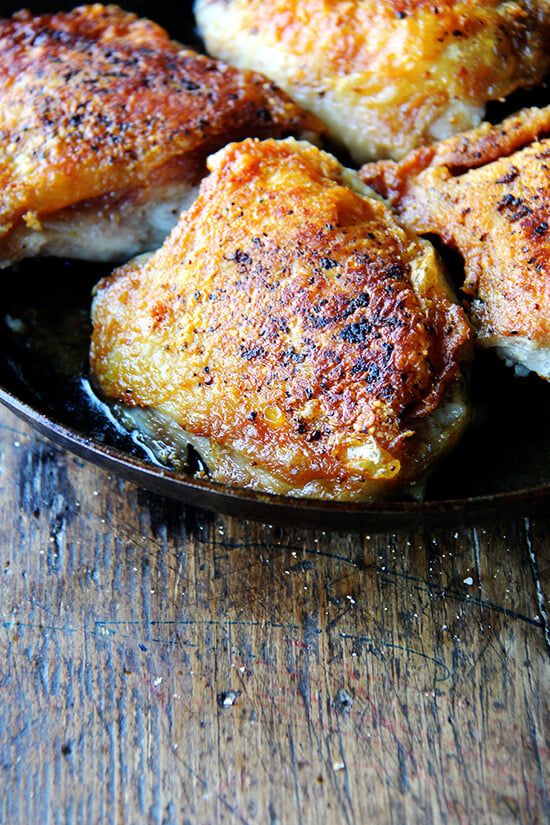
- Cook them like this without moving them, until the fat has rendered out and the skin is deep golden brown and crisp, 15 to 30 minutes. Fiddle with the heat, reducing it to medium-low if the skin begins to burn before it gets evenly golden brown. I keep my temperature at medium low, and the thighs almost always take 25 minutes to get deeply golden brown.
- Turn the thighs over and stir the preserved lemon rind (or purée) into the fat in the skillet. Continue cooking the thighs until the meat closest to the bone is cooked through, about 8 to 15 minutes longer, depending on the size of the thighs and the temperature of the skillet. Taste the sauce. Add more preserved lemon purée or rind if desired. Let the thighs rest five minutes before serving. Serve the thighs and lemony pan drippings with the lemon wedges. (I always forget the wedges…the sauce is so good on its own.)
- Prep Time: 5 minutes
- Cook Time: 40 minutes
- Category: Chicken
- Method: Stovetop
- Cuisine: American
Description
Notes: You may recall, after I took my Moroccan Cooking Class last fall, I puréed my batch of preserved lemons , which is what the chef of Tara Kitchen does. If you did this as well, start with a teaspoon of the purée and add more if necessary. The beauty of the purée is that it dissolves so nicely into whatever it is being used.
- 1 to 2 tablespoon olive oil (I use grapeseed)
- 4 to 8 chicken thighs
- kosher salt and pepper to taste
- 1/2 rind of a preserved lemon , finely chopped (see notes above for using purée)
- lemon wedges for serving
- Put the olive oil in a large, heavy skillet over medium heat. (If you are using 8 thighs, I suggest using two pans, with 1 tablespoon of oil in each.) Pat the chicken dry — don’t skip this as this will help it brown and not stick. Season generously with salt and pepper on both sides. When the oil is hot, place the thighs in the skillet, skin side down.
- Cook them like this without moving them, until the fat has rendered out and the skin is deep golden brown and crisp, 15 to 30 minutes. Fiddle with the heat, reducing it to medium-low if the skin begins to burn before it gets evenly golden brown. I keep my temperature at medium low, and the thighs almost always take 25 minutes to get deeply golden brown.
- Turn the thighs over and stir the preserved lemon rind (or purée) into the fat in the skillet. Continue cooking the thighs until the meat closest to the bone is cooked through, about 8 to 15 minutes longer, depending on the size of the thighs and the temperature of the skillet. Taste the sauce. Add more preserved lemon purée or rind if desired. Let the thighs rest five minutes before serving. Serve the thighs and lemony pan drippings with the lemon wedges. (I always forget the wedges…the sauce is so good on its own.)
- Prep Time: 5 minutes
- Cook Time: 40 minutes
- Category: Chicken
- Method: Stovetop
- Cuisine: American
Find it online : https://alexandracooks.com/2014/11/18/genius-chicken-lemon-canal-house/


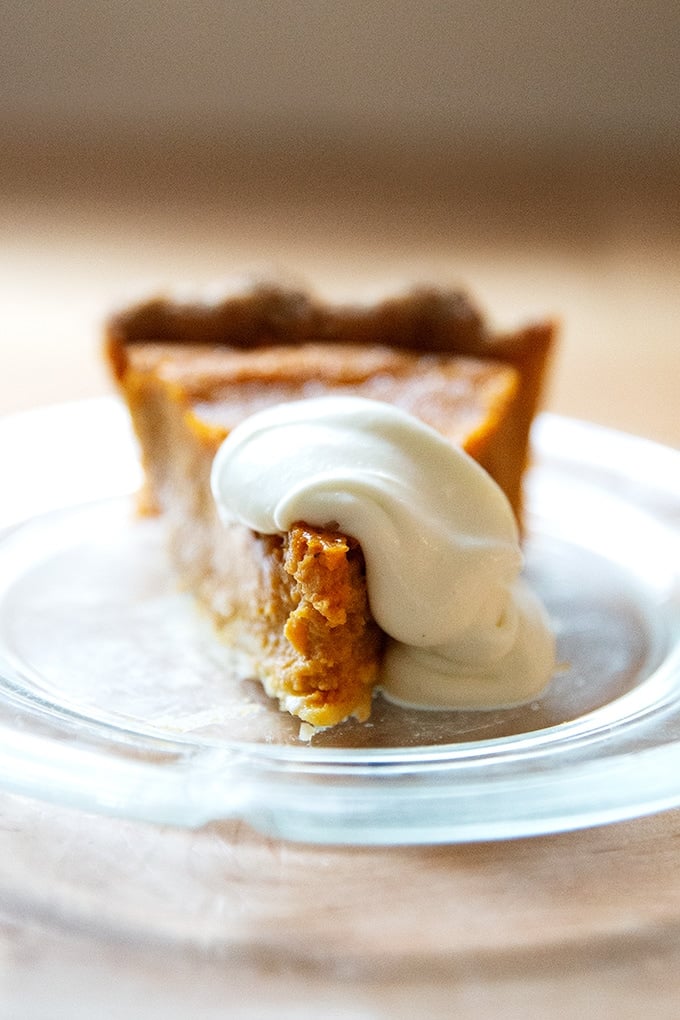
Here me out: the best pumpkin pie does not start with a can. It’s made from homemade roasted and puréed butternut squash, which takes barely any effort. I promise you this roasted butternut squash pie will be the best pumpkin pie you ever make.

In Kristin Kimball’s The Dirty Life , Kristin writes: “Pumpkin shmumpkin, winter squash has more flavor and better texture.”
So true. I have been making this squash pie with butternut squash for nearly a decade now, and it always receives rave reviews.
Are you skeptical about switching up your pumpkin pie routine?
Consider this: Would you agree that butternut squash makes the silkiest soup and the creamiest pasta sauce ? For these same reasons, it makes the most custardy “pumpkin” pie.
Don’t let the work of roasting a butternut squash deter you. Dare I say it? It’s easy as pie! How many times do you roast a squash over the course of a winter? You can do it in your sleep.
I promise you: If you forget the pumpkin this year, you won’t be disappointed.
How to Make Roasted Butternut Squash Pie, Step by Step
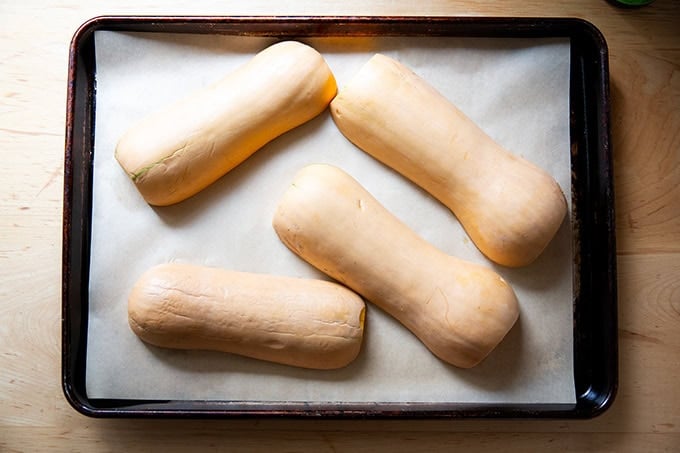
First, you’ll need to roast the butternut squash:
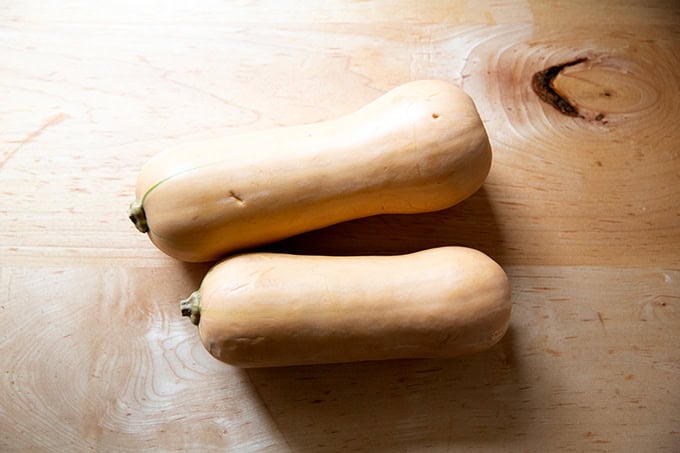
Halve one to two lengthwise, scoop out the seeds, rub the cut surface lightly with olive oil, and place on a parchment-lined sheet pan:
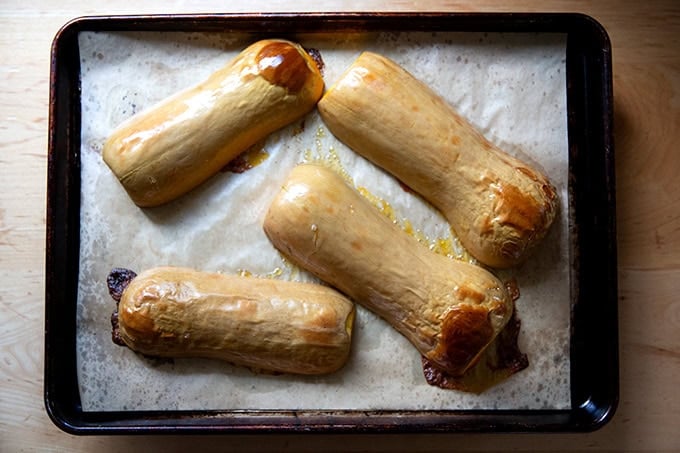
Roast until the flesh is knife tender, 45-60 minutes depending on the size of the squash:
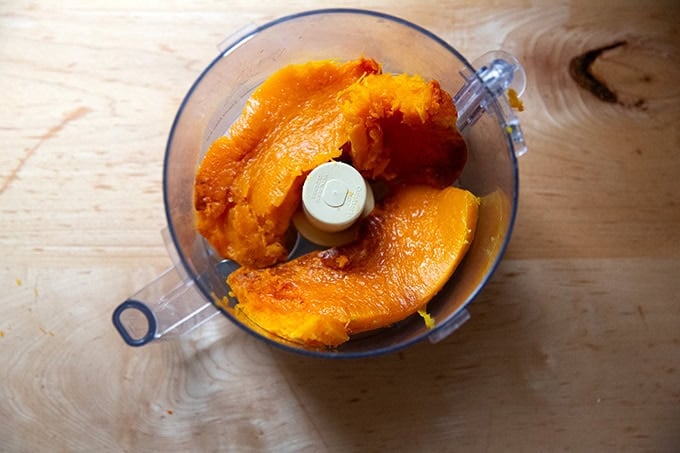
Let cool briefly, then scoop the flesh into a food processor:
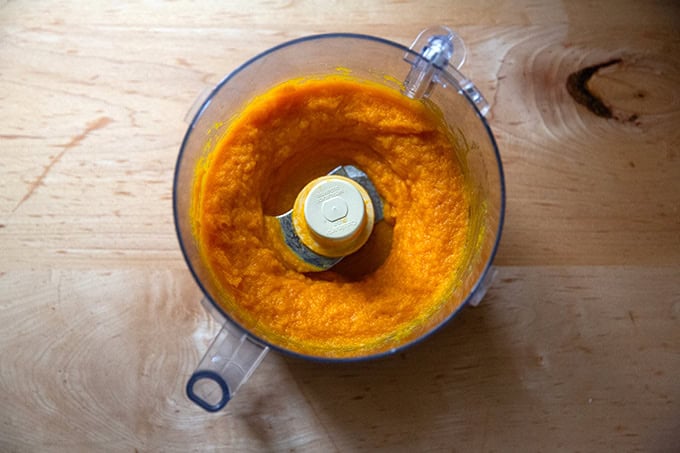
Purée until smooth:
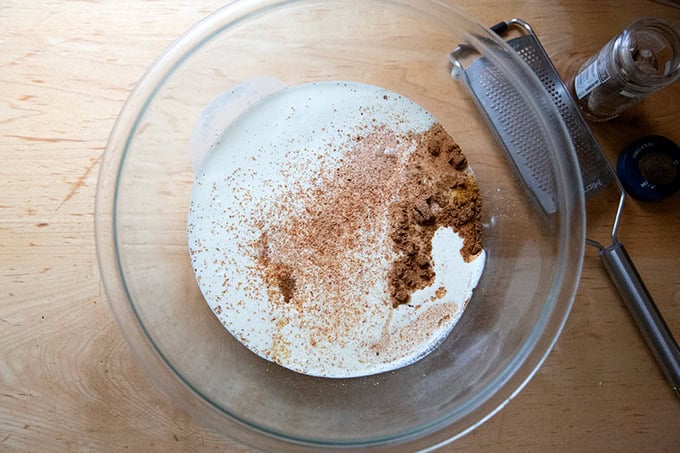
I make the filling, combine eggs, sugar, heavy cream, salt, and spices in a large bowl:
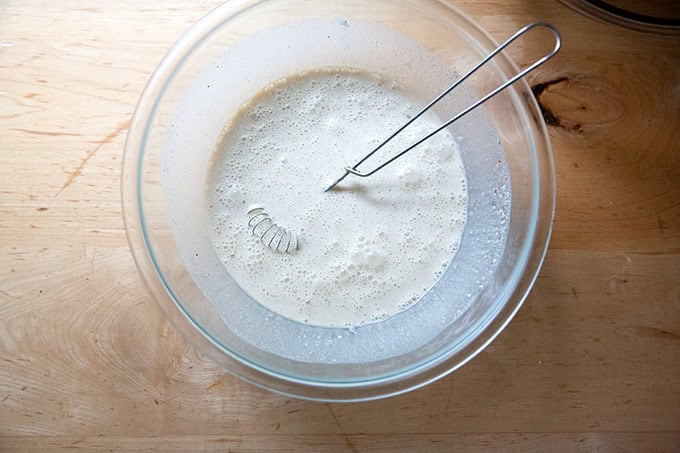
Whisk until smooth:
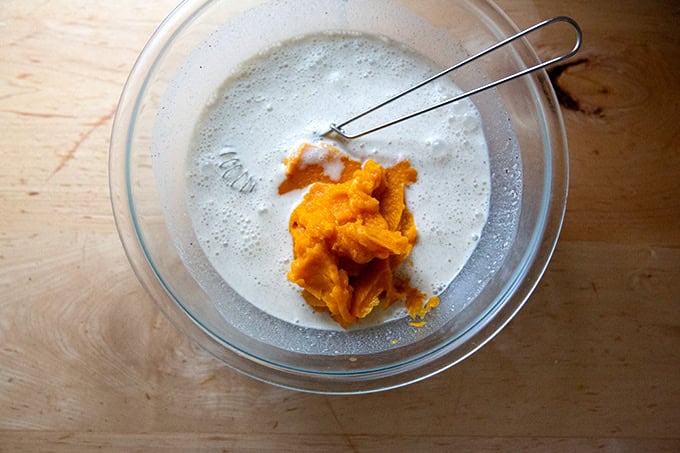
Then add 2 cups of the butternut squash purée:
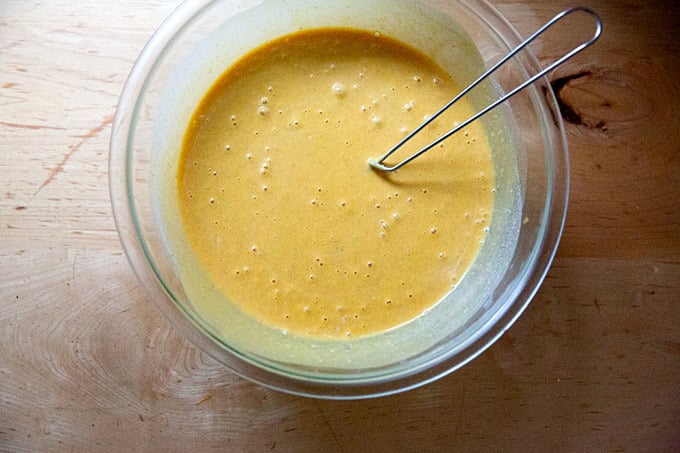
Whisk again until smooth:
For this pie, you’ll need one parbaked pie crust. See this recipe post for a how-to:
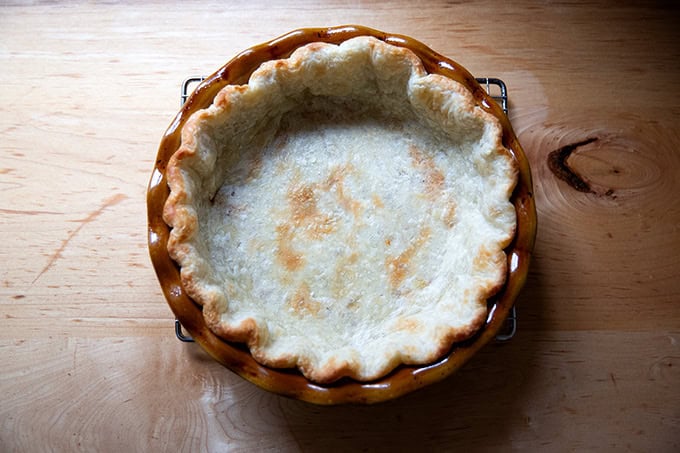
Place the pie crust on a parchment-lined sheet pan and pour in the butternut squash filling:
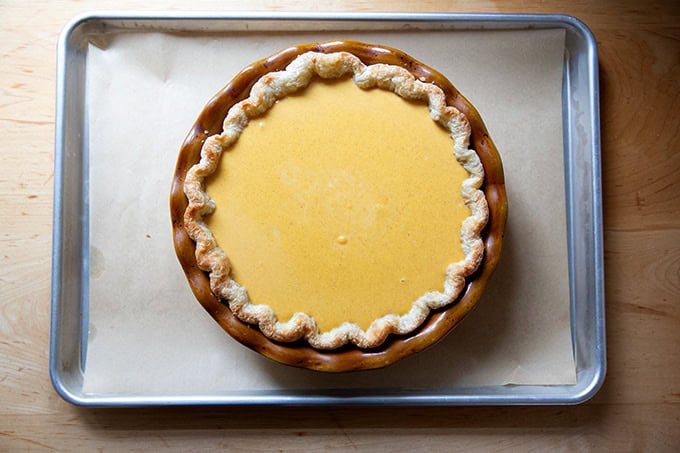
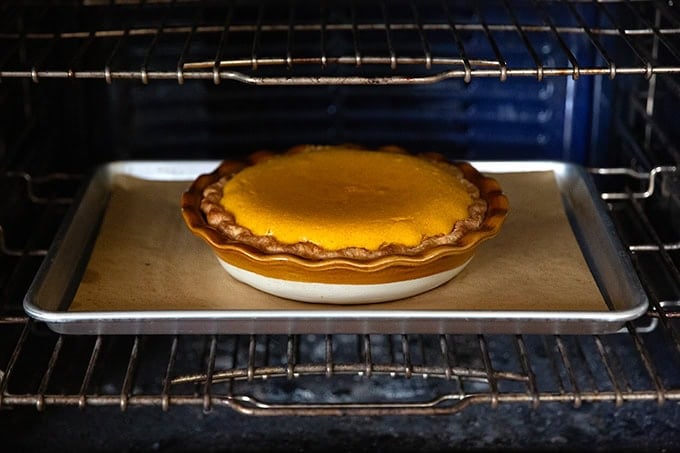
Bake for about an hour or until the edges feel set and the center feels slightly jiggly:
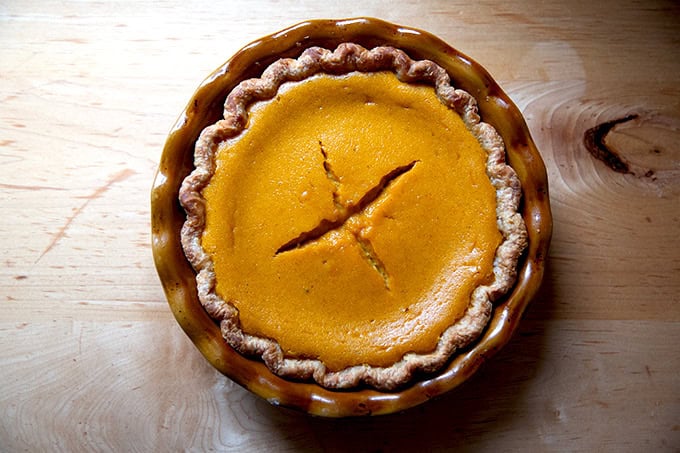
Let cool completely… see recipe box regarding cracks:
Decorate with pie crust cookies , if you wish:
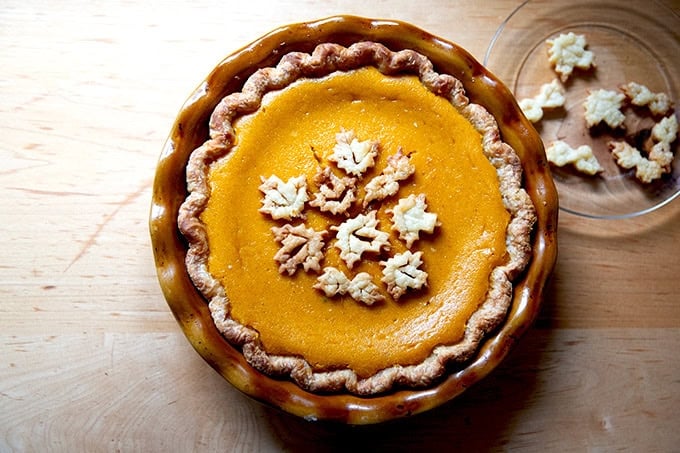
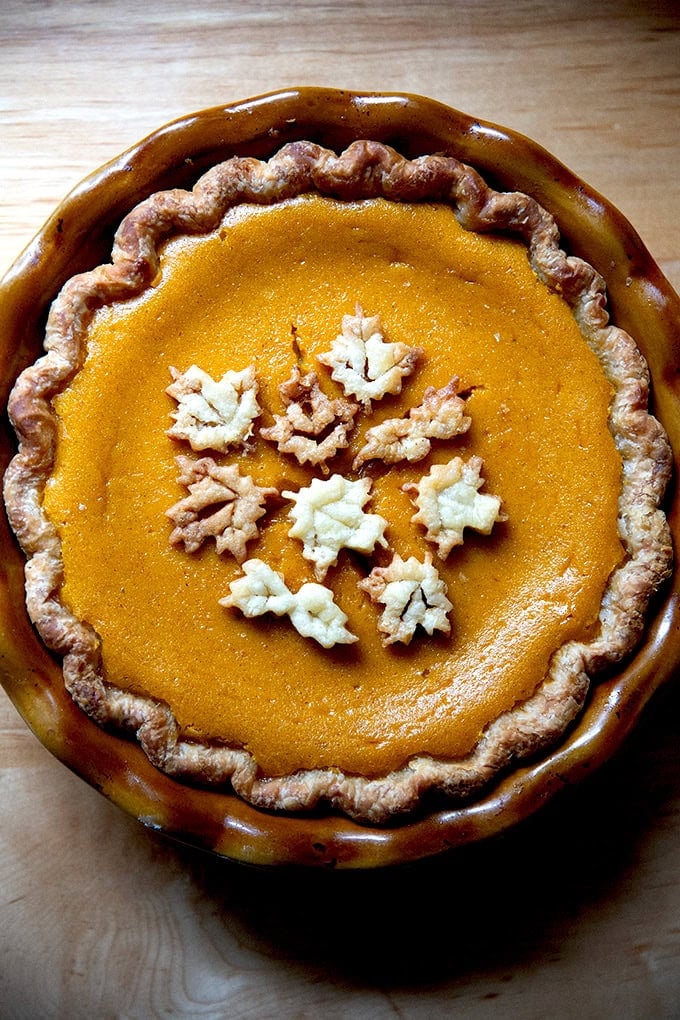
Cut and serve.

Description
Pumpkin shpumpkin! A roasted butternut squash purée makes the silkiest, smoothest, tastiest pumpkin pie you can imagine.
Notes:
- For a more visual guide to making the pie dough, rolling it out, and crimping the edges, watch the video below .
- I love my Emile Henry pie plate (similar to this one ).
- Also, if you cannot muster the energy to roast a butternut squash — but please please try…you won’t be disappointed — you can use one 15-oz can of pumpkin purée in place of the 2 cups of squash purée.
- One medium butternut squash (2 lb. 10oz) yields about 3 cups purée.
- On Cracking : More often than not, my butternut squash pie will crack after it has finished baking. I have researched why this happens and consistently have found two answers: overcooking and cooling too quickly. The solutions? Do not over-bake the pie; do not let it cool too quickly. I have tried both: I test the custard with an instant-read thermometer and end the baking when it reaches 175ºF. I turn the oven off after the pie has reached 175ºF, crack the oven door, and let the pie cool slowly. No matter what I do, the pie cracks. My solution:
- Pie Crust Cookies
For the pie crust:
- Homemade Pie Dough (one parbaked shell)
For the pie:
- 1 medium butternut squash, about 2.5 lbs or enough to yield 2 cups of purée, see notes above
- 1 1/2 cups heavy cream
- 3 eggs, beaten
- 3/4 cup sugar
- 1 teaspoon cinnamon
- 1/2 teaspoon ginger
- 1/2 teaspoon salt
- 1/2 teaspoon freshly ground or powdered nutmeg
- 1/8 teaspoon ground cloves (I omit)
For the whipped cream:
- 1 cup heavy cream
- confectioners’ sugar
- flaky sea salt, such as Maldon
- Preheat the oven to 400ºF.
- Halve and clean the butternut squash, rub the flesh lightly with olive oil, and bake on a parchment-lined baking sheet, cut-side down, until very soft, about an hour (but start checking after 45 minutes).
- Lower the oven temperature to 350ºF.
- When the squash is cool enough to handle, scoop out the flesh, transfer it to a food processor, and puree until smooth. Measure out 2 cups. In a large bowl, whisk together the eggs, cream, salt, sugar, and spices. Whisk in the squash.
- Place the parbaked pie shell on a parchment-lined baking sheet. Add the squash mixture to the pie shell and bake at 350ºF for 55 to 65 minutes or until the center is barely set. Let cool completely before serving.
- To make the salted whipped cream: Whip heavy cream in the bowl of a stand mixer until soft peaks begin to form. (You can do this by hand, too, with a bowl and whisk.) Add confectioner’s sugar — start with 1/4 cup and add more to taste. Add a big pinch of sea salt and beat until the peaks begin getting firmer. Taste — the mixture should be slightly sweet and the salt should be noticeable, though the whipped cream should not taste salty.
- Prep Time: 25 minutes
- Cook Time: 1 hours 45 minutes
- Category: Dessert
- Method: bake
- Cuisine: American
