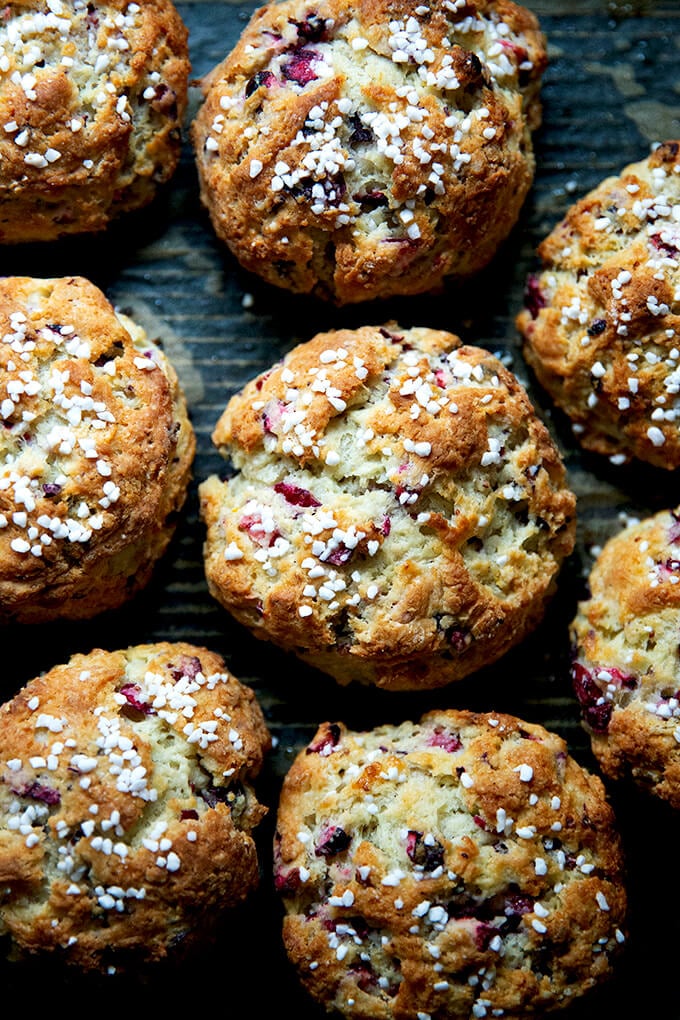
Buttery, flaky, and festive — I can’t think of a better way to start a winter morning than with these buttermilk cranberry “snow” scones. Pearl sugar on top is especially pretty, but regular sugar works just as well, too. The scone dough can be frozen, so don’t be afraid to make it ahead of time.

Why mess with a good thing?
Tartine Bakery’s buttermilk scone recipe, which I have made 1000 times, produces a tender, buttery scone, perfectly sweet and nicely salted, with an irresistible sugar-topped crust.
I make them as directed in the Tartine Baker y cookbook , studded either with currants or blueberries . This year, I swapped in fresh cranberries for the fruit and orange zest for the lemon. A sprinkling of Swedish pearl sugar just before popping them in the oven made for a festive finish.
The result? So pretty! So delicious!
How to Make Cranberry-Orange Scones, Step-by-Step
First, prepare your fruit. In this recipe, you’ll pulse a cup of fresh cranberries in the food processor about 10 times or until …
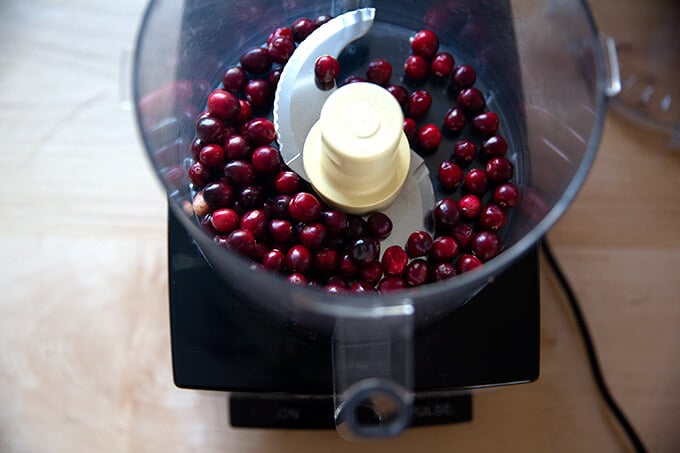
… the cranberries are coarsely chopped:

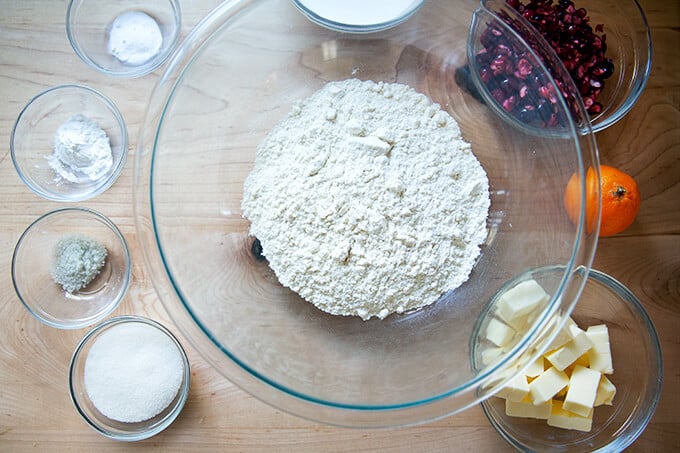
Then gather the remaining ingredients:
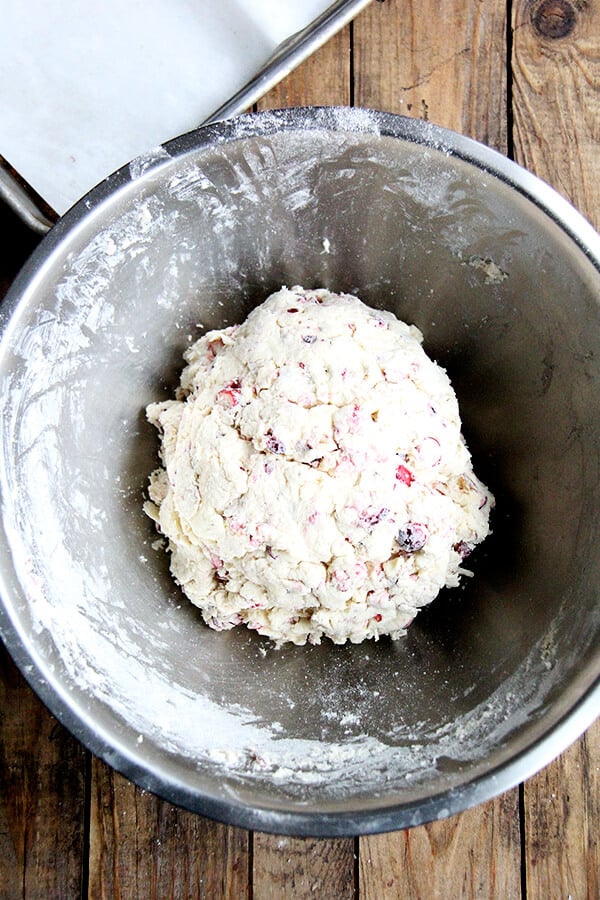
Mix together the dough; then…

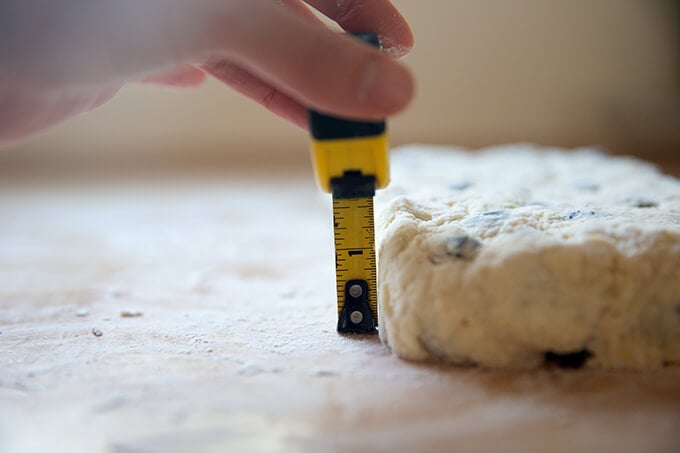
Turn it out onto a floured work surface and pat it roughly into a 9×5-inch rectangle.
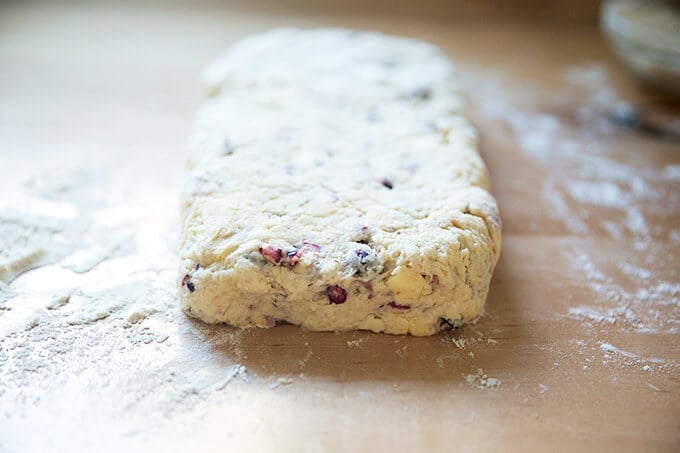
It should be about 1.5 inches thick.
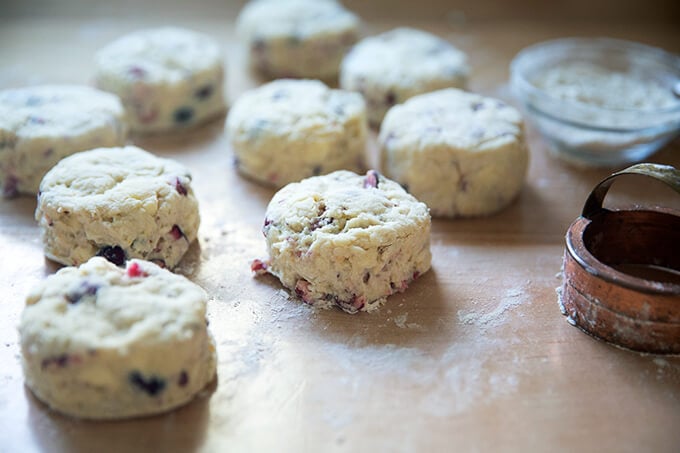
Cut the dough into rounds or triangles or rectangles — whatever shape you like best. Re-roll the scraps until all of the dough is portioned.
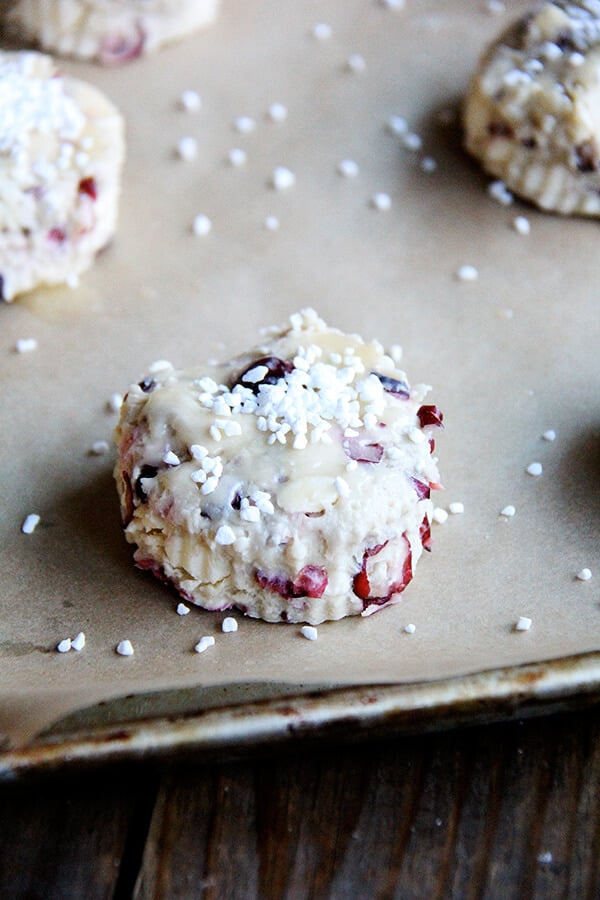
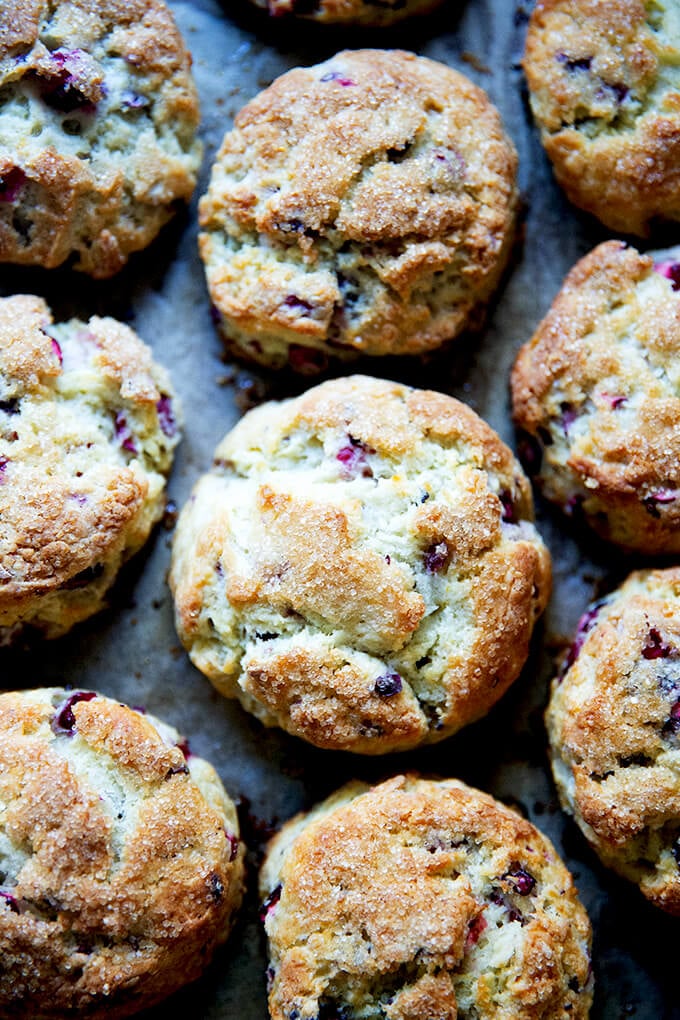
Brush the tops with butter , then sprinkle with either turbinado or pearl sugar .
Bake on a double sheet pan to ensure the bottoms of the scones don’t brown too quickly:
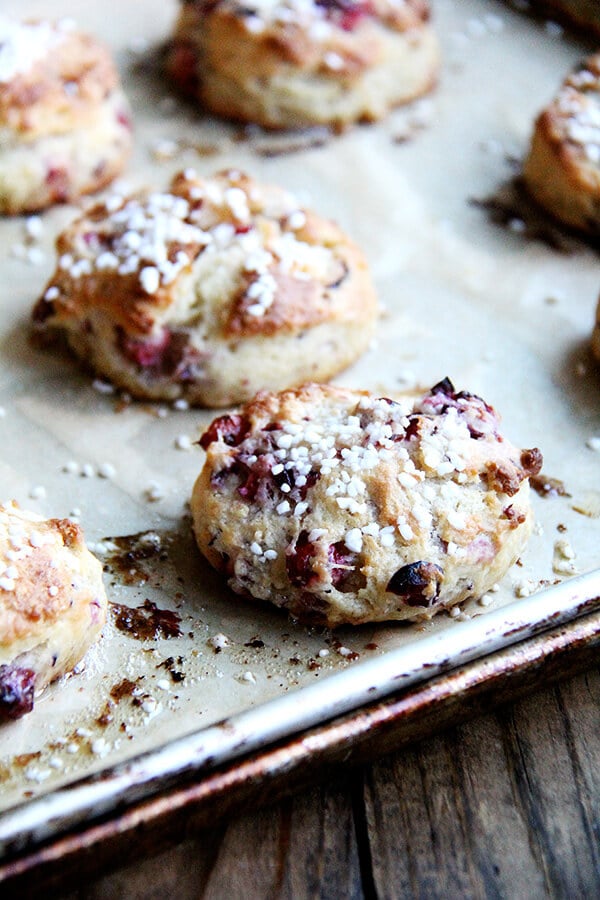
Truly: I find the turbinado sugar-topped scones to be tastier than the pearl sugar-topped scones, and they’re very pretty as well:
Description
Buttery, flaky, and festive — I can’t think of a better way to start a winter morning than with these buttermilk cranberry “snow” scones. Pearl sugar on top is especially pretty, but regular sugar works just fine, too. The scone dough can be frozen, so don’t be afraid to make it ahead of time.
Adapted from Tartine’s most delicious recipe for blueberry scones and currant scones .
As always, for best results, use a digital scale to measure.
Sugar: Pearl sugar can be hard to find. I often order it these days . As noted in the post, while pearl sugar is pretty, turbinado sugar makes for a tastier crust.
To freeze: After you place the scones on a sheet pan, transfer them to the freezer. Freeze until solid; then transfer the scones to an airtight container or bag. When you are ready to bake, there’s no need to thaw them. Bake as directed below straight from the freezer. (Brust with butter and sprinkle with sugar before baking.) The scones shouldn’t take much longer to bake from frozen, but keep an eye on them at the 20-minute mark.
To make your own buttermilk:
- Place 1 tablespoon of vinegar or lemon juice in a liquid measuring cup.
- Fill cup with milk (2% or whole is best) until it reaches the 1-cup line.
- Let stand for five minutes. Use as directed.
- 1 cup ( 102 g ) fresh cranberries
- 2 3/8 cups ( 304 g ) all-purpose flour
- 1.5 teaspoons ( 5 g ) baking powder
- 0.5 teaspoon ( 3 g ) baking soda
- 1/4 cup ( 55 g ) sugar
- 1 teaspoon ( 6 g ) salt
- 1 teaspoon (5ml) grated orange zest, optional
- 1/2 cup plus 1 tablespoon ( 130 g ) cold, unsalted butter
- 1 cup ( 240 g ) buttermilk, plus more as needed
- 1.5 tablespoons melted butter
- sugar for sprinkling: pearl sugar is pretty if you have it, but turbinado (or other) sugar is tastier, see notes above
- Preheat the oven to 400ºF. Line a rimmed baking sheet with parchment paper. Pulse the cranberries briefly in a food processor: ten 1-second pulses should do it. Reference photo for size.
- Whisk together flour, baking powder, baking soda, sugar, salt, and orange zest (if using). Cut the butter into ½-inch cubes and scatter the cubes over the dry ingredients. Use a pastry blender or the back of a fork to cut the butter into the dry ingredients. When you are finished, the butter should be dispersed throughout the flour in pea-sized lumps.
- Add the buttermilk and the cranberries, and mix gently with a wooden spoon or spatula just until the dough holds together. If the mixture seems dry, add a tablespoon more buttermilk (or more as needed). If necessary, knead gently with your hands to help the dough come together.
- Dust your work surface with flour and turn the dough out onto it. Using your hands, pat the dough into a rectangle about 1½ inches thick. Using a biscuit cutter or any round cutter (I use a 2.5-inch biscuit cutter), cut each disk into about 8 circles. Gather the scraps together and repeat. Transfer scones to prepared sheet pan. (I like to chill my scones for 20 minutes at this point before baking them; you also can freeze the scones at this point — see notes above.) Brush the top with melted butter. Sprinkle with sugar. Note: You also can cut these into triangles, which is easier.
- I like to place the pan on another rimmed baking sheet because often the bottom of my scones burn, but if you don’t have issues with your baking sheets, just use one sheet. Bake until the tops of the scones are lightly browned, about 20 minutes. Remove from the oven, let cool briefly, then serve with butter on the side.
- Prep Time: 30 minutes
- Cook Time: 20 minutes
- Category: Breakfast
- Method: Oven
- Cuisine: American, Britisih
Find it online : https://alexandracooks.com/2015/12/22/cranberry-snow-scones/


Shortly after receiving the disheartening letter from our pal Sweet Potato, I received an enlightening email from my aunt’s long-time vegetarian friend, Meg, who passed along one of her favorite recipes: sweet potato quesadillas. The timing, just a day before I picked up my first winter CSA share , which included many pounds of sweet potatoes, couldn’t have been better.
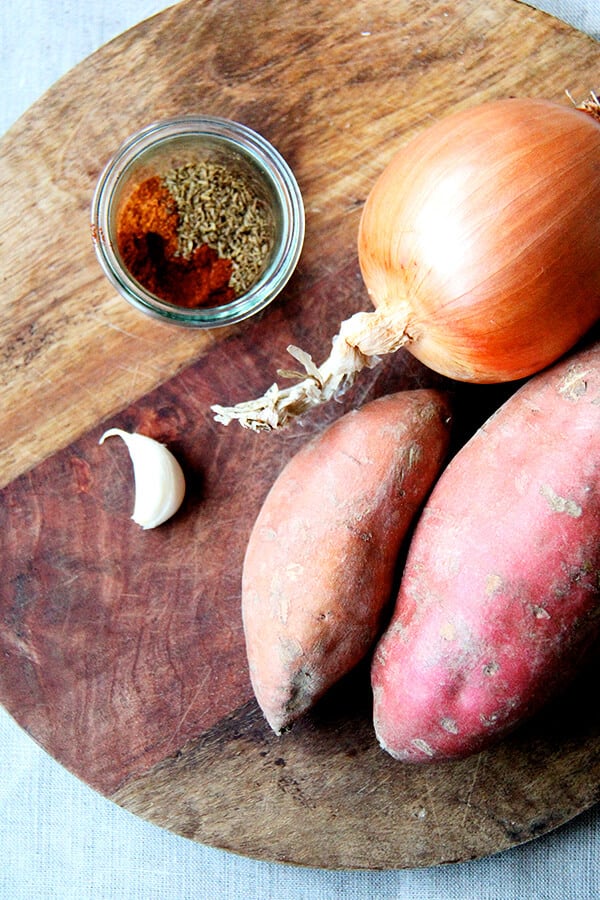
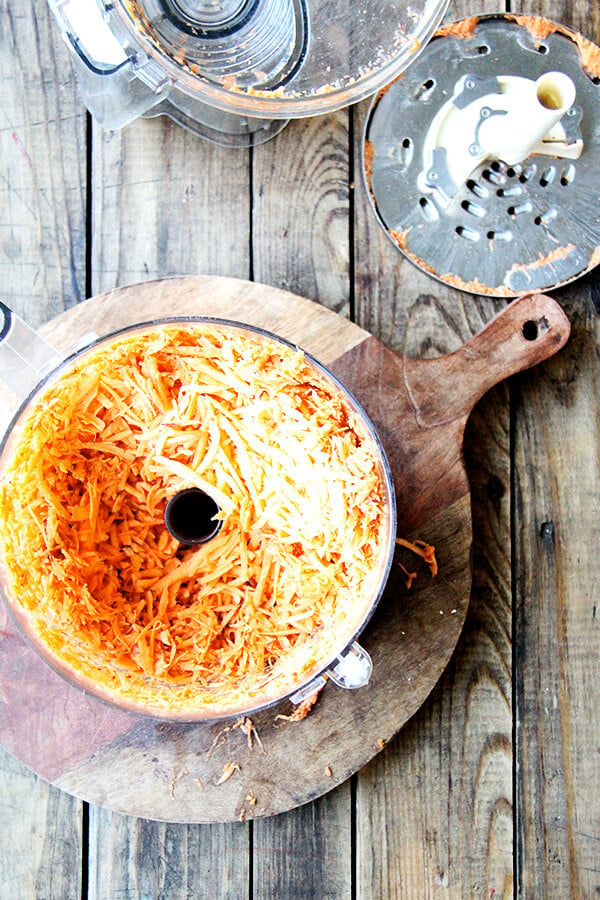
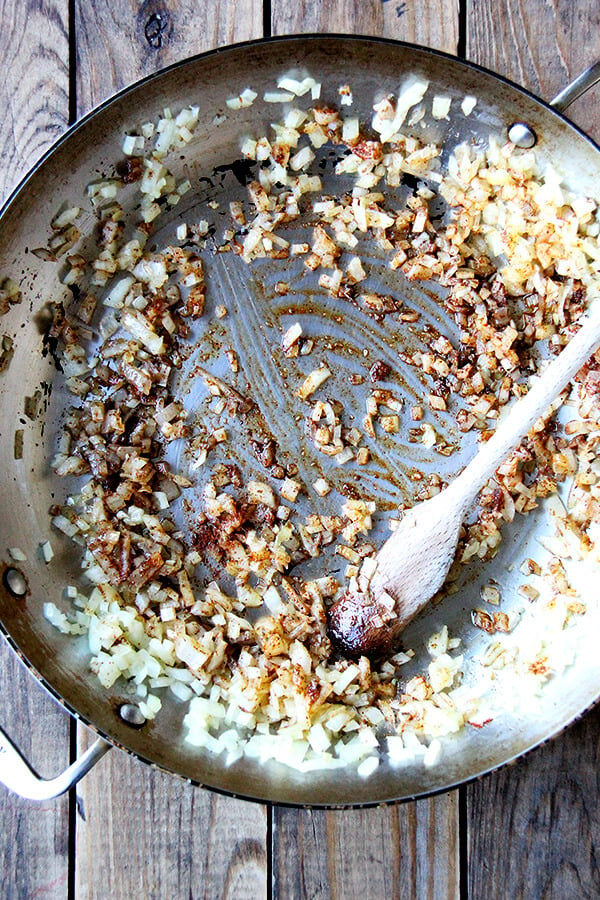
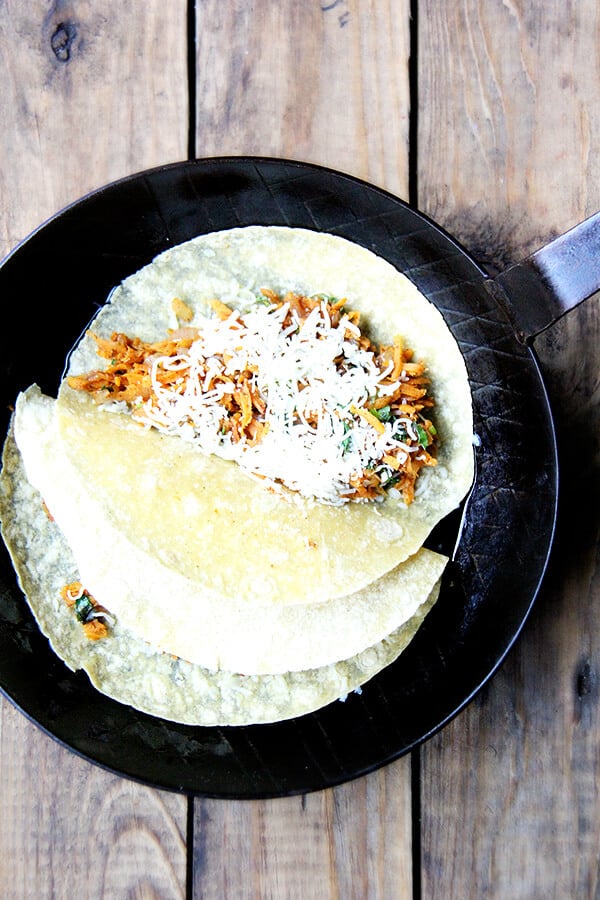
Friends, these quesadillas have become one of my favorite things to eat. The filling, a mix of sautéed onions, grated sweet potatoes and spices (cumin, oregano, cayenne, and chili powder), comes together quickly with the help of a food processor’s shredder attachment and keeps well in the fridge, making for quick preparation at the dinner hour.
Most often I make quesadillas with the filling, though I have discovered it makes a fantastic breakfast taco: scramble some eggs, fry up the filling, tuck it all inside a warm tortilla with cheese and hot sauce. Heaven. Thank you, Meg!

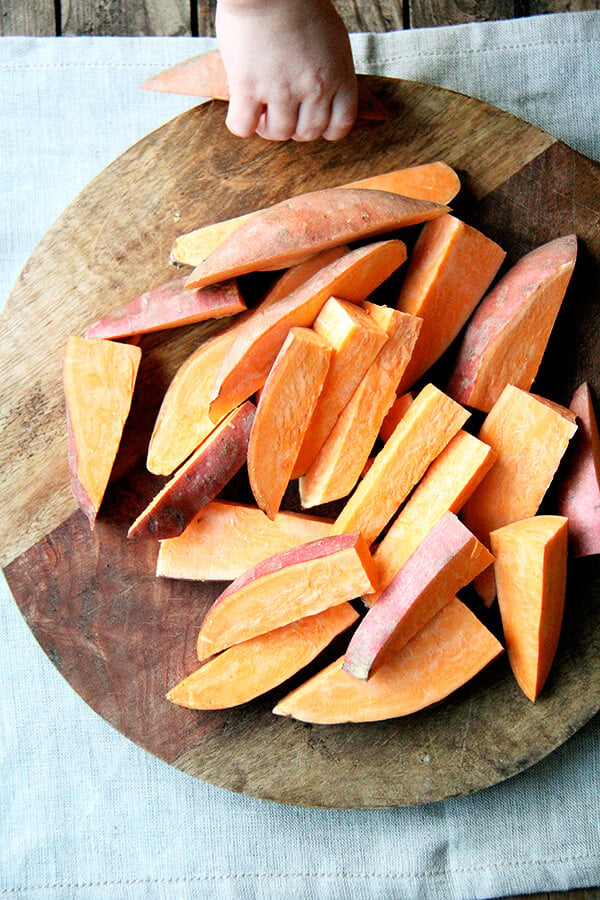
You can peel the sweet potatoes if you wish, or just give them a good scrub:
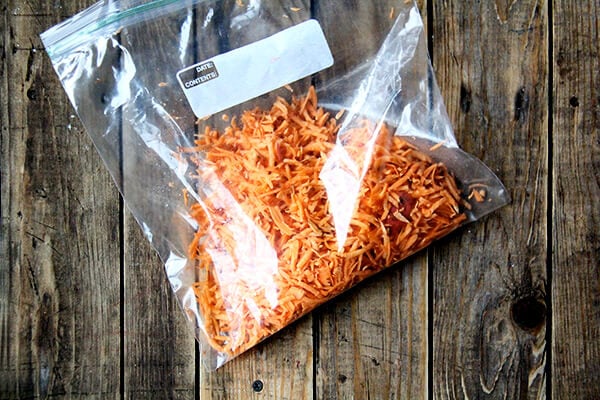
Extra grated sweet potatoes can be stored in the fridge in a bag for about a week without any discoloration:

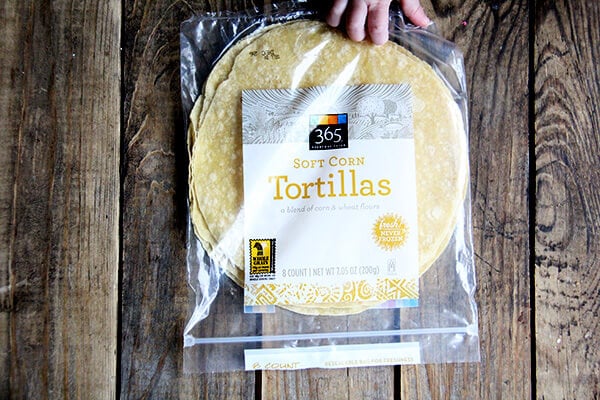
I’ve mentioned these soft corn tortillas before. I love them:
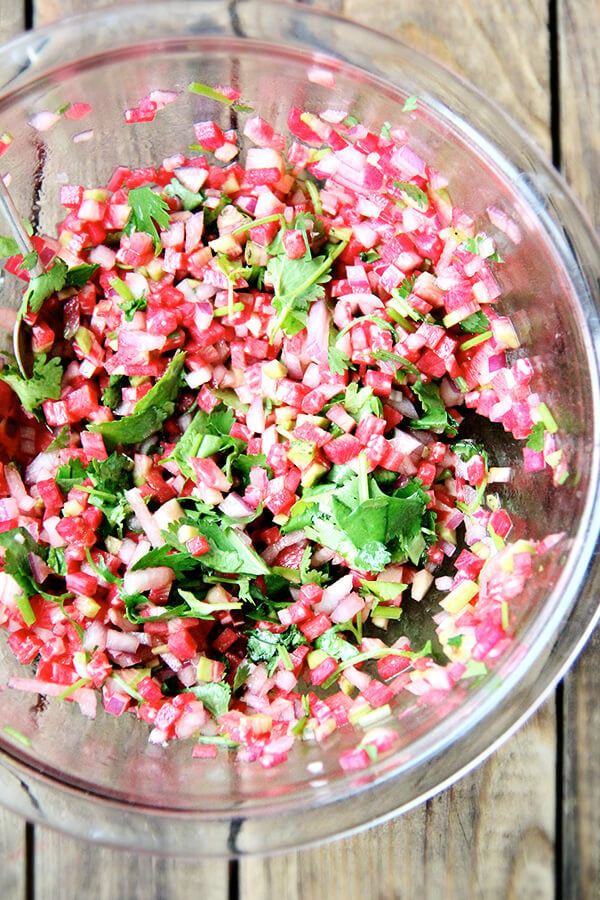
watermelon radish salsa:


Description
My aunt’s friend, Meg, passed along this recipe to me. The sautéed sweet potato filling can be made ahead and stored in the fridge for days. If you have extra grated uncooked sweet potatoes, store them in a bag in the fridge.
Notes:
If I have cilantro, I like to add a chopped handful to the sweet potatoes when they finish cooking.
You do not have to serve these with salsa. Fresh lime and sour cream are more than enough, though salsa is always nice. If you have any watermelon radishes in your vegetable bin, you can turn them into a salsa by finely dicing them and mixing them with finely diced onion, jalapeno, lime, cilantro, salt, and a splash of olive oil and vinegar.
Finally, I think the key here is “less is more” — a thin layer of the sweet potato filling is best.
1½ cups finely chopped onion
2 garlic cloves, minced
3 to 4 tablespoons neutral oil such as olive, grapeseed or canola
4 cups grated peeled sweet potato
1 tsp chili powder
1 to 2 teaspoons ground cumin
generous pinch of cayenne
salt and ground black pepper to taste
a cup or more of finely minced cilantro, optional
fresh lime juice to taste
1 cup grated sharp cheddar cheese or Monterey Jack
8 tortillas (8 to 10 inch — I like soft corn tortillas, which I find at Whole Foods)
sour cream for serving
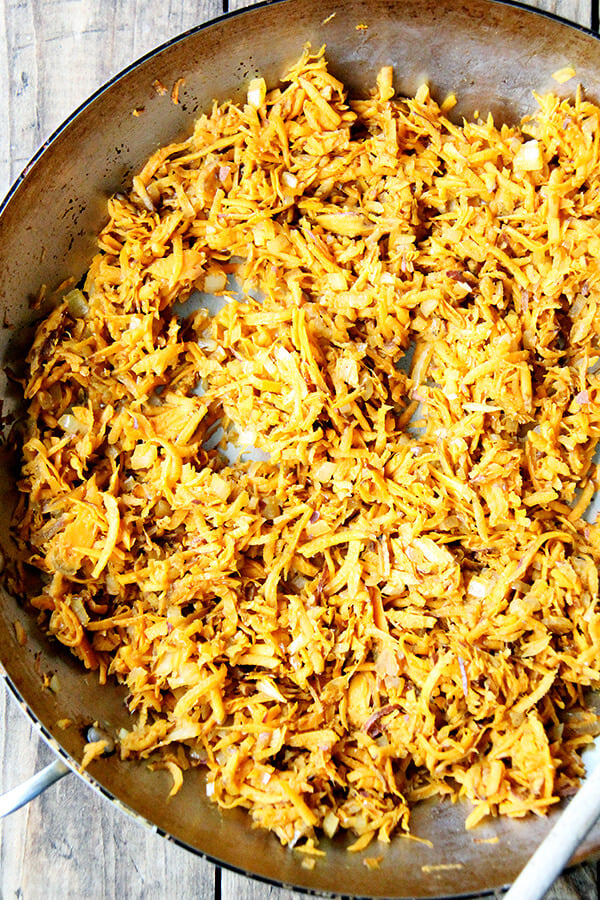
- In a large pan set over medium heat, sauté the onions and garlic in 3 tablespoons of the oil until the onions are translucent. Add the grated sweet potatoes, chili powder, cumin and cayenne and cook, covered — covering is important to prevent sticking — for about 8-10 minutes, stirring every few minutes. When the sweet potato is tender, add salt and pepper to taste and remove the filling from the heat. Add the cilantro, if using. Squeeze 1/2 a lime over the sweet potatoes, mix, taste, and adjust with more lime and salt to taste.
- To bake the quesadillas, do as follows: Spread one-eighth of the filling and 2 tablespoons of the cheese on each tortilla. Bake in a 350ºF oven until the cheese is fully melted and quesadillas are hot, approximately 15 minutes.
- To cook the quesadillas stovetop, heat 2 teaspoons oil over medium heat. Fill tortillas lightly — less is more — with sweet potato filling and some cheese. Fold them in half. Cook two at a time until golden, 2 to 3 minutes. Flip. Cook until golden, about 2 more minutes. Repeat with remaining tortillas, cheese, filling, adding more oil as needed.
- Serve with more fresh lime, sour cream, and salsa if you have it.
- Prep Time: 15 minutes
- Cook Time: 20 minutes
