
My least favorite part about making breaded cutlets is standing at the stovetop frying them. Even with two large pans going, I can never get away with cooking all of the pieces at once. Stovetop frying demands monitoring — adjusting the temperature here and there, replenishing oil as needed.
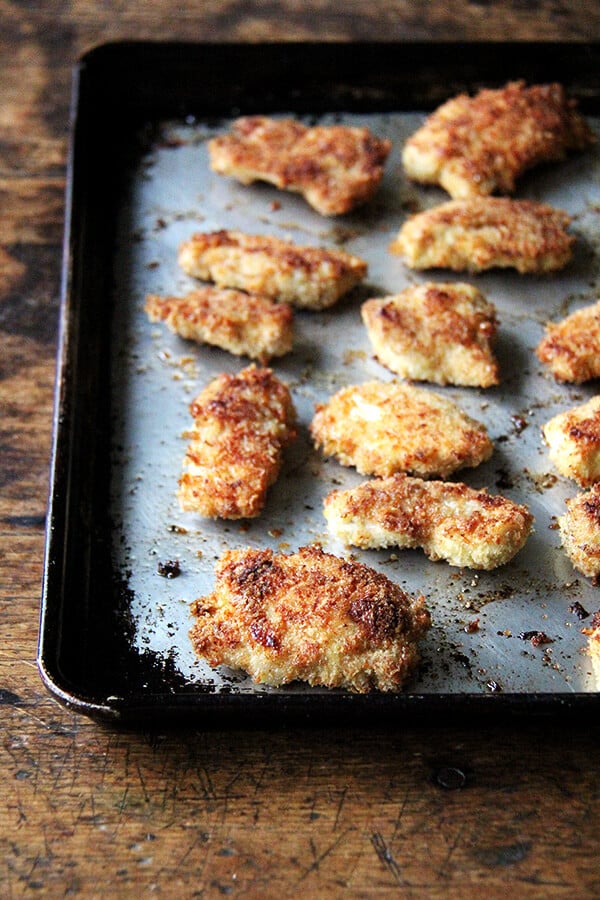
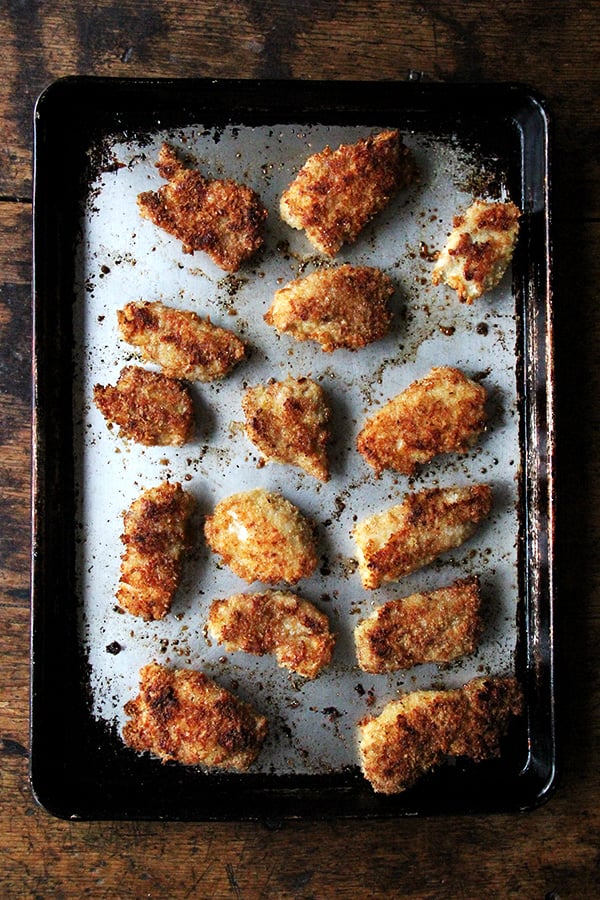
This is why I love the chicken fingers recipe in A New Way to Dinner , the latest cookbook from Food52’s Amanda Hesser and Merrill Stubbs. The breaded strips of chicken bake on briefly preheated sheet pans. After 20 minutes (with a flip at the 10 minute mark), they’re done — there’s no monitoring, no oil replenishing. Why have I never done this?!
In the recipe notes, Amanda describes these as “the best chicken fingers on earth,” crediting the use of thighs (as opposed to breasts) for more flavor and the inclusion of both parmesan and oregano in the seasoning.
I have to confess I’ve yet to use the oregano — the little people in my house might protest — but even without it, these chicken fingers are utterly delicious. The crust gets incredibly crispy thanks to both panko and parmesan, which browns so nicely, and the meat remains juicy.
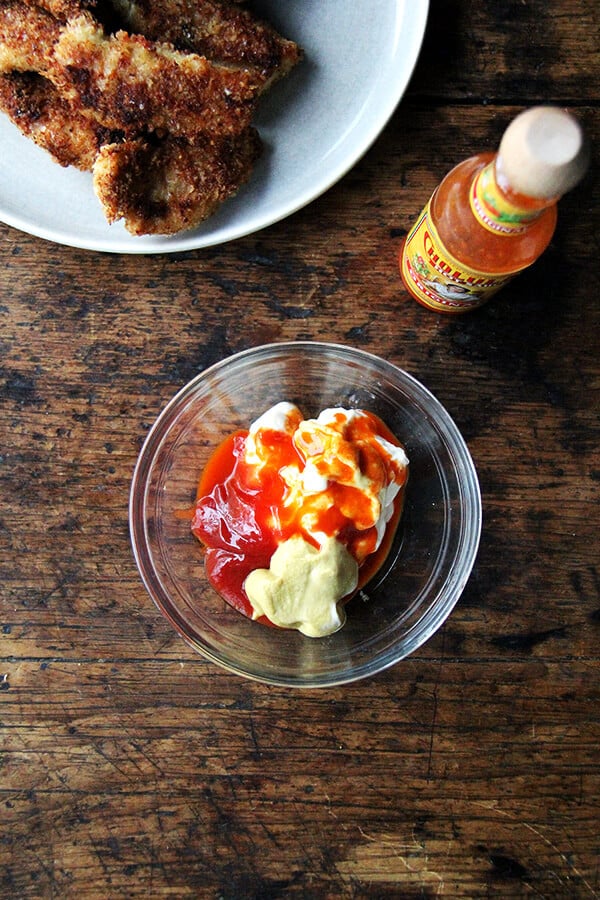
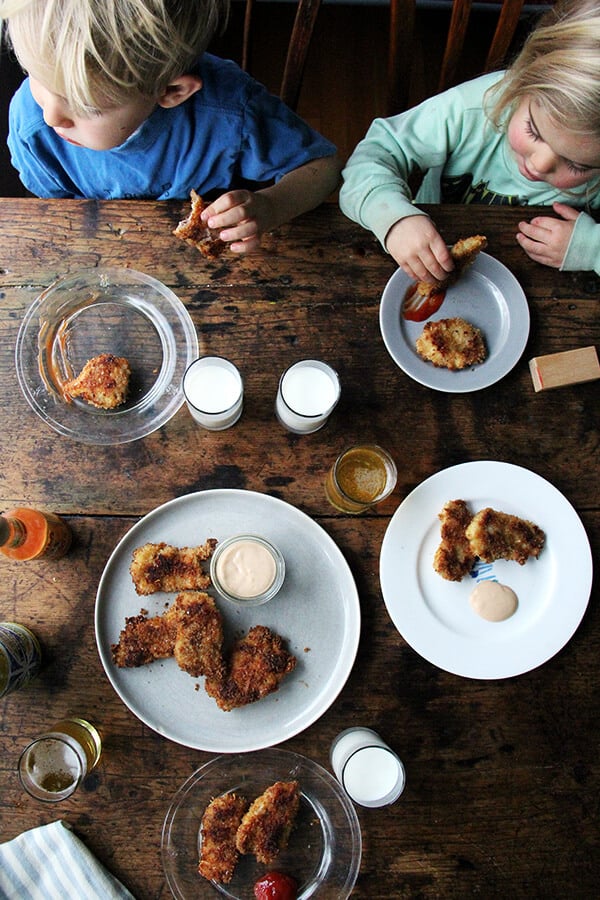
I’ve been making a “special sauce,” A&M’s suggested condiment if you intend to make sandwiches — for the adults and squirting ketchup out for the littles, who would be happy if I never made them anything else for the rest of their lives. Winner winner chicken finger dinner!
Special sauce:
Description
Adapted from Food52’s latest cookbook A New Way to Dinner , which has already being put to great use: I’ve made the shaved Brussels sprouts salad with anchovy dressing, Tad’s roasted potatoes (seriously irresistible), spicy roasted cauliflower, and I have the ricotta gnocchi shaped and ready to be boiled then browned with Brussels sprouts, sage, and pine nuts. I’ll keep you posted!
Note: The original recipe calls for the traditional flour-egg-breadcrumb assembly, but I’ve combined the flour and the eggs with a little water — my friend Holly taught me this trick, and I use it often when breading to save time. I’ve also adjusted the quantities of panko and parmesan to account for using 2 lbs. of chicken thighs, but know that you can’t really go wrong here. If you want to follow the recipe exactly, it’s here on Food52 .
Also, if you want to make the chicken fingers ahead of time, you can. Store them in the fridge, then reheat on a baking sheet at 300ºF uncovered until heated through. This book, if you are unfamiliar, is all about preparing ahead — making lots of things over the weekend to use in various meals throughout the week — so it’s filled with lots of good information in this regard. One of the suggested uses for these chicken fingers are a sandwich with pickles and a special sauce, which sounds incredibly delicious.
- 2 eggs
- 1/4 cup flour
- 2 tablespoons water
- 2 cups panko
- 3/4 cup grated parmesan
- 2 lbs. boneless, skinless chicken thighs, cut lengthwise into 1 -inch strips
- kosher salt and pepper to taste
- neutral oil
- 2 tablespoons unsalted butterfor the special sauce:
- ⅓ cup mayonnaise
- 1 tablespoon Dijon mustard
- 1 tablespoon ketchup
- few dashes favorite hot sauce, I’ve been using Cholula
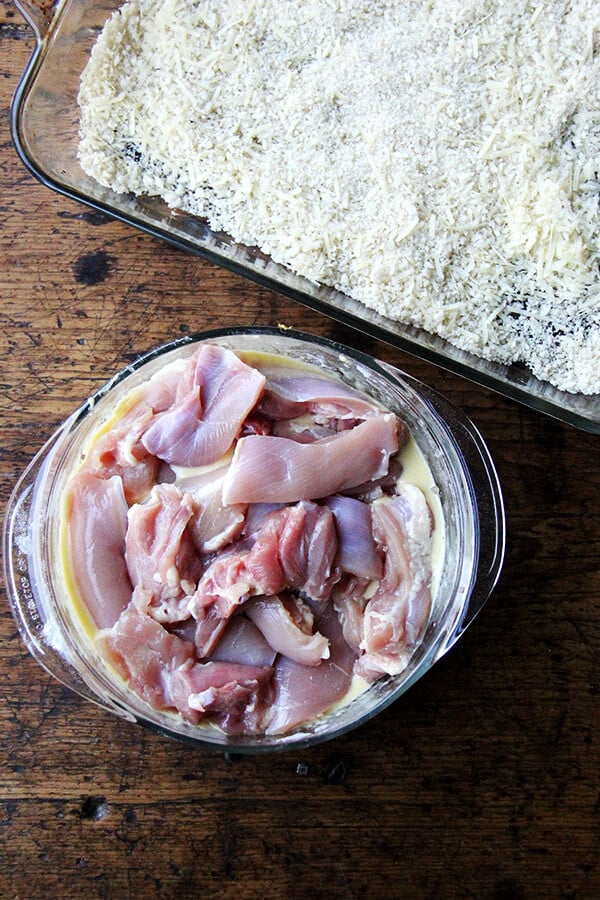
- Set your oven to 450ºF. Whisk together the eggs, flour and water in a large bowl. Season generously with salt and pepper. Toss the panko and parmesan together in a 9×13-inch or other large vessel. Have ready another sheet pan or large vessel for placing the coated chicken pieces.
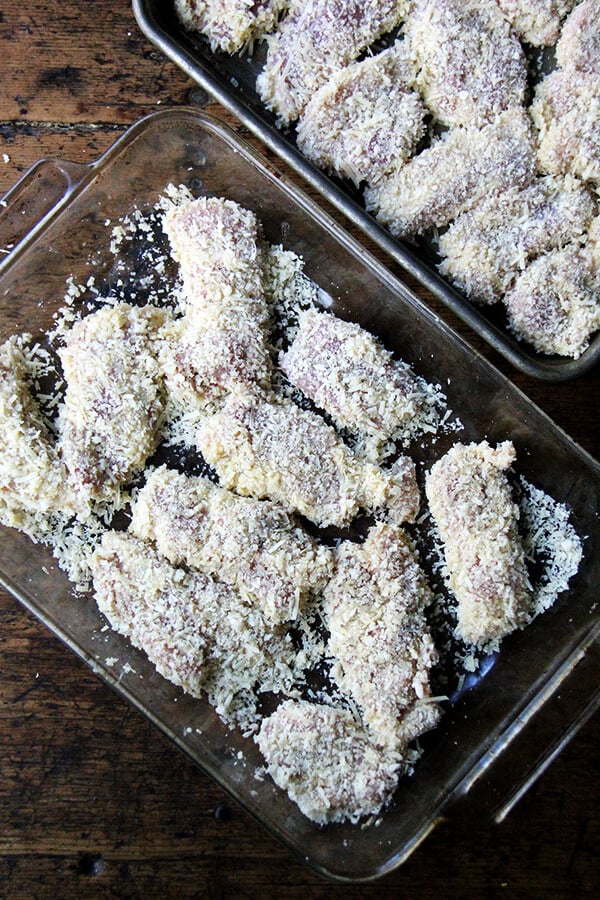
- Drop the chicken strips into the bowl with the egg mixture. Toss to coat, then transfer a few at a time to the panko-parmesan pan. Coat in the crumbs, pressing them to adhere, then transfer to the clean sheet pan. At this point, the breaded strips of chicken can be refrigerated for up to a day (maybe longer).
- Coat a rimmed baking sheet with neutral oil (a teaspoon or so). Add the 2 tablespoons of butter. Place the baking sheet in the oven for 3 to 4 minutes or until the butter has finished foaming and just starts to brown. Remove pan from oven, and gently lay the chicken strips on the baking sheets. Cook for 10 minutes, until the bottoms are golden brown and crispy. Use tongs to turn them over and cook for another 10 minutes, or until both sides are evenly browned and the chicken is cooked through. Let cool briefly then serve with special sauce: In a small mixing bowl, combine the mayo, mustard, ketchup, and hot sauce to taste
- Prep Time: 15 minutes
- Cook Time: 20 minutes
- Category: Chicken
- Method: Baked
- Cuisine: American
Description
Adapted from Food52’s latest cookbook A New Way to Dinner , which has already being put to great use: I’ve made the shaved Brussels sprouts salad with anchovy dressing, Tad’s roasted potatoes (seriously irresistible), spicy roasted cauliflower, and I have the ricotta gnocchi shaped and ready to be boiled then browned with Brussels sprouts, sage, and pine nuts. I’ll keep you posted!
Note: The original recipe calls for the traditional flour-egg-breadcrumb assembly, but I’ve combined the flour and the eggs with a little water — my friend Holly taught me this trick, and I use it often when breading to save time. I’ve also adjusted the quantities of panko and parmesan to account for using 2 lbs. of chicken thighs, but know that you can’t really go wrong here. If you want to follow the recipe exactly, it’s here on Food52 .
Also, if you want to make the chicken fingers ahead of time, you can. Store them in the fridge, then reheat on a baking sheet at 300ºF uncovered until heated through. This book, if you are unfamiliar, is all about preparing ahead — making lots of things over the weekend to use in various meals throughout the week — so it’s filled with lots of good information in this regard. One of the suggested uses for these chicken fingers are a sandwich with pickles and a special sauce, which sounds incredibly delicious.
- 2 eggs
- 1/4 cup flour
- 2 tablespoons water
- 2 cups panko
- 3/4 cup grated parmesan
- 2 lbs. boneless, skinless chicken thighs, cut lengthwise into 1 -inch strips
- kosher salt and pepper to taste
- neutral oil
- 2 tablespoons unsalted butterfor the special sauce:
- ⅓ cup mayonnaise
- 1 tablespoon Dijon mustard
- 1 tablespoon ketchup
- few dashes favorite hot sauce, I’ve been using Cholula
- Set your oven to 450ºF. Whisk together the eggs, flour and water in a large bowl. Season generously with salt and pepper. Toss the panko and parmesan together in a 9×13-inch or other large vessel. Have ready another sheet pan or large vessel for placing the coated chicken pieces.
- Drop the chicken strips into the bowl with the egg mixture. Toss to coat, then transfer a few at a time to the panko-parmesan pan. Coat in the crumbs, pressing them to adhere, then transfer to the clean sheet pan. At this point, the breaded strips of chicken can be refrigerated for up to a day (maybe longer).
- Coat a rimmed baking sheet with neutral oil (a teaspoon or so). Add the 2 tablespoons of butter. Place the baking sheet in the oven for 3 to 4 minutes or until the butter has finished foaming and just starts to brown. Remove pan from oven, and gently lay the chicken strips on the baking sheets. Cook for 10 minutes, until the bottoms are golden brown and crispy. Use tongs to turn them over and cook for another 10 minutes, or until both sides are evenly browned and the chicken is cooked through. Let cool briefly then serve with special sauce: In a small mixing bowl, combine the mayo, mustard, ketchup, and hot sauce to taste
- Prep Time: 15 minutes
- Cook Time: 20 minutes
- Category: Chicken
- Method: Baked
- Cuisine: American
Find it online : https://alexandracooks.com/2016/11/16/merrills-chicken-fingers/


Friends! Bread Toast Crumbs is nearly here.
If you’re new here, Bread Toast Crumbs is a “nose-to-tail” bread-baking book whose story begins in 2012, when my mother allowed me to share her treasured peasant bread recipe right here on the blog . The recipe immediately inspired many who deemed bread baking an impossibility to give it a try, and their resulting loaves exceeded expectations.
Four years later, people are still discovering how simple making bread can be. Just yesterday someone wrote in:
“I have never made any kind of bread before. It’s always been intimidating and seemingly complicated, but this recipe gave me a new confidence. It was simple, uncomplicated, and best of all, delicious! We’re using the remainder for grilled cheeses tomorrow.”
Yes. Yes. Yes. Bread Toast Crumbs , which will be published this spring by Clarkson Potter, will answer all of these questions. There will be a guide for making your own variations of the master recipe, tips for making the dough ahead of time, and suggestions for preserving the many loaves you bake. One-third of the recipes are for breads, two-thirds are for cooking with the bread (your homemade loaves or otherwise).
The first chapter, Bread , includes 40 variations of the master recipe, a mix of boules, buns, pullman loaves, pull-apart breads, pizza, rolls, and focaccia. The second chapter, Toast , includes recipes for sandwiches, panini, tartines, and stratas, and the third chapter, Crumbs , highlights the endless uses for bread crumbs: as a crispy garnish, as a breading for meat, fish, vegetables, and cheese, as a topping for bean, vegetable, and pasta gratins, and as a thickener in soups and sauces.
Included below is a recipe (two actually) from the crumbs chapter: Stuffing Two Ways . If you’ve yet to finalize your Thanksgiving menu, I recommend either (or both!), and if I don’t hear from you before next Thursday, I’m wishing you all a very Happy Thanksgiving .
PS: A few more details and photographs can be found here: Cookbook: News & Notes .
Where to Order Bread Toast Crumbs:
Barnes and Noble
Books-a-Million
Indie Bound
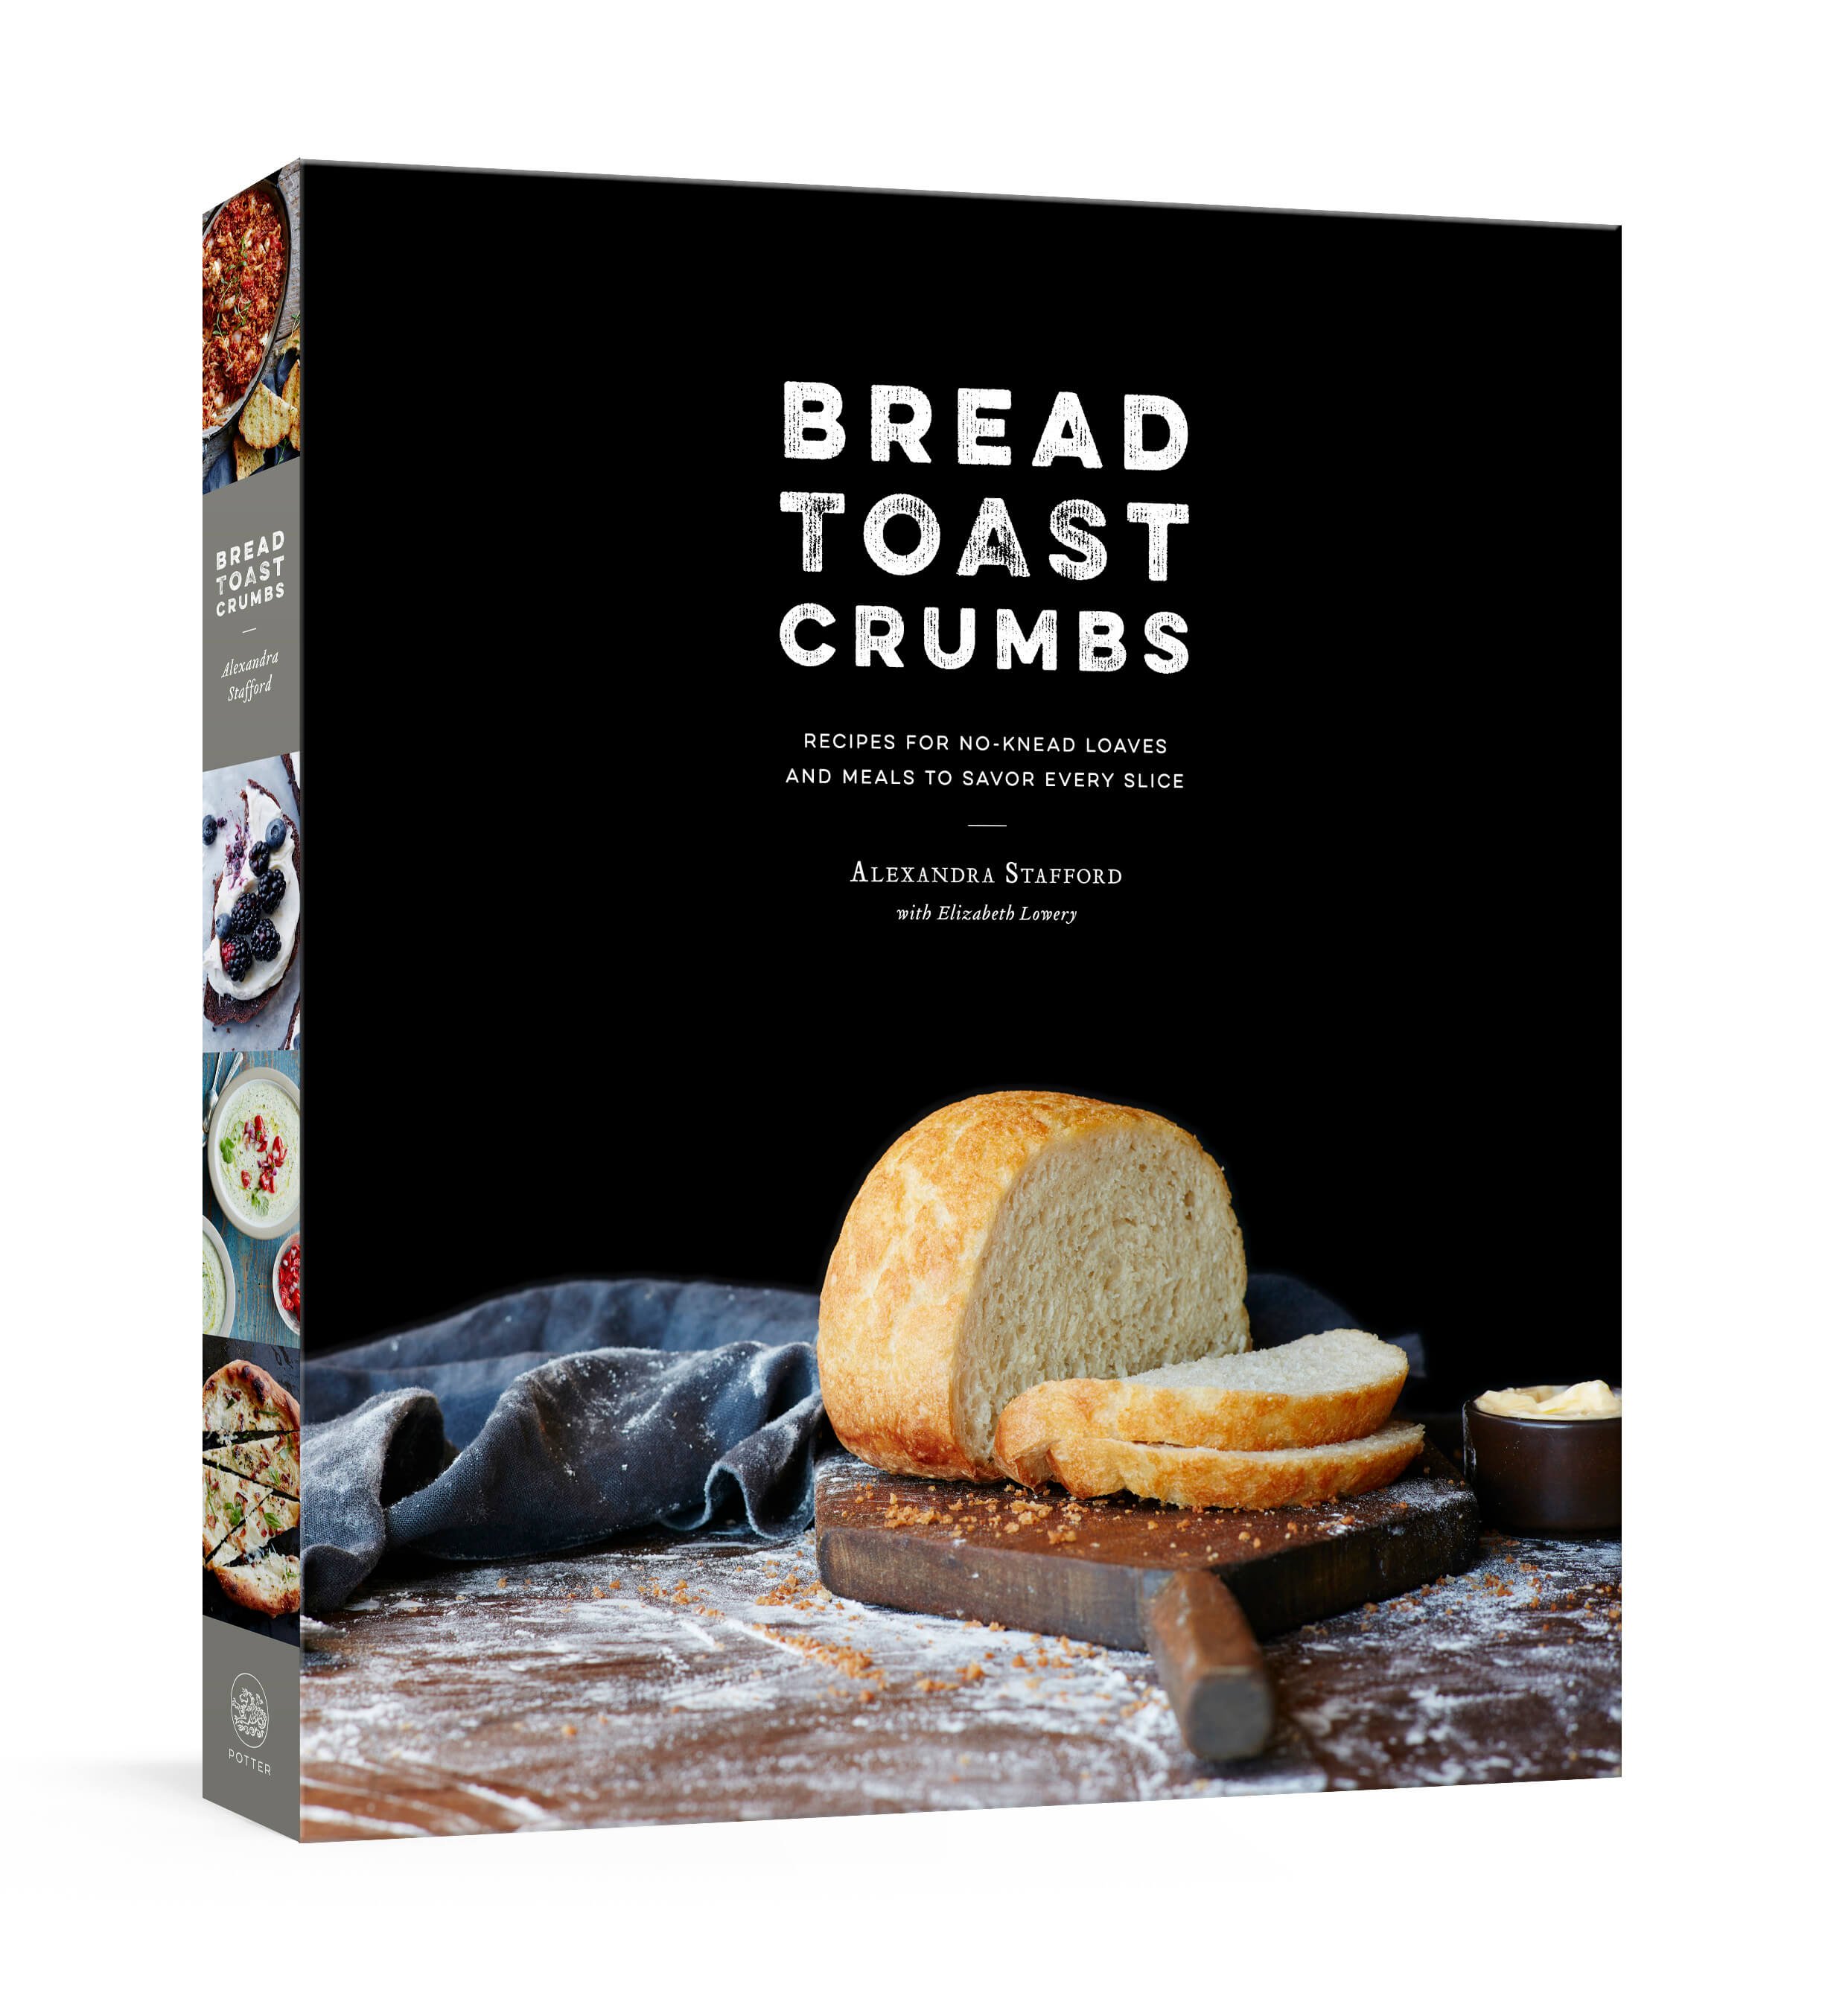
Here’s the cover, photographed by Eva Kolenko and styled by Jeffrey Larsen .
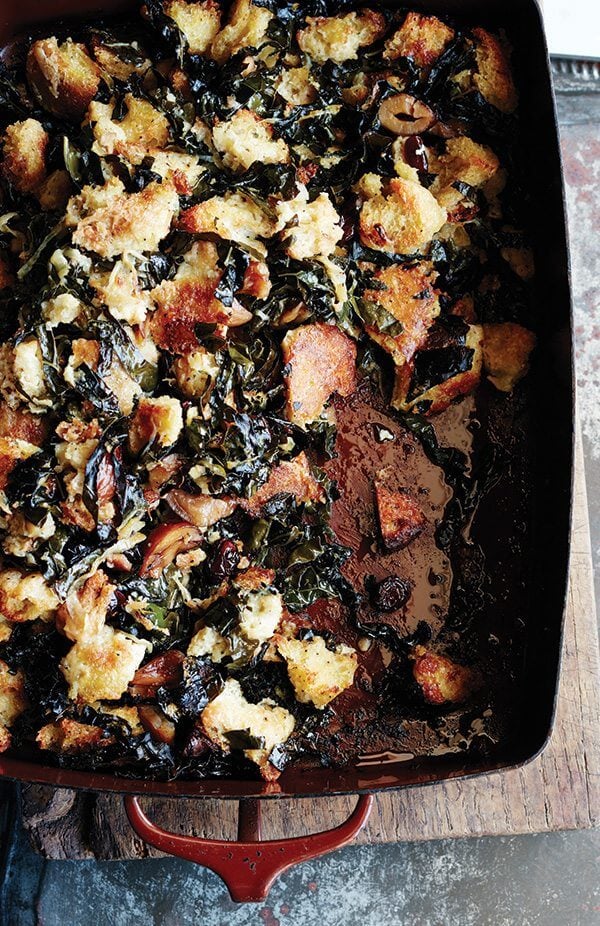
Stuffing with Kale, Cranberries, and Chestnuts:
Stuffing Two Ways
Sometimes all you want is a no-frills stuffing: bread tossed with Bell’s Seasoning, mixed with copious amounts of butter, onions, and celery, a stuffing that won’t compete with the cranberry sauce, Aunt Phyllis’s yams, and Alice Waters’s potato gratin . But sometimes you want a stuffing, as Nigella Lawson says, “jumping around in a ra-ra skirt showing off its own.” A stuffing studded with dried cranberries and chestnuts, laced with sweet onions (also sautéed in copious amounts of butter), strewn with kale that crisps up like chips as irresistible as the crusty cubes it surrounds. You can have both.
Description
Adapted from my cookbook, Bread Toast Crumbs
- Preheat the oven to 400°F. In a large bowl, toss the bread with ¼ cup oil; it will feel saturated. Season the bread with salt and pepper to taste. Spread it onto a sheet pan in a single layer, reserving the bowl. Transfer the pan to the oven and toast the bread for 15 to 17 minutes, or until golden. Set it aside to cool briefly.
- Meanwhile, in a large sauté pan, melt the butter with the remaining ¼ cup oil over medium heat. Add the onions and celery, season with a pinch of salt, and cook for 5 to 10 minutes, stirring, until soft and beginning to color.
- Return the toasted bread to the reserved bowl. When the onions and celery have finished cooking, scrape them into the bowl over the bread. Sprinkle with the Bell’s. Add 1 cup chicken stock, ½ teaspoon salt, and ½ teaspoon pepper, and toss. Taste and adjust the seasoning, adding another ½ teaspoon salt and more pepper as needed. In a small bowl, whisk the remaining ½ cup chicken stock with the egg and add it to the bowl. Toss them to combine.
- Grease a 9 × 13-inch baking pan with the softened butter and spread the mixture into it. Cover the pan with foil, transfer it to the center rack of the oven, and bake the stuffing for 30 minutes. Uncover the pan and bake the stuffing for 10 to 15 minutes more, until the bread is golden. Remove the stuffing and let it stand for 10 minutes before serving it.
- Prep Time: 20 minutes
- Cook Time: 1 hour
- Category: Stuffing
- Method: Oven
- Cuisine: American
Description
From Bread Toast Crumbs Note: Cooked and peeled chestnuts can be found online or in specialty stores. Or you can cook them yourself: With a sharp knife, cut an X on both sides of each chestnut. Bring a small saucepan of water, filled halfway, to a boil over high heat. Add 8 ounces of chestnuts, reduce the heat to a simmer, and cook for 20 minutes, or until soft. Remove the pan from the heat. Using a slotted spoon, remove a few chestnuts at a time and run them under cold water. Peel and place the chestnuts in a small bowl. You may need to use a paring knife to remove the skin. You should have about 1 cup.
- 1 pound peasant bread , crusts removed, torn into 1- to 2-inch pieces ( 8 to 10 cups)
- ½ cup extra-virgin olive oil
- Kosher salt
- Freshly cracked black pepper
- 4 tablespoons ( ½ stick) unsalted butter
- 2 cups sliced onions ( 1 to 2 onions)
- 8 ounces kale, rough stems discarded, leaves sliced into ½ -inch ribbons
- ⅓ cup dried cranberries
- 1 cup cooked chestnuts (optional) (see Note above)
- 1½ cups homemade chicken stock or store-bought
- 1 egg
- Softened unsalted butter, for greasing
- Preheat the oven to 400°F. In a large bowl, toss the bread with ¼ cup of the oil; the bread will feel saturated. Season with salt and pepper to taste. Spread onto a sheet pan in a single layer, reserving the bowl. Transfer to the oven and toast for 15 to 17 minutes, until golden. Set aside to cool briefly.
- Meanwhile, in a large sauté pan, melt the butter with the remaining ¼ cup oil over medium heat. Add the onions, season with a pinch of salt, and cook, stirring, for 10 minutes, or until soft and beginning to color.
- Place the kale in the reserved bowl and, when the onions have finished cooking, scrape them into the bowl over the kale. Add the dried cranberries, chestnuts, and bread, and toss. Add 1 cup of the chicken stock, ½ teaspoon salt, and ½ teaspoon pepper, and toss. Taste and adjust seasoning, adding another ½ teaspoon salt and pepper to taste as needed. In a small bowl, whisk the remaining ½ cup chicken stock with the egg and add to the bowl. Toss to combine.
- Grease a 9 × 13-inch baking pan with the softened butter and spread the mixture into it. Cover the pan with foil, transfer it to the oven, and bake the stuffing for 30 minutes. Uncover the pan and bake the stuffing for 15 to 20 minutes more, until the bread is golden and the kale is beginning to crisp. Remove the pan from the oven and let the stuffing stand for 10 minutes before serving it.
- Prep Time: 20 minutes
- Cook Time: 45 minutes
