
This is the eggplant recipe that made me realize eggplant is not so fussy after all: it need not be salted and drained; it need not be breaded and fried.
A simple brush of olive oil mixed with balsamic vinegar followed by 20 minutes in a hot oven, and it’s good to go.
I wrote about this recipe nearly three years ago for Food52 , but I made it again recently and was just as wowed by how simple and good it is.
The recipe comes from Ruth Reichl’s My Kitchen Year . A friend had texted me a photo of the eggplant and arugula sandwiches, and I made the sandwiches immediately for dinner that night, then again the following evening, and then again and again. When the eggplant in our CSA begin arriving, this is the recipe I turn to most often.
This sandwich is as simple as it gets: there’s no fancy aioli, herby pesto, or textured relish to add “dimension”; just salted butter. And just as well. The minimalist combination really allows the eggplant to shine.
I love what Ruth says: “Eggplant is usually the chameleon of the vegetable kingdom, so accommodating that if often disappears. Here it finally has a chance to star.”


Description
These balsamic-roasted eggplant and arugula sandwiches are so simple, summery, and satisfying. There’s no fancy sauce or condiment here, just salted butter. I like making these overnight rolls: Overnight Sandwich Rolls.
- 4 Japanese or baby eggplants
- 3 tablespoons balsamic vinegar
- 3 tablespoons extra-virgin olive oil
- Kosher salt
- Freshly cracked black pepper
- 2 baguettes or 4 homemade rolls
- Salted butter, softened
- 1 bunch arugula
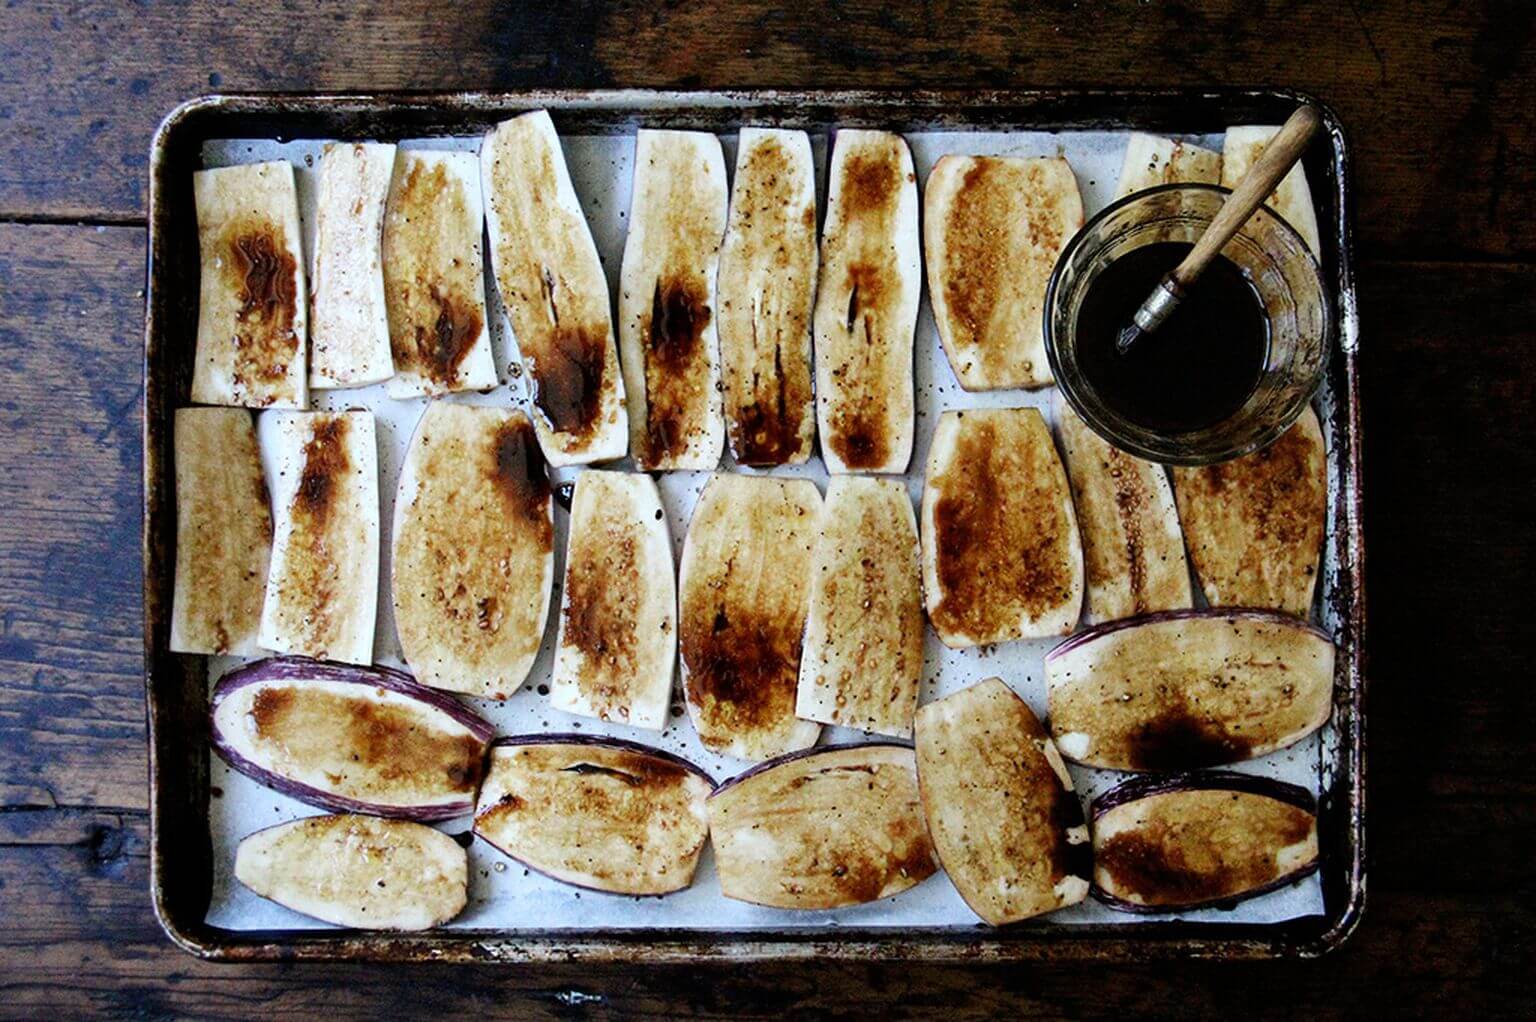
- Preheat oven to 425° F. Slice eggplants lengthwise into 1/4-inch thick strips and lay strips on an oiled or parchment- or Silpat-lined baking sheet.
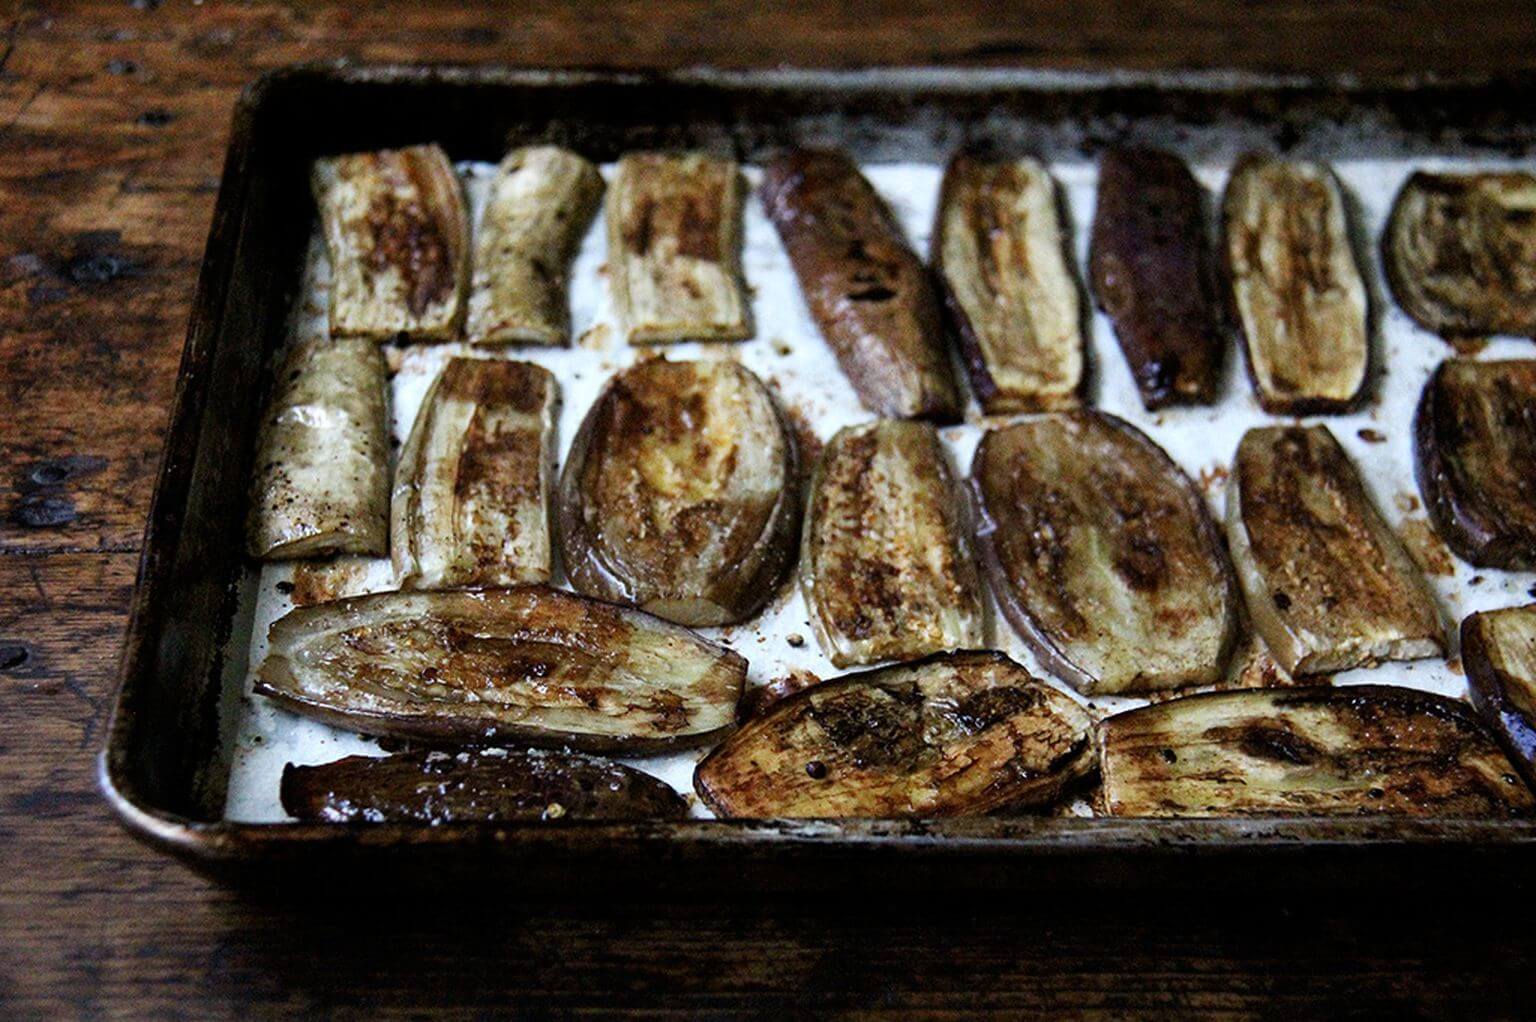
- Mix balsamic vinegar and olive oil in a dish. Brush vinegar-oil mixture across top of each slice of eggplant. Then sprinkle with salt and pepper over the top. Roast for about 10 minutes. Turn slices over, brush with oil mixture, season with salt and pepper, and roast for another 8 minutes or so. Cool.
- Cut baguettes lengthwise in half and spread each half generously with the softened butter.
- Place eggplant slices on the bread and top with arugula leaves. Close sandwiches and serve.
- Prep Time: 5 minutes
- Cook Time: 20 minutes
- Category: Sandwich
- Method: Roast
- Cuisine: Italian
Description
These balsamic-roasted eggplant and arugula sandwiches are so simple, summery, and satisfying. There’s no fancy sauce or condiment here, just salted butter. I like making these overnight rolls: Overnight Sandwich Rolls.
- 4 Japanese or baby eggplants
- 3 tablespoons balsamic vinegar
- 3 tablespoons extra-virgin olive oil
- Kosher salt
- Freshly cracked black pepper
- 2 baguettes or 4 homemade rolls
- Salted butter, softened
- 1 bunch arugula
- Preheat oven to 425° F. Slice eggplants lengthwise into 1/4-inch thick strips and lay strips on an oiled or parchment- or Silpat-lined baking sheet.
- Mix balsamic vinegar and olive oil in a dish. Brush vinegar-oil mixture across top of each slice of eggplant. Then sprinkle with salt and pepper over the top. Roast for about 10 minutes. Turn slices over, brush with oil mixture, season with salt and pepper, and roast for another 8 minutes or so. Cool.
- Cut baguettes lengthwise in half and spread each half generously with the softened butter.
- Place eggplant slices on the bread and top with arugula leaves. Close sandwiches and serve.
- Prep Time: 5 minutes
- Cook Time: 20 minutes
- Category: Sandwich
- Method: Roast
- Cuisine: Italian
Find it online : https://alexandracooks.com/2019/07/18/balsamic-roasted-eggplant-arugula-sandwiches/


Do you have friends who text you recipes that cause you to at once drop everything, head to the store, and obliterate any cooking plans you had on the horizon?
Many of you do this to me. (Thank you.) My friend Michelle does so as well. She’s pointed me to so many good recipes over the years, most notably to Ruth Reichl’s roasted balsamic-eggplant sandwiches and most recently to David Lebovitz’s strawberry sorbet.
The recipe comes from The Perfect Scoop , which I’ve owned and loved for years. Every summer, I open it to find new inspiration, something I’ve missed in previous years, but somehow this one has escaped me, which is such a shame because, like homemade 3-ingredient real frozen yogurt, it’s so simple: toss strawberries with sugar, let them sit for an hour, purée with fresh lemon juice and sea salt, chill, churn, freeze.
I worried the sorbet would taste great on day one or immediately after churning, but then harden to a block of ice crystals the next day, which has been my experience with homemade ice creams and sorbets in the past. This didn’t happen. The longest I’ve stored this particular sorbet has been three days, and as long as it sits at room temperature for a good chunk of time — sometimes for as long as 20 minutes — before serving, it scoops up beautifully, with a texture as smooth and as creamy as when freshly churned.
Hooray!
This sorbet tastes like pure summer to me, and what I’ve loved about it the few times I’ve made it is that it’s found purpose for past-prime strawberries, which would have otherwise ended up in the freezer destined for a smoothie somewhere down the line. Not a terrible way to salvage the local berries, but when their season is so fleeting, and when they taste SO good, it’s nice to put them to use in a recipe in which they really shine. This one fits the bill. (As does this one. )
Almond Butterscotch Cookie Cups + A Lesson!
First: the lesson.
I made these almond-butterscotch cookie cups, another recipe from The Perfect Scoop , a million years ago to serve with this crème fraîche sorbet , then didn’t make them for years. While flipping through the TPS most recently, I saw a recipe for lemon-poppyseed cookie cups that I thought would pair so nicely with the strawberry sorbet.
I mixed up the batter, dropped it onto a parchment-lined baking sheet, baked them for 10 minutes, and then … disaster! I couldn’t get the cookies to release from the parchment paper. I chalked it up to the recipe being a flop. But when I attempted to make these almond-butterscotch cookie cups — tried and true! — to replace the others, and they too stuck to the paper, I realized I was mistaken.
It was the parchment paper! My recent bread experiments had been sticking as well.
I started over using a different brand of parchment paper and had no issue, which makes me want to revisit the lemon poppyseed cookie cup recipe immediately, because doesn’t that sound so good: strawberry sorbet + lemon poppyseed cookies?
I will keep you posted.
In sum:
- Almond butterscotch cookie cups are easy to make.
- They look fancy — so lacy and delicate — but they require no skill. They are delicious, too.
- Parchment or a silicon baking mat is essential.
- Not all parchment paper is created equally.
- This is such a festive summer dessert.
I hope you’ll give it a go.

Here’s the play-by-play: Hull 1 -1.5 lbs. strawberries.

These weighed about 1.25 lbs. post hulling.
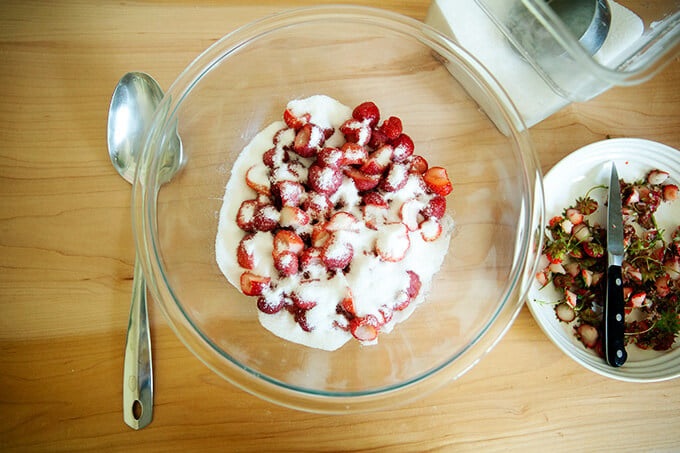
Toss with sugar until the sugar …

… becomes liquidy. Let sit for 1 hour, stirring occasionally.
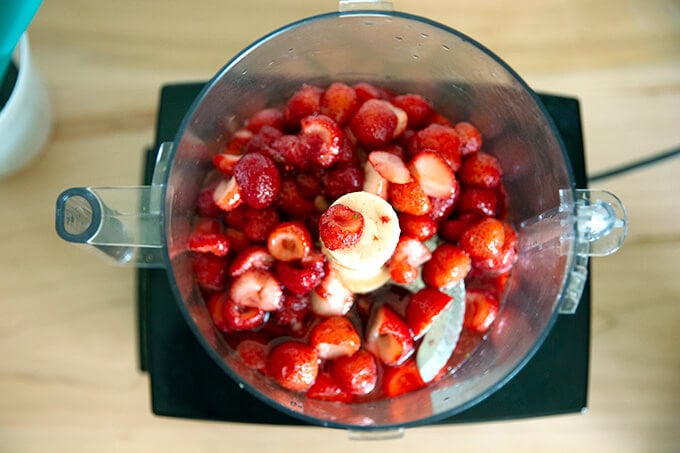
Transfer mixture to a food processor.
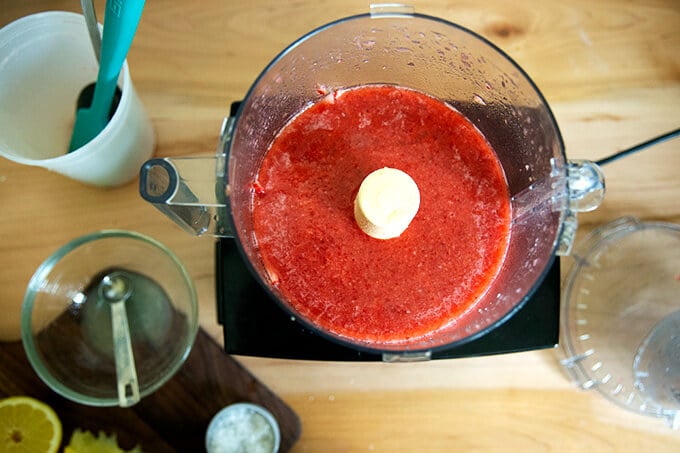
Purée until smooth, then add fresh lemon and sea salt.

Transfer to a storage container (love these … so versatile) and chill until cold, at least one hour.
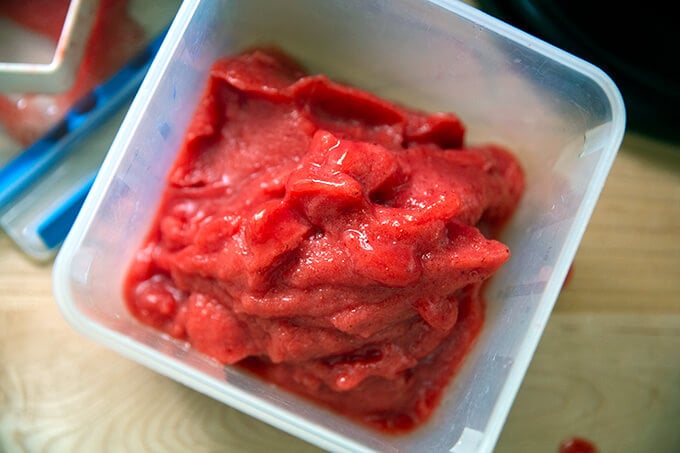
Churn in an ice cream maker. (I have the Kitchen Aid ice cream maker attachment .) Then freeze for at least another hour before serving.
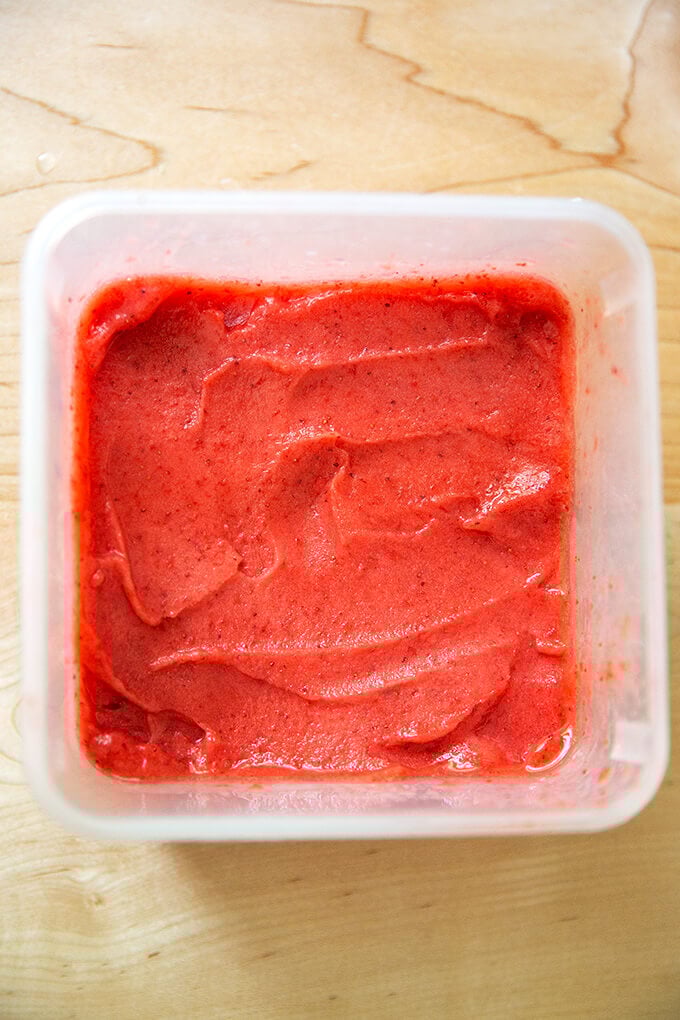
Bring to room temperature before serving … this may take as long as 20 minutes.

You can serve it straight up, or …

… make these almond butterscotch-cookie cups.
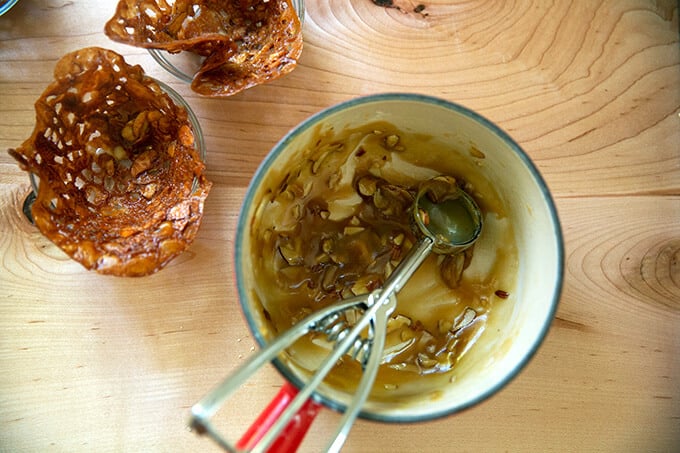

So festive.

And delicious.

Description
From David Lebovitz’s The Perfect Scoop
A few notes:
- Recipe calls for a pound of strawberries. I think you can definitely use a range here. Most recently, I weighed my strawberries post hulling, it was about 1.25 lbs., so I likely started with something closer to 1.5 lbs.
- I like to use about a tablespoon of fresh lemon juice, but add to taste.
- I like to a few big pinches of sea salt — add to taste.
- Almond Butterscotch Cookie Cup recipe is below.
- I think the key with so many homemade ice creams and sorbets is allowing them to come to room temperature for a good chunk of time before serving. Don’t be afraid to let this sorbet sit for 20 minutes (checking often, depending on where you live) before serving.
1 – 1.5 lbs. strawberries, washed, hulled, and chopped 3/4 c. sugar 1 to 3 teaspoons fresh lemon juice Pinch of sea salt, such as Maldon
- Combine sugar with chopped strawberries and stir until sugar begins to dissolve. Allow to stand for about an hour, covered, stirring frequently. Blend strawberries in your blender or food processor until smooth. Add lemon juice and salt to taste (see notes above), blend again, and adjust with more salt or lemon to taste. Transfer to a storage container, and chill for at least an hour or until cold.
- Freeze according to your ice cream manufacturer’s instructions. Transfer to a storage vessel and freeze again for 1 – 2 more hours.
- Before serving, let sit at room temperature for 10 minutes or until it begins to soften. I find this can take as long as 20 minutes. I like to stir/swoosh the sorbet with a back of a spoon to help soften it before serving.
- Prep Time: 20 minutes
- Category: Ice Cream
- Method: Freeze
- Cuisine: American
Description
From David Lebovitz’s The Perfect Scoop
I recently made these with maple syrup as opposed to corn syrup, and it worked beautifully, so I’ve adjusted the recipe accordingly.
- 4 tablespoons butter, unsalted or salted
- 1/4 cup maple syrup
- 1/4 cup packed light brown sugar
- 1/2 cup sliced almonds
- 6 tablespoons ( 60 g ) flour
- pinch sea salt, such as Maldon
- Preheat the oven to 350ºF. Line a baking sheet with parchment paper. Have ready 4 teacups or custard cups or small bowls.
- Melt the butter in a small saucepan with the maple syrup and brown sugar. Stir in the almonds, flour, and salt.
- Drop 4 slightly rounded tablespoons of batter (don’t be tempted to use more batter), evenly spaced, on the baking sheet. Bake the cookies for 9 to 12 minutes, until they’re golden brown. Let rest for 30 to 45 seconds, then lift each cookie off the baking sheet with a flexible metal spatula and flip it into your teacup or bowl. (If the cookies get too firm to shape, return the pan to the oven for 30 seconds to soften them.) Let the baking sheet cool, then repeat with the remaining batter.
- Prep Time: 10 minutes
- Cook Time: 20 minutes
- Category: Cookie
- Method: Oven
- Cuisine: American
