One day last week I snuck off to a friend’s house for lunch, a long-anticipated occasion knowing what I do about this friend: not only did she live in Italy for many years, she also taught cooking classes there.
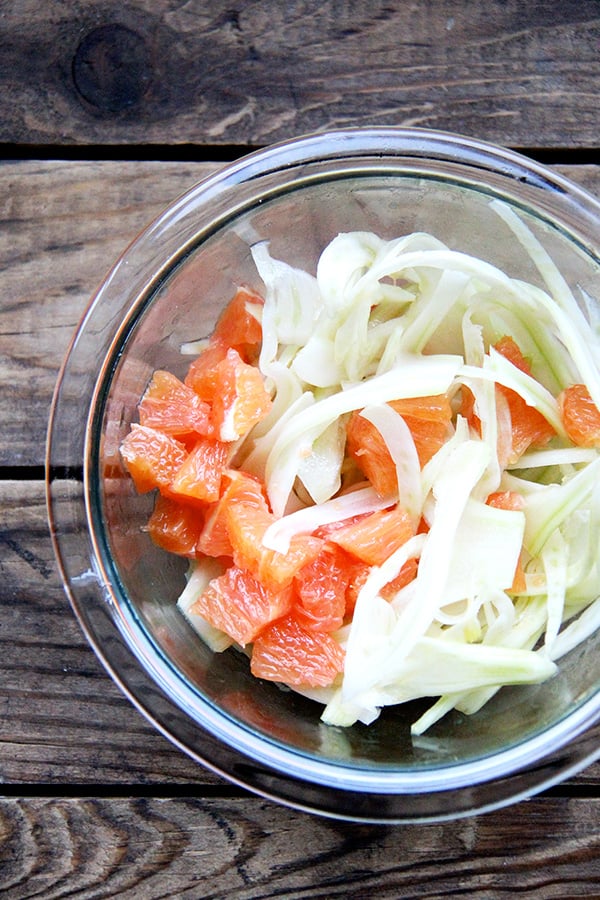
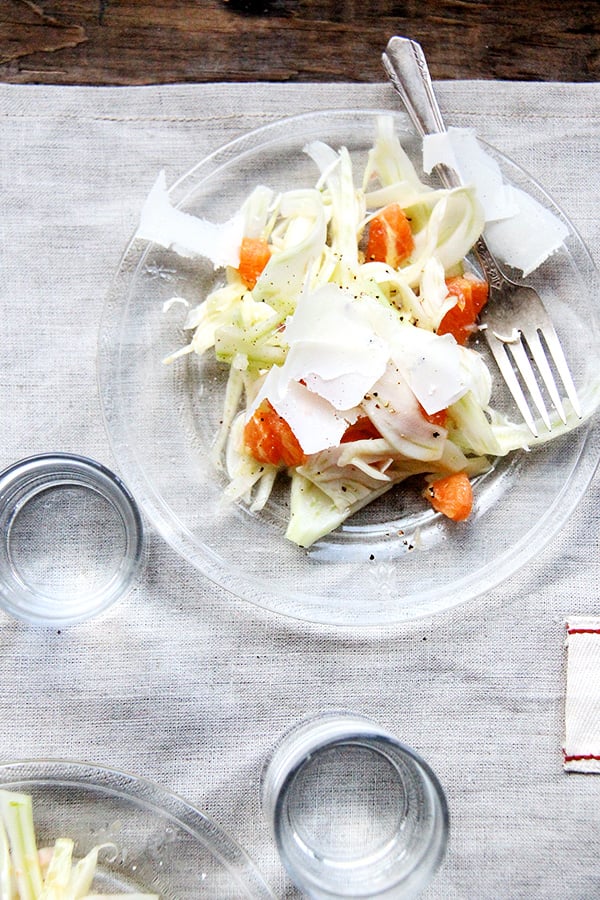
I arrived to find salad plates topped with shaved fennel, blood oranges and olives, a casserole dish lined with pale-yellow coins overlapping like roof tiles, and a skillet slicked with oil and a minced shallot. As we chatted, lunch quickly materialized: the golden coins baked away while greens wilted stovetop, and my friend dressed the fennel and oranges with fresh lemon and olive oil.
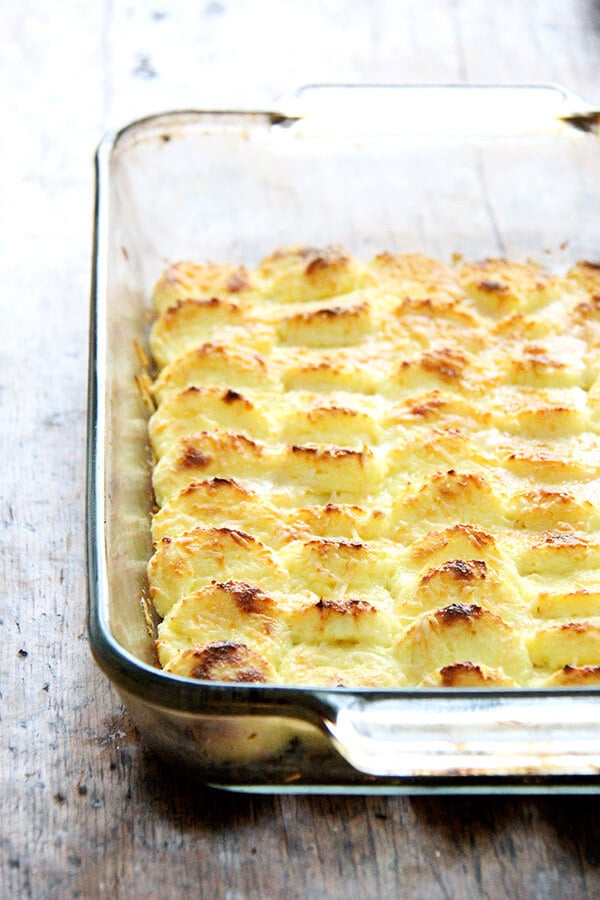
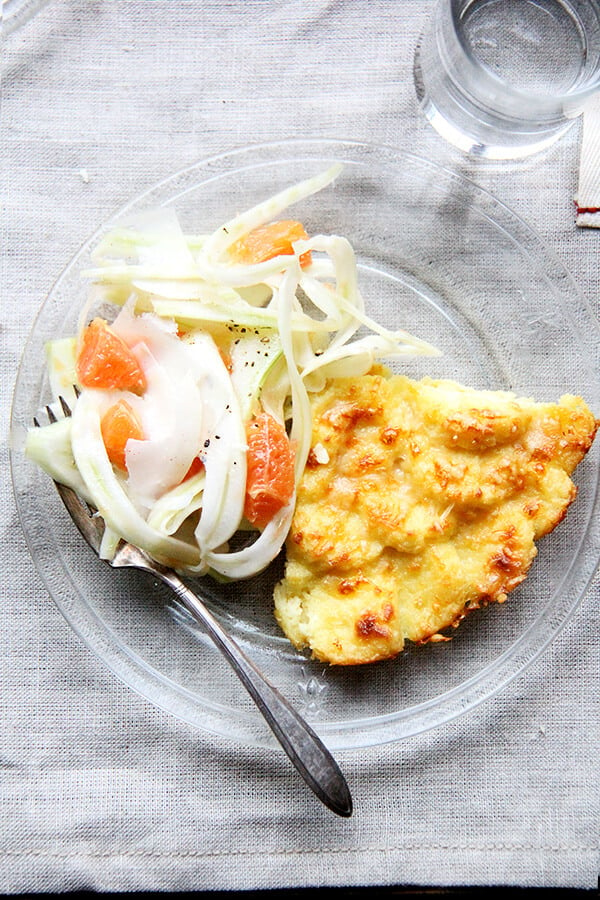
Shortly after sitting down to eat, I took my first bite of gnocchi alla Romana or baked semolina gnocchi, a recipe from Marcella Hazan’s Essentials of Classic Italian Cooking . Made with milk, semolina flour, parmesan and egg yolks, gnocchi alla Romana bear little resemblance to potato gnocchi. They taste more like polenta in fact, but are lighter in texture, and my friend’s tasted lemony, thanks to the addition of lemon slices to the heating milk, a touch my friend learned from her Italian mother-in-law. In addition to being incredibly delicious, the beauty of gnocchi alla Romana is that it can be completely assembled ahead of time — up to two days — and baked just before serving.
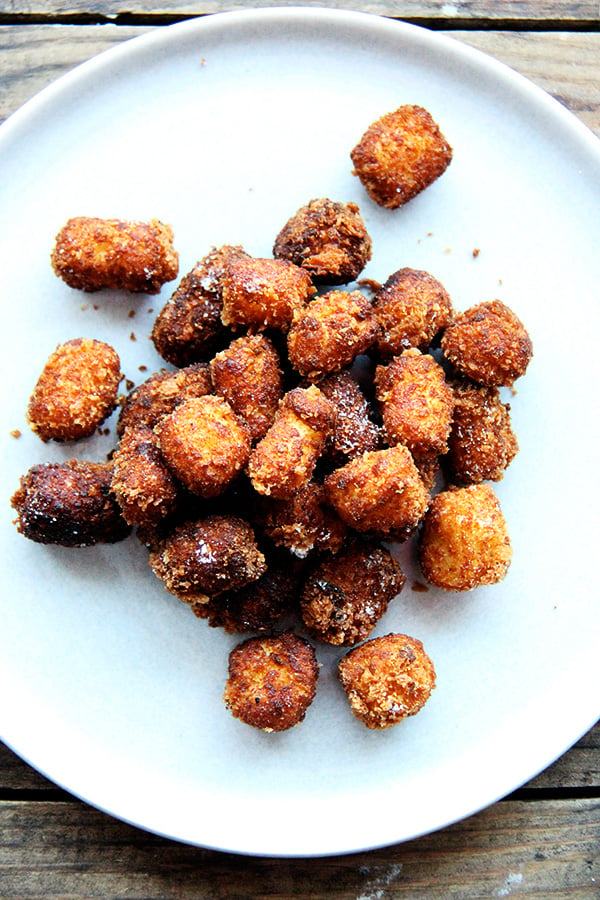
With every bite, I felt inspired to get into the kitchen. A ricotta gnudi debacle several years ago has kept me from attempting recipes in this genre since, but this one, with its make-ahead capabilities, seemed within reach. And it turns out it was. I have since made the gnocchi, which my whole family devours, several times and have also made fritters with the gnocchi scraps, because Marcella insists that you do. And for good reason: the fritters are as equally scrumptious as the gnocchi and amount to a second meal (or snack) in themselves.
To all of you Love Birds, have a wonderful Valentine’s Day. I vote for gnocchi alla romana — molto romantico! — with a fennel and orange salad on the side and a brownie for dessert .
PS: More Desserts here .
Description
Ahead-of-time note: Gnocchi can be completely prepared and assembled in baking dish two days in advance. Cover tightly with plastic wrap before refrigerating. Keep the trimmings, too, in the refrigerator in a tightly sealed container.
Lemon: If you have a microplane grater, you can grate the zest of one lemon right into the milk, or you can do what my friend does: add three lemon slices (about an 1.5-inches long) into the pot with the milk and then fish them out before spreading the batter onto the cookie sheet.
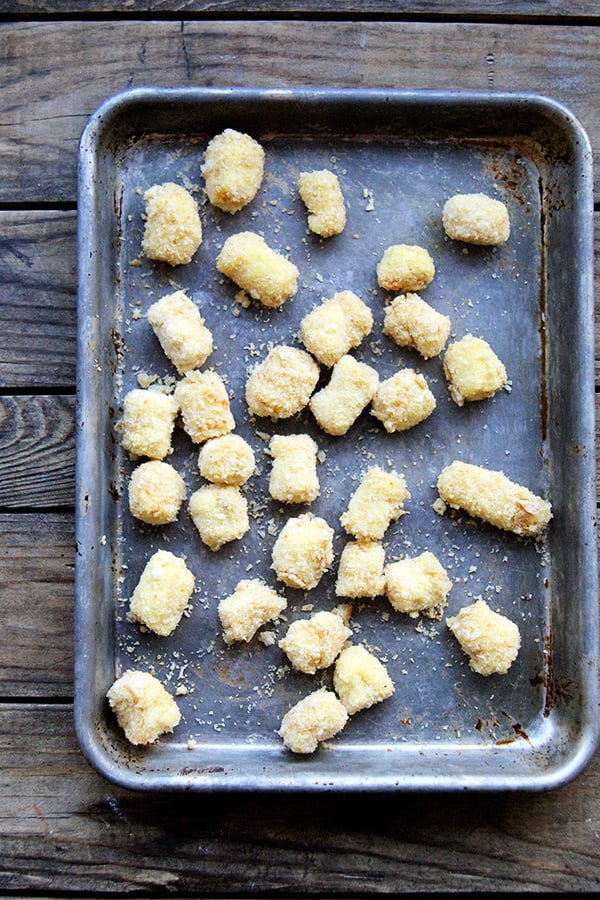
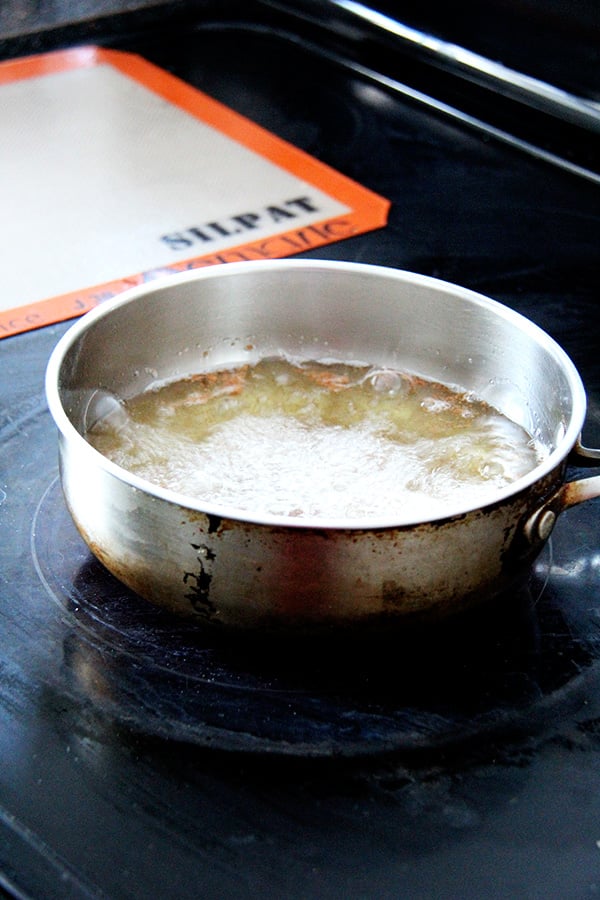
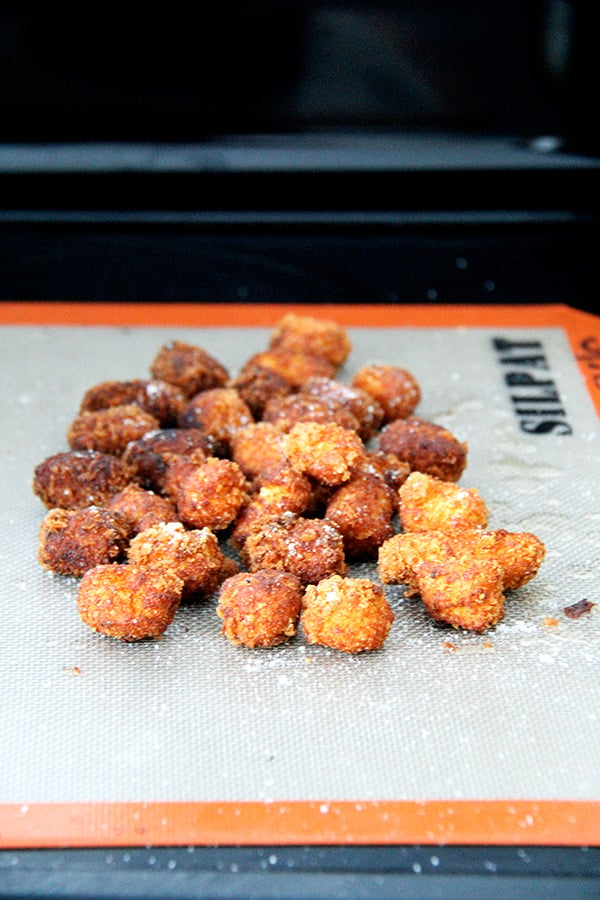
To make fritters with the trimmings: Knead the trimmings together briefly into a ball up to a day or two before you plan to use them. When you are ready to make the fritters, divide the dough into croquette size pieces, adding a pinch of salt, shaping them into short, plump forms tapered at each end, about 2.5 inches in length — I just rolled them into a long snake and used my bench scraper to cup them into 1.5-inch pieces. Roll them in dry unflavored breadcrumbs and fry them in hot oil until they form a light crust all over. Sprinkle with salt
Here’s how I make my shallot vinaigrette: Finely dice a shallot or two. Place in a bowl and cover with white balsamic vinegar, 3 to 4 tablespoons. Season with a pinch of kosher salt and a pinch of sugar. Let macerate for about 15 minutes. Whisk in ⅓ cup extra-virgin olive oil to start. It’s ok if the dressing is not totally emulsified. Taste and adjust with more oil, vinegar (or a squeeze of orange if you have one), salt, sugar, etc.
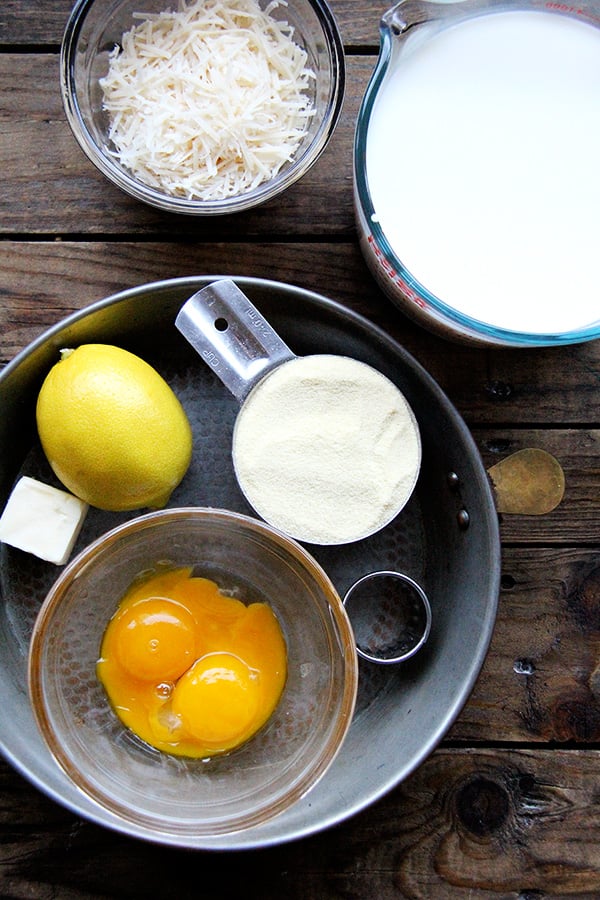
- 4 cups whole milk
- zest of one lemon, see notes above
- 1 cup semolina flour
- 1 cup freshly grated Parmigiano Reggiano
- 2 teaspoons salt
- 3 egg yolks, lightly beaten in a saucer
- 2 tablespoons butter
- an oven-to-table baking dish and butter to smear it
- Put the milk in a heavy-bottomed saucepan and turn on the heat to medium low. When the milk forms a ring of tiny, pearly bubbles, but before it comes to a boil, turn down the heat to low, and add the semolina flour, pouring it out of a clenched fist in a very thin, slow stream and, with a whisk in your other hand, beating it into the milk. (If you find the clenched fist, awkward, pour the semolina in slowly using a liquid measuring cup.)
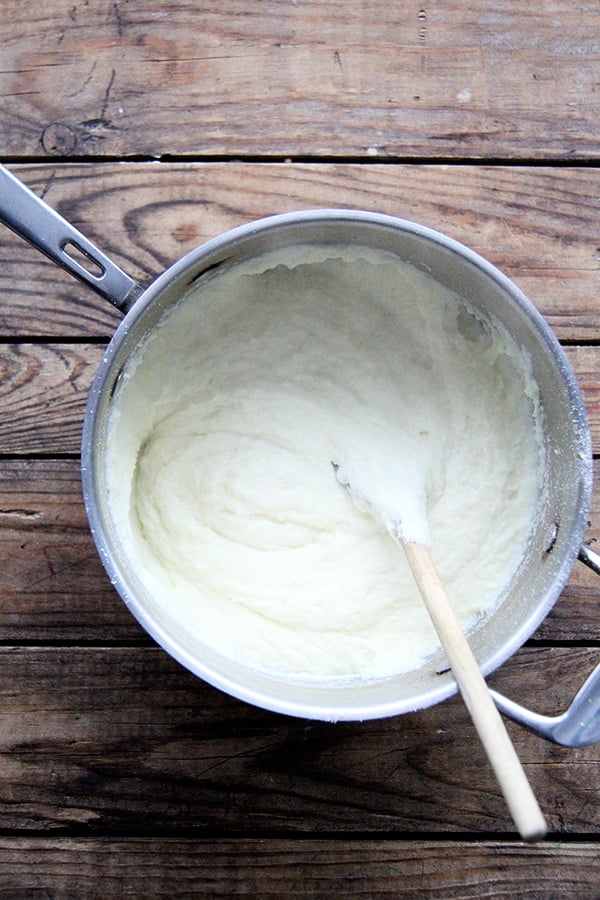
- When all the semolina has gone into the pot, stir it with a long-handled (or not) wooden spoon. Stir continuously and with thoroughness, bringing the mixture up from the bottom and loosening it from the sides of the pot. Be prepared for some resistance because the flour and milk mixture quickly becomes very dense. In little more than 15 minutes and less than 20, the mixture forms a mass that comes cleanly away from the sides of the pot.
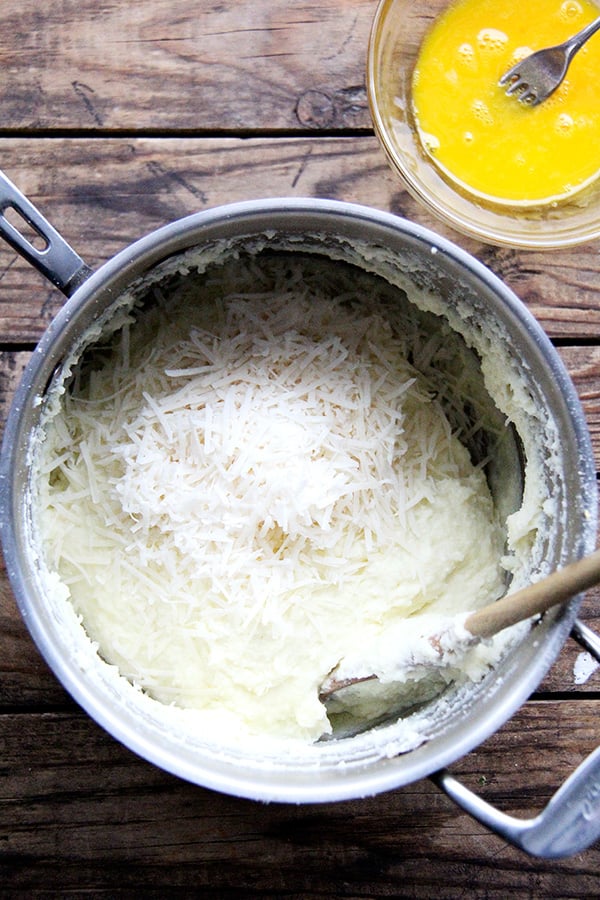
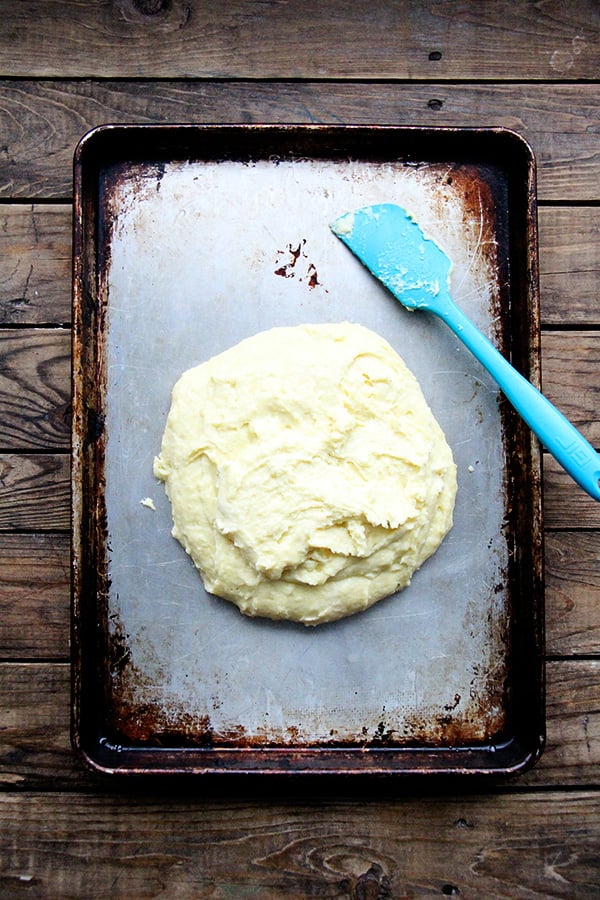
- Remove from heat, let it cool just slightly, for about a minute, then add two-thirds of the parmesan, 2 teaspoons salt, the yolks, and the 2 tablespoons of butter to the batter. Mix immediately and rapidly to prevent the yolks from setting.
- Moisten a laminated or marble surface with cold water (or run a sheetpan under water; then hold it over the sink and let the water drain out) and turn the gnocchi batter out over it, using a spatula to spread it to an even thickness of about ⅜ inch. Dip the spatula in cold water from time to time as you use it. Let the batter cool completely. (You can stick the sheetpan in the fridge for 30 minutes at this point to help it cool down.)
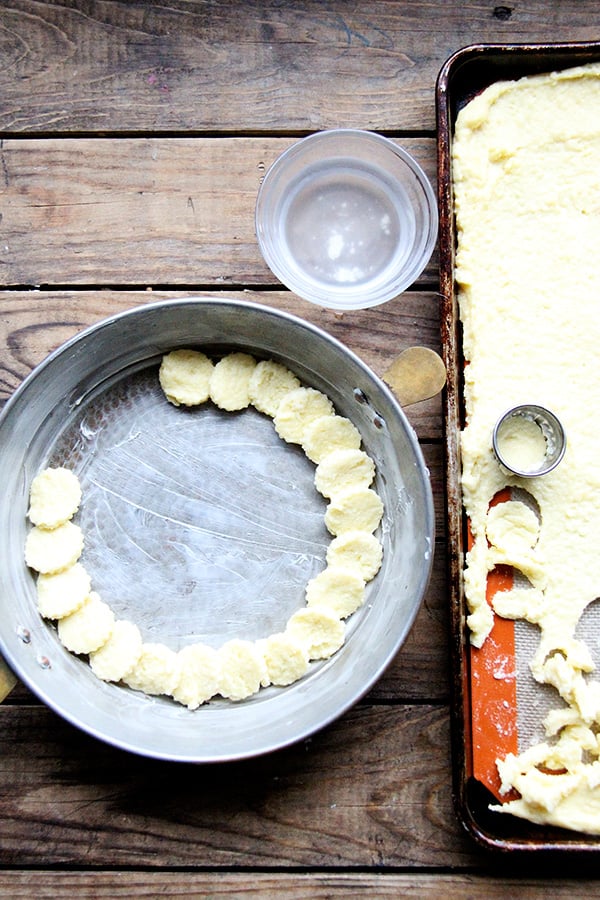
- Preheat oven to 400ºF. When the batter has cooled off completely, cut it into disks, using a 1.5-inch biscuit cutter or a glass of approximately the same diameter. Moisten the tool from time to time in cold water as you us it. (Do not discard the trimmings. See note above.)
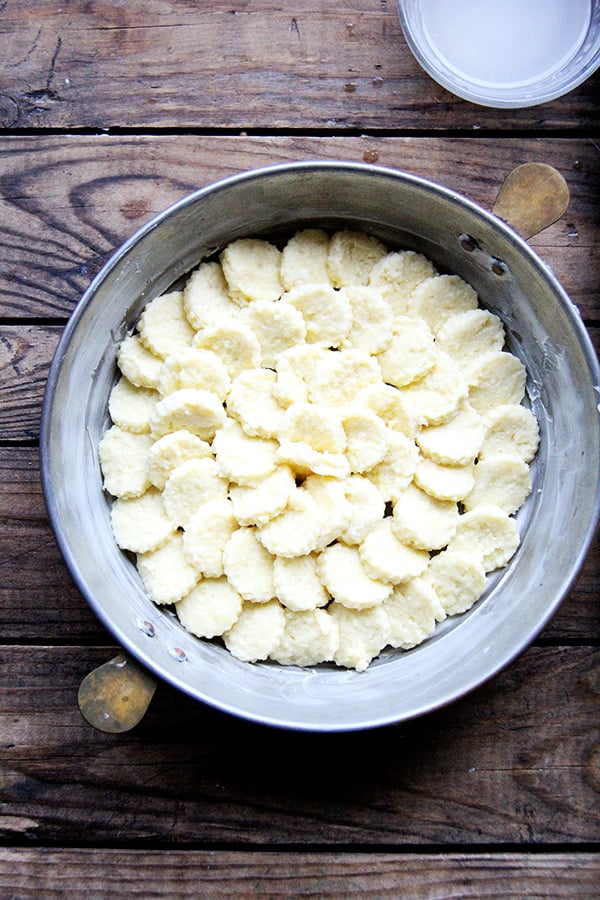
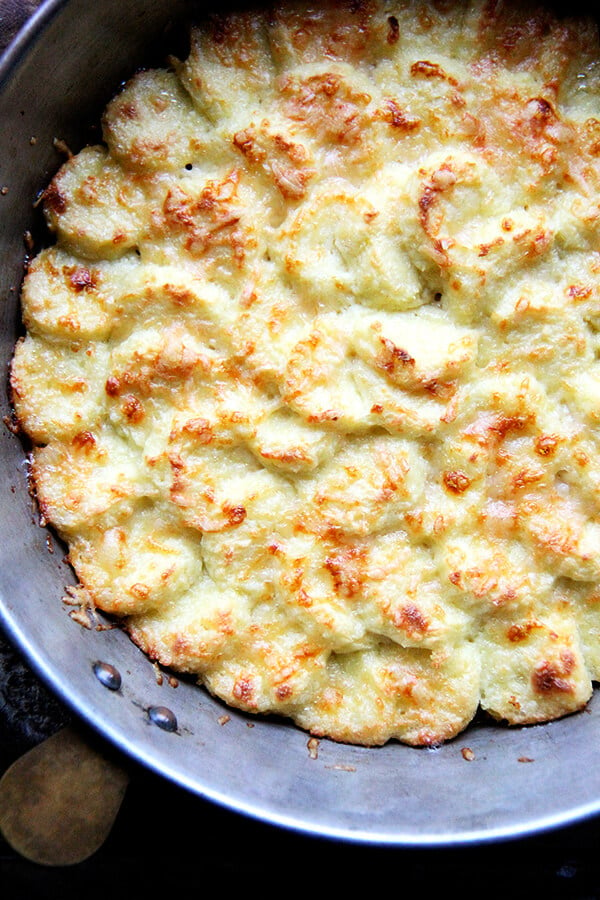
- Smear the bottom of a bake-and-serve dish (I’ve used a 9×13-inch baking dish and a 10-inch round baking dish, which was actually a little too small.) lightly with butter. On the bottom, arrange the gnocchi in a single layer, overlapping them roof-tile fashion. Sprinkle with remaining parmesan and dot sparingly with butter. Bake on the uppermost rack of the preheated oven for 15 to 20 minutes until a light, golden crust has formed. After removing from the oven, allow to settle for 5 minutes before bringing to the table and serving directly from the baking dish.
- Prep Time: 10 minutes
- Cook Time: 45 minutes
Making the fritters:
Description
Ahead-of-time note: Gnocchi can be completely prepared and assembled in baking dish two days in advance. Cover tightly with plastic wrap before refrigerating. Keep the trimmings, too, in the refrigerator in a tightly sealed container.
Lemon: If you have a microplane grater, you can grate the zest of one lemon right into the milk, or you can do what my friend does: add three lemon slices (about an 1.5-inches long) into the pot with the milk and then fish them out before spreading the batter onto the cookie sheet.
To make fritters with the trimmings: Knead the trimmings together briefly into a ball up to a day or two before you plan to use them. When you are ready to make the fritters, divide the dough into croquette size pieces, adding a pinch of salt, shaping them into short, plump forms tapered at each end, about 2.5 inches in length — I just rolled them into a long snake and used my bench scraper to cup them into 1.5-inch pieces. Roll them in dry unflavored breadcrumbs and fry them in hot oil until they form a light crust all over. Sprinkle with salt
Here’s how I make my shallot vinaigrette: Finely dice a shallot or two. Place in a bowl and cover with white balsamic vinegar, 3 to 4 tablespoons. Season with a pinch of kosher salt and a pinch of sugar. Let macerate for about 15 minutes. Whisk in ⅓ cup extra-virgin olive oil to start. It’s ok if the dressing is not totally emulsified. Taste and adjust with more oil, vinegar (or a squeeze of orange if you have one), salt, sugar, etc.
- 4 cups whole milk
- zest of one lemon, see notes above
- 1 cup semolina flour
- 1 cup freshly grated Parmigiano Reggiano
- 2 teaspoons salt
- 3 egg yolks, lightly beaten in a saucer
- 2 tablespoons butter
- an oven-to-table baking dish and butter to smear it
- Put the milk in a heavy-bottomed saucepan and turn on the heat to medium low. When the milk forms a ring of tiny, pearly bubbles, but before it comes to a boil, turn down the heat to low, and add the semolina flour, pouring it out of a clenched fist in a very thin, slow stream and, with a whisk in your other hand, beating it into the milk. (If you find the clenched fist, awkward, pour the semolina in slowly using a liquid measuring cup.)
- When all the semolina has gone into the pot, stir it with a long-handled (or not) wooden spoon. Stir continuously and with thoroughness, bringing the mixture up from the bottom and loosening it from the sides of the pot. Be prepared for some resistance because the flour and milk mixture quickly becomes very dense. In little more than 15 minutes and less than 20, the mixture forms a mass that comes cleanly away from the sides of the pot.
- Remove from heat, let it cool just slightly, for about a minute, then add two-thirds of the parmesan, 2 teaspoons salt, the yolks, and the 2 tablespoons of butter to the batter. Mix immediately and rapidly to prevent the yolks from setting.
- Moisten a laminated or marble surface with cold water (or run a sheetpan under water; then hold it over the sink and let the water drain out) and turn the gnocchi batter out over it, using a spatula to spread it to an even thickness of about ⅜ inch. Dip the spatula in cold water from time to time as you use it. Let the batter cool completely. (You can stick the sheetpan in the fridge for 30 minutes at this point to help it cool down.)
- Preheat oven to 400ºF. When the batter has cooled off completely, cut it into disks, using a 1.5-inch biscuit cutter or a glass of approximately the same diameter. Moisten the tool from time to time in cold water as you us it. (Do not discard the trimmings. See note above.)
- Smear the bottom of a bake-and-serve dish (I’ve used a 9×13-inch baking dish and a 10-inch round baking dish, which was actually a little too small.) lightly with butter. On the bottom, arrange the gnocchi in a single layer, overlapping them roof-tile fashion. Sprinkle with remaining parmesan and dot sparingly with butter. Bake on the uppermost rack of the preheated oven for 15 to 20 minutes until a light, golden crust has formed. After removing from the oven, allow to settle for 5 minutes before bringing to the table and serving directly from the baking dish.
- Prep Time: 10 minutes
- Cook Time: 45 minutes
Find it online : https://alexandracooks.com/2016/02/12/baked-semolina-gnocchi-gnocchi-alla-romana/
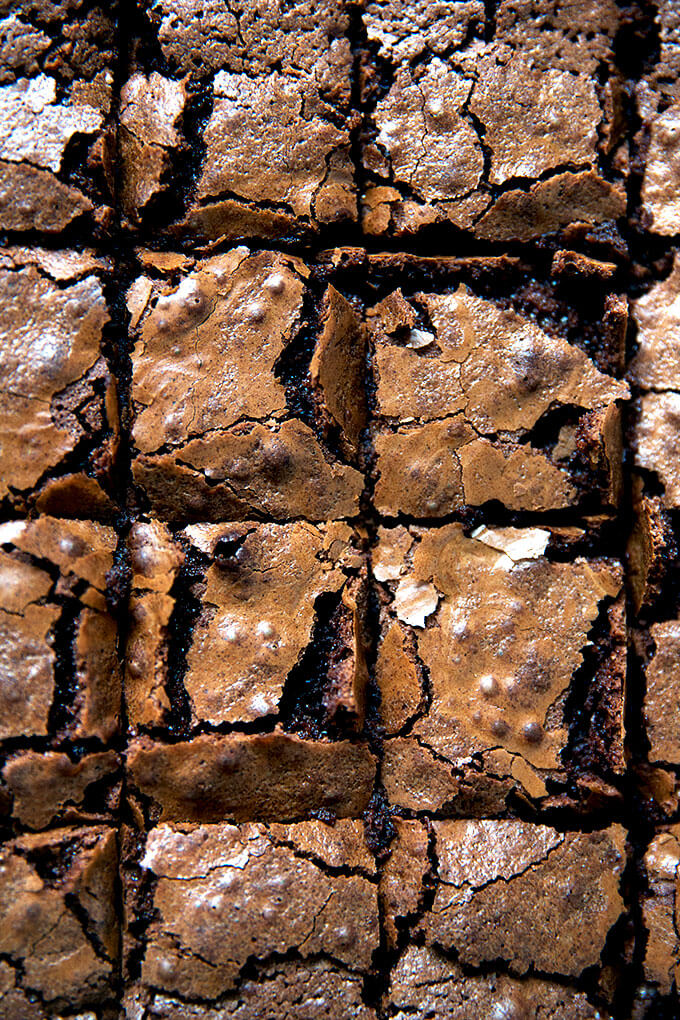
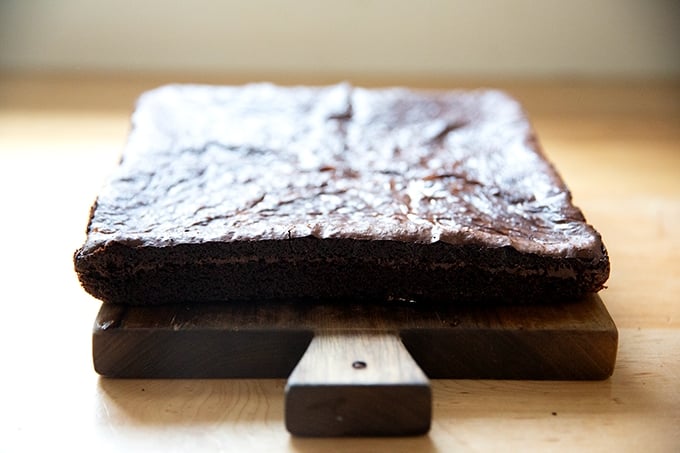
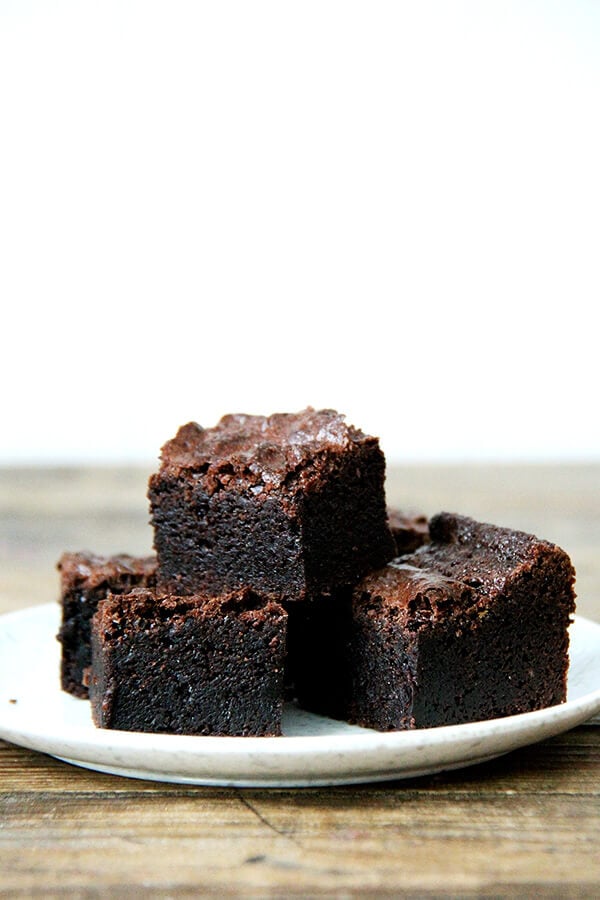
Made with cocoa powder, not melted chocolate, this chewy, fudgy brownie recipe truly is the best ever. The batter comes together in just about 10 minutes, and the brownies emerge with a shiny, paper-thin crust extending from edge to edge.
I’ve been making this brownie recipe for over a decade for various occasions. The recipe comes from Fine Cooking Magazine , and it calls for cocoa powder alone — no melted chocolate — to produce the fudgiest, chewiest, most delicious brownie ever.
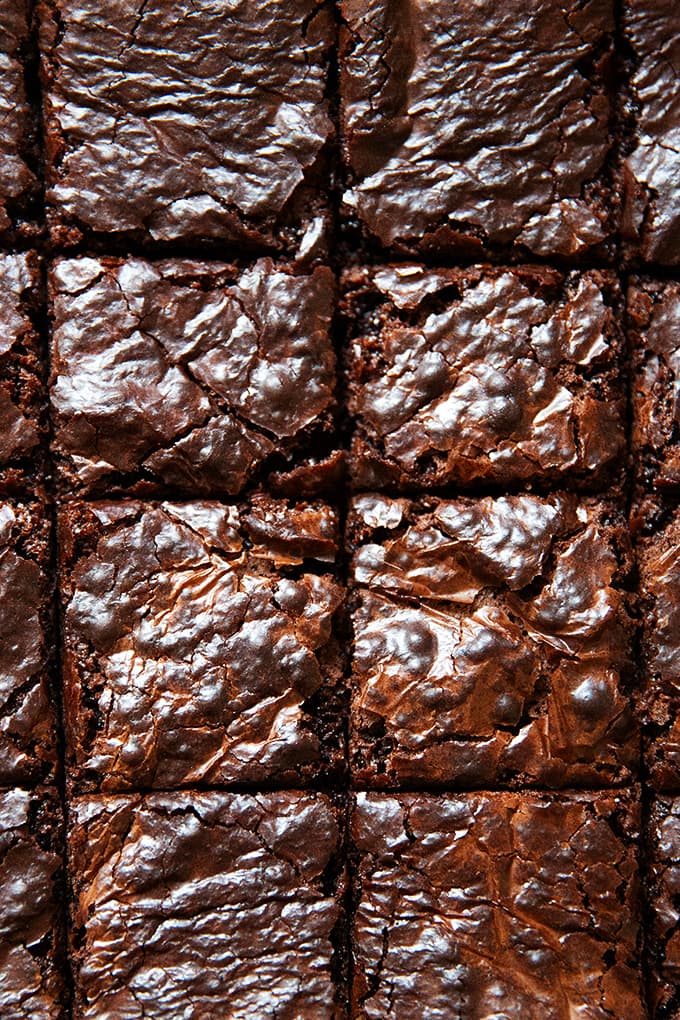
What’s more, these brownies emerge from the oven with that desirable shiny, paper-thin top layer. The key to achieving glossy-topped brownies every time is twofold: vigorously mixing the batter at its various phases (see recipe instructions for details) and using an anodized aluminum pan (see recipe box for an alternative).
Why does whisking vigorously and the type of pan matter? Stella Parks explains in this article that in an aluminum pan, “a well-whipped brownie batter will bake just fast enough, puffing beautifully along the way. The brownies will then settle as they cool, a transformation that creates their crinkly, flaky tops and fudgy middles.”
Bonus: While these brownies are delicious when freshly baked, they continue to improve with age, becoming richer and fudgier as they sit. So don’t be afraid to make them ahead of time. Truly, this brownie recipe will ruin all others for you. Sorry?
PS: My favorite soft and chewy chocolate chip cookies
Fudgy, Chewy, Shiny-Topped Brownies: Step by Step
First, measure your dry ingredients. For best results here, use a scale to measure — it’s really hard to measure cocoa powder accurately without a scale.
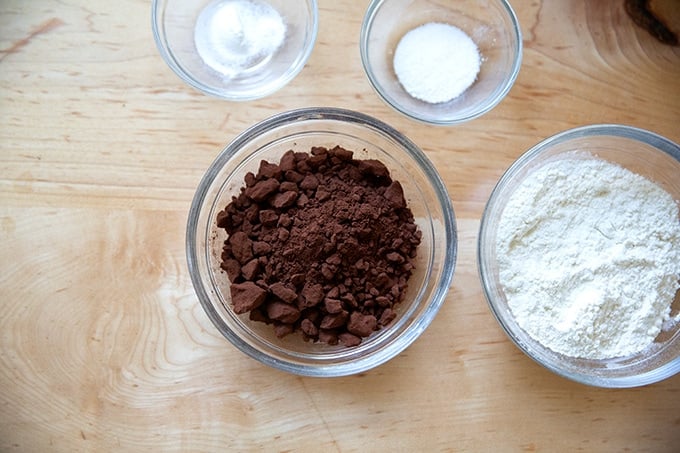
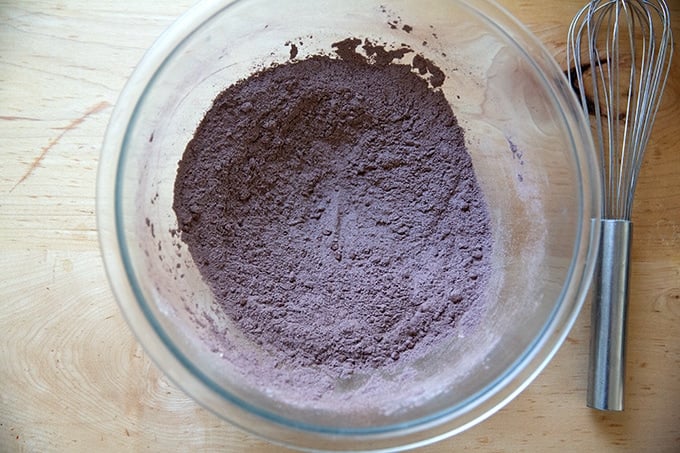
Whisk together the dry ingredients, then set aside:
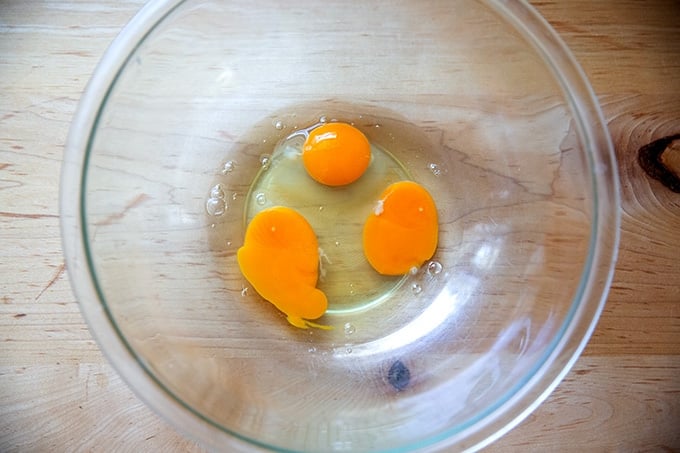
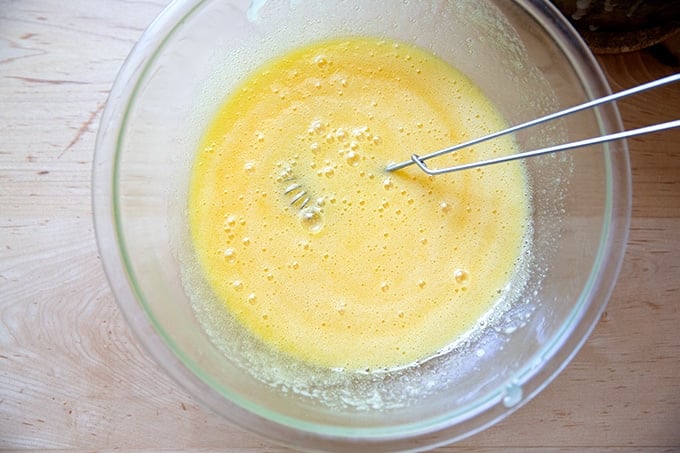
In another large bowl, place 3 eggs:
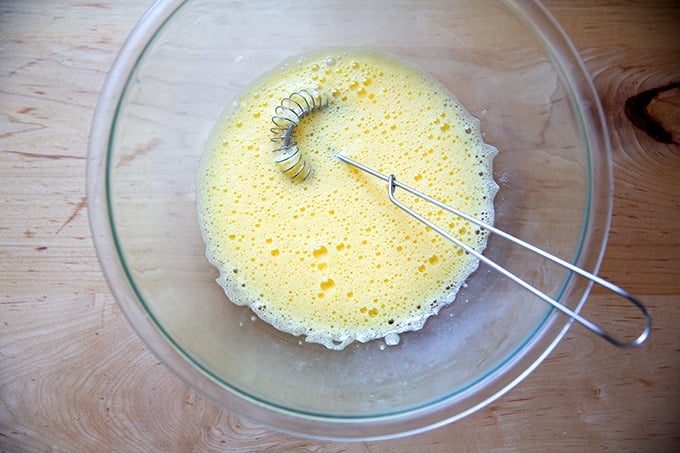
Then whisk vigorously for 60-90 seconds or until the eggs are foamy and slightly thick. I like to use my flat-bottomed whisk here. Set aside.
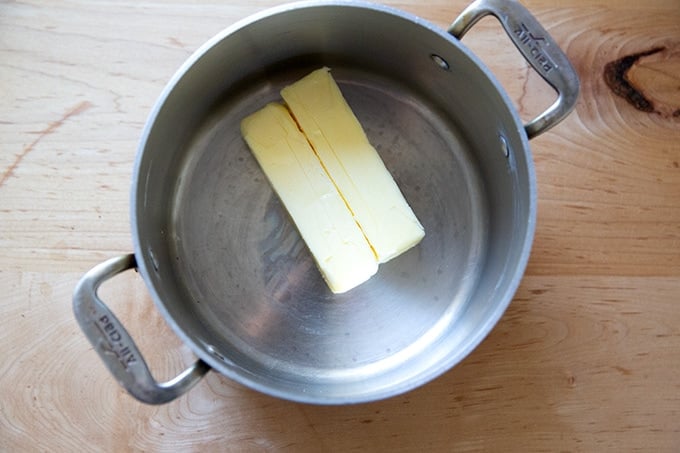
Meanwhile, place two sticks of butter in a pot.
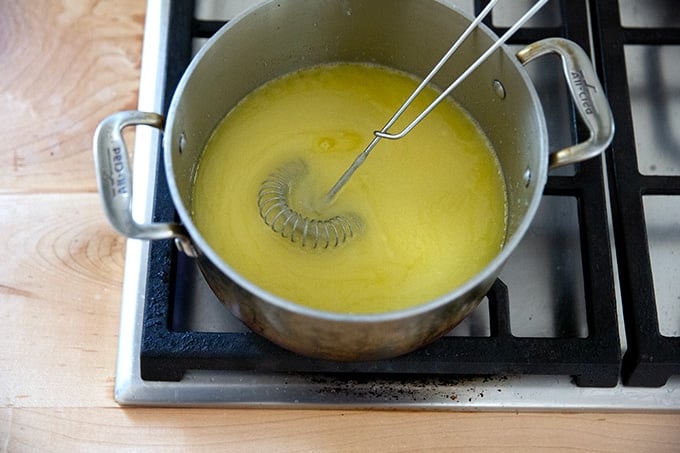
Melt the butter then add the sugar:
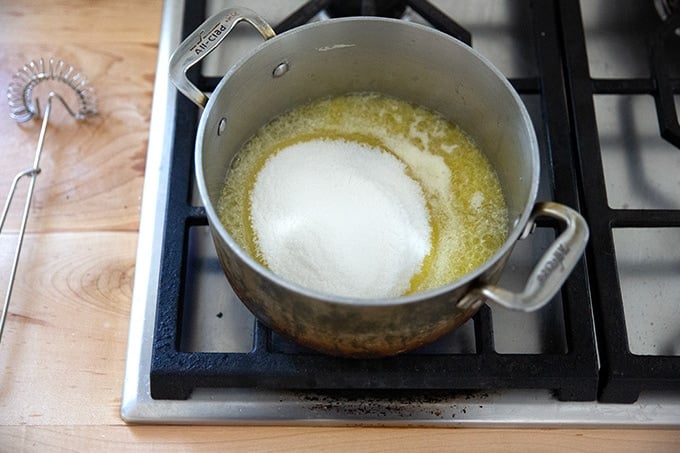
Whisk the sugar and butter together very well here — this won’t take long but the mixture should look like wet sand when you’re done. Again, I like to use my flat-bottomed whisk here.
Whisk this butter-sugar mixture into the eggs very well, then add the vanilla and whisk again:
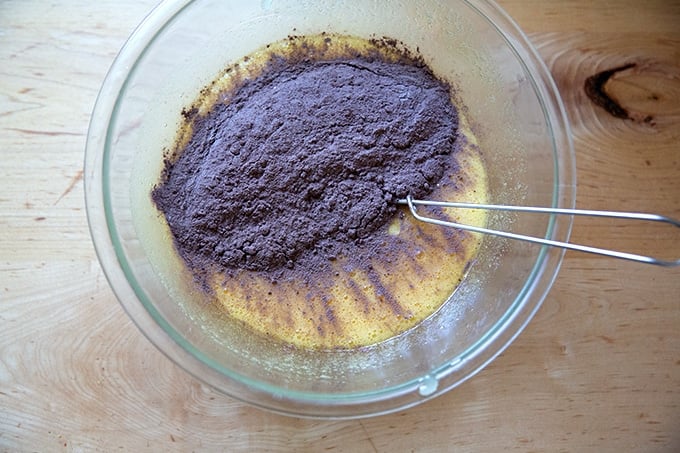
Add the dry ingredients to the wet:
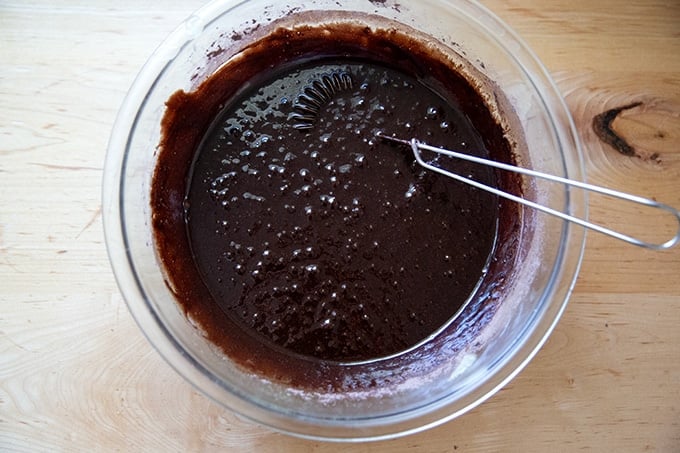
Whisk until the batter is very smooth:
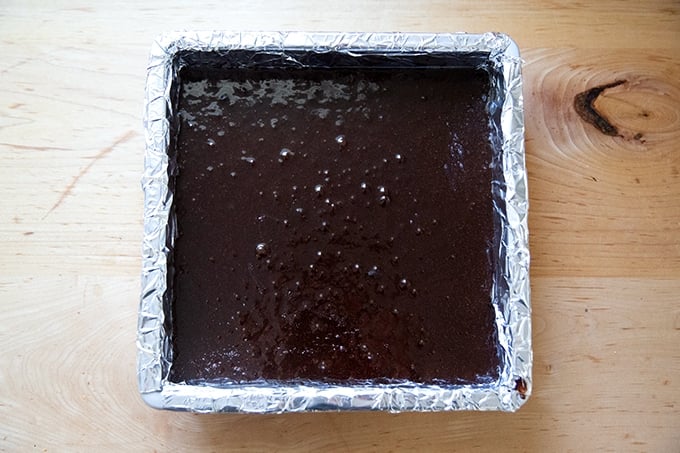
Pour the batter into a buttered foil-lined 9-inch pan ( this one is great):
Bake for 37-40 minutes at 350ºF:
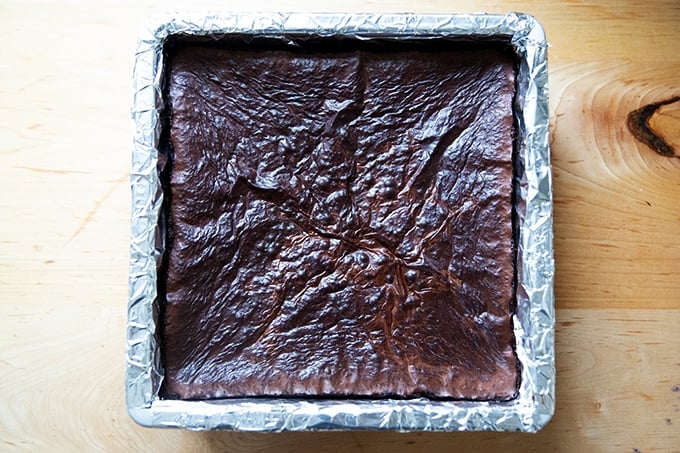
Let cool for 30 minutes, then remove the brownies from the pan. The shiny top layer looks like a sheet of paper you could peel away… a sight to behold!
Cut into squares:
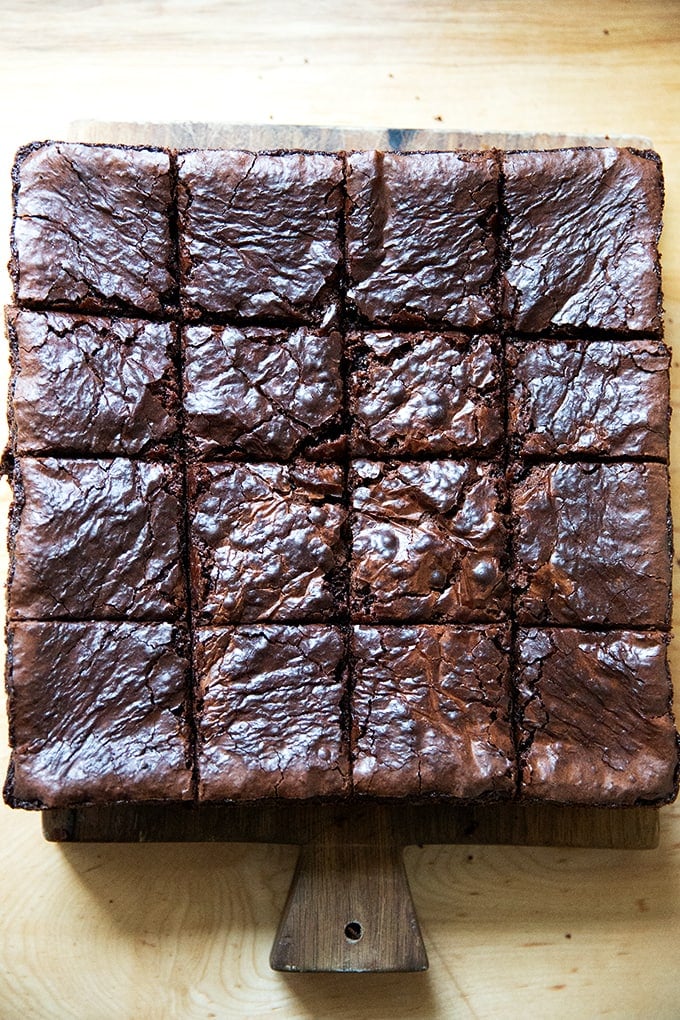
Admire your work:
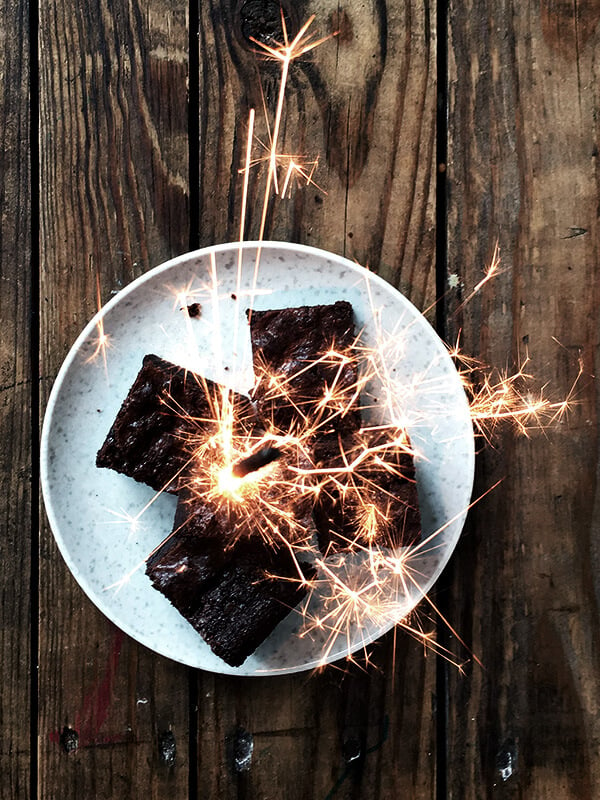
Celebrate with sparklers?
Or a tall glass of milk.
Description
Made with cocoa powder, not melted chocolate, this chewy, fudgy brownie recipe truly is the best ever. The batter comes together in just about 10 minutes, and the brownies emerge with a shiny, paper-thin crust extending from edge to edge.
Adapted from Fine Cooking Magazine
Changes I’ve made to the original recipe : In an effort to achieve that shiny, crackly crust every time, I’ve made a few changes to the recipe, mostly to the method, which is reflected in the instructions below. I also now use 3 eggs as opposed to 4, 1 tablespoon vanilla as opposed to 1/2 teaspoon, and 1 teaspoon Diamond Crystal kosher salt as opposed to 1/2 teaspoon table salt.
Notes:
- A digital scale is best for measuring flour and cocoa powder. This one is reasonably priced . Buy it! Baking by weight will change you forever. There’s no better time than right now.
- Cocoa Powder: Concerning levels of lead have been found in many brands of cocoa powder. Some are worse than others. I’ve included some reader recommendations below. Note: If you do the math, each brownie likely contains roughly 4 grams of cocoa powder. Cacao Barry Extra Brute (2 pack) | ( 1 pack ) Navitas Viva Naturals Organic Cocoa Fry’s Rodelle
- The pan. For optimal results, Stella Parks recommends using an anodized aluminum pan, explaining that in an aluminum pan, “a well-whipped brownie batter will bake just fast enough, puffing beautifully along the way. The brownies will then settle as they cool, a transformation that creates their crinkly, flaky tops and fudgy middles.” She also recommends lining the pan with foil. One of you readers has also had success using this USA 8-inch metal pan .
- 72 g ( ¾ cup ) unsweetened cocoa powder, see notes above
- 84 g ( 2/3 cup ) unbleached all-purpose flour
- ½ teaspoon baking powder
- 1 teaspoon Diamond Crystal Kosher salt (or ½ teaspoon table salt or 1/2 teaspoon Morton kosher salt)
- 3 large eggs
- 227 g ( 1 cup or 2 sticks) salted or unsalted butter; plus more for the pan (I use Cabot salted)
- 432 g (a heaping 2 cups ) granulated sugar
- 1 tablespoon pure vanilla extract
- Preheat oven to 350°F and position a rack in the center of the oven. Line a 9-inch square baking pan, preferably aluminum or metal, with aluminum foil (see notes above). Butter the foil.
- In a large bowl, whisk together the cocoa, flour, baking powder, and salt.
- In another large bowl, beat the eggs very well until foamy and thick — about 1 minute of vigorous whisking.
- Melt the butter in a medium saucepan over medium heat — it should be hot and bubbling lightly. Add the sugar and whisk until well very combined — I like to use my flat-bottomed whisk here. The mixture should be nearly emulsified and should look like wet sand.
- Pour the melted butter-sugar mix into the eggs and whisk constantly until very well combined. Be sure to scrape the bottom of the pot to extract any lingering sugar/butter. Add the vanilla to the egg-sugar mix, and whisk to incorporate.
- Add the dry ingredients to the wet, and whisk until smooth.
- Spread the batter into the prepared pan and bake for approximately 37-40 minutes. Insert a toothpick straight into the center. If it comes out clean or with just a few moist crumbs, the brownies are done.
- Let cool completely in pan on rack (at least 30 minutes) before cutting. Brownies can be made two to three days in advance.
- Prep Time: 10 minutes
- Cook Time: 40 minutes
- Category: Dessert
- Method: Oven
- Cuisine: American
