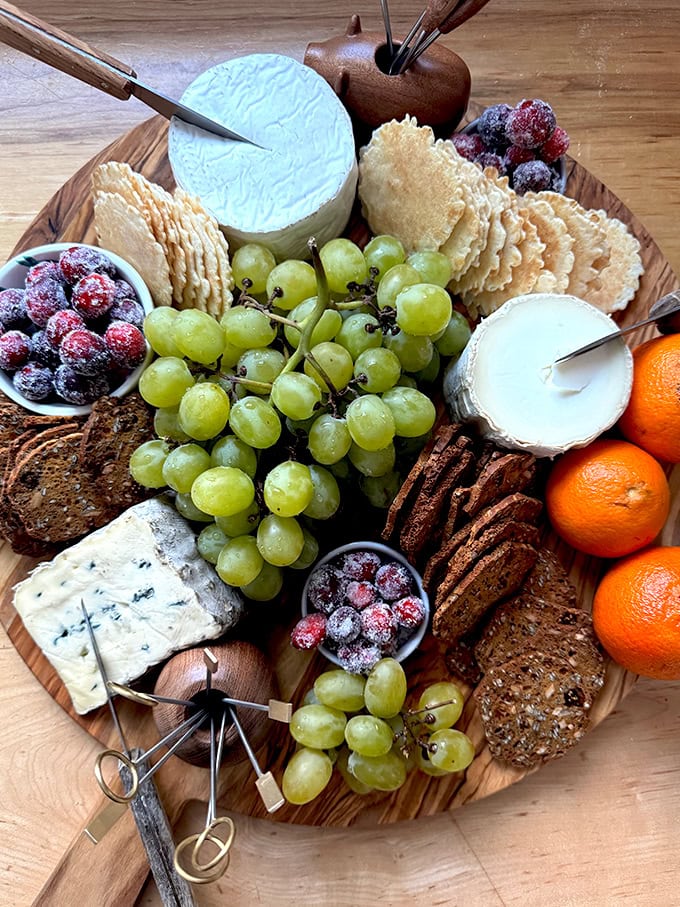
Made with only three ingredients, these sugared cranberries are so festive for the holiday season. Garnish your cheese boards with them; decorate your tables with them; wrap them up in jars and gift them to your friends. So easy, so pretty!

About this time last year, I demoed how to make cheese sticks and candied pepitas , at the Vischer Ferry General Store . It was “Charcuterie Night,” and during the class, with our freshly made cheese sticks and pepitas, we assembled a small charcuterie board together.
This was just after Thanksgiving and visions of the holiday were still on my mind, namely a stunning photo of a pumpkin pie, which had been garnished with sugared cranberries. Arranged sparingly but artfully over the pie, the frosted berries not only added a pop of color so complementary to the pie’s burnt orange hue but also (perhaps) covered any unsightly cracks in the pie’s surface.
I hadn’t had time to make the cranberries before Thanksgiving so I decided to make them for the event, thinking they would be a festive addition to the store’s large communal table where the charcuterie boards would be assembled before everyone arrived. Louise, the owner of the store, and Genny, the events coordinator, worked their magic, placing the cranberries in pretty bowls, nestling in sprigs of rosemary, and distributing the bowls among the platters and empty spaces along the table.
Once class began, I couldn’t help but notice the attendees’ enthusiasm for the cranberries. They were dropping them in their glasses of prosecco and sparkling water, and they were loading their little plates with them to enjoy with their cheese, meats, and crackers.
After the demo ended, no one cared about the cheese sticks or the pepitas. They wanted to know about the cranberries. How did you make these? Can you share the recipe?
I thought this was so interesting because the cranberries, despite being coated with sugar, are still so tart! You can eat them, of course, but their purpose is primarily decorative, a festive flourish for the entertaining season, something, as noted, to set on your cheese boards or holiday table or to wrap up in pretty jars to gift to your friends and family.
Having made these several times now, I’ve adapted the various recipes I’ve followed slightly. Let’s start from the top:
Sugared Cranberries: A Two-Step Process
Making sugared cranberries is a two-step process:
- Make a simple syrup. Coat the berries in the syrup. Let drain for 1 hour.
- Transfer the berries to a bowl and coat with more sugar.
What I’ve found works better is this: rather than make a traditional simple syrup with equal parts sugar and water, I make a thicker one with a slightly higher ratio of sugar to water. I find this more concentrated syrup coats the berries a little bit better which in turn allows the final sprinkling of sugar to better adhere to the surface of the berries.
Finally, I use less sugar for the final sprinkling. With several of the recipes I used, I found I had so much leftover sugar in the bowl. That’s it! As always, I hope you love them 🎉
How to Make Sugared Cranberries, Step by Step
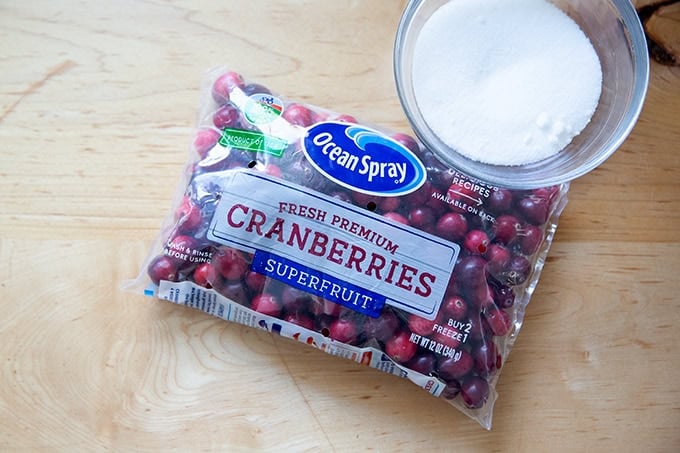
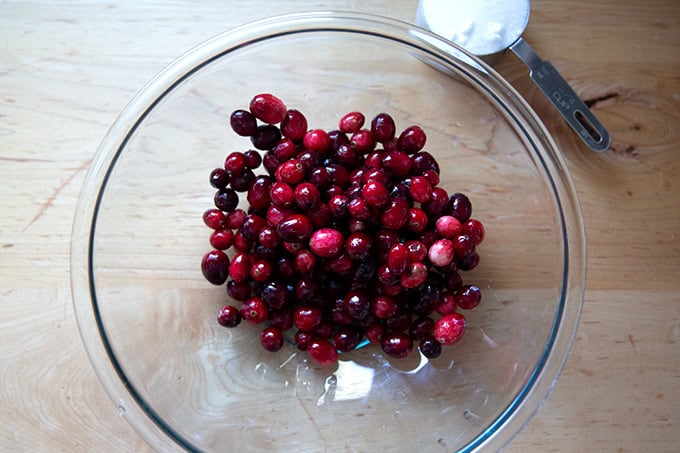
First gather your ingredients: 1 bag (12 ounces) of cranberries and 1/2 cup sugar.
Place the sugar in a small saucepan with 1/4 cup of water:
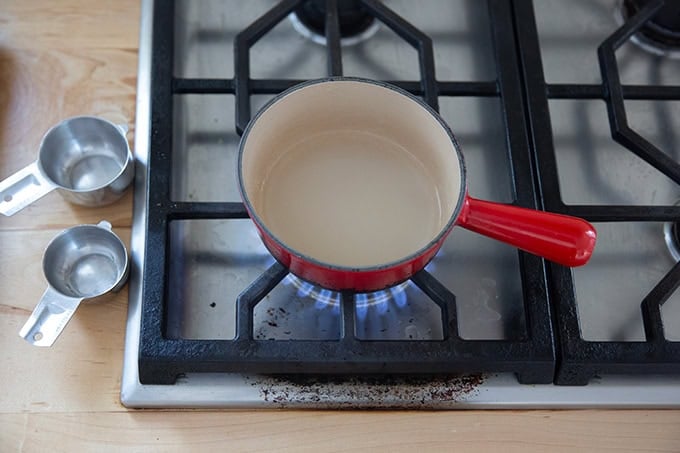
Bring to a boil over medium-high heat. Stir with a spatula just until the sugar dissolves, then…
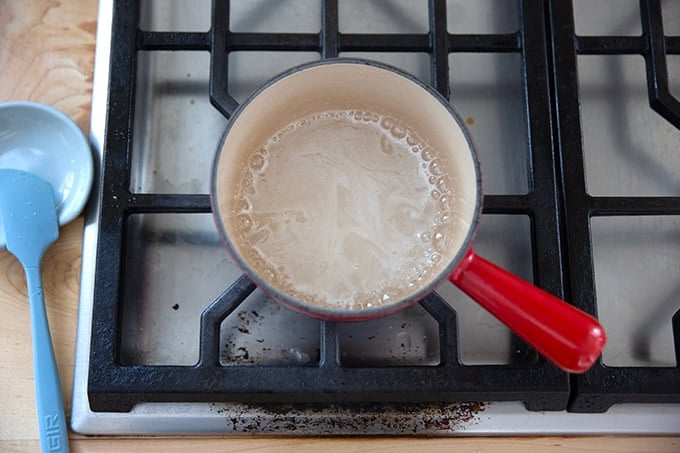
… remove from the heat:
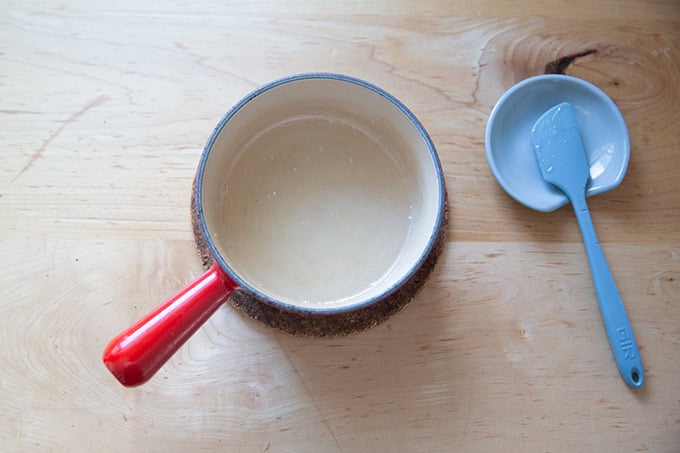
Pour this sugary hot syrup over the cranberries in a large bowl and stir with a spatula until all of the berries are coated:

Transfer the berries to a rack set over a sheet pan (or a parchment-lined sheet pan) to drain, and let drain for 1 hour:
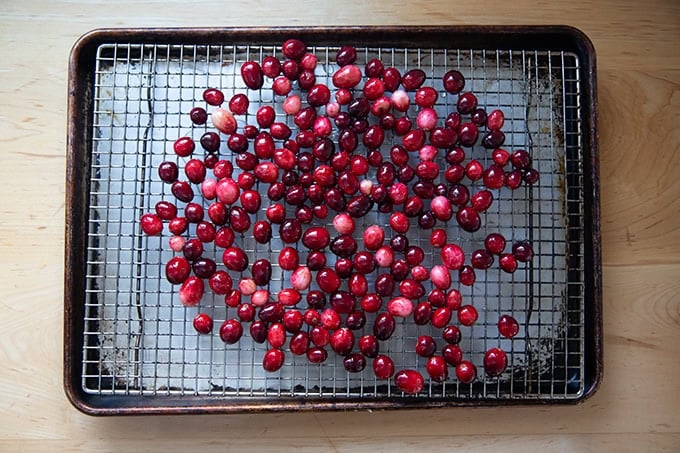
After the hour, transfer the berries to a large bowl or a 9×13-inch pan, then…
… toss with more sugar …
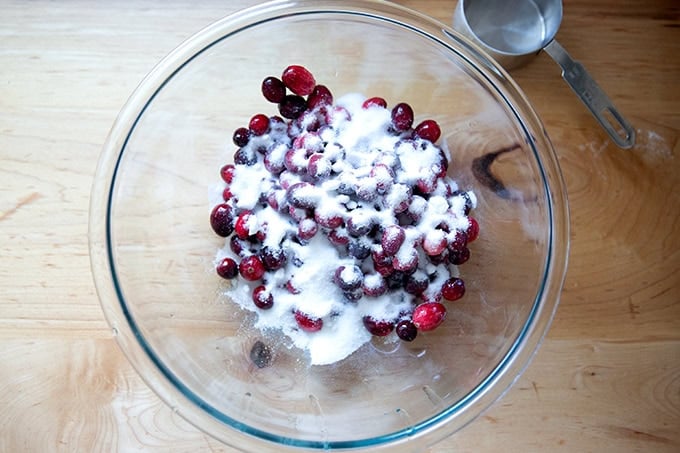
… to coat:
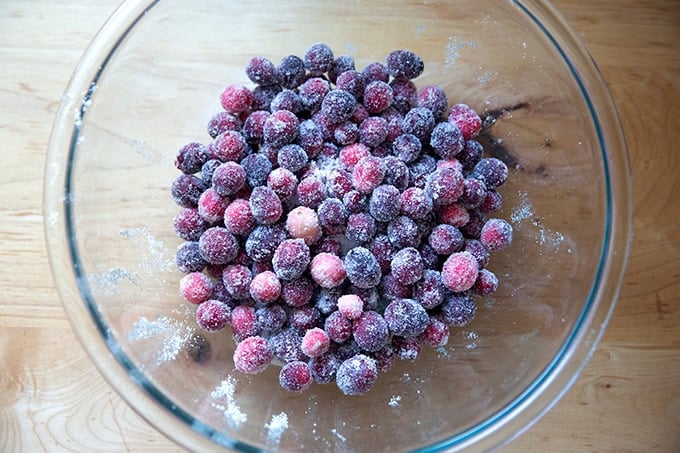
Transfer to storage jars …
… and store at room temperature for four to five days or…

… use immediately as a garnish on a cheese board or holiday table:
Description
Made with only three ingredients, these sugared cranberries are so festive for the holiday season. Garnish your cheese boards with them; decorate your tables with them; wrap them up in jars and gift them to your friends. So easy, so pretty!
Adapted from these two recipes: Sally’s Baking Addiction and Natasha’s Kitchen
The changes I’ve made to the process include:
making a slightly thicker/more concentrated sugar syrup by using a higher ratio of sugar to water as opposed to equal parts
using less sugar for the final sprinkling
1/2 cup + 1/3 cup sugar + more as needed
1/4 cup water
12 -ounce bag of fresh cranberries
- In a small saucepan, combine the 1/2 cup sugar with 1/4 cup water. Bring to a boil over medium-high heat, and stir with a spatula carefully until the sugar dissolves. Remove from the heat.
- Place the cranberries in a large bowl. Pour the hot sugar syrup over the cranberries and stir with a spatula until the berries are coated in the syrup. Transfer the sugar-coated cranberries to a rack set in a sheet pan (or to a parchment-lined sheet pan) to drain for 1 hour.
- Transfer the berries to large clean bowl and sprinkle with the remaining 1/3 cup sugar. Toss with your hands until the berries are evenly coated, using more sugar if needed.
- Transfer the berries to storage jars and store at room temperature for four to five days.
- Prep Time: 5 minutes
- Cook Time: 5 minutes
- Category: garnish
- Method: stovetop
- Cuisine: American
Description
Made with only three ingredients, these sugared cranberries are so festive for the holiday season. Garnish your cheese boards with them; decorate your tables with them; wrap them up in jars and gift them to your friends. So easy, so pretty!
Adapted from these two recipes: Sally’s Baking Addiction and Natasha’s Kitchen
The changes I’ve made to the process include:
making a slightly thicker/more concentrated sugar syrup by using a higher ratio of sugar to water as opposed to equal parts
using less sugar for the final sprinkling
1/2 cup + 1/3 cup sugar + more as needed
1/4 cup water
12 -ounce bag of fresh cranberries
- In a small saucepan, combine the 1/2 cup sugar with 1/4 cup water. Bring to a boil over medium-high heat, and stir with a spatula carefully until the sugar dissolves. Remove from the heat.
- Place the cranberries in a large bowl. Pour the hot sugar syrup over the cranberries and stir with a spatula until the berries are coated in the syrup. Transfer the sugar-coated cranberries to a rack set in a sheet pan (or to a parchment-lined sheet pan) to drain for 1 hour.
- Transfer the berries to large clean bowl and sprinkle with the remaining 1/3 cup sugar. Toss with your hands until the berries are evenly coated, using more sugar if needed.
- Transfer the berries to storage jars and store at room temperature for four to five days.
- Prep Time: 5 minutes
- Cook Time: 5 minutes
- Category: garnish
- Method: Stovetop
- Cuisine: American
Find it online : https://alexandracooks.com/2024/12/08/3-ingredient-sugared-cranberries/
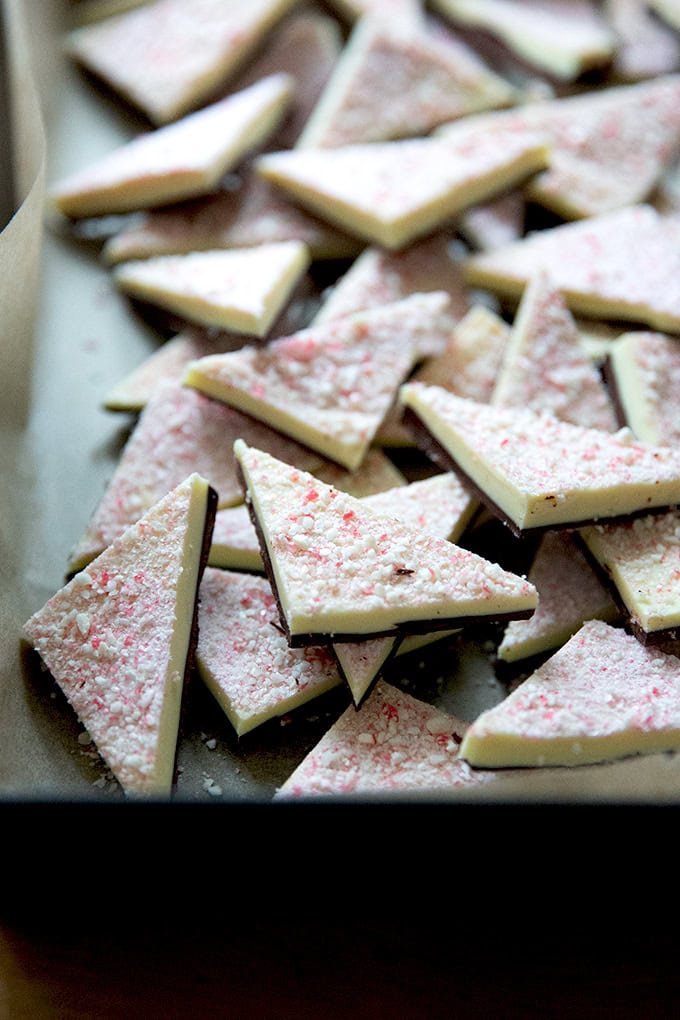
Made with only four ingredients, this peppermint bark is one of the simplest holiday cookies you could make and one of the most festive, too. What’s more, it yields a ton, making it perfect for gifting all season long. So easy, so pretty, so delicious!
When a woman commented on this chewy chocolate sugar cookie recipe saying she loved all things peppermint and was planning on rolling the unbaked cookies in “peppermint dust,” I was intrigued. Peppermint dust I quickly learned is simply candy canes that have been pulverized into “dust.”
I loved the sound of this because I, too, love all things peppermint, but I’ve never loved candy canes. A few days later, the woman wrote back saying: “Rolled the dough in the ‘dust’, baked and then sprinkled a bit more on top after baking. They are incredible.”
About this same time, the Williams-Sonoma catalog arrived, and as I flipped through it, the decorative tins of peppermint bark catching my attention, I wondered how a homemade version might taste, topped with peppermint dust as opposed to coarsely chopped candy canes.
Feeling inspired, I found a recipe online and gave it a go. Friends! I had no idea making peppermint bark was so easy! And so tasty! And so high-yielding! Like these boozy rum balls and these lemon-almond snowballs and these ugly delicious gingerbread cookie bars , peppermint bark falls into the low-effort, high-reward category of cookies we all need more of in our lives.
Easy, festive, tasty: what’s not to love? Pack it into jars. Wrap it in little baggies. Gift it all season long.
How to Make Peppermint Bark, Step by Step
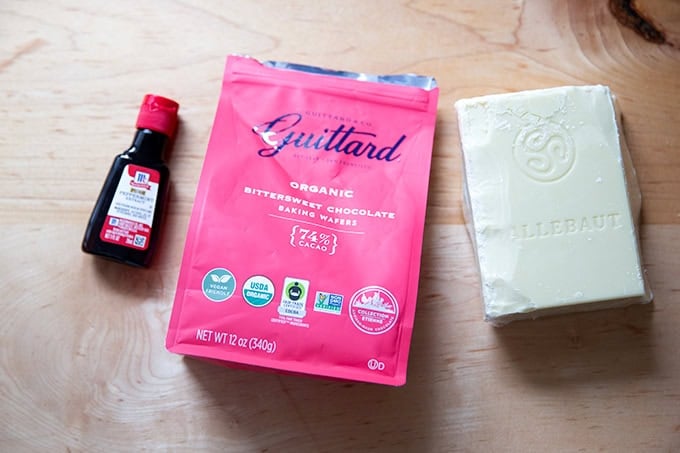
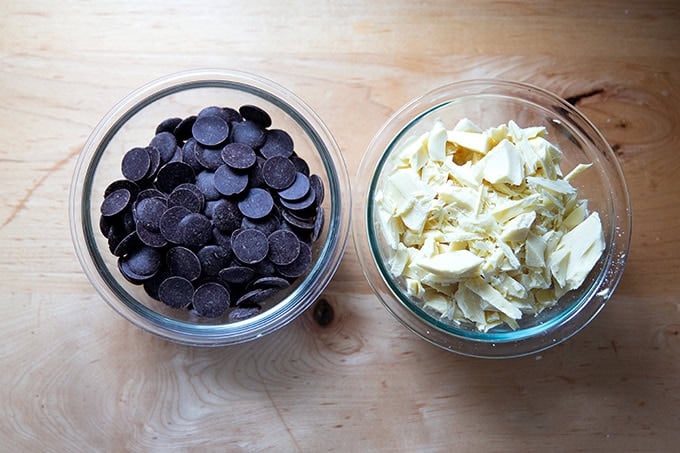
Gather your ingredients: dark chocolate, white chocolate, and peppermint extract.
You’ll also need some candy canes:
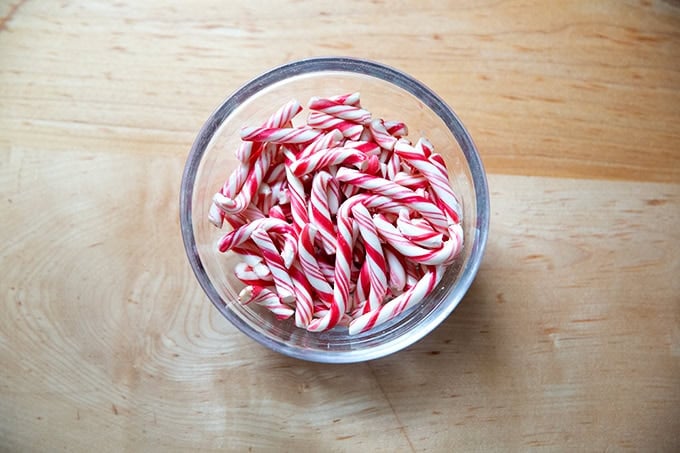
I like to blitz the candy canes into dust in the food processor, but if you prefer a coarser chop, simply place them in a ziplock bag and gently crush them using a rolling pin.

Measure out the chocolate: 12 ounces of dark chocolate and 16 ounces of white chocolate.
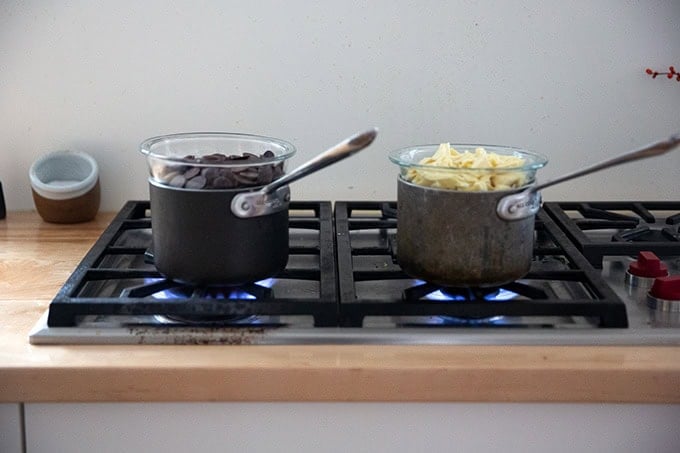
Set each bowl of chocolate over a pot on the stovetop: I’m using these 1-quart Pyrex bowls (which I use for the peasant bread ) and two All-Clad 2-qt saucepans (similar to this one ).
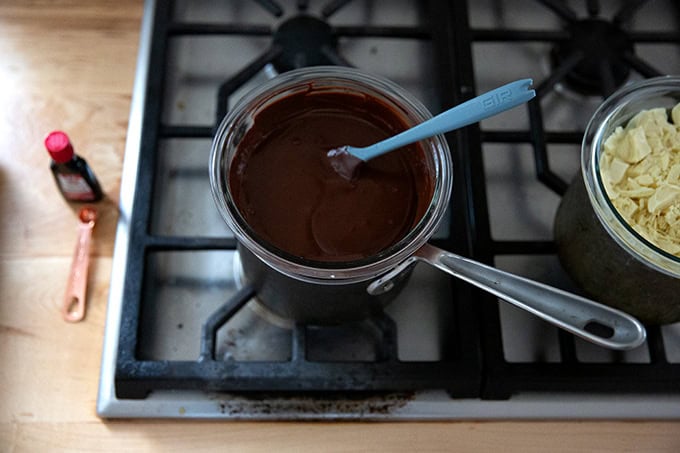
Once the dark chocolate is melted, add a quarter teaspoon of peppermint extract and stir to combine:
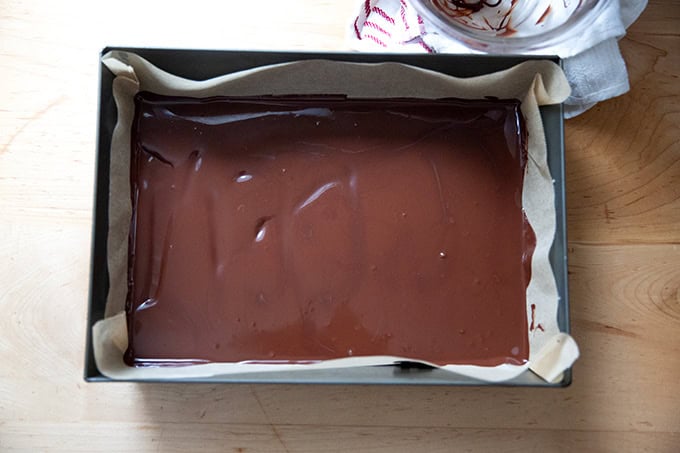
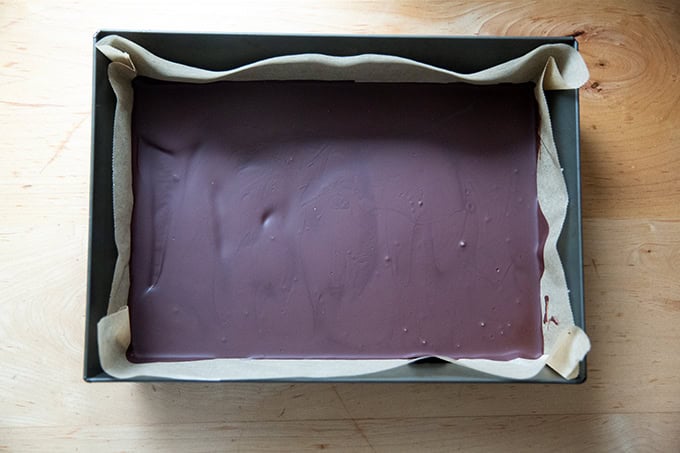
Then spread the melted chocolate into a 9×13-inch or 10×14-inch parchment-lined pan.
Transfer to the fridge for 10 minutes (or until the chocolate just sets).
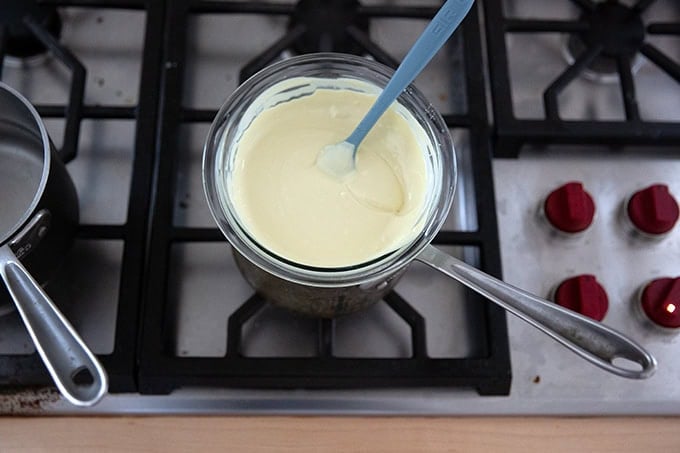
Meanwhile, stir another 1/4 teaspoon of peppermint extract into the melted white chocolate:
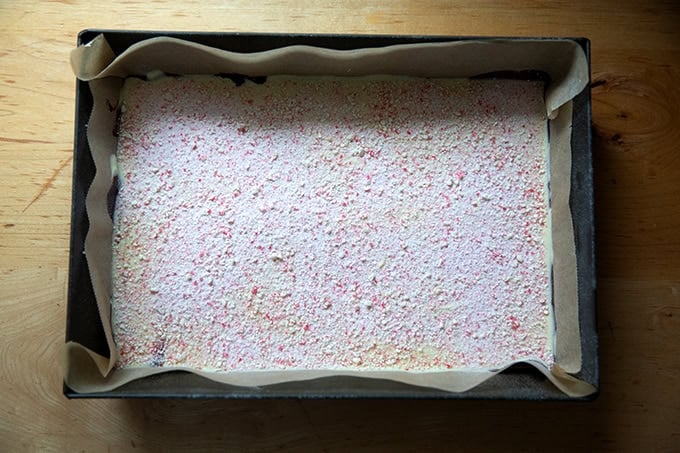
Spread the white chocolate over the top of the dark chocolate…
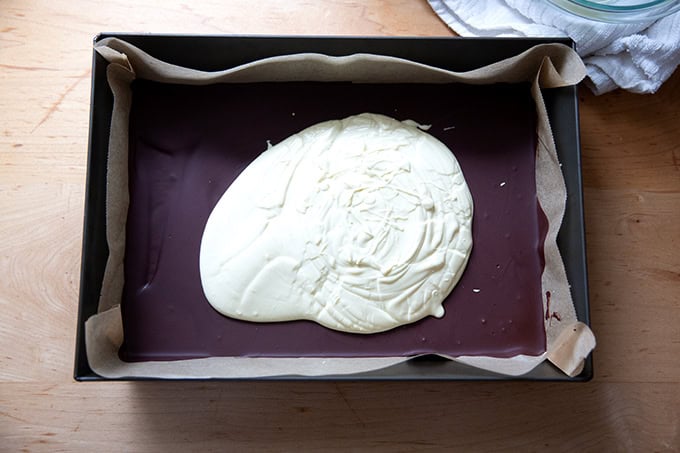
… and spread it edge to edge:
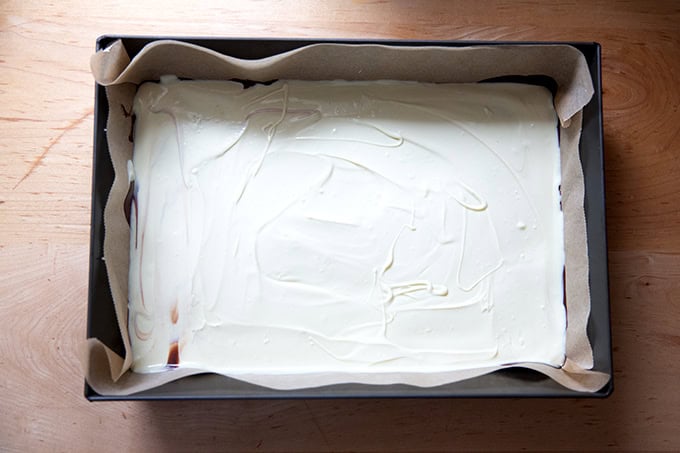
Sprinkle with the peppermint dust, then return to the fridge for another 20 minutes.
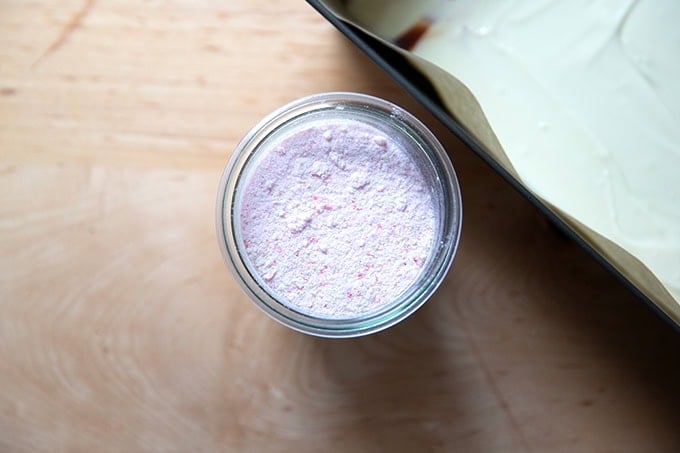
Store the remaining peppermint dust in a jar for future use:
Remove the bark from the fridge, and let it sit at room temperature for another 20 minutes before cutting:
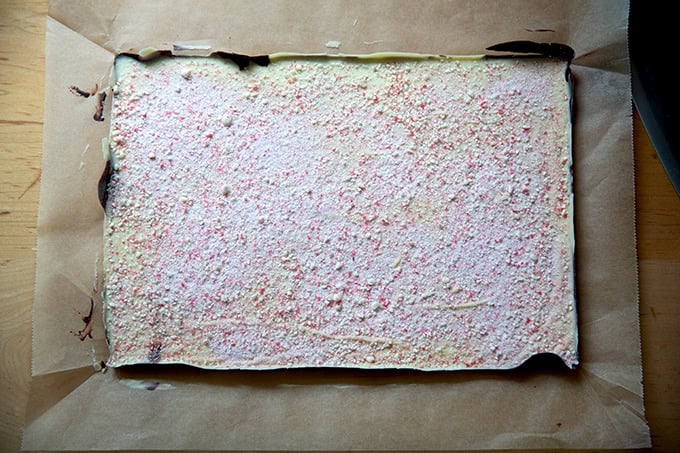
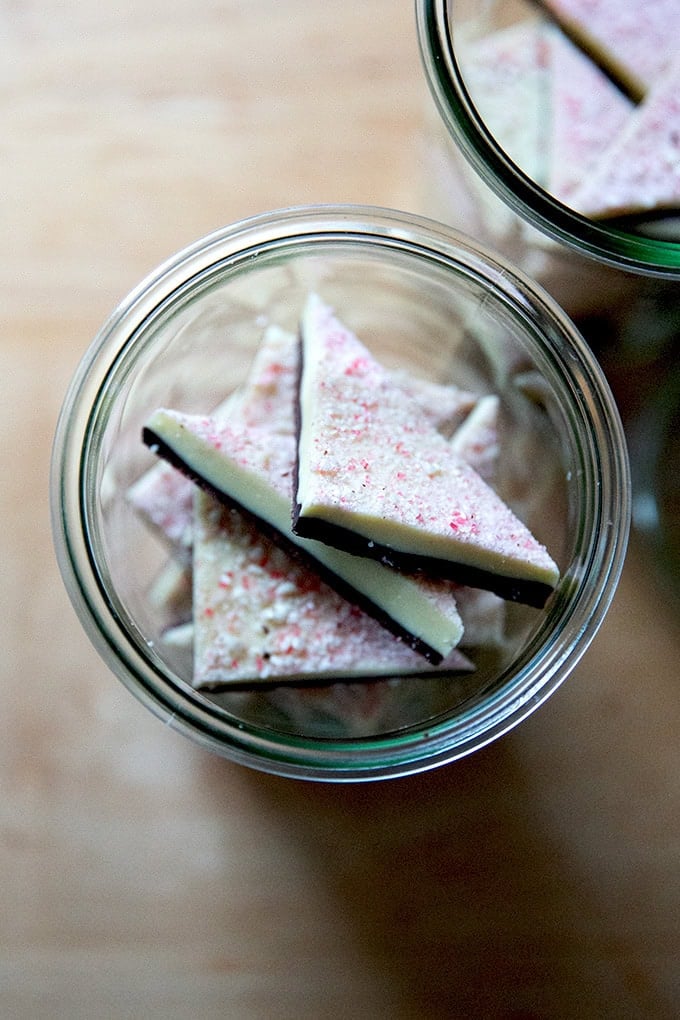
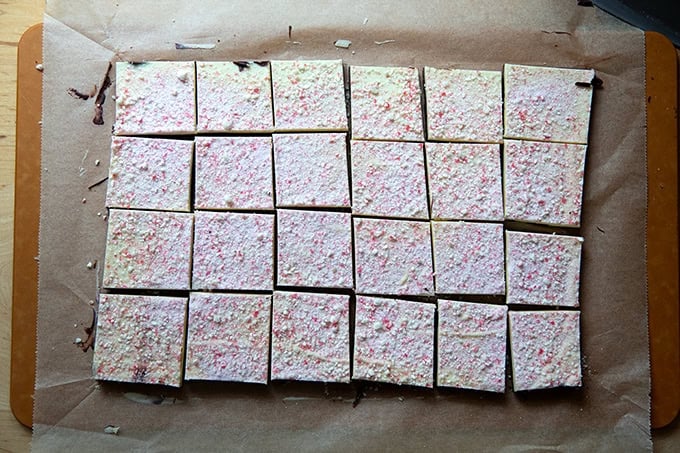
There are two approaches to cutting the bark: you can either break it into irregular shards or you can cut it into neat, even pieces, which is my preference. To do so, trim away the edges first.
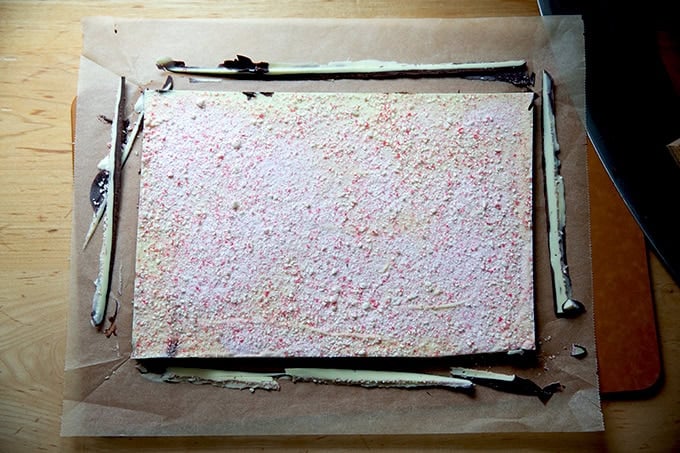
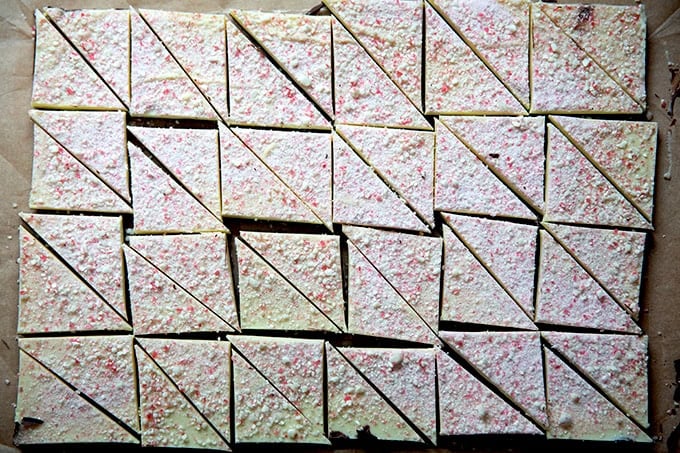
Then cut into 2-inch squares…
… then into triangles:
I like to return it to the fridge briefly (just an hour or so) to firm up. Then serve
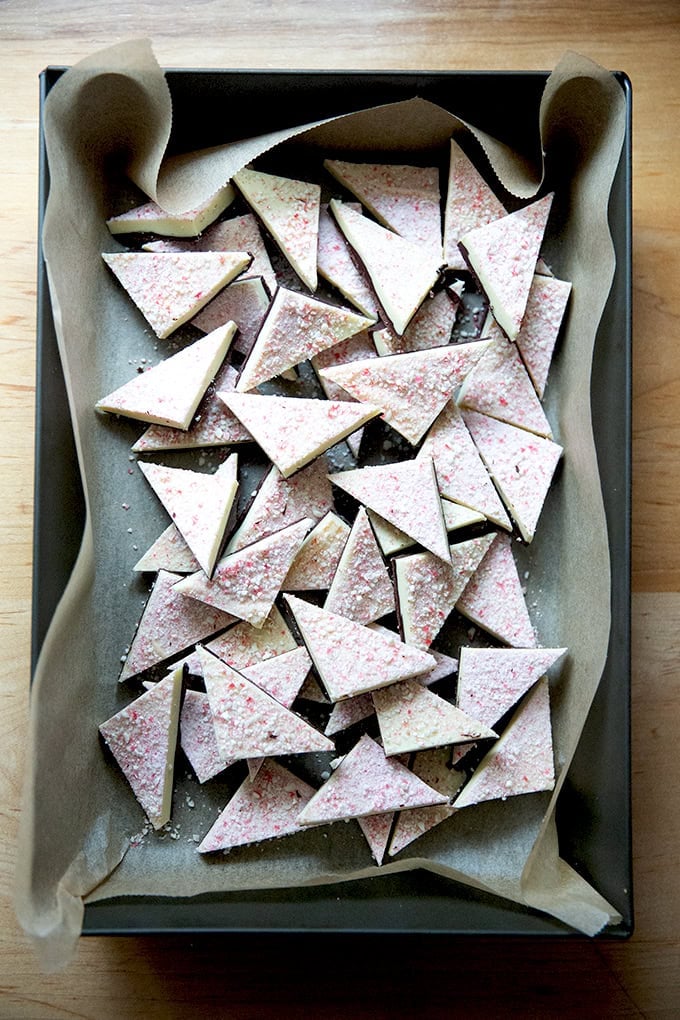
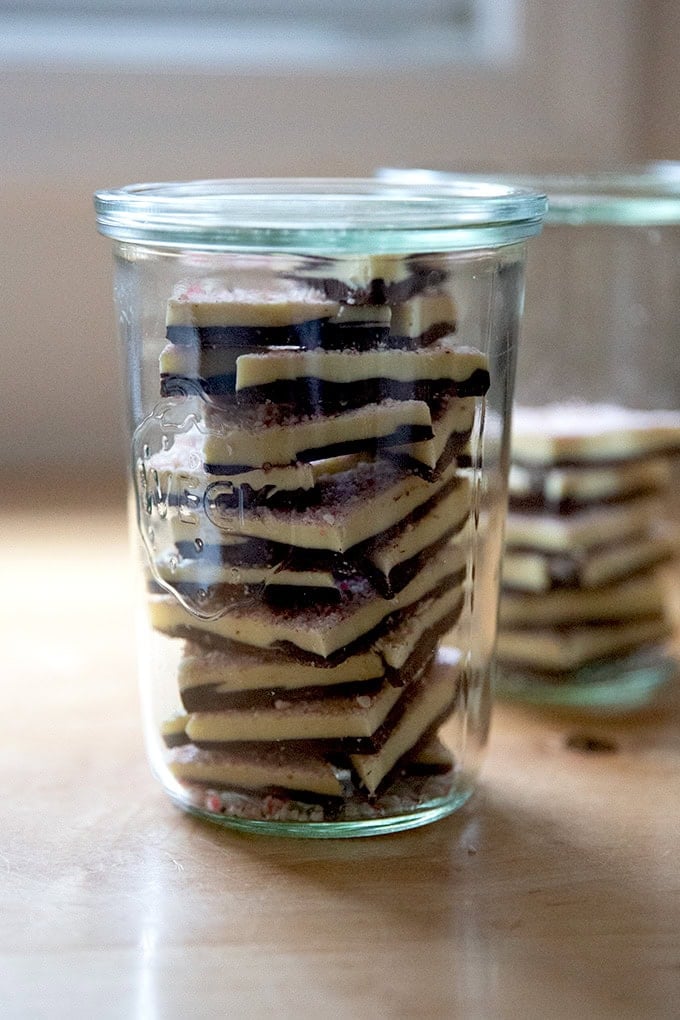
Or pack into jars . You can store the bark at room temperature or in the fridge.
Description
Made with only four ingredients, this peppermint bark is one of the simplest holiday cookies you could make and one of the most festive, too. What’s more, it yields a ton, making it perfect for gifting all season long. So easy, so pretty, so delicious!
Adapted from Dinner at The Zoo’s recipe , which I’ve made just a few small changes to, namely in the method (I use the stovetop and a double boiler to melt the chocolates) and the candy canes, which I blitz into a dust as opposed to coarsely chop.
Notes:
Chocolate: I’m using Guittard bittersweet 74% cacao chocolate wafers . I love this chocolate — it’s tasty on its own, which is important: if the chocolate tastes too dark or bitter or unpleasant, it won’t improve once it’s in bark form. As you know, it will be paired with white chocolate, which is sweet, and which will offset the bitterness somewhat. That said, you don’t want to use a chocolate that is too sweet (like milk chocolate). So pick a tasty, dark-ish chocolate.
White Chocolate: I recommend Callebaut, Valhrona, or Guittard; otherwise use what you can find. Ghirardelli is readily available and works well here, too. Do not use white chocolate chips here as they will not melt well (see video).
Candy Canes : I like to pulse the candy canes until they are blitzed into dust. You’ll need only about 4 candy canes for this recipe, but I’d recommend blitzing more so that you have the dust on hand for other purposes like more bark or rolling sugar cookies in before baking 🙂
The Pan: You need a 9×13-inch or 10×14-inch pan for this. I’ve been loving using my 10×14-inch Lloyd Detroit-Style pizza pan for this recipe.
12 ounces bittersweet chocolate, see notes above
16 ounces white chocolate, finely chopped, see notes above
1/2 teaspoon peppermint extract, divided
4 regular candy canes, see notes above
- Fill two small pots with water halfway full. Bring to a simmer.
- Place the dark chocolate in a small bowl. Place the white chocolate in a small bowl. Set each bowl over a pot and leave undisturbed until you see the chocolate beginning to melt, about 5 minutes.
- While the chocolates melt slowly on the stovetop, unwrap the candy canes, then place in a food processor. Purée until the candy canes are nearly dust or until they are chopped to a coarseness of your liking.
- Stir the dark chocolate with a spatula until smooth, then add 1/4 teaspoon of peppermint extract, and stir until completely smooth.
- Line a 9×13-inch or 10×14-inch pan with parchment paper. Spread the dark chocolate into the pan, then transfer to the fridge for 10 to 12 minutes or until the chocolate just sets — Note: due to some user reviews, you’ll want to rely on visual cues here: the chocolate should be visually set, but do start checking at 10 minutes. If you are using a glass pan, it may take longer. You do not want to leave the chocolate in the fridge much beyond the point at which it has set, otherwise you risk the white chocolate not adhering to the chocolate layer; if the bottom layer has not set, however, the white chocolate will swirl into it. It may take some trial and error to get the timing right given your fridge/pan.
- Stir the white chocolate with a spatula until smooth, then add the remaining 1/4 teaspoon of peppermint extract, and stir until completely smooth.
- Spread the melted white chocolate over the dark chocolate — you can do this with a spatula, the back of a spoon, or a small offset spatula. Sprinkle roughly 1/4 cup of the peppermint dust over the surface. You can do this with a sieve or you can simply scatter the dust over the surface with your hands.
- Return to the fridge for 20 minutes. Remove from the fridge and let sit at room temperature for another 20 minutes.
- Cut into neat triangles or break into shards. To cut into triangles, first trim away the rough edges. Then cut the bar roughly into 2-inch squares. Finally, cut each square in half on the diagonal to create triangles. Return the bark to the fridge for another 20 minutes to firm up.
- You can store the bark at room temperature in an air-tight container or in the fridge for up to 3 weeks.
- Prep Time: 5 minutes
- Cook Time: 5 minutes
- Category: Dessert
- Method: Stovetop, Fridge
- Cuisine: American
